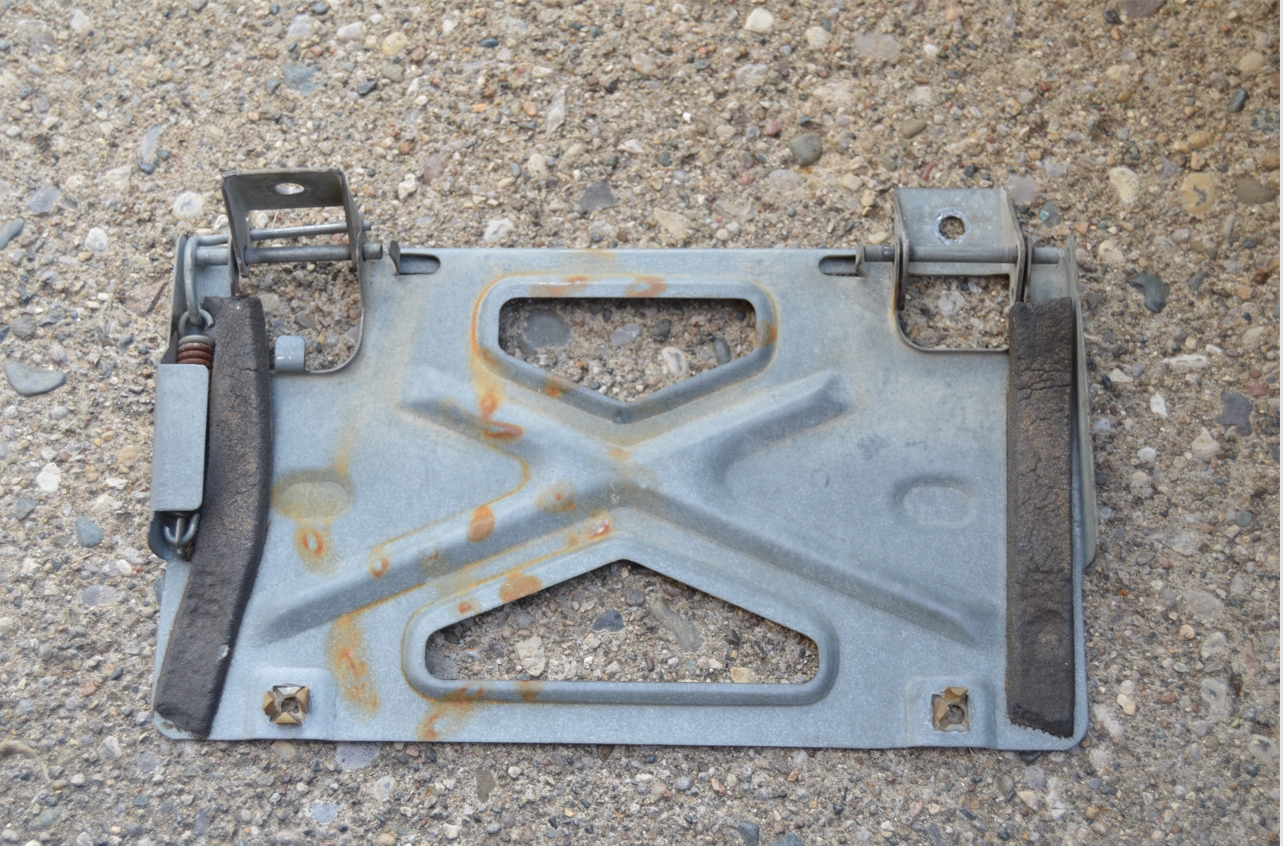
Originally made for the Buick GNX, these wheelhouse patch panels offer more turning radius for those with larger tires on the front of their GNX, Grand National, Turbo T, T-type, Limited, etc.
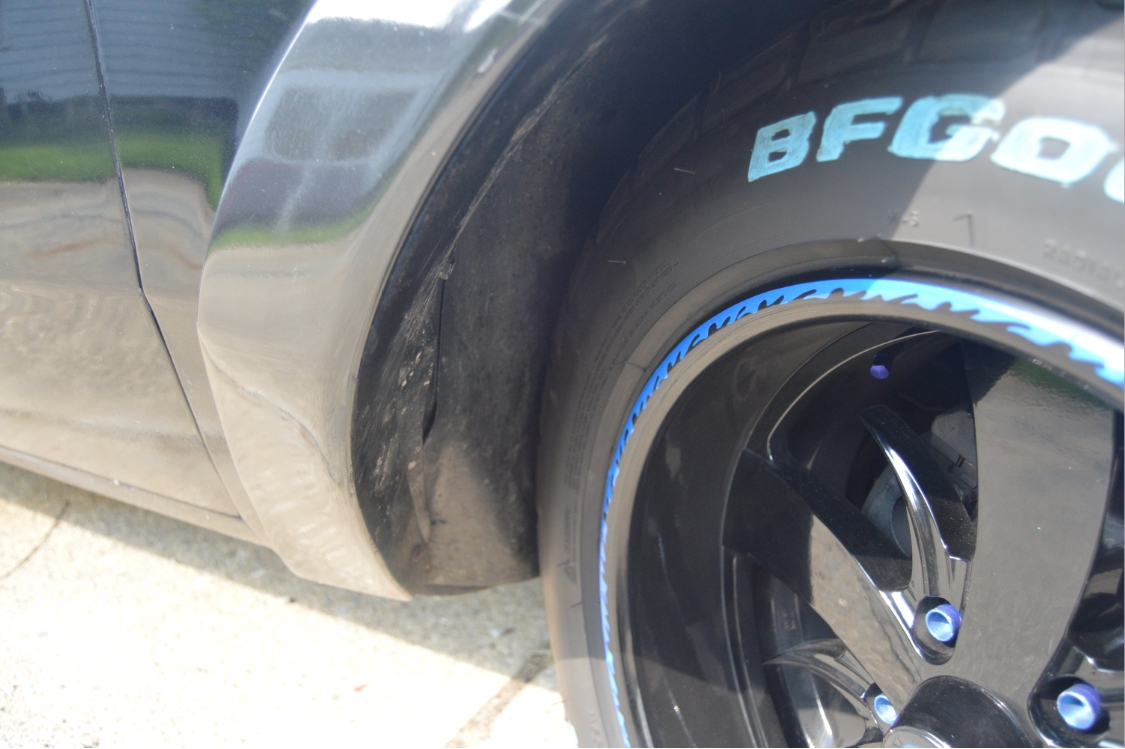
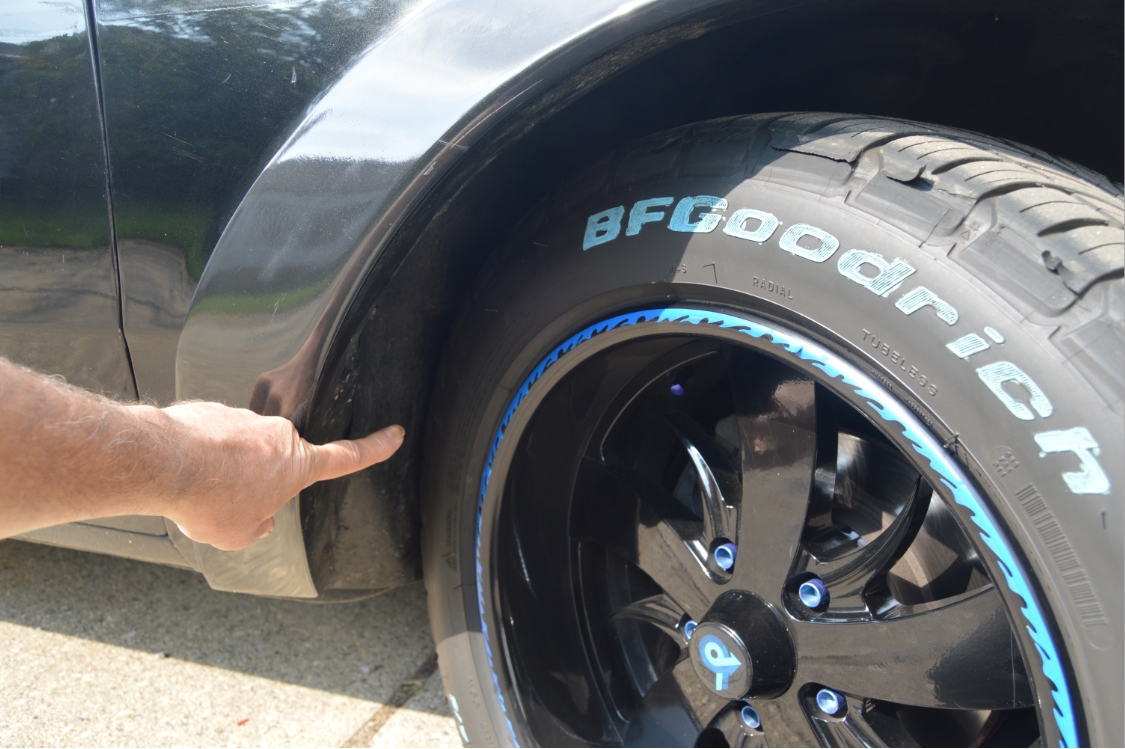
If your Turbo Regal suffers from hitting the wheel wells (on the backside) when you turn your front wheels all the way to the left or right, because you have installed larger than stock tires, which was exactly our problem, then these panels are your solution.
 They are produced by Rick Hunt, who worked at ASC on the Buick GNX project, and owns the GNX Xray car so you can be sure these will do what they are intended to! Not to mention the quality will be similar to an OEM unit.
The panels are exact copies of the ones that were installed on the original 1987 Buick GNX.
Rick sells on ebay (occassionally, not sure if he still does, check HERE), and GNS Performance also sells these.
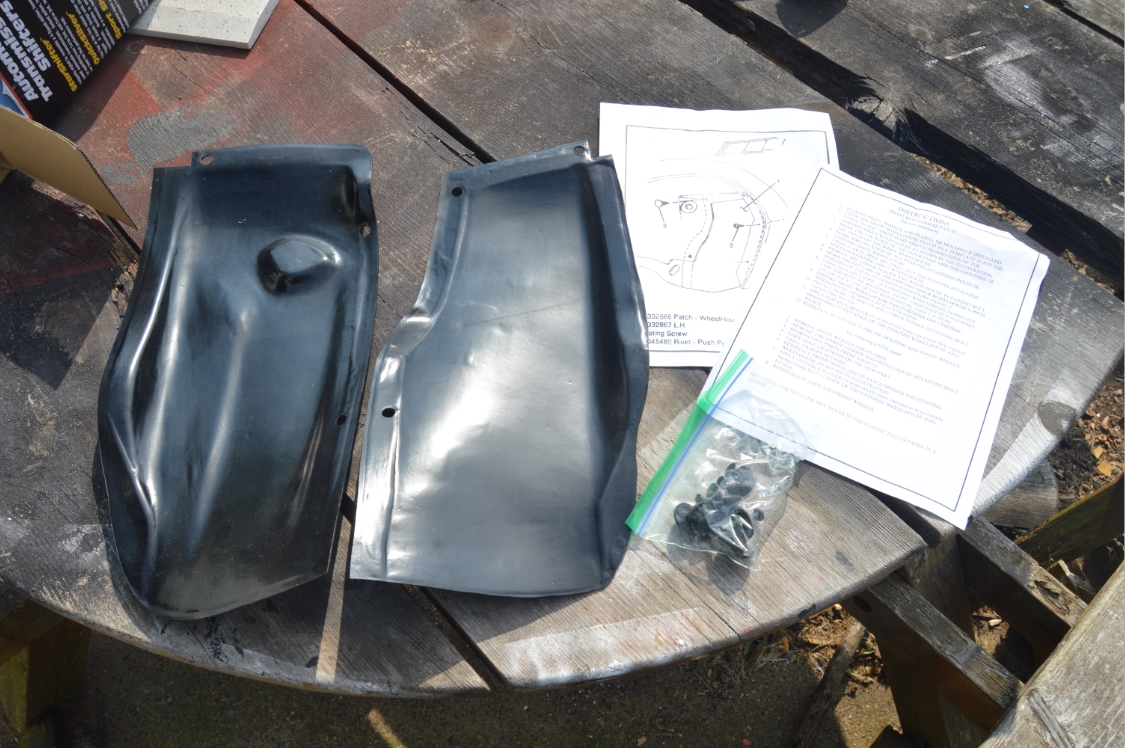
They retail for $135 for the set, which includes instructions, 6 push pins, and the 2 panels.
Installation is relatively simple.
Cut an opening, put these in, use the push pins to secure them. Seal around with silicone.
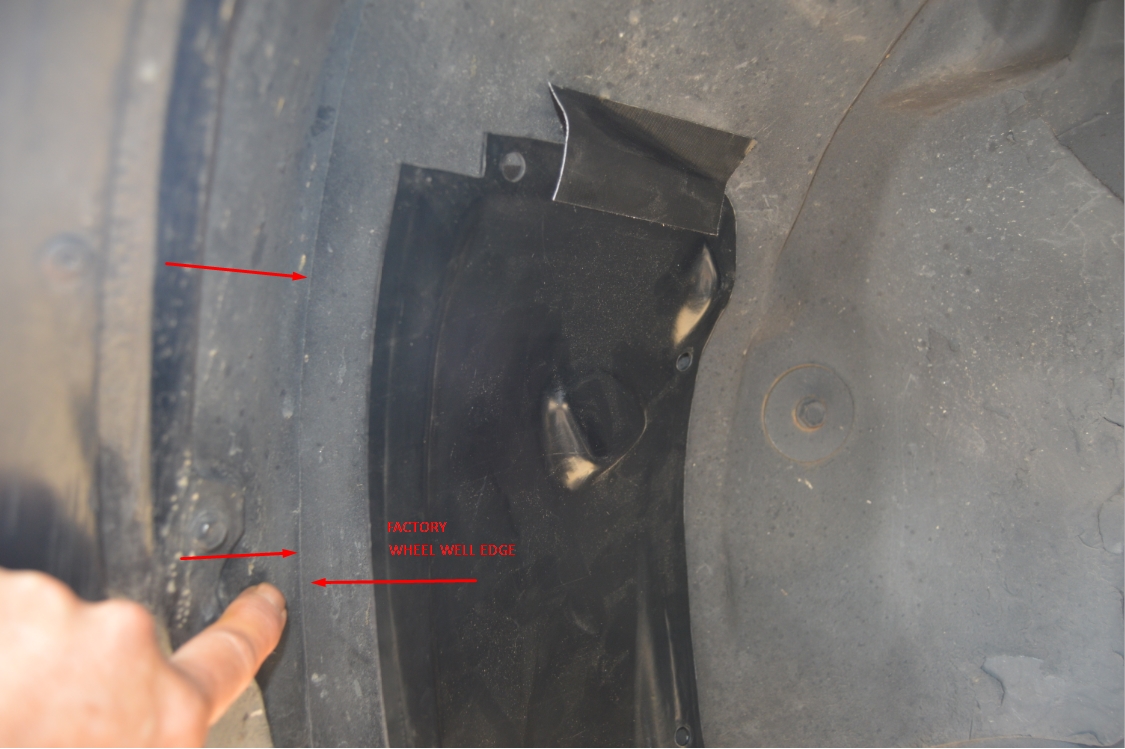
The tricky part, is that these are suppose to be installed BEHIND the factory wheel well.
When you have GNX fender flares on a G-body Regal it makes it a bit harder, since these panels go behind those as well.
The instructions say to remove the flares.
We opted not to.
We’re pretty sure we can cut the hole, shove these panels in behind it all, and secure them down with the push pins.
(and we WERE successful doing that, just by undoing a couple screws and bolts)
Since it’s always a bit scary cutting into your Buick Turbo Regal, we started with the passenger side (which is harder since there’s wires behind the wheel well), and that took longer than the drivers side did, as once we did the first one, the second one (drivers side) was a piece of cake.
.
There’s always a nice way to do things, and then a way that gets the job done but doesn’t always look or work the greatest. We usually try to utilize existing merchandise that’s made for the intended purpose, looks like it should, and works like it’s suppose to. Like these Buick GNX Wheelhouse Patch Panels.
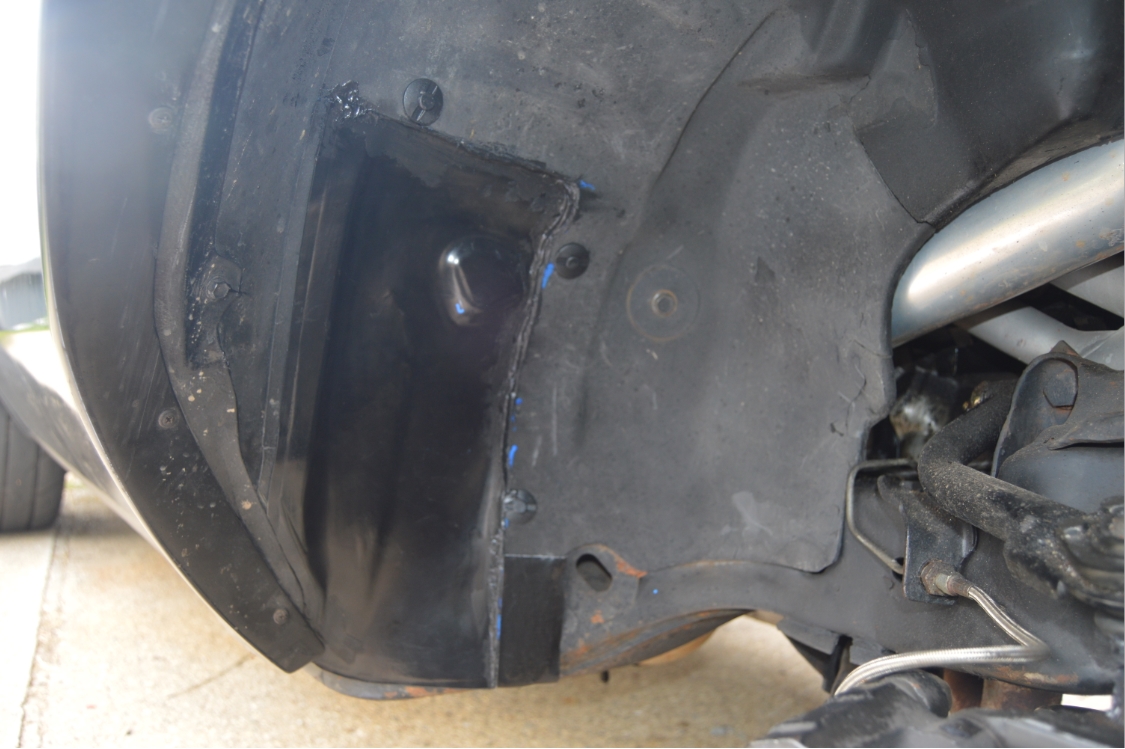
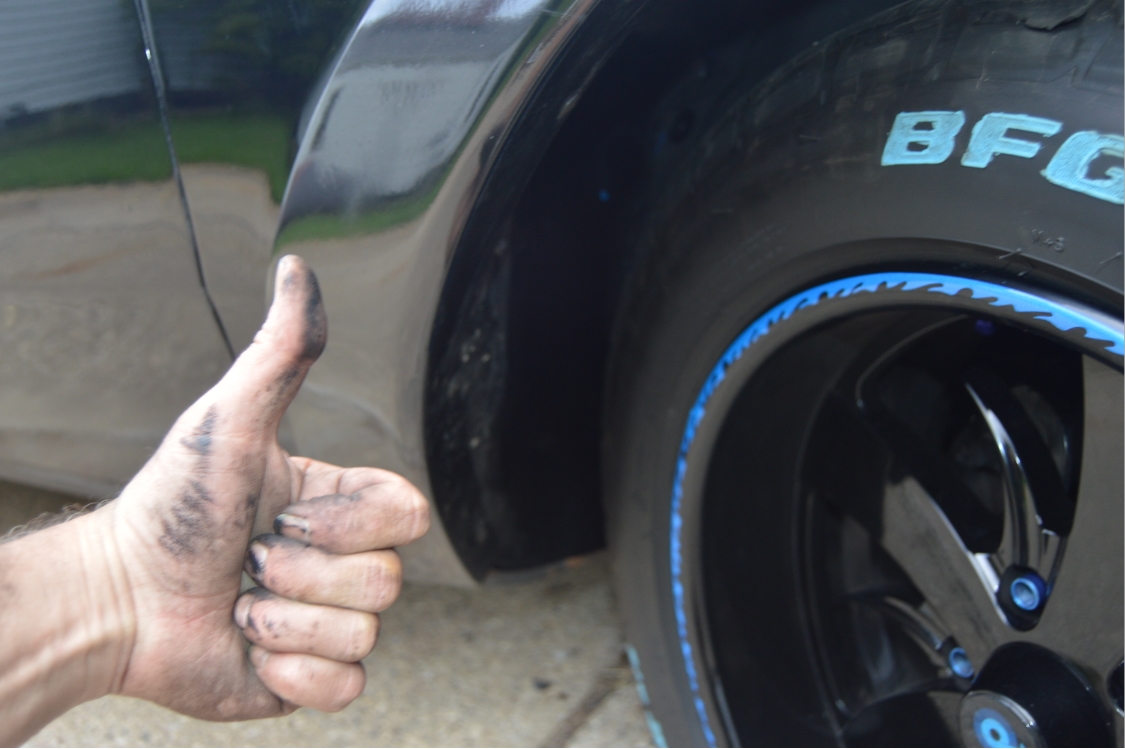
Once the job was completed, we gained the clearance that our tires necessitated, so we’re pretty happy with the way things turned out.
(no more scrapping around corners, or turning into the driveway!)
.

.
COMPLETION TIME:
– about an hour
.
PARTS:
– Wheelhouse Patch Panel ($135, GNS Performance)
– tube of black silicone ($7)
.
TOOLS:
– dremel with cutting bit
– 13, 10mm sockets
– phillips screwdriver
– 3/8″ drill bit
– file
.
HOW-TO:
1. jack up Turbo Buick, put on stands, remove both front wheels.
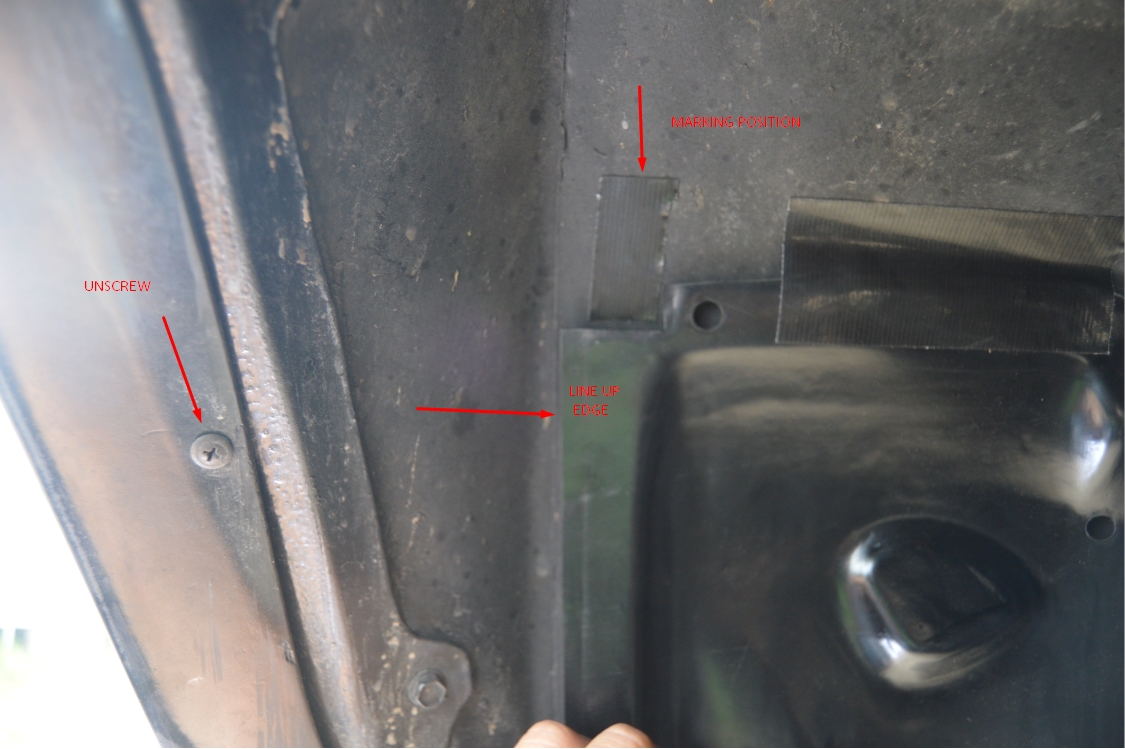
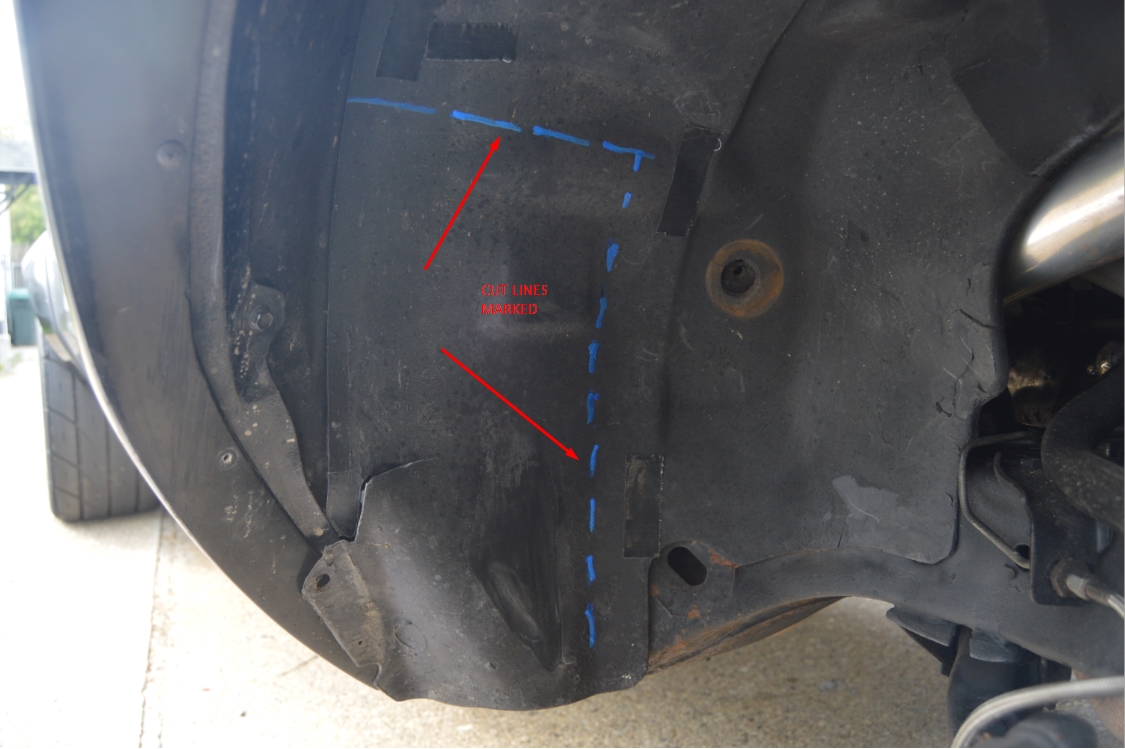
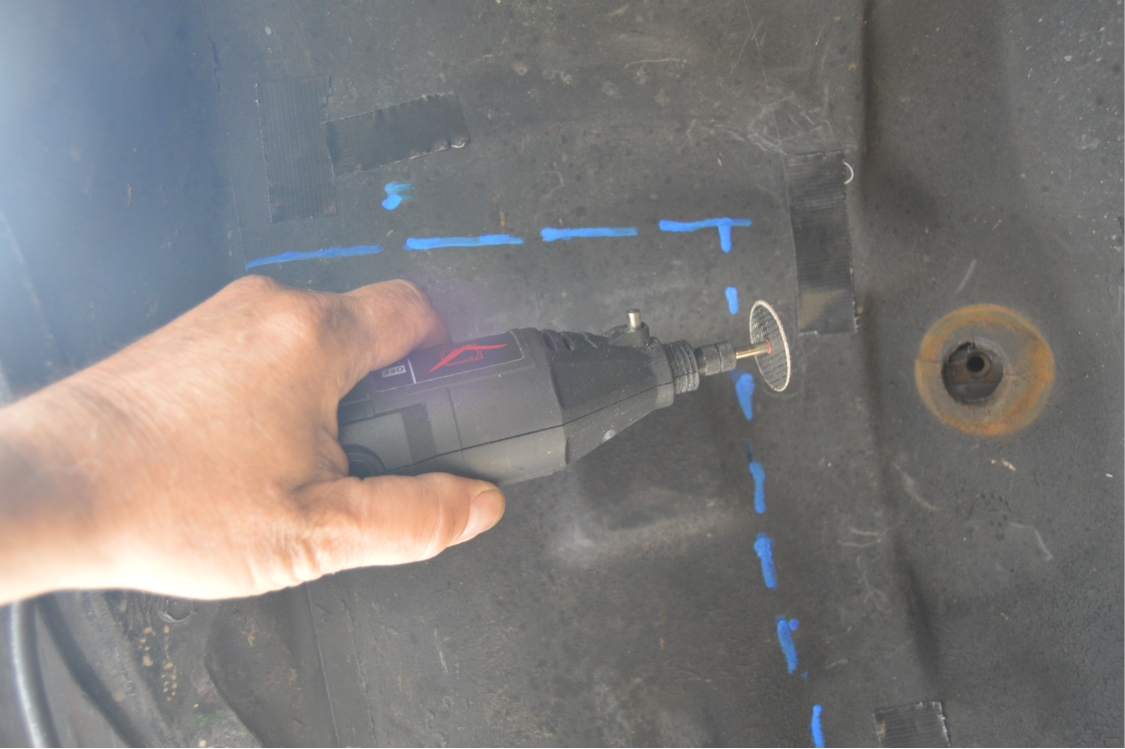
2. we used duct tape and taped the new panels in place to see where we needed to cut.
we put strips of tape on the outside of the panels (on the wheelhouse).
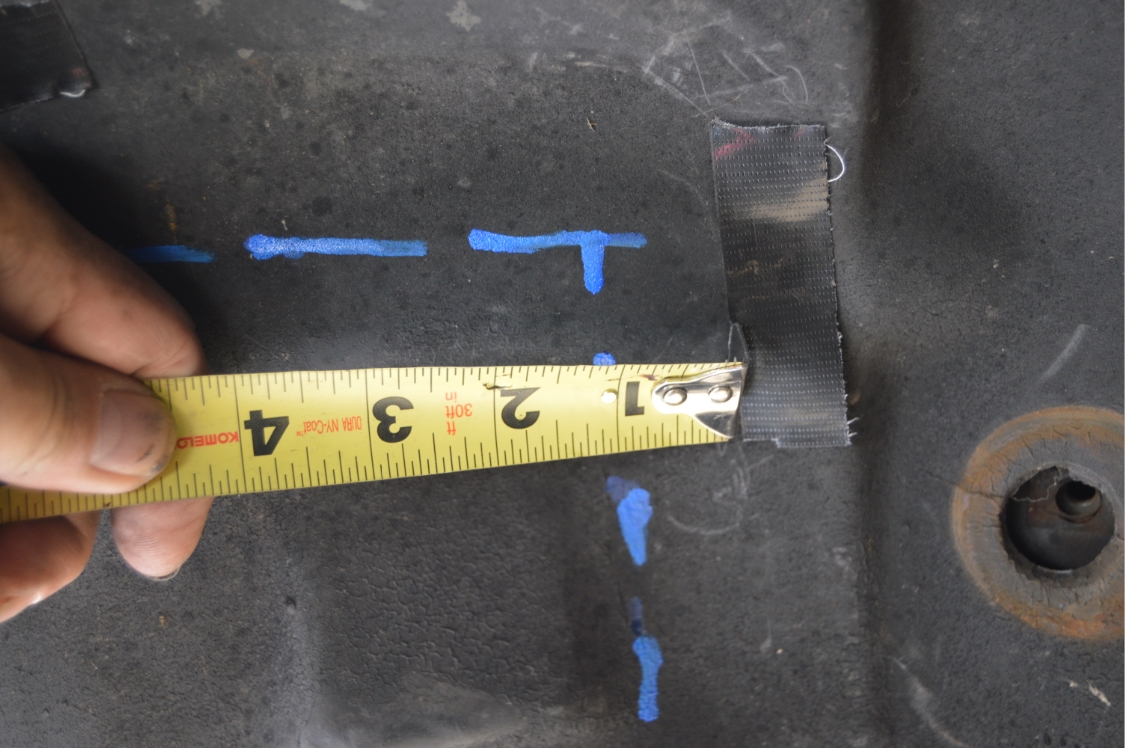
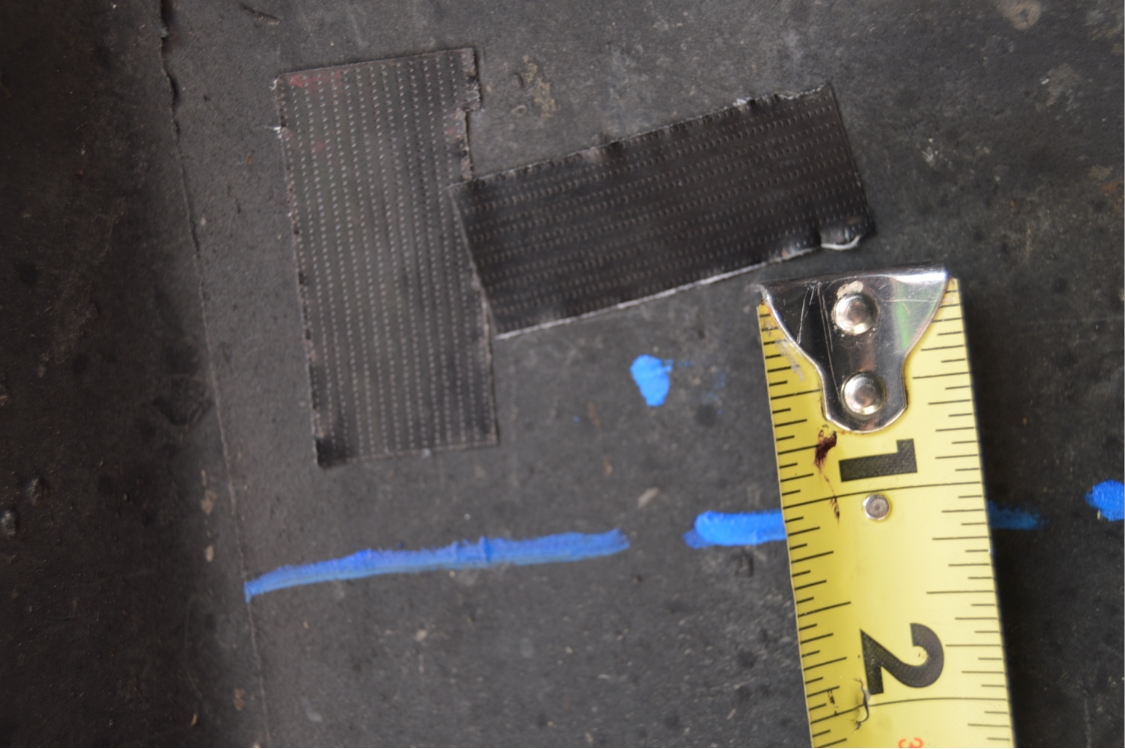
Then we removed the panels and marked 1″ in from the panels to indicate the cut lines.
(the instructions say 3/4″ but I feel 1″ is better)
The new panels are suppose to go behind the factory wheel well (hence the hole being smaller than the panel).
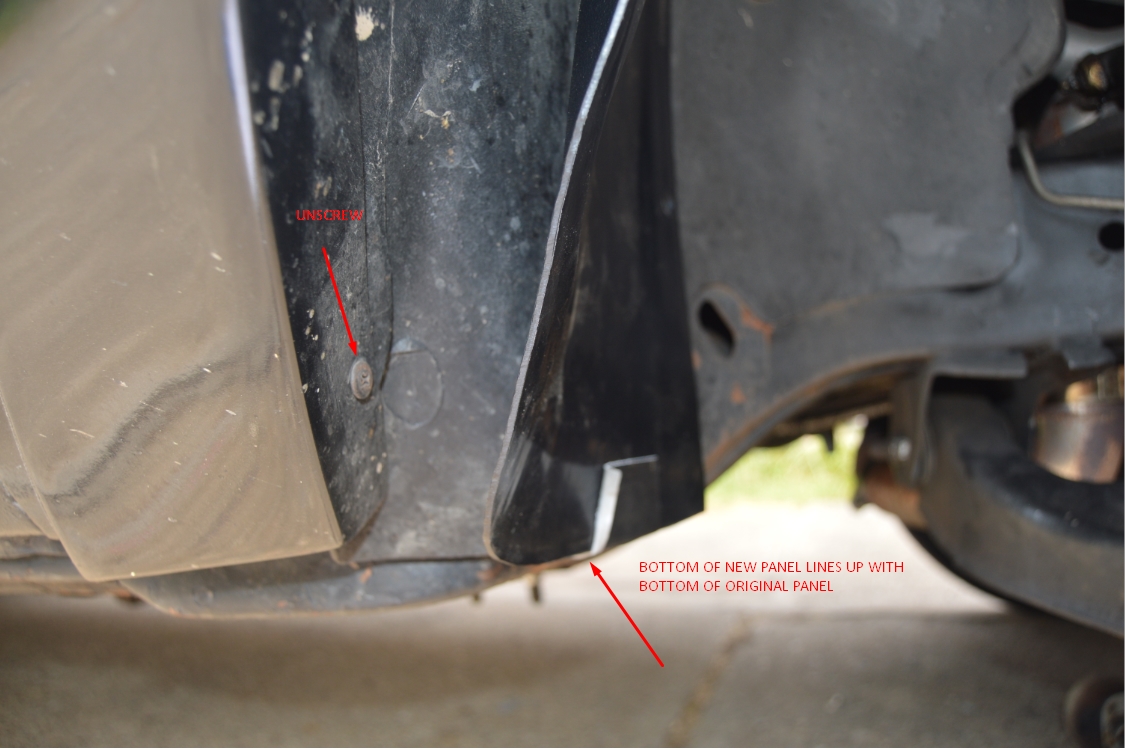
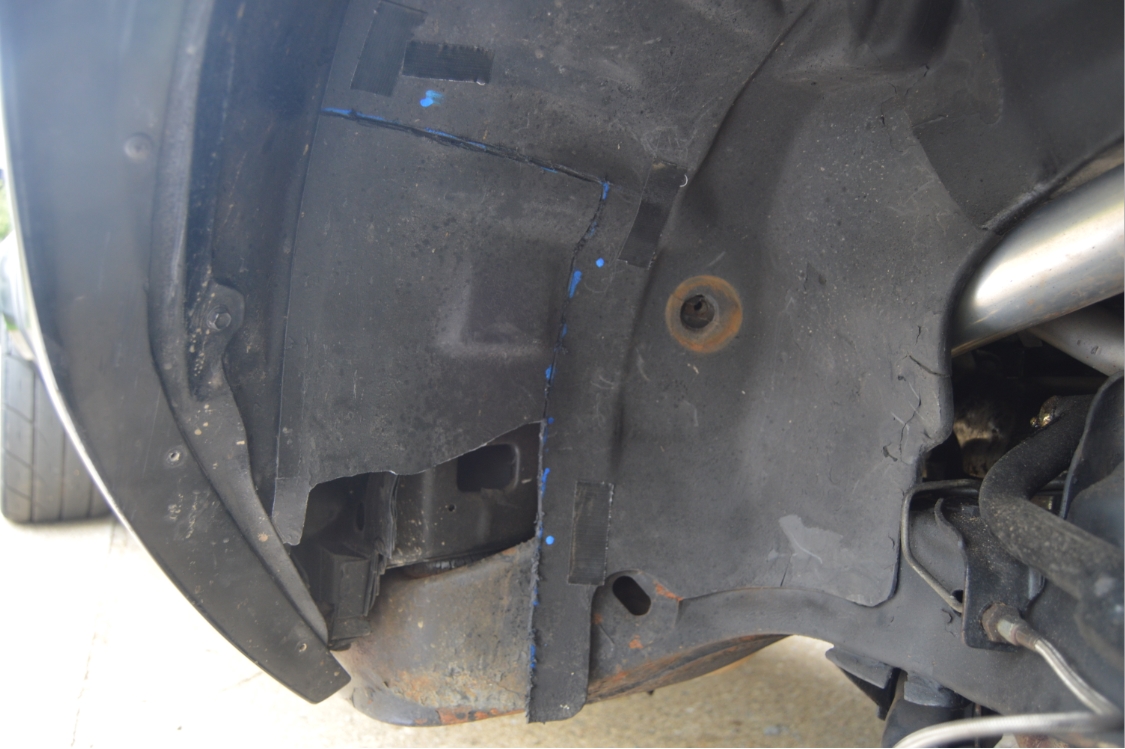
On the passenger side panel, there is a raised circular section, which we lined up with the OEM one.
The new panels should be mostly flush with the outer edge of the stock wheel well.
It’s IMPORTANT you use the actual (plastic) wheel well edge as reference, and NOT the metal one that’s attached to the fender (next to the wheel well)!
mark off the 3 holes where the push pins will go.
,

.
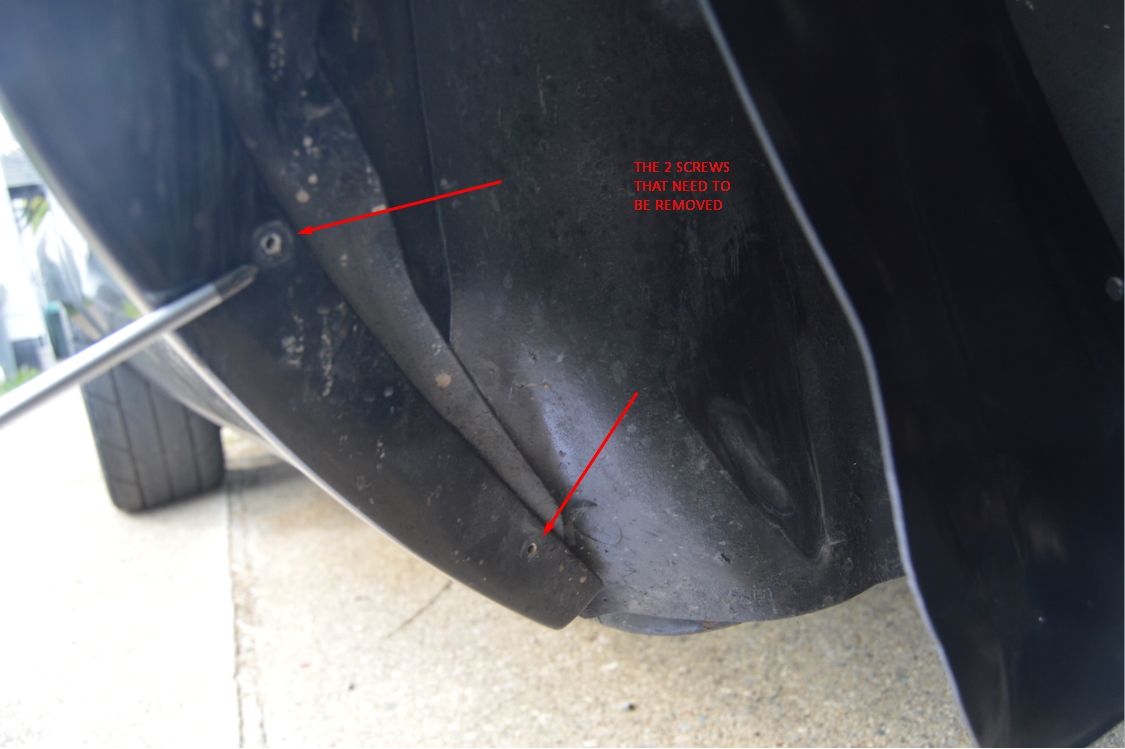
3. you’ll need to unscrew the bottom 2 screws on gnx flares.
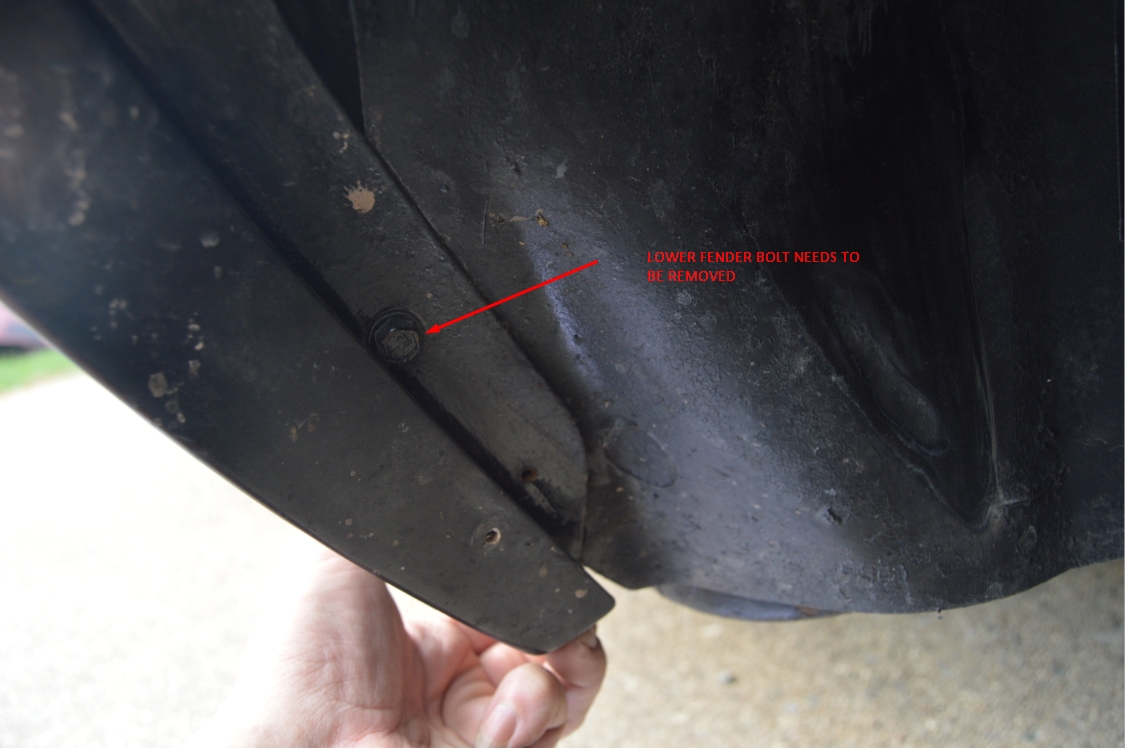
also, the bottom fender bolt (10mm).
and the (13mm) bolt that secures the wheel well (the one with the big washer on it).
4. we started on the passenger side, finished this side completely, then did the drivers side.
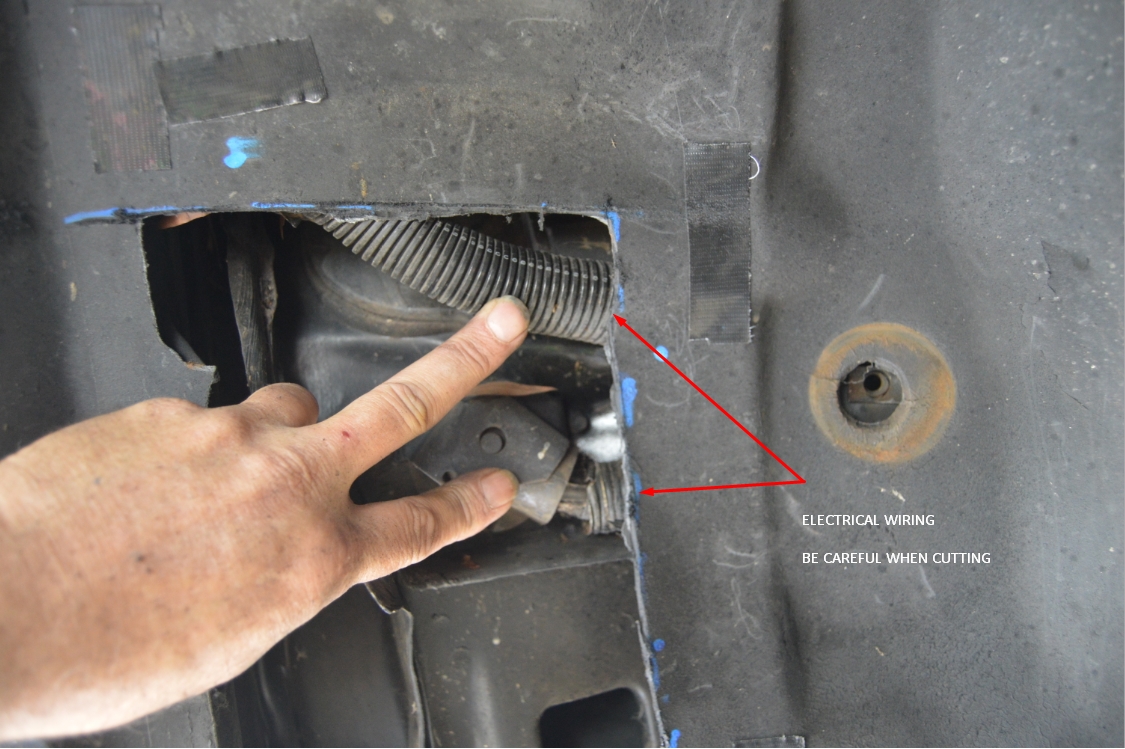
You need to be careful when cutting on the passenger side, as there are 2 sets of wires behind the wheel well.
.

.
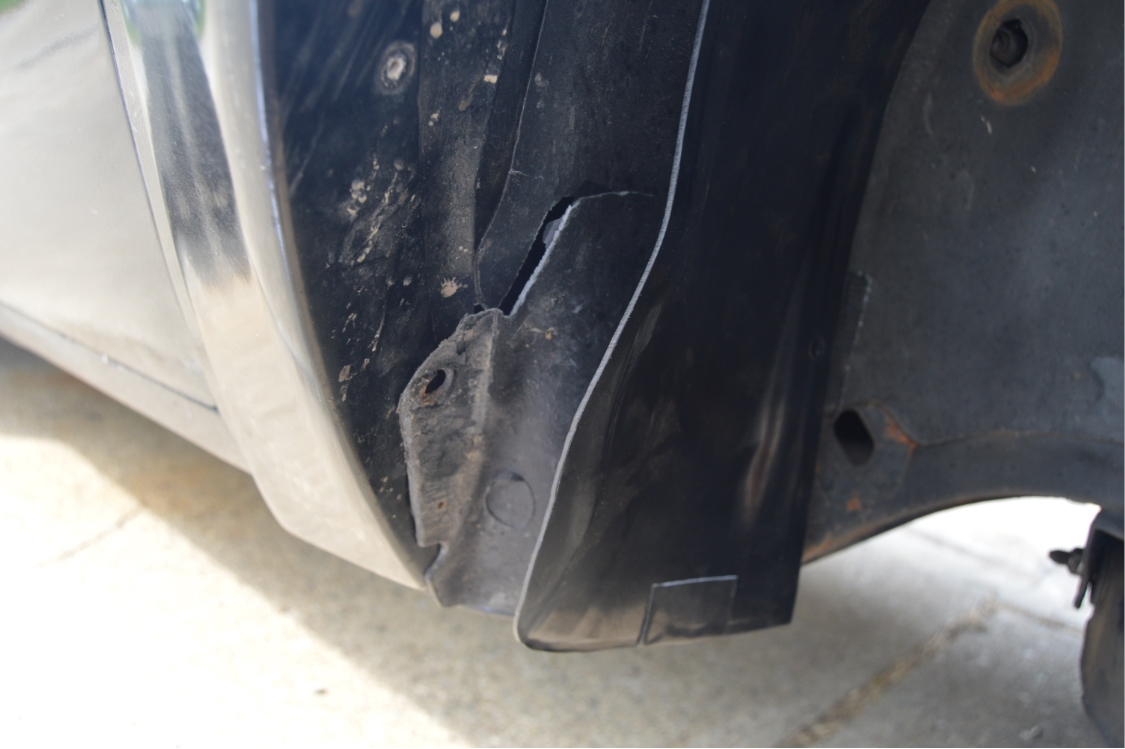
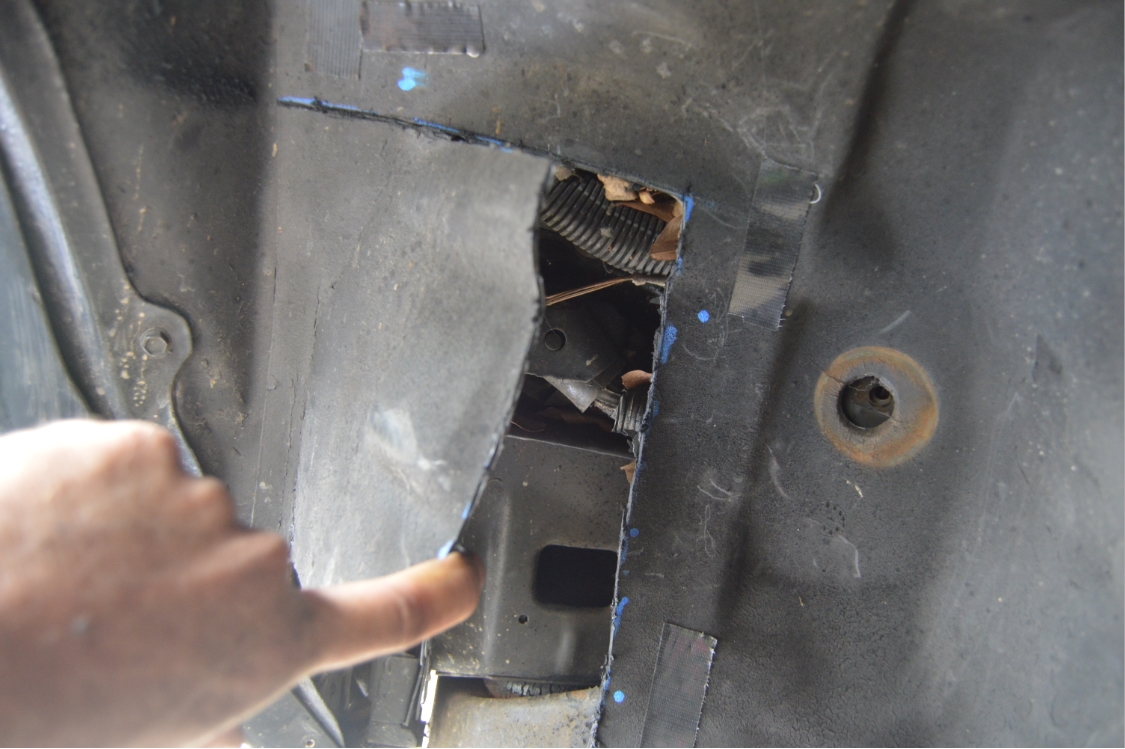
5. try to pull the wheel well away from the car as you are cutting the hole.
You can also feel with your hand behind the wheel well previous to cutting to make sure there isn’t anything behind it.
as we were pulling and cutting, half of our cutout area broke off from the wheel well. Thats ok, it allowed us to see and feel inside/behind the passenger side to make sure we weren’t going to cut into the wires.
When you are finished cutting out the marked area, you might want to take a file and smooth out any rough areas from your cut.
.
.
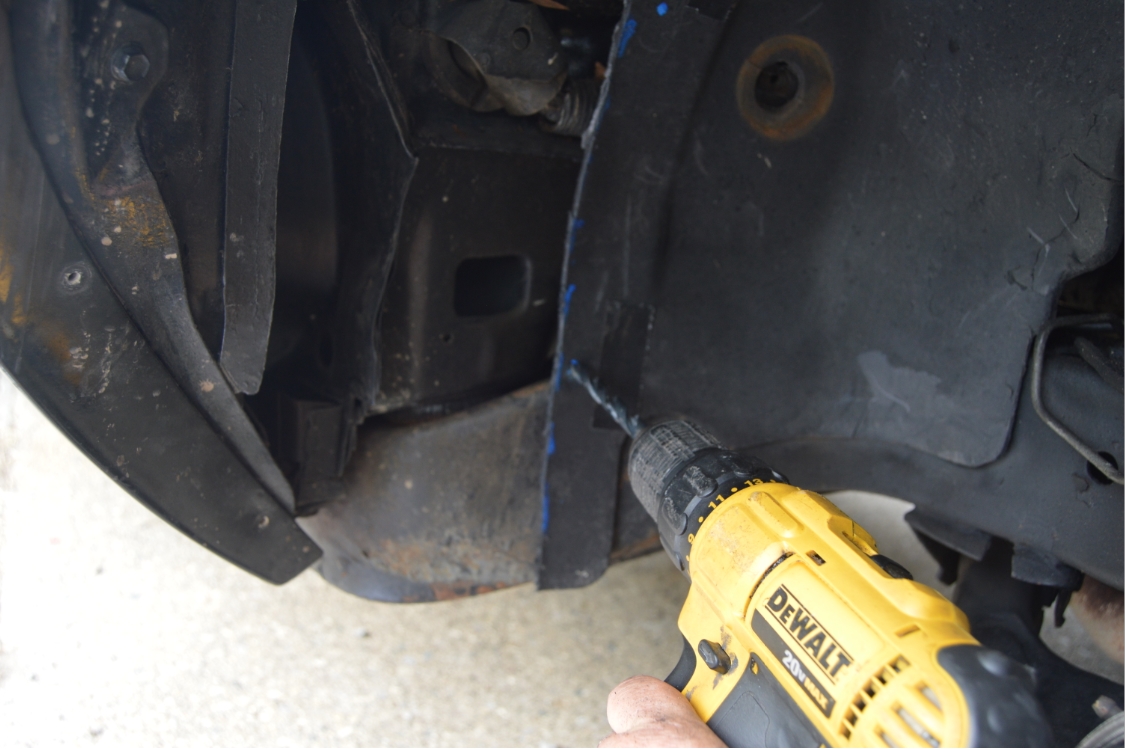
6. drill the 3 (3/8″ holes) for the push pins.
7. test fit the patch panel behind the wheel well.
you will need to tuck the left bottom corner (on passenger side; driver side = bottom right corner) behind the gnx flare and behind the fender.
make sure the 3 holes line up.
make sure the cut area is correct (no big gaps, etc).
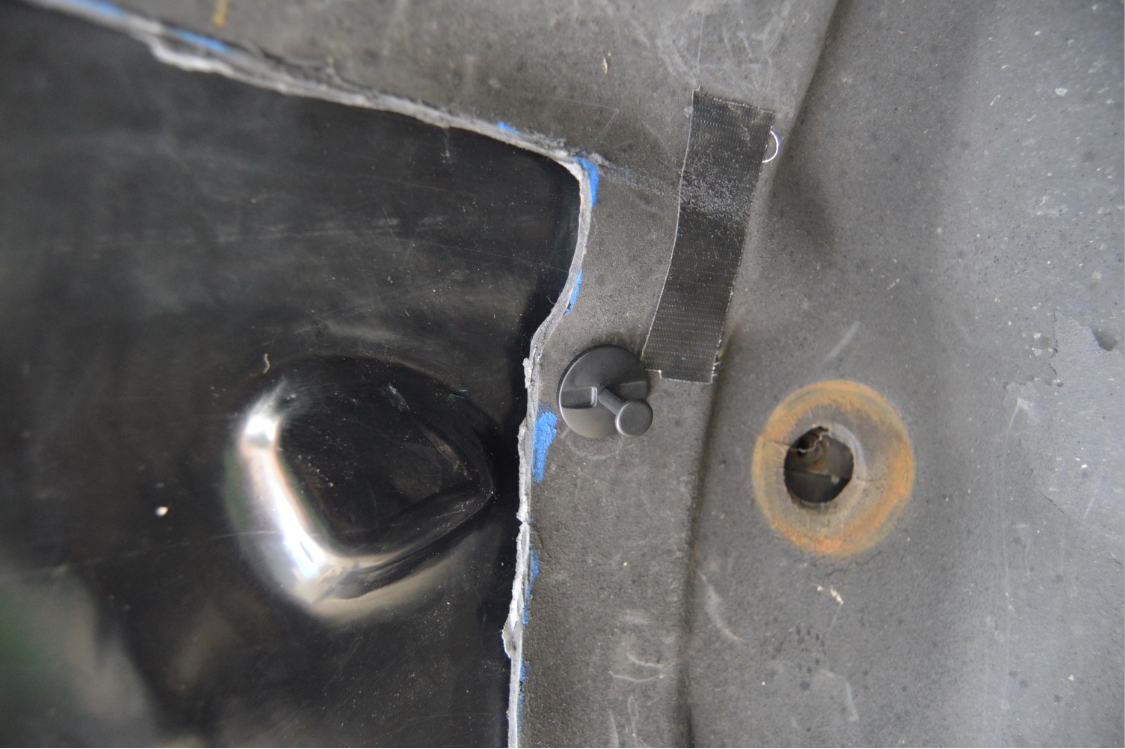
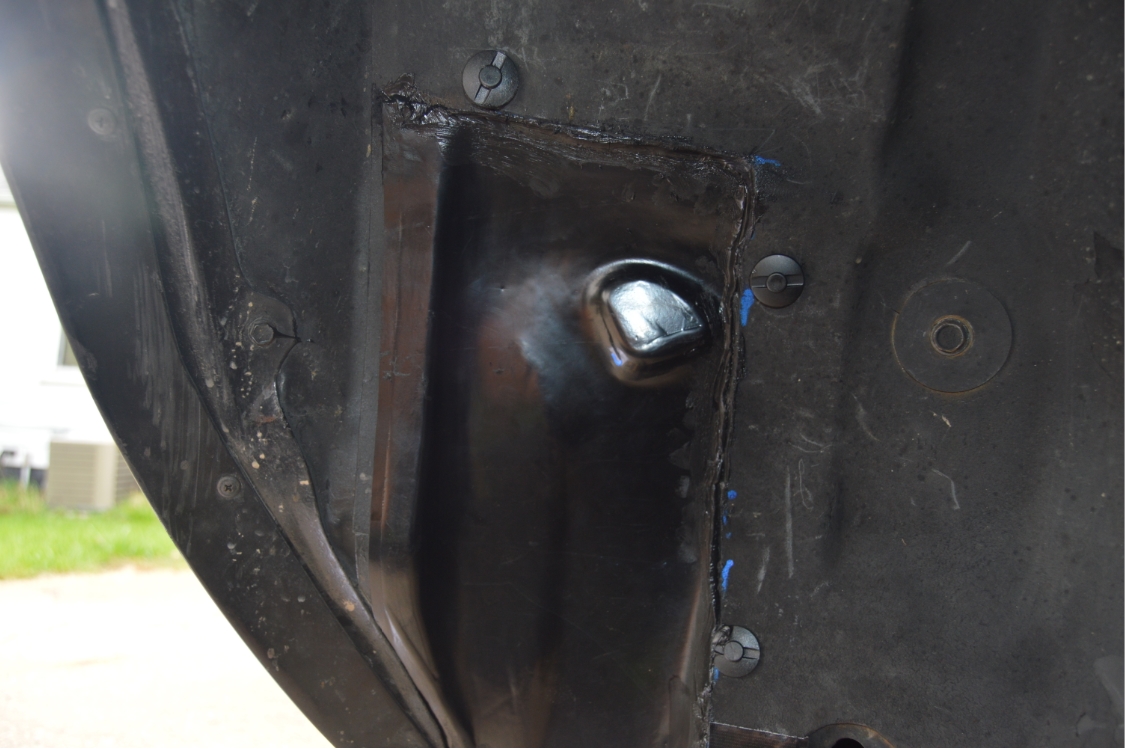
8. attach the 3 push pins, and push in to secure them.
make sure the 2 tangs actually go thru the patch panel (not just the wheelhouse).
(ours had a tendency to go in, but upon pushing the pin in, it pulled out the 2 tangs from the panel)
.

.
9. check everything again to make sure it all looks correct and fits good.
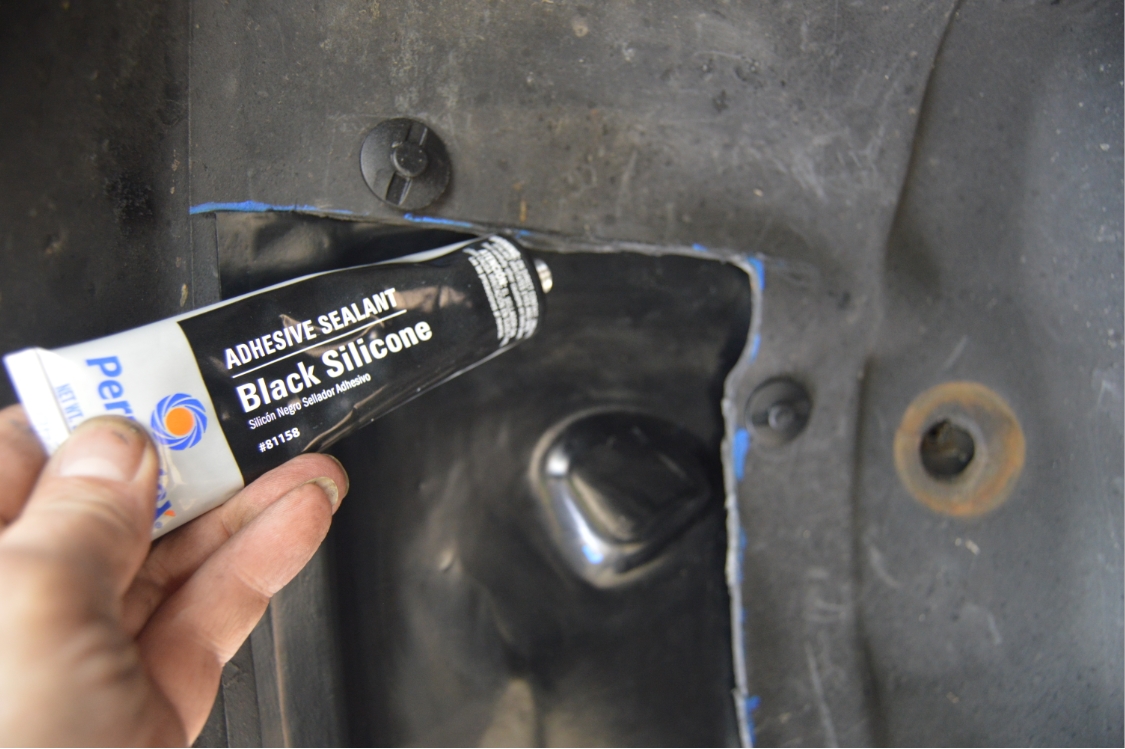
10. use silicone, urethane, etc., to seal all the edges between the new patch panel and the stock wheel well.
you want to make sure this area stays waterproof!
you may need to seal up the outer (left) edge (on passenger side), where the panel meets the edge where the old wheel well was.
(we used silicone and DID run a bead on this edge, as not only will this help with waterproofing, but it will help keep the new patch panel attached in this area)
.
.
11. reattach the fender bolt, the 2 screws, and the wheel well bolt.
12. put the wheel back on.
13. do the same steps for the drivers side.
Once that’s done, put the car on the ground & turn your wheels all the way, both ways, and check how much more clearance you have. No more rubbing! Cool!
.

![]()
.