 Eventually all bearings go bad. When your tensioner pulley does, here’s an easy way to repair it.
I saw this little tidbit from Dennis Kirban’s Inner Circle newsletter, and thought I’d pass it long…
This tip comes from Ken, out of Ohio, who did this install with our new bearing for his tensioner.
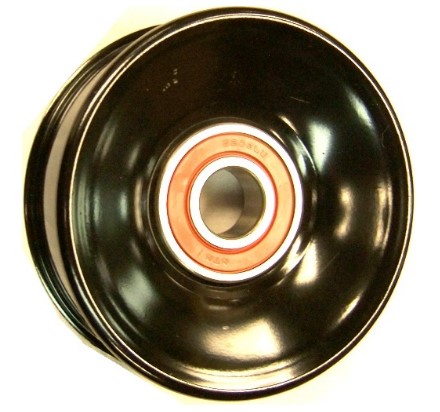
If you don’t have a press, the old bearing can be removed by laying the pulley on a hard flat surface such as a garage floor.
Using a 1 inch socket, gently tap the old bearing out with a hammer.
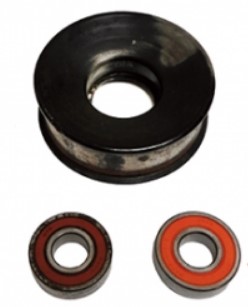 To install the new bearing, use a 1-1/8 inch socket and gently tap the new bearing in from the other side of the pulley. It’s important that you make sure the socket stays centered on the bearing and the bearing is squared up in the pulley as you tap it in, and that it seats all the way at the bottom.
It took only about 10 minutes to perform this task.
If you’re in need of the bearing, you can get it here
.