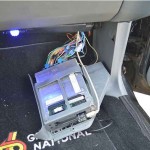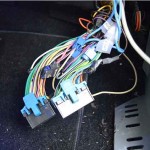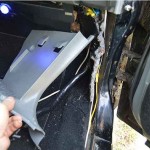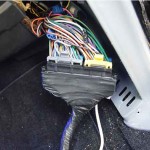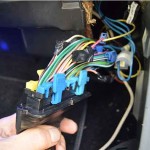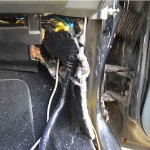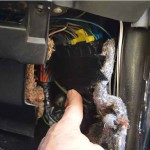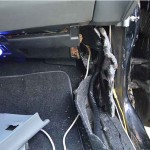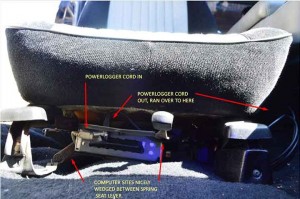
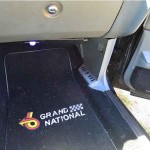
So if you’re planning on installing modern speakers in the kick panels of your g-body Regal, you also need to plan on moving your ECM, since the kick panel pod on the passenger side contains the computer.
The depth of most 5 or 6 inch speakers necessitates ECM relocation.
It’s not an extremely hard job to do, assuming you have the correct parts & a basic plan of where you want to move the computer.
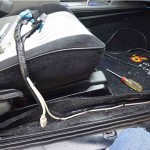
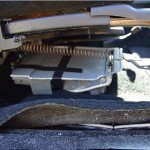
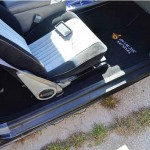
In this 1987 Buick Grand National, we decided to stick it under the passenger side seat.
Note that it’s kind of a tight fit, and if you change chips or need access to the ECM on a frequent basis, you’d be better off placing it somewhere else (like behind the dash or in the glovebox if you have room).
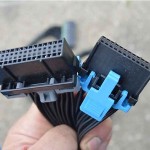
There’s a Powerlogger installed on this computer, and the included cord is fortunately long enough to go along with this mod with no headaches.
TIME REQUIRED:
* less than an hour
PARTS / TOOLS:
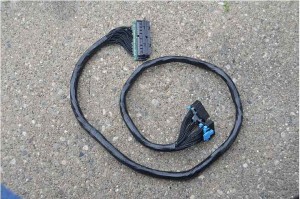
* ecm extension harness (5′ long, caspers electronics, about $75)
* philips screwdriver
* zip ties
* electrical tape
If you need a Buick Regal Grand National ECM harness extension, you can get one from Caspers Electronics:
HOW TO:
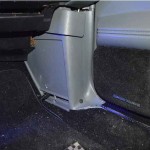
1. remove the outer kick panel.
2. unplug the ECM (2 plugs).
3. remove the door sill (4 phillips screws).
4. remove the inner kick panel.
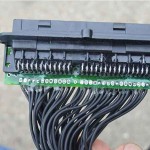
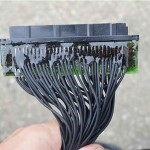
5. take the solid end from the new harness & connect the 2 factory ECM plugs.
[the circuit board on this end is semi exposed, so we wrapped it up completely, all the way up to the end, with electrical tape, for good assurance that nothing gets in contact with it]
6. tuck the new harness as far up under the dash as you can.
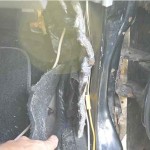
7. push the new wire towards the front of the car, then run it down towards the floor.
(while running it down the car, there’s a convenient channel path you can use that runs right along the door sill under the carpet, next to the existing wires)
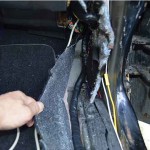
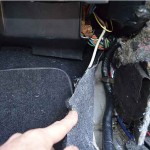
8. there is a clip under the carpet, in the front right corner, place the wire underneath it to secure it down.
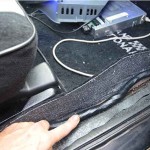
9. pull back the carpet slightly, run the wire down the path.
[it’s a good idea to run zip ties every 6″ or so to secure the powerlogger cable to the harness wires – leave the last 12″ hanging free since the 2 plugs & PL cable go on opposite sides of the ECM]
10. once you get to about midway of the seat, stop.
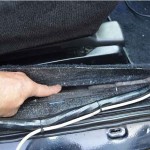
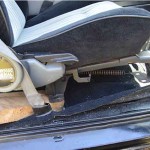
11. remove the long seat trim piece (2 phillips screws) nearest the outside of the car.
12. unbolt the nearest 2 nuts from the seat & prop the seat up a bit.
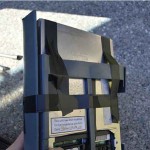
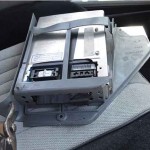
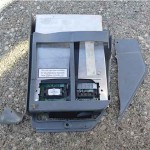
13. We left the plastic outer kickpanel attached to the computer to give it some additional protection.
[you will need to trim the kickpanel somewhat to be able to fit under the seat (see pic): cut off the curved part from the left & the overhang from the right (cut it on the outside of the mold line)]
14. we secured the computer to the kickpanel with electrical tape (so it doesn’t end up sliding out of it while you are driving!)
[we also taped up as much of the the powerlogger connection as we could for additional protection]
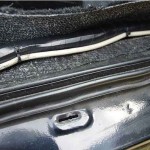
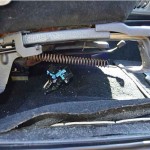
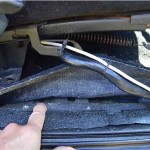
15. if you look underneath the carpet, at about midseat, you will see a cross brace (it has a hole in it). You will be running the harness BEHIND this brace (closest to the rear of the car; look at my finger in the pic). Don’t run it through yet!
16. you will need to cut the carpet to get the wires through. Find the halfway point of the seat (left to right), then halfway between that point & the right side of the seat, make a 3″ slit.
17. now you can run the wires (the 2 plugs + PL cable) through this slit.
[tug/push/twist/bend to get them wiggled over to there! it’s a tight squeeze under the carpet!]
18. you should end up having about 4-5″ of the harness exposed thru (above) the carpet, whereby you can attach the ECM.
[make sure the kickpanel is facing up]
Connect the 2 plugs & the 2 powerlogger cables.
{we ran the other end of the PL cable over to the left side of the seat (nearest the center console) for easy reach down access to it when we need to connect it to the laptop}
19. secure the seat back down (2 nuts).
20. reattach the seat trim (2 screws).
21. put the inner kickpanel back in place.
22. reattach the door sill plate.
(pull the carpet back into position so it sits underneath the plate)
23. start your turbo regal to make sure all is well with the ECM connections.
That’s it, you’re done!
(the kickpanel speaker pod installation is shown in a different post on this website)
.
Here’s what the ECM harness extension looks like from Caspers:
.
Installation pics:
.
.
.
.
.
The vendor shown above has supplied us with the parts (extension harness) we used in this project, per our request. If you are looking for similar parts, don’t hesitate to inquire with this specific vendor!
.
.


