


There’s 3 or 4 local car shows happening in the next few days that we’re attending and covering for this website.
That means we’re taking a break from the 7-part series about swapping out to rear disc brakes for now.
We’ll pick it back up next week, but we wanted to give you 1 more related story about maintenance stuff to do since we’re working back in that area of the Gbody Regal.
.
During the course of performing the rear disc brake swap on our 1987 Buick Grand National, it was necessary to remove the rear end cover, to access the c-clips on the axles to complete that job.
Since we have to remove all that, we figured we would show what exactly is required to accomplish the task to getting new gear oil into the rear end of your Turbo Regal.
I’m sure at some point in time, most Turbo Buick owners will change the fluid in their differentials at least once.
(you know, like once every 50,000 miles or so)
It’s not a real hard job to do, just a bit messy.
For about 40 bucks you’ll have the confidence that your rear axles will keep doing their best at performing the task at hand.
.
The 10 bolt rear end (AKA 8.5″ or 7.5″ differential) is named as such being as there are 10 bolts that hold the rear end cover onto the axle housing.
.
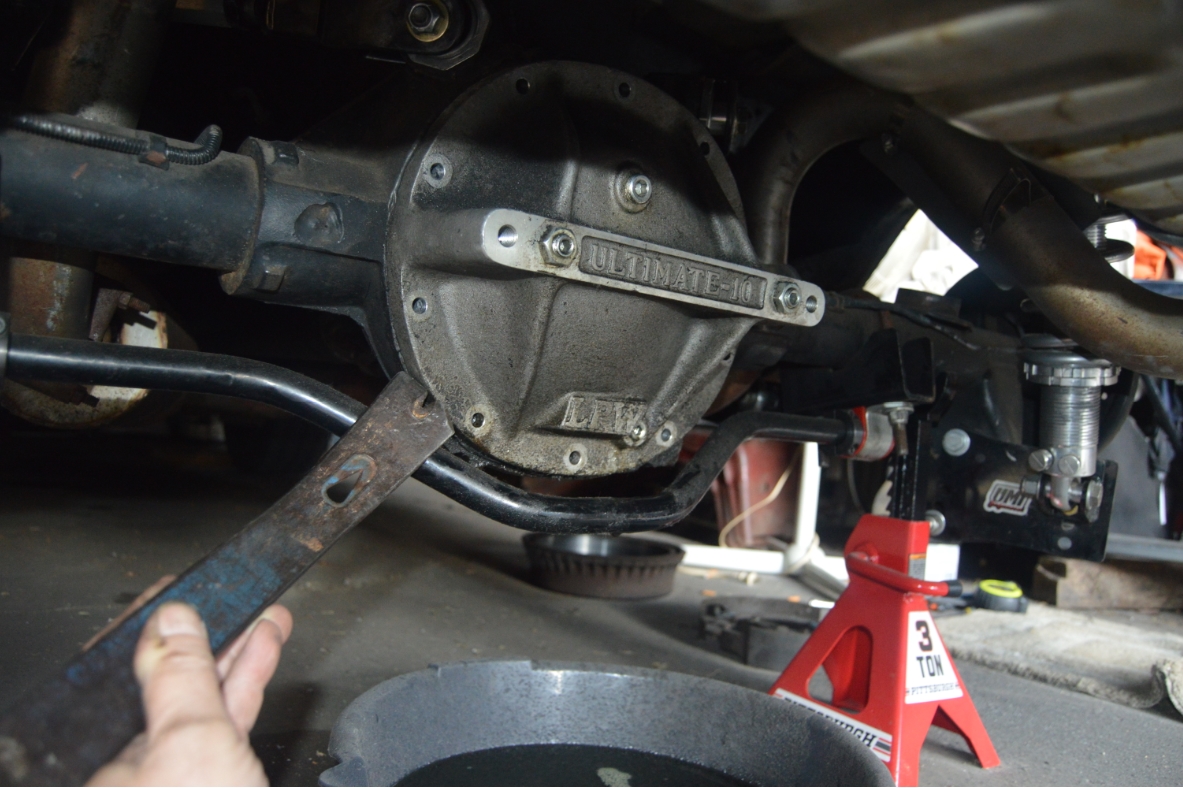
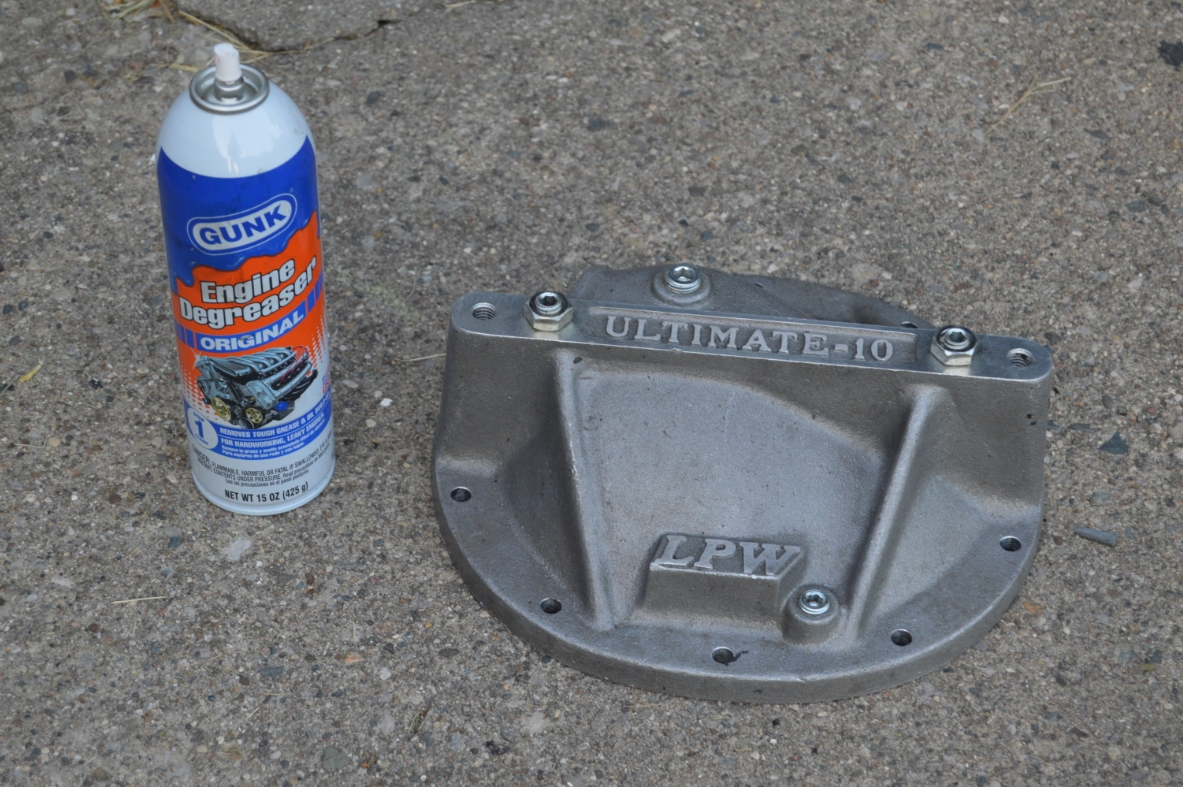
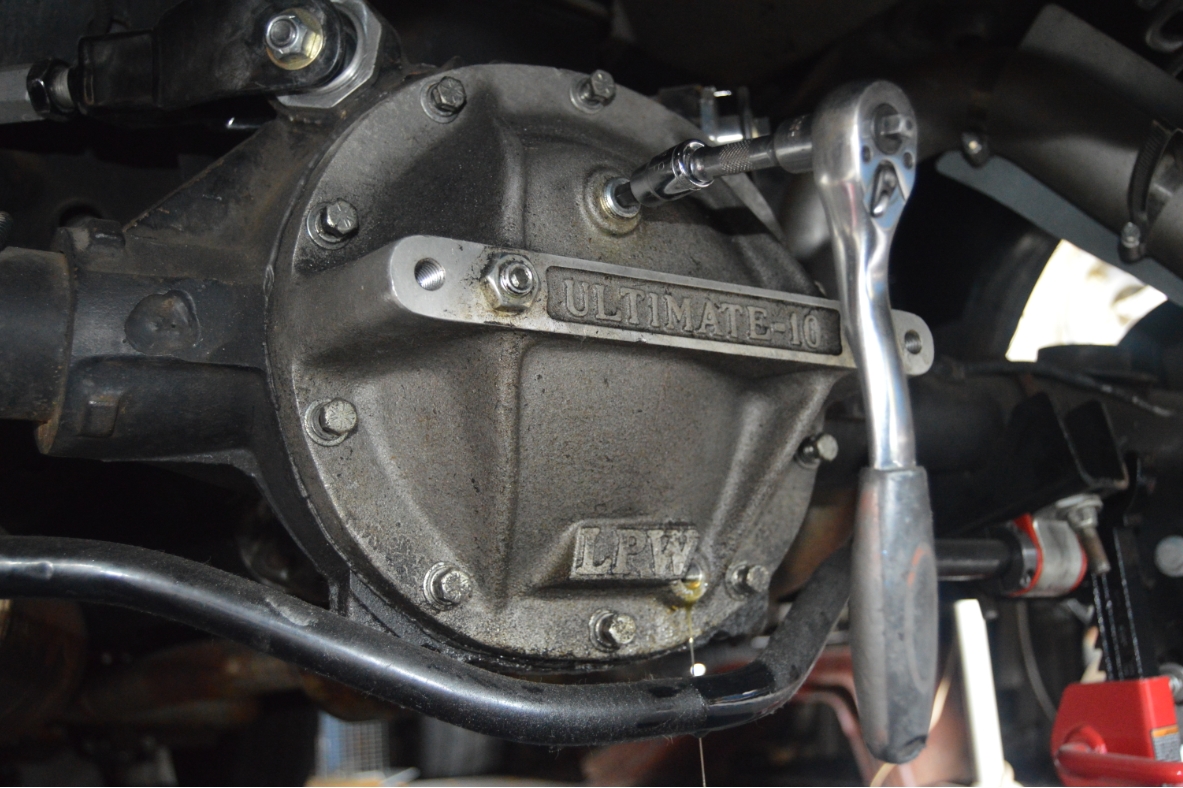
There’s a LPW Ultimate 10 rear diff cover on this ’87 Buick GN, AKA “10 bolt rear end girdle”, but it doesn’t really matter, the process for this task is the same if you have the OEM stock unit on your rear axle housing.
The nice thing about this aftermarket piece, is that it has 2 drain/fill plugs, 1 bigger one on the top for filling the differential, and 1 smaller lower one for draining the rear end (so that you can change out the fluid without having to remove the cover at all).
The lower drain plug is also a magnetic version plug, so it catches any metal shavings that may occur.
(there wasn’t any metal on it when we removed ours)
.
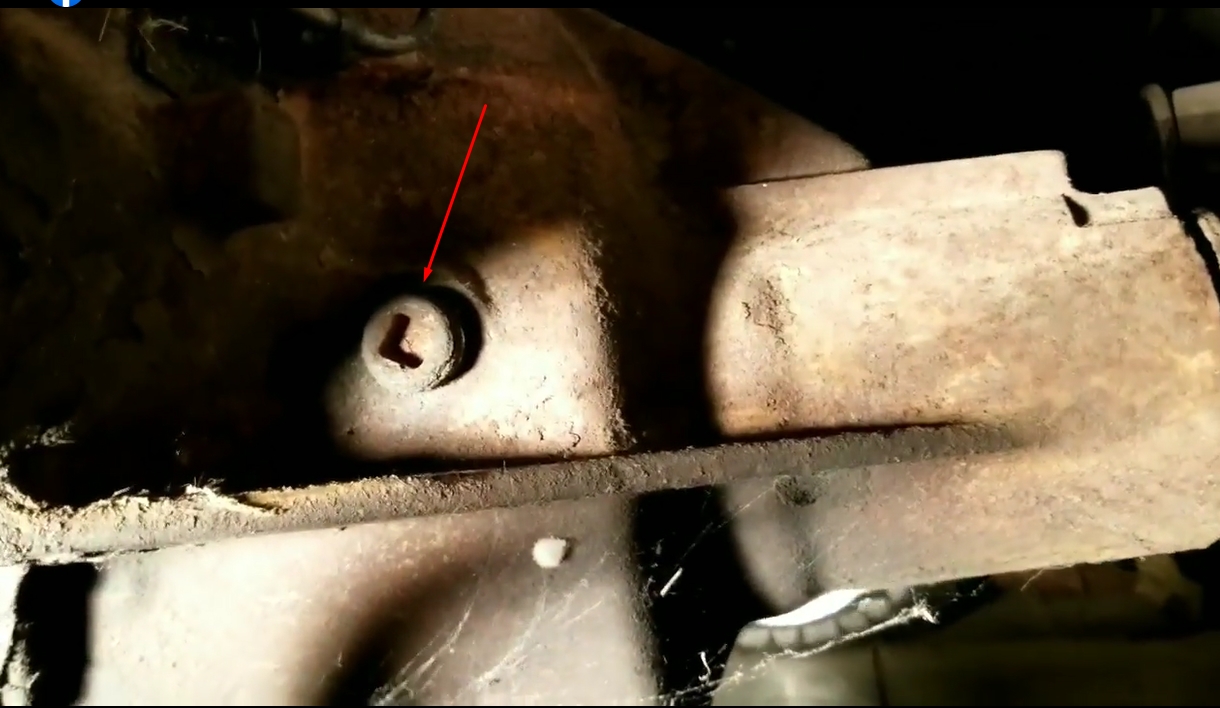
It is located on the passenger side of the rear axle (near the front).
.
It might (or not) be a good idea to switch to synthetic fluid.
There’s a debate on doing this however.
Some claim that their rear ends started making funky noises.
There’s also the fact that synthetic differential fluid is more expensive than plain ole 80w90.
.
.
COMPLETION TIME:
30 minutes
.
TOOLS:
* 13mm socket (10 bolts, rear end cover removal)
* 3/8″ ratchet (stock fill plug)
* drain pan (to catch the used gear oil)
* 8mm (upper fill plug removal on LPW cover)
* 6mm (lower drain plug removal on LPW cover)
* 1/4″ allen (for stud girdle on aftermarket cover)
* 3/4″ socket (for nut on stud girdle)
.
PARTS:
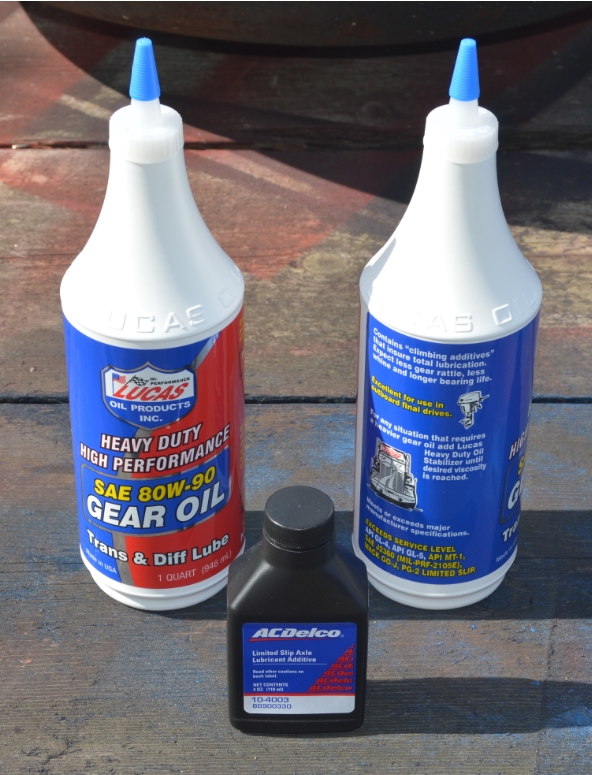
(ANY quality fluid will work, this is what we chose, below)
* 2-3 quarts Lucas gear oil 80w90 (non-synthetic, $10/bottle, autozone)
* 1 (4oz) bottle GM AC/Delco Limited Slip additive (#88900330, $12 ebay)
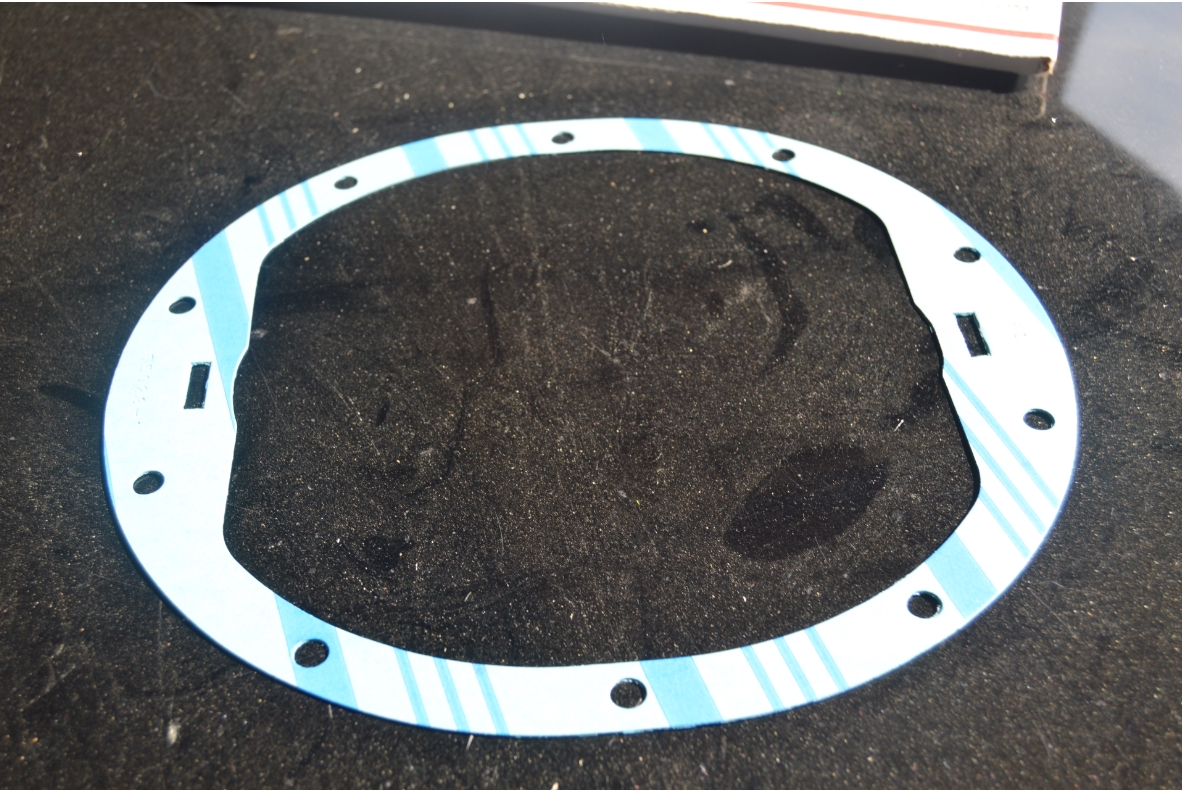
* gasket (Fel-Pro RDS 55028-1) ($8 ebay)
.
HOW TO:
1. putting the Turbo Regal on jack stands or car ramps will give you plenty of room to work.
2. loosen the fill plug. (makes it easier to totally remove later)
3. using the 13mm socket, completely remove the 8 lower bolts leaving the top 2 attached.
4. loosen the top 2 bolts.
5. take a flathead screwdriver (or small prybar, putty knife, etc.) and gently separate the cover from the differential, which lets the fluid drain out in a semi-controlled directional manner (downward).
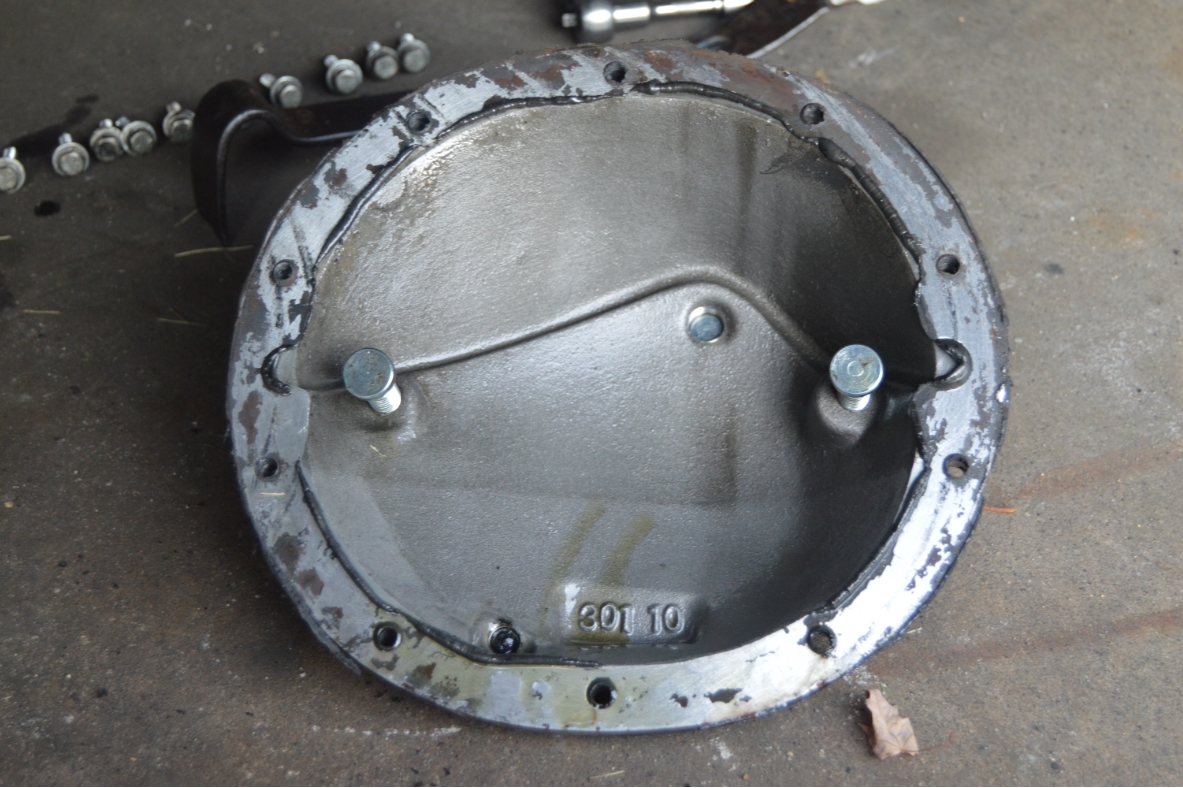
6. once the fluid is mostly drained out, remove the top 2 bolts, and the cover.
(be careful, there may be fluid on the back side of the cover, so aim that into your drain pan!)
.


.
7. clean the surface of the cover, and attach a new gasket using a few dabs of rtv (spread around).
(we chose to use a gasket and a small amount of RTV (black, for oil resistance). Some people prefer just a solid bead of RTV with no gasket. Other people use the gasket dry. All probably work equally well.)
(you might want to totally clean the cover while it’s off, removing all that road grime and whatnot!)
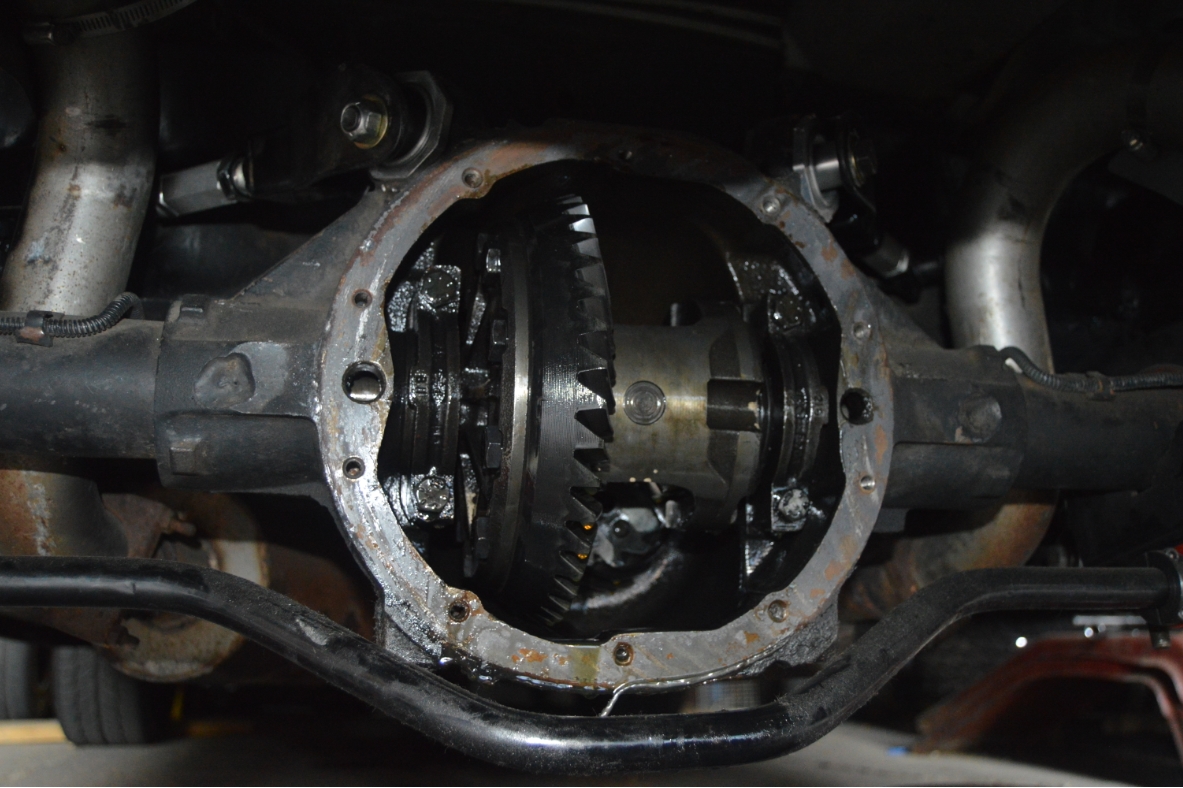
8. clean out the bottom of the center section, removing most of the gear oil.
9. now would be a good time to inspect the guts.
Are there metal chunks in there?
Does anything look broken?
When you spin the differential, do the gears turn freely?
Do the gears have any missing or broken teeth on them?
If you find problems, take care of them now!
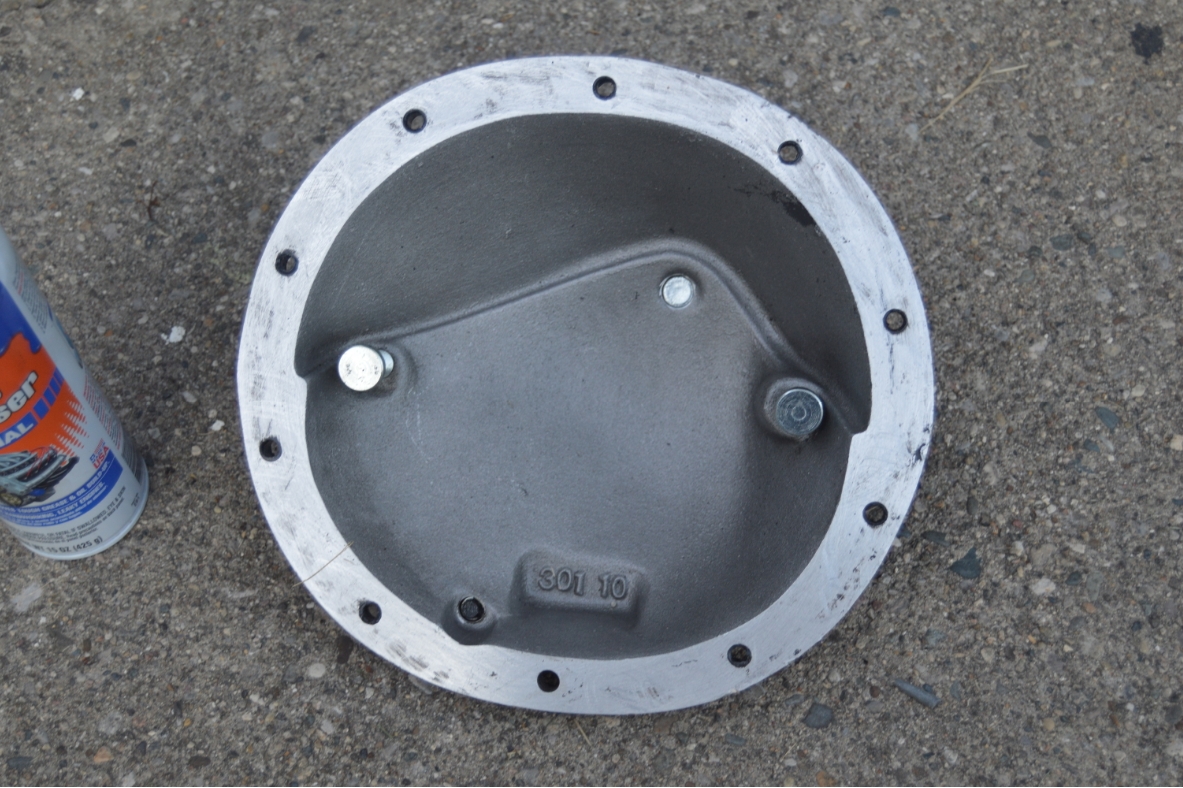
10. clean the surface where the cover gets attached to (where the gasket will sit).
(this would be a good time to clean the whole rear end cover, get the grime off it!)
11. spread some more RTV on the gasket.
12. place cover back on rear end, secure with the 10 bolts.
13. tighten bolts to spec, using an alternating pattern (like you would do with the wheels on the Gbody Regal).
.
.
14. remove fill plug.
15. fill with the 1 bottle of additive and the 2 quarts of differential fluid.
(it should take it all, and you may need a bit more)
(put the limited slip additive in first)
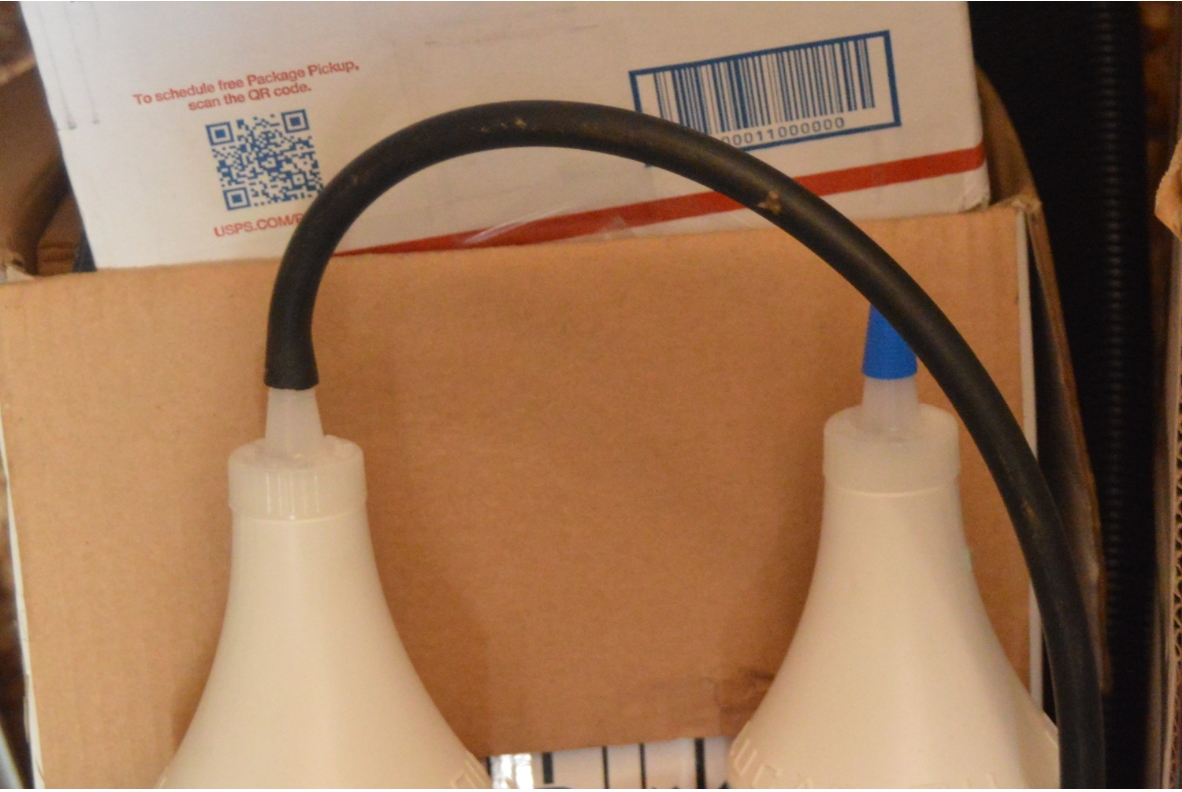
(Hose trick: we like to attach an old rubber hose to the top of the axle fluid container. This makes it easier to tilt the bottle and get it into the hole! no more messes on trying to get the bottle into that tight area and spilling fluid everywhere!)
16. Check level. It should be just under the fill hole (or leaking out somewhat).
17. reattach fill plug and tighten.
18. check for leaks on the bottom of the cover, as well as the entire mating surface.
19. place Turbo Buick back on ground.
20. take it for a gentle ride to mix the gear oil with the limited slip fluid, and to re-lubricate everything.
.
.
For those with any type aftermarket rear end cover/girdle (like we have), loosen the 2 bolts for the bearing caps all the way out.
Once you full tighten the main cover bolts (the 10 bolts), screw in the studs, and hand tighten the 2 cap bolts, then snug down to 10-14 ft/lbs (varies by manufacturer).
Also to note, the LPW rear end cover says it can hold 1 extra pint of gear oil (compared to factory specs), and the fill hole is located higher up than the stock one is (to accommodate the extra fluid). That doesn’t necessarily mean you HAVE to add extra lubricant, but you can if you wish to. Other brand covers may have this same option, so check on yours.
Job completed.
.


