


How do I change the oil in my Buick Grand National?
How many quarts of oil does a Buick Grand National take?
What is the Buick grand National oil capacity?
Buick Grand National oil type?
Buick Grand National oil filter?
Best oil and filter for a Buick Grand National?
We see plenty of searches for this type of information.
Sure, for some TR guys and gals, this may be an easy task to accomplish.
But you’d be surprised how many new owners (or even current owners) may have never done their own oil changes on their Buick Grand National (or Regal T-type, Turbo T, Buick Limited, or any of the other assorted Gbody Regals).
This isn’t an exciting modification or how-to do for a Turbo Buick, but it is a necessary regular maintenance issue that needs to be performed to keep your 3.8 liter turbocharged engine running well.
Recommended: changing oil every 3000 miles or 6 months.
(however, some oils state they can be changed less frequently, so check the label to see what it says about this)
We have already covered what oil to use in a Buick Grand National, as well as what oil filter to use in a Buick Grand National in a past post.
Today, we’re showing you how we do an oil change to our ’87 Buick GN.
.
PARTS:
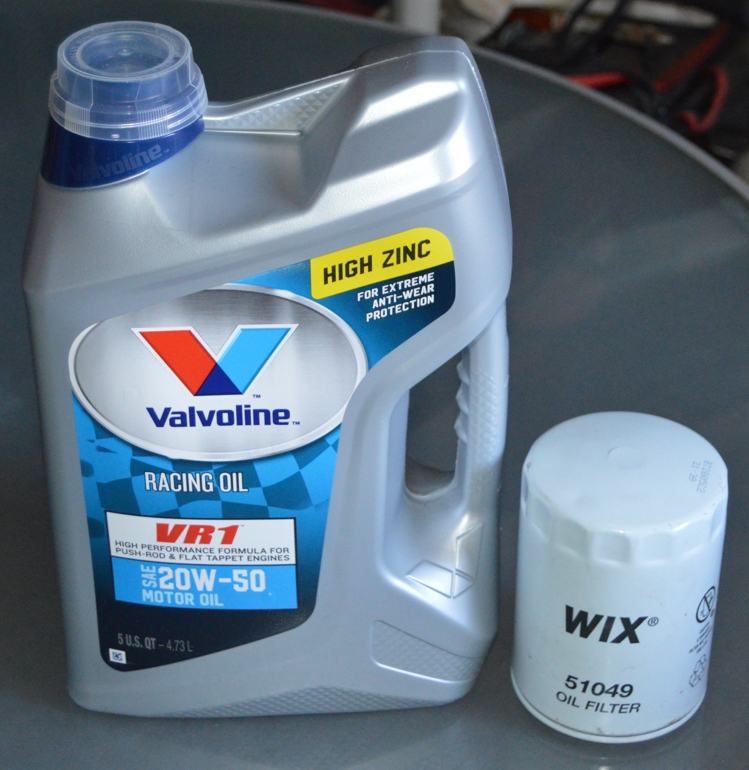 * oil (costs anywhere $30+, ours about $50)
(with factory oil pan and stock size oil filter, takes about 6 quarts total)
(the oil weight is your preference, most use 10w30 or 40, some 20w50)
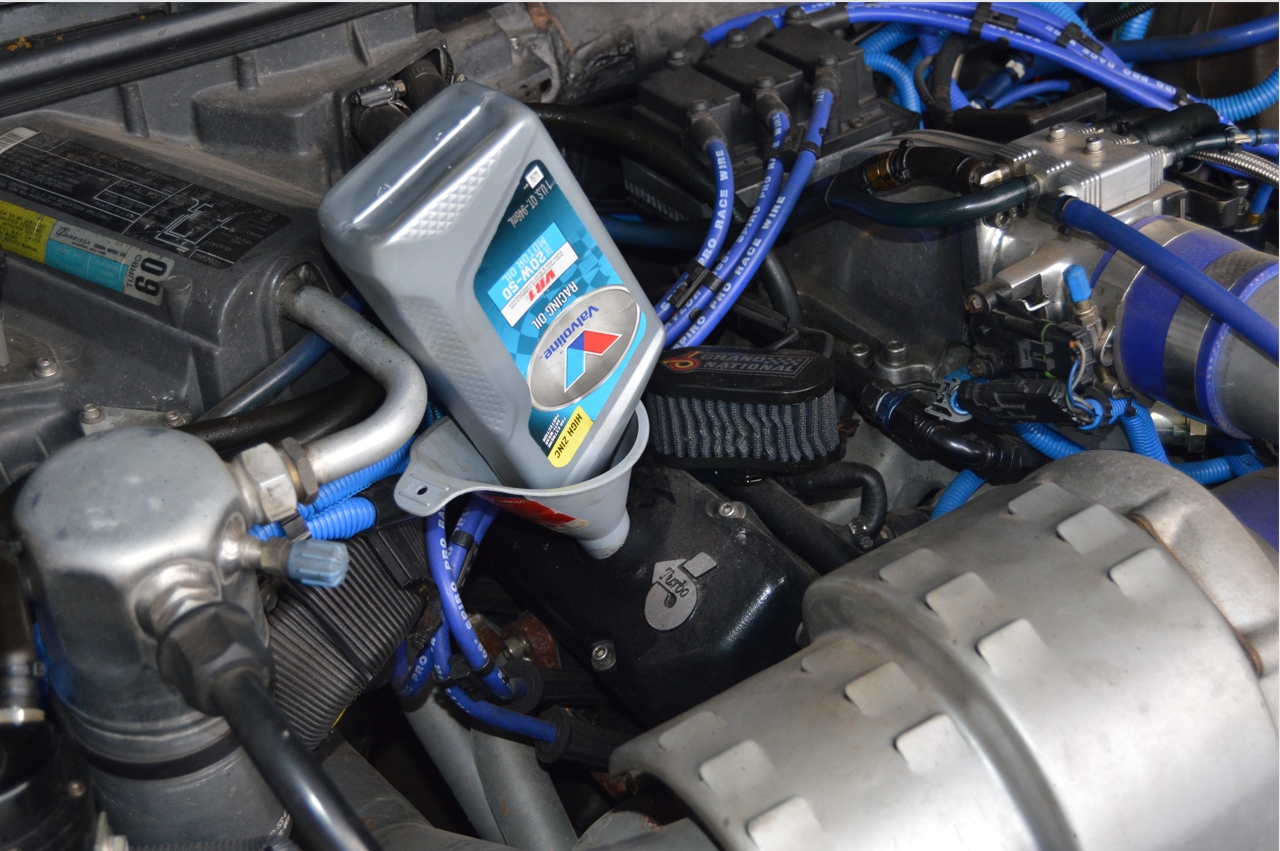
(we used 6.5 quarts of Valvoline VR1 20w50 racing oil because of the bigger oil filter we installed)
[note that heavier oil, say 30 vs 50, the 50 will give you more oil pressure, which is something to consider if you normally have low oil pressure at idle or idling in gear! Just keep in mind it’s not good to run your car in the real cold weather since 20w50 oil is really thick!]
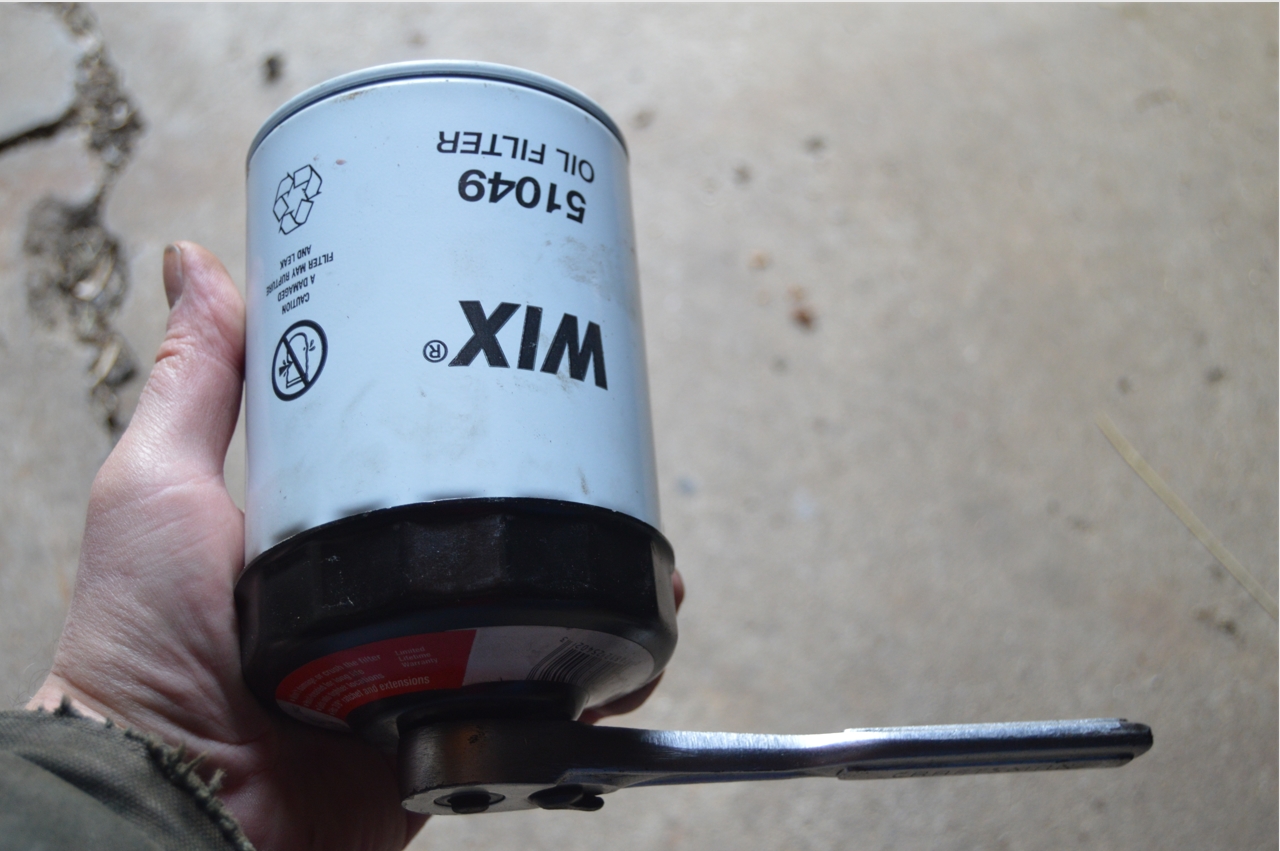
* oil filter
(oil filters cost about $5-25 depending on brand/size)
(we used a wix 51049 because we did this mod: biggie oil adapter)
* zinc additive for flat tappet cams (like zddp, etc., about $10/bottle)
(we didn’t need this as the VR1 has a high zinc content already in it)
.
TOOLS:
 * 9/16 socket (for oil drain plug)
* oil filter wrench of some type (they make assorted tools for this task)
[we use an ‘oil filter “C” cap wrench’ because of a larger oil filter]
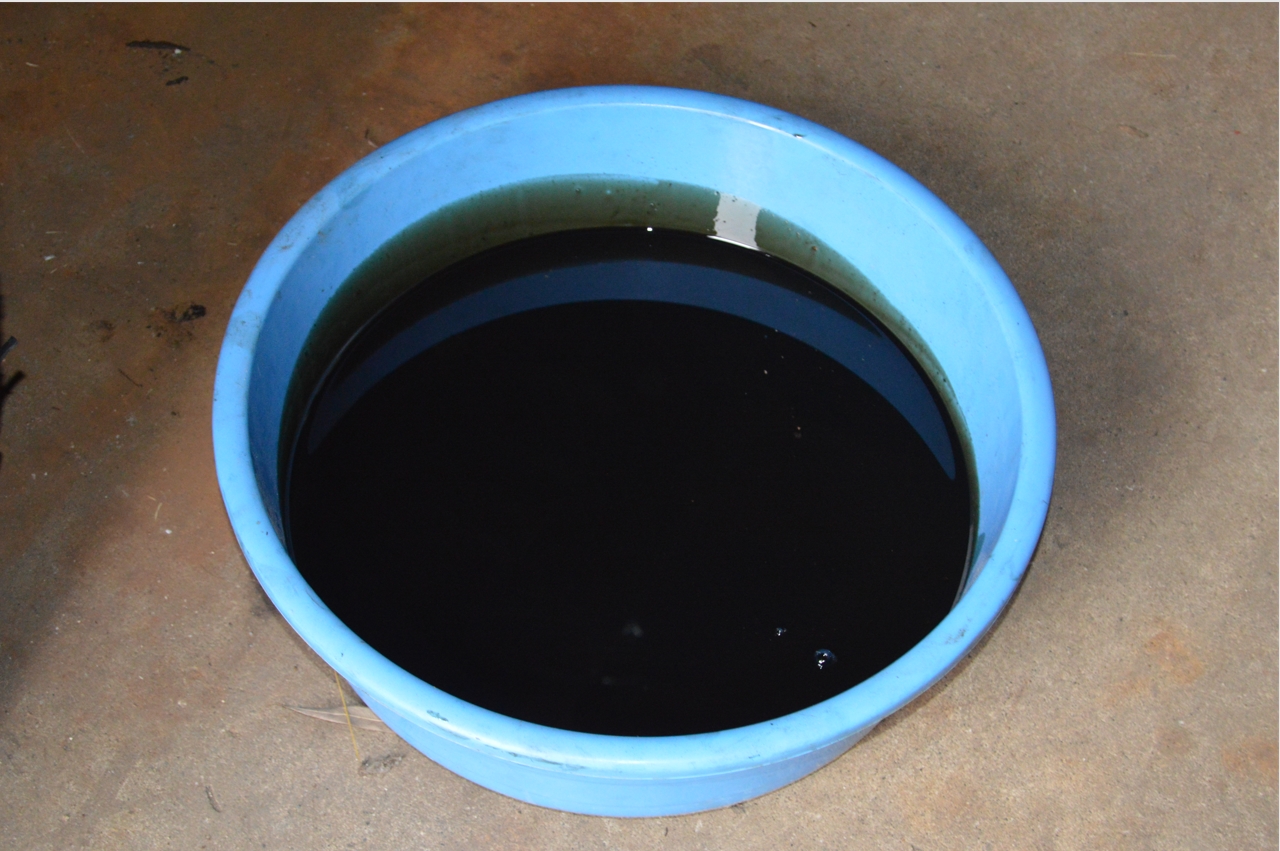
* drain pan bucket (old oil collection)
[just FYI, the oil drain plug bolt size = 1/2 x 20 x 7/8 with a 9/16 hex head]
.
TIME TO COMPLETE:
* about 30 minutes
.
HOW TO:
1. Run your engine until it’s nice and hot. 15 minutes should do it, then shut off.
(the oil flows out better when it’s warm)
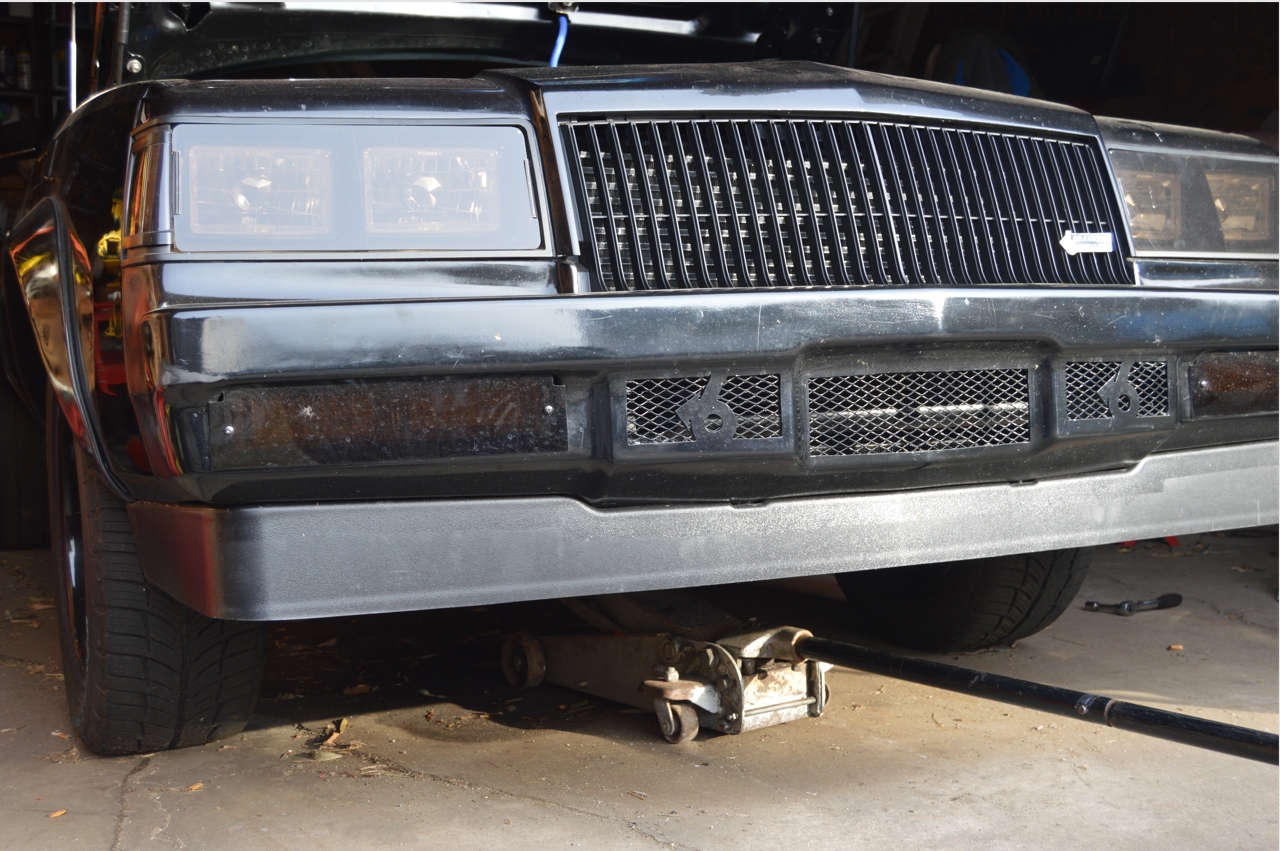
2. Put the car up on a hoist, ramps, jack it up, etc., so you can access the drain plug.
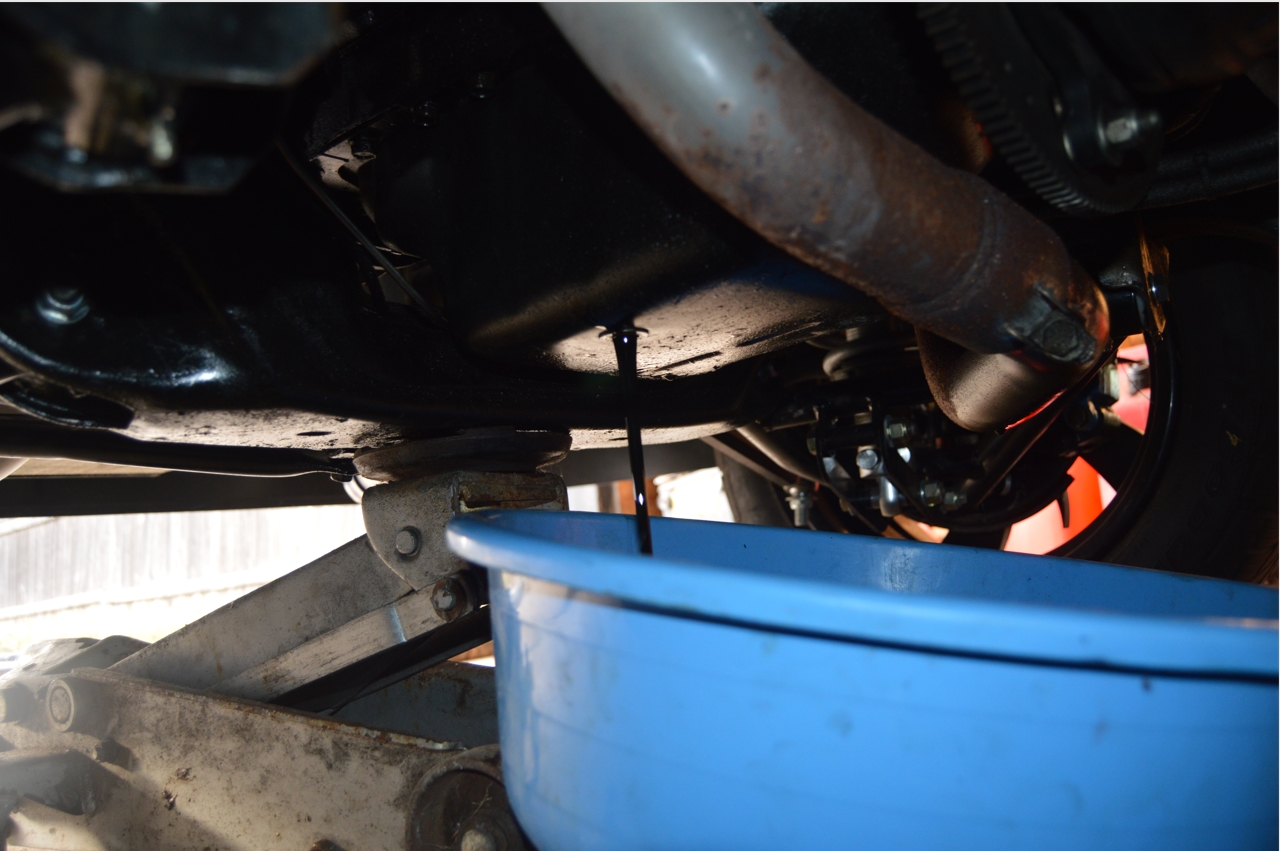
3. Place drain pan under oil pan.
4. Remove oil pan plug, drain out the oil, reinstall plug after all of the oil has dripped out.
(takes 5 minutes or so)
(you may want to consider dumping 1/4 to 1/2 quart of new oil into the fill tube to flush out the old oil and junk that’s at the bottom of the pan)
[the oil drain plug is on the bottom of the oil pan on the drivers side]
[you may want to consider getting a magnetic drain plug, to catch any metal shavings that may land in your oil pan]
.

.
5. Place the car back on the ground.
6. Move the drain bucket to under the oil filter.
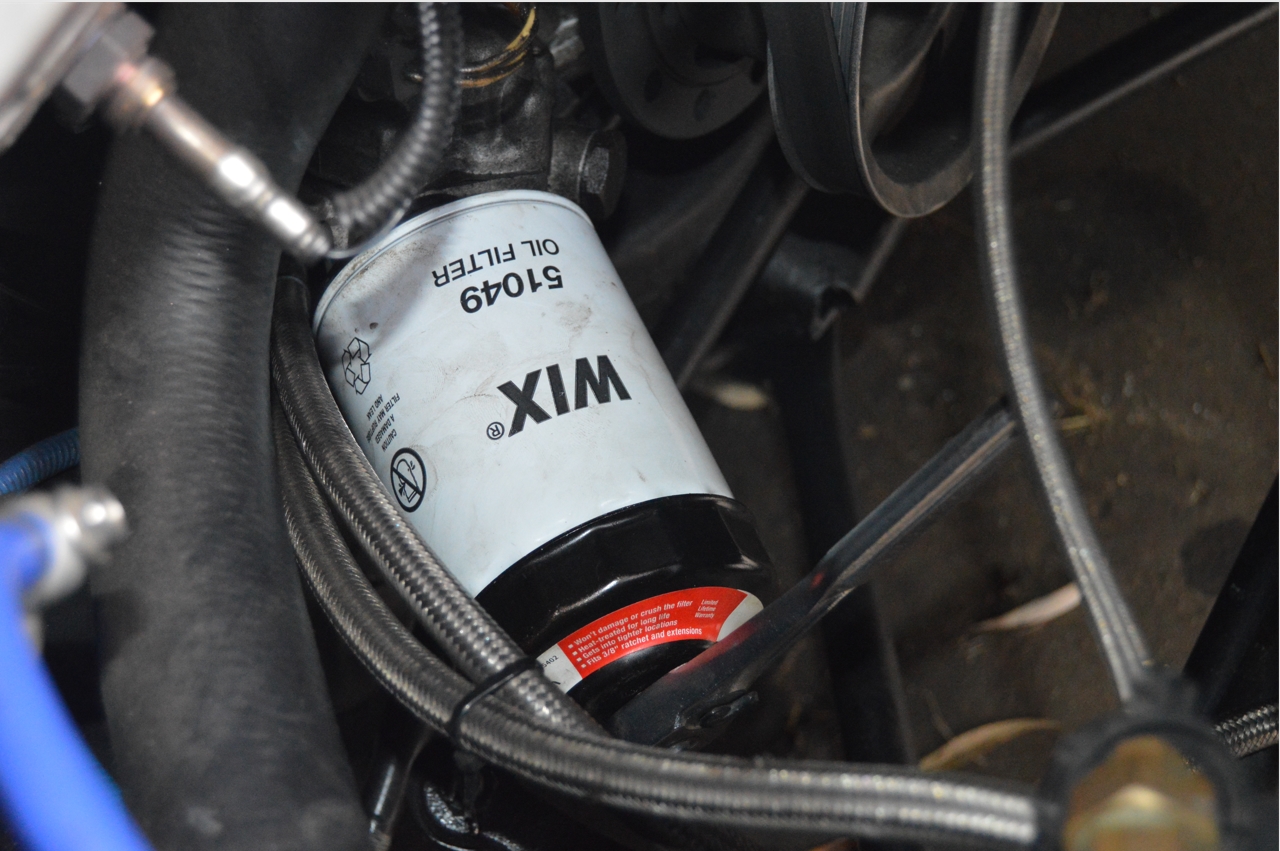
7. Remove old oil filter using the appropriate tool
(whatever you have, there’s an assortment of different style oil filter wrenches to use for this purpose)
(some oil wrenches attach to the bottom of the filter, like ours, others have a ring that you slip onto the filter and turn with, whereas you should try to place the ring near the top of the filter, which is nearest the engine side of it)
8. Pre-fill oil filter with oil. Spread some oil on the rubber o-ring to prevent it from sticking on future oil changes.
(it doesn’t need to be totally filled up to the top, but should be at least 3/4 full)
(if you completely fill it up, it will probably spill out when you install it!)
.


.
9. Install new oil filter. Hand tight at first, and then use the tool and turn about a 1/2 to 3/4 turn more to secure it down fully (may vary depending on your filter/engine).
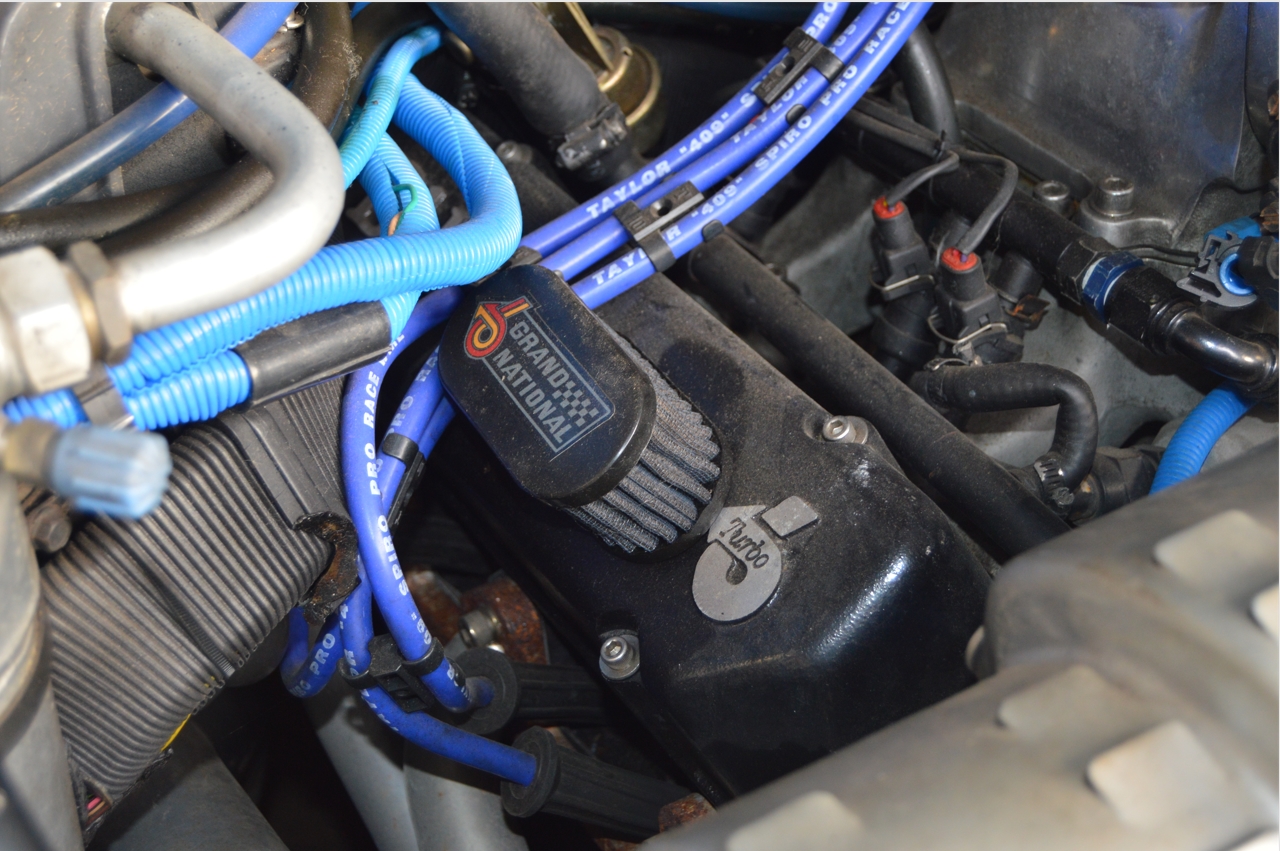
10. Remove oil filter cap
(located on driver side valve cover if still running the OEM valve covers)
(aftermarket valve covers may have fill caps on both sides, like ours does)
(this is where you will put the new oil into)
11. Remove oil dipstick, wipe the old oil off of it.
(dipstick located on drivers side of engine)
.


.
12. Add about 5.5 quarts of oil and check dipstick.
Keep adding oil until it reaches the proper line on the oil dipstick.
(should take about 6 quarts total of new oil, including the oil in the filter, for stock oil pans and factory-sized oil filters)
[be aware, if you are using thicker oil, like the 50 weight oil we are using, it’s going to take slightly longer for the oil to fall down into the pan, then 30 weight oil does. We waited 5 minutes for it to all drain down, to be sure we were getting the correct reading on the dipstick]
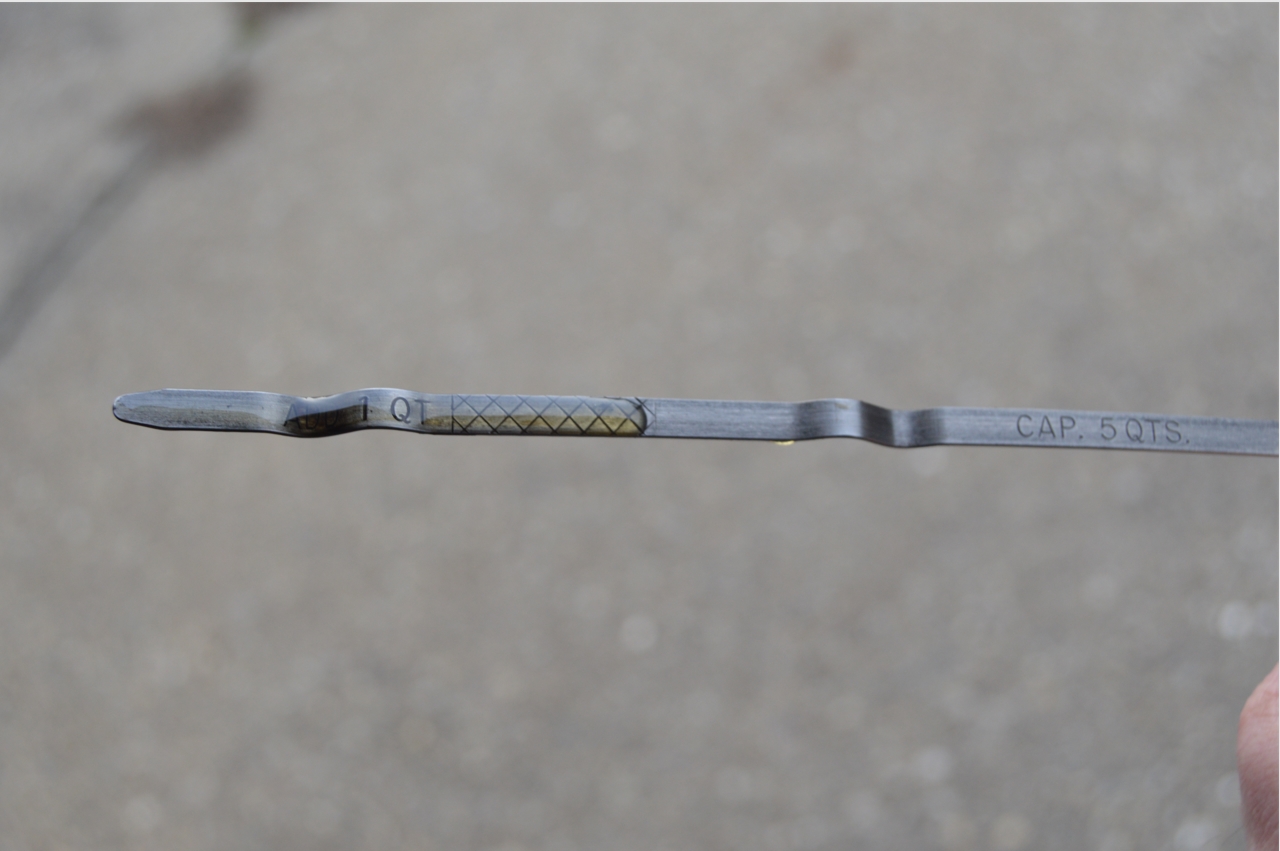
[NOTE: make sure the wording on the dip stick handle faces forward, meaning when you are standing in front of the car looking at it, you can read the words “engine oil” – this matters as the dipstick seams to fit in better this way! Not to mention just looks correct!]
[you’ll notice on the dipstick itself, it says “5 quart cap” – however, this isn’t including the oil that is actually inside the oil filter!]
13. Put dipstick back in engine.
14. Put cap back on.
.
.
15. Start engine & let run for a few minutes.
(if anything sounds out of the ordinary, shut if off & check it out!)
16. Check to make sure oil isn’t leaking out of the filter! (or anywhere else!)
(fix this issue if need be)
17. Shut off engine.
18. Recheck dipstick, wipe off oil then stick it back in and remove again to check the line.
Keep adding more oil to fill to the line if needed.
19. Start engine again, let run for a minute. Shut off.
20. Recheck dipstick again for the final time. Add oil if needed.
Good to go now!
.
NOTE: this may be a good time to check, and replace if needed, the PCV valve.
(the part number for an OEM version: AC #CV893C; GM 25095468; AutoZone #1162. $7-$25 depending on where you get and what brand you buy)
(The Buick Owner’s Manual recommends the PCV valve be replaced every 30,000 miles)
[and if needed, PCV Valve Grommet #1254119, about $8]
NOTE: you should also check your valve cover breathers. Clean them or replace them at this time.
[the above 2 things are a good habit to get into while you’re doing an oil change on your Turbo Buick, so you’ll always remember to check them!]
.


