


Performance oriented G-body Regal vehicles usually benefit from things like stiffening up specific areas (by adding extra braces and supports), and replacing factory components with race-inspired pieces.
On G-body Regal rear ends, this means parts like trailing arms, sway bars, and shocks and springs.
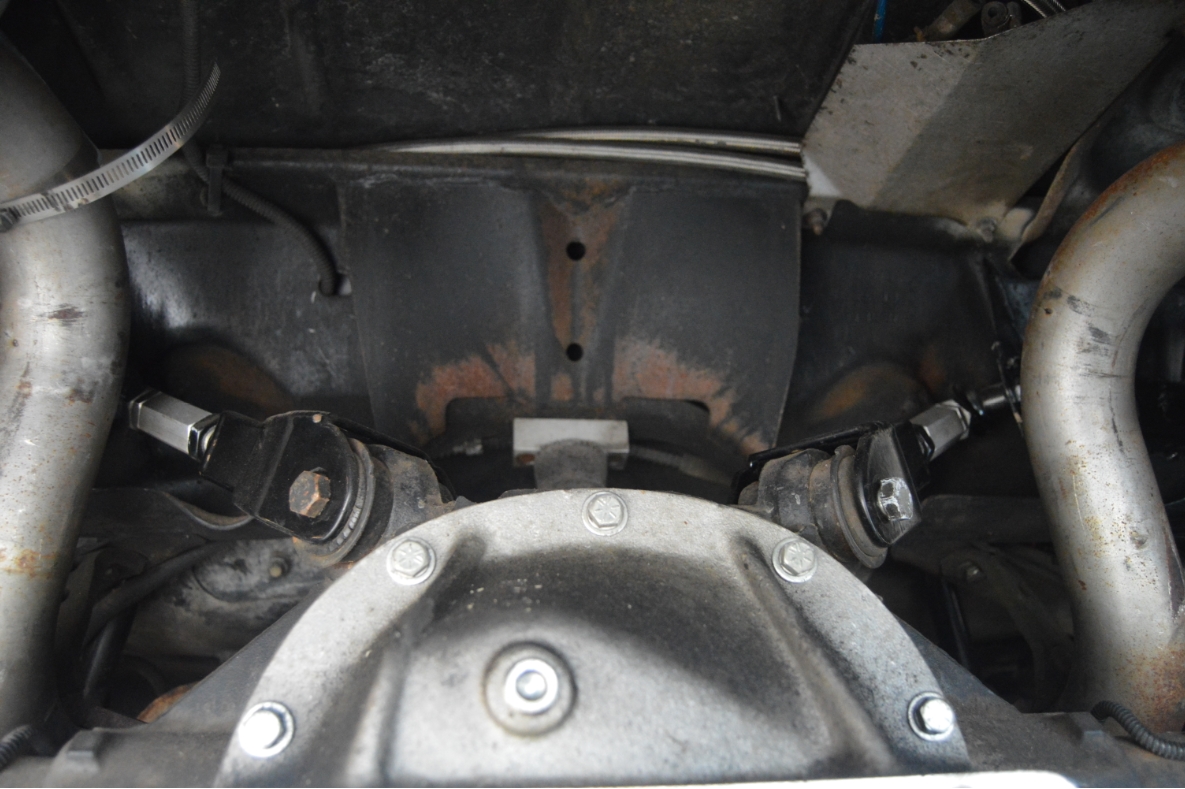
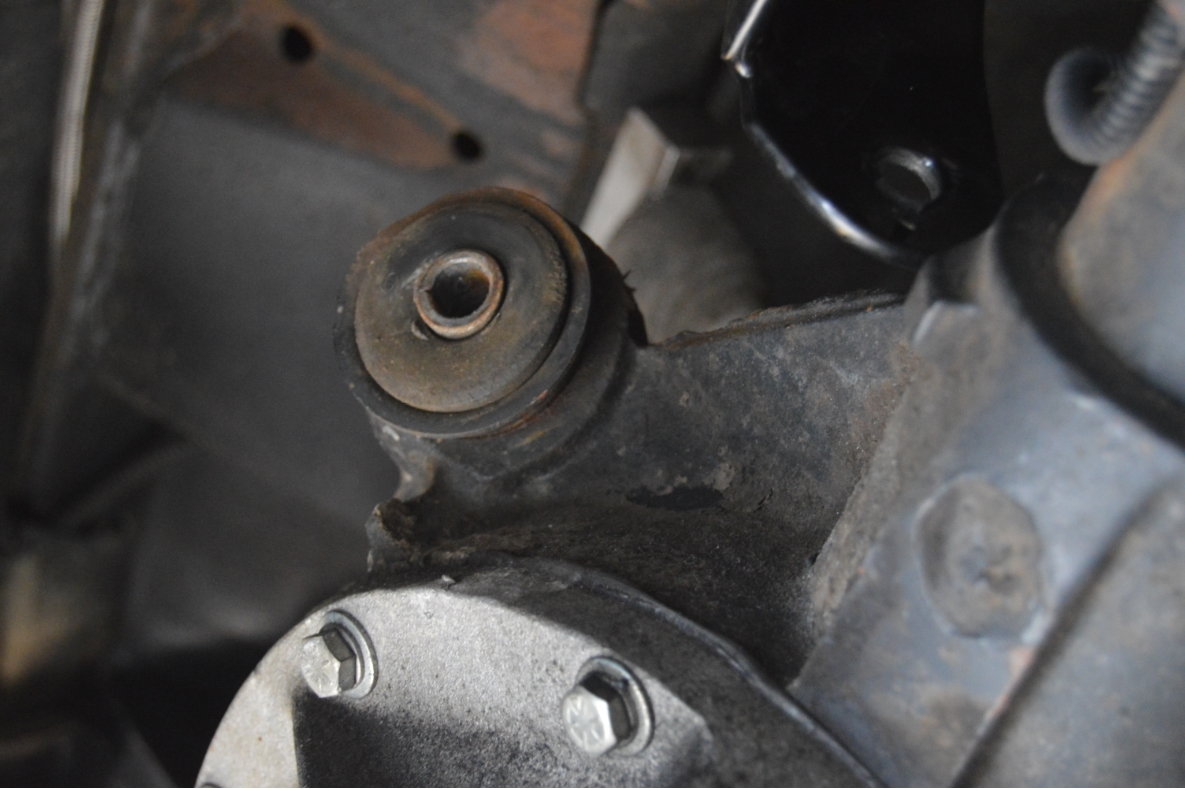
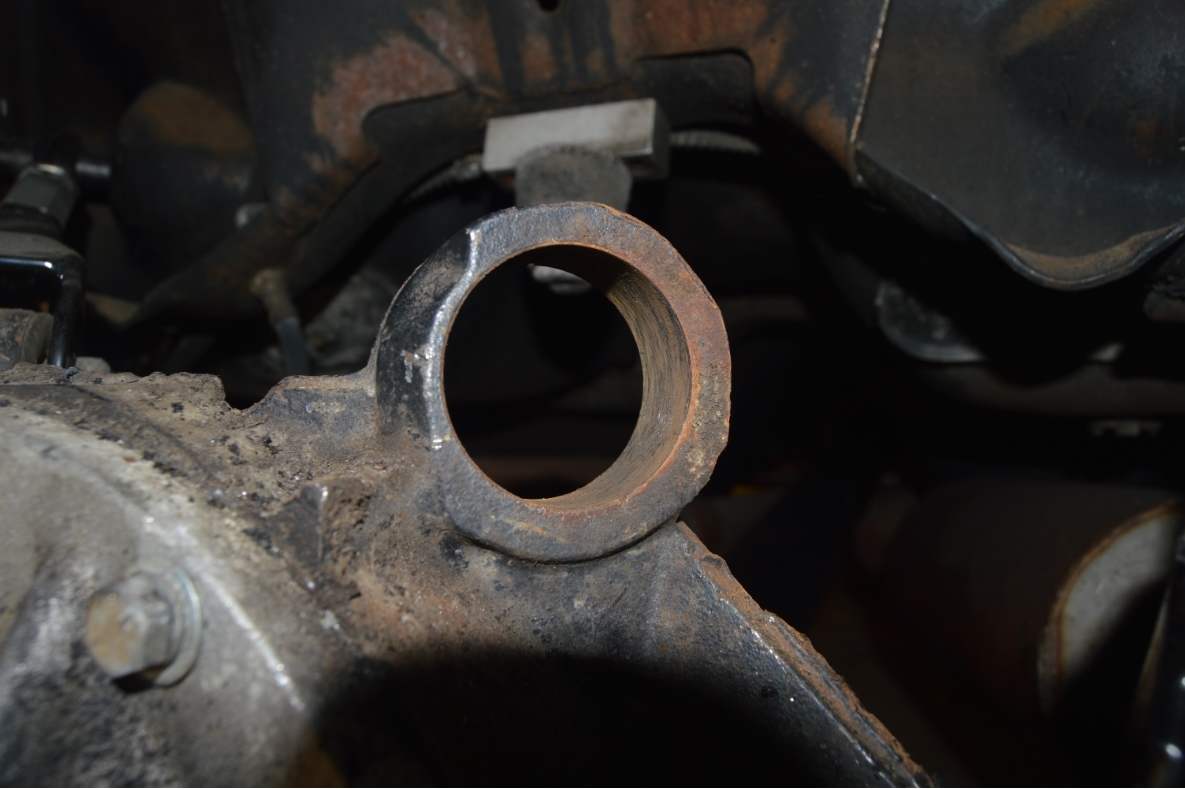
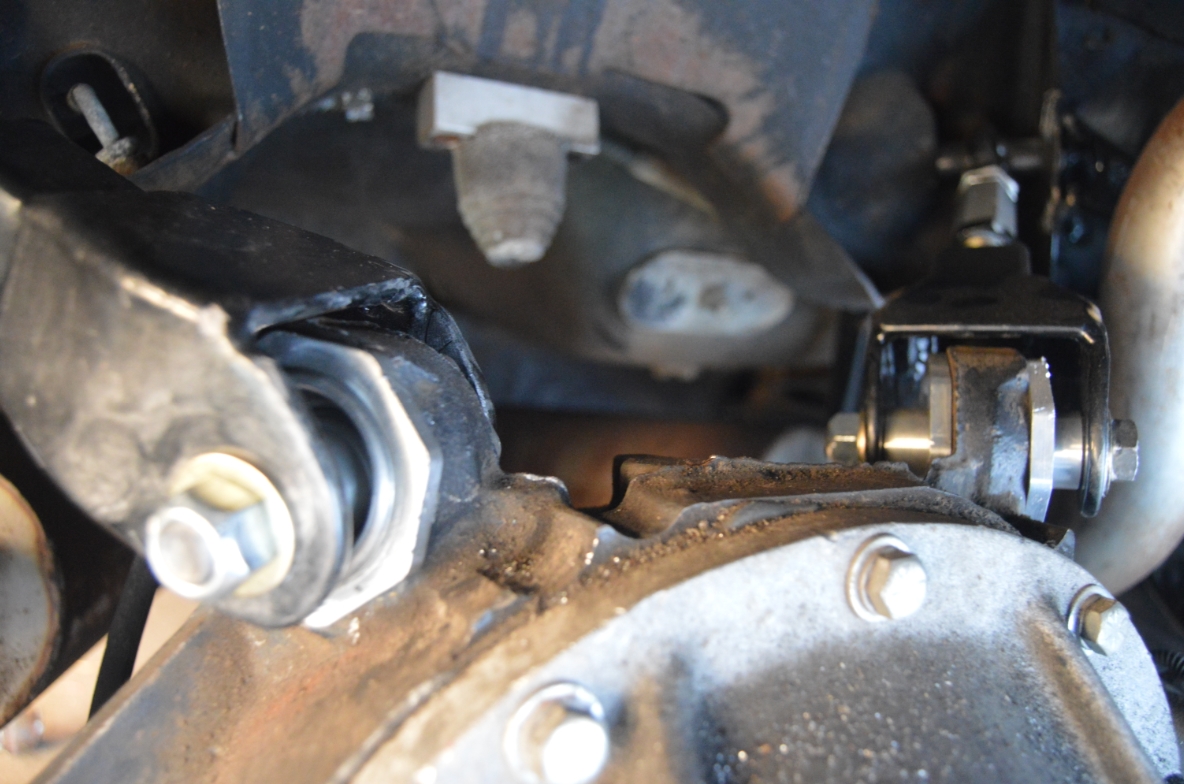
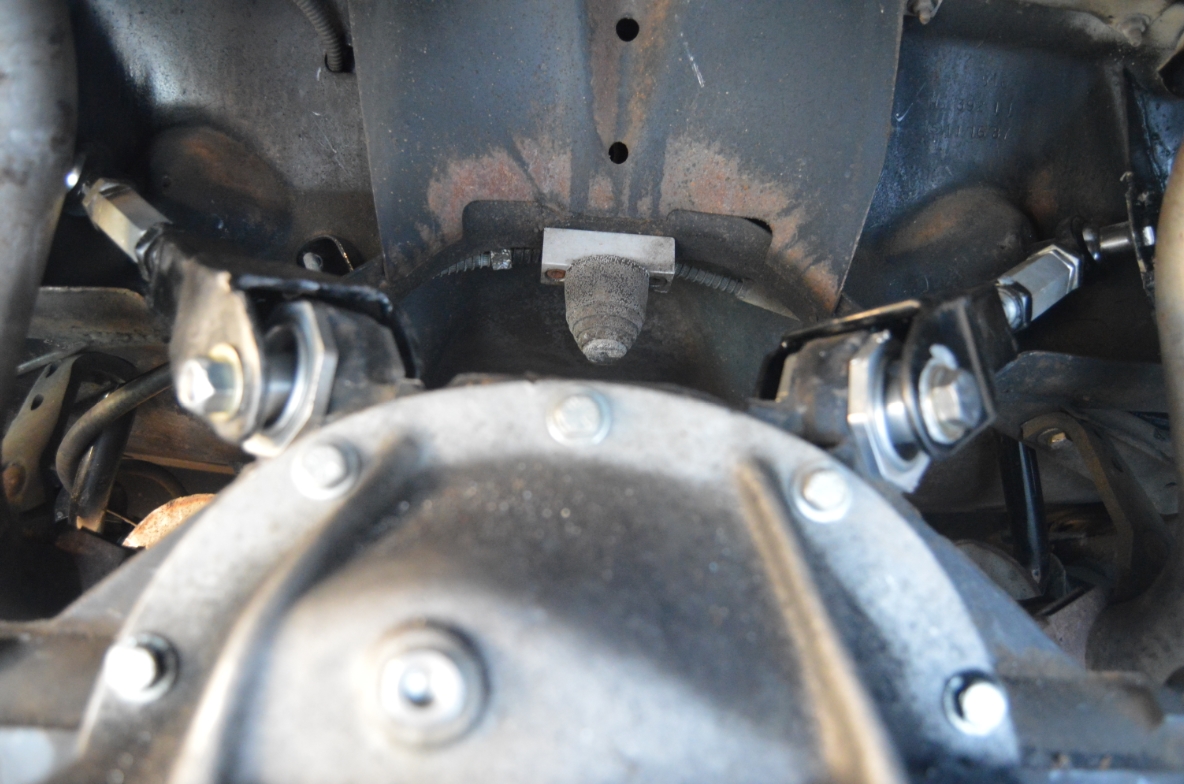
An often overlooked item is the rear end housing bushings, located in the “ears” on the top of the pumpkin on the rear differential.
The OEM version is a rubber unit, which usually degrades after time causing sloppiness.
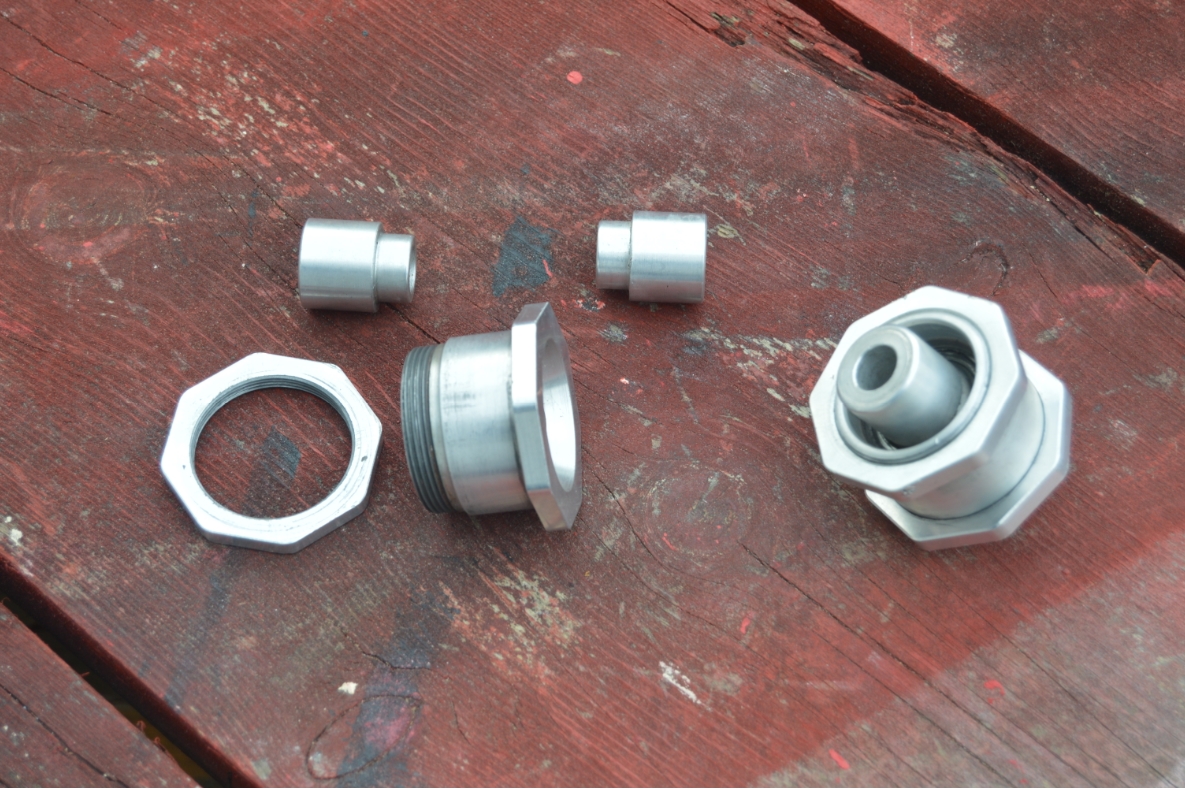
These pieces can be replaced with new rubber pieces, polyurethane versions, or a solid type unit generally made from billet aluminum that contains a teflon or nylon lined competition bearing inside.
What spherical housing bushings actually do is allow the rear end to move smooth and free for the entire range of motion that the differential articulates in.
These spherical bushings let your rear suspension react smoother and faster without the normal interference (binding) that’s generated by regular constricting rubber bushings.
Of course, to get the maximum benefit from spherical housing bushings, it also helps to have trailing arms that utilize the same technology. But you’ll get some advantage with just these alone.
(and if you have to replace your stock units anyways, why not head in the right future direction with this upgrade now)
Several manufacturers produce and sell these type of rear end spherical housing bushings, some with special names for them (like “roto joint” – “pivot joint”), and some have different types of bearings in them (nylon, ptfe teflon, chrome moly), but they all basically do the same thing.
As with any stiffening / solid part, this may increase ride harshness a bit, but the trade off is made up for in the additional traction and performance you get from installing these components.
.

.
We already have aftermarket (Spohn) double adjustable upper trailing arms that have spherical ends (on the chassis side) that were previously installed on this 1987 Buick Grand National. Somewhere down the line we intend on installing lower double adjustable trailing arms that also have spherical ends, so these new spherical bearing rear end housing bushings will work quite nicely along with those upgrades.
.
COMPLETION TIME:
less than 2 hours
.
PARTS:
– spherical housing bushings ($90+ depending on specific brand)
.
TOOLS:
– drill & 3/8″ bit (to drill out old bushing)
– OR balljoint remover, modified c-clamp, etc., (to pull out old bushing)
– 3/4″ (19mm) socket / wrench (to disconnect upper trailing arm)
– big pipe wrench (to tighten the nut on new housing bushing, it’s a big nut!)
.
HOW TO:
.
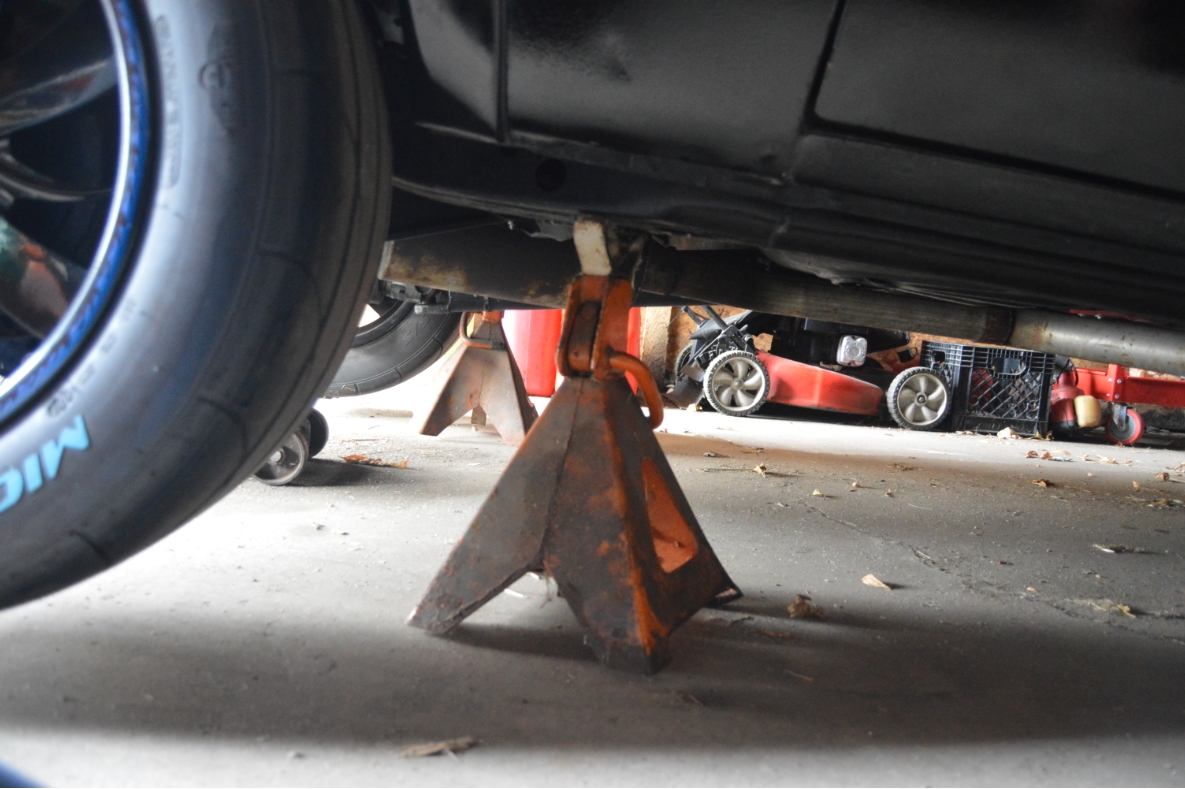
1. Lift the back of the Turbo Buick up and place the frame on jackstands.
.

.
2. Let the rear end drop down so you have room to access the housing bushings.
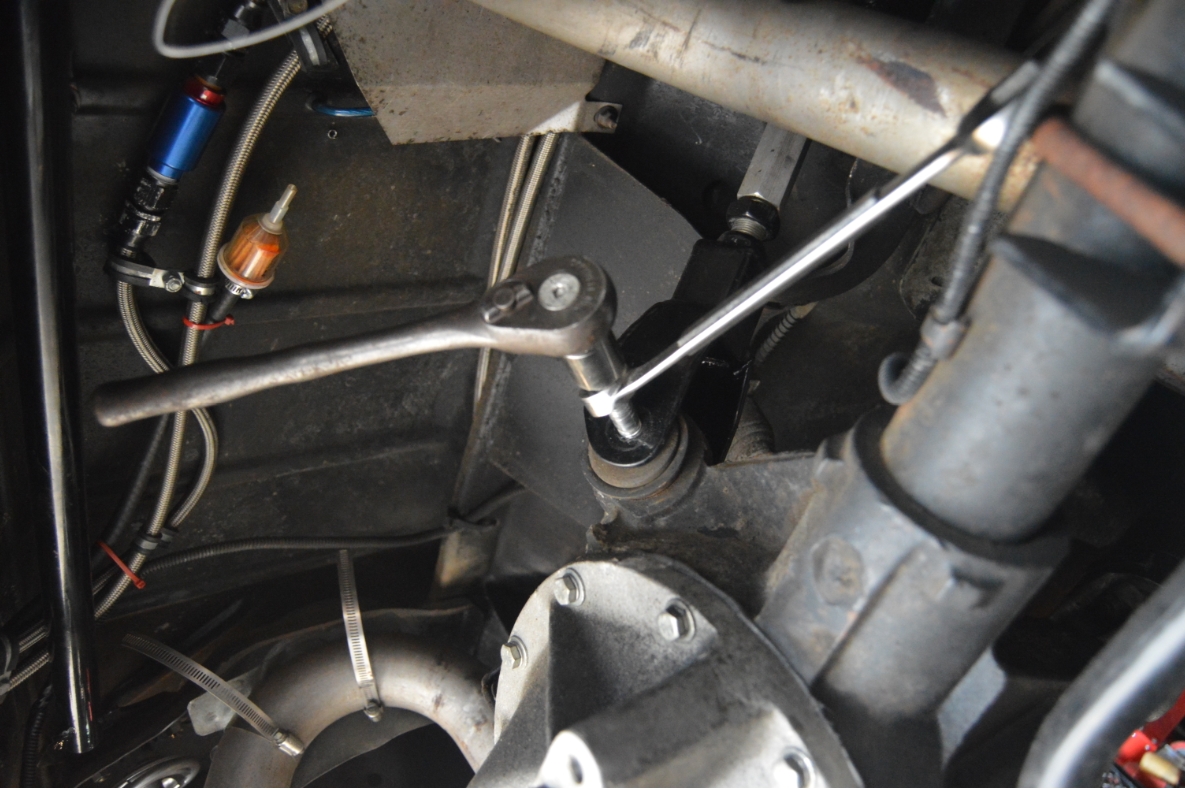
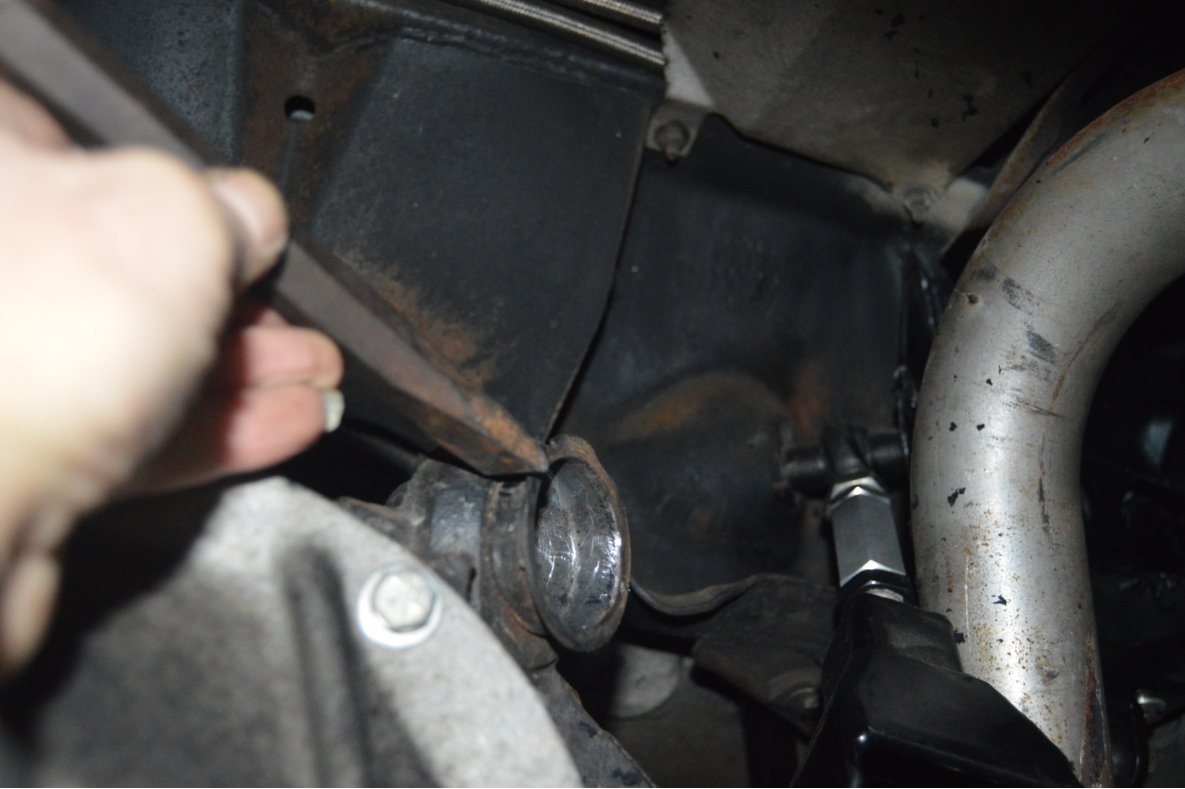
3. Disconnect the upper trailing arm, only do ONE side at a time!
This is so the rear end doesn’t shift or fall out!
4. Remove the old rear end housing bushing. Again, only do ONE side at a time!
(see tips below under NOTES on how to do this!)
.

.
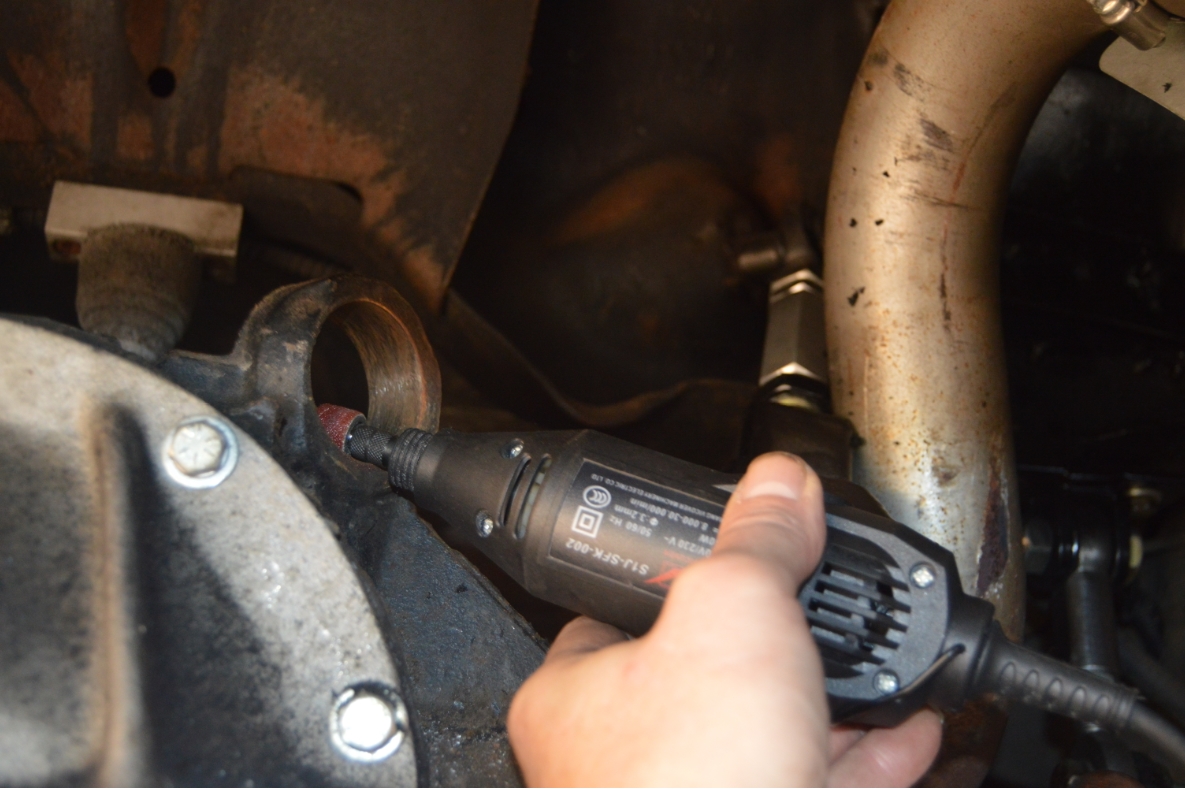
5. Clean the inside of the ear using a scrotchbrite, dremel with sanding bit, sandpaper, etc.
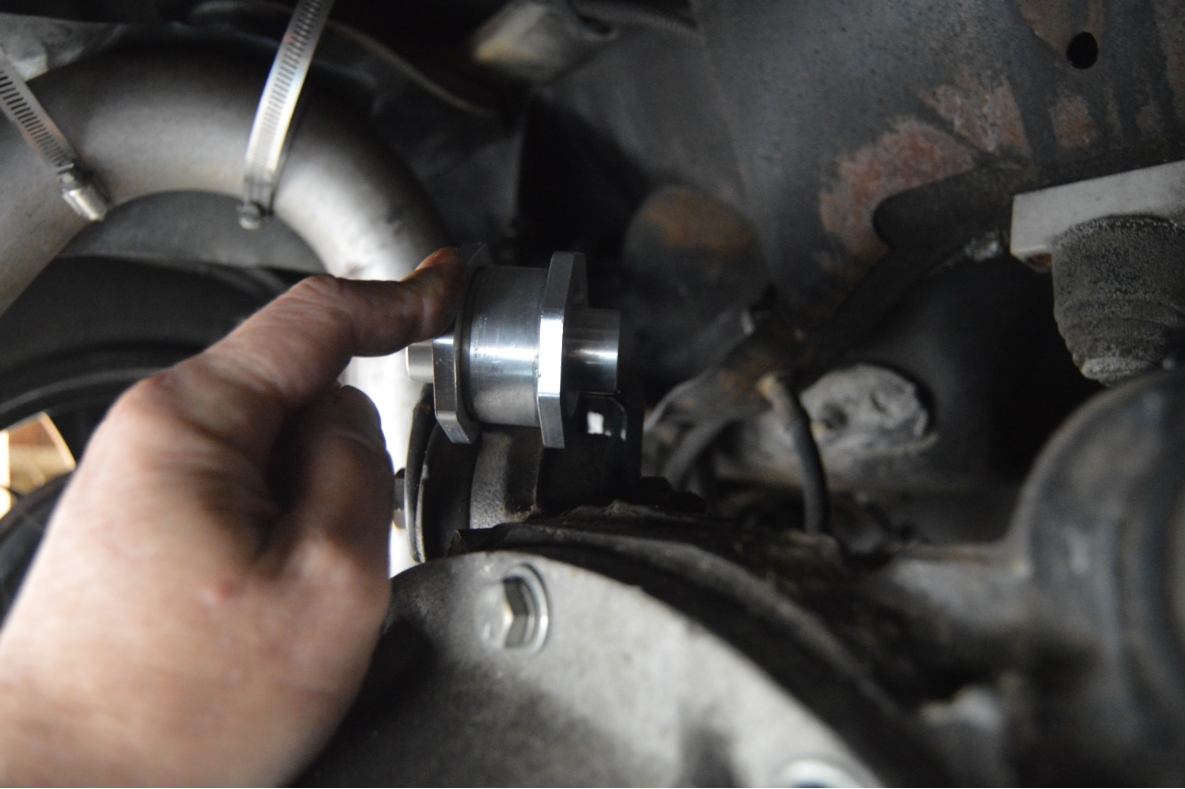
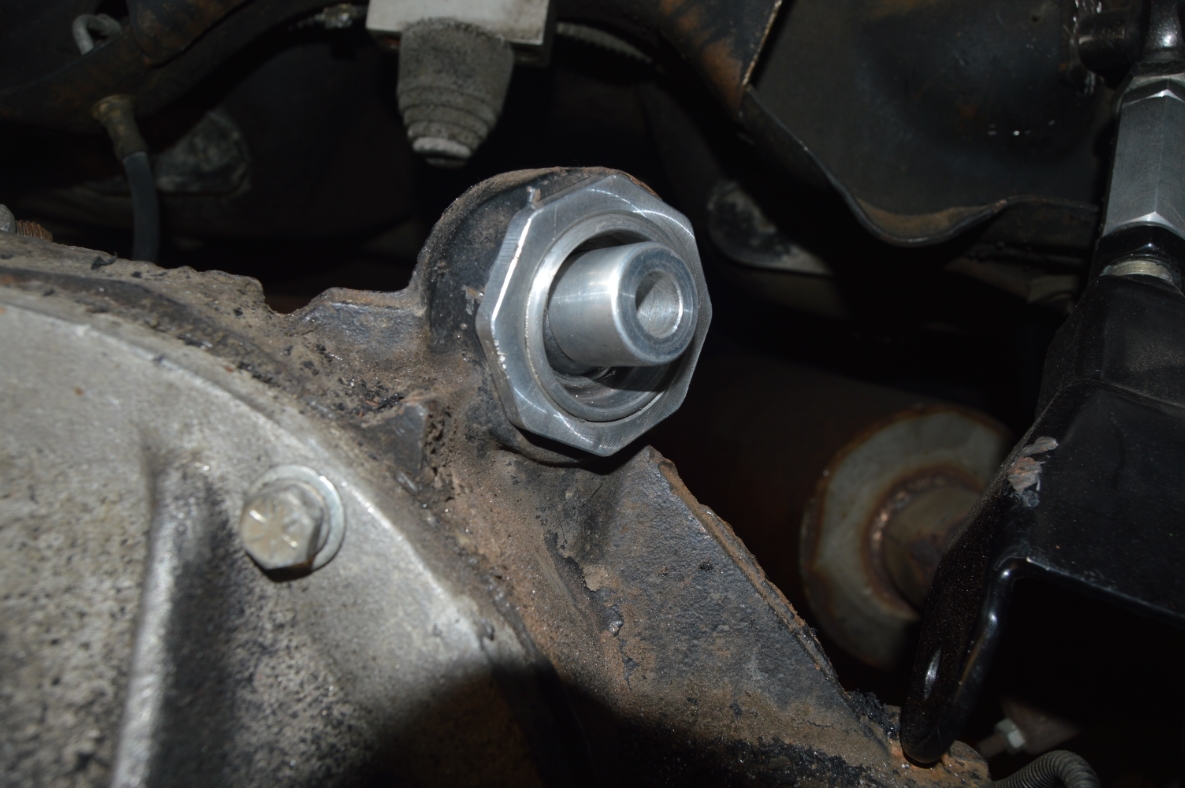
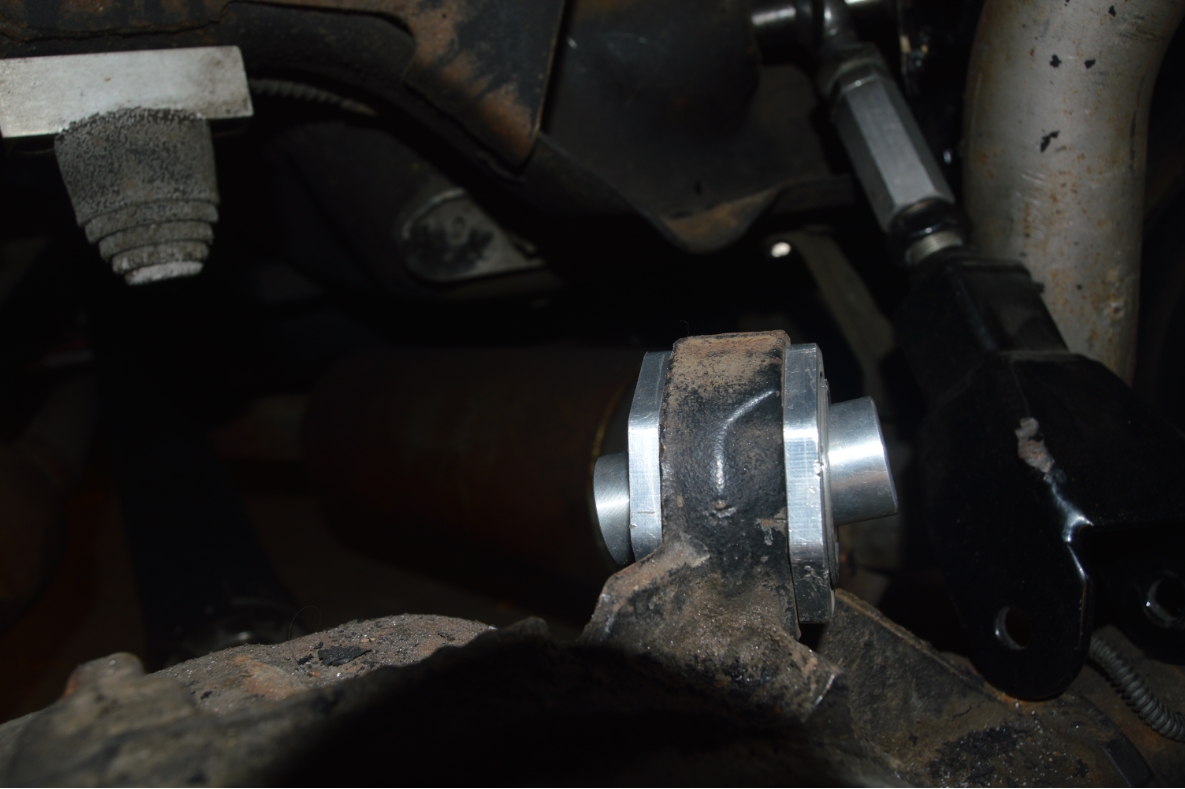
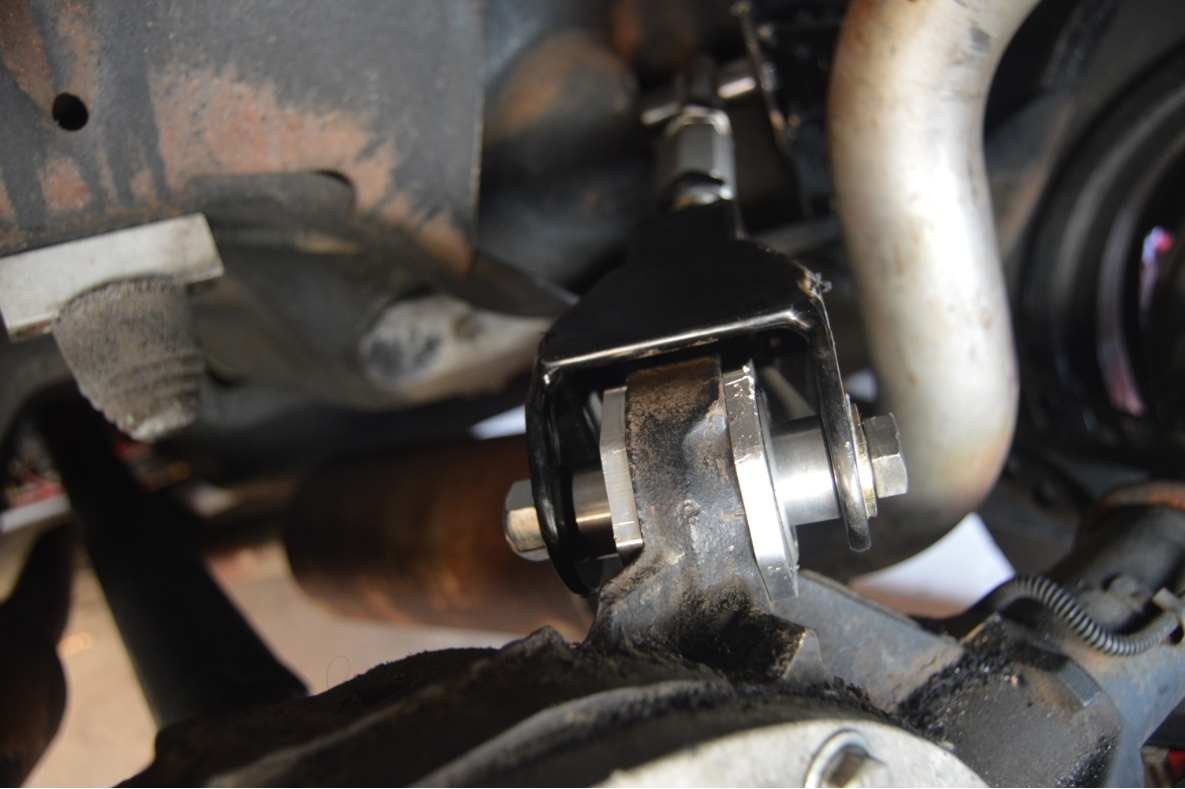
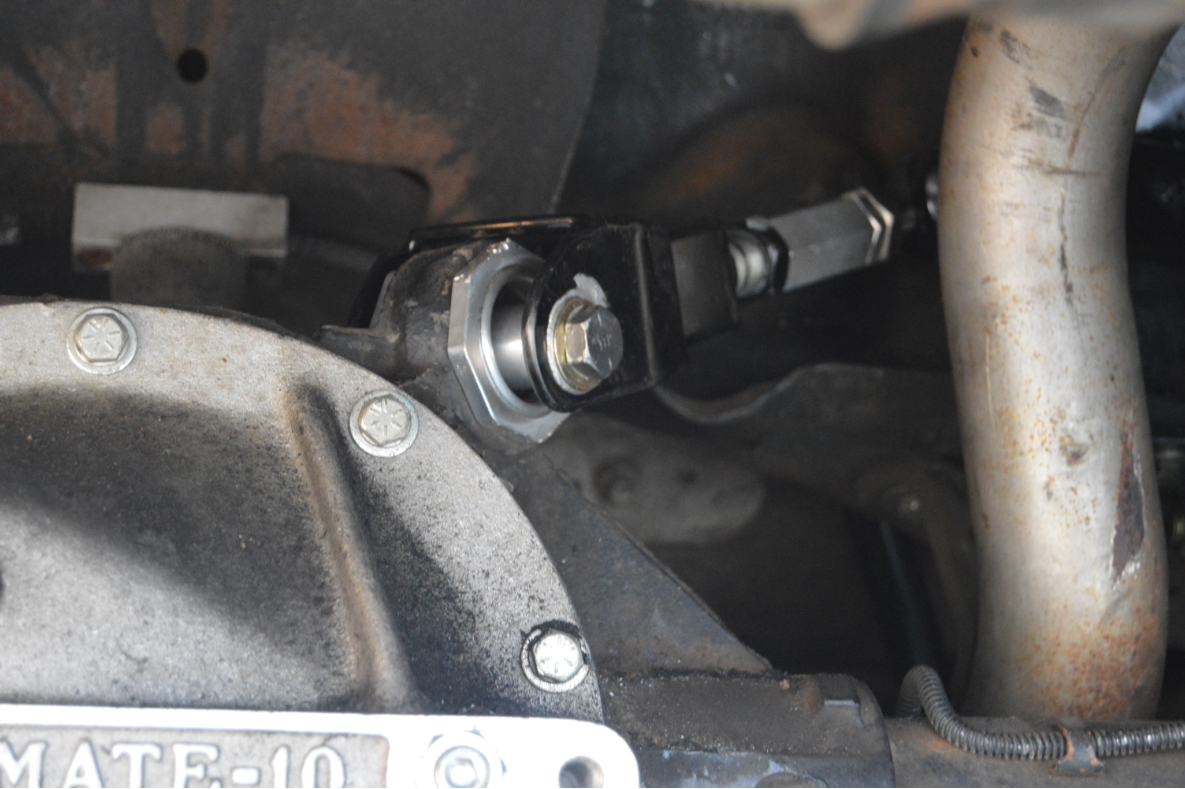
6. Install the new aluminum rear end housing bushing.
Secure and tighten down the nut.
Insert the 2 end spacers.
(you can lube up the hole a bit to make it easier to get the new housing in, if needed)
(we put the nut towards the back of the car, since it’s easier to tighten it down this way, and since it shouldn’t matter which way the housing goes in)
.


.
7. Reconnect the upper trailing arm.
8. Repeat the other side.
9. wiggle both trailing arms to make sure they aren’t binding (they shouldn’t be). They should seem kind of loose, after all, that’s sort of the purpose of spherical bearings.
(not “coming out” loose, but be able to articulate freely when you turn them)
.

.
9. Take Turbo Regal off jackstands.
10. Done.
.

.
NOTES:
There’s several ways to remove & install bushings, as well as a few different tools to make the job easier. You can follow the methods shown on these videos: install rear end housing bushings.
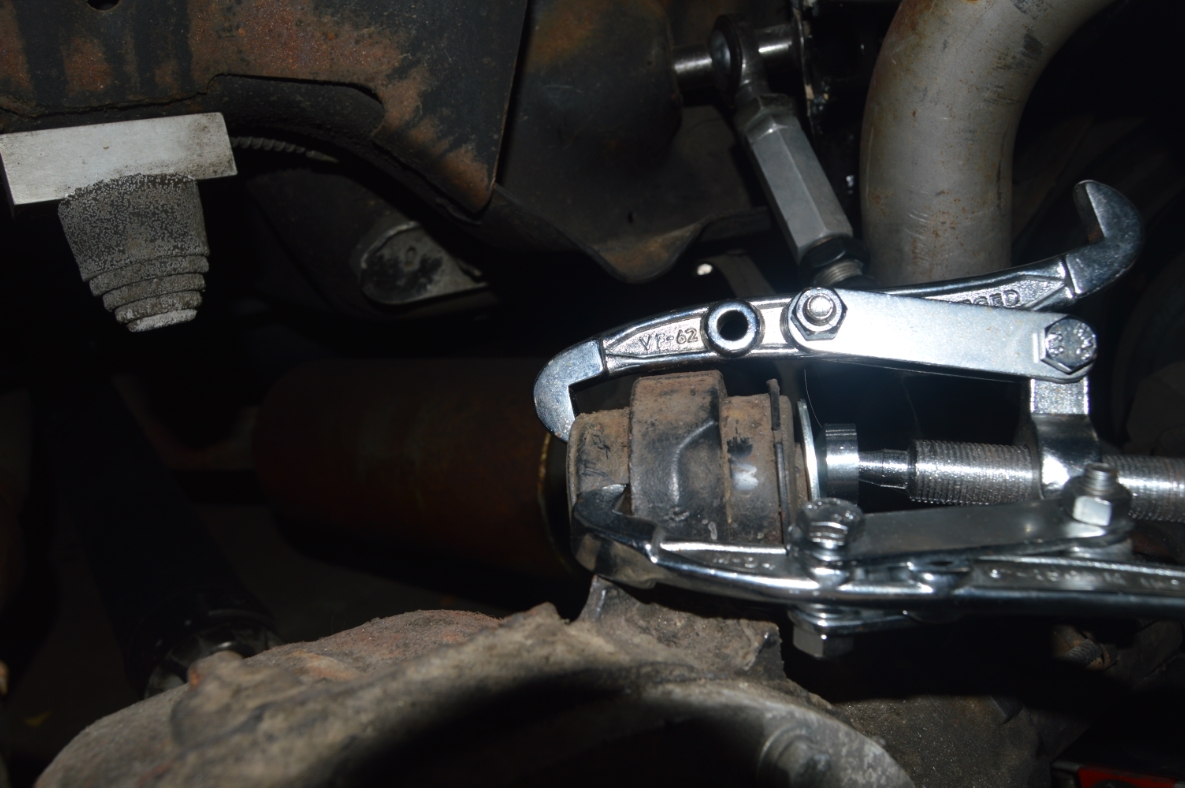
We attempted to use a 3-jaw puller to remove the old bushings. that was a no-go.
We didn’t have a 2-jaw puller or a balljoint remover (and didn’t want to have to go buy or rent one), so we had to get creative to get them out.
We used a similar method as shown in one of the above videos.
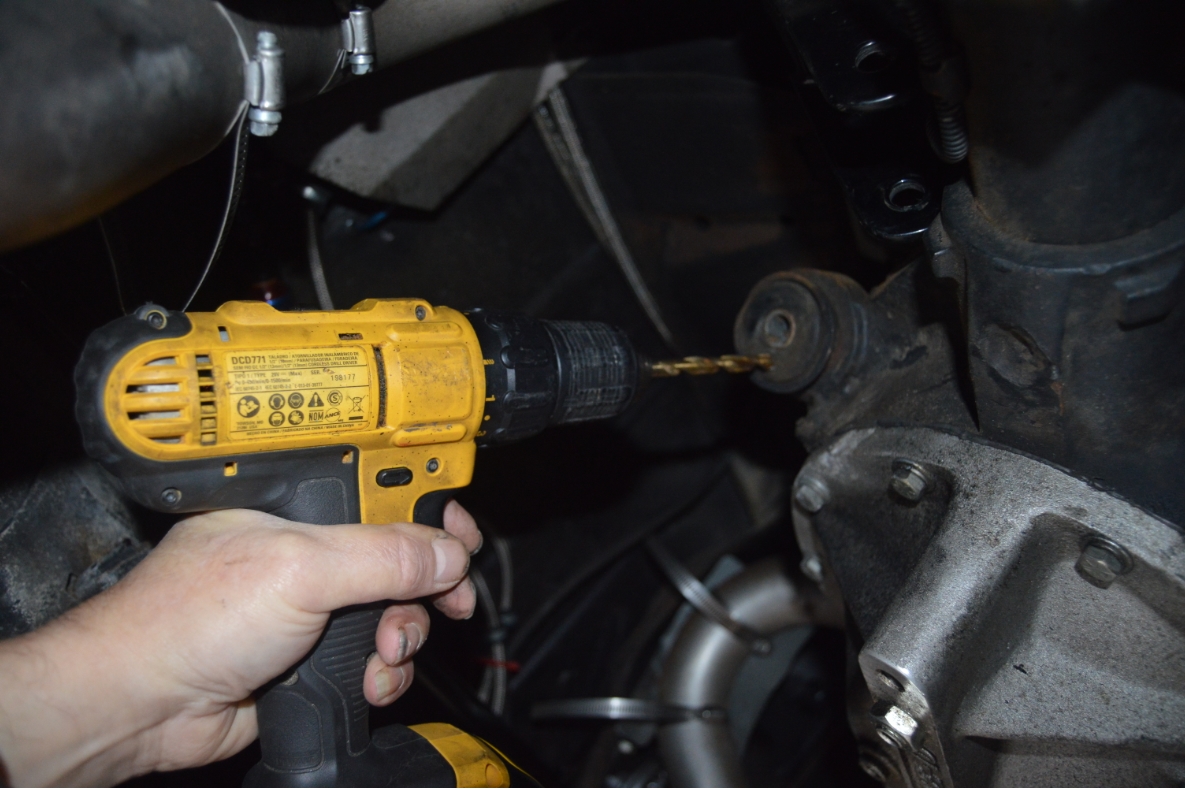
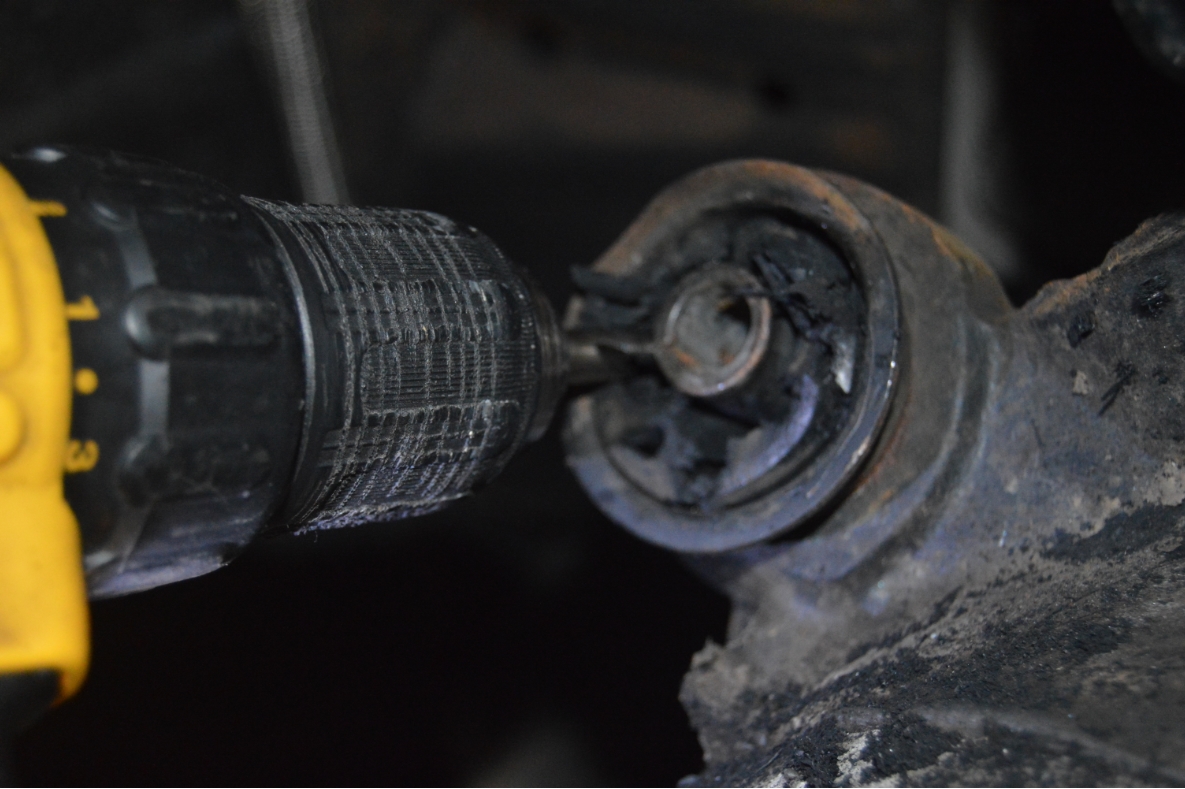
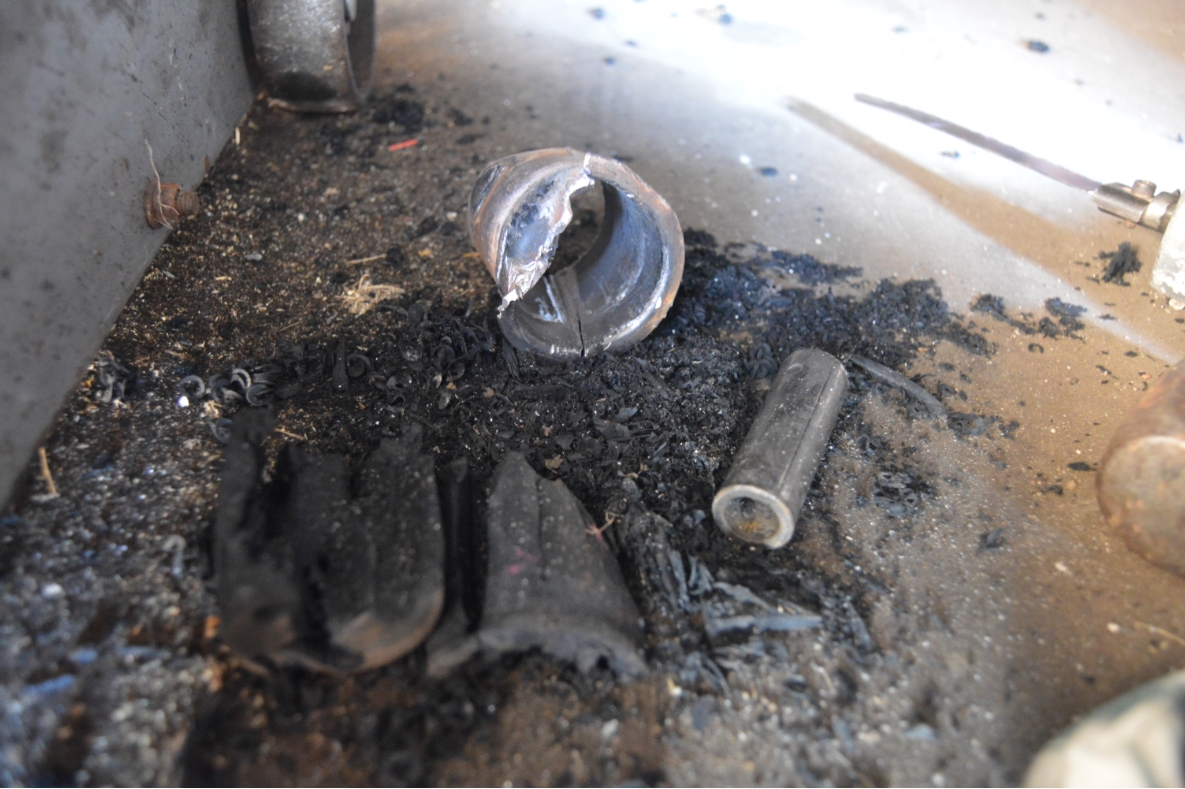
Using a cordless drill, we drilled about 8 holes all the way thru the rubber, then went back into those existing holes and twisted & turned the drill until the rubber shredded & literally fell out.
This took only about 6 minutes to do one side.
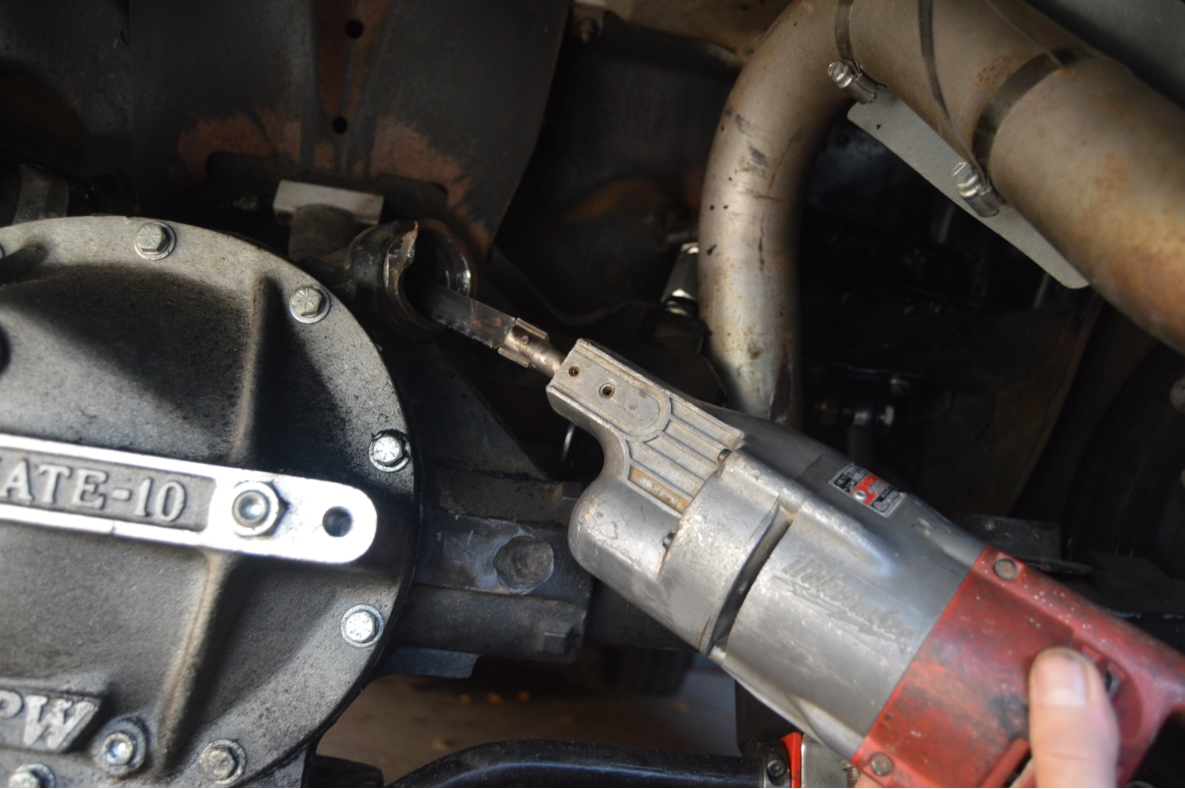
The hard part was removing the metal shell (it’s really jammed in there!).
Utilizing a combination of a hammer & chisel, and a sawzall to cut part way thru the metal sleeve (but being very careful not to cut thru the actual ear on the housing!) we managed to pull the old bushing sleeve out.
Not actually too bad of a job to do.
When installing regular (rubber) bushings, you have to make sure you space them correctly within the ears, to make sure that the upper trailing arms are in line, and able to fit around them.
With these solid aluminum versions, you just insert them all the way in, then connect the nut & tighten it up.
They are somewhat shorter than the OEM pieces (but the end insert bushing pieces take up the difference).
Once we cleaned out the inside of the axle ears, the new housing bushings slid right inside, no pounding necessary. They weren’t too loose, but just the right size to fit inside snugly.
(meaning, don’t overly sand the inside of the ear too much)
We put some anti-seize on the bolts, to ease the installation, keep them from rusting & sticking, and make them a lot easier to remove in the future, if need be.
.
.


