


The factory boost gauge on the Buick Grand National (or Regal T Type, Turbo T, etc.) works “ok” (when it actually works, most OEM versions break at some point in time).
However, they aren’t real reliable, or even very effective when your normal boost pressure is past the stock settings (about 15 psi at the wastegate).
[meaning you don’t really have any idea what your actual boost level is]
The thing to do, is add on an aftermarket Boost Gauge.
Preferably one with a reading slightly higher than where you intend to use.
[e.g.: if you run 20 pounds of boost, get a 25 psi gauge]
(this way you know if you “overboost” – of course, that’s assuming you actually LOOK at your boost gauge while you’re boosting!)
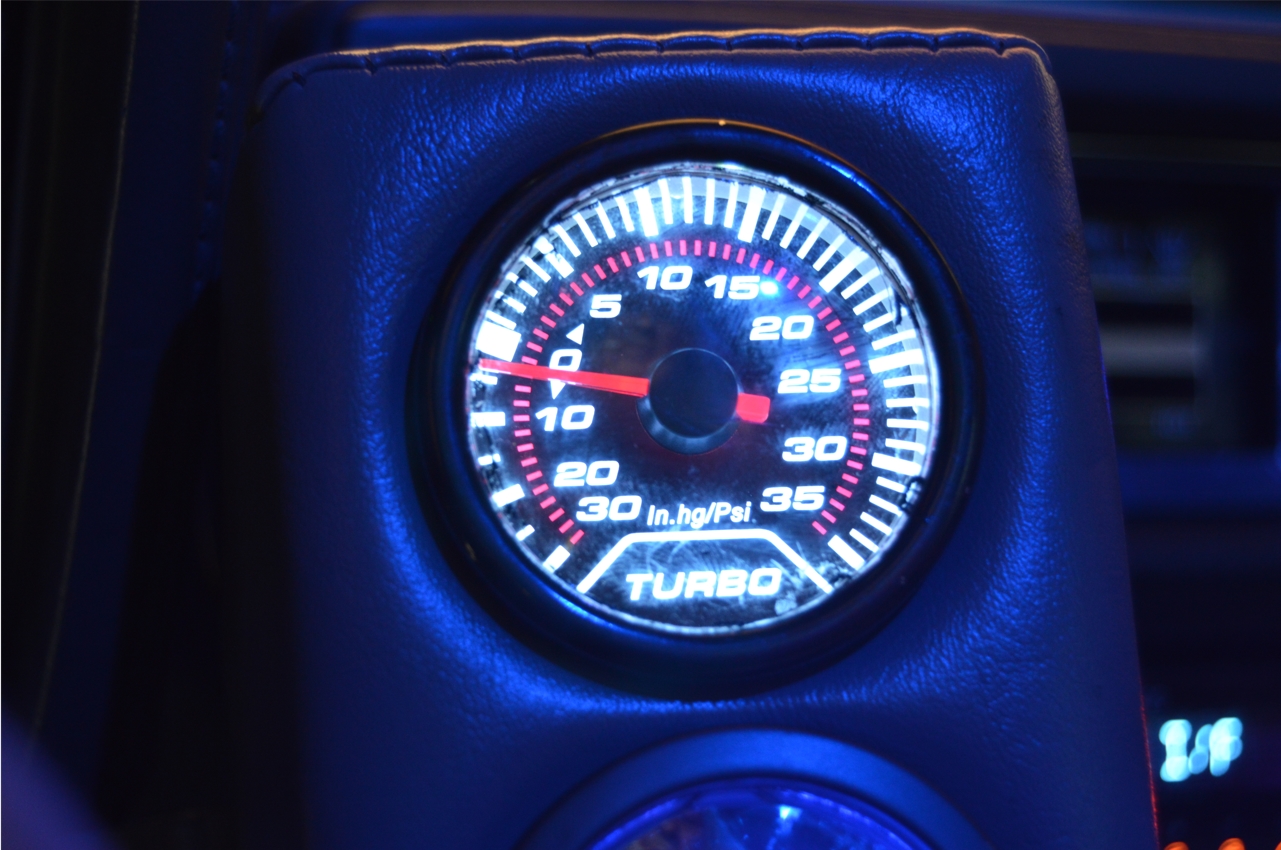
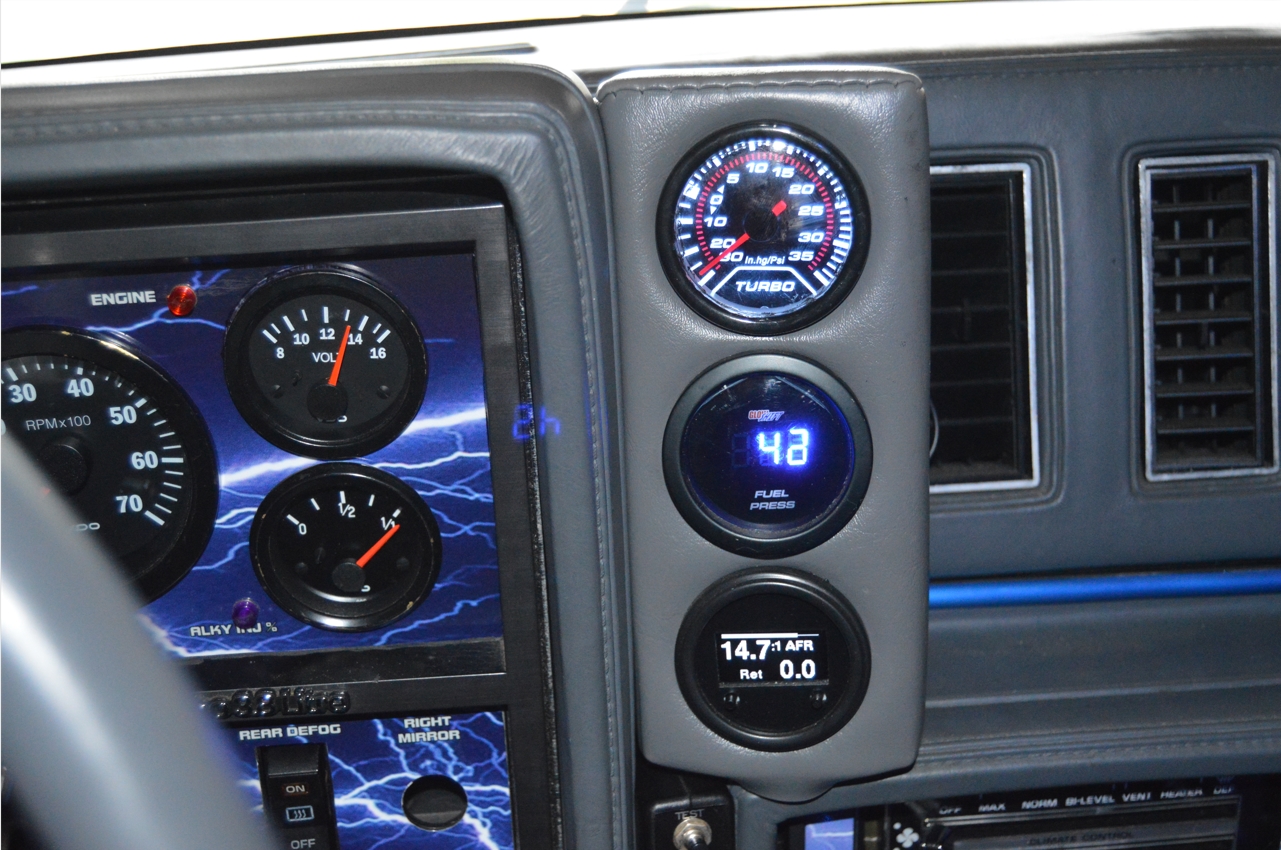
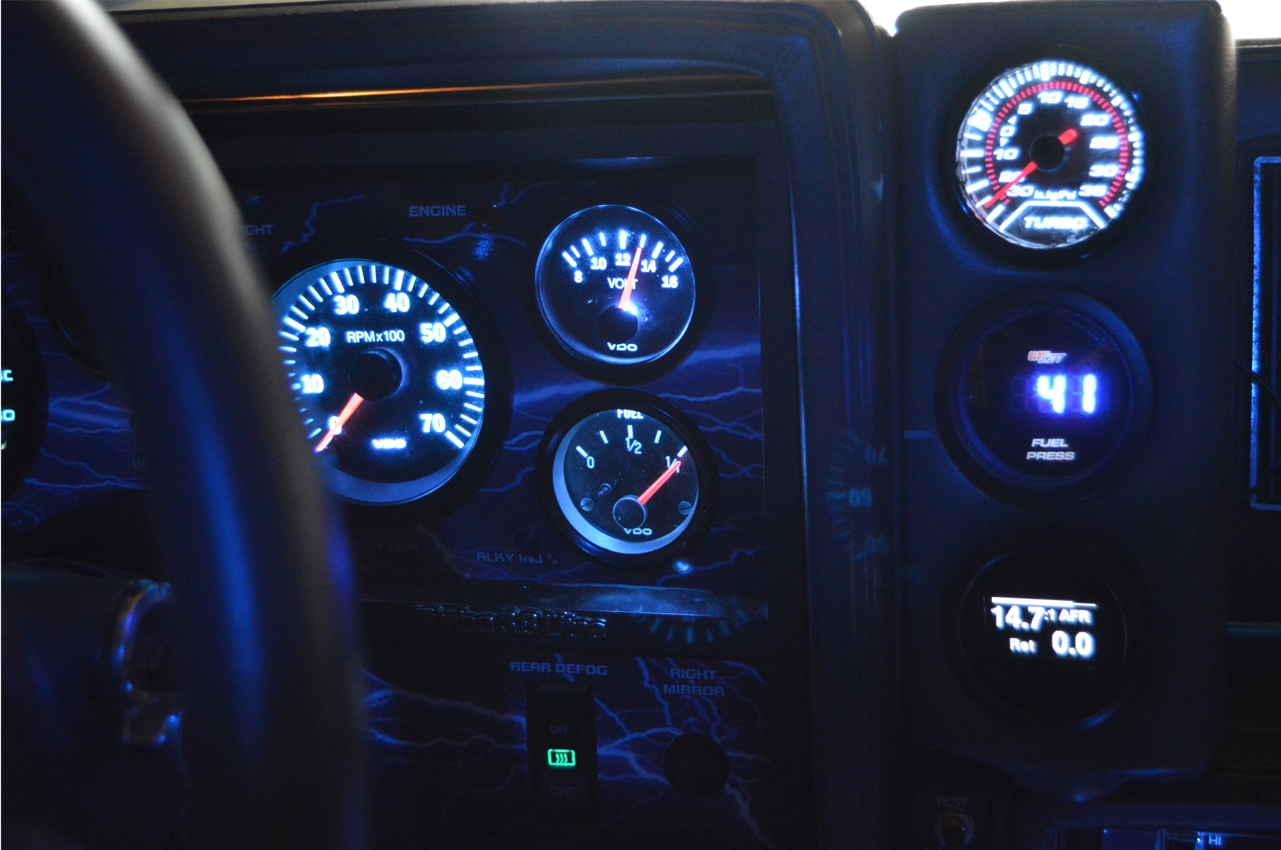
We’re pumping out 32 lbs of boost on our ’87 Buick GN, so we went hunting for a 35 pound reading gage.
Which isn’t as easy a task as it seems.
Most boost gauges only go up to 30 psi.
That’s not quite high enough for our purposes, and it’s not any good (even at just the extra 2 psi we use past the high point of the gauge) to have a gauge like that if we can’t actually read what the actual boost point is.
[if that was the case, we might as well not have one at all]
There are a few manufacturers who do offer higher-level boost readings, but they also come at an extra expense (moreso than the average 30 pound reading styles are priced at).
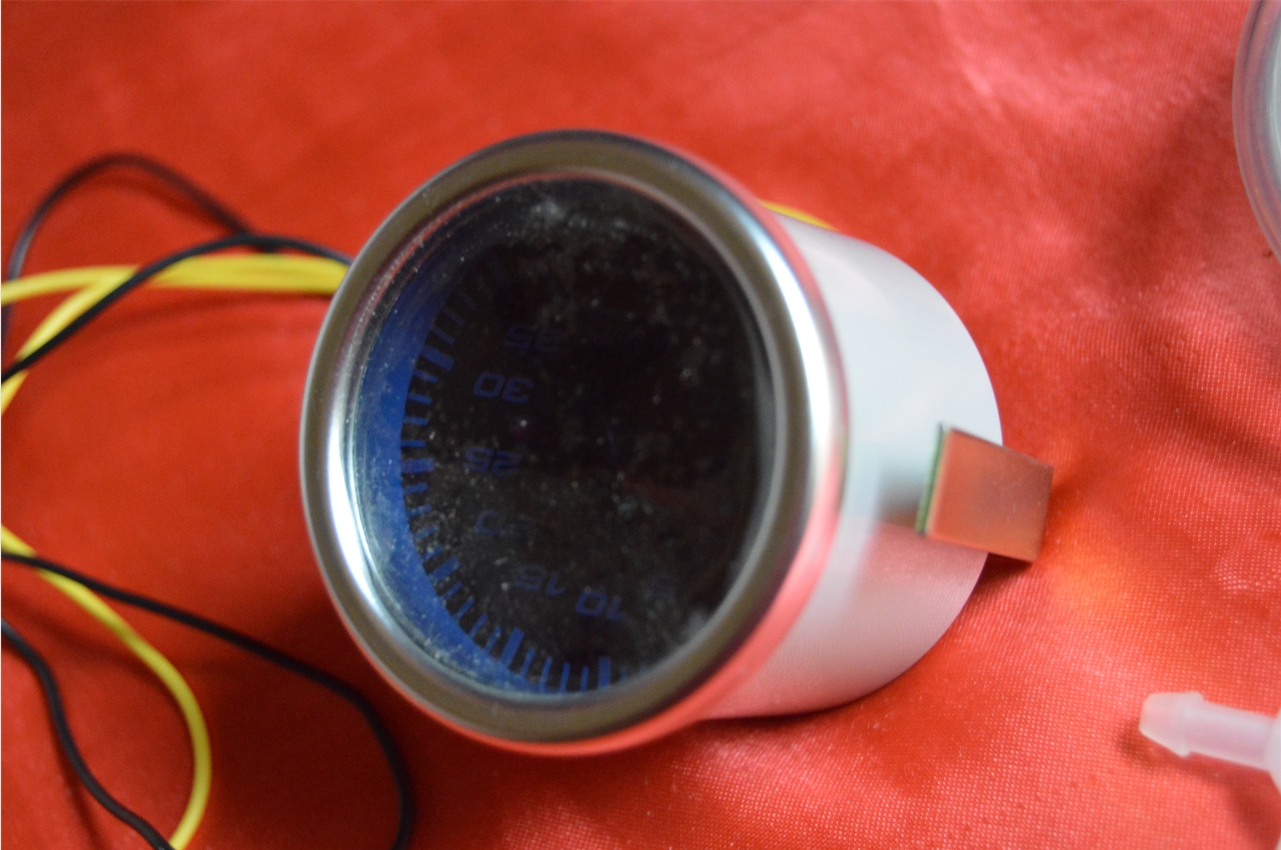
A few years back (like 5 or 6), we found a brand new boost gauge with 35 psi, and 30 hg of vacuum.
We had it sitting on a shelf waiting to be installed.
[note, it’s strange that almost all gauges (that do have vacuum readings) have a set 30hg vacuum reading on them. But of course, the psi readings vary from 15-35 pounds, sometimes even higher]
[also, you can get “psi” only boost gauges (with no vacuum readings at all) but if you’re going to get a new gauge, why not have access to vacuum readings as well, in case you ever need that for some reason]
Back to the one we purchased.
If memory serves us, it was about $50 shipped (a great price) at the time, for a brand new gauge.
It came from a well known company, with good reviews about them and the gauge.
The only drawback back then, it was located in Australia!
But since we knew we weren’t in a hurry, no big deal.
(it only took about 2 weeks to arrive)
[years ago, there really wasn’t a whole lot of options for a 35psi version without spending big bucks to get one]
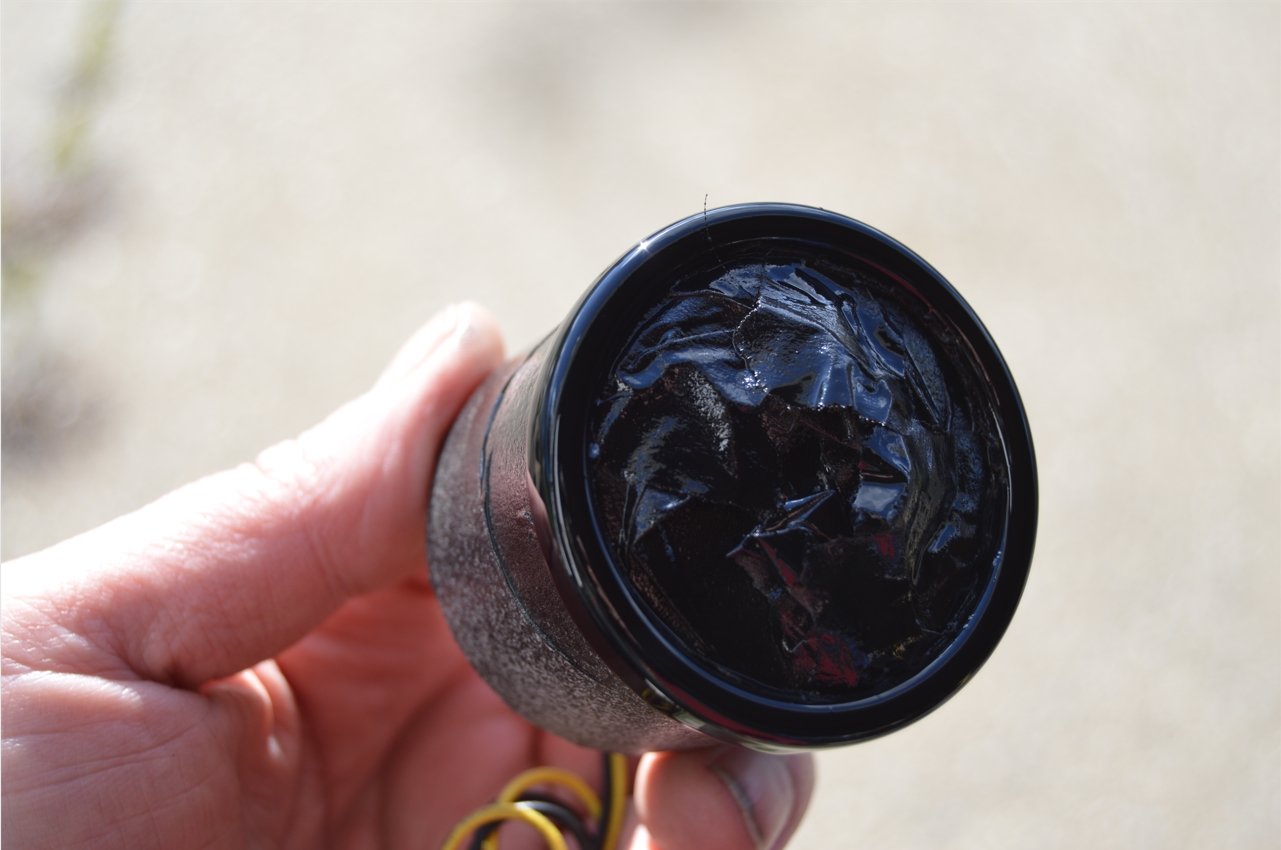
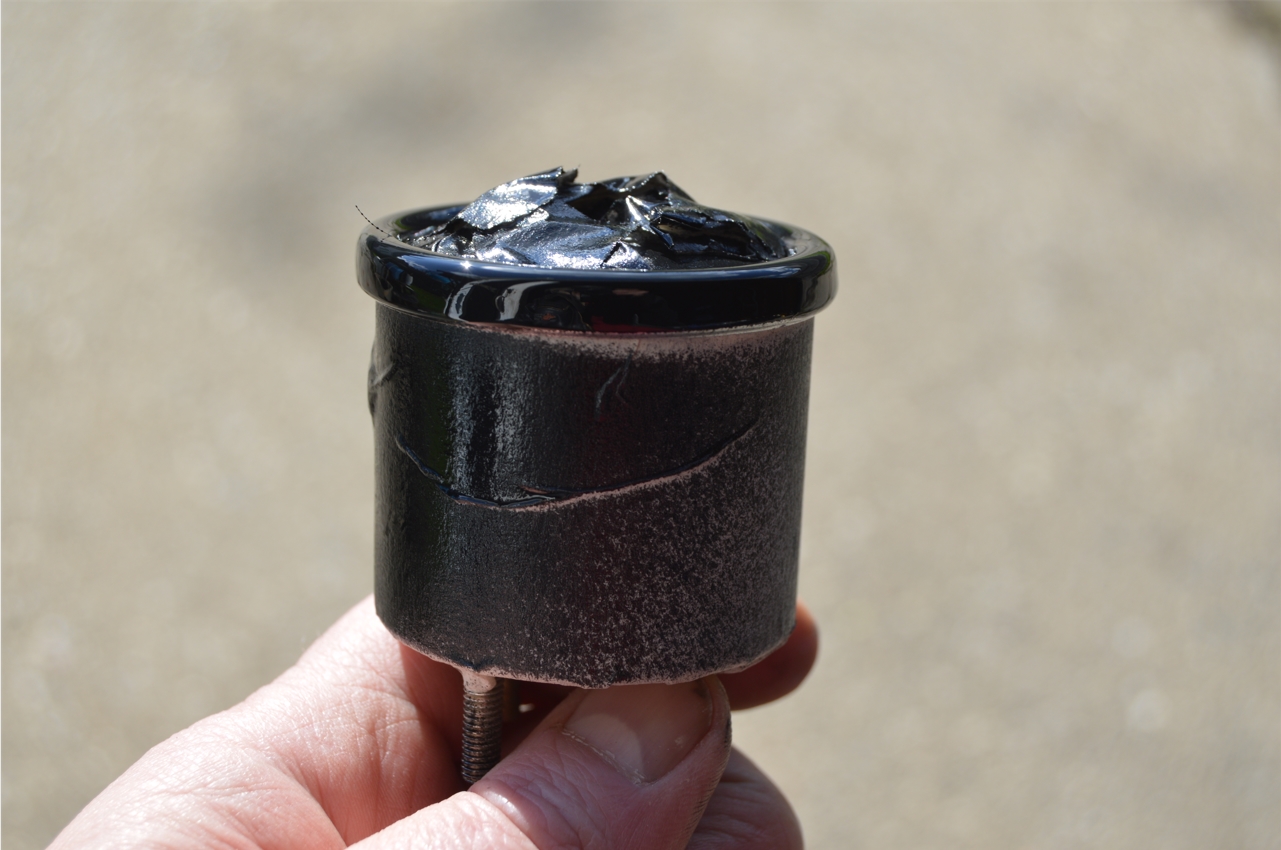
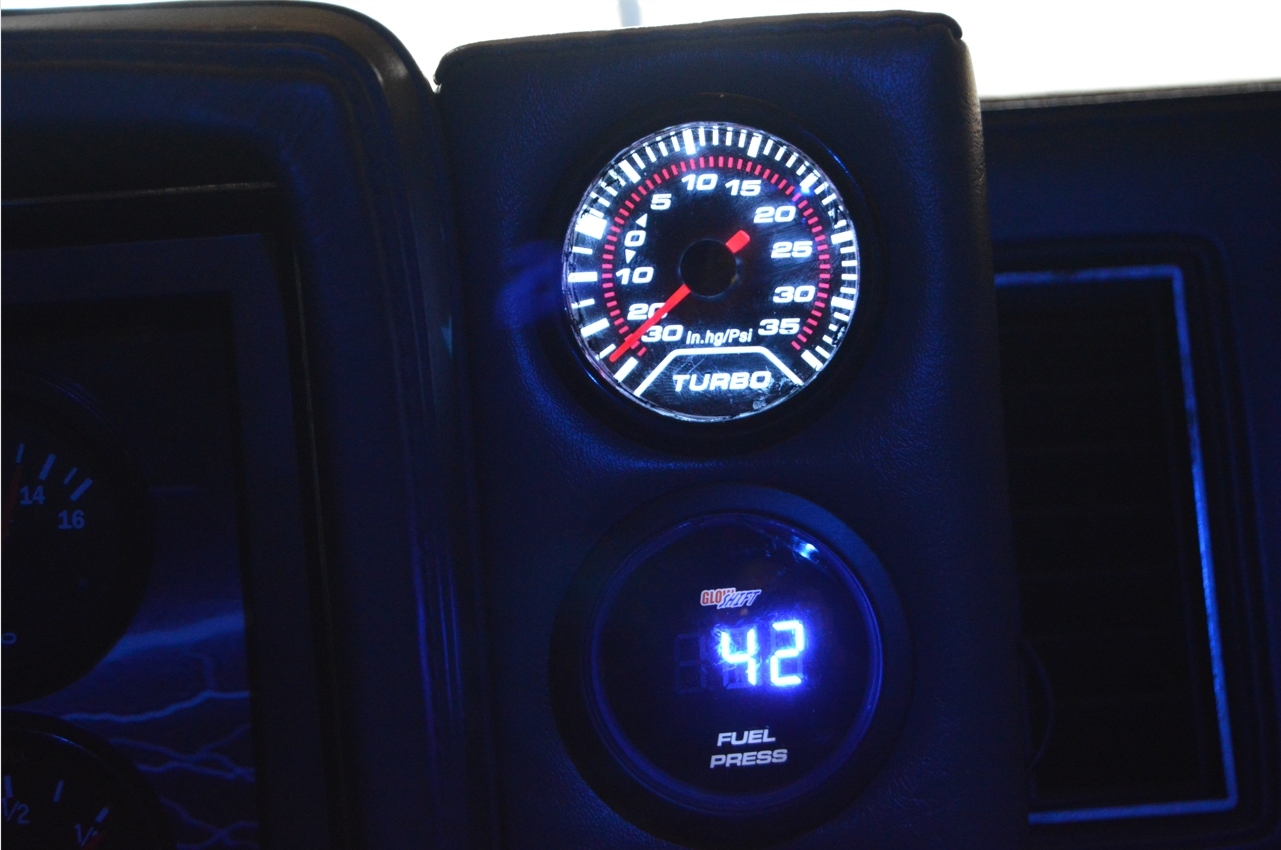
The gauge visually looks cool, even has the words “Turbo” on it.
[which is pretty neat as far as we’re concerned]
We ordered it in “blue” lighting since we new that’s what we wanted to do with all of our gauges (previous to acquiring them all).
We had a slight “uh oh” moment when we pulled it off the shelf, wondering what color “blue” it would actually be, considering we just went thru a blue color bulb change on all of our other gauges when we did the GPS Speedometer installation.
Wonders never cease!
We never even checked it out when it first arrived to actually see what color it was.
WOW! Would you believe it’s actually “ice blue” – and almost matches all of the other existing gauges in the Turbo Regal?! Sweet!
(which is a great thing, as it’s an internal lighting system with no changeable bulbs inside!)
[it is a little bit brighter shade of ice blue though, more on the white side, but oh well, it will have to do]
The only other negative about this gauge, is that it has a silver trim ring on it.
(but no worries, we have a black permanent marker to remedy this situation! Seriously, we thought about painting the ring, but this was quicker and easier. It’ll be fine, the pen works great for touching up small areas on the black Turbo Regal, so this should be no different)
[ok, so we tested out using the pen trick on a small area. It didn’t quite look right. We ended up taping it off and just painting it black. Much gooder now]
[side note: a “permanent” markers ink can easily be removed with finger nail polish. So not so permanent, huh?]
.

.
This story is about the gauge we used (and where we put it), but other boost gauges will install in a similar manner, so if you’re getting ready to put one in your own Gbody Regal (or thinking about it), this should give you an idea of what’s in store on how to do your own.
.
PARTS:
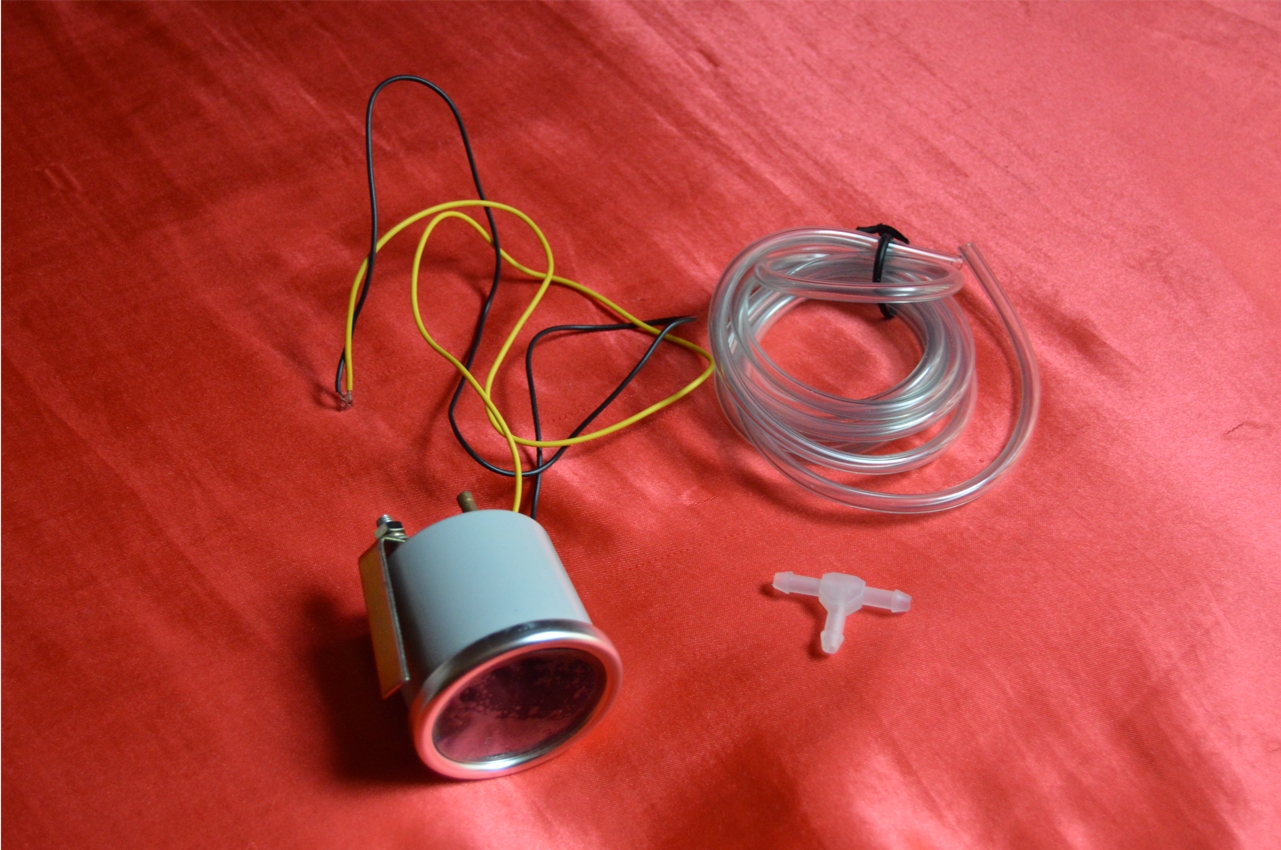
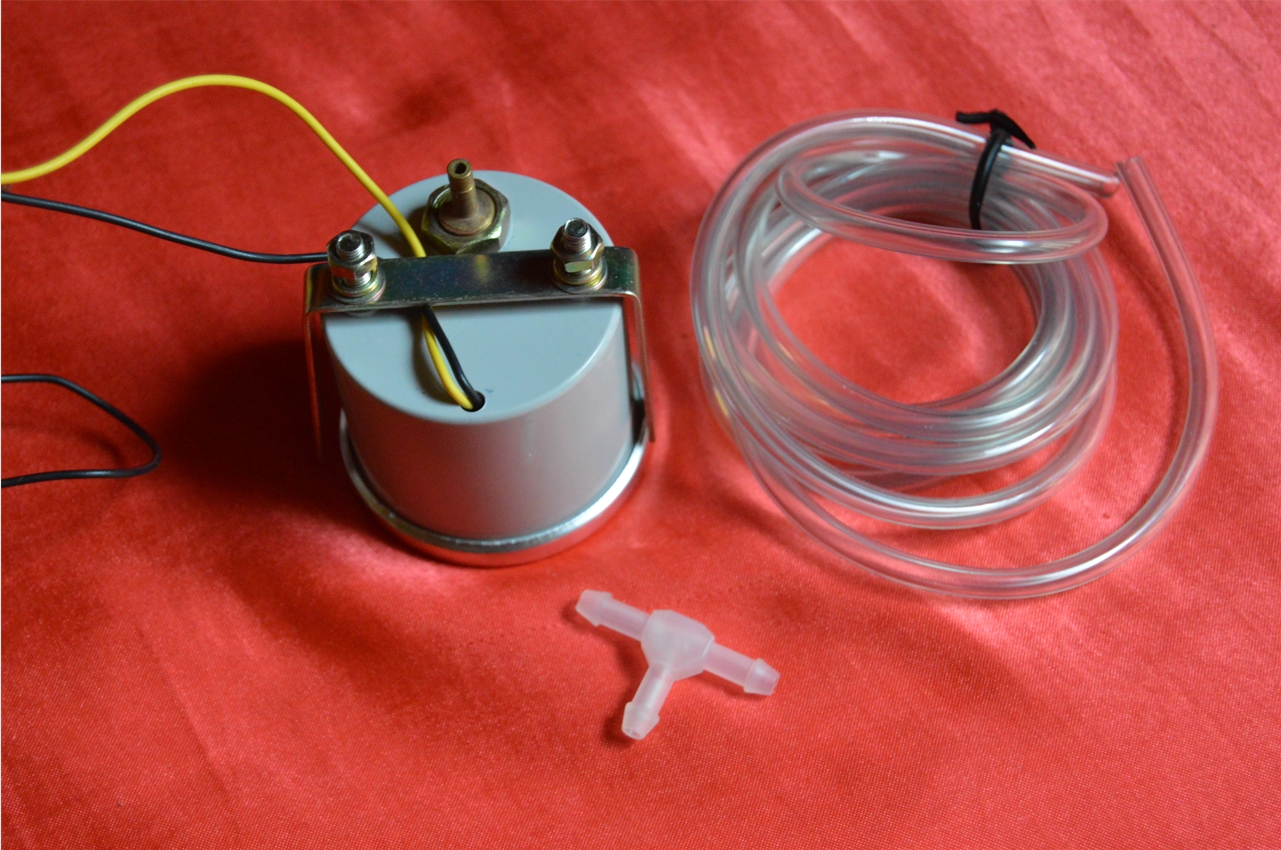
* turbo boost gauge ($50)
(it came with vacuum line and tee)
.
TOOLS:
* whatever needed to “mount” your new gauge (might be thumbscrews or nuts/bolts)
* wire crimps / stripper
.
TIME TO COMPLETION: about an hour
.
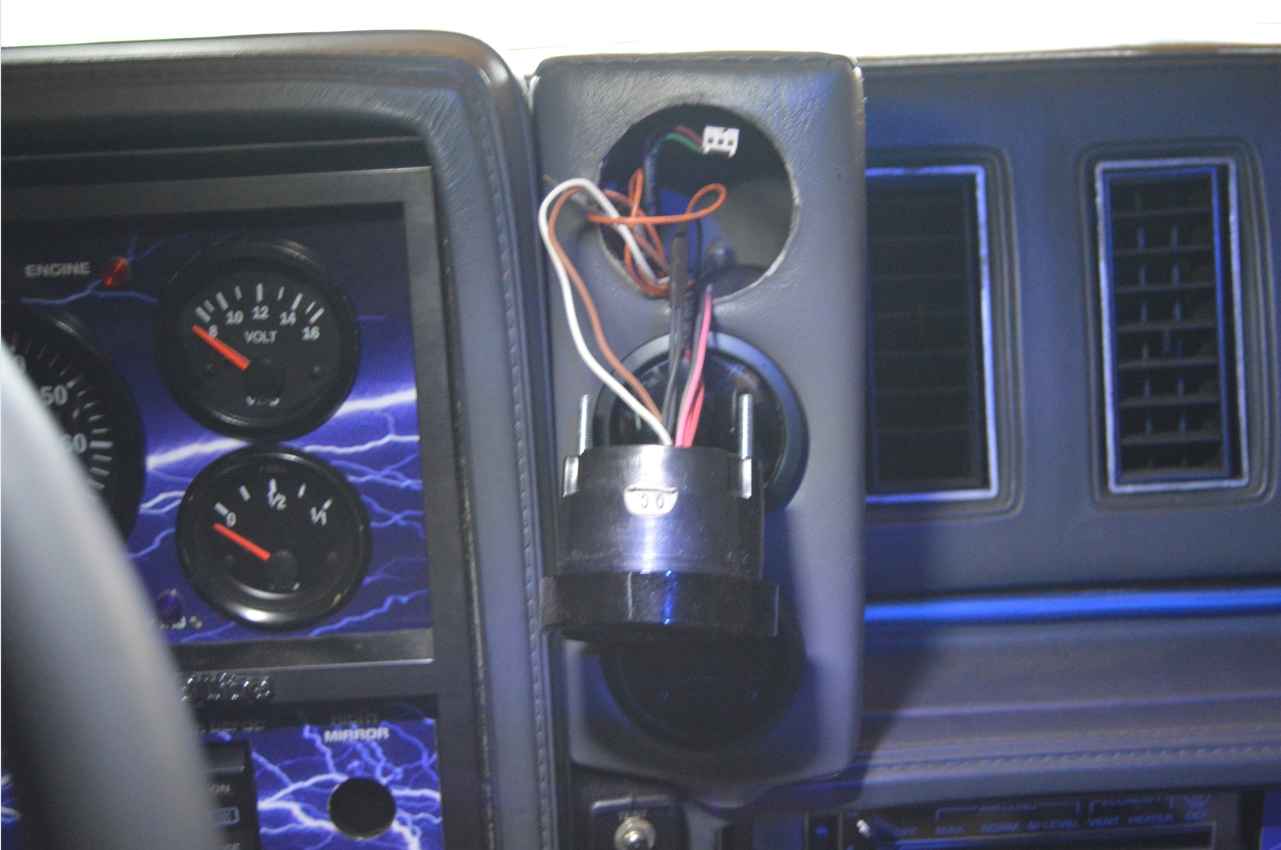
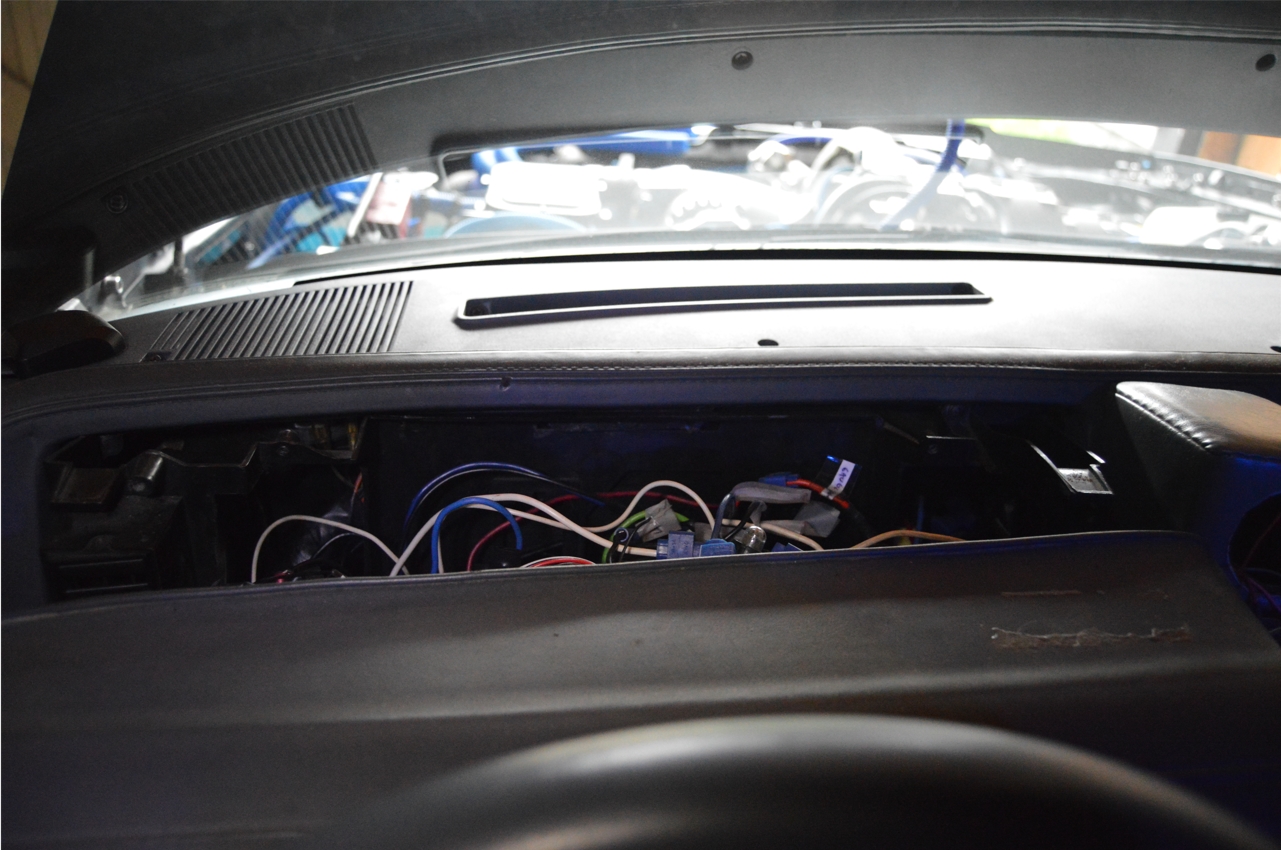
To be able to remove that side gauge pod we have, since it’s held in by 1 hidden screw (which is under the I/P cluster), you have to loosen a few things.
The I/P cluster surround pad is held in by 6 screws (under the bezel); 1 on the left, 2 on the bottom, 1 on the top, 2 on the right.
After these screws are removed, you can slide it forward to access the 1 bolt that the 3-pod is held in by.
.
HOW TO INSTALL:
1. we did have an existing (electronic) boost gauge in the car that we’re replacing.
Remove old gauge from the pod it’s sitting in.
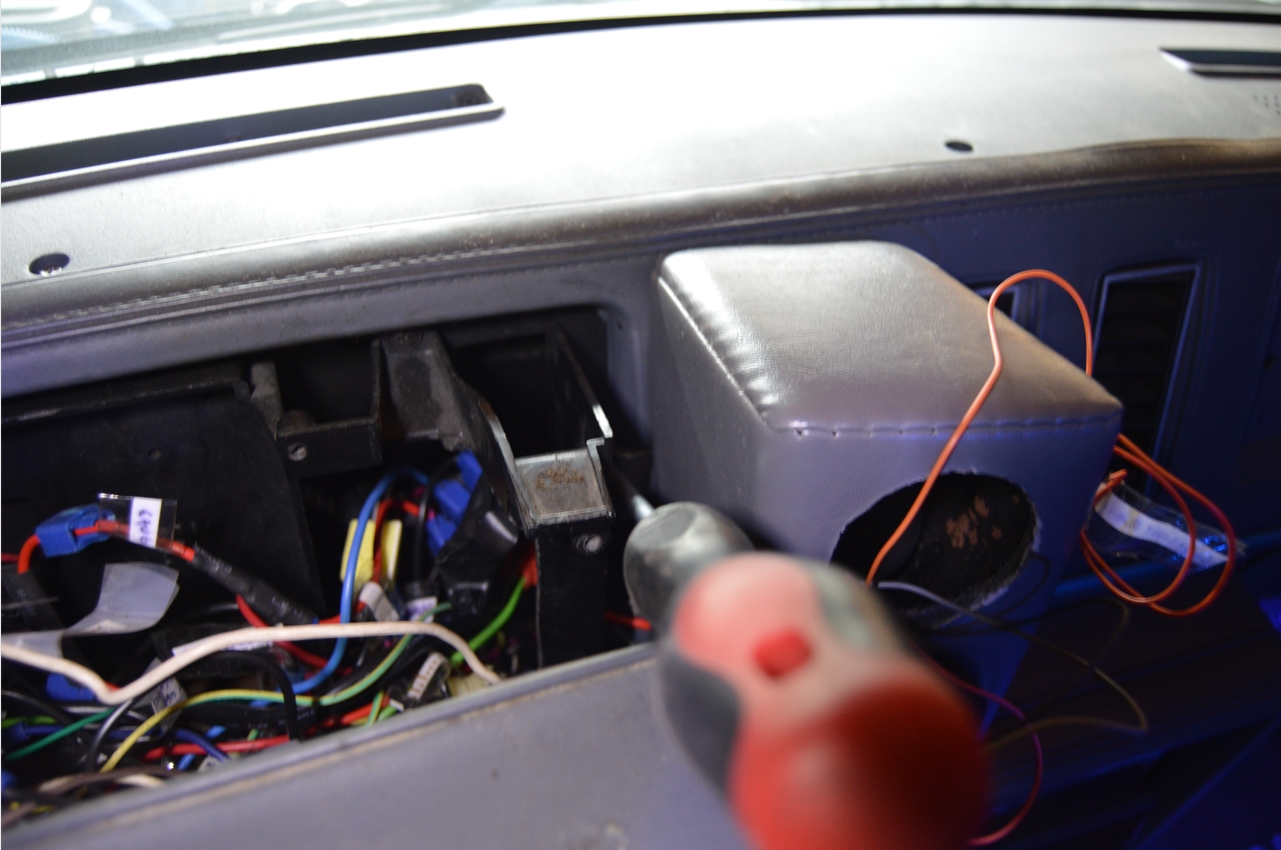
(we have the GNS 3-pod gauge setup that mounts to the right of the factory instrument cluster, above the radio)
(this old gauge just shoves in the holes, it’s not technically “mounted” in the pod; the leather covering is cut inside the holes and holds this gauge very firmly in place)
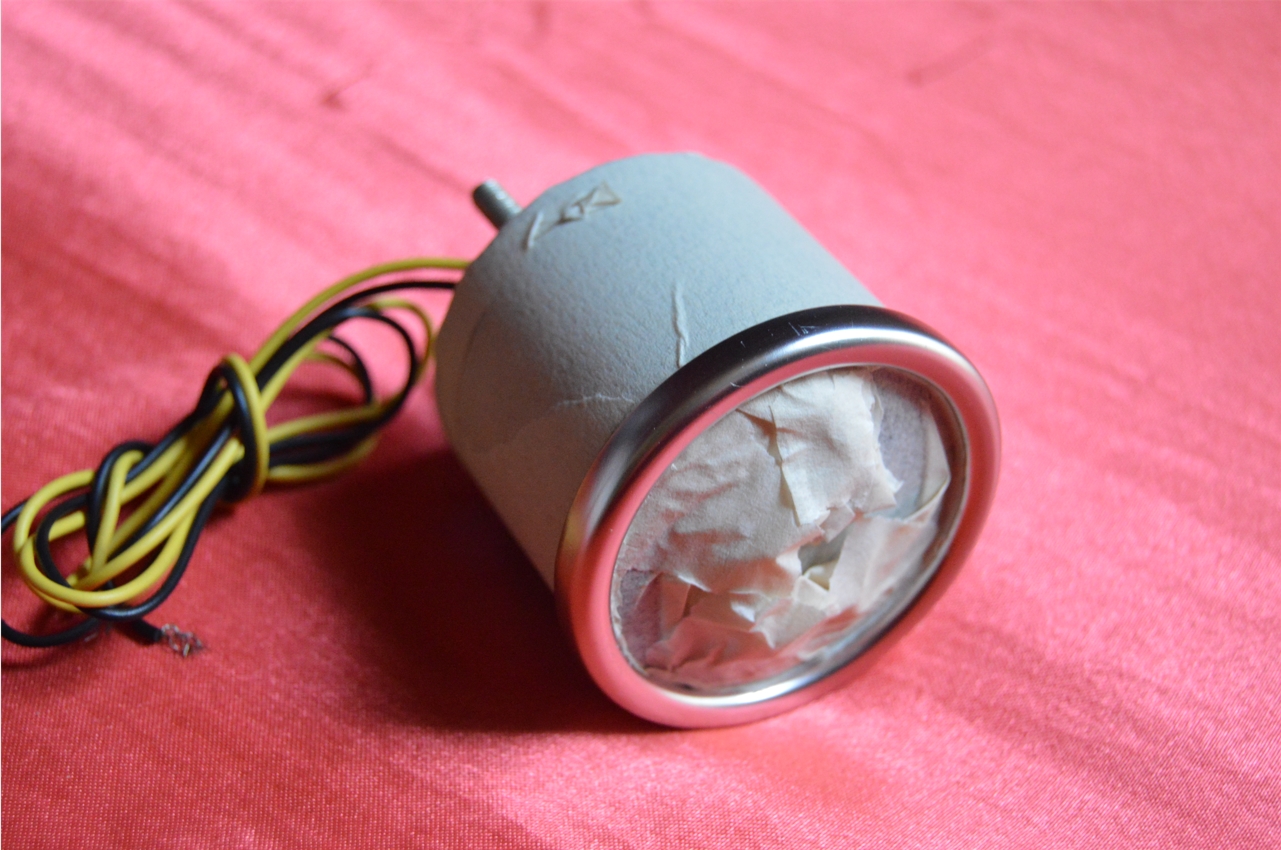
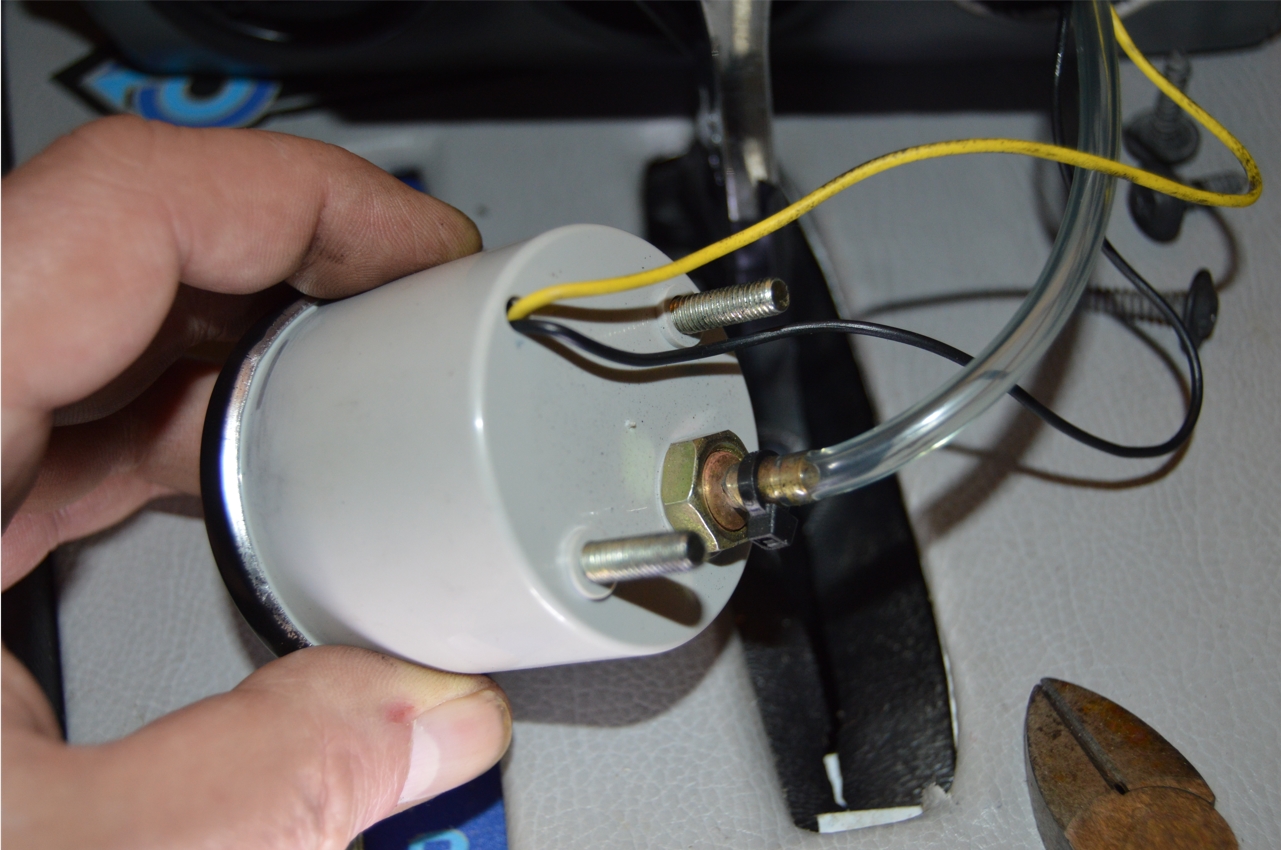
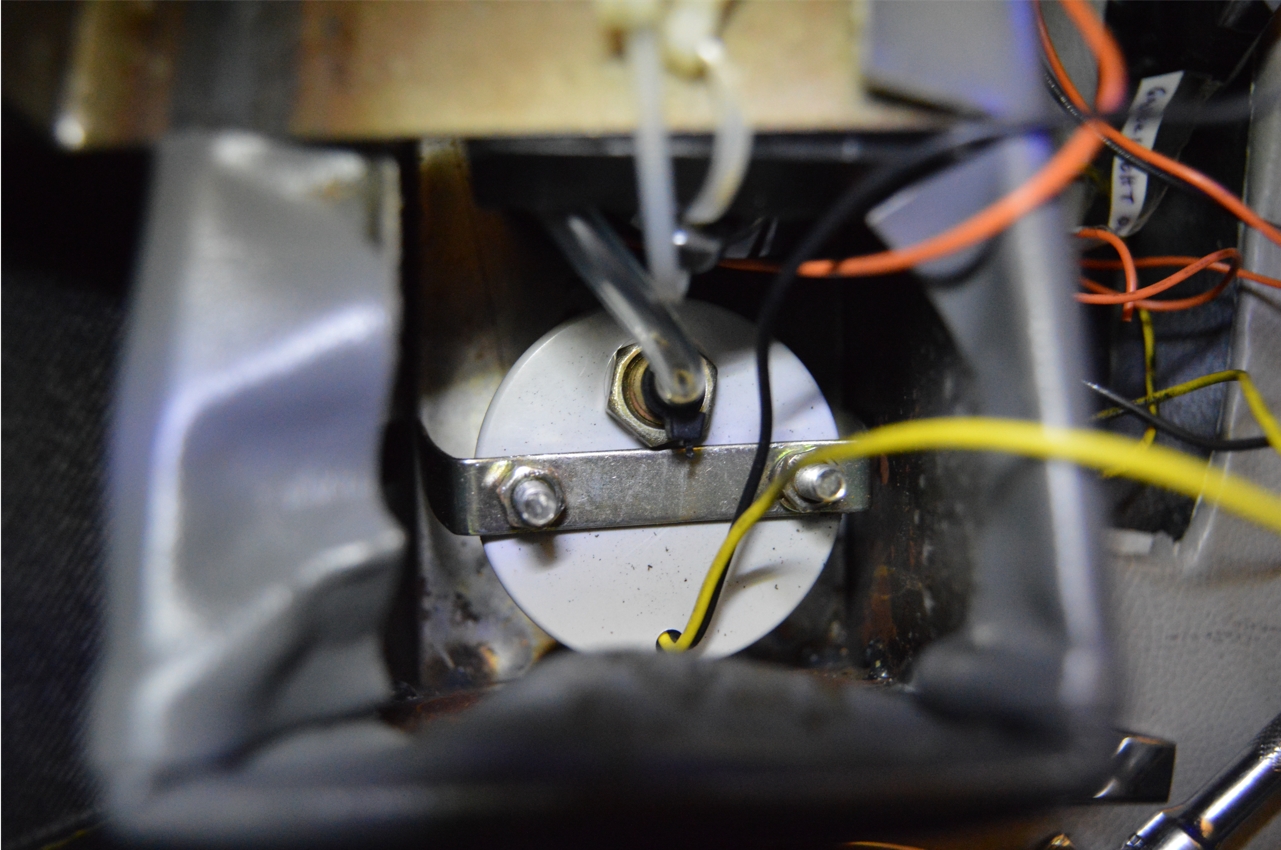
[the new gauge is mechanical with a vacuum line coming out the back side of the boost gage. It is a bit smaller than the old gauge, so we used the included mounting bracket to secure it to the gauge pod]
.
.
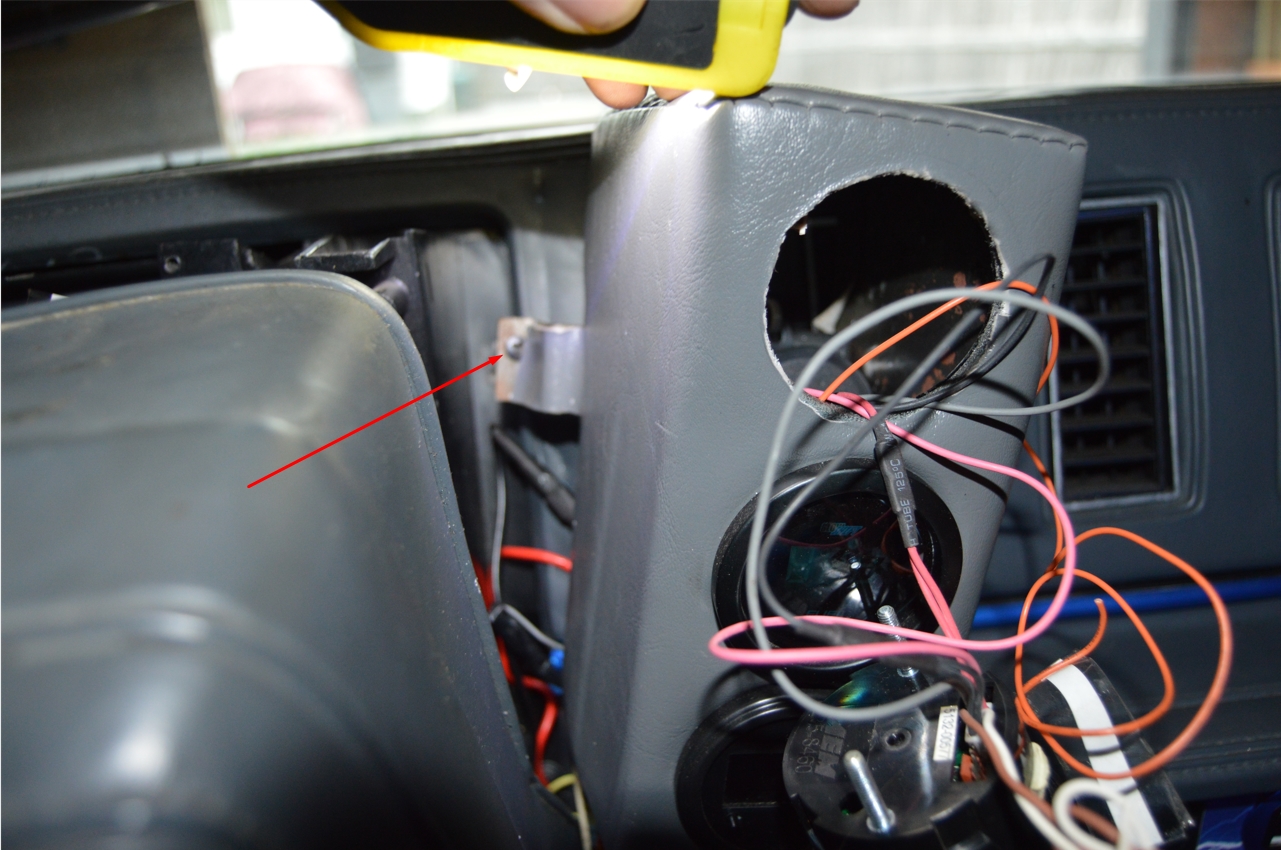
2. disconnect all the old electrical wires.
(the gage has 2 wiring connectors snapped onto the back, we disconnecting them and then removed the wires from behind of the pod, and from within behind the instrument panel area from which they were run – the lighting and power was hooked up from the other gauges, same as the ground wire.)
(1 connector was for the power and lighting, the other connector was for the boost reading)
(the vacuum/boost source for the old gauge was a hybrid unit; it’s an electrical sender/transducer on the gauge side and then transforms into an actual vacuum hose, which we had ran tee’d into the FPR)
.

.
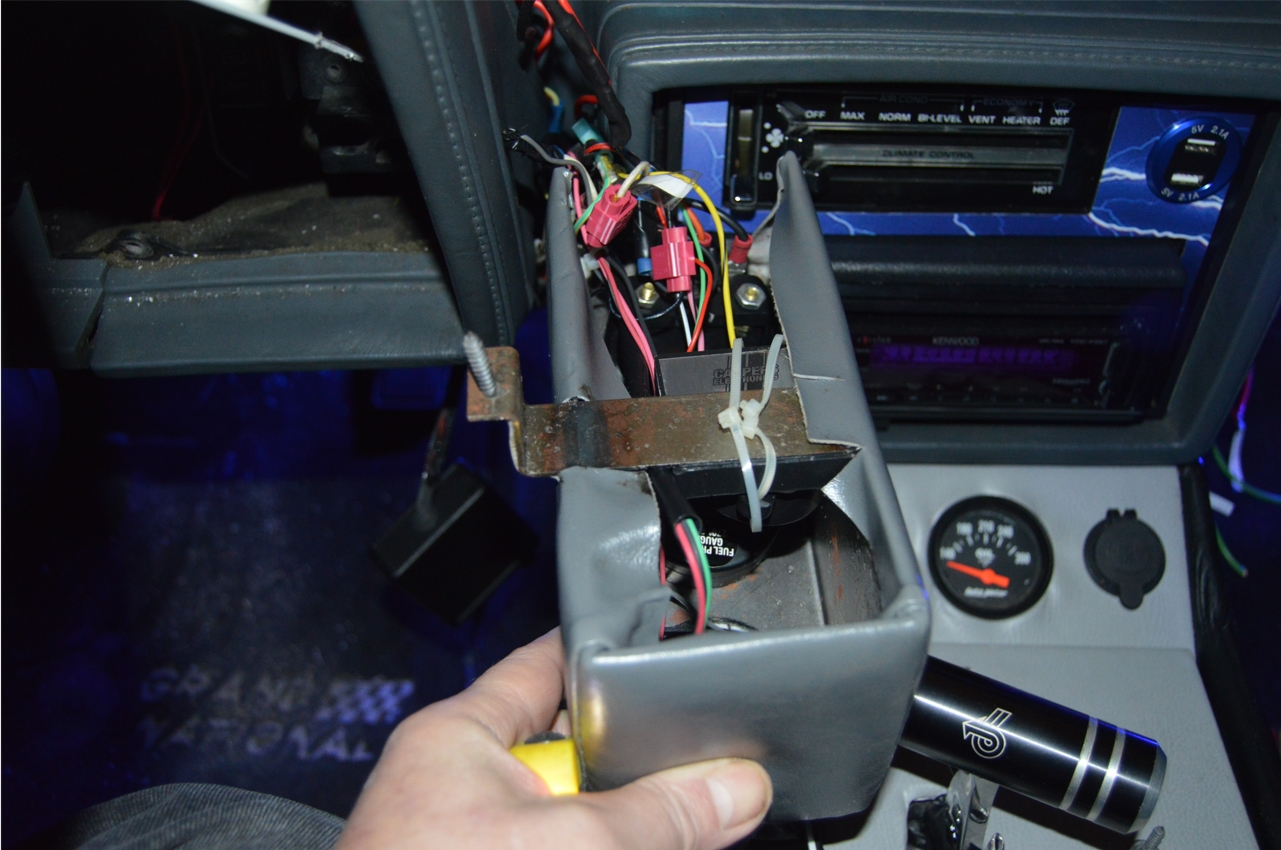
3. pull old boost gauge out of car.
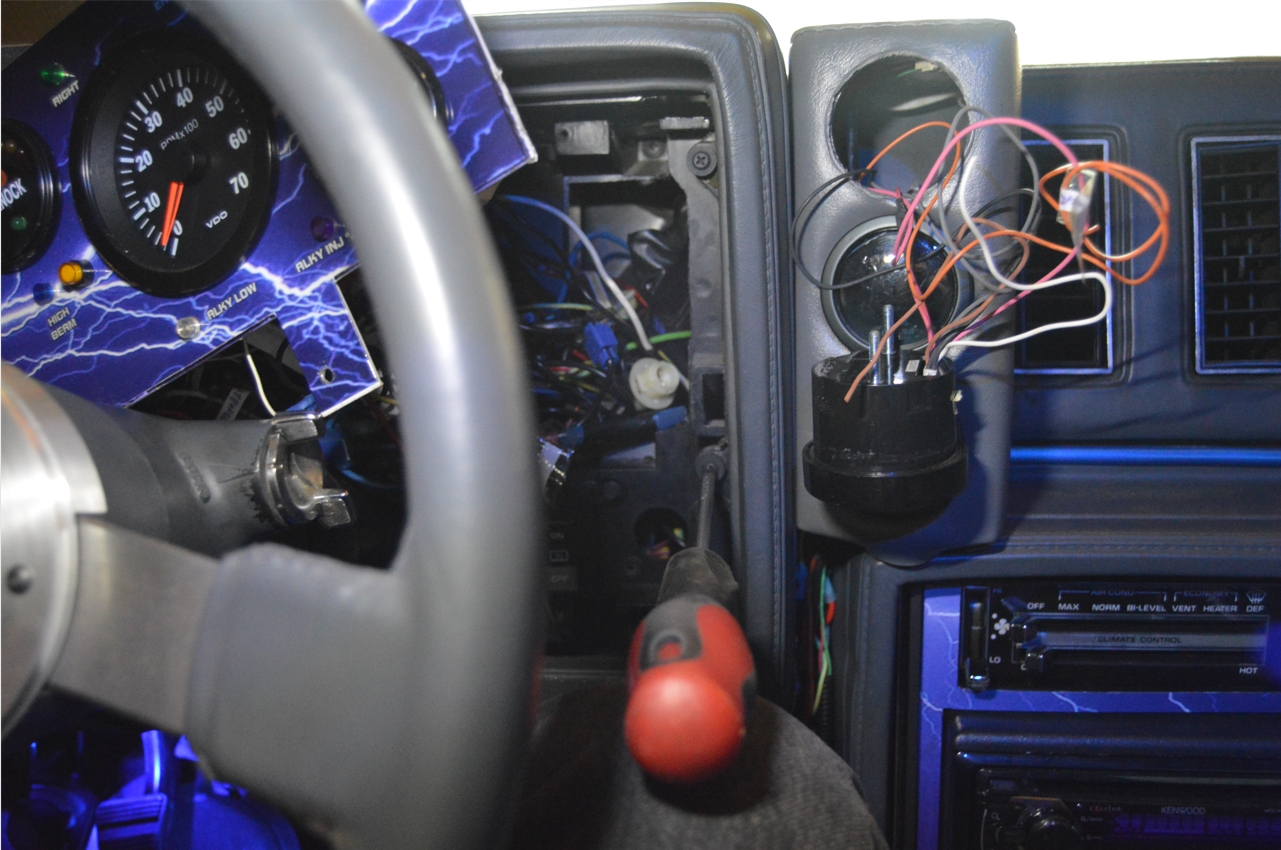
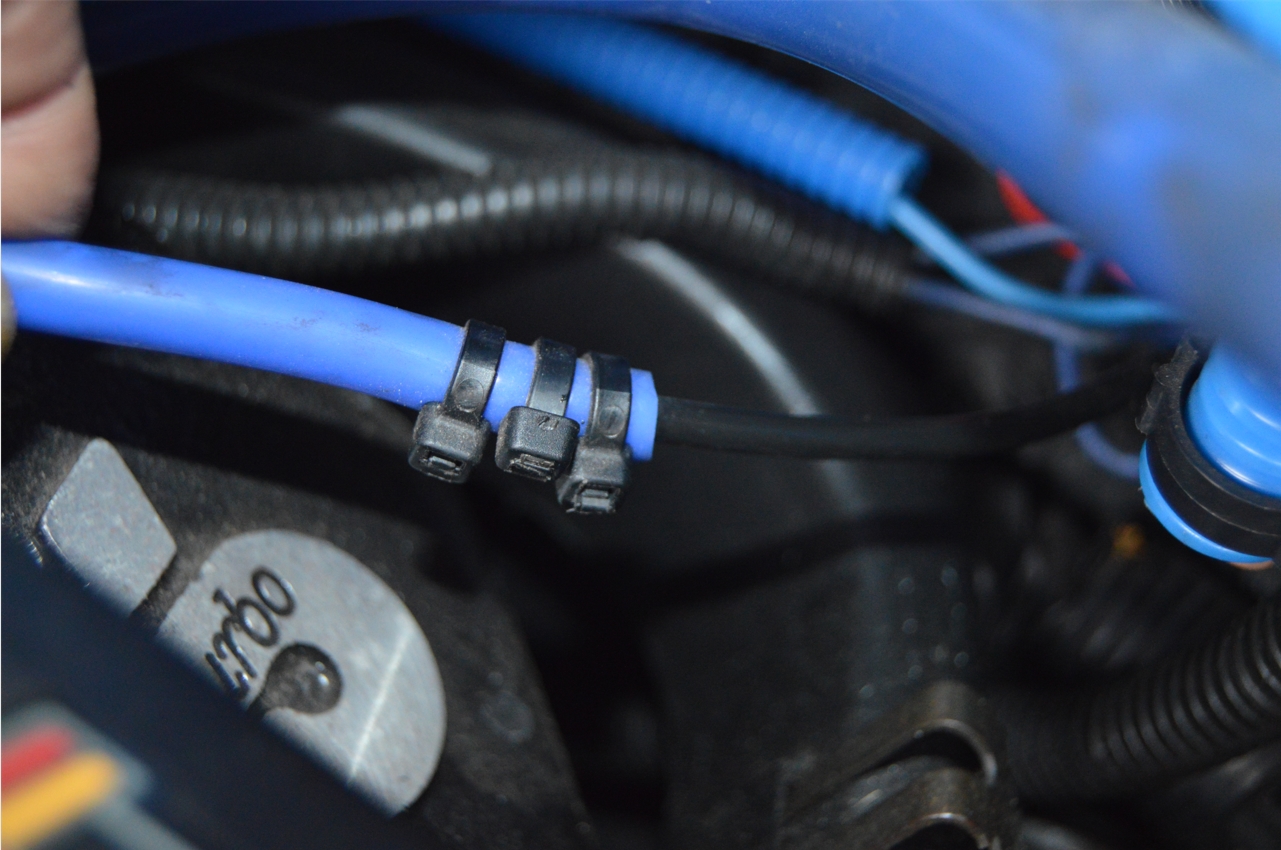
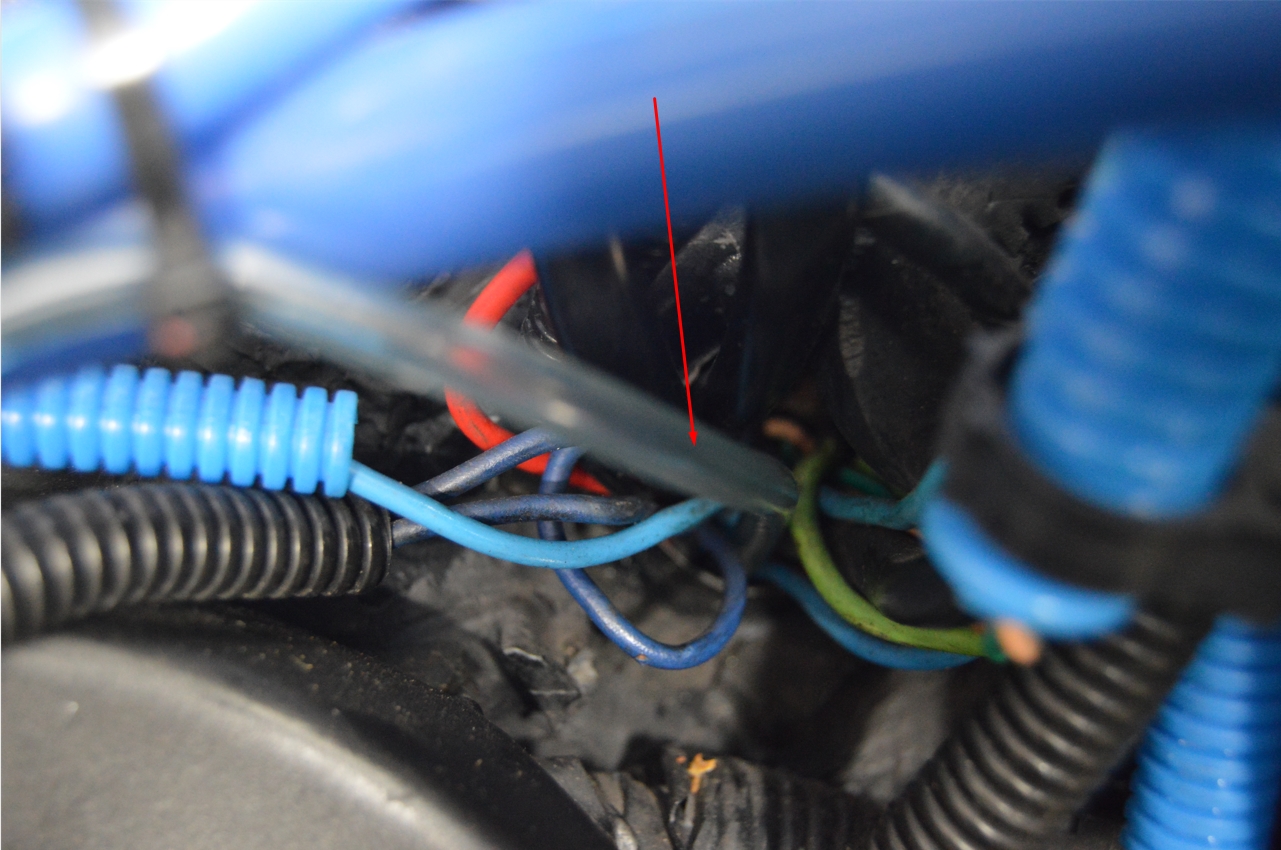
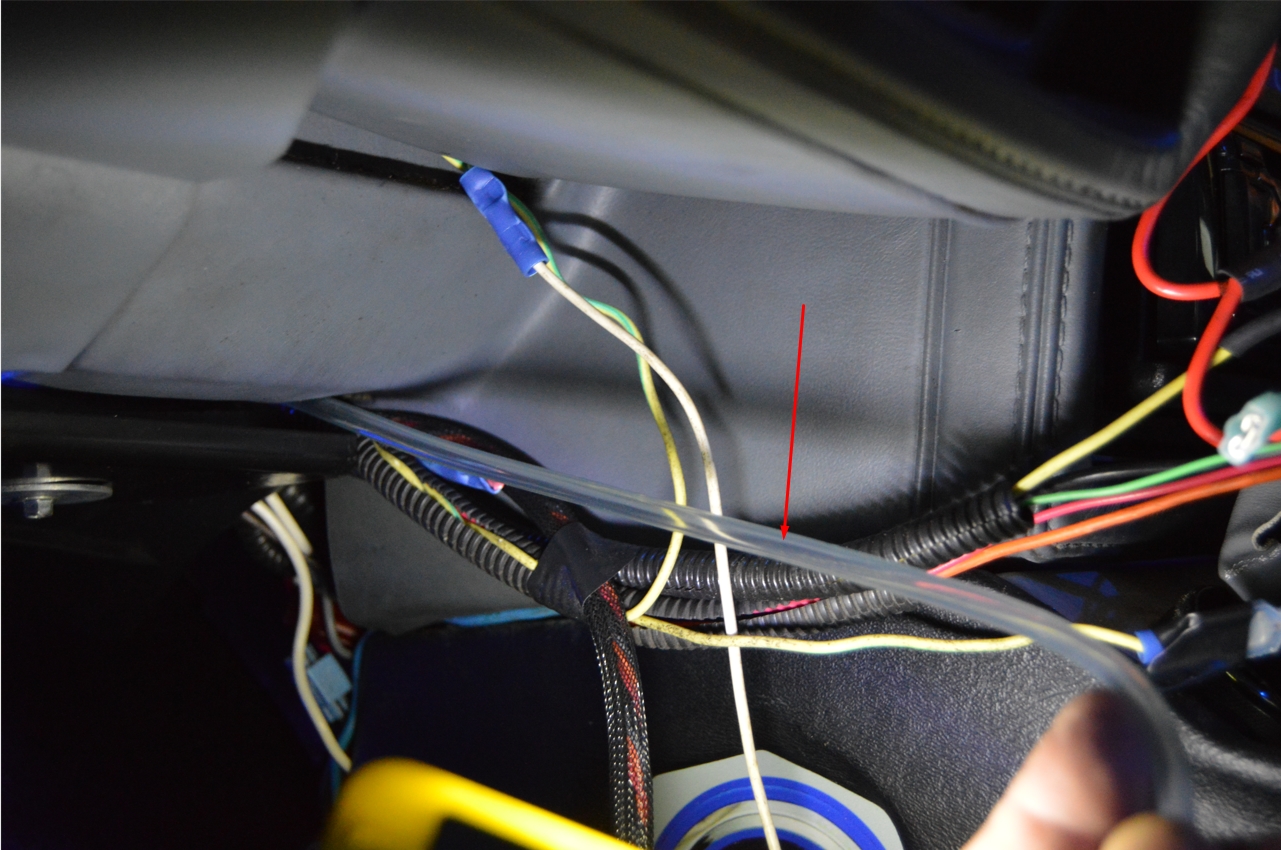
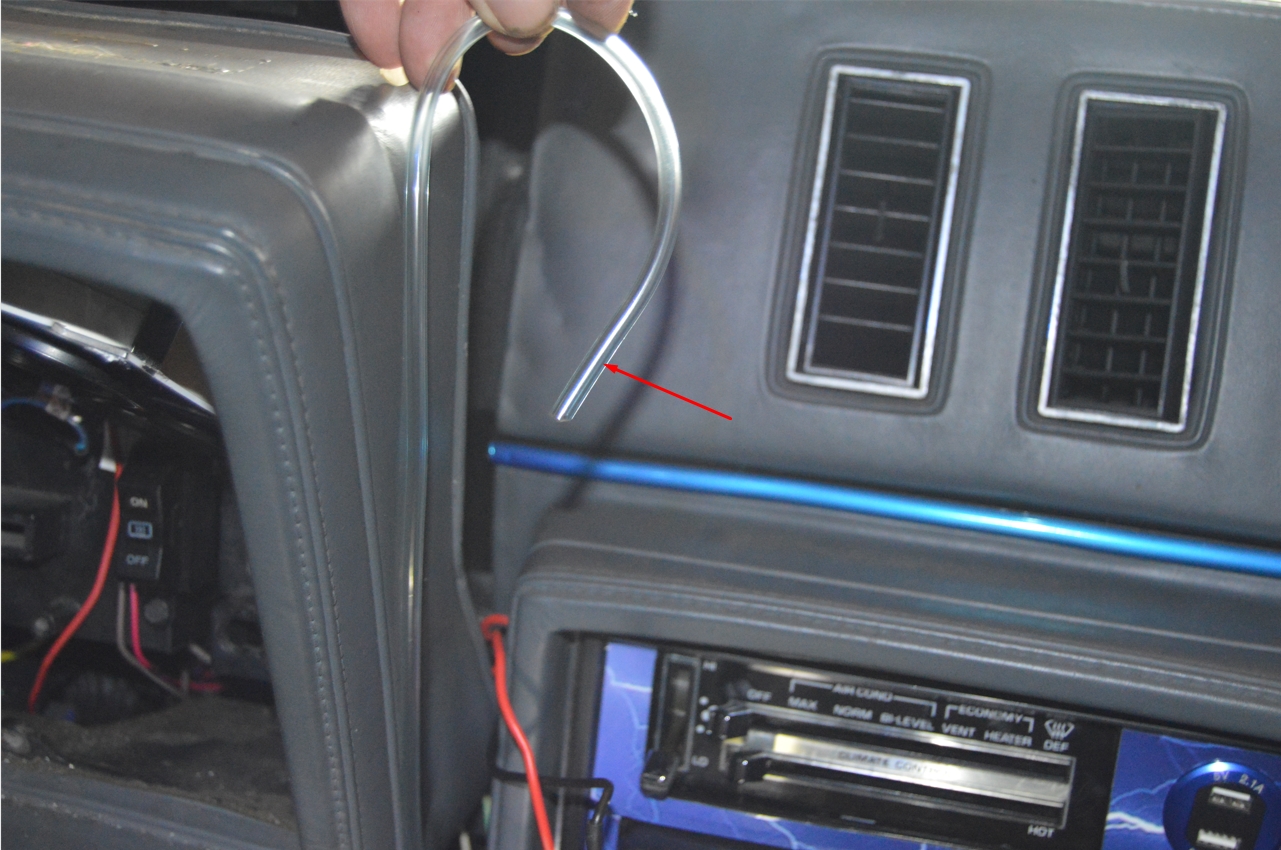
4. run the new vacuum line from a “tee” in the engine compartment (ours is spliced into the fuel pressure regulator line), thru the firewall (using the factory rubber grommet where the speedo cable goes thru), up, back and through the dashboard, wiggled over to the gauge pod.
[be sure to attach a zip tie on the vacuum line wherever you tee it into for extra precaution of it not popping off!]
5. connect the vacuum line to the new boost gauge.
[again, zip tie the hose]
.


.
6. connect up the 2 electrical wires for the lighting (yellow for power [tapped into the existing lighting source], black for ground). We used the existing lighting system already in our instrument panel (from the GNX dash setup).
7. check that the lights come on (& #8 below) before inserting & mounting the gauge into the pod.
8. start the Turbo Buick up and make sure the readings look good (for now; a precheck), and listen for air leaks.
8. mount the boost gauge in the gauge pod using the bracket.
.
.
9. drive the Gbody Regal around, in cruise around town mode (vacuum and low/mild boost) and in full boost mode, see if the boost gauge seems to read accurately.
[note, this gauge reacts a lot quicker than the old one did, perhaps because of the direct vacuum connection, or since it’s a smaller vacuum line than the old one was]
10. if all good, it’s done.
Another job done, check.
.


