


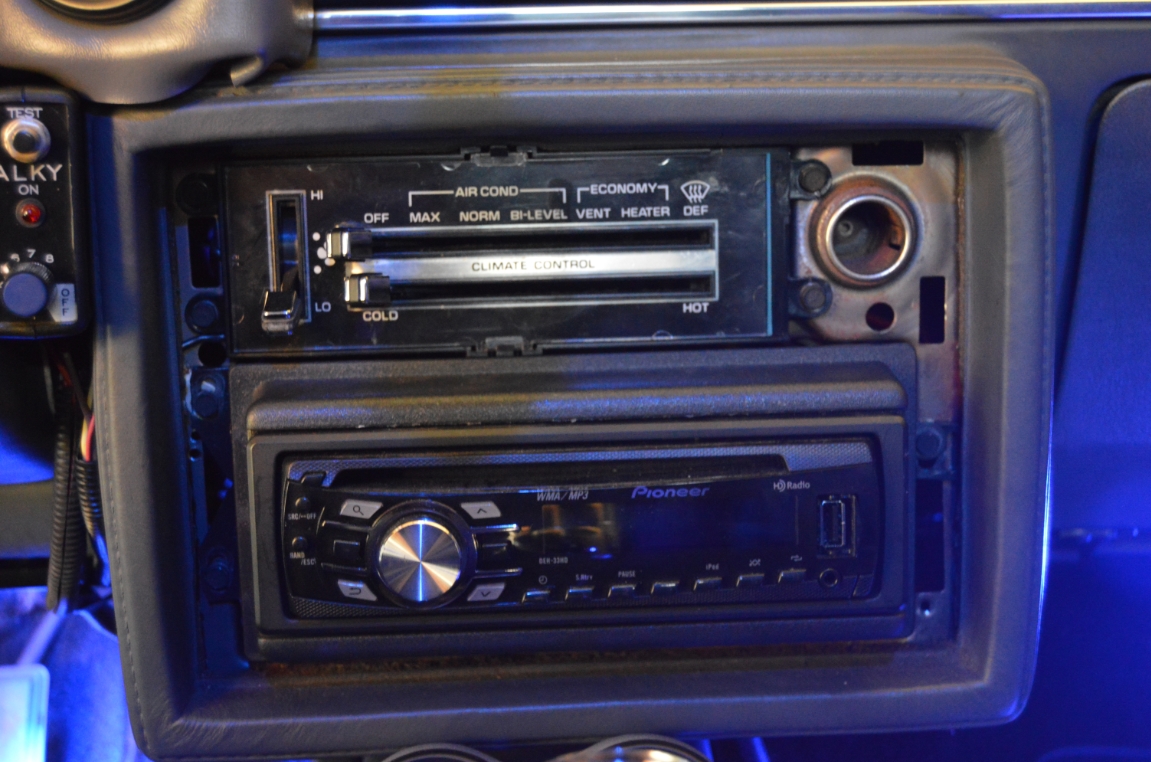
Pretty much no one uses their cigarette lighters like they were intended from the factory any more.
Such as this is the case, these outlets are sometimes utilized, via USB adapters that simply plug in, as a way to charge cell phones, etc.
These plug in units are an easy way to keep your Gbody Regal looking “stock” since they are easily removed when you want to put the OEM igniter back in.
However, it you don’t care about the car remaining factory looking, I found a really cool replacement.
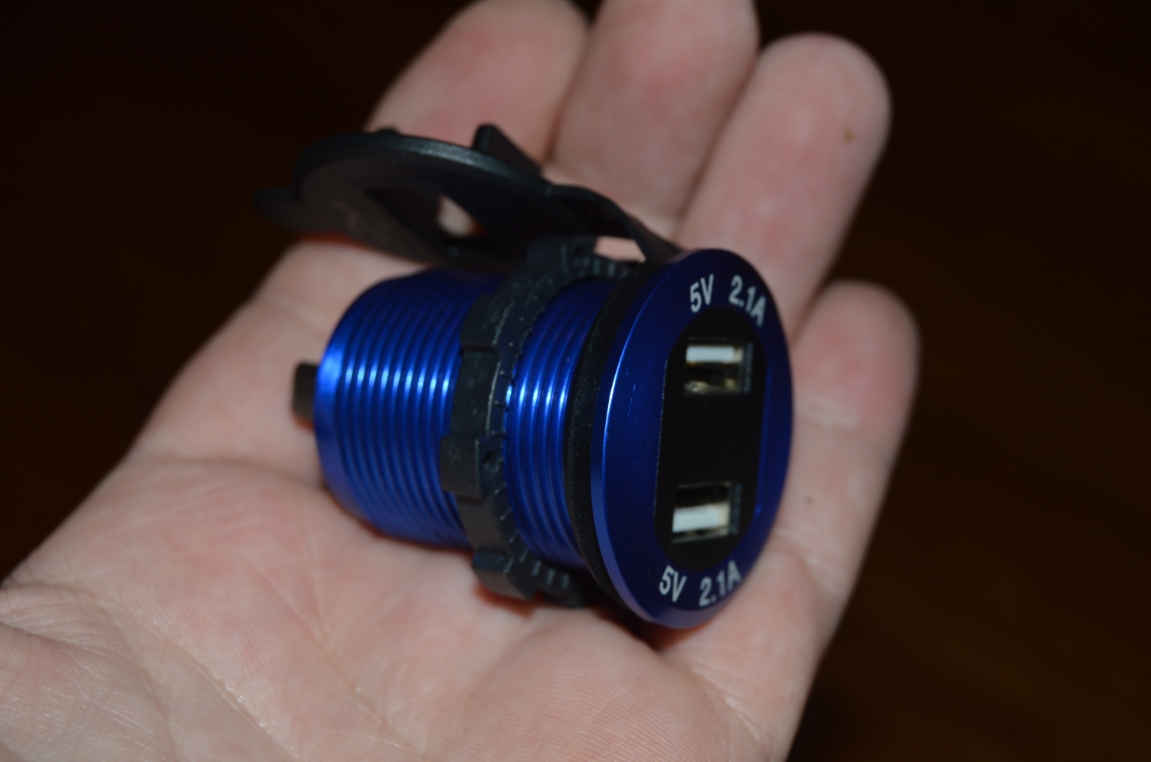
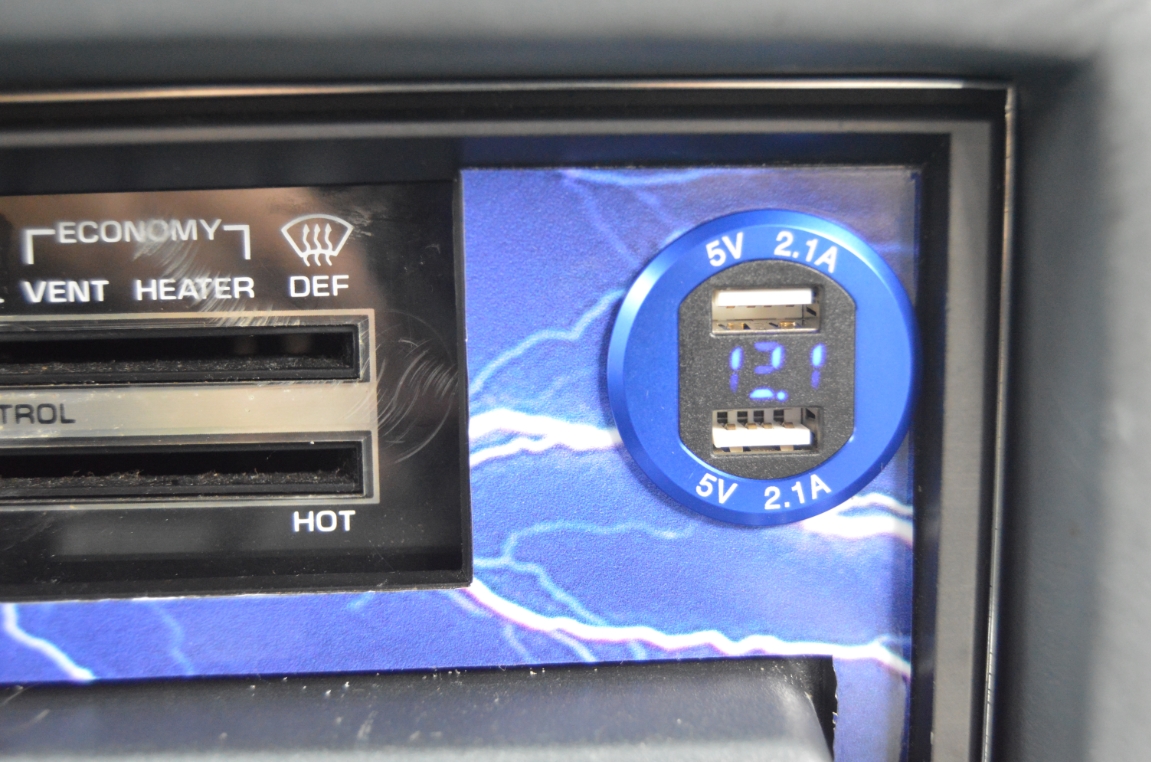
This dual USB charger fits into the existing radio bezel hole with minor mods, and is available for less than 10 bucks (plus you can get it in a few different colors, as well as some units having a voltmeter within).
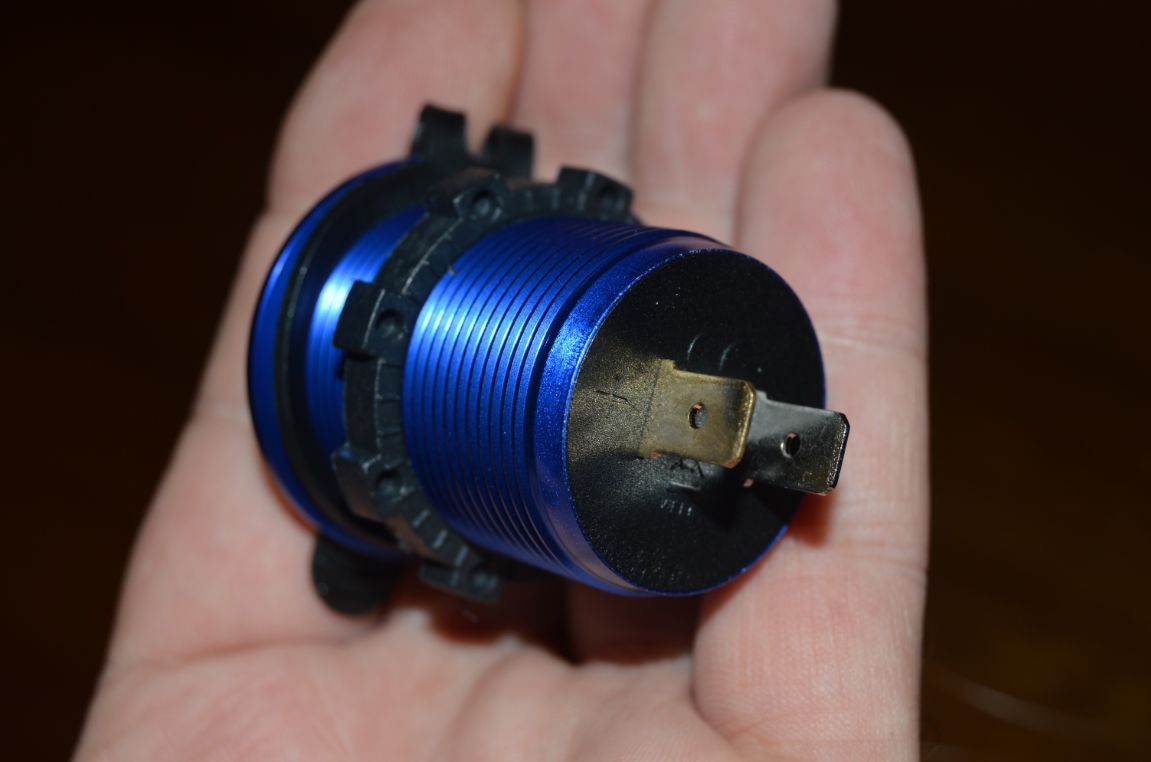
It’s a simple 2-wire hookup (positive/negative), but you’ll have to run new wires for these (using switched power if you get the type that has a built-in voltmeter).
We chose a cool looking blue unit (that goes well with the current blue scheme going on in this 1987 Buick Regal Grand National).
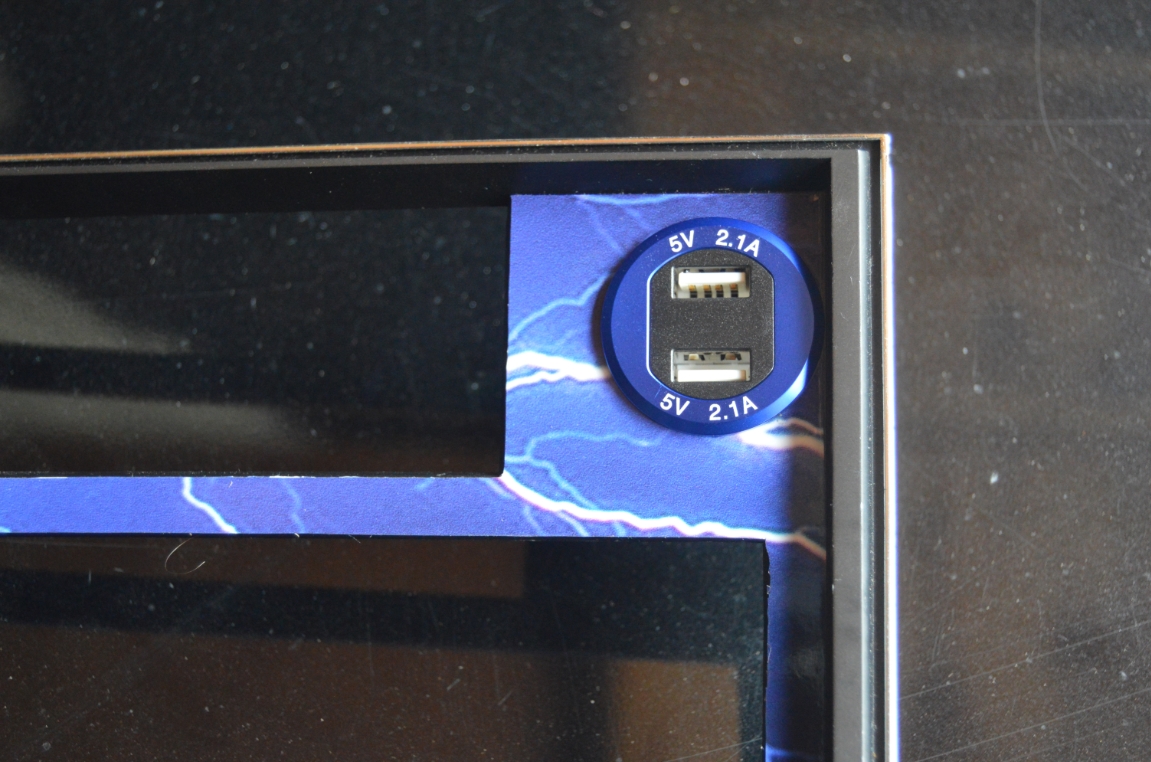
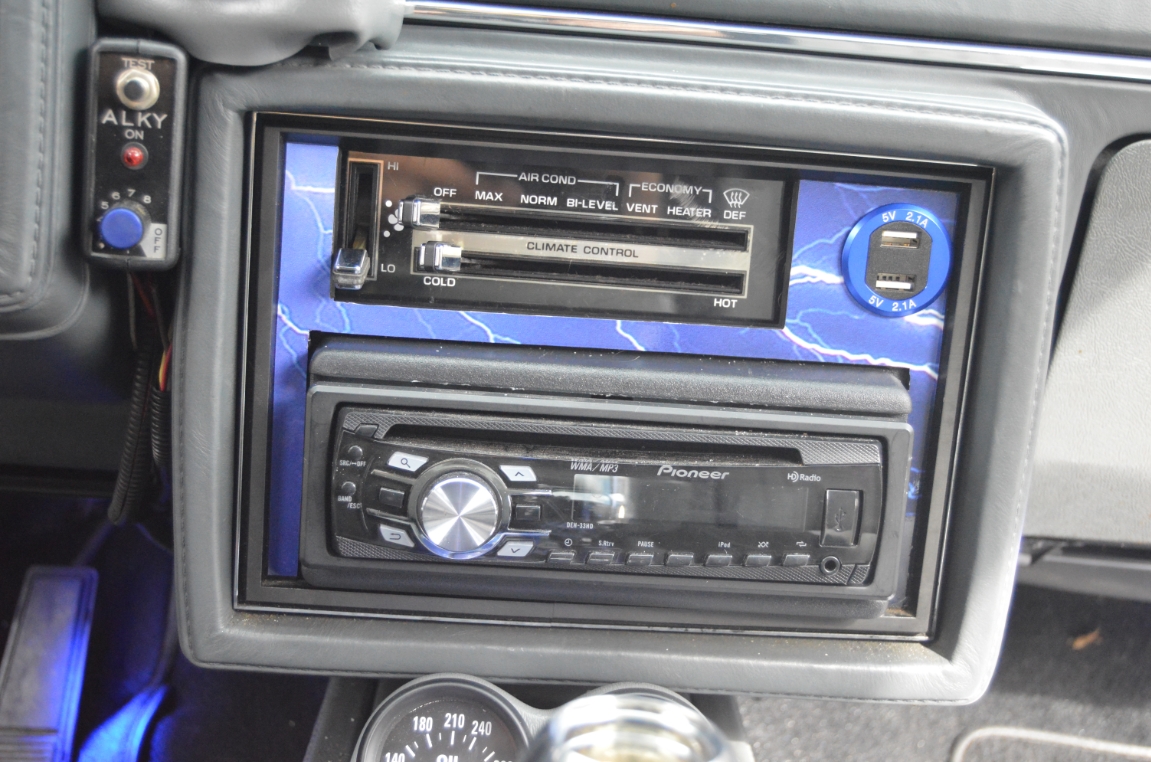
The whole job took like 15 minutes, and provides a convenient place to plug in a phone and an iPod.
The drawback once you do this, is you can’t go back to stock without further mods since you have to open up the existing metal hole to install this.
[Note: If you have any need for the lighter outlet, such as a radar detector or other device that utilizes a lighter cord, this mod is not for you.]
(although, you could always mount this new unit in another place, such as inside the console, etc.)
.
How to Upgrade your Turbo Regal:
1. Remove radio bezel.
2. slide usb charger thru hole, and secure with nut.
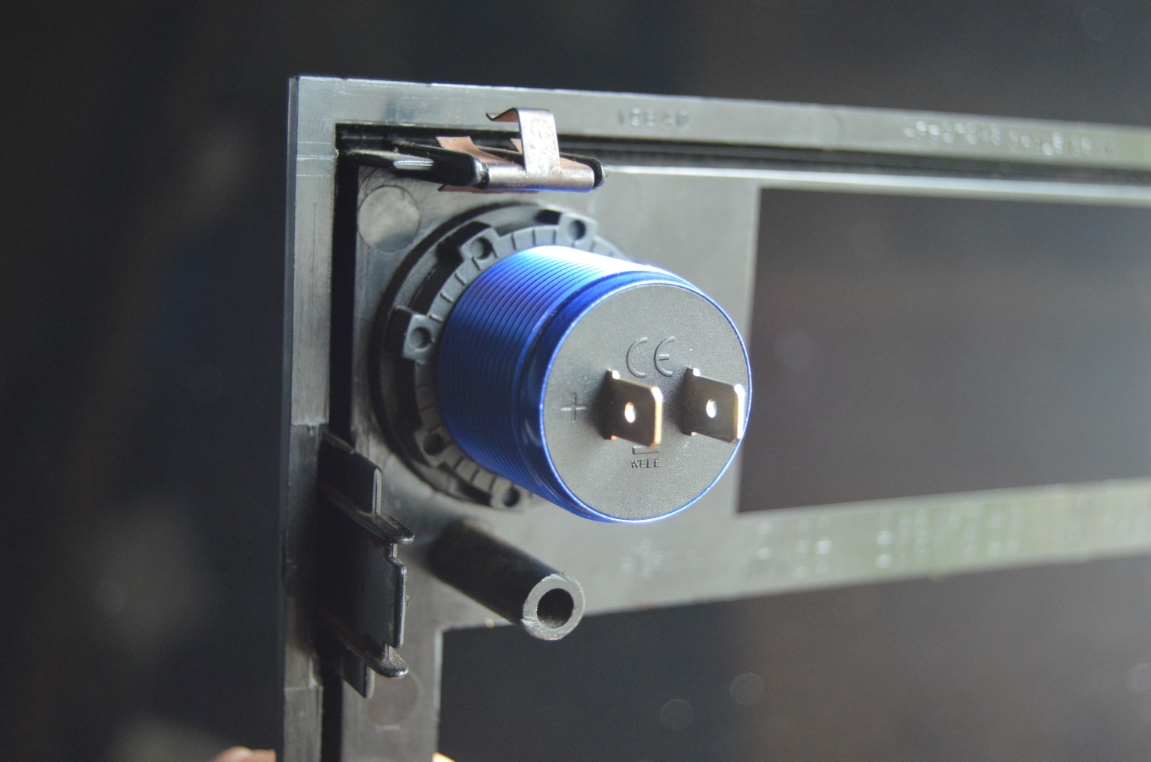
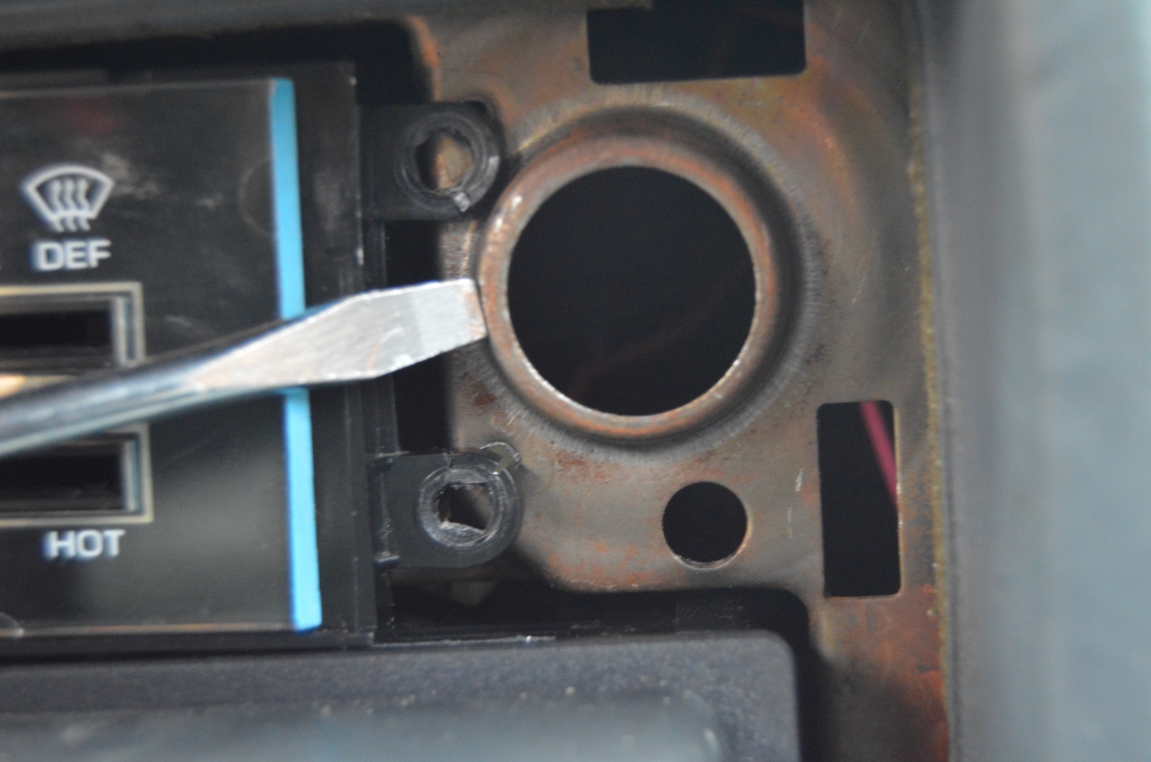
3. using a flathead screwdriver, pry out the cigarette lighter, disconnect the plug. Push the plug behind the bracket (since it’s no longer needed).
4. you’ll need to open up the hole in the metal bracket slightly since the new unit is a bigger diameter than the lighter. grind off the outer ring (all the way to where the screwdriver is).
5. run a new positive wire (from a switched power source off the fusebox), as well as a ground wire (to wherever is convenient). Connect it to the appropriate spots on the charger.
6. place the radio bezel back in it’s proper place.

That’s it. instant usb charging source!
[note: this new unit comes with a cover piece that fits into the 2 usb plugs keeping dust out, but we opted not to use it]
.
.


