So the owner of this 1986 Buick Grand National upgraded all of the dash lights for the gauges utilizing the new LED bulb technology available for these cars.
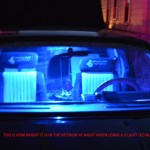
What a visually impressive difference this made!
However, after completing this task, he realized the rest of the lights were severally lacking in comparison…
and so the changes begin…
(a few of them as a matter of fact, which you can read about for the next few days on this site, stay tuned…)
The next step was upgrading the dome light.
Done.
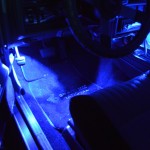
Cool!
But now…
The drivers side was still very dim comparatively.
And that’s even AFTER we installed a new LED bulb in the socket.
[note: the passenger side light utilizes a bigger bulb
(like the one under the hood)
than the drivers side does
(which is the same type bulb as the gauges use)]
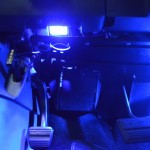
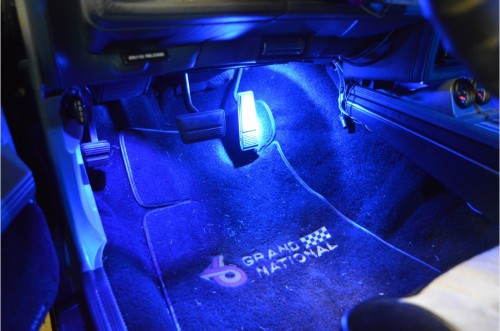
We placed it above where the gas pedal is.
There’s a nice existing hole in that lower dash cover
(the panel that the vent is in under the steering column)
where the new fixture can pop thru to illuminate this area.
We acquired a new light fixture (which is the exact same one as used on the passenger side) allowing a LOT more light to shine down on the drivers side floorboard.
PARTS:
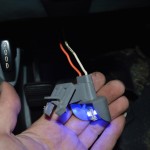
* 2 wire extensions (2 16″ pieces of wire, 2 butt connectors, 2 quick connects)
* LED bulb ($3-$10 ebay depending on what type of LED you buy)
INSTALLATION:
* less than 1/2 hour.
HOW-TO:
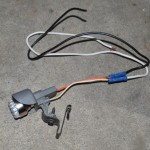
(2 screws + 1 nut)
2. drop down the stock light
(squeeze the clips in & push up).
3. attach your new wire extensions to the new fixture.
4. use quick connects to tap the wires of the factory light
(we color coordinated the new wires with the existing ones).
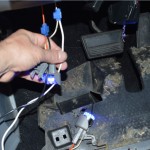
5. reattach the stock light fixture in its factory location.
6. run the new wires over towards the center
(we zip tied them to existing wires under the dash).
7. position the new light in the hole of the cover, then reattach the cover to the dash.
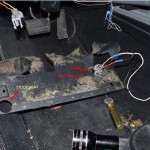
{nothing actually secures the new light in place, but since the fixture is large enough, it seems to sit nicely in place all by itself, not to mention the other wires that are up there kind of jam it into place as well}
8. if the new light bulb isn’t protruding thru the hole, manuever it into position.
9. That’s it.
It’s finished.
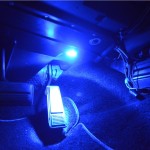
(well, perhaps you’ll have to wait until the night time to actually SEE the difference! but trust me, it’s HUGE!)
[note to those seeking anonymity at night: DON’T do this mod! You’ll be identified!]
