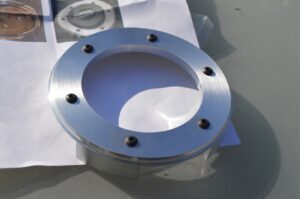
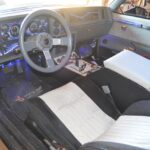
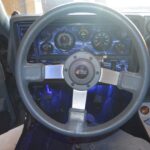
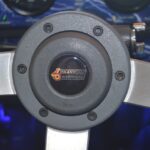
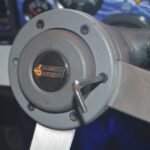
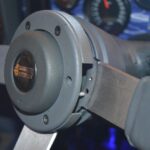
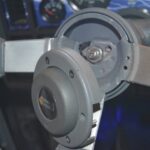
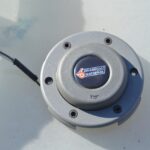
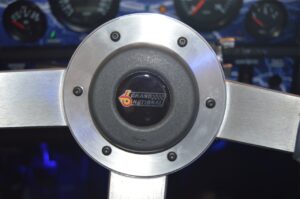
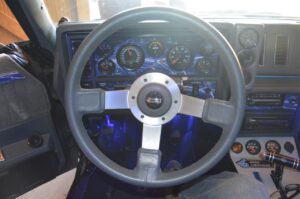
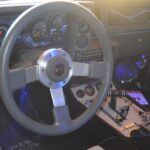
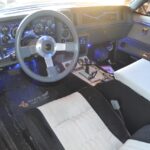
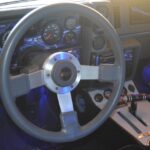
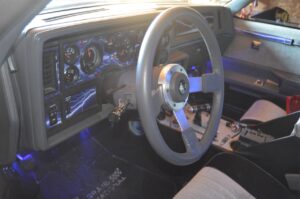
What a cool new bling piece to add to your Regal Gbody interior.
Crafted from a solid chunk of billet aluminum, these made in the USA pieces were originally designed by RJC Racing way back in 1995!
(meaning the company and parts have been established for awhile & the product still holds it’s value in the Buick community as a quality part to this day)
I’m sure most (present, or at the time) new Buick Grand National owners (as well as the T-types, etc.) had a vision in mind for what they wanted to do to their vehicles when they first acquired it. Assuming, of course, that your vision wasn’t to simply keep it totally stock.
This specific part was one we had on our “wish list” for about a decade now, then life got in the way, other things needed more attention, etc., but now it was time to finally get one for our 1987 GN!
This billet horn ring not only jazzes up the inside of your Turbo Regal, it serves a useful purpose as well, since the OEM versions (made of plastic) tend to crack constantly.
No worries with this one, metal doesn’t crack (easily), plus it’s stylish and gives your Turbo Buick a racing look to it (even while it’s standing still!).
Yesterday, we added a new Buick Grand National steering wheel to our car.
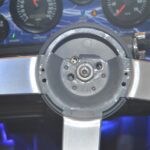
Today, we are replacing the factory horn ring (the gray part that surrounds the horn button in the very middle of the steering wheel) with this high tech looking metal unit (a machined finish, like brushed aluminum).
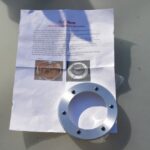
When you get this product, it comes complete with all screws and mounting hardware.
Installation is pretty simple and it makes the steering wheel look pretty trick!
[Note that when you order this horn ring, it does NOT include the factory center gray rubber horn piece part, it’s just the metal ring by itself]
.
.
.
Here’s what you get in the package:
.
.
PART COST:
– $65
.
COMPLETION TIME:
– about 5 minutes
.
TOOLS:
– 5mm (3/16″) allen wrench (factory screws)
– 3/32″ allen wrench (new screws)
.
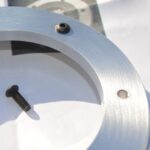
[note that the heads on the bolts of the new ring are much smaller than the factory version, but all 6 bolts on this item match each other just like the OEM style does]
.
HOW TO:
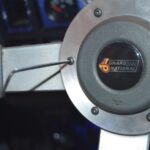
1. Remove the 2 original screws (9 & 3 o’clock) using the 5mm allen wrench.
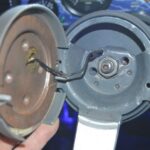
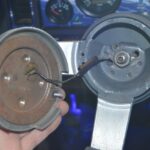
2. Gently pull the stock horn ring assembly off.
(the assembly will stay there dangling by the 1 electrical wire connection)
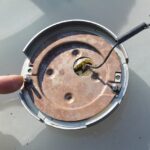
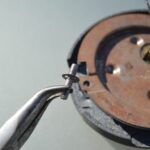
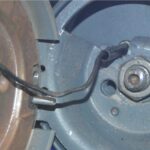
3. unclip the horn button wire.
(push in and turn counter clockwise)
BE CAREFUL with this! These plastic pieces break easily!
.
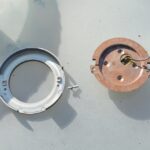
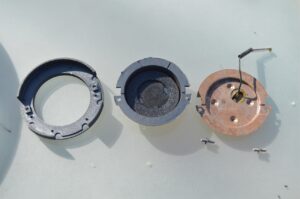
4. Separate the horn assembly from horn ring. There’s 4 pieces total for the horn assembly:
~ the outer horn ring (plastic ring – which you will be replacing)
~ metal backing (that has the horn wire riveted to it)
~ (foam & metal) contact plate
~ and the center gray rubber part
You ONLY need to remove the actual horn parts (3 pieces, all together) from the horn ring, you don’t need to disassemble the entire thing.
5. Remove the 2 studs that hold it all together.
Don’t bother trying to remove that small round clip on the studs, there’s no need, simply unscrew the stud itself, ours were loose enough to turn and remove them by hand.
Discard these (or put in storage), they are not used with the new horn ring.
.
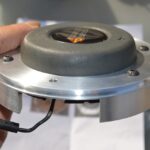
6. Reinstall the horn assembly (3 piece combo) into the new ring.
7. You will NOT use the 2 (factory) retaining studs on the new horn ring assembly.
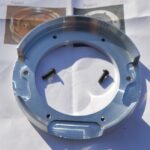
8. Line up the 2 cutout tabs in the rubber piece with the 2 screw holes in the new ring.
.
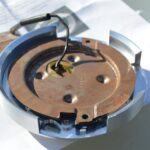
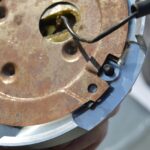
9. Bring the new horn ring assembly near the steering wheel and insert the horn wiring into place.
(push black sleeve into white tube and turn clockwise)
(you should pre-locate the 3 cutouts on the back of the new ring to match the steering wheels 3 spokes)
(BE CAREFUL with the horn button parts! These plastic pieces break easily!)
10. Push the new horn ring onto the steering wheel.
(make sure the horn wire falls into its proper place, and NOT on top of the center shaft)
11. You may have to hold it in place while securing the 2 bolts (at 9 & 3 o’clock) using the 3/32″ allen wrench.
BE CAREFUL when screwing down these screws, DO NOT overtighten!
(also BE WARNED that if the center shaft that protudes out of the steering column is too far out, or the horn assembly parts aren’t aligned properly, it may push into the horn circuit when you tighten the ring down – triggering the horn to go off!)
[if you have horn issues like it not working, see yesterdays steering wheel post for tips on how to fix]
.
.
Voila, done!
Sit back, relax, admire your new interior bling!
Let’s just hope this sexy new part doesn’t make the rest of your interior look lacking now!
.
AFTER INSTALL, with new RJC Racing Billet Steering Wheel Horn Ring:
.
.
Most Buick Turbo Regal owners will now probably put their old stock part in a storage box (or tool box, a drawer, etc.) after installing this new awesome piece.
(not a bad idea if you want to keep all of your OEM items for future use or for the next owner should you ever decide to sell your automobile)
Not us though, as we’ve said before, when we upgrade something, we sell off the old stuff.
I’m sure we’ll get a few bucks for it, which generally helps pay for the new parts (and most likely will put some money in our pockets too, considering OEM parts are in high demand!).
.
Want to get your own cool horn ring like this? GO HERE
.
.
.
.
.
.
The vendor shown above has supplied us with the parts we used in this project, per our request. If you are looking for similar parts, don’t hesitate to inquire with this specific vendor!
.
.


