


After years of trusty service on your Turbo Buick (perhaps even since it was first installed at the Flint, MI, Buick plant), there will come a time when your steering wheel will need to be swapped out for a new one (whether that means an OEM version or a fancy new custom type of some sort or another).
Perhaps the leather (or urethane vinyl) is totally worn out, or even tearing apart.
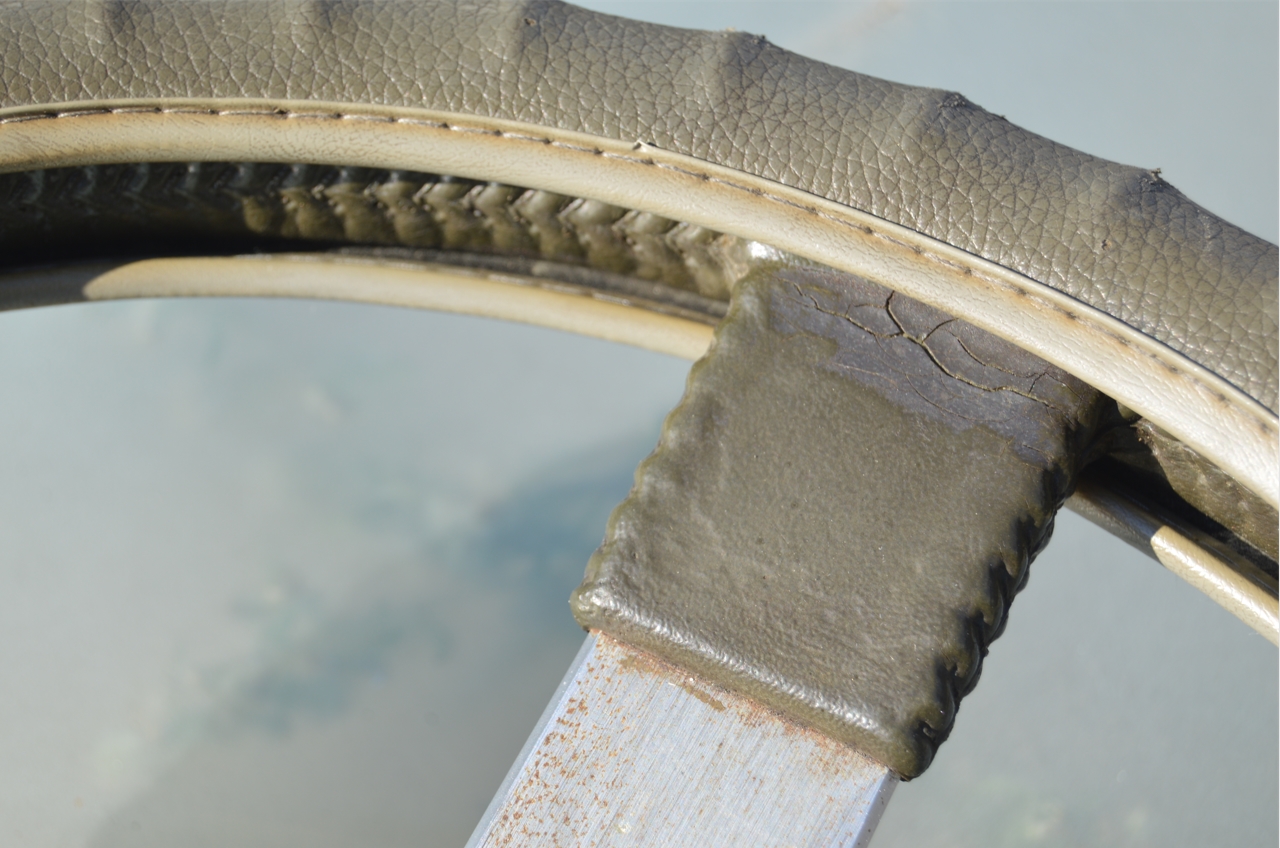
Or, as in most cases (like ours), the leather has become simply nasty looking, cracking and shrunken up.
The sun and heat will do that, as well as just simple aging over time.
The easy solution, is obviously putting a steering wheel cover over it (which is hopefully just a temporary situation).
It’s cheap and effective. That’s what we did for a long time.
.
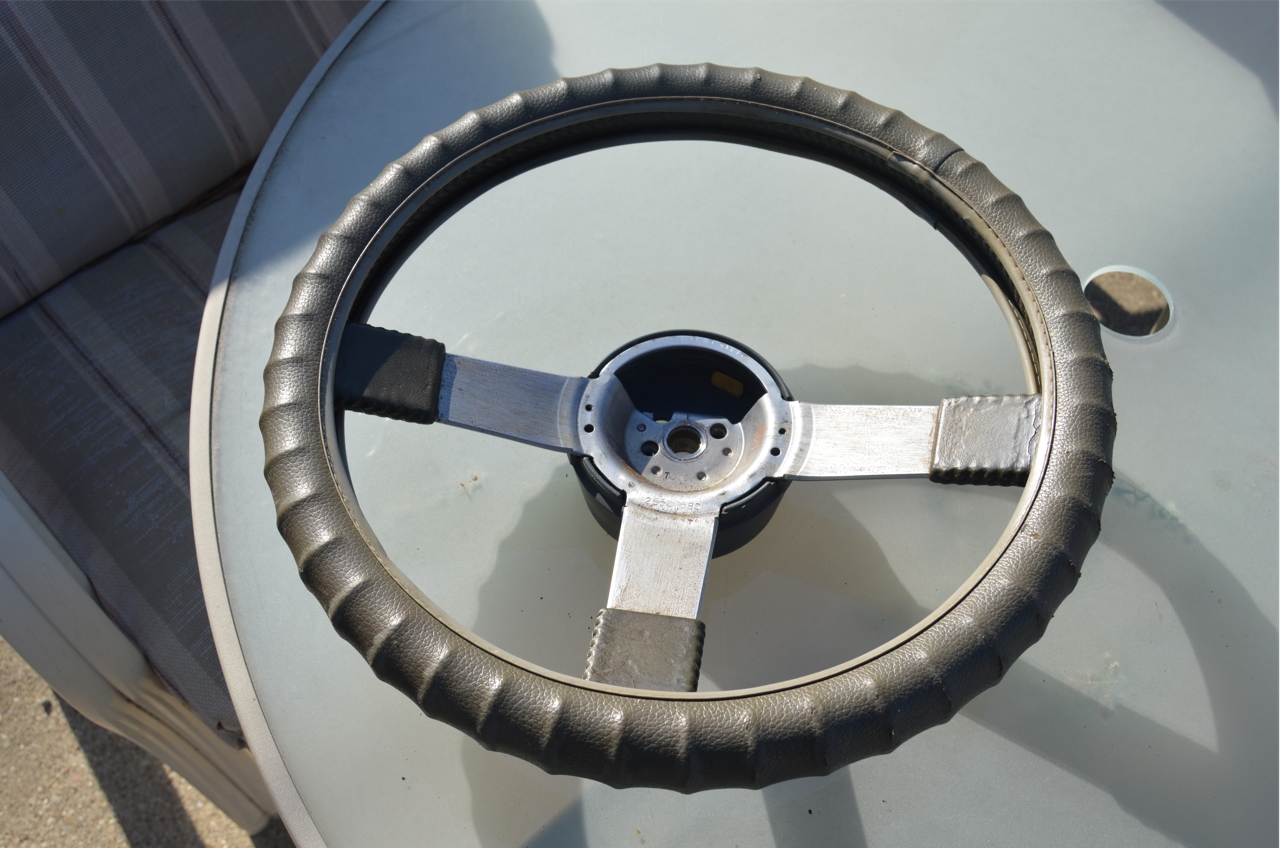
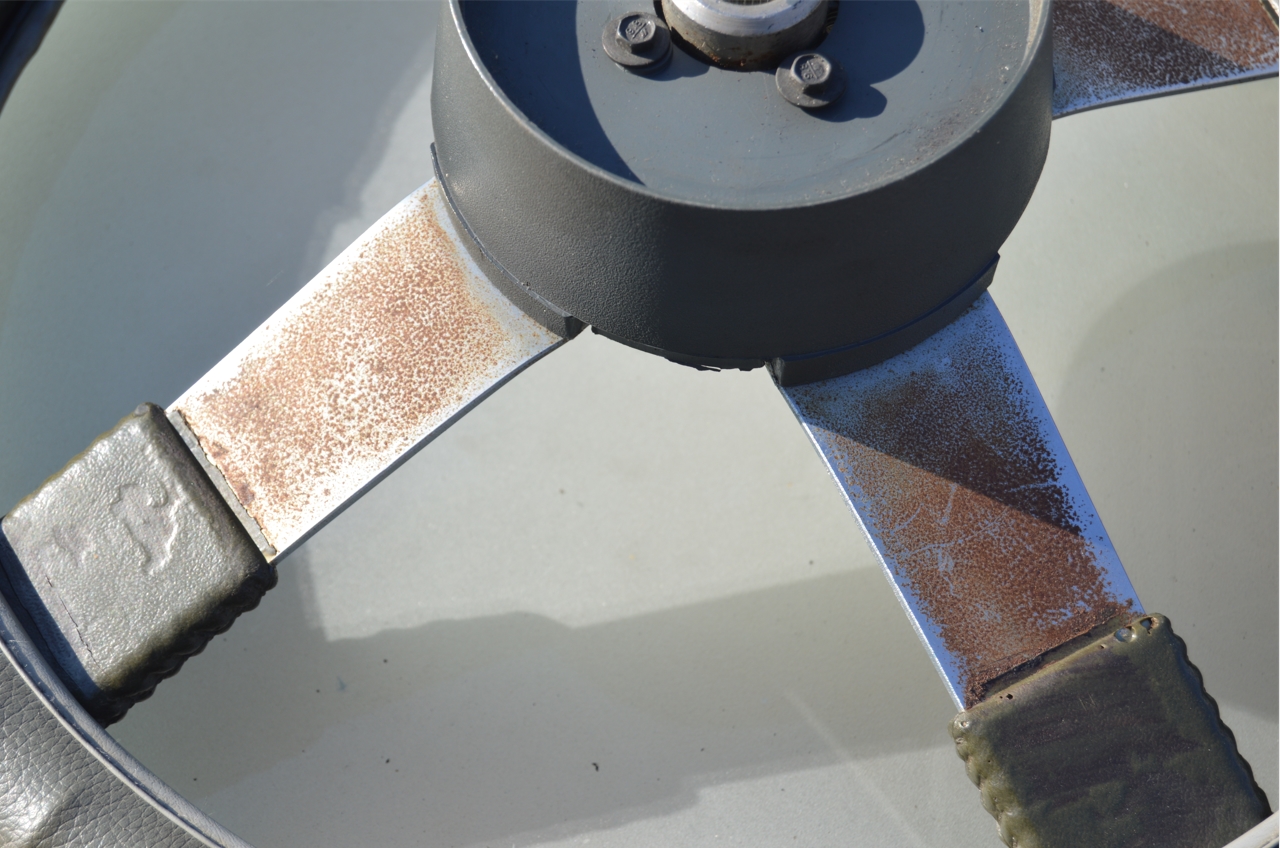
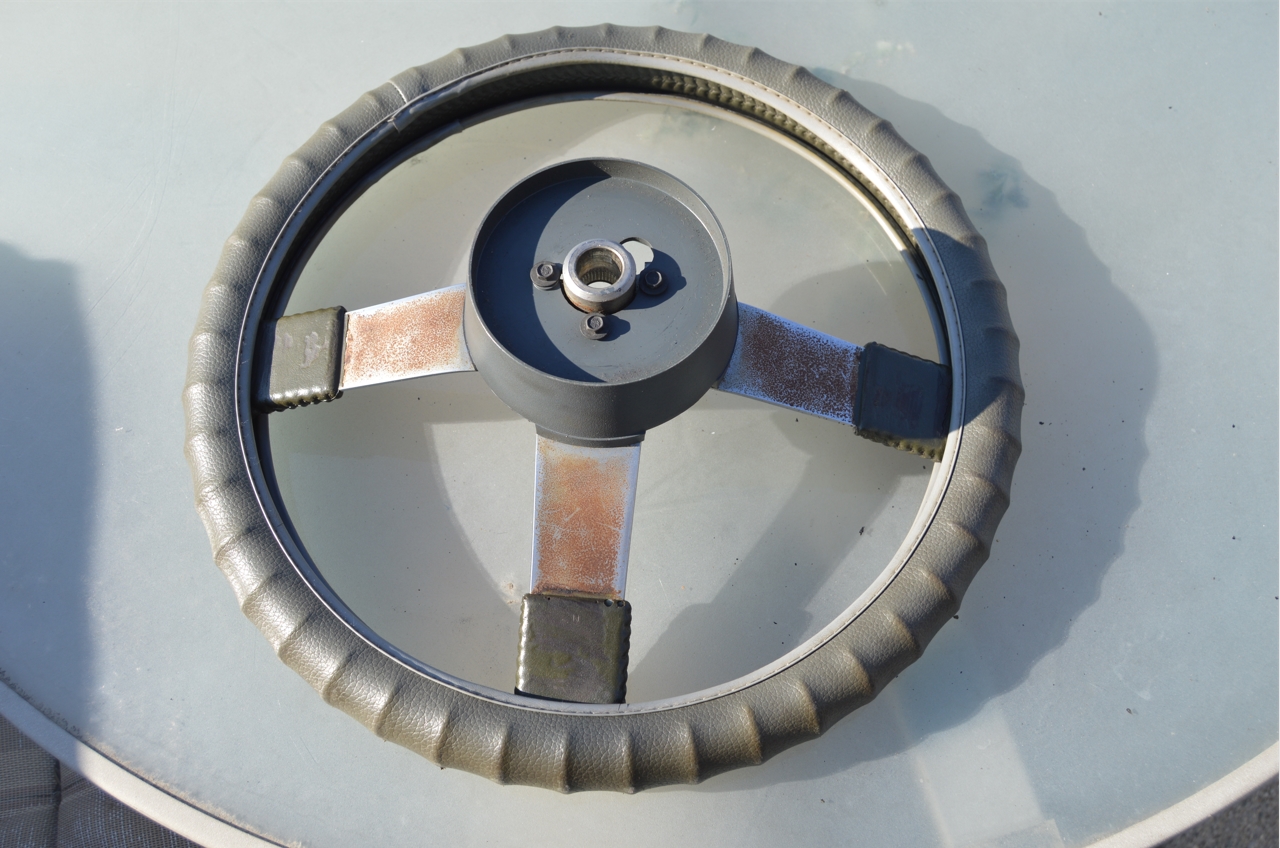
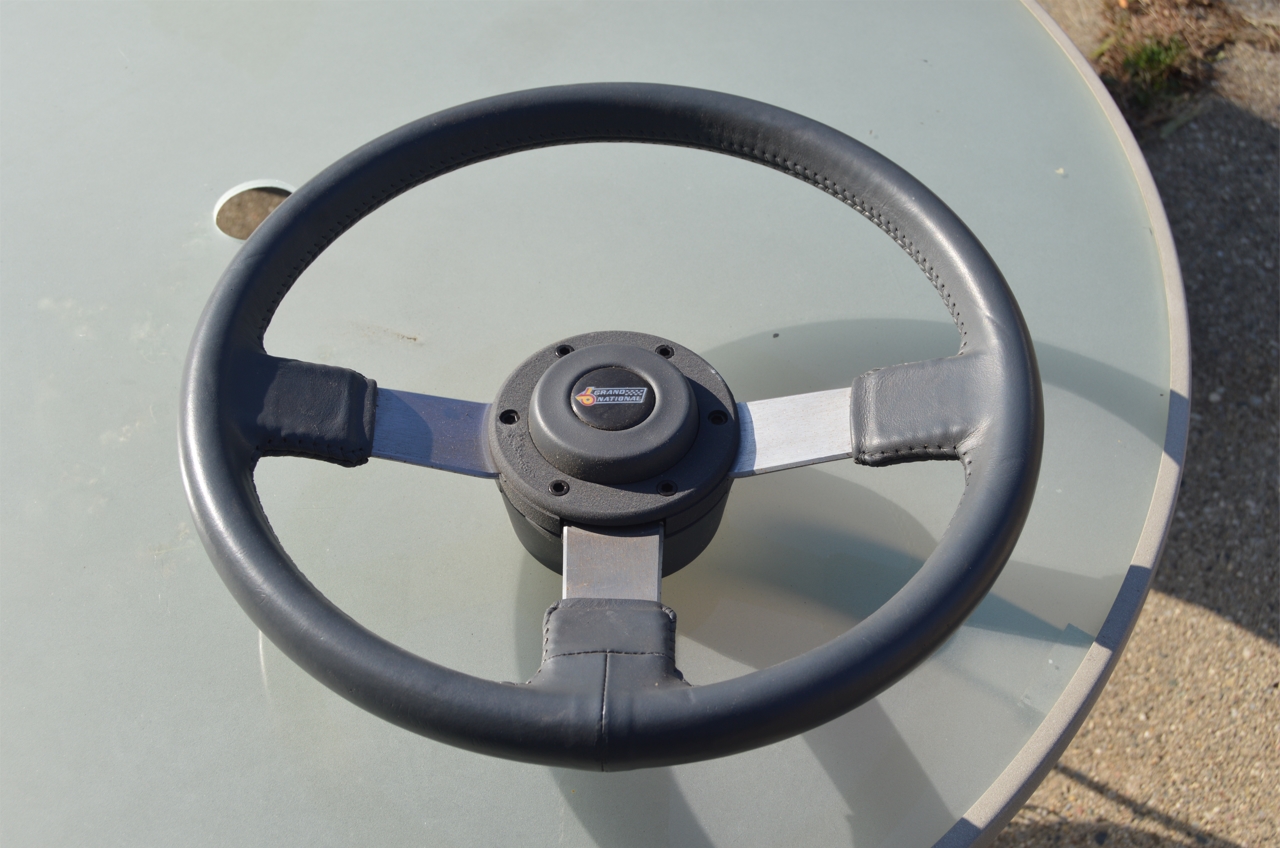
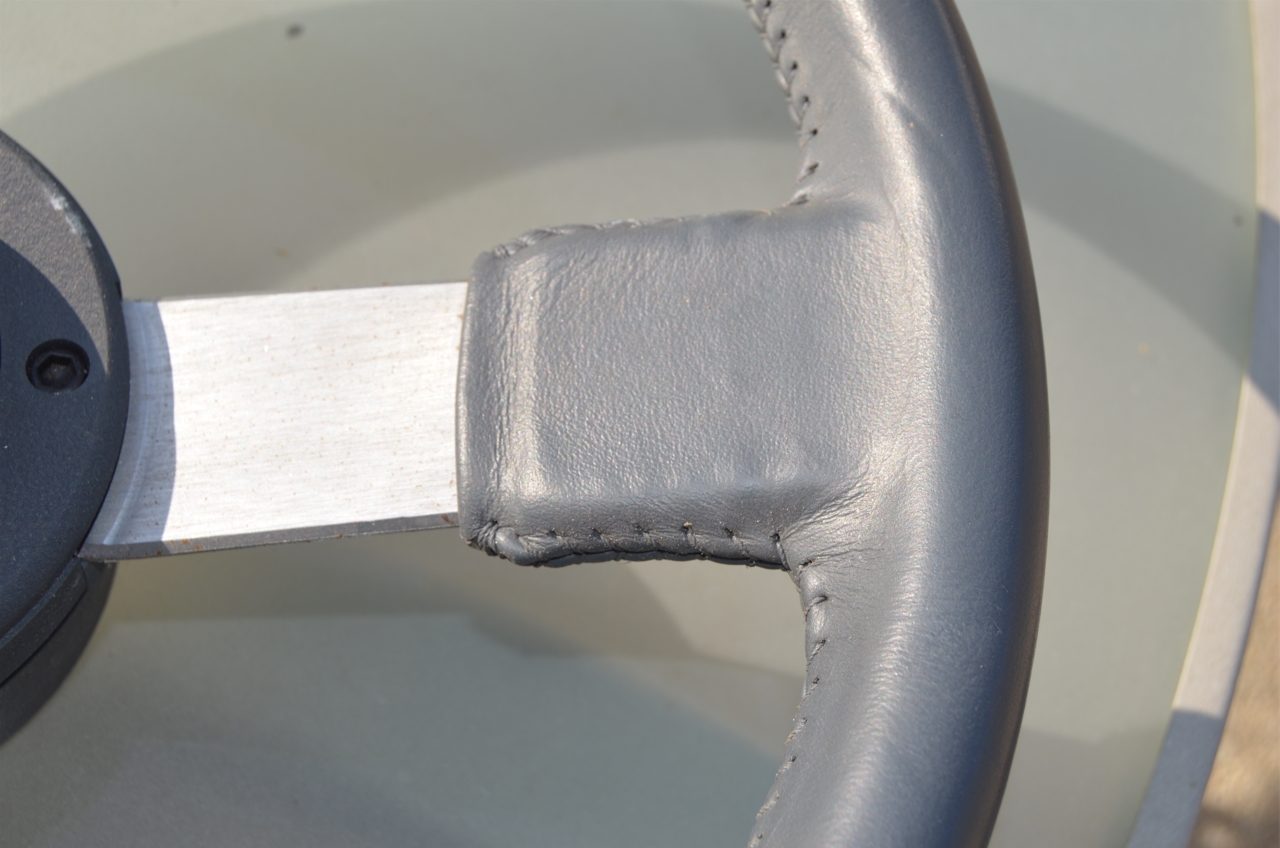
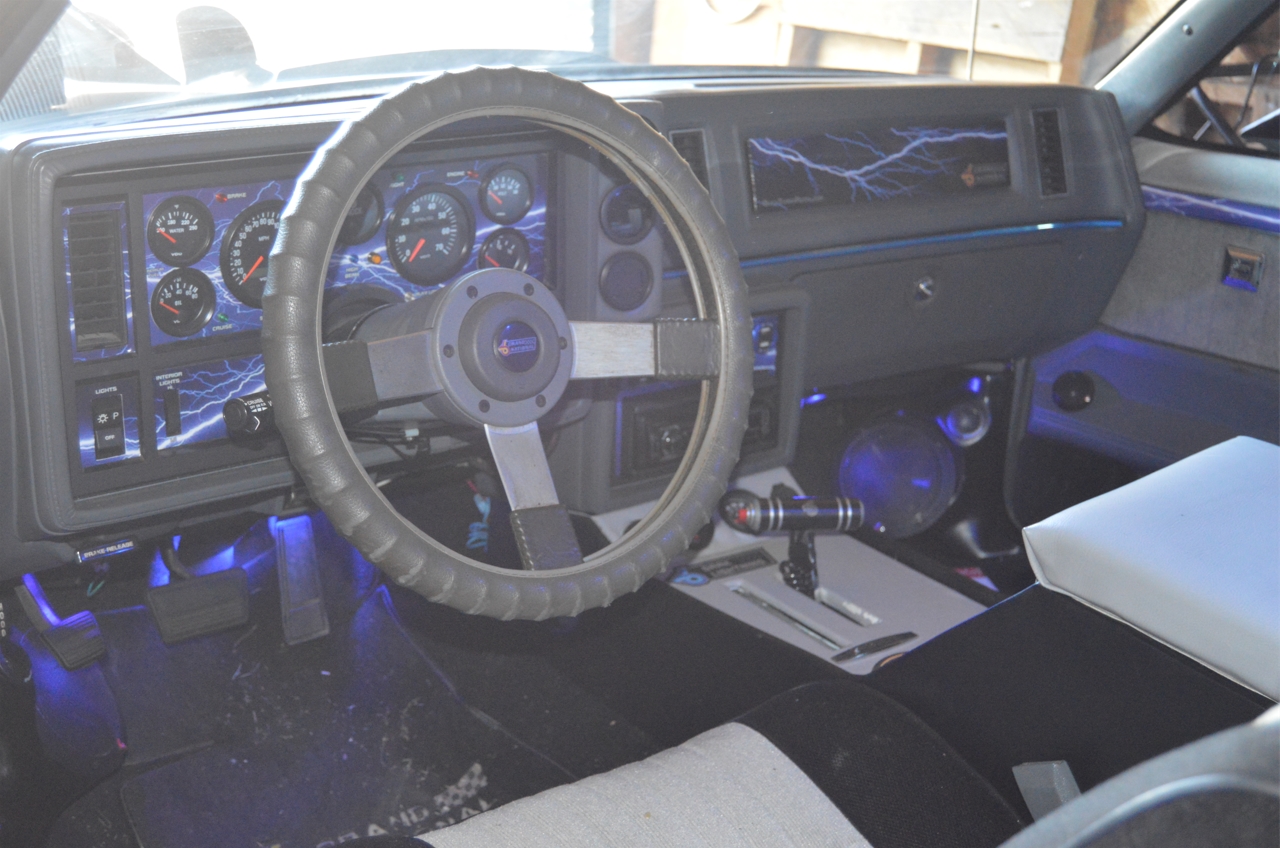
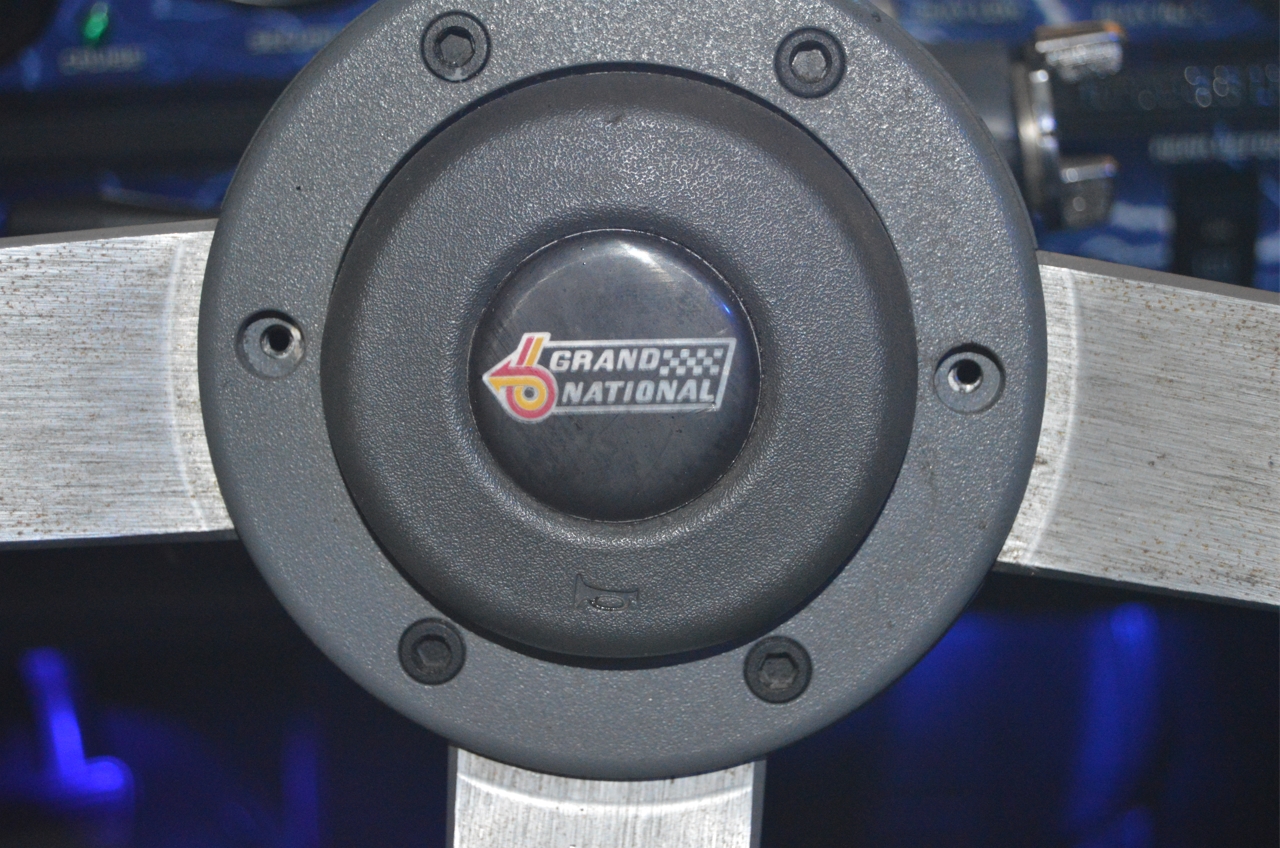
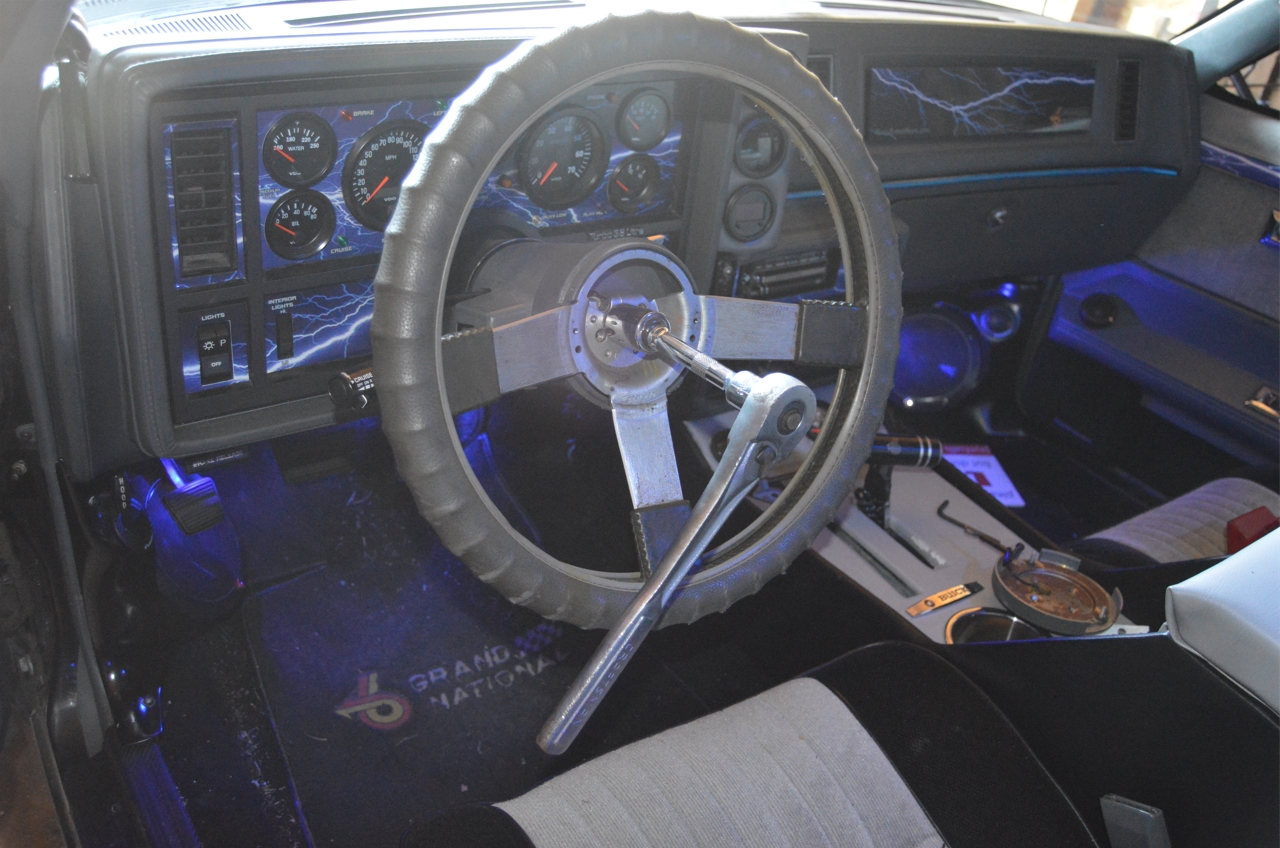
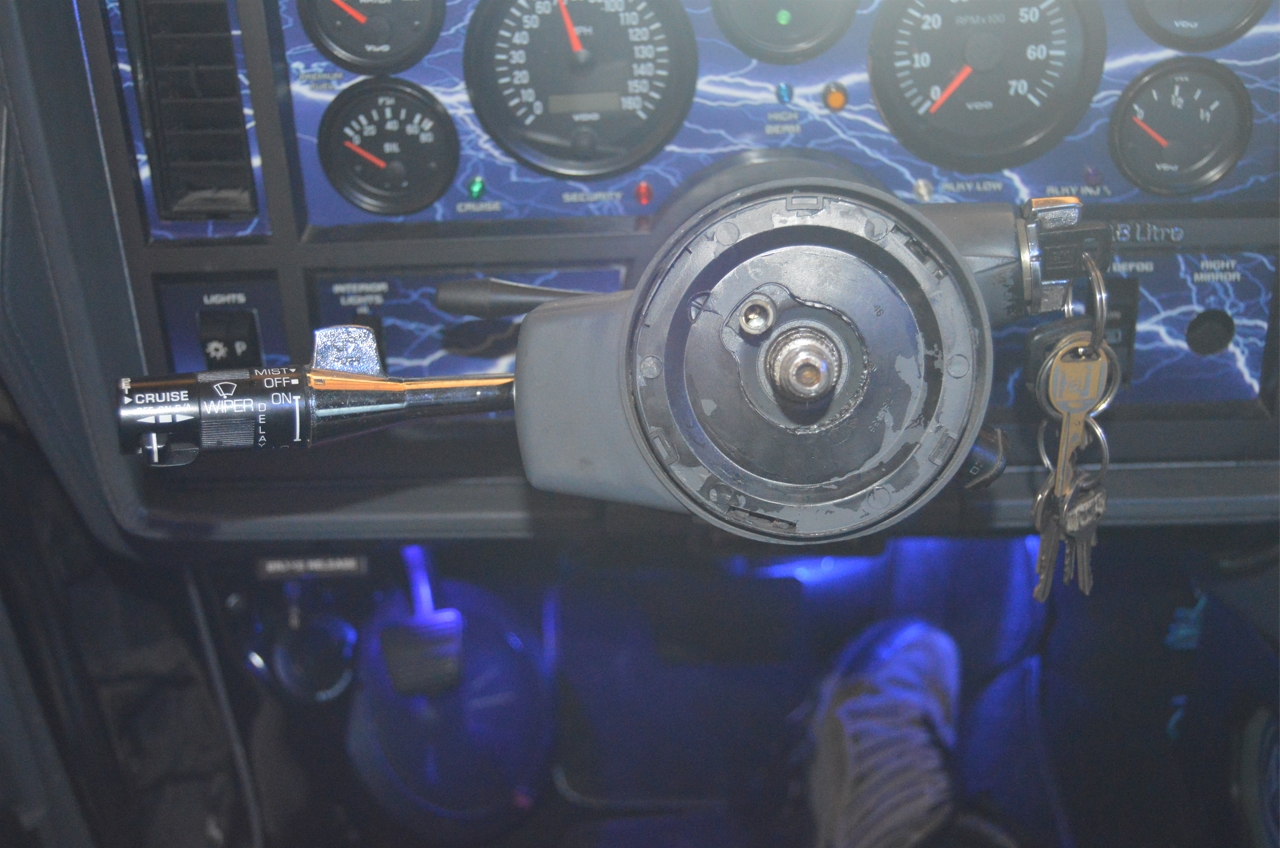
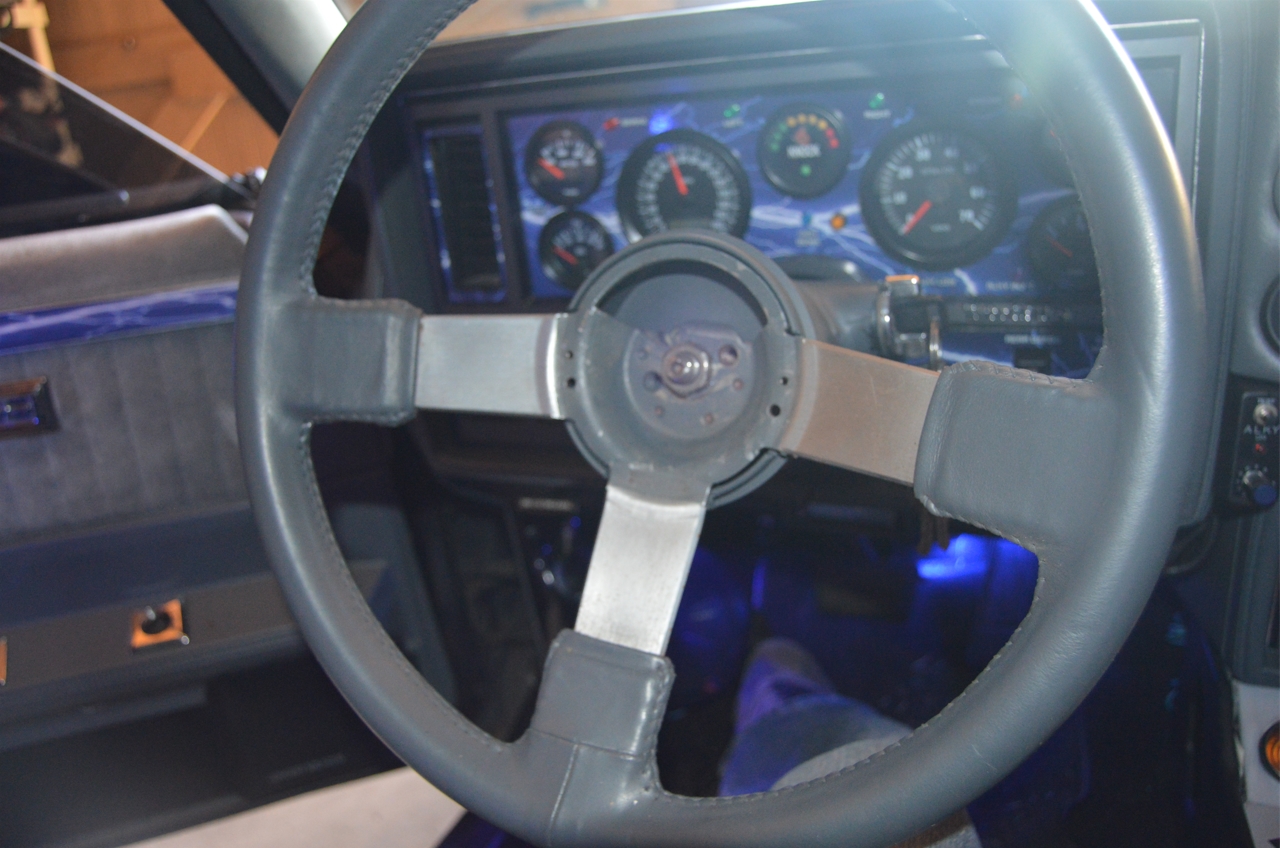
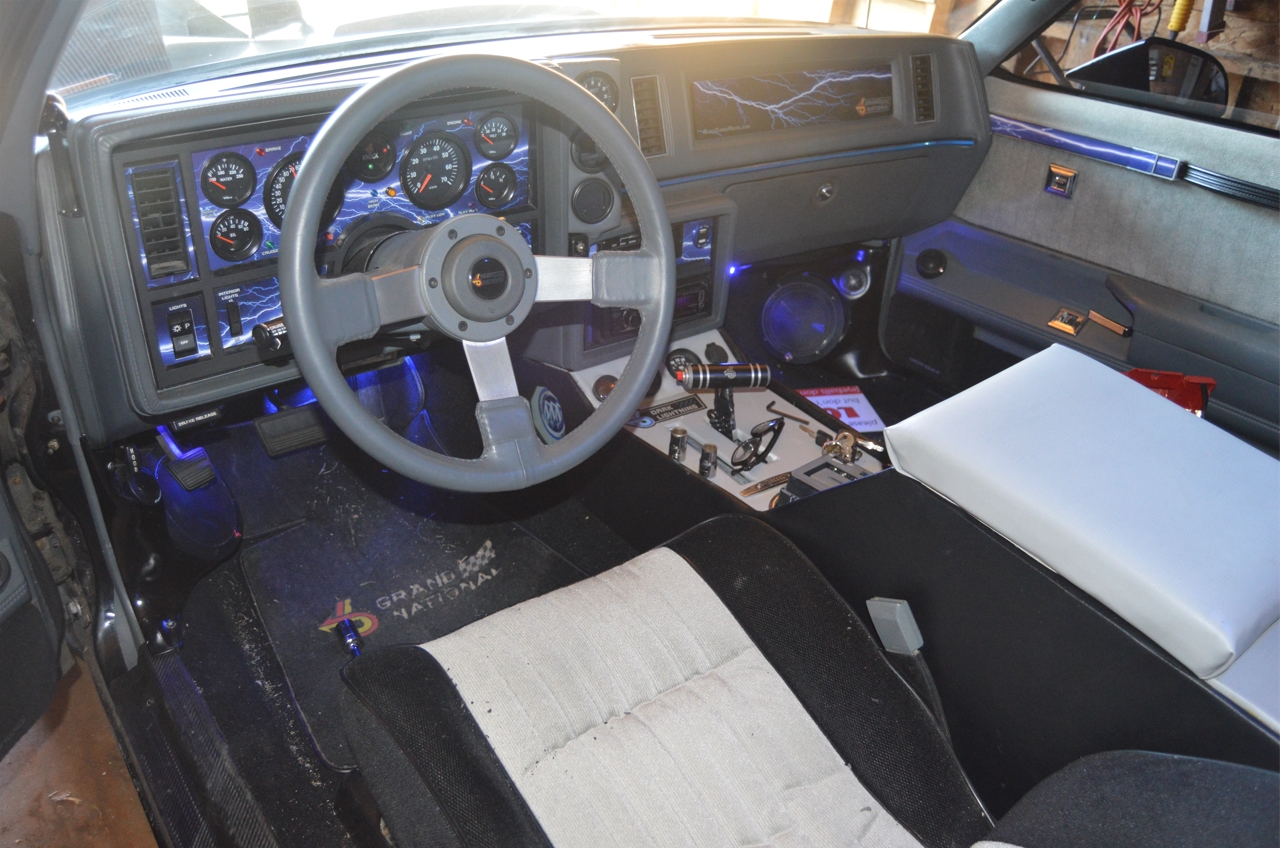
Here’s some pics of what the original steering wheel that was in the GN looks like:
(note that steering wheel covers are usually pretty pliable and you’re generally able to slip them off and on by twisting with minimal effort. This one has been on the Gbody Regal so long that it’s pretty stiff now, and we couldn’t even get it off the wheel!)
.

.
We heard that sometimes you can use olive oil (or other chemical solutions) and rub it into the leather to try and recondition it, but this is kind of a hit or miss tactic. Depending on how bad (and how old) your steering wheel actually is, this may or may not work to bring it back to life.
When you’re trying to pretty up the interior of your Turbo Regal however, it’s probably time to just bite the bullet and acquire a new (or redone) original style steering wheel (or whichever newer aftermarket model you prefer, there’s some out there we have seen that are very similar looking to the stock styling).
Acquiring an OEM steering wheel isn’t that easy to come by, nor inexpensive.
NOS stock is virtually unobtainable, and used parts are occasionally available, but again, not cheap (unless they need to be refurbished, and in that case, they’re probably just as bad as your current one is).
The main company that use to redo these steering wheels has retired, leaving an impact on even getting a remade/restitched one at all.
(some good news though, GbodyParts has just started selling reproductions, about $350)
.
QUICK FACTS about the original Buick steering wheel:
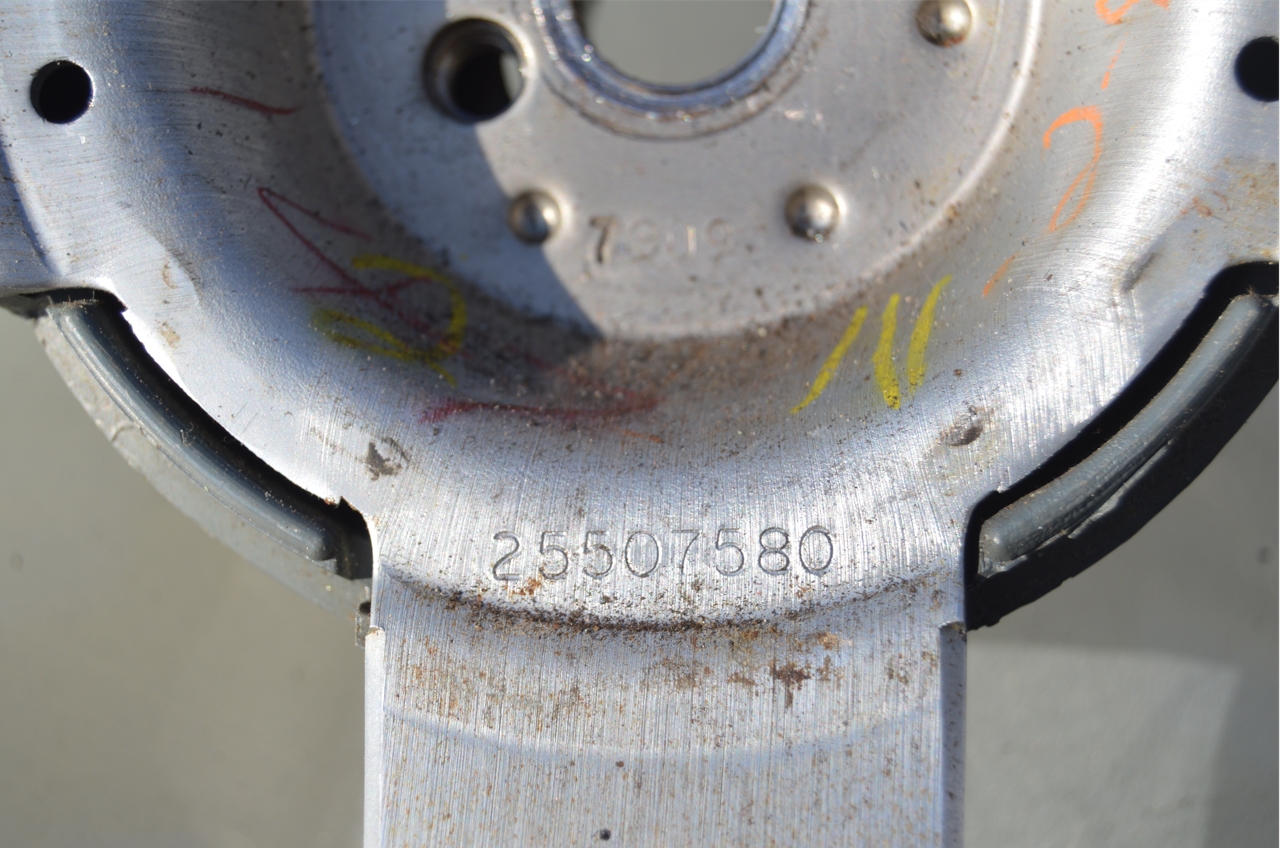
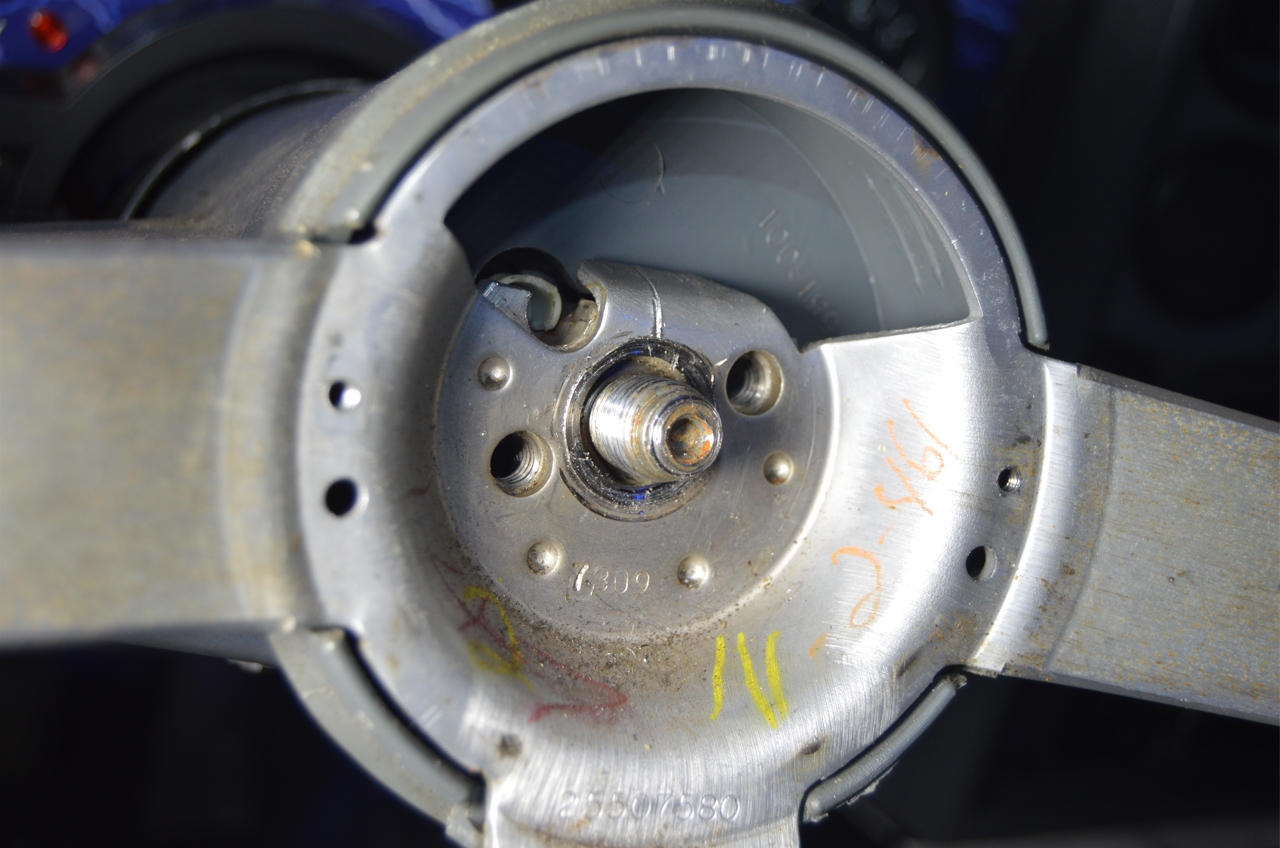
GM part # 25521043, RPO option code NP5 (Leather wrapped 3 spoke sport wheel).
Color: Dark Gray (color code 821), outside diameter: 15″ (factory size).
[note that our original wheel, as well as the “new” steering wheel, both have the part number 25507580 on them, which lists as a “blue color urethane vinyl” wheel. Both wheels we have are definitely leather, so we are thinking that they both have been redone with re-stitched leather on them, or they were dyed?]
.
Luckily for us, we purchased one a few years back, and had it sitting on a shelf waiting for us to get around to installing it into our 1987 Buick Grand National.
The time has finally come, so that’s what we are doing today.
.
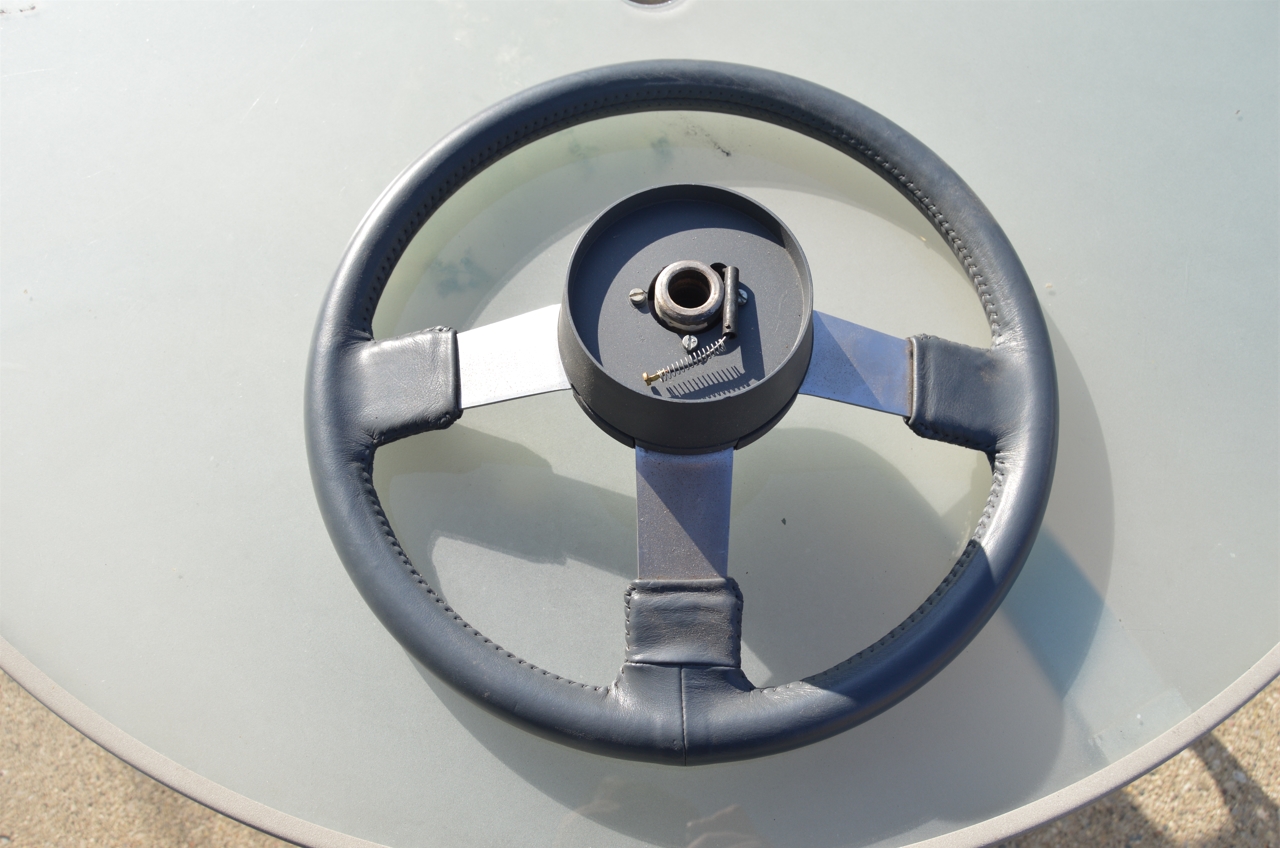
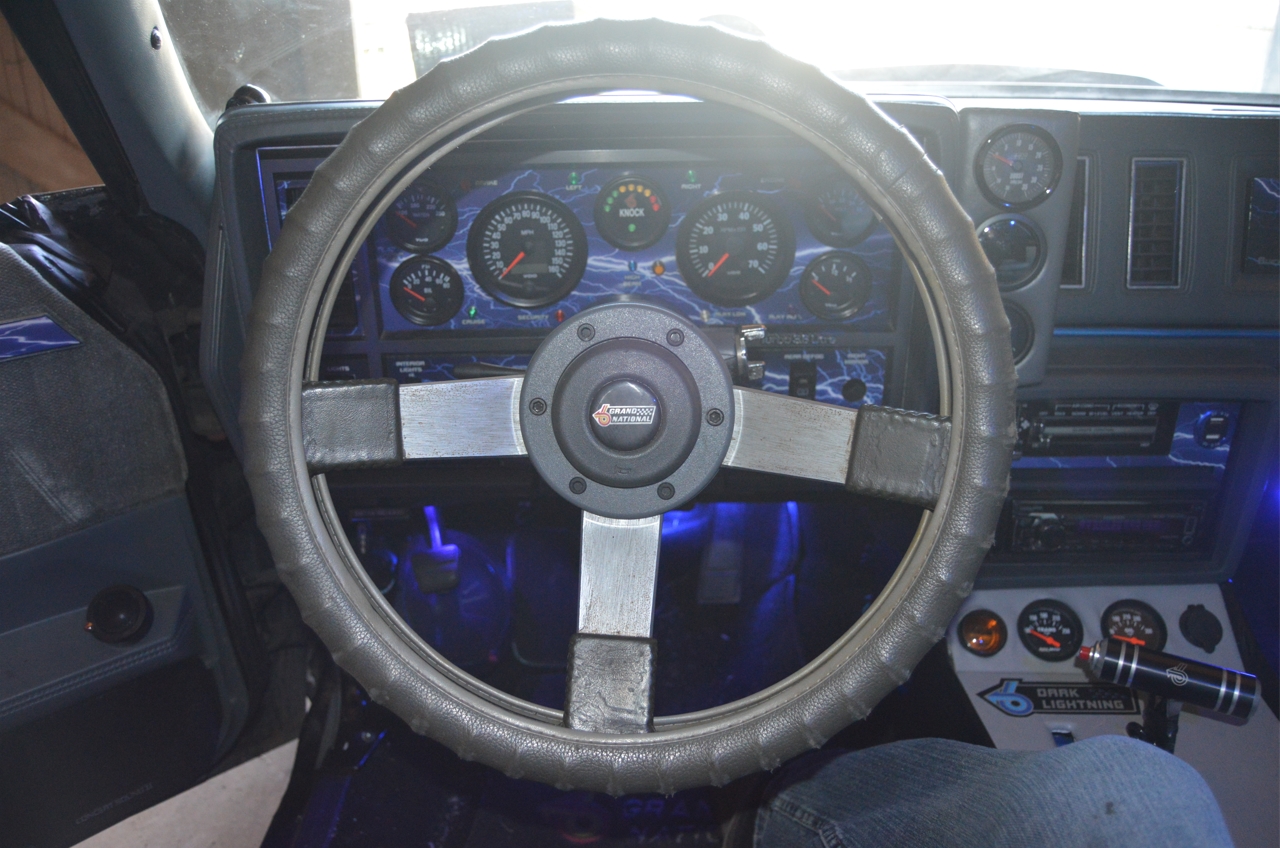
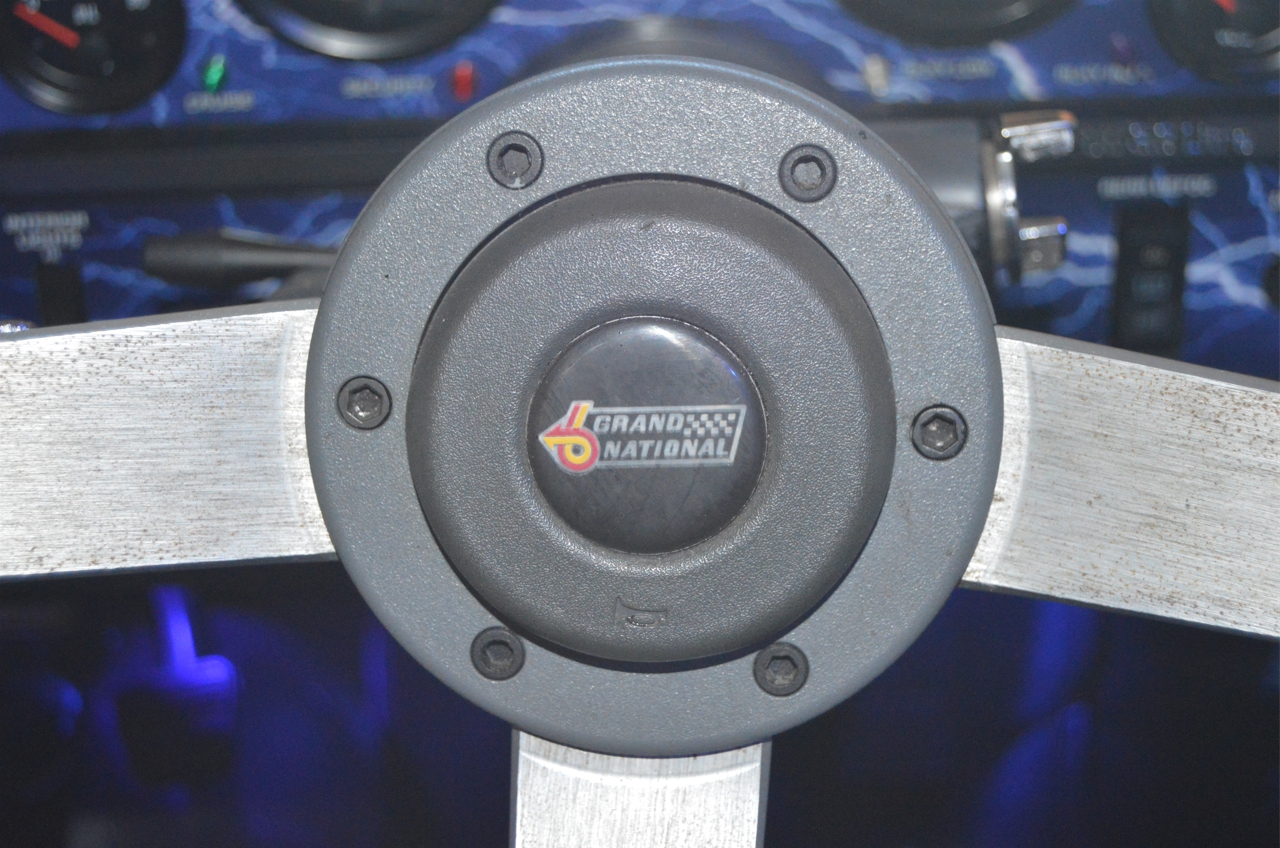
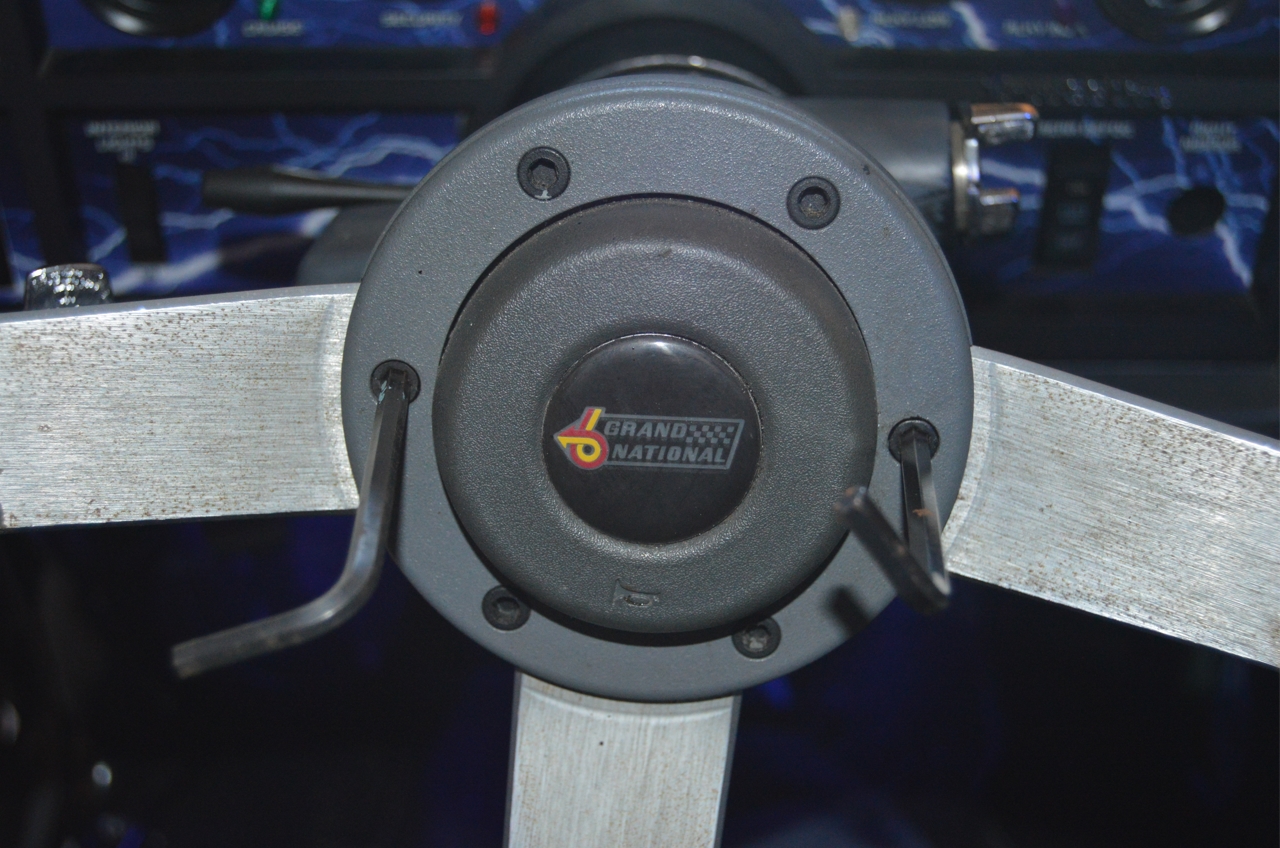
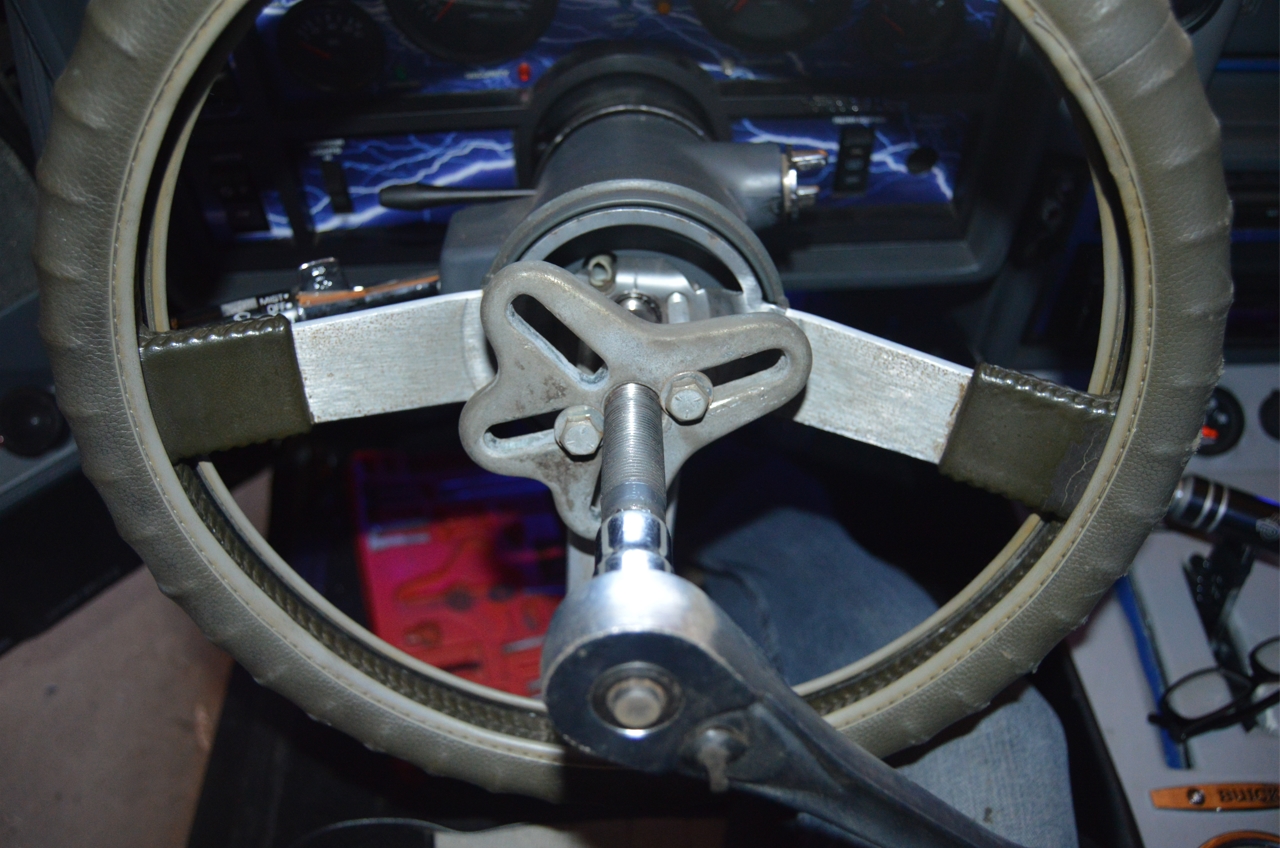
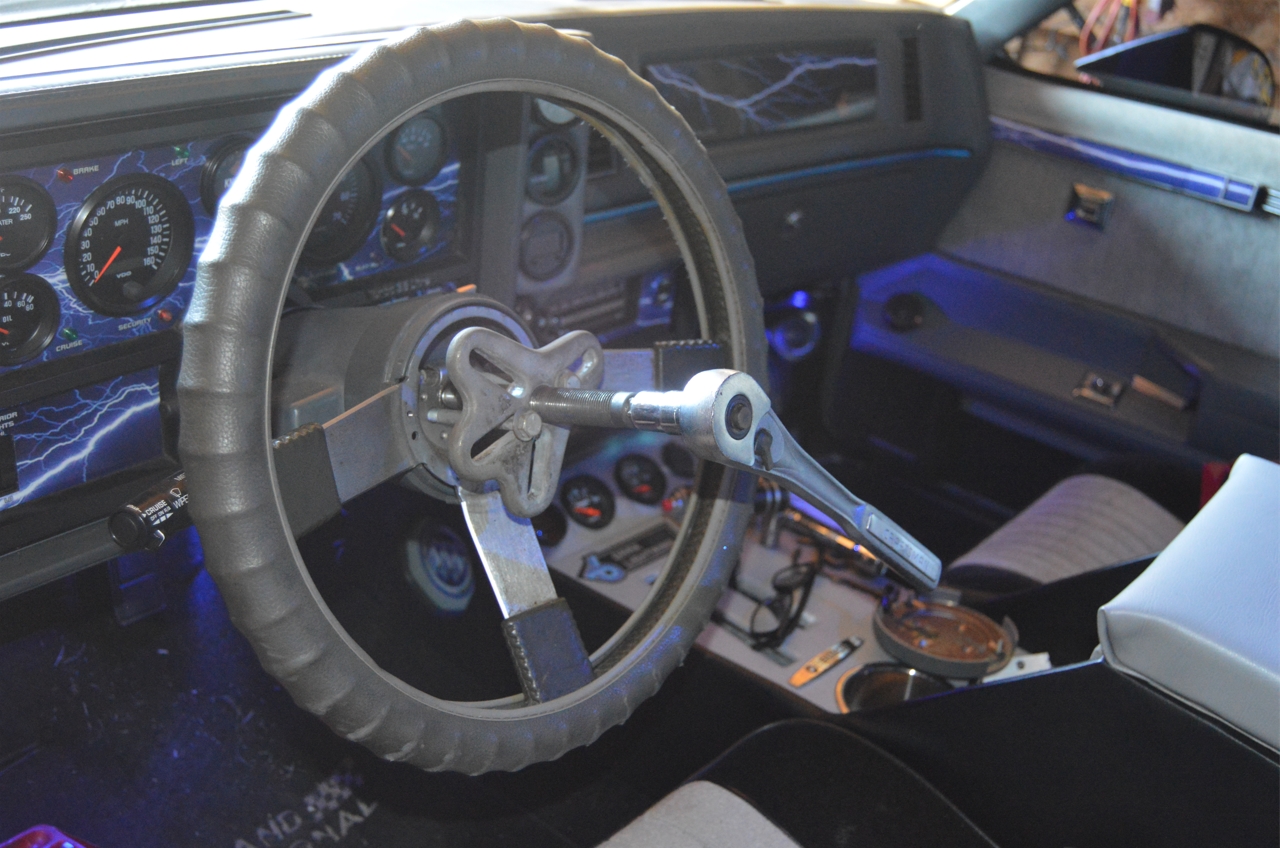
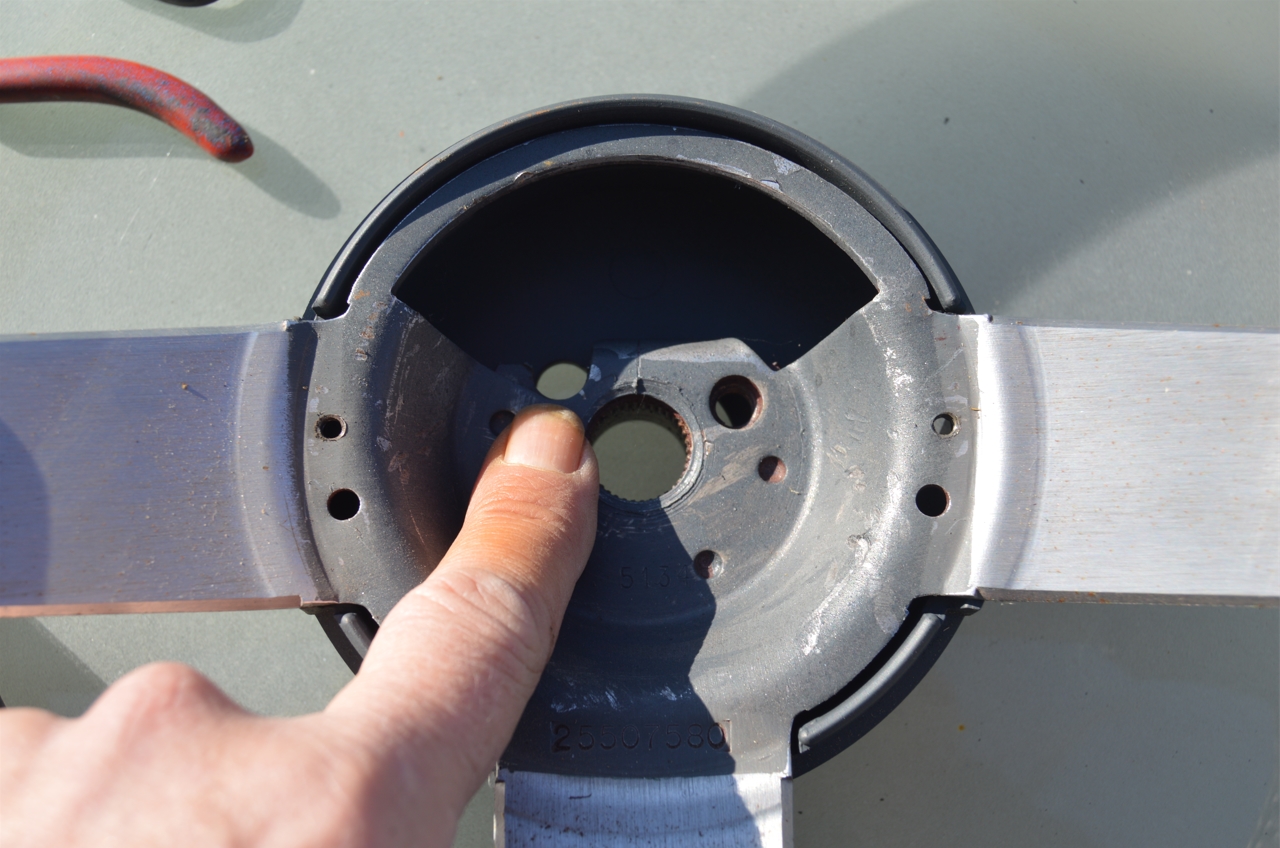
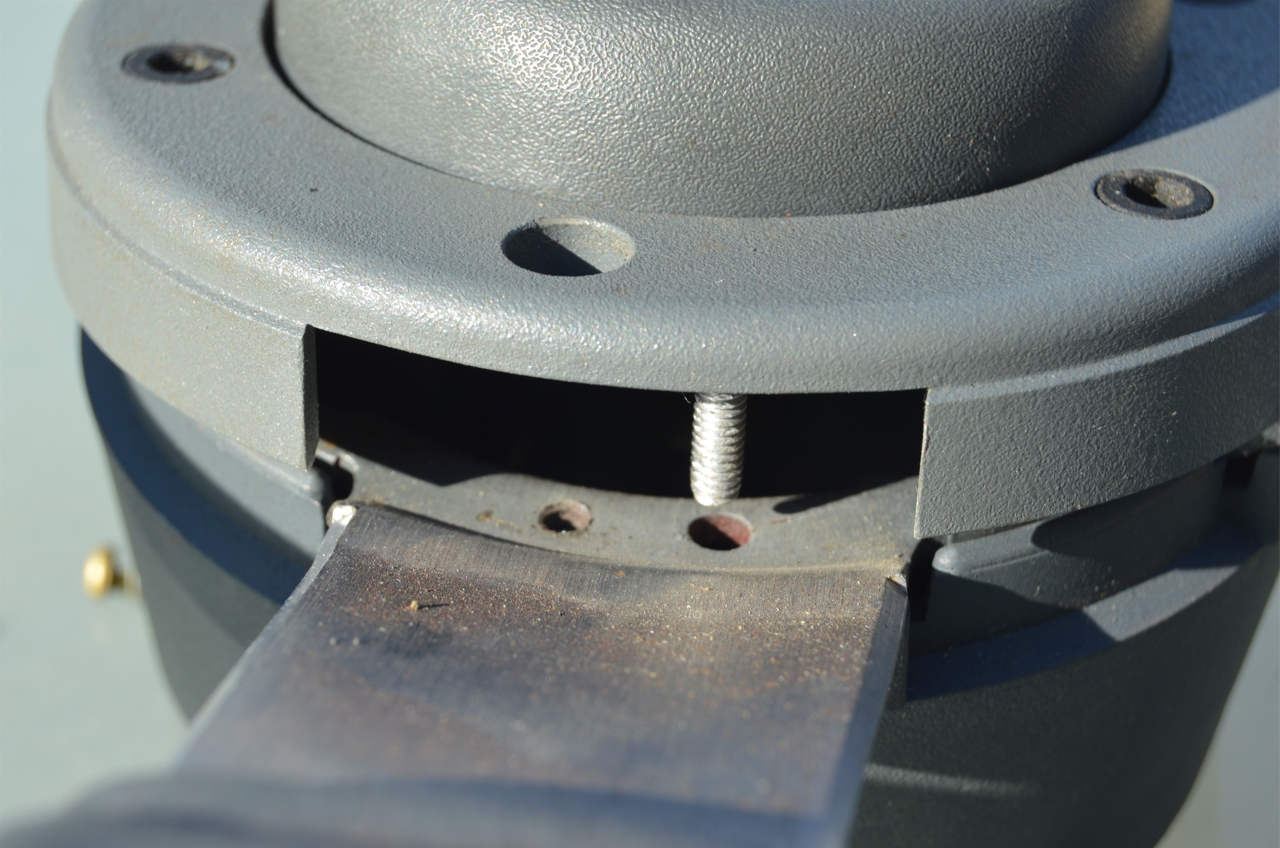
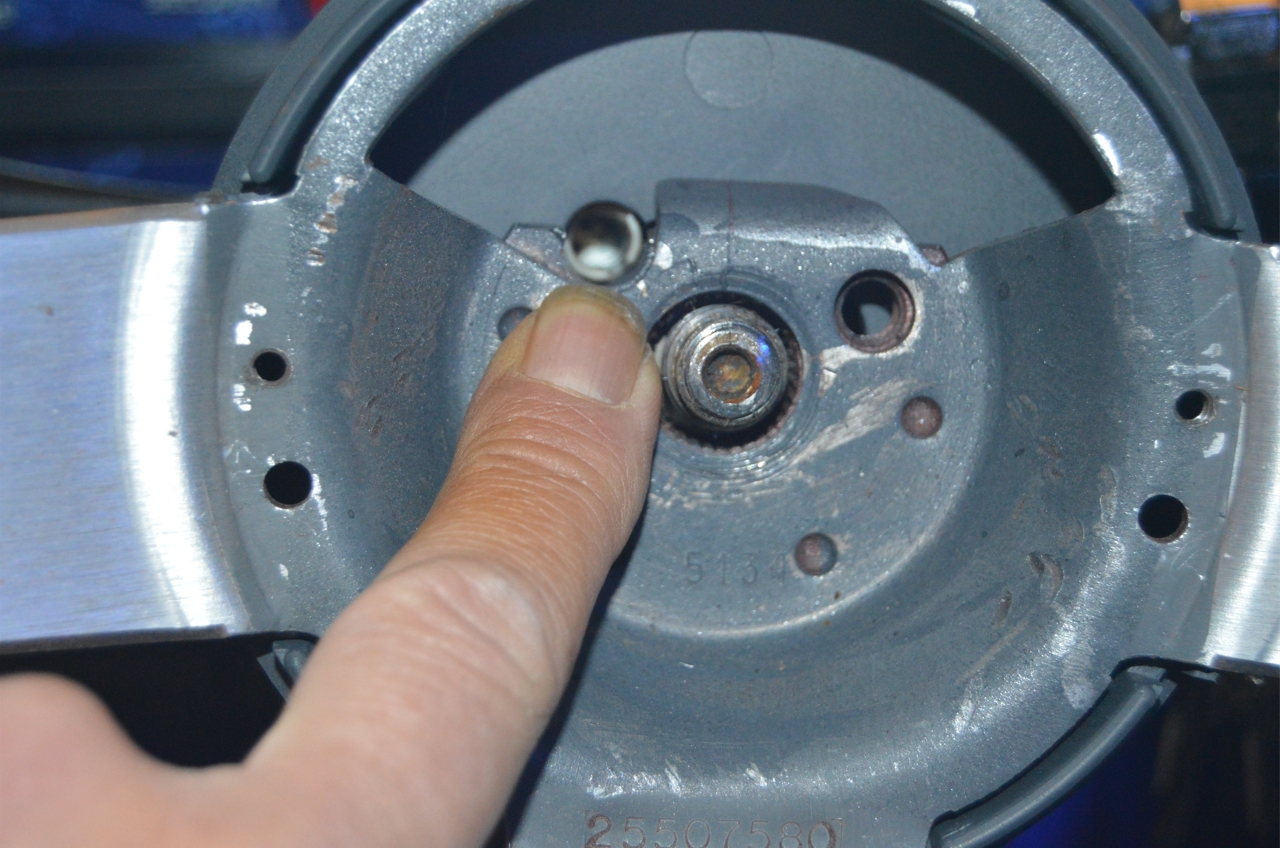
Pics of the new steering wheel we are installing:
.
.
COMPLETION TIME:
– 30 minutes
.
COST OF PARTS:
– varies (but most likely $350+ “when” you can find a stock type piece, and about the same for an aftermarket style steering wheel)
.
TOOLS NEEDED:
– steering wheel puller (+ appropriate sockets/wrenches for using it)
– 5mm (3/16″) allen wrench (for horn ring bolts)
– 13/16″ socket (for steering wheel nut)
.
HOW TO INSTALL:
1. make sure you start off with your steering wheel pointed straight.
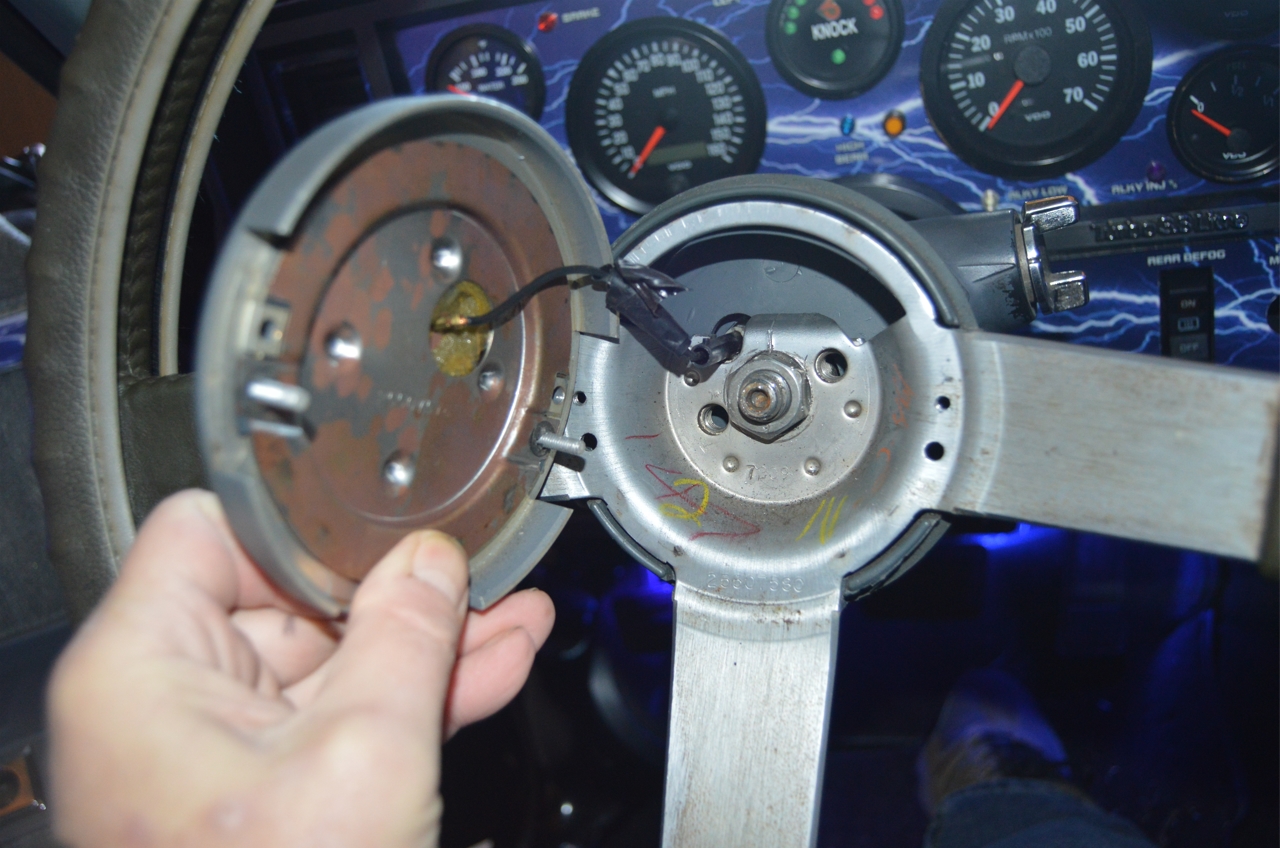
2. remove the horn ring using the 5mm allen wrench.
you need to remove only the 2 screws at 3 & 9 o’clock.
(these are the real screws, the others are not functional and only there for looks)
note: the outer horn ring (plastic ring), metal backing (that has the horn wire riveted to it), (foam & metal) contact plate, and the center gray rubber part are all separate pieces, all attached via 2 screws, but all stay together while you remove and then reattach it.
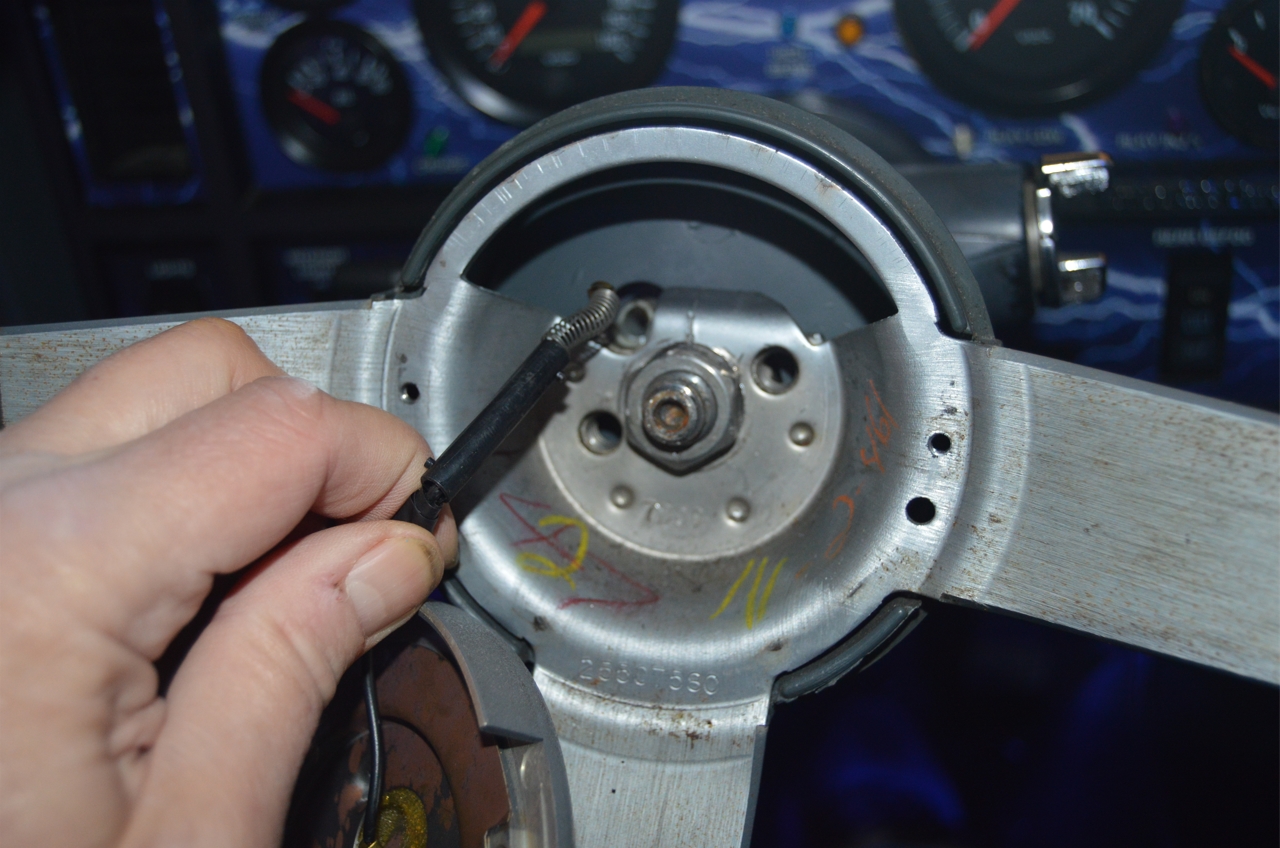
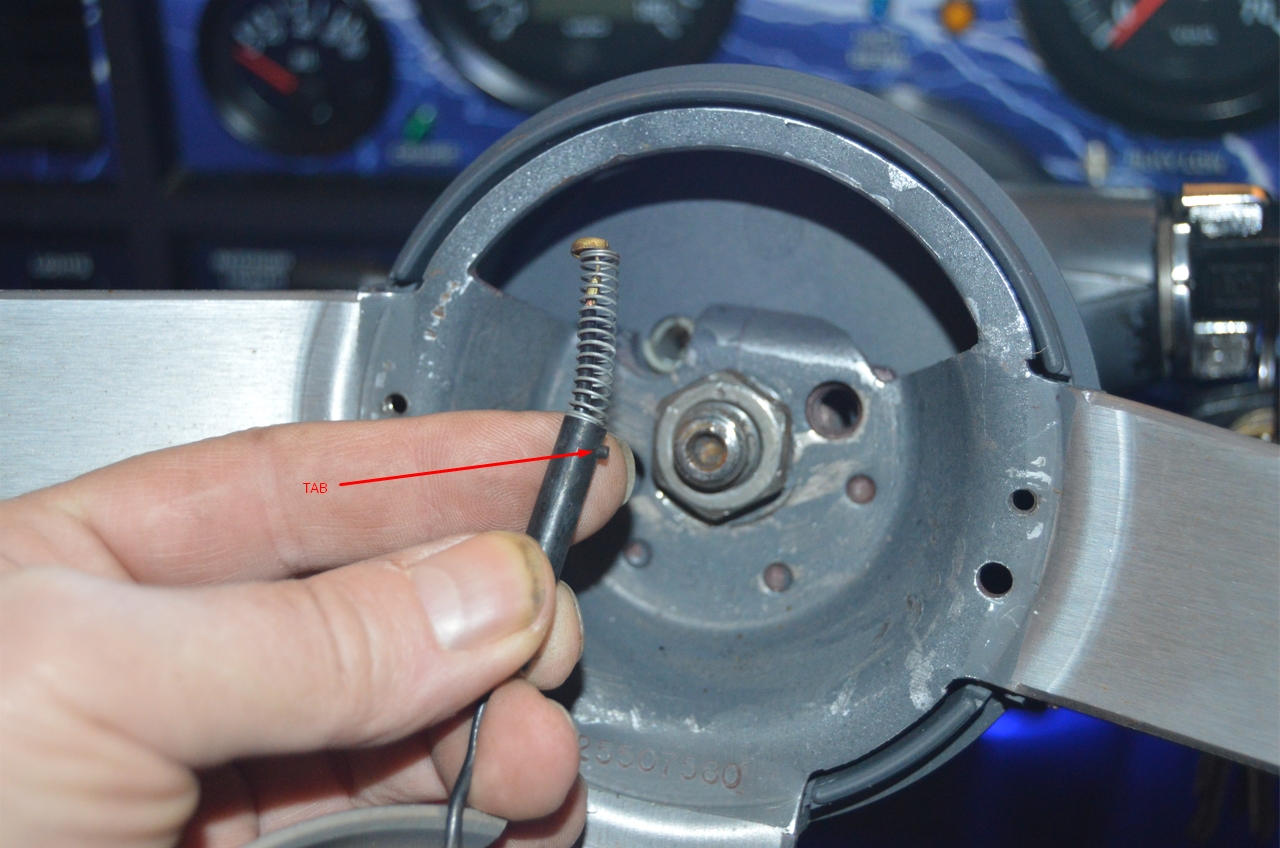
3. unclip the horn button wire (from within the steering column side, not the horn button side).
(push in and turn counter clockwise, there’s a spring on this wire)
(the black sleeve needs to be removed from the white tube, located at the 11 o’clock position on the column)
BE CAREFUL with this! These plastic pieces break easily!
4. pull the entire horn ring assembly off the wheel.
[Now is a good time to clean these parts since it’s all disassembled!]
.
.

.
5. use the 13/16″ socket and remove the nut.
7. attach the steering wheel puller.
8. remove steering wheel.
.

.
9. set new steering wheel in place.
MAKE SURE it is in the same position your old wheel was!
BE SURE to line up the horn wire (white) tube with the hole in the steering wheel that’s made for it.
[TIP: put a dab of grease on the shaft or inside of wheel to make installing it easier!]
.
.
10. tighten the steering wheel down with the original nut.
Hold the wheel in place while you initially tighten it down, as to not crack the horn wire tube! (since the steering wheel will turn slightly as you tighten it down)
The hub on the (backside of the) wheel should match flush (be touching) with the steering column.
(sometimes it takes a little oomph to get it there, and it mostly feels like the nut {or shaft} is going to snap! we got it real close but couldn’t get it totally flush, so we called it close enough)
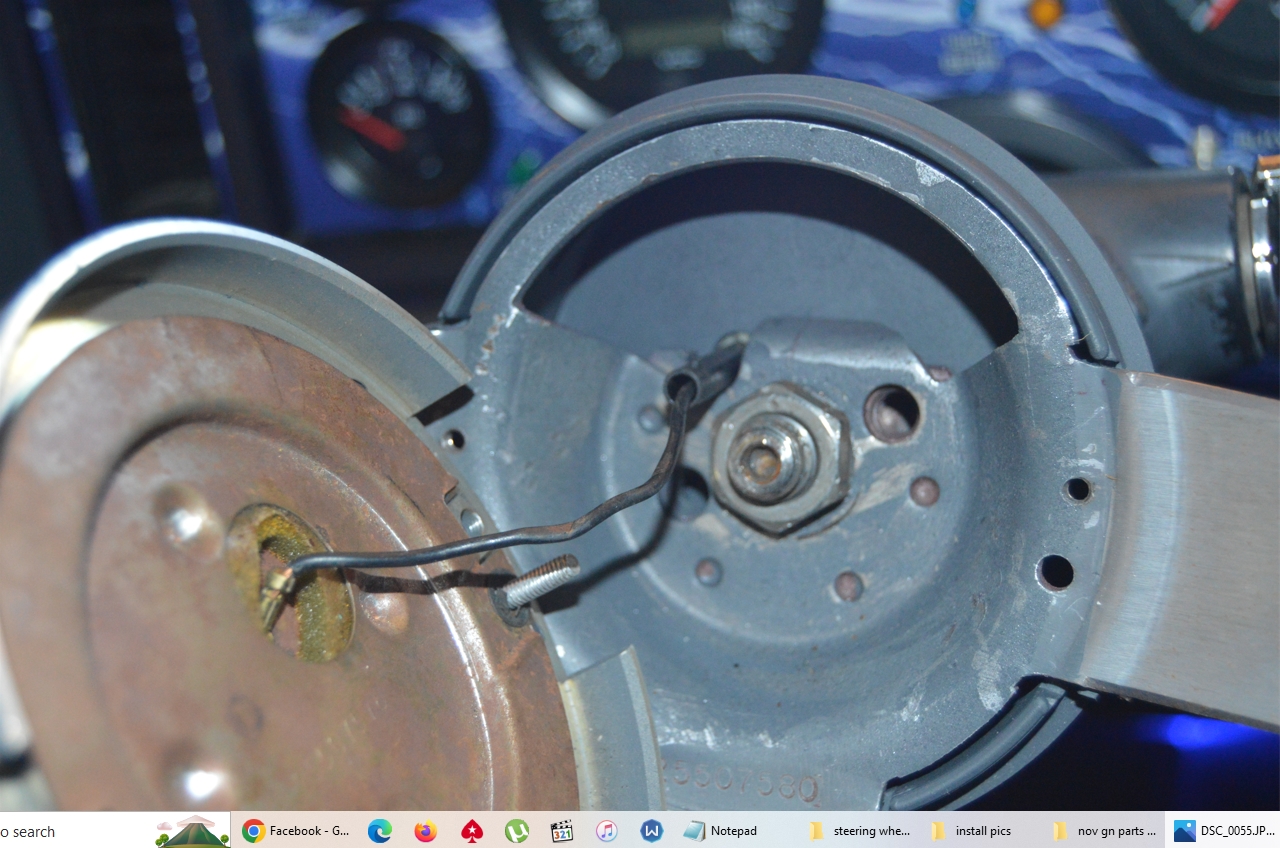
11. reattach the horn button wire into the tube.
(push in and turn clockwise)
(there’s a tab on the black sleeve that fits into a matching slot in the white tube)
BE CAREFUL not to break the black sleeve or the white tube!
12. place the horn ring assembly in place.
(the 2 {silver metal} screws on the horn assembly will fit into matching holes in the steering wheel)
(the 3 slots in the horn ring will fit onto the 3 spokes in the steering wheel)
13. secure down the horn ring with the 2 black screws.
BE CAREFUL when screwing down these bolts, DO NOT overtighten! THAT is what breaks the factory (plastic) horn rings!
(also BE WARNED that if you didn’t tighten the steering wheel all the way in, the shaft that protrudes from the column may push into the horn circuit – triggering the horn to go off!)
.


.
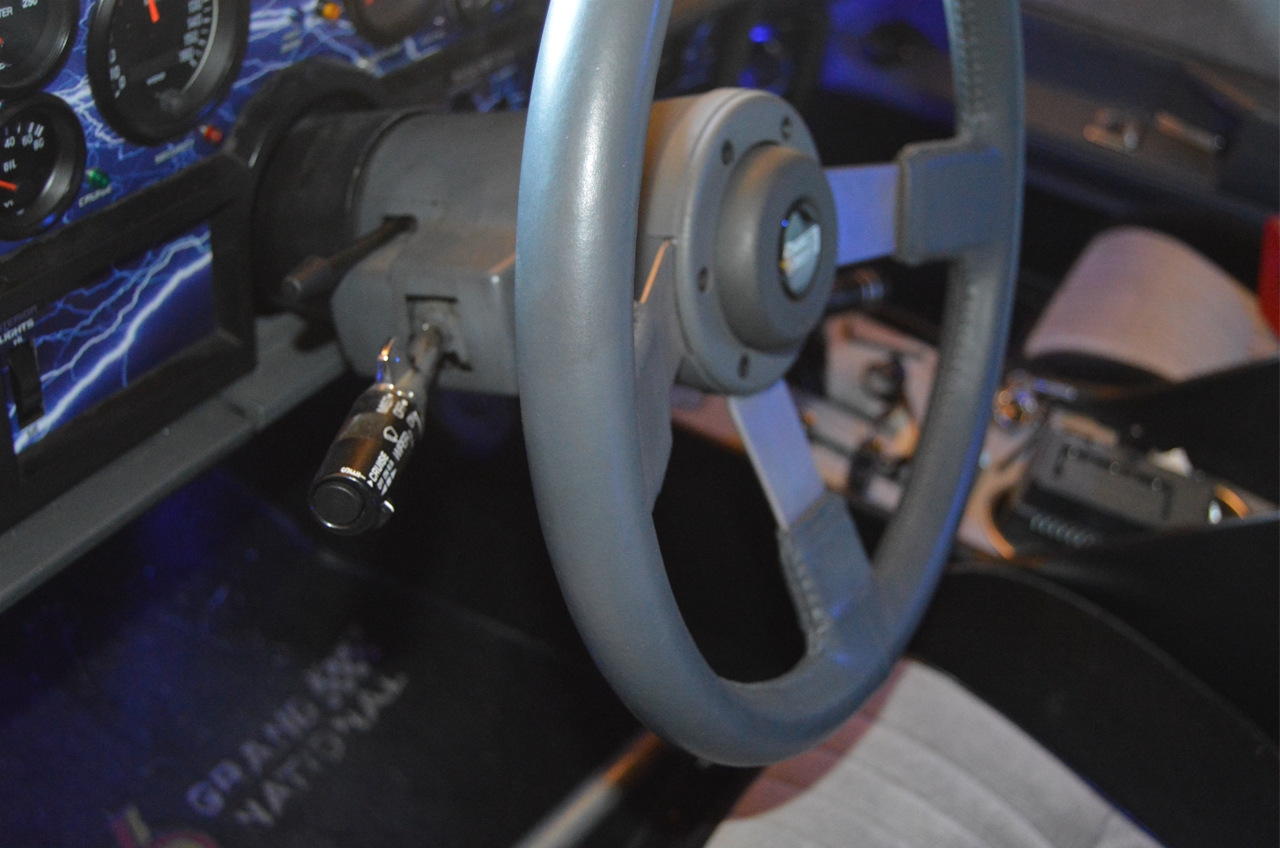
It’s finished.
Sit back and stare.
Then stand back and check out the new look!
🙂
.

.
OTHER HELPFUL INFO:
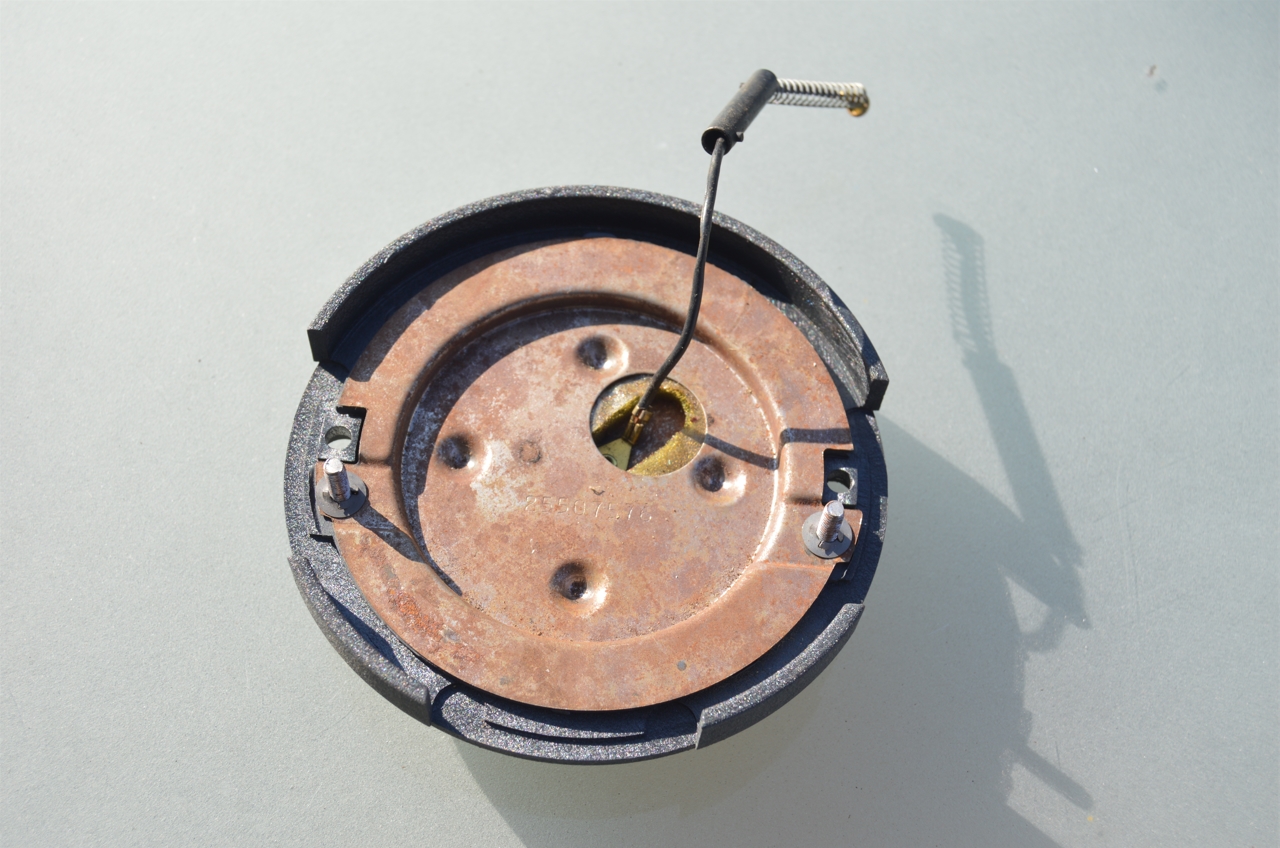
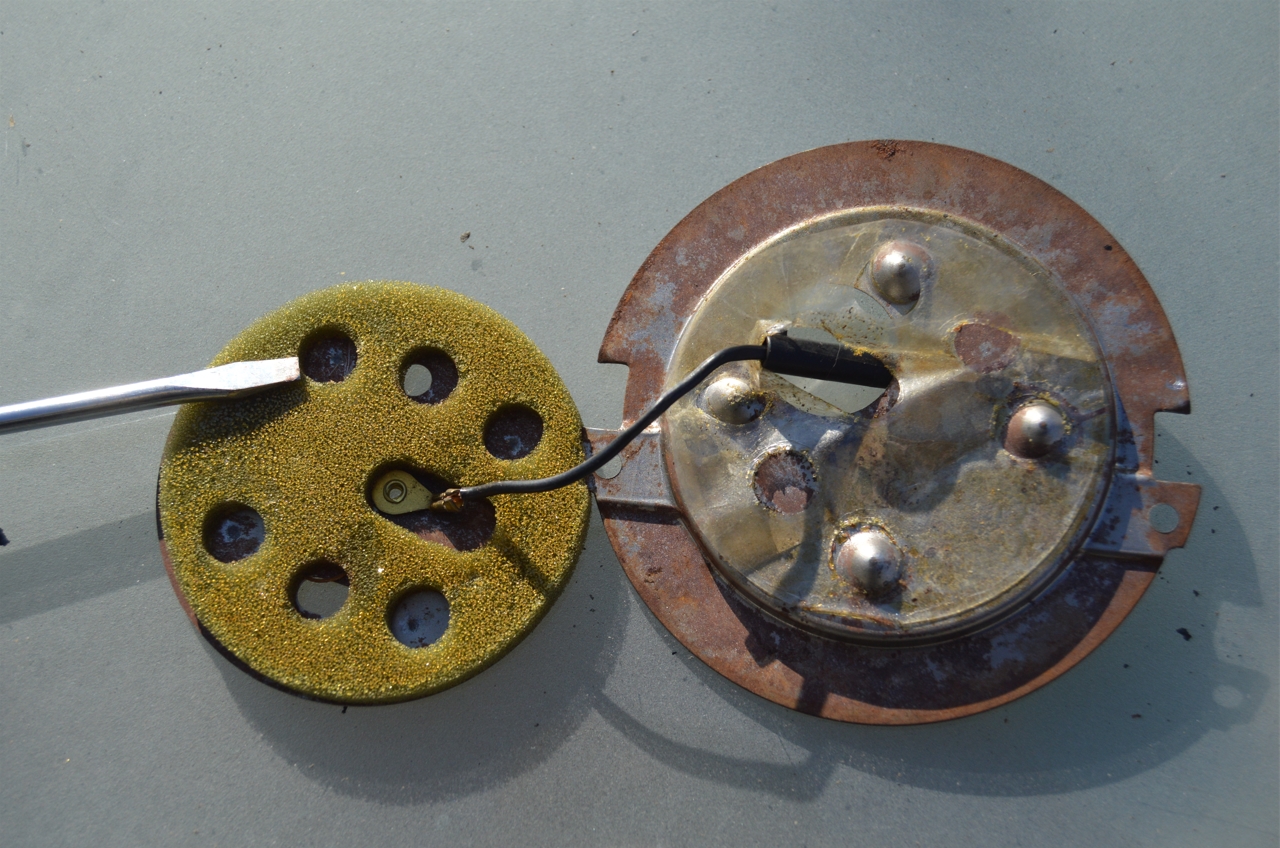
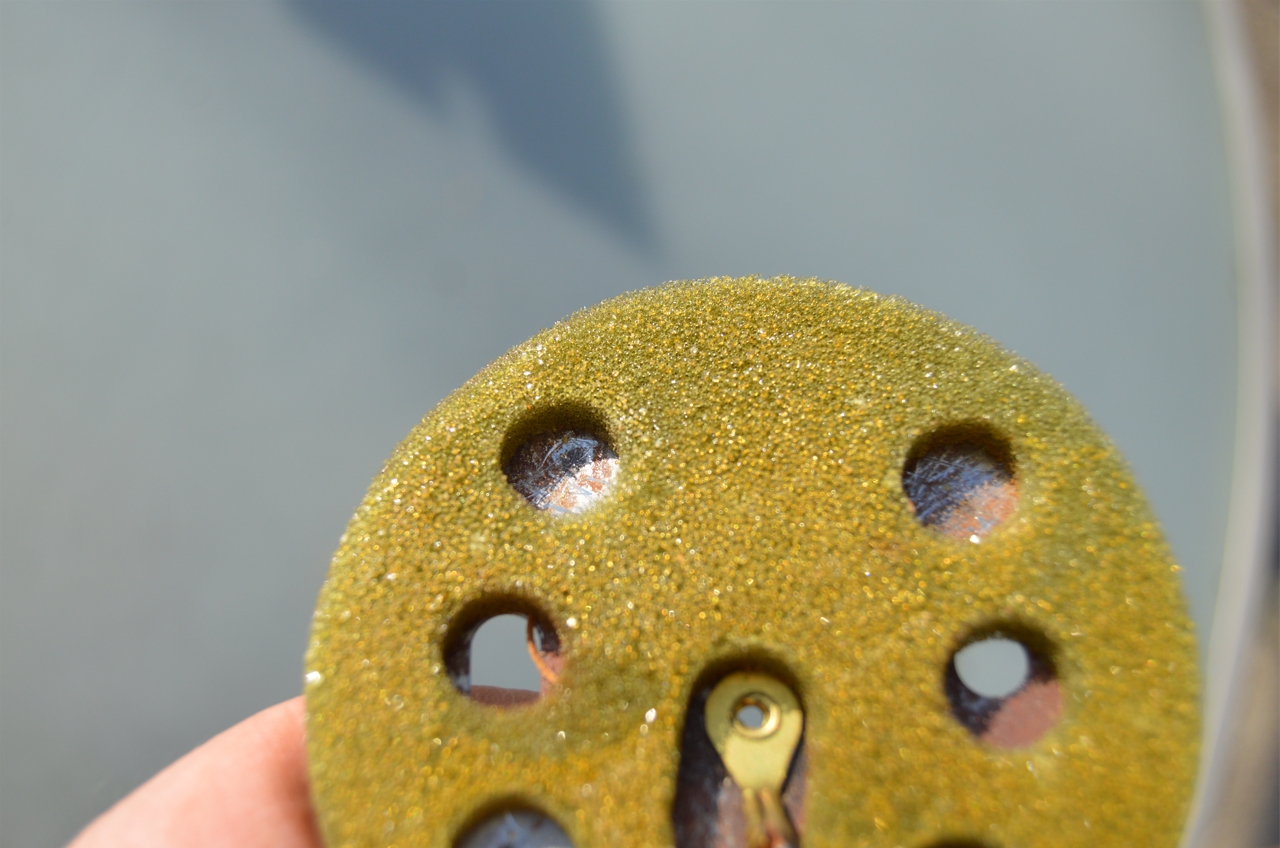
If you have horn not working issues, check all of the metal connections for any obstructions, rust or other grime:
Scrape out the metal contact inside the white tube.
Do the same for the wire end that goes inside this tube.
Carefully take apart the 2 pieces (metal backing plate & the front side with the foam separator), and scrape off the rust or dirt from the 4 contact points (see photos below).
[note: there is a thin sticky gasket that is in between these 2 parts, and once separated, it tends to not keep the 2 pieces secured together any longer, but you can “loosely” put a couple pieces of tape to secure them. DON’T tape the 2 pieces together too tightly though, as these pieces need a bit of separation so the horn isn’t triggered too easily – like when you’re reinstalling the horn ring assembly!]
.
.
Be sure to come back tomorrow and watch us install an RJC Racing Billet Steering Wheel Horn Ring!
.


