


When you’re looking for a more responsive steering feel for your Turbo Buick, one of the things you can do is upgrade your lower steering shaft.
By eliminating the factory rag joint that’s on the OEM steering shaft that connects to the gear box you’ll gain improvement.
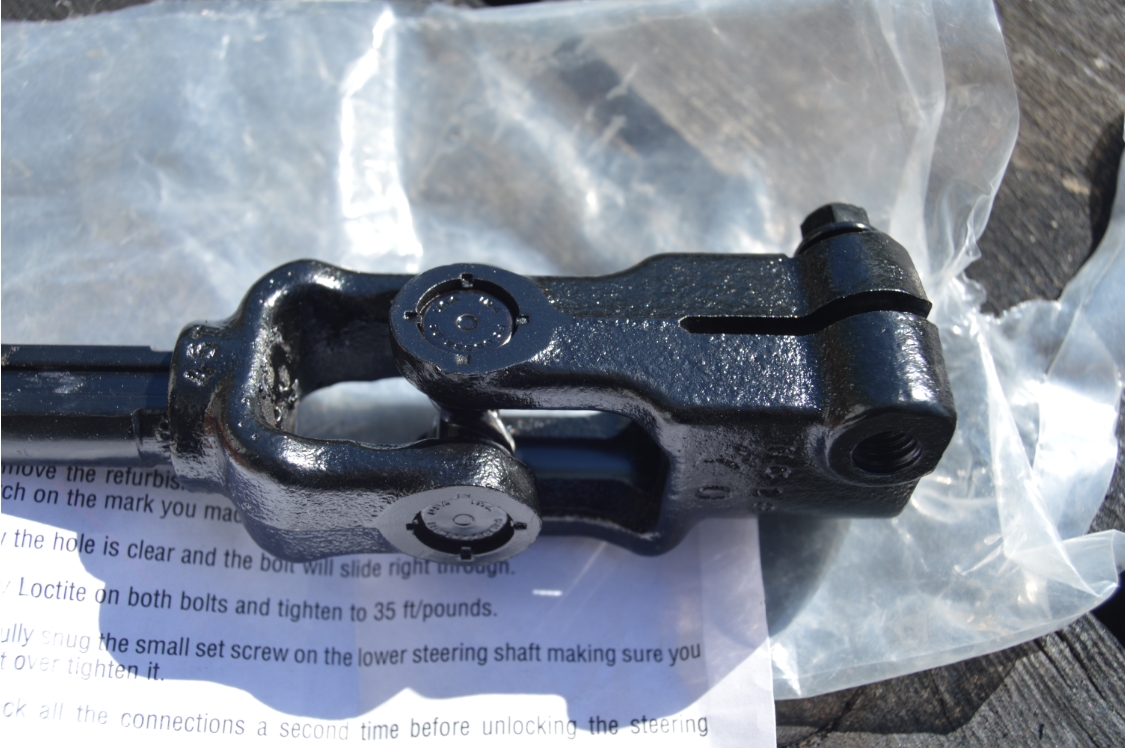
The upgraded unit has a solid u-joint at both ends which provides a better, firmer, connection towards your steering wheel.
You should notice an immediate improvement over the stock G-body piece.
(if not, you should look into your steering gear box, or the other steering components like the tie rods, center link, etc.)
Finding this upgraded steering shaft is (usually) as easy as heading to your local junk yard and searching for 91-94 Grand Cherokee or regular Cherokee vehicles.
Of course, the units found there may need repair, or additional mods to make it work on our Turbo Regals.
(not to mention you need to clean them up & they should be painted for rust prevention & to look pretty)
Or you can take the simple route and just buy one ready to go from Kirban Performance or several other vendors that sell these upgraded shafts ready to install.
(that’s what we did, we bought it awhile ago & are now finally installing it)
A reproduction upgraded upper steering column bearing kit was purchased as well for this 1987 Buick Grand National.
This part goes on the upper shaft at the bottom (near where you are connecting the lower shaft), which improves the original plastic bearing unit that it came with from the factory and is replaced by this new metal assembly.
(you might as well do this swap since you have the shaft out anyways & it’s a relatively quick & easy job)
.


.
There’s a few different steering shafts that will work, so yours may not be exactly like the one shown here.
The steps for removal & replacement should be similar, however.
.
COMPLETION TIME: less than an hour.
.
TOOLS:
– 11mm socket (lower bolt on OEM shaft; both bolts on new shaft)
– 15mm socket (upper bolt on OEM shaft)
– flathead screwdriver (for prying)
– small hammer (for tapping upper part of shaft out)
– T10 torx (set screw on new shaft)
.
PARTS:
– steering shaft (used $35+, new/refurbished $100+)
– upper steering column bearing kit ($35, kirban)
[from the Kirban I/C email: shaft $115, $135 with the #7572 bearing kit included]
[join the inner circle email here]
.
.
MAKE SURE your steering wheel & wheels are STRAIGHT before you start!
1. Slid plastic cover up from bottom of shaft.
2. remove lower bolt.
3. remove upper bolt.
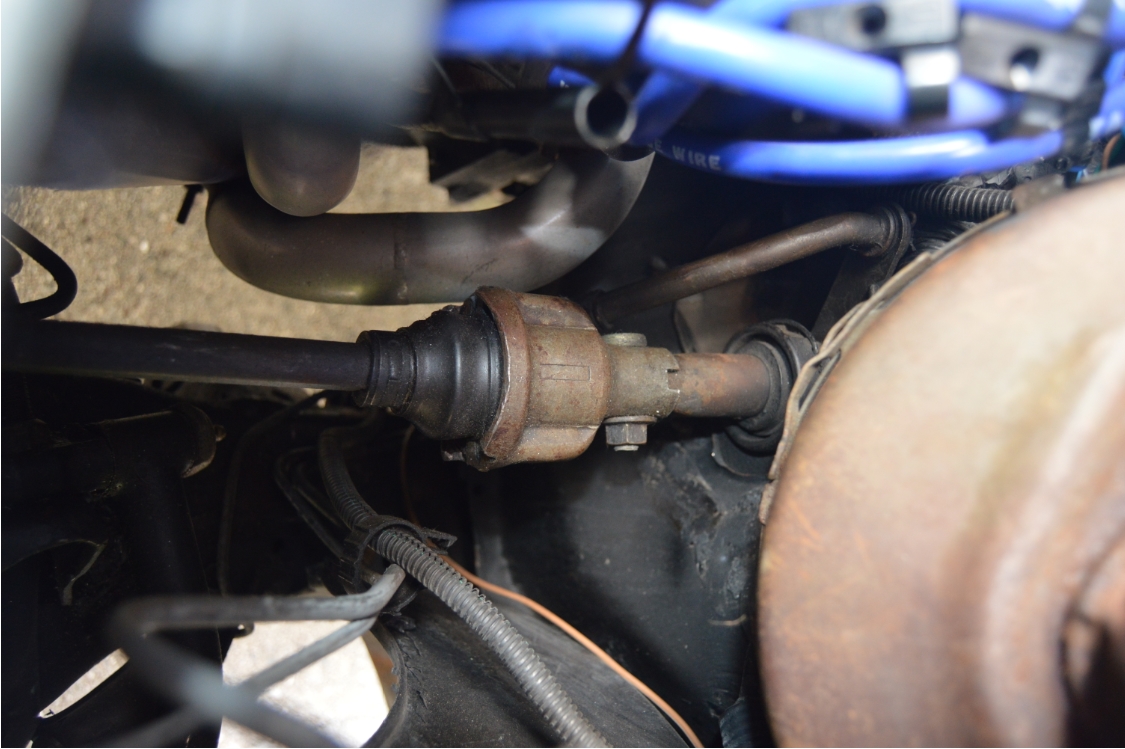
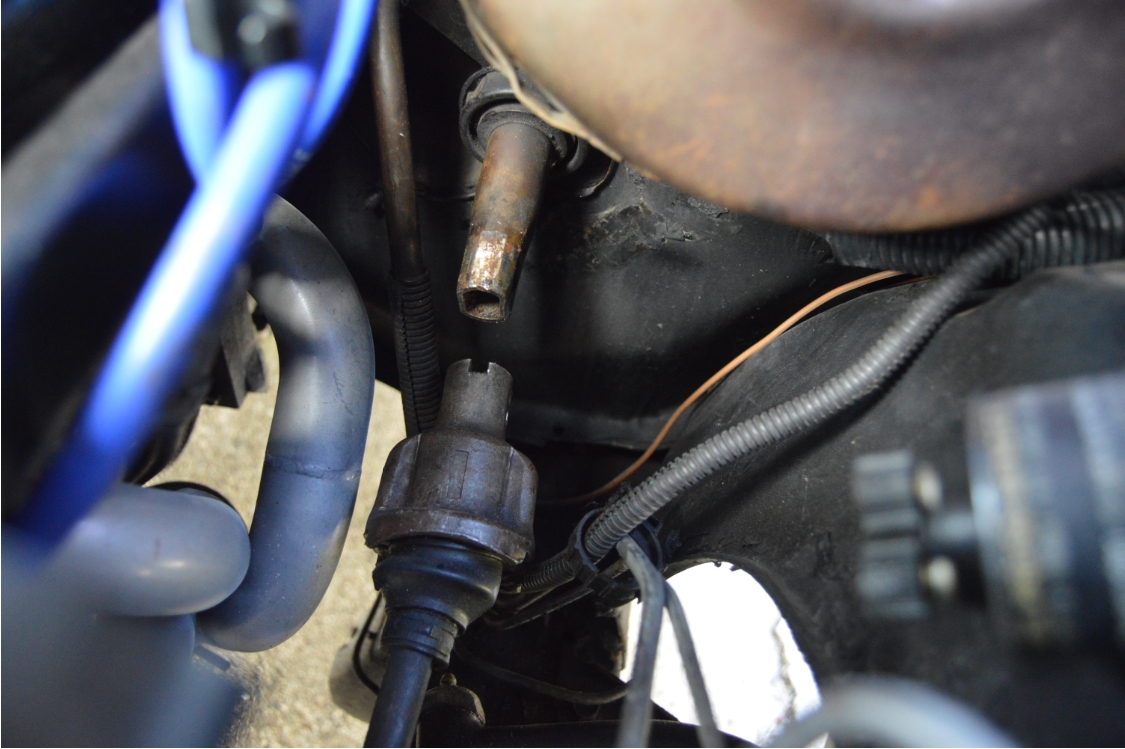
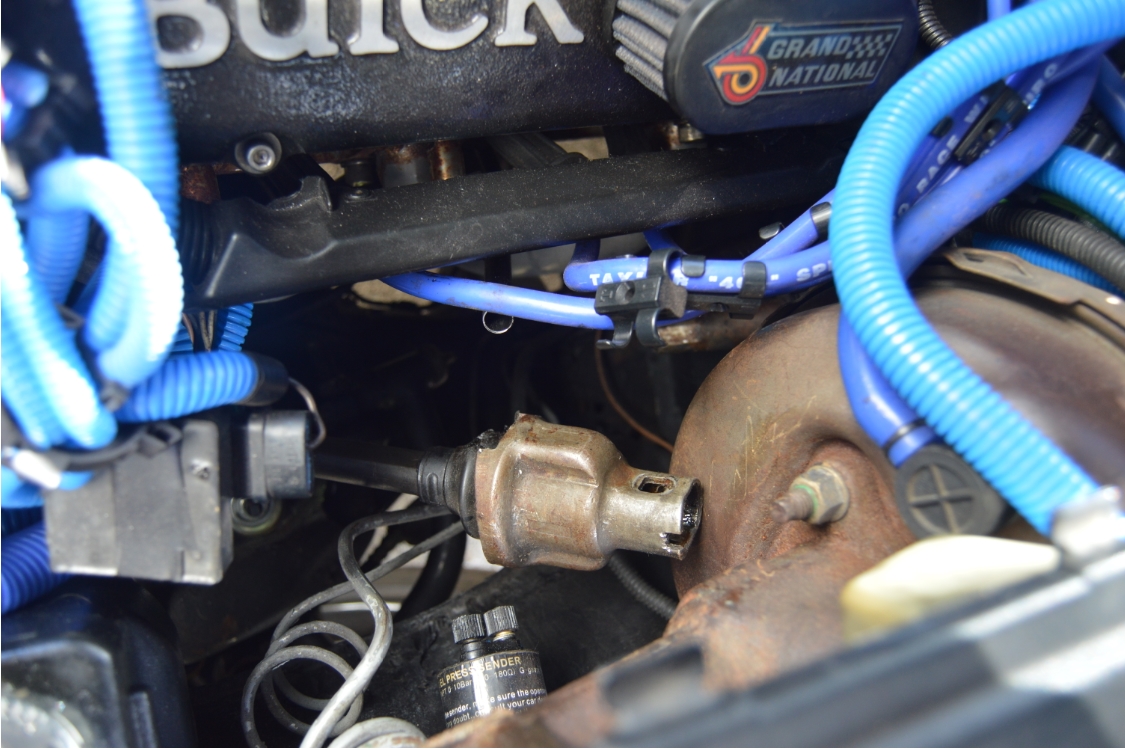
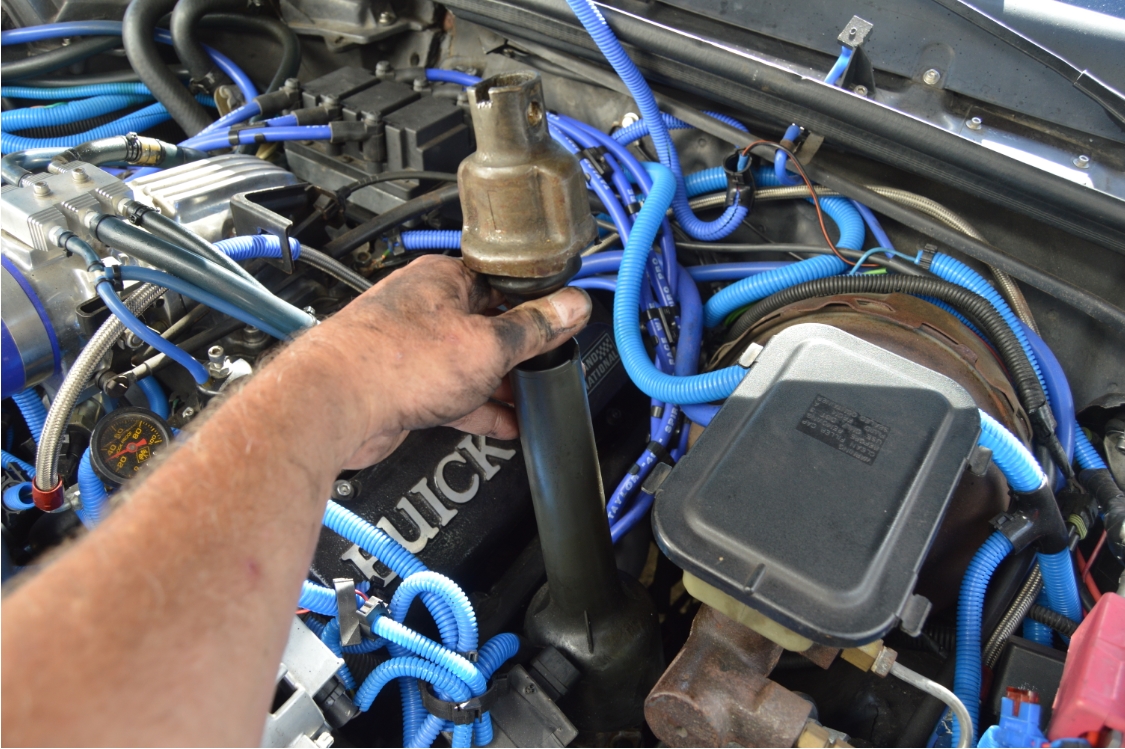
4. remove factory steering shaft.
[we had to use a hammer & pound down the top of the shaft; you may have to use a bit of heat if yours is stuck]
[the lower portion we used a flathead screwdriver & pried it up alternating sides to pry up]
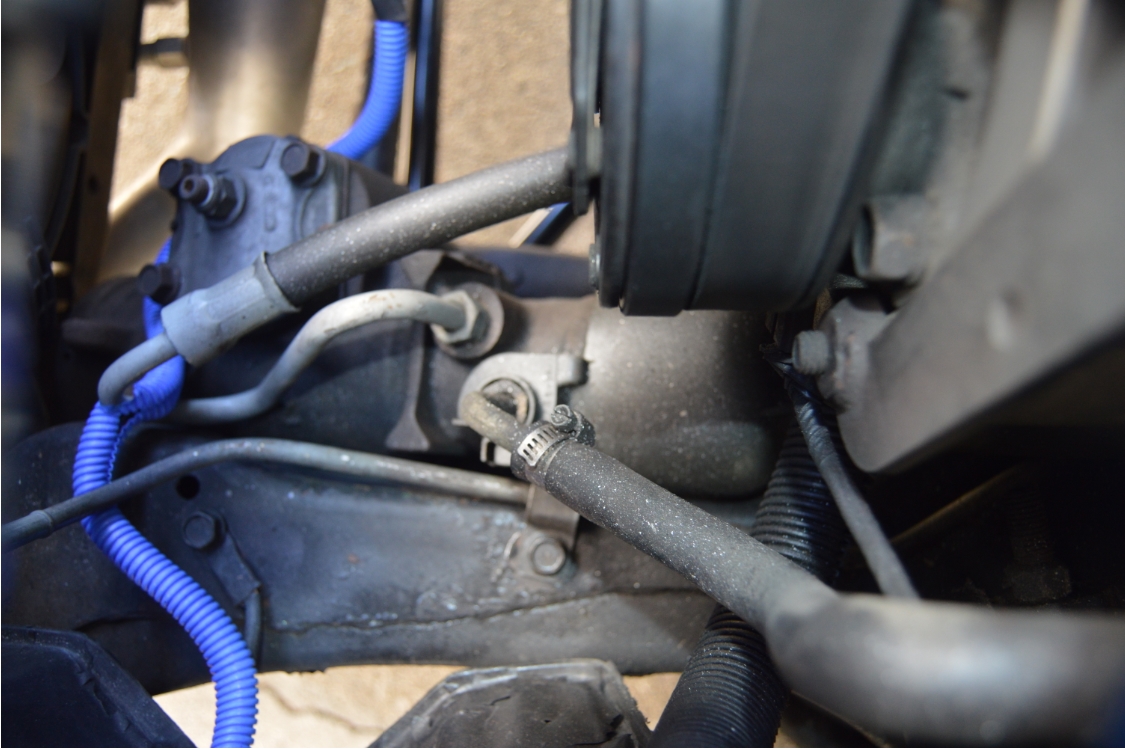
[once it’s removed from being in place, actually getting it out of the engine compartment can be a slight battle. The A/C compressor, some wiring, headers, oil dipstick, etc., is all in the way! twist & turn until it comes out!]
.
.
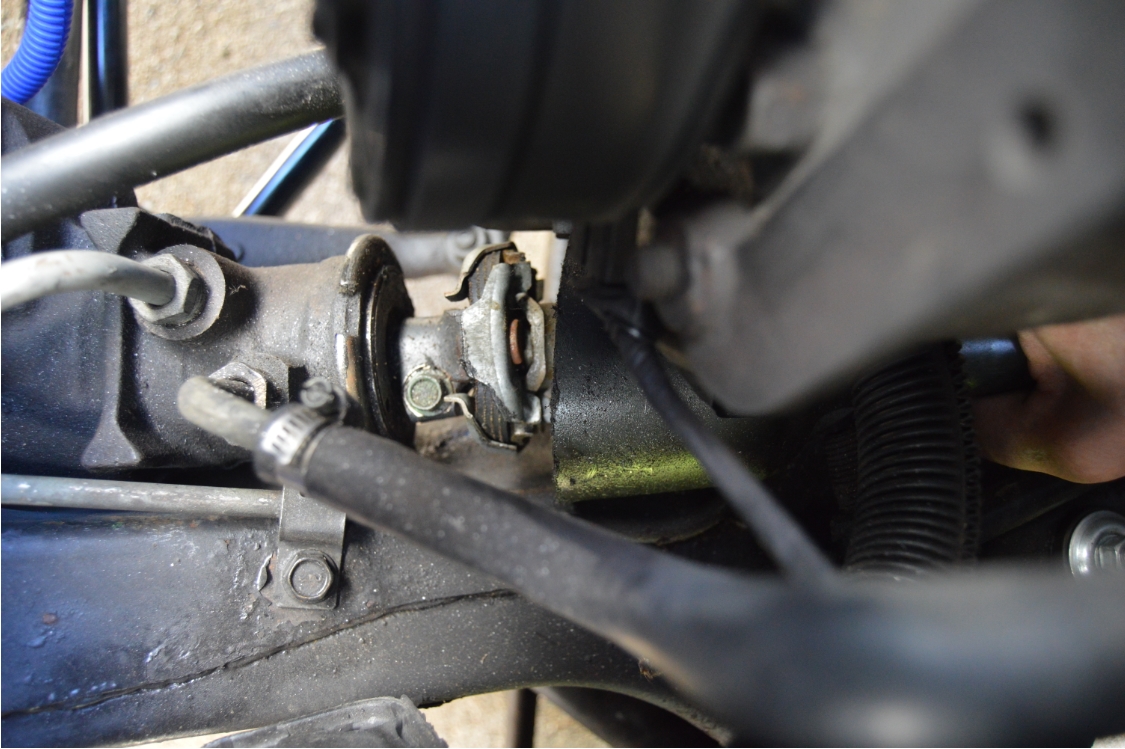
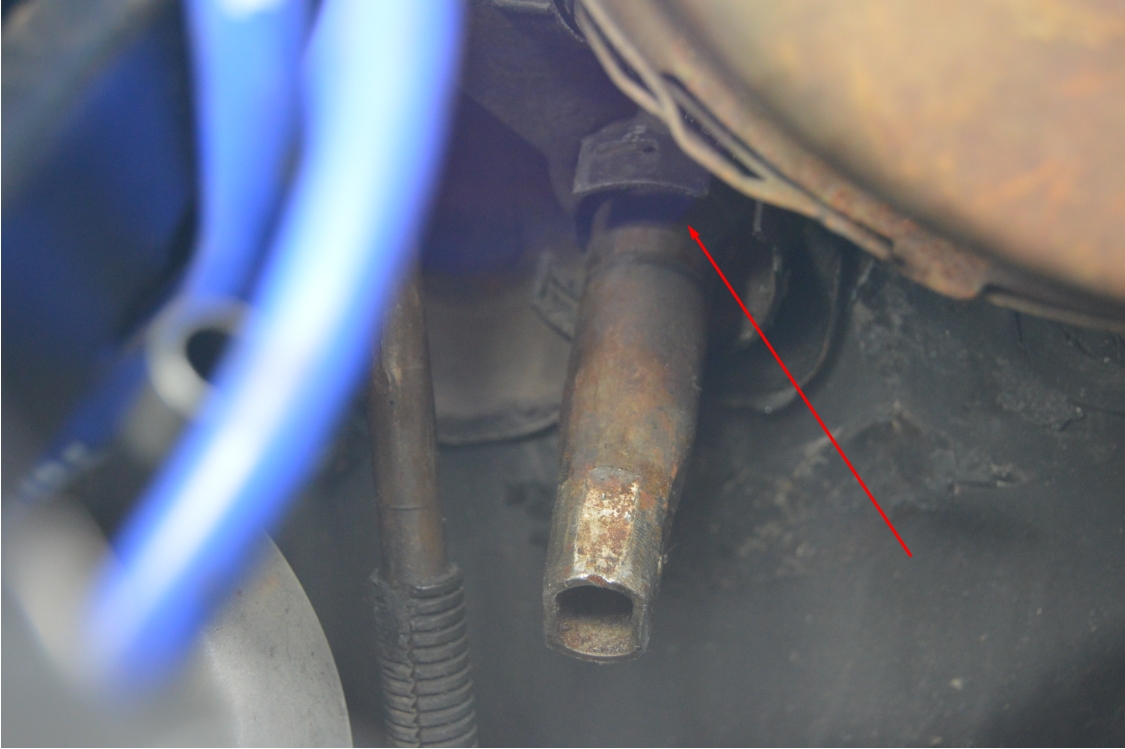
5. next step is bearing removal. undo the ring clip.
6. pull the cover off.
7. pull the bearing off.
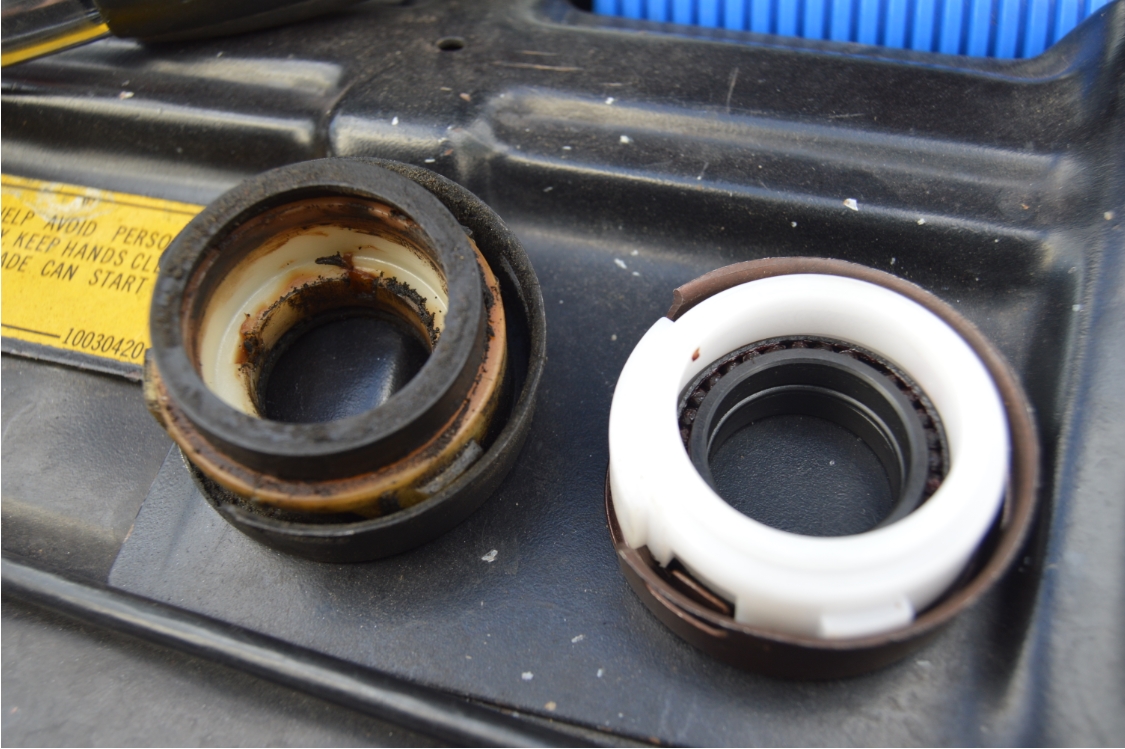
[the cover & bearing may come off together. or the bearing may take a little finesse to pull it down the shaft, like ours did. yank hard!]
[inspect your old bearing, you may find, like we did, that ours didn’t even have a bearing at all! it was just a plastic sleeve that the shaft slid thru]
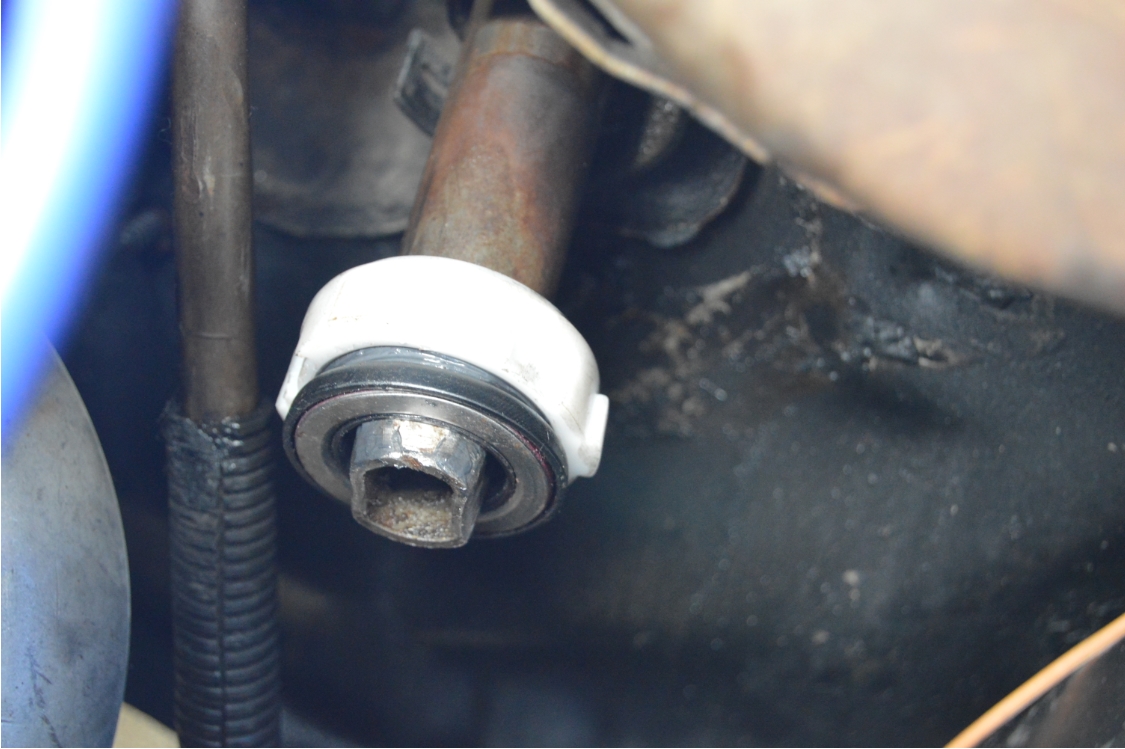
8. grease up the new bearing a little bit. put some in the hole that the shaft will go thru so it’s easier to shove it back on.
[it’s a good idea to clean the upper shaft before you put the bearing on. clean the gearbox splines too!]
9. slide the new bearing on the shaft.
[you may have to tap the bearing into place. we did. MAKE SURE you have it facing the correct direction!]
10. put the cover on.
[the plastic bearing housing cover has a large tab on it that corresponds to a large tab on the outer cover, and the factory ring attached to the shaft has a large slot as well. all these should line up]
.

.
11. snap on the retaining ring.
[you can see the top slot it goes in, but you can’t really see the side or bottom one. MAKE SURE the snap ring goes into all 3 spots! feel it. check it with a mirror, although it’s tough to see them]
12. open up both ends of the new steering shaft somewhat to make it easier to slide on.
[when you install the shaft, although both ends look similar, it only goes on one way. look inside the holes on the ends. one end is round (goes on gearbox), the other side is oval (goes on upper shaft)]
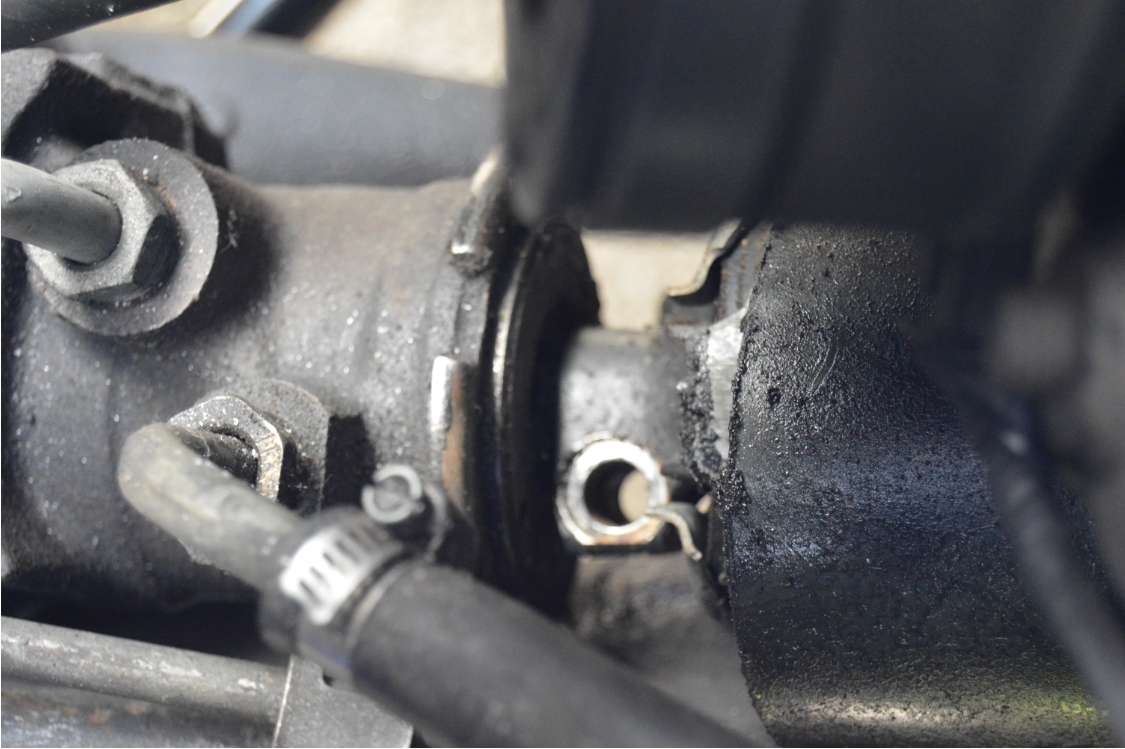
13. push the side that attaches to the gear box on. don’t tighten the bolt yet.
14. remove the bolt from the top side, and slide the shaft on.
15. make a mark thru the bolt hole (onto the upper shaft).
16. you will need to grind a notch in your marked area for the bolt to go thru.
17. use a dremel, file, etc., to make the notch.
[it may take you a few tries to get the notch deep enough for the bolt to go thru. go slow, you don’t want to take too much metal off this area!]
[you might find it easier to turn the steering wheel to get to the area you need to notch. REMEMBER to put it back to the straight position when you are going to do the next step]
.
.
18. once the bolt fits thru & grabs the other side of the shaft, put a drop of threadlocker on it & tighten the bolt down to 35 ft/lbs.
19. do the same with the lower bolt.
20. tighten down the set screw on the shaft.
21. that’s it. mission accomplished.
Enjoy your (hopefully) more responsive steering!
.


.
.
Do you need a more visual experience for this upgrade?
Check out these entertaining install videos from my online friends and our fellow Buick Regal owners:
[both guys have lots of other interesting videos as well]
.
Daniel Lane (Skinny Pedal Motorsports):
.
Here’s another from Emilio Marmol (VenomGT87):
(with a bit more details explained)
.


