


.
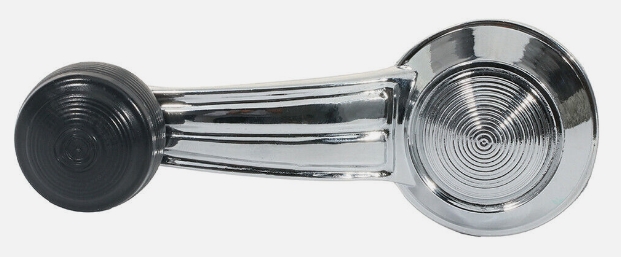
After years of use, up and down, repeat often, over the course of the last 35 or so years, wear and tear takes effect on your power window switches.
They may stick, or you may have to press multiple times to get them to function, or perhaps they just don’t work at all.
Replacing them isn’t a difficult task.
They simply clip in from the backside of the door panel.
Of course, removing the door panels themselves is a bit of a job, but not too bad.
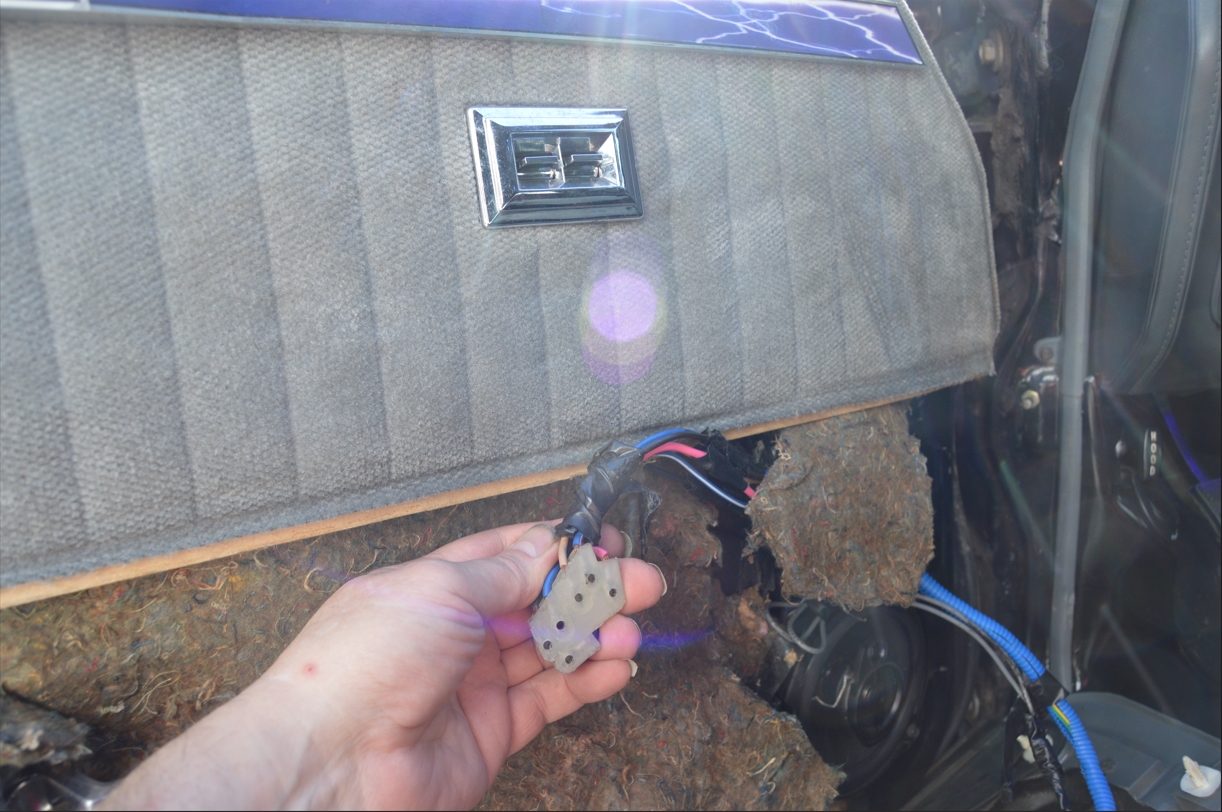
Our drivers side power window switch (for the drivers side window) on this 1987 Buick Grand National would occasionally not go down (a few tries of pushing the button was necessary).
We could have probably just taken it apart, cleaned it up, and reinstalled it.
But why?
The switch is 37 years old, and the new part cost about $15 (shipped) for a set of 2, both the dual driver side switch and the passenger side single switch.
Granted, these are reproductions (of which repops are generally not as good as the OEM stuff), and weigh less than the OEM parts as they’re mostly made out of plastic, but they look exact (size, visually), and they’re new!
[we don’t really care about keeping the Buick GN “stock” or using factory correct parts. As a matter of fact, we’ll probably try selling these OEM units in case anyone does desire to have the actual stock parts]
This week, we are trying to totally dechrome our Turbo Regals interior as much as possible, so that’s what we intend to do with these new parts.
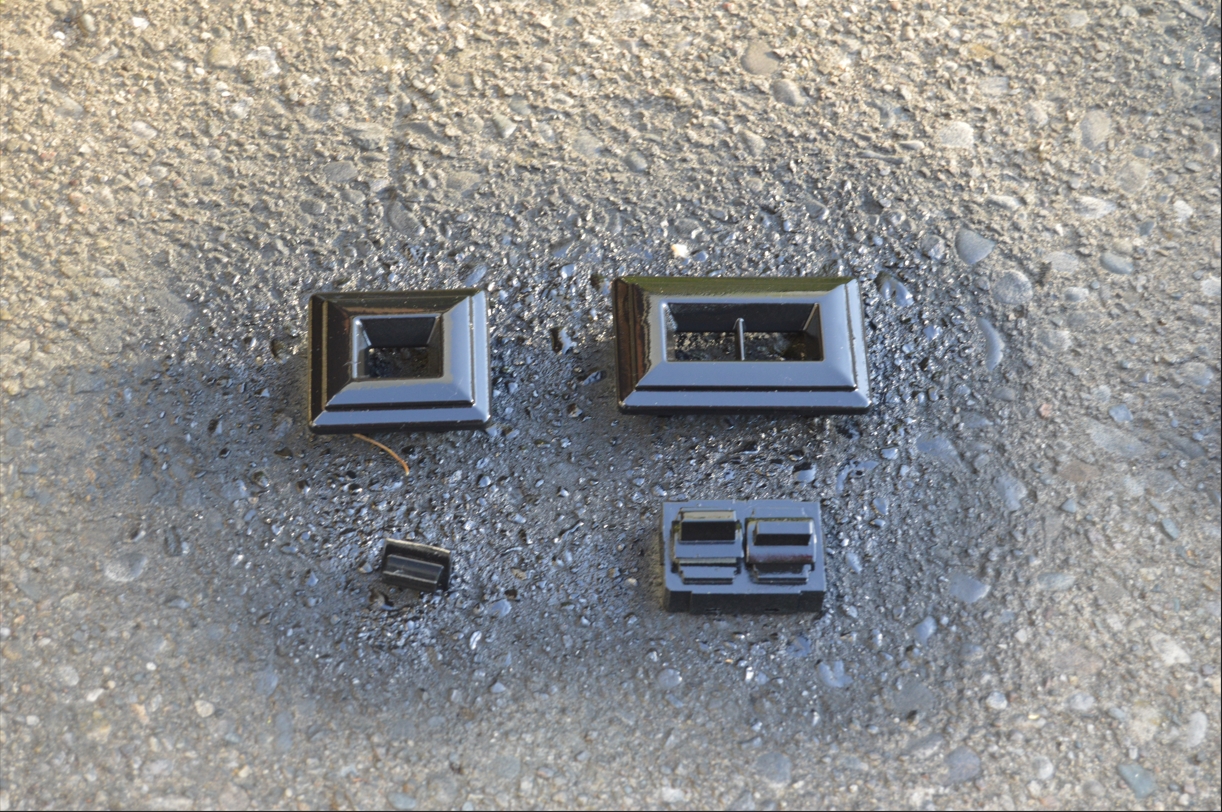
Scuffing up the switch with our handy dandy red scotchbrite pad, to allow the self-etching primer to stick, then we shoot it with a few coats of gloss black paint.
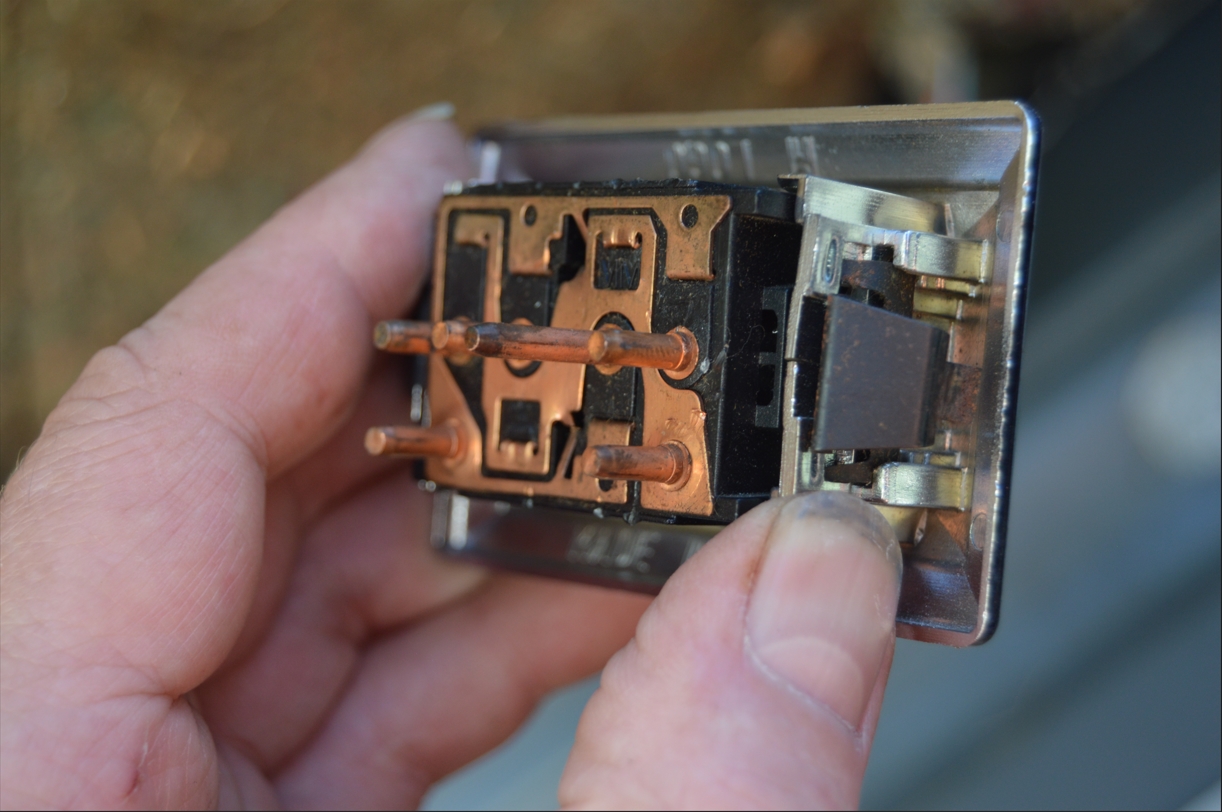
Of course, you can’t just spray a direct coat of paint on them without taking them apart, otherwise the paint will drip down into the switch lever crevice, and probably make it stick to the bezel. Meaning the switch won’t function as intended, or you’ll chip off the paint in some areas when using the switch.
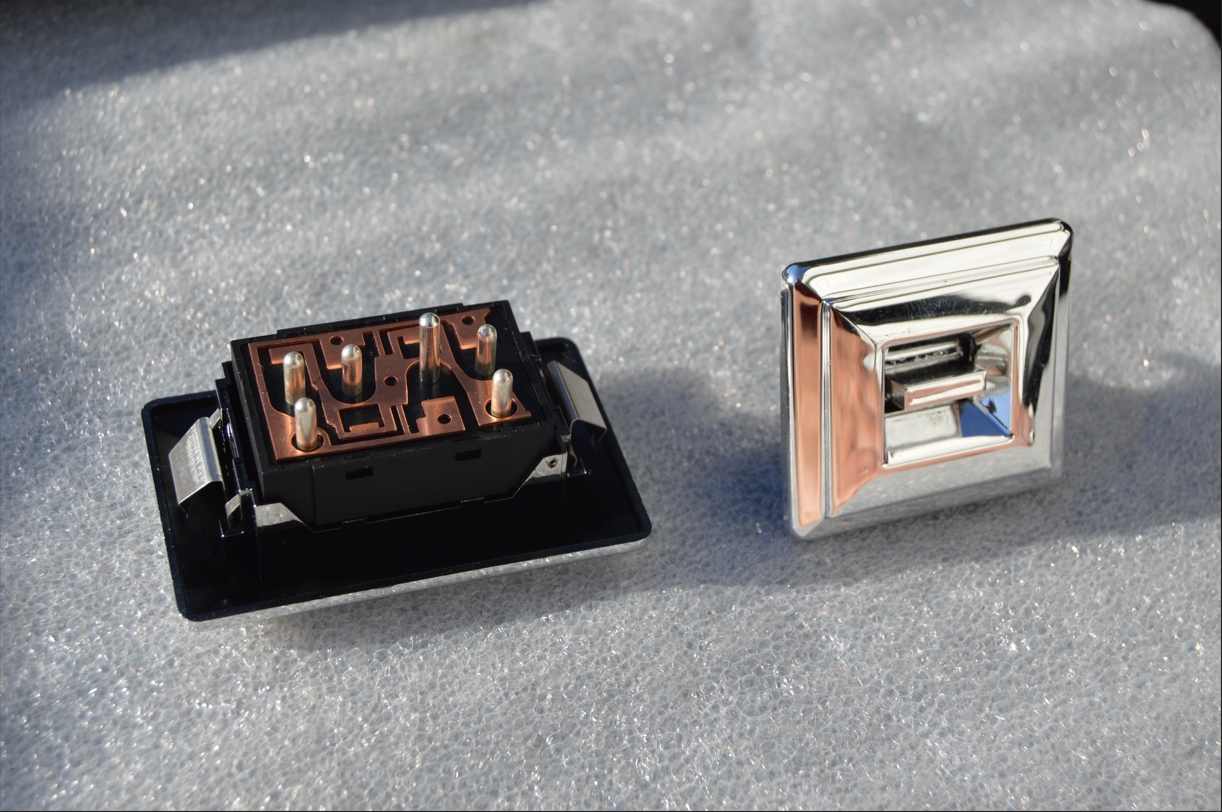
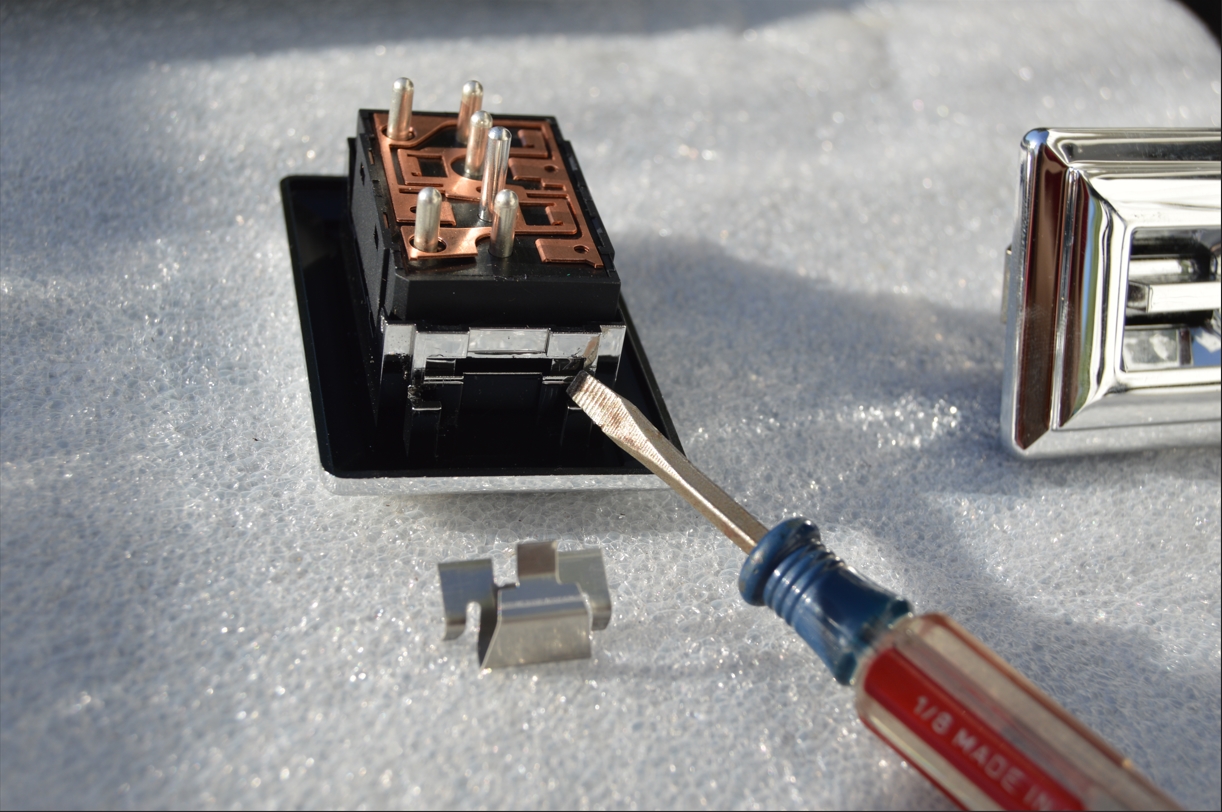
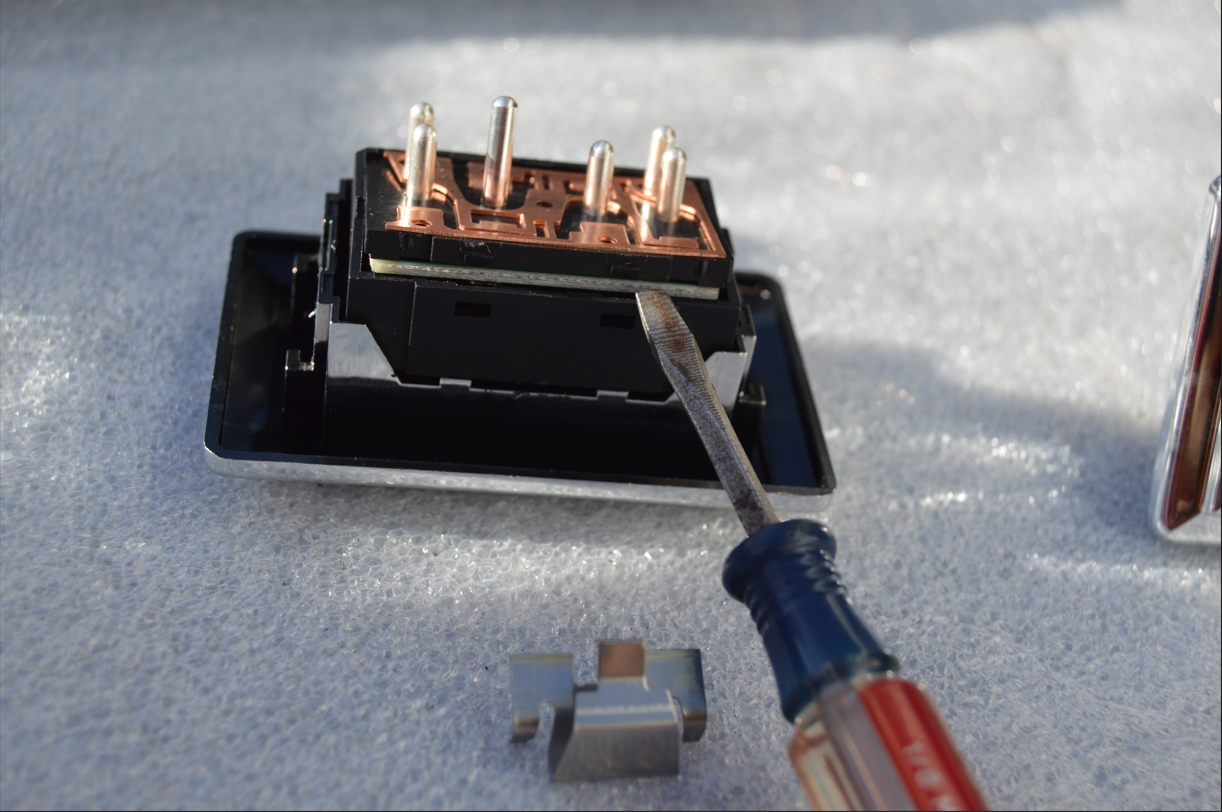
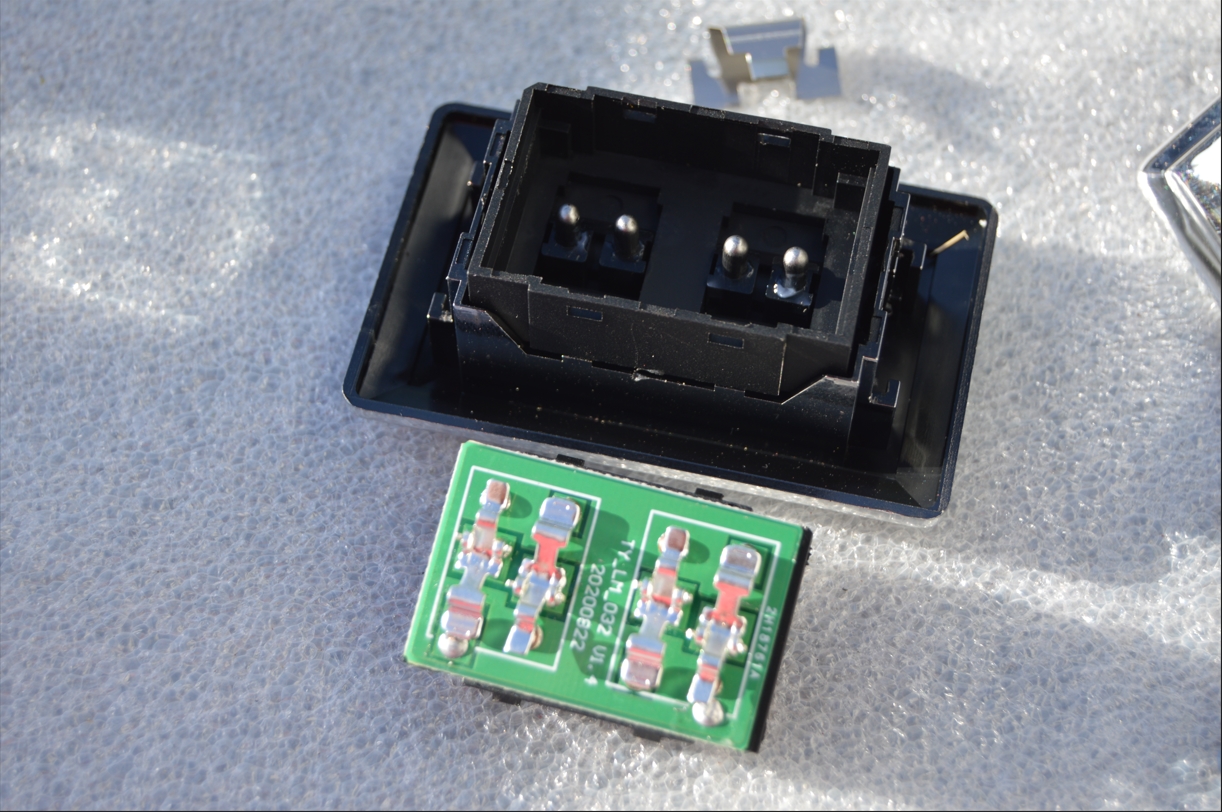
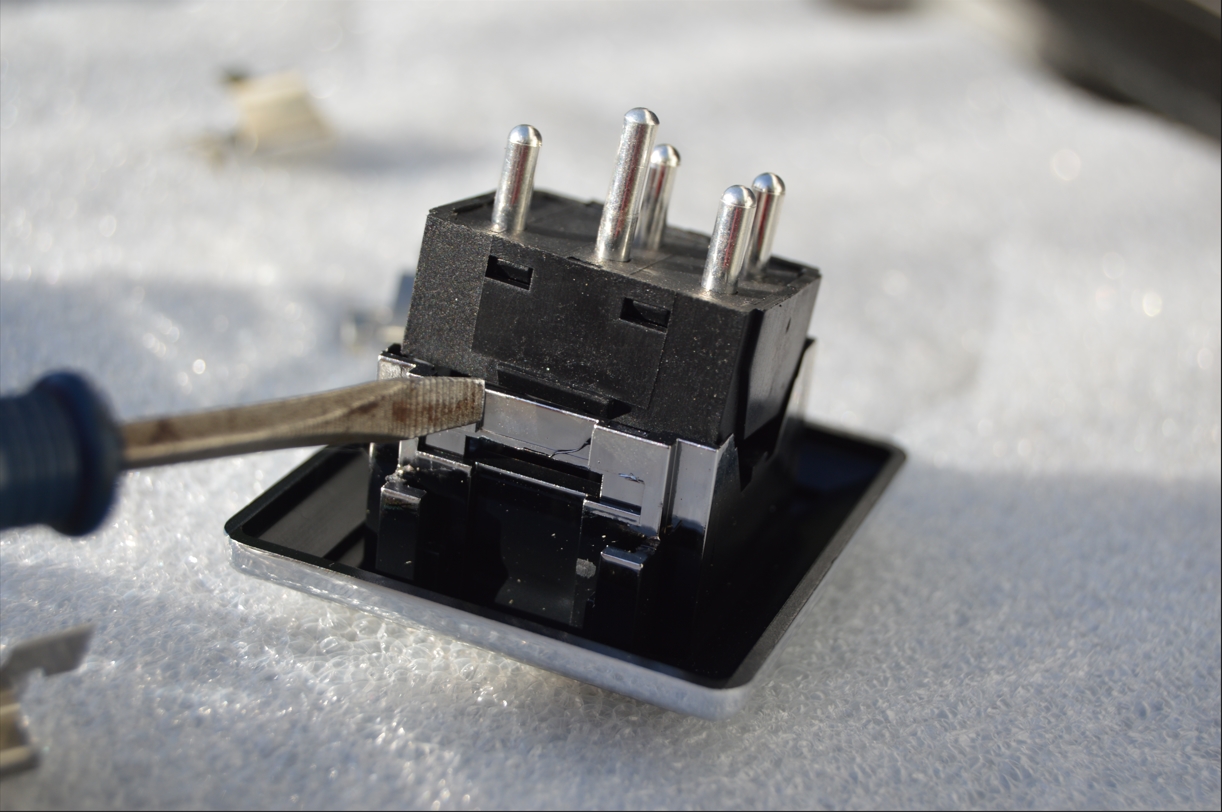
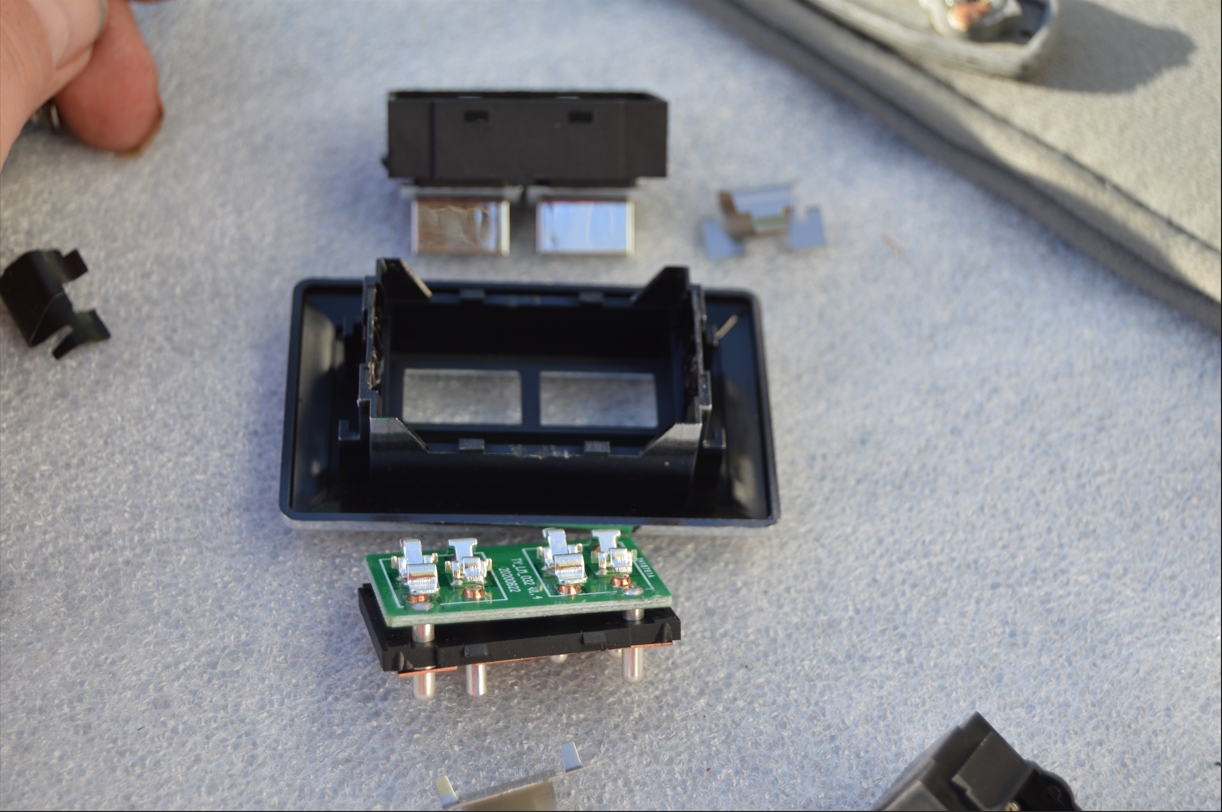
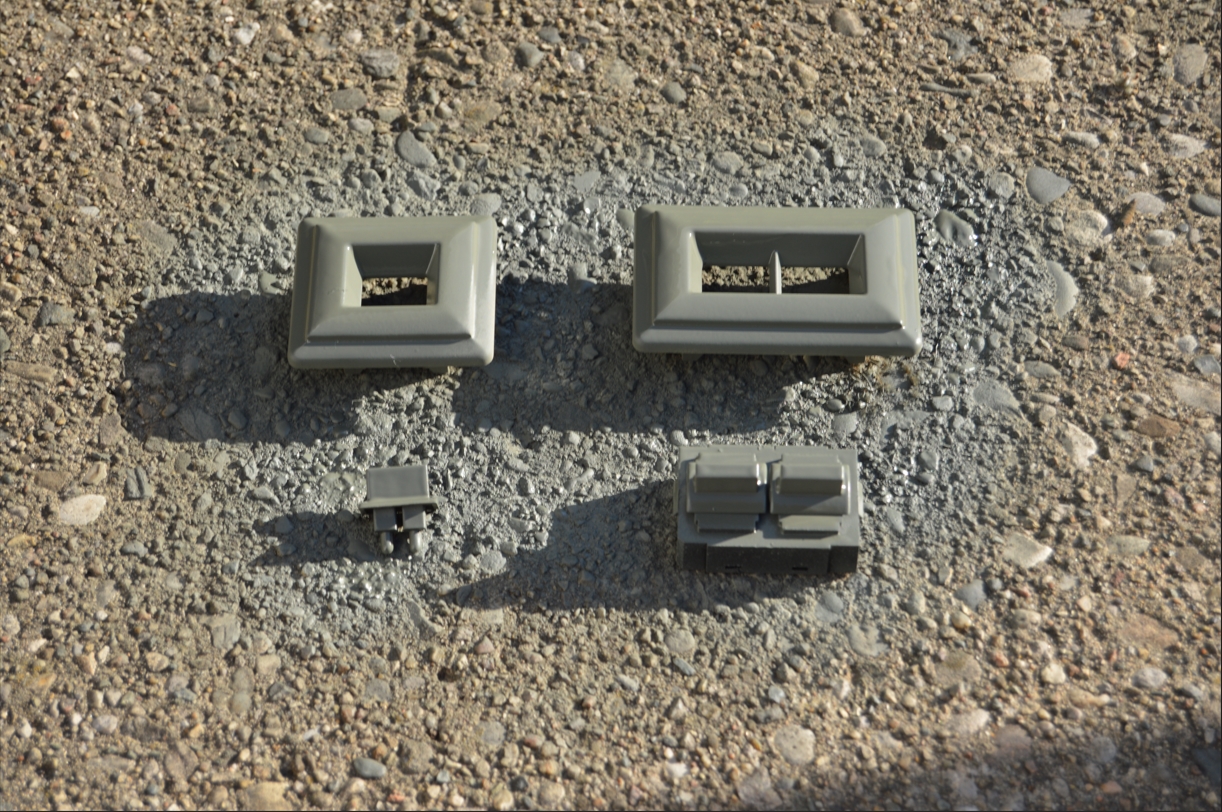
Disassembling them is done from the back side.
There’s 2 clips on opposite sides (this is what holds them onto the door panels as well).
You need to totally pull them out, then the switch (and all of the rest of the components in there) separates from the bezel.
Now the process can begin.
Primer / paint the 2 sections of the switch separately.
Once the paint dries, we reassemble and install.
[taking apart the switches is a bit challenging! The electronics are inside a box, which is inside another box. They all have tabs on the sides that need to be popped out from where they snap in to disassemble. Be careful, as since they’re made out of plastic, they’ll break easy if you pry too hard! Took us like 10 minutes to get it all separated!]
.
 BTW, If your Turbo Regal has crank windows, you could do the same painting treatment on it like we’re doing with this PW switch.
.
.
PAINTING THE WINDOW SWITCH:
.
.
HOW TO REPLACE POWER WINDOW SWITCHES:
[IF you need to see pics on how to remove door panel, check out the power door lock switch replacement post, where we show you step by step info]
1. Remove door panels:
2. Remove the 2 screws found inside the armrest. Slide the armrest forward and then remove.
3. Remove the 2 screws holding the door panel to door (found behind the arm rest).
4. From the bottom of the door panel, pull it towards you. It’s secured to the door via 8 retainers (4 on the bottom, 2 on the sides). You can use a tool (so you don’t break the clips), or just yank on it.
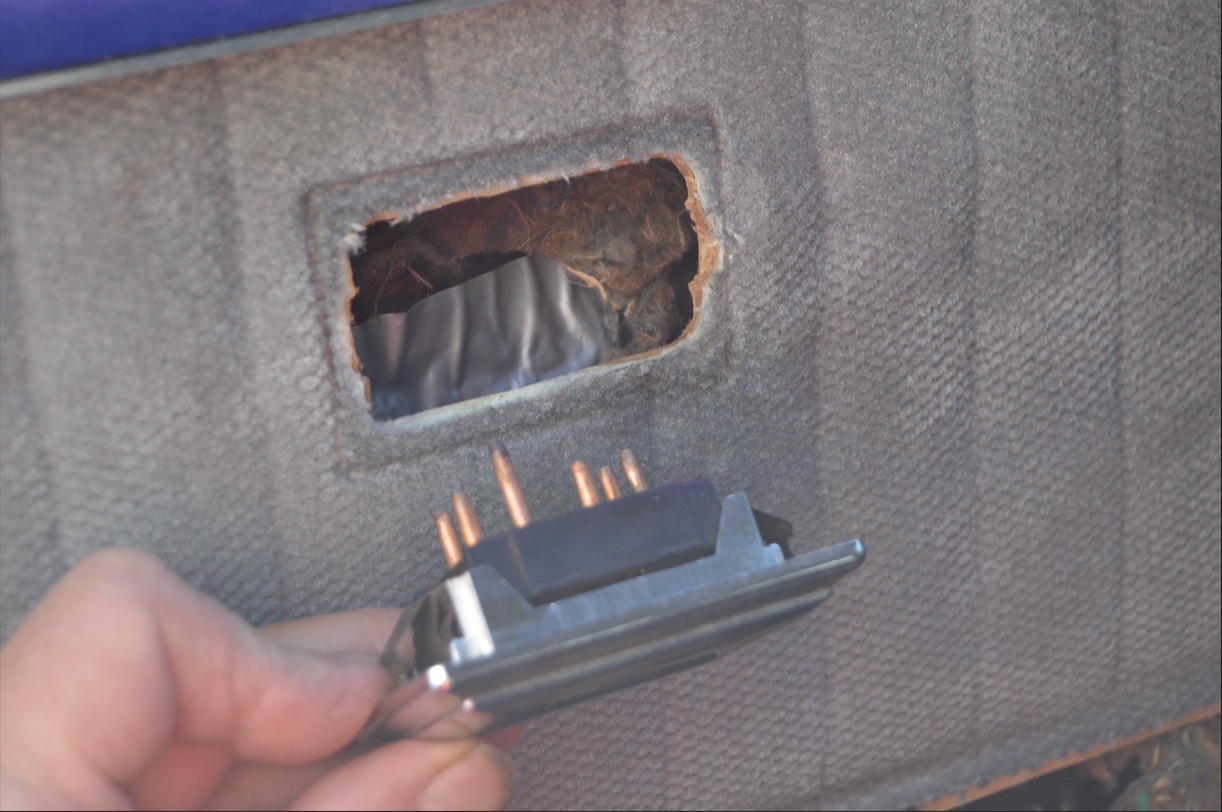
5. Reach up underneath the top half of the door panel, and separate the wire connector from the switch.
6. Squeeze the tabs on the switch and you can pull out the switch from the door panel.
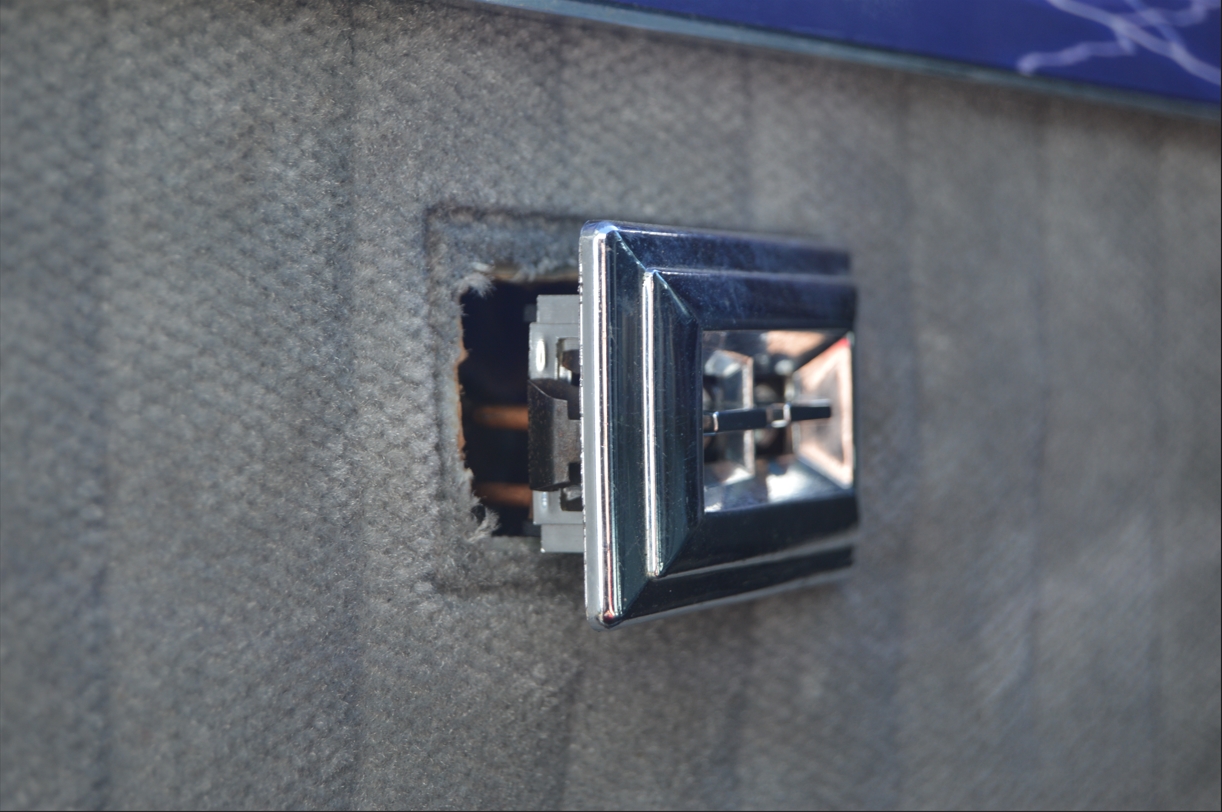
[There’s 6 pins on the drivers side (dual) switch: 4 in the middle, 2 on the bottom. The 2 pins on the bottom should be facing down when reinstalling]
[There’s 5 pins on the passengers side (single) switch: 2 on one side, 3 on the other. The side with 3 pins, has a longer pin in the middle, this should face the front of the car]
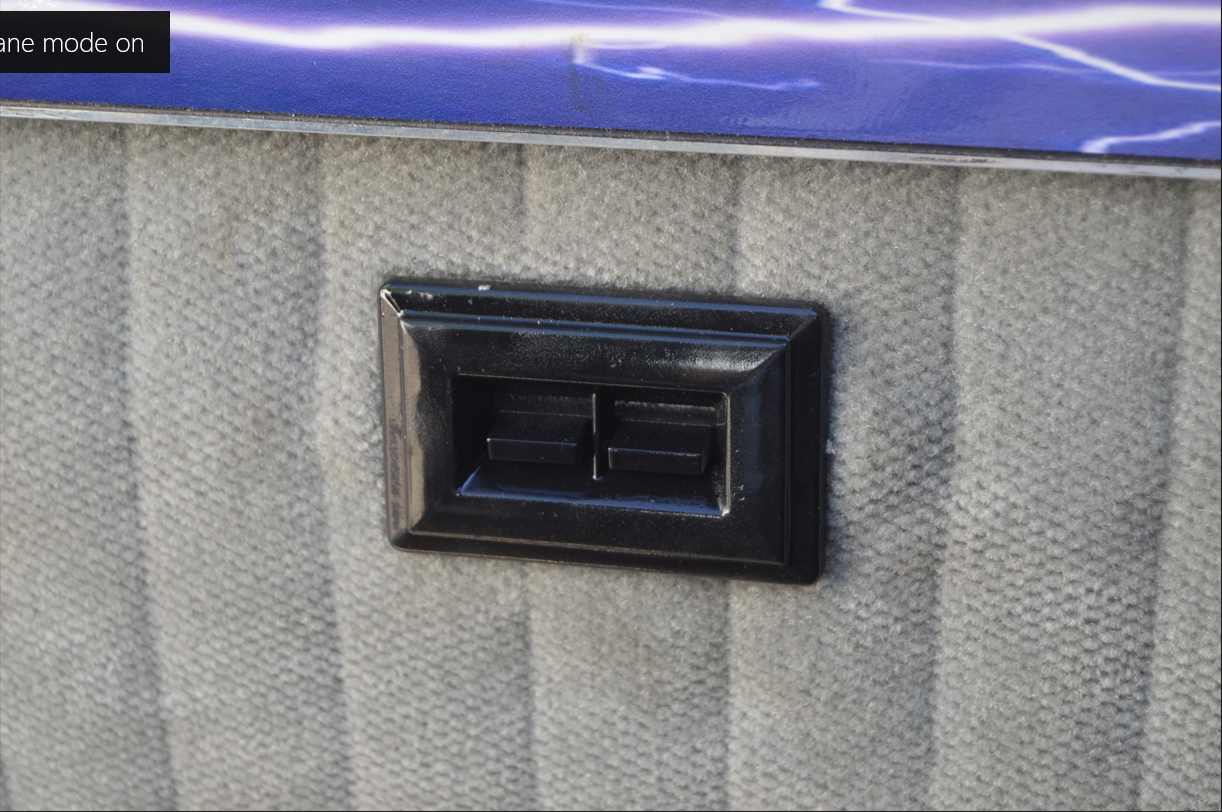
7. Install new switch. (just push it thru the door panel, it will snap into place)
8. Reconnect the wiring plug.
[you should verify the new switch works, and makes your windows go up and down]
9. Reinstall door panel.
10. done.
.

.


