


.
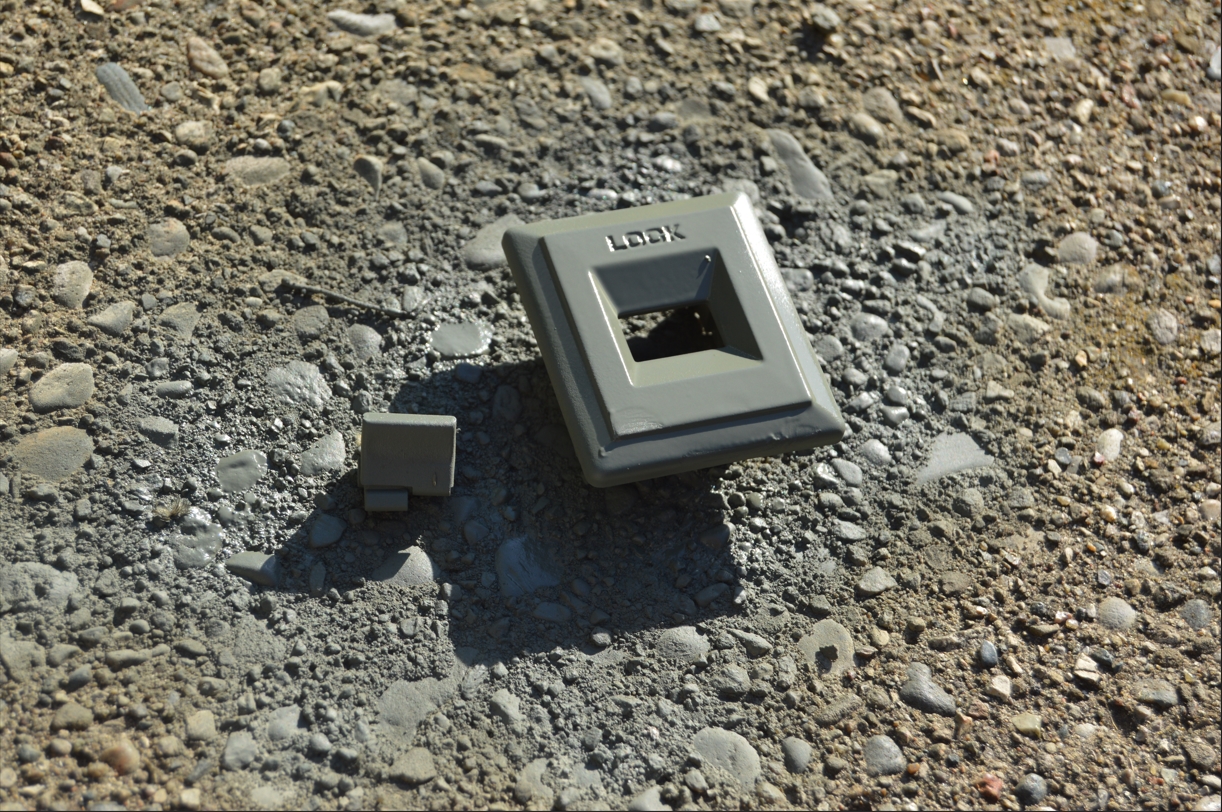
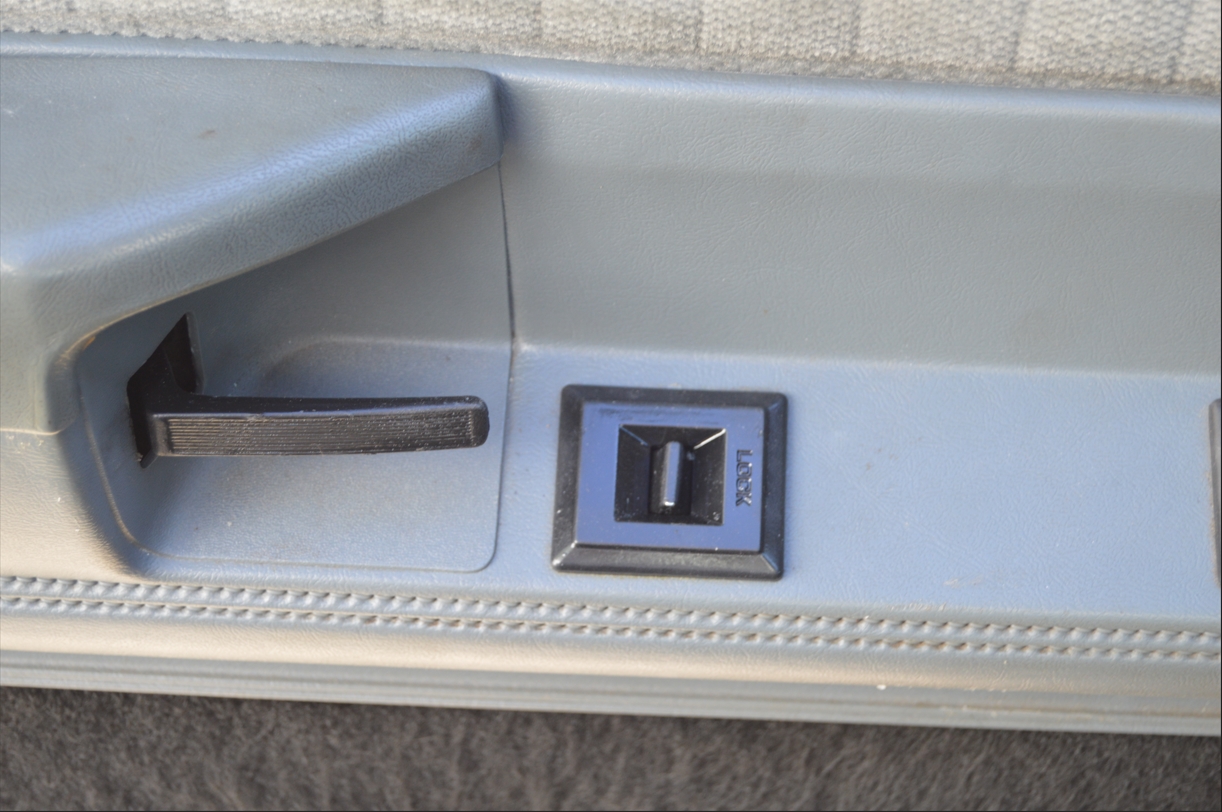
Other then the power window switch, the power door lock switches are probably the most used interior switch in the entire Turbo Regal.
That’s means they’ll probably wear out eventually.
For less than $20, you can acquire a brand new reproduction set.
Exact look and size of the stock part, but for much less.
Of course, since these are repops, and made of cheap plastic (like everything nowadays), their longevity is undetermined.
But they should be ok for awhile.
Also, the word “lock” on them is NOT black, like the OEM Buick part.
The ones on our 1987 Buick Grand National seemed to work ok, but they were dirty and scratched from the wear and tear over it’s lifetime.
Disassembly, cleaning and restoring was one option, but we took the easy way and just purchased a new set.
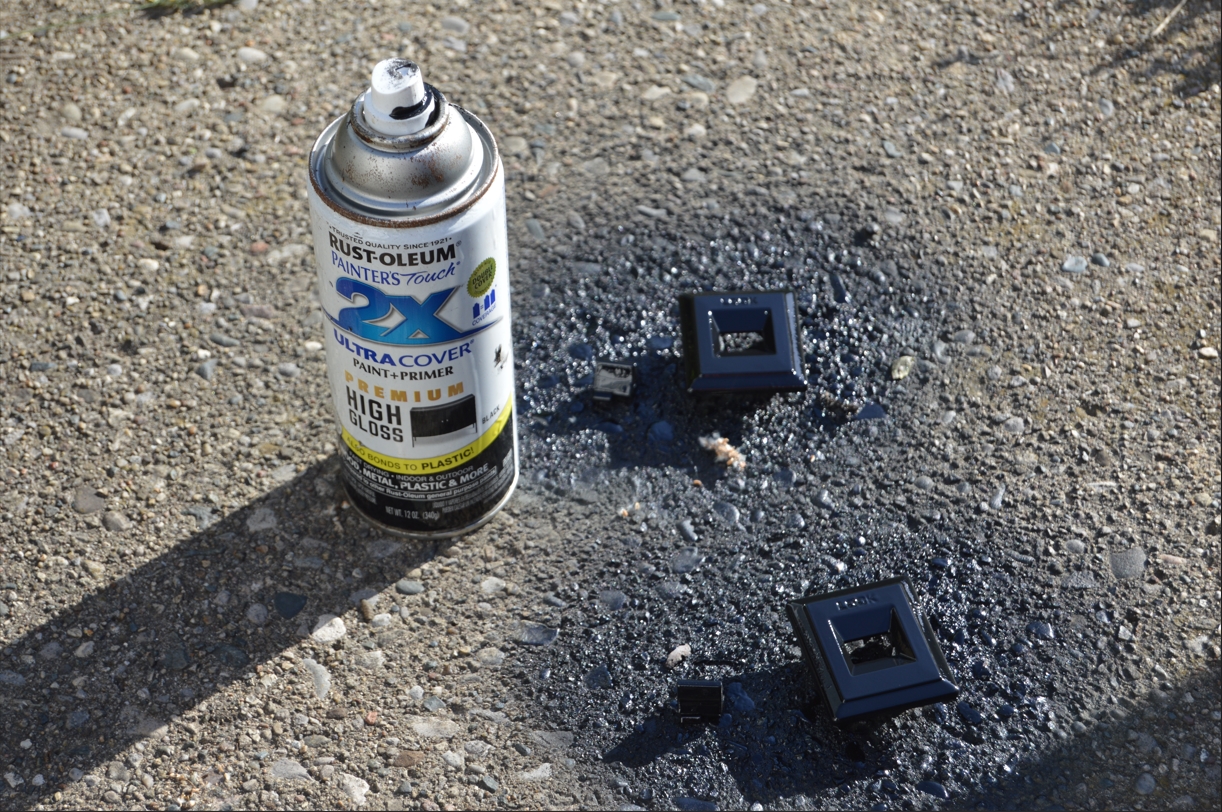
We scuffed them up with a red scotchbrite pad to allow the self-etching primer to stick, then shot them with a few coats of gloss black paint.
They’ll go perfect with the rest of our G-bodies interior, since we’re in the midst of replacing all the chrome parts with black colored pieces.
Of course, you can’t just spray a direct coat of paint on them without taking them apart, otherwise the paint will drip down into the switch lever crevice, and probably make it stick to the bezel. Meaning the switch won’t function as intended, or you’ll chip off the paint in some areas when using the switch.
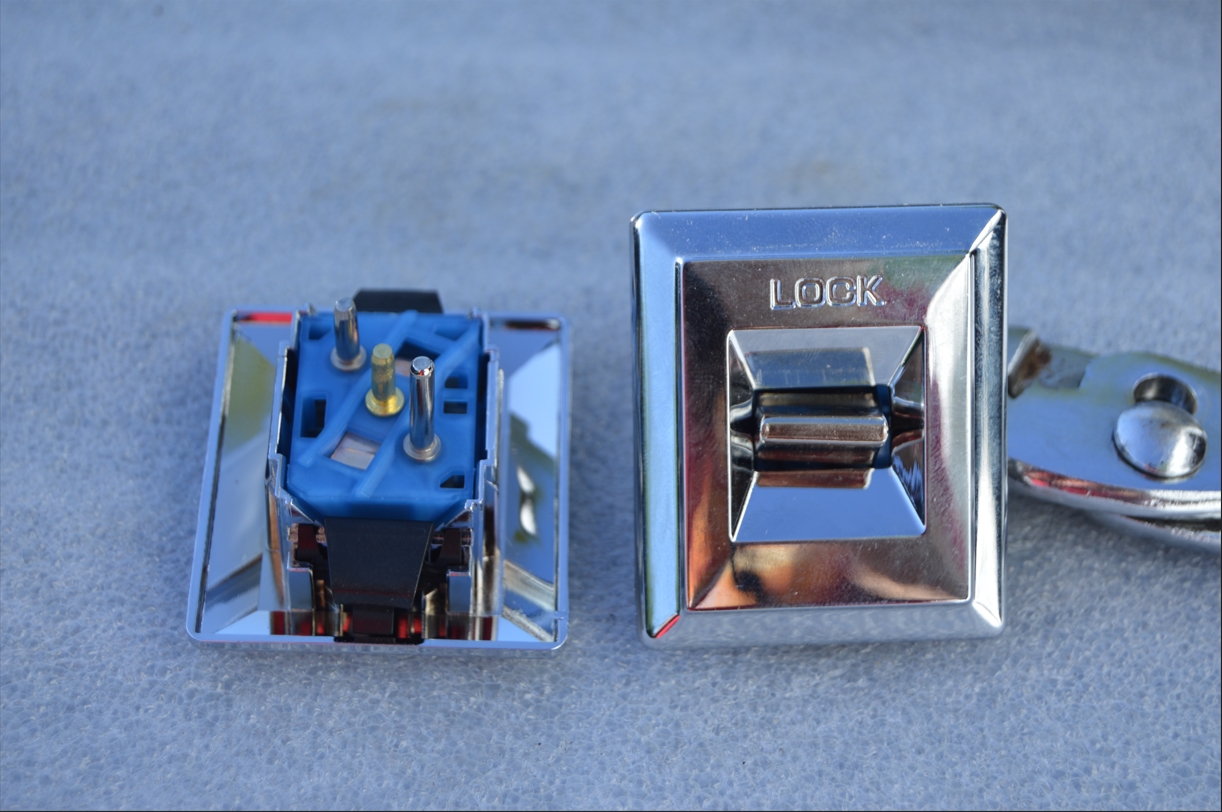
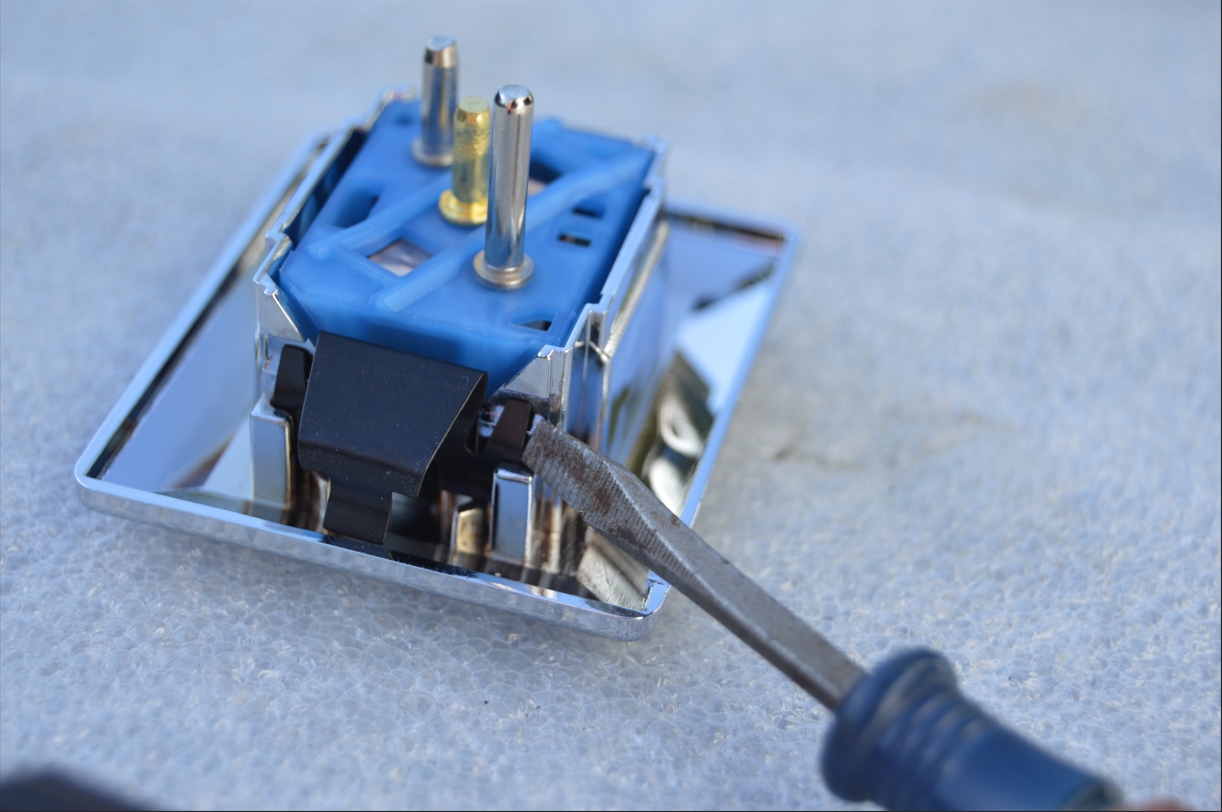
Disassembling them is done from the back side.
There’s 2 clips on opposite sides (this is what holds them onto the door panels as well).
You need to totally pull them out, then the switch separates from the bezel.
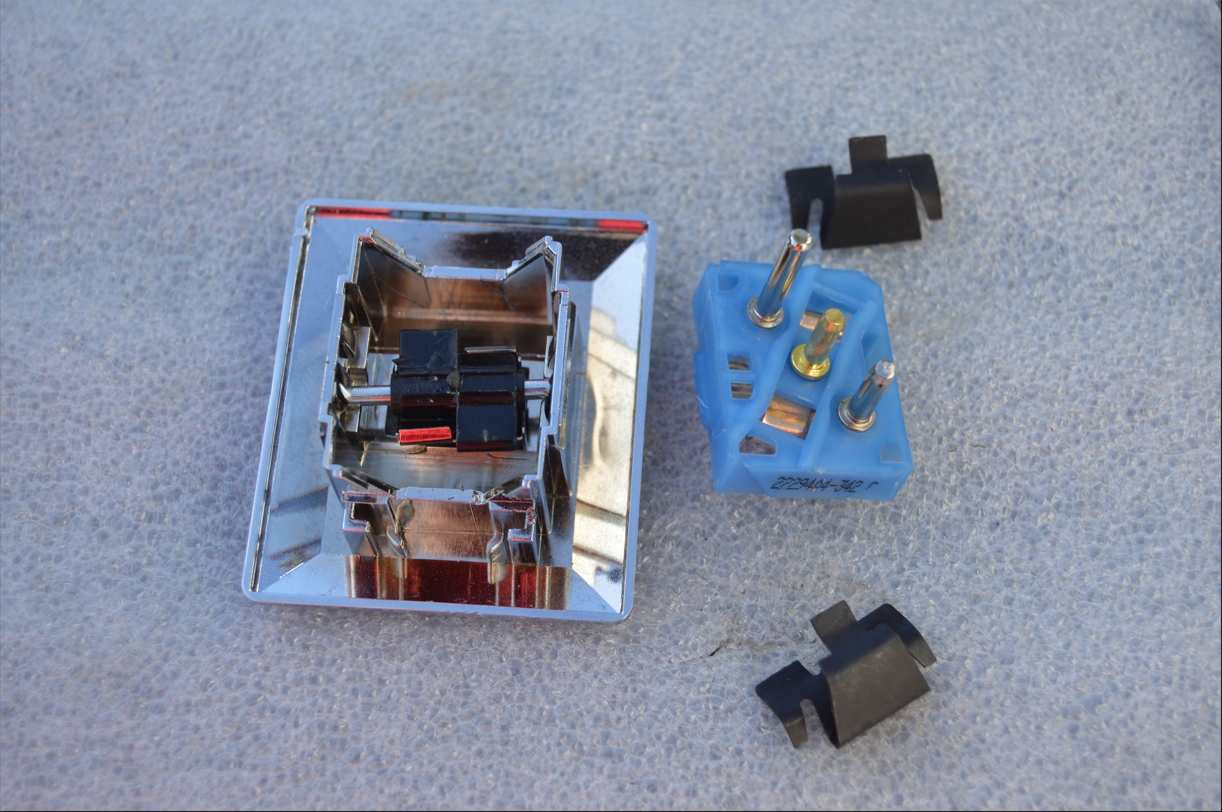
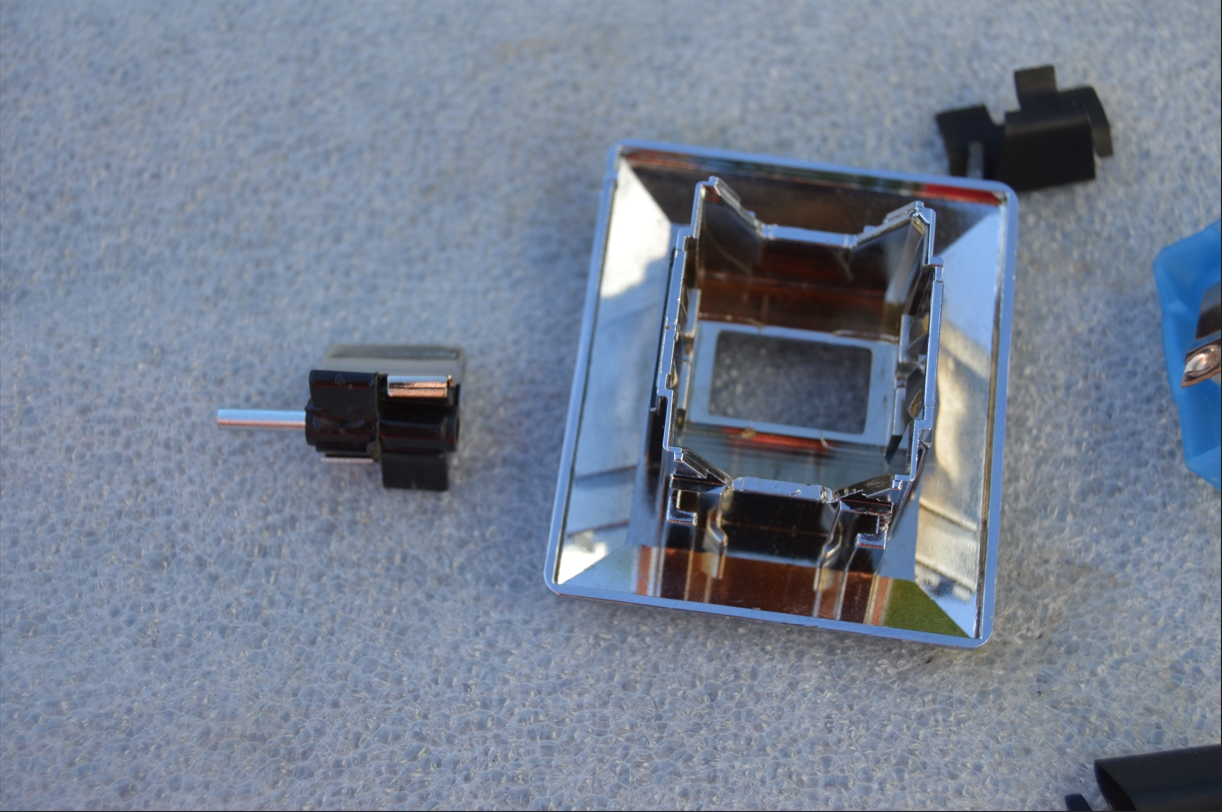
Now the process can begin.
Primer / paint the 2 sections of the switch separately.
Once the paint dries, we reassemble and install.
[take the pin out from the button before painting. The button can be reinstalled in the bezel in either direction, as they’re the same both ways]
[for putting the switch back together: there’s 3 pins on the switch, the longest tab goes on the side opposite the word LOCK – if you don’t reinstall it this way, lock will be the unlock!]
[also, on the wiring connector, there is a hole that goes all the way through it for the longest pin. This is the pin that the blue cap fits on]
.
PAINTING THE DOOR LOCK SWITCH:
.


.
HOW TO REPLACE THE DOOR LOCK SWITCH:
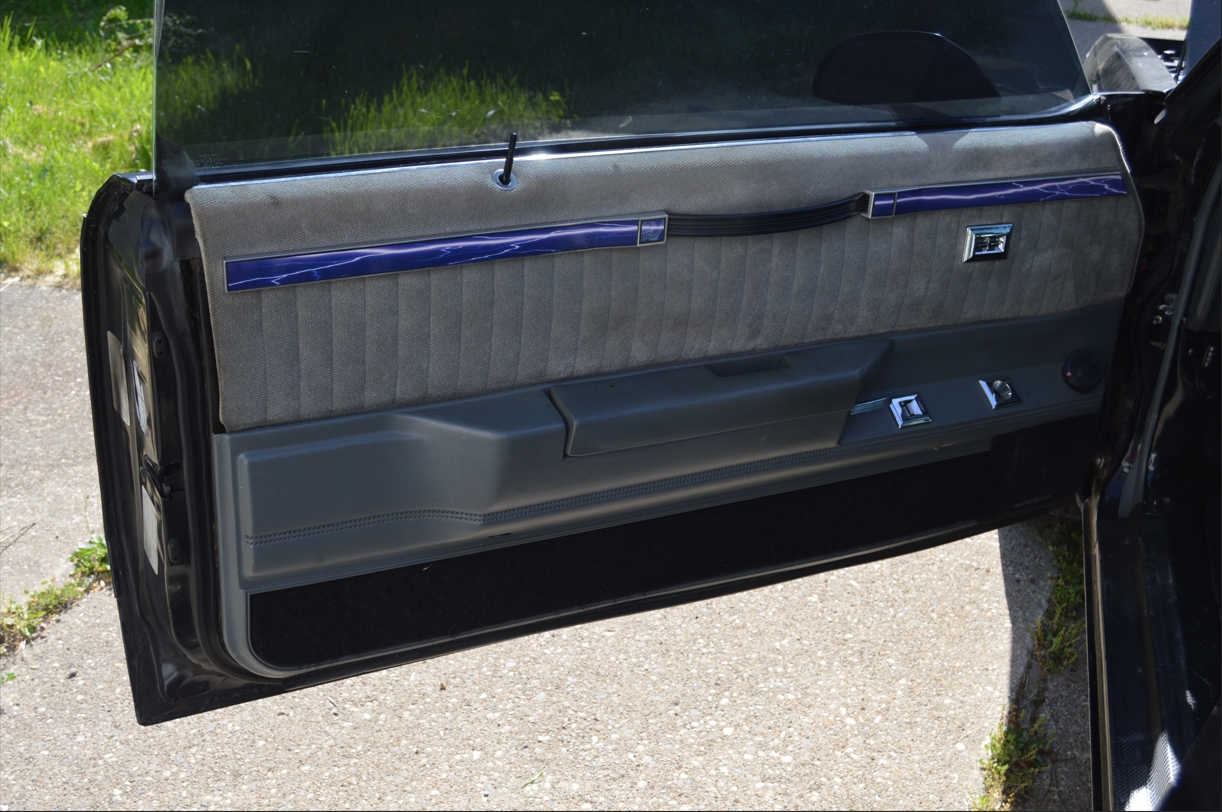
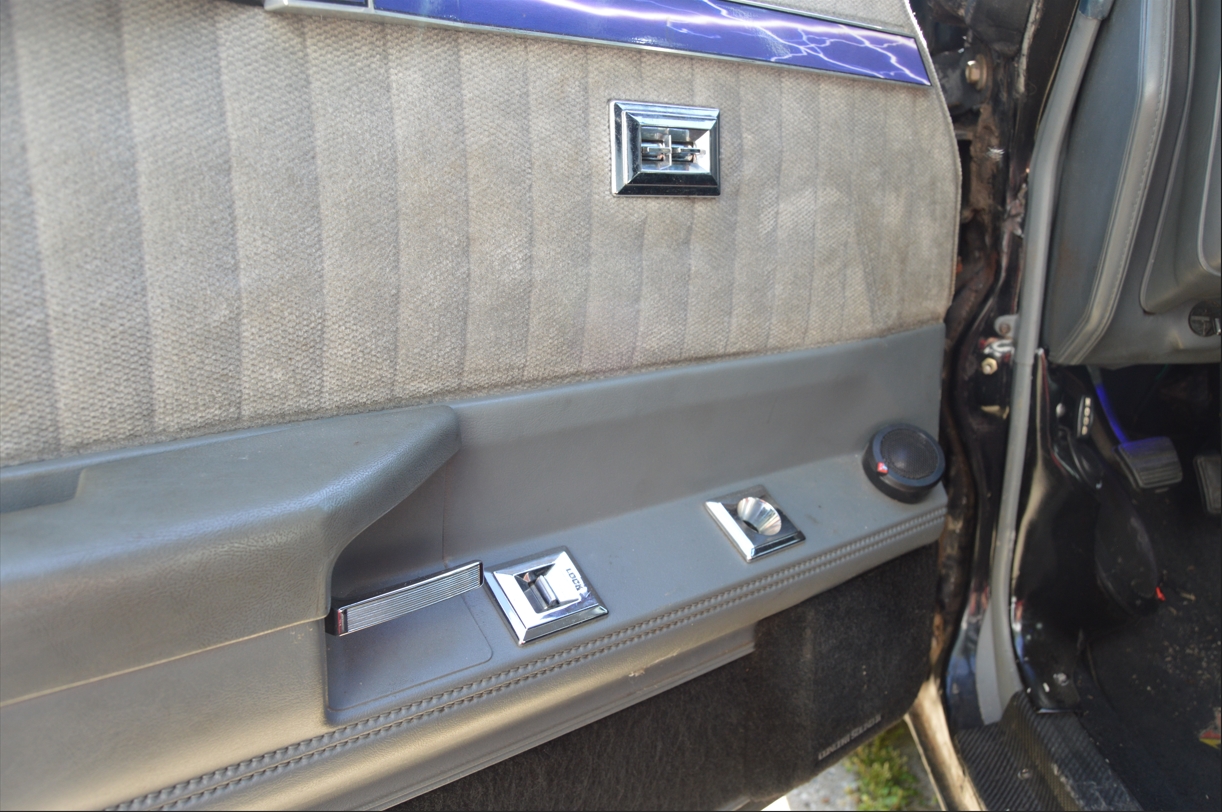
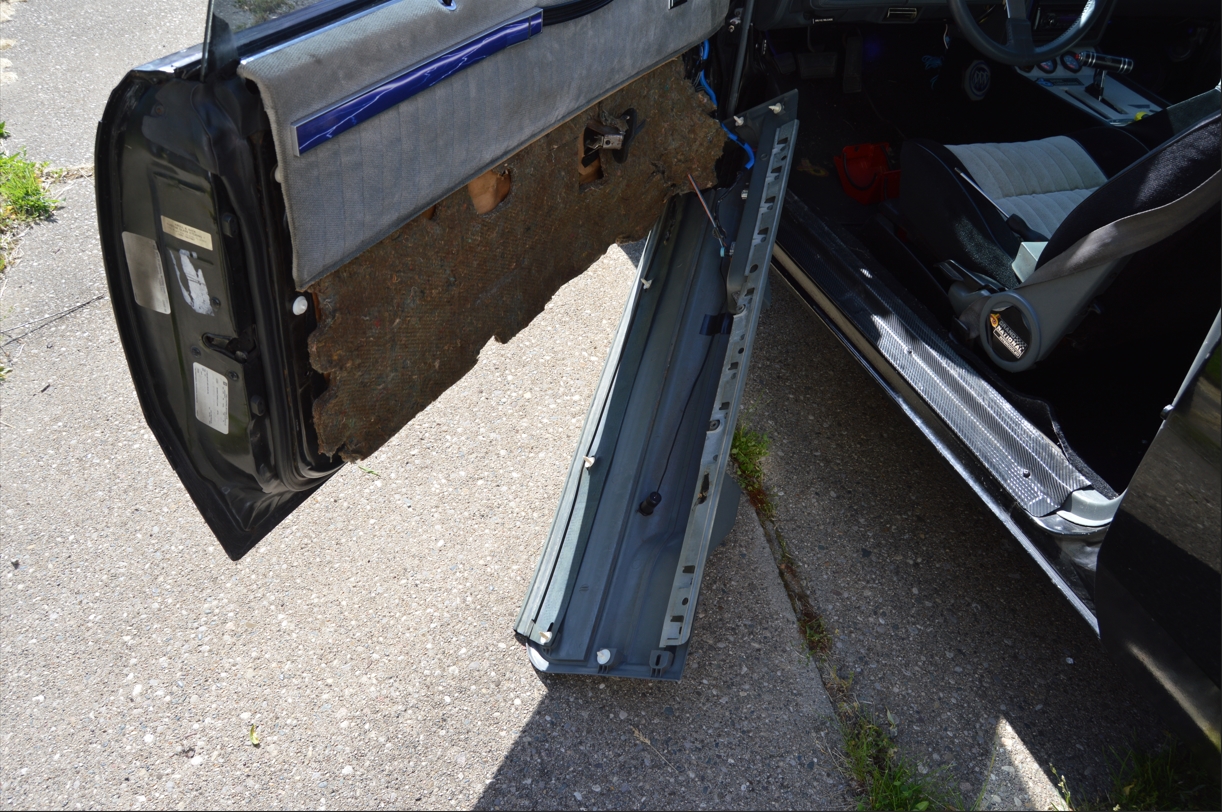
1. Remove door panels:
2. Remove the 2 screws found inside the armrest. Slide the armrest forward and then remove.
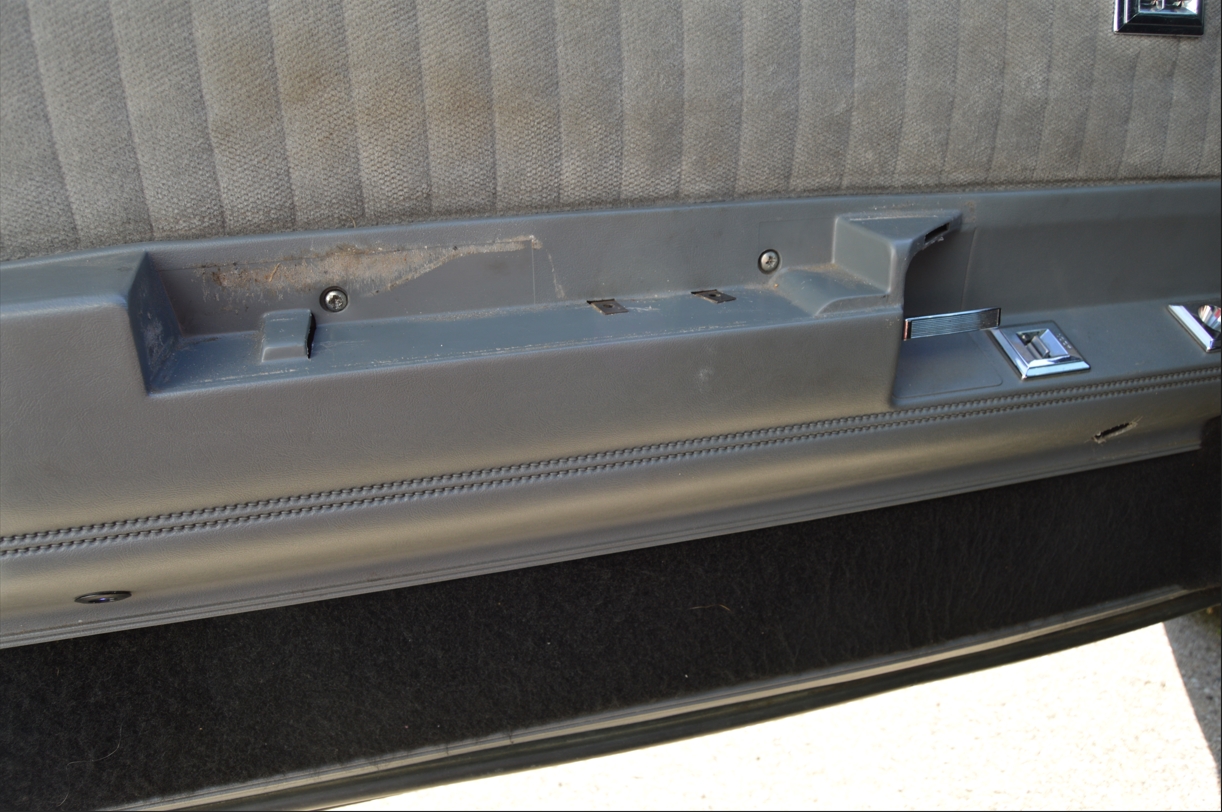
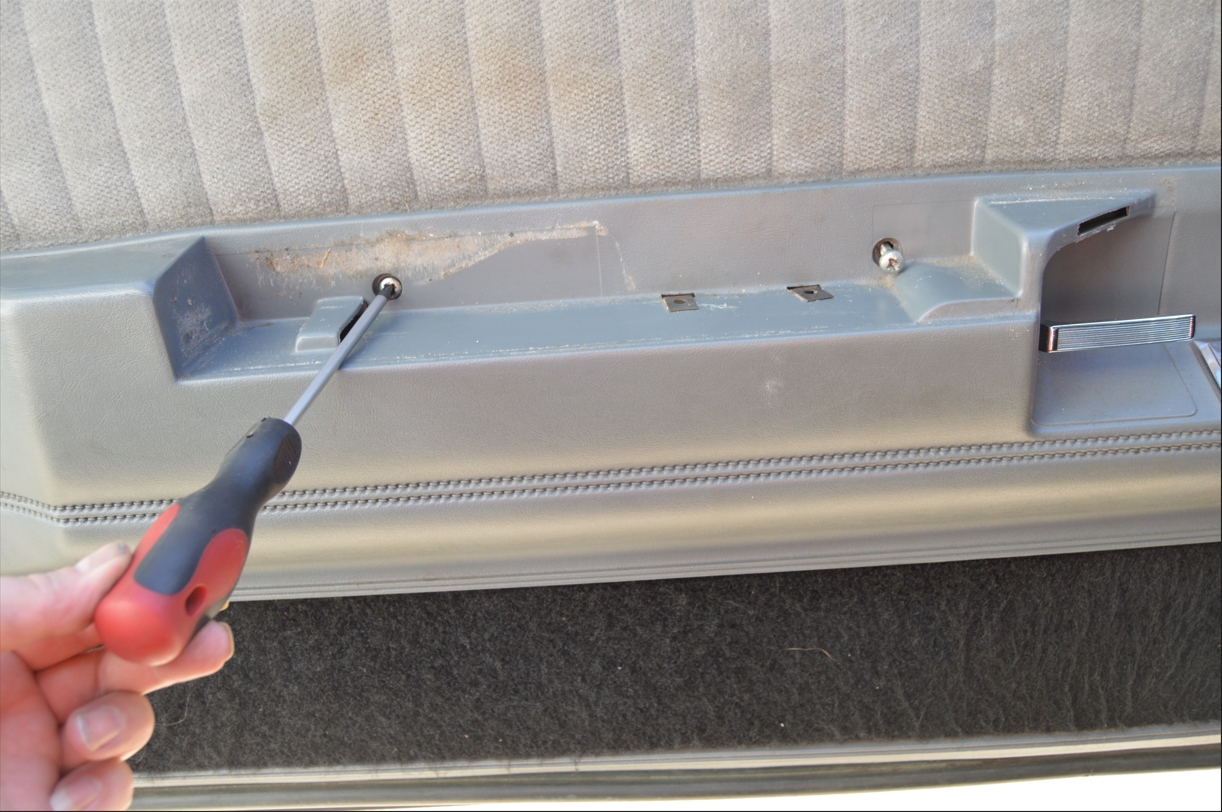
3. Remove the 2 screws holding the door panel to door (found behind the arm rest).
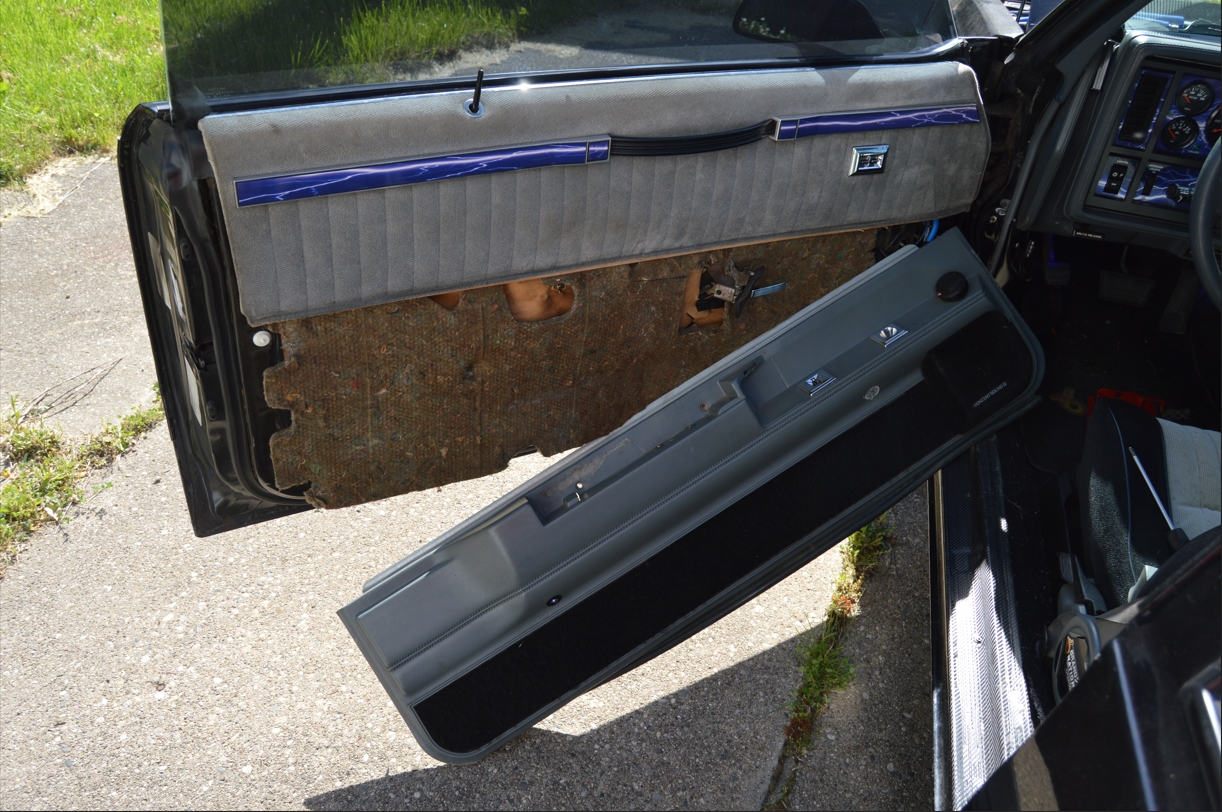
4. From the bottom of the door panel, pull it towards you. It’s secured to the door via 8 retainers (4 on the bottom, 2 on the sides). You can use a tool (so you don’t break the clips), or just yank on it.
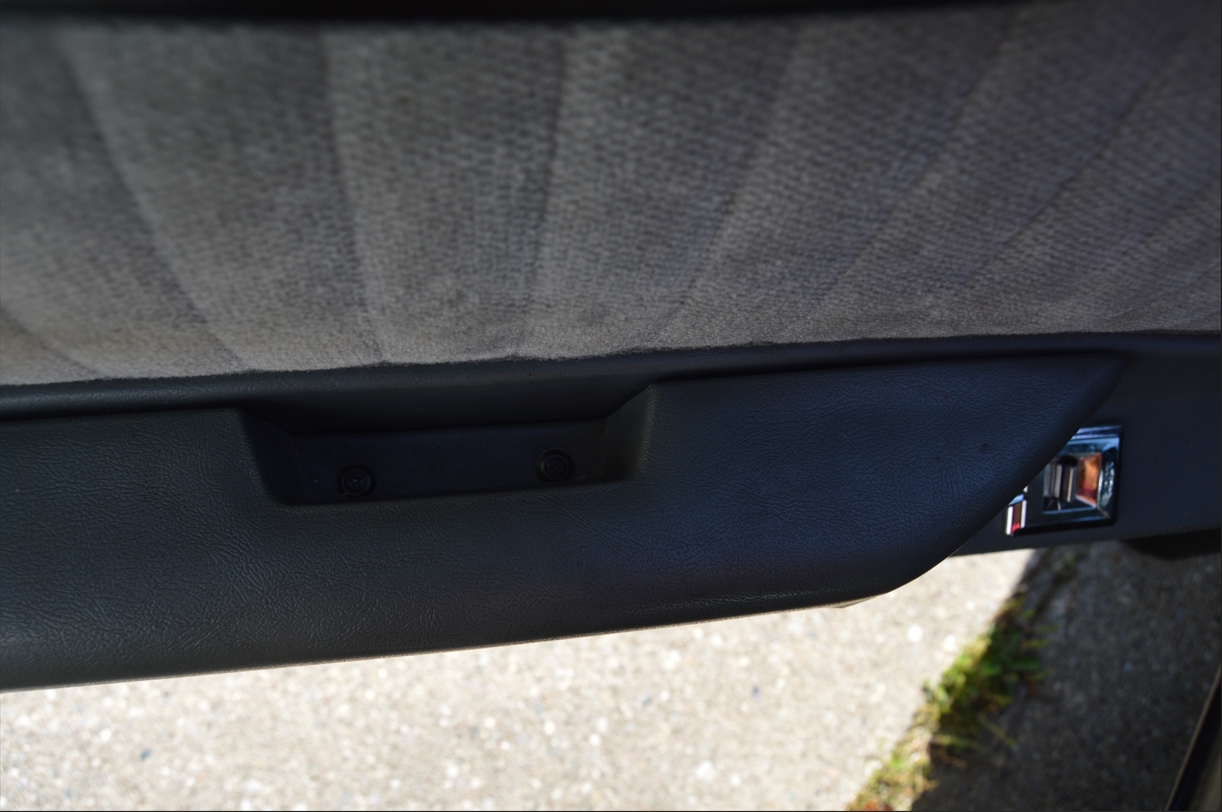
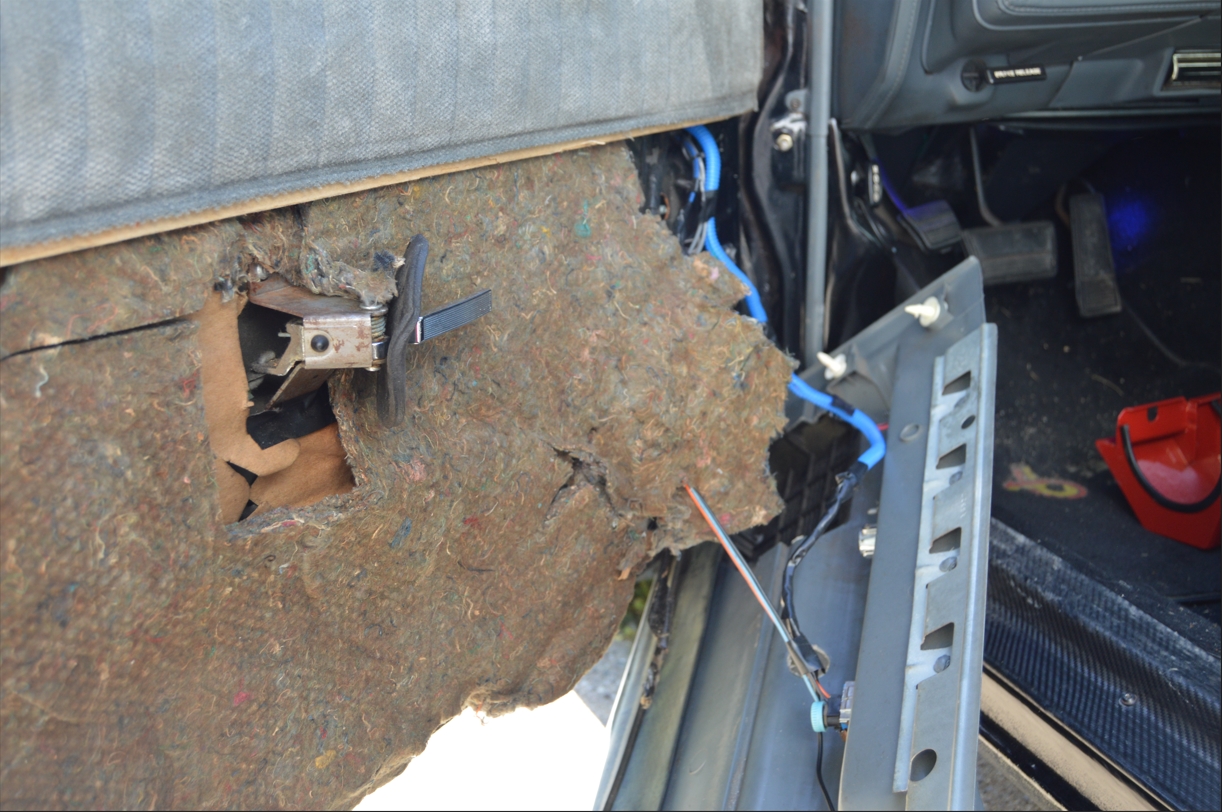
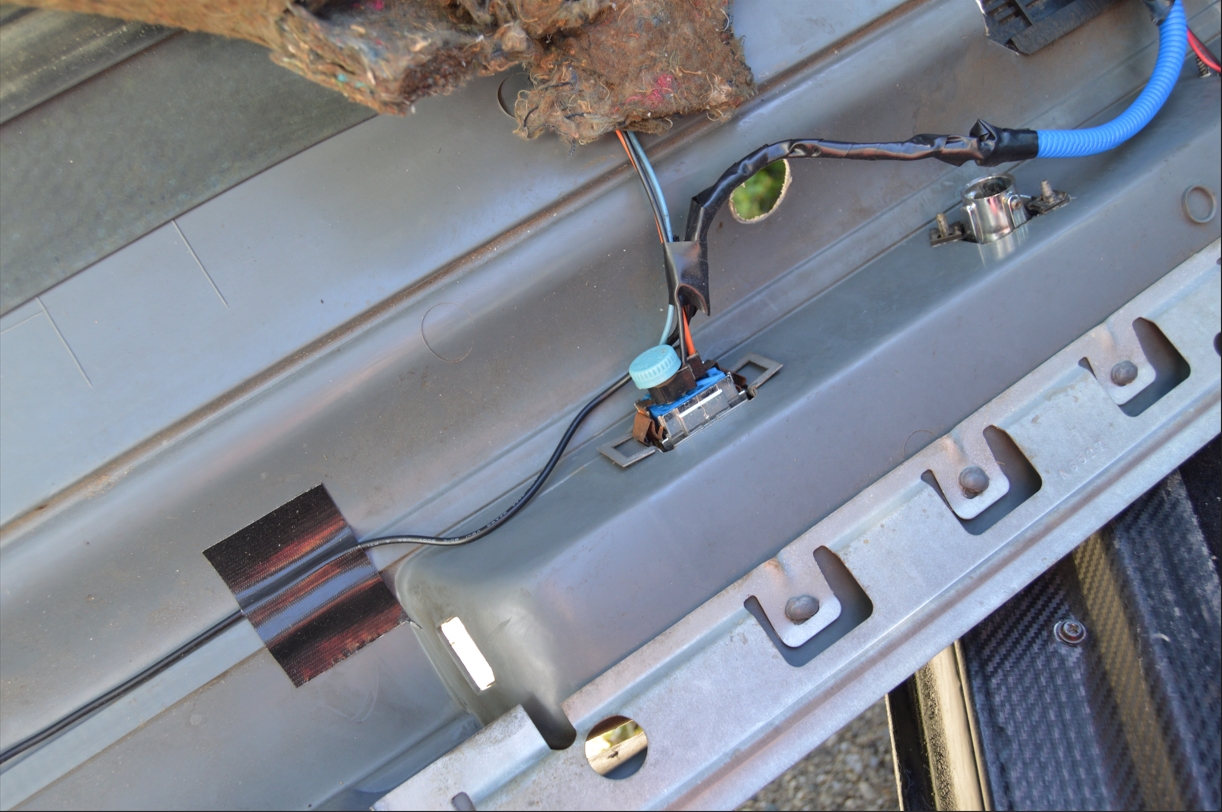
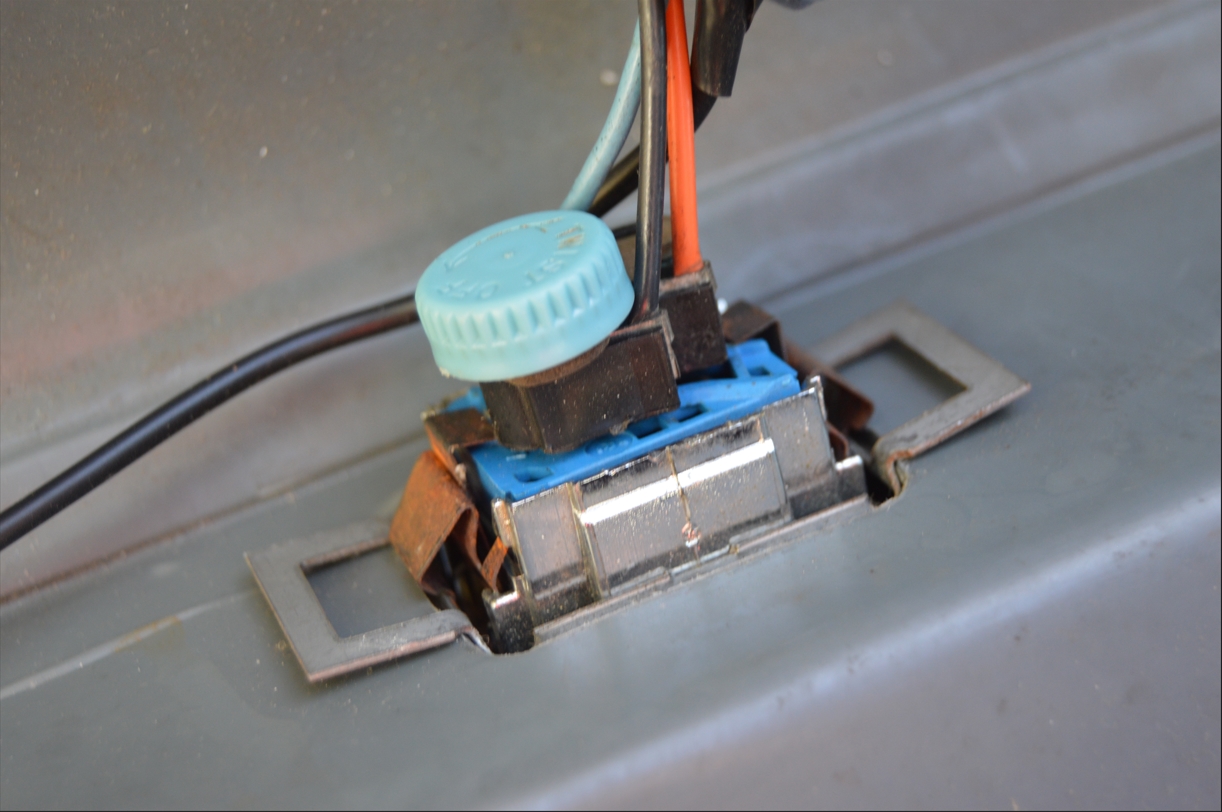
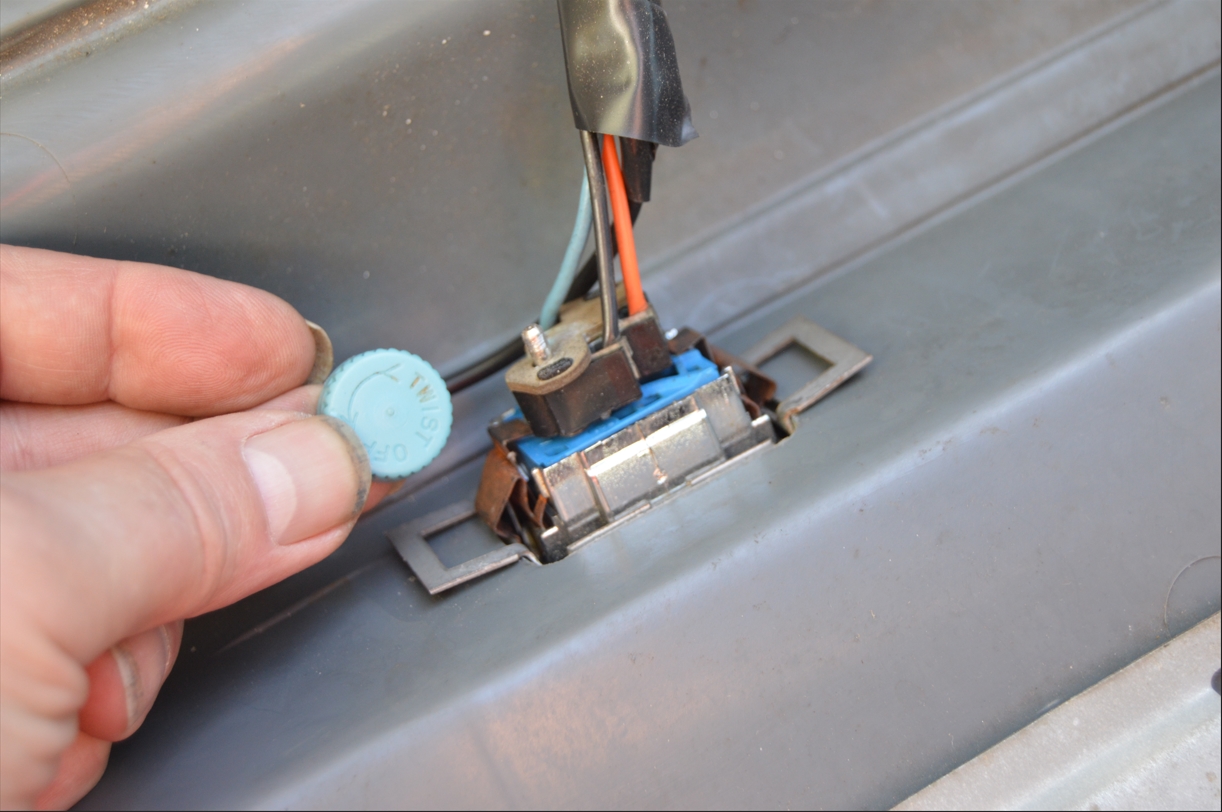
5. There’s a blue cap holding the connector to the switch. Unscrew it (or pull it off).
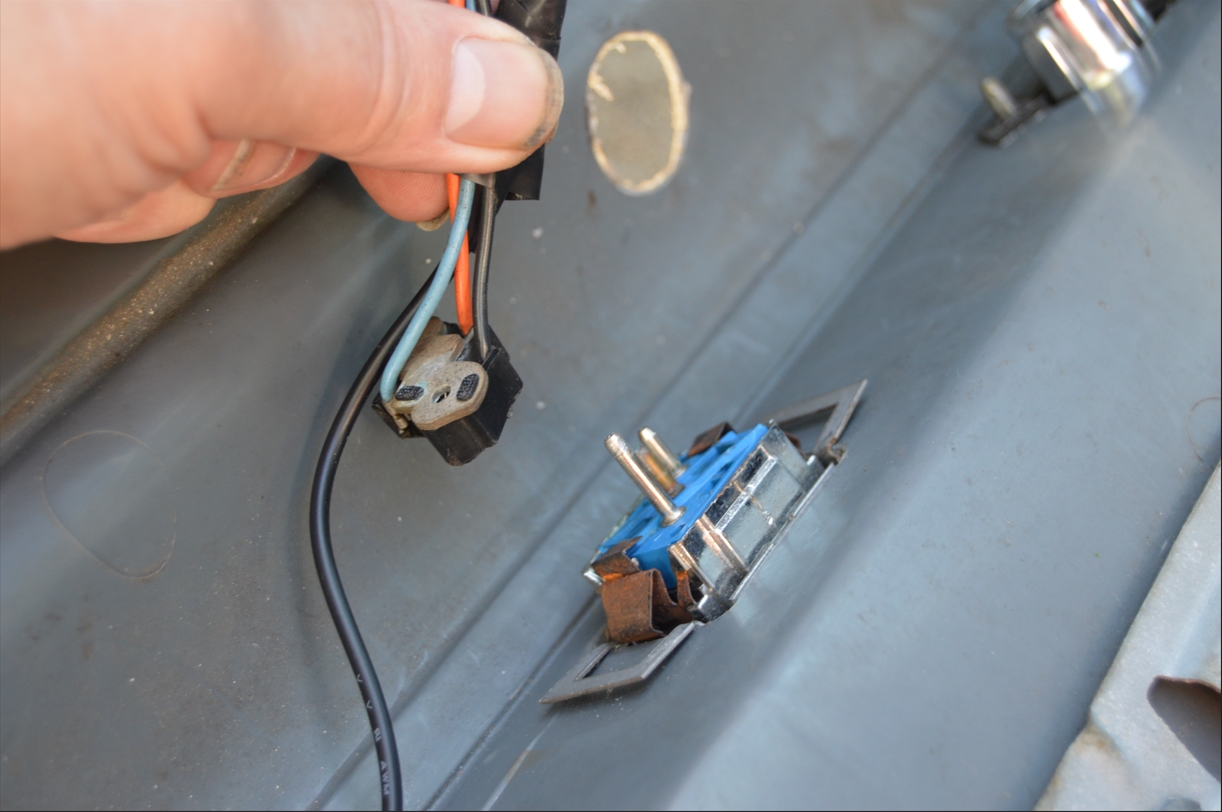
6. Lift (or pry) the wire connector off the switch.
(we used a flathead screwdriver, BUT BE CAREFUL as this part is live, if you touch 2 pins, the door may lock or unlock! or worse…)
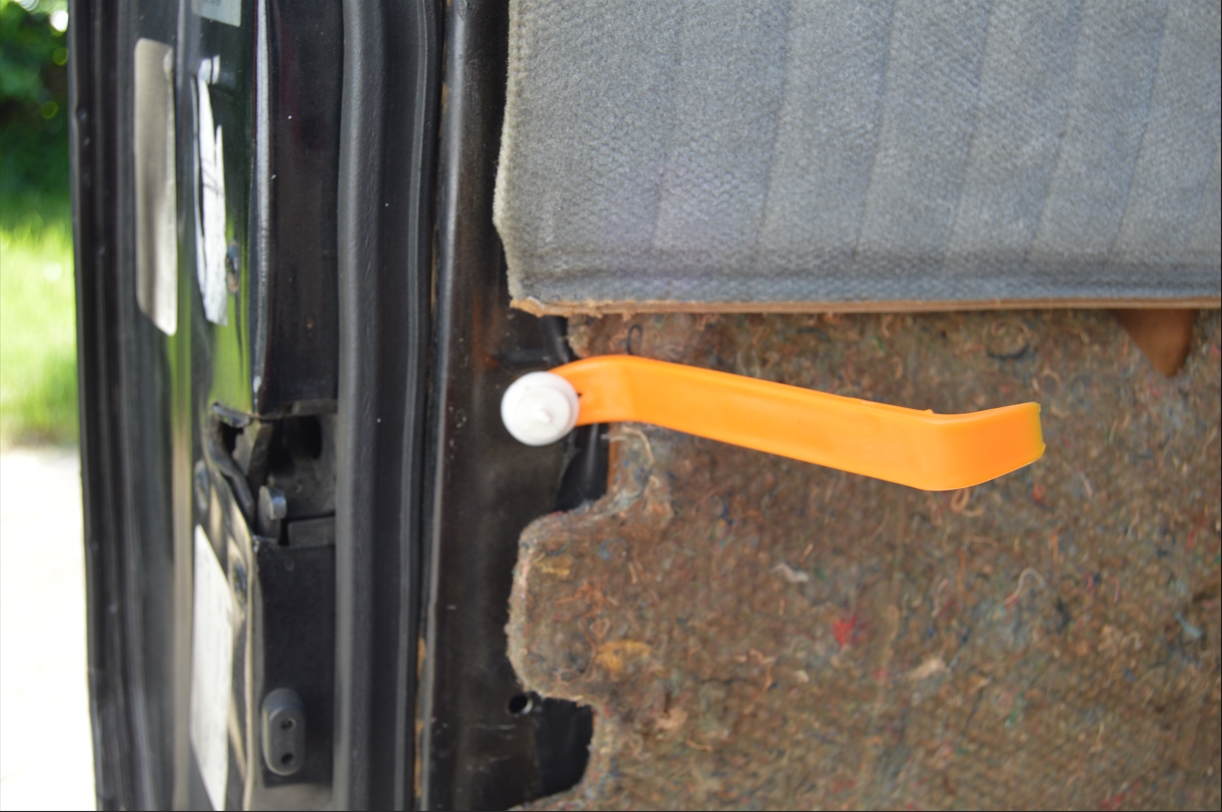
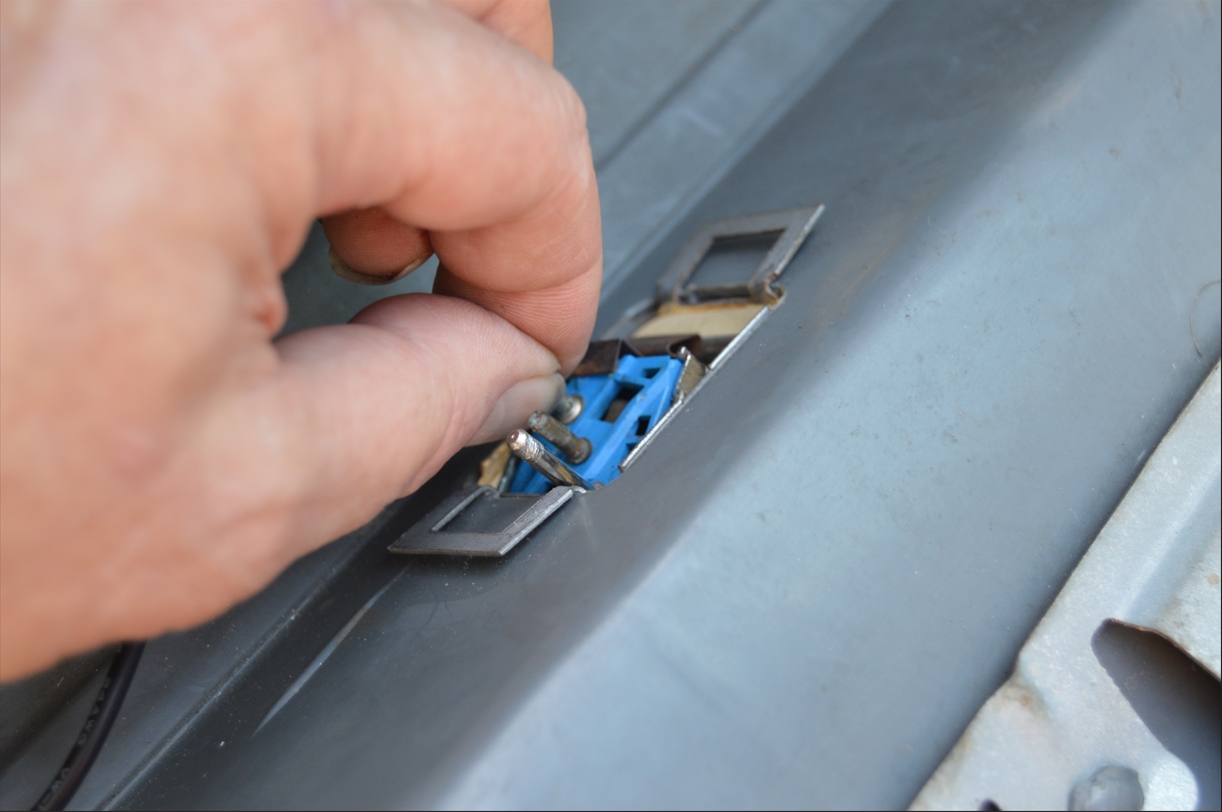
7. Squeeze the tabs (on front & backside) to allow the door lock switch to be removed from the door panel.
8. Replace with new switch.
[the word “LOCK” on it faces forward]
9. Reinstall in the opposite order.
10. done.
.

.


