


This week we are going to be removing the factory lower a-arm & the upper tubular a-arm that’s on this Buick Grand National and installing a new set of UMI Performance tubular arms.
There’s a lot of connected stuff to do besides the actual install, so we’re giving ourselves 5 days to complete it all.
(and we need time to compile this story as well for you to follow along!)
Today, as Day 1 of 5, we’re going to look at and compare the differences between the OEM versions and these new race-inspired pieces.
.
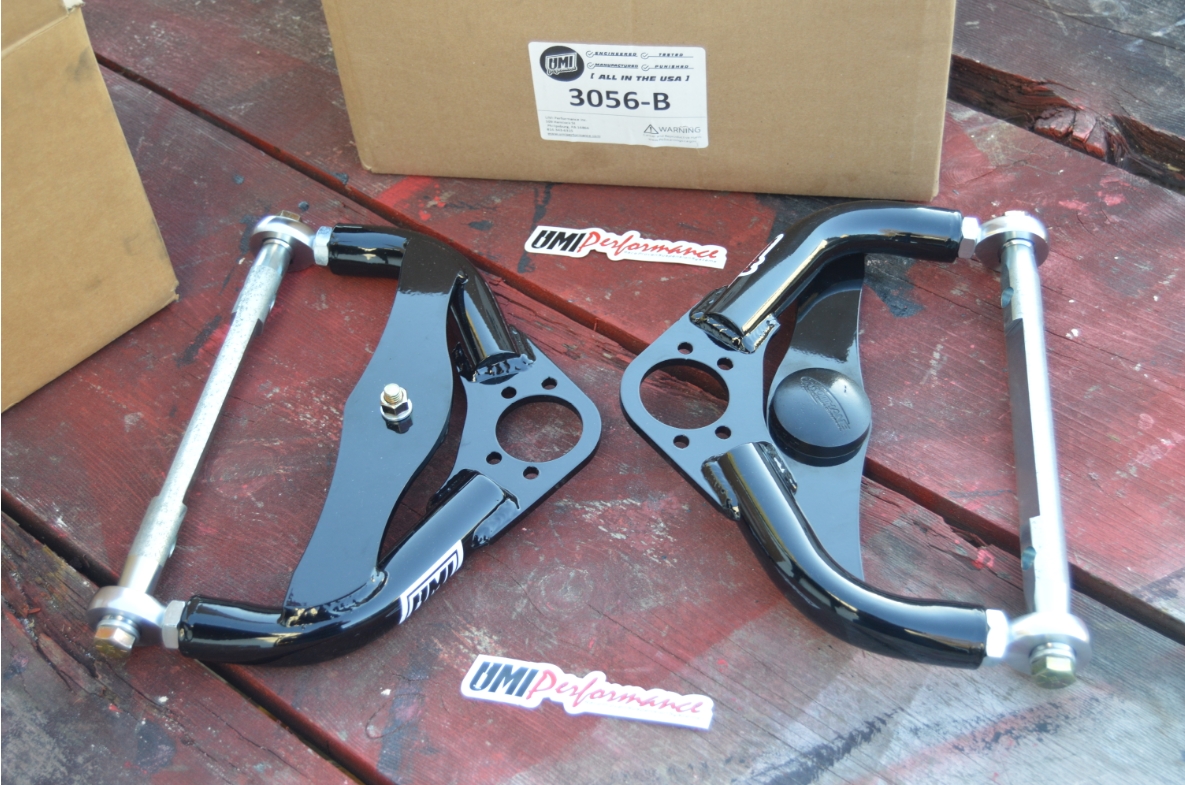
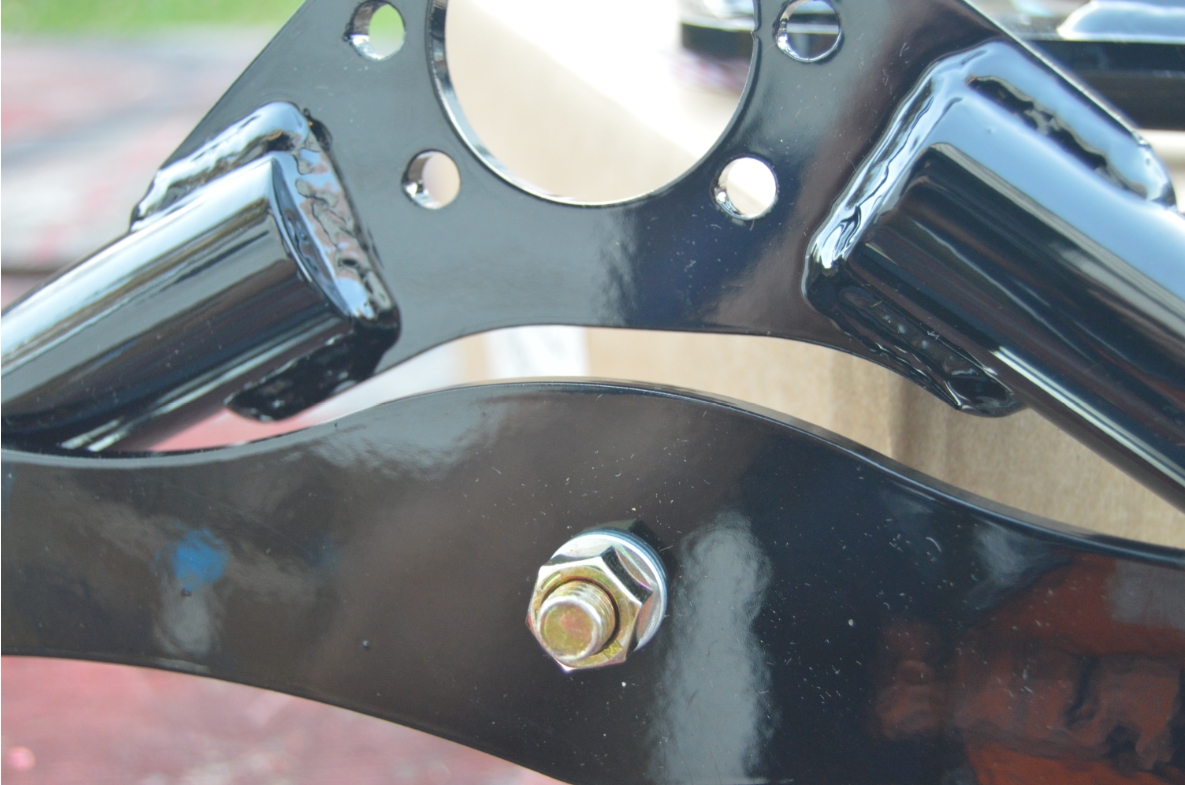
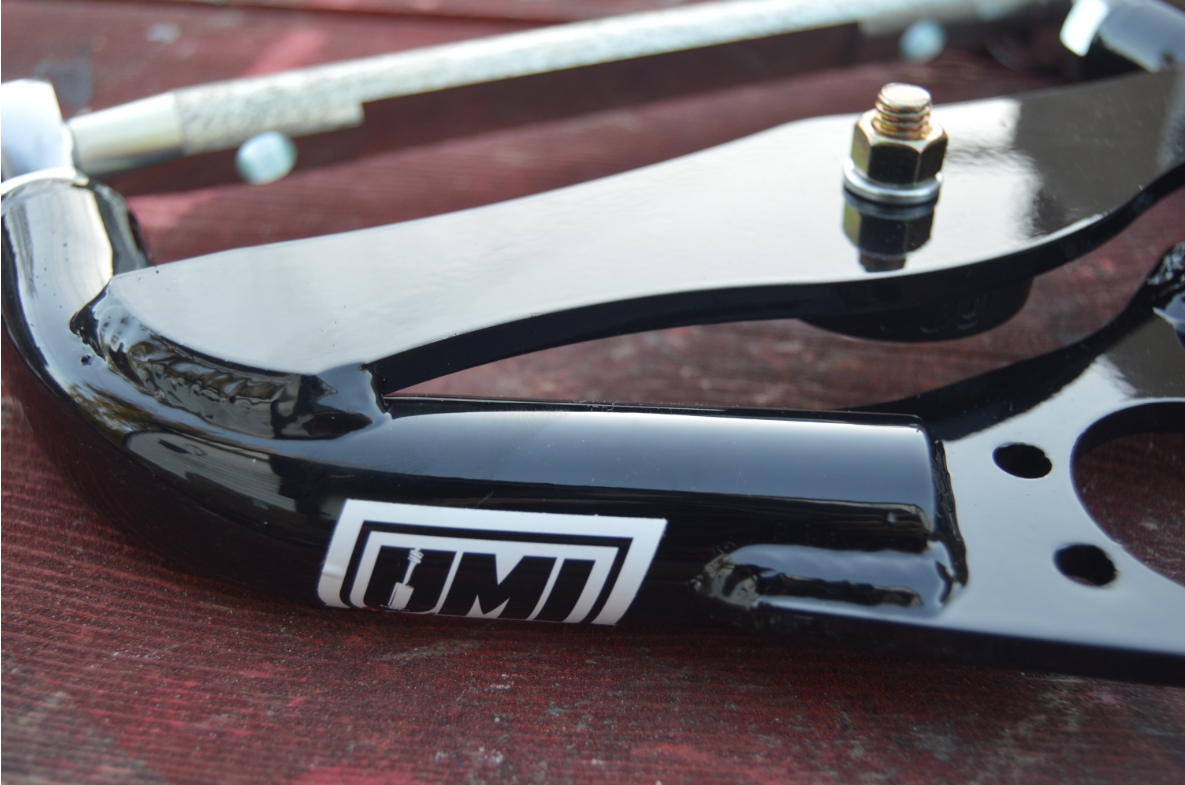
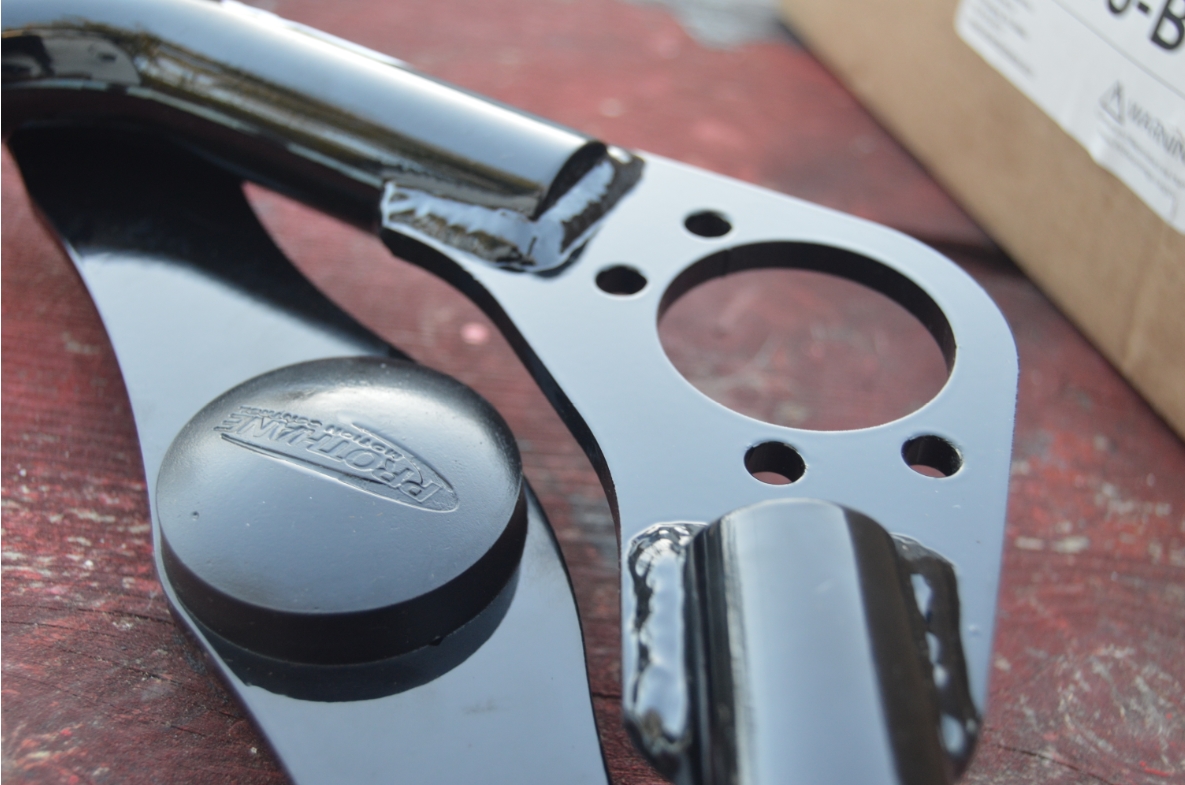
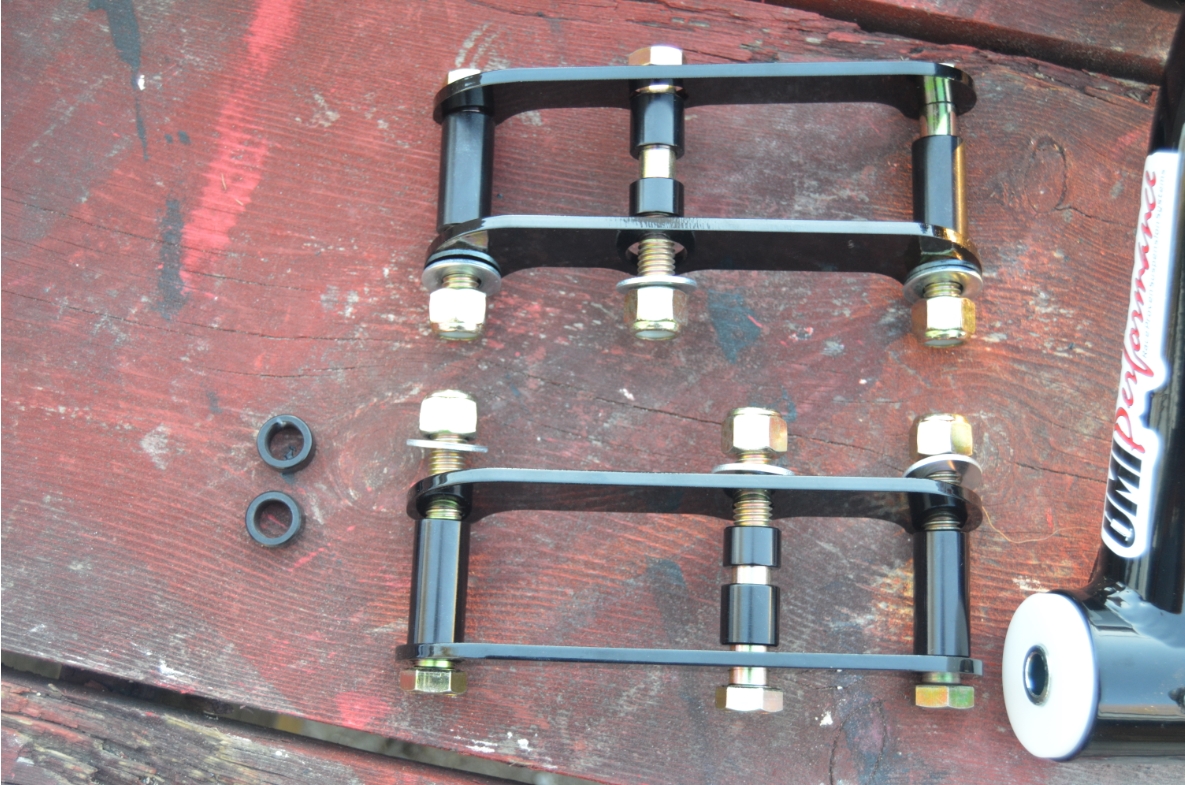
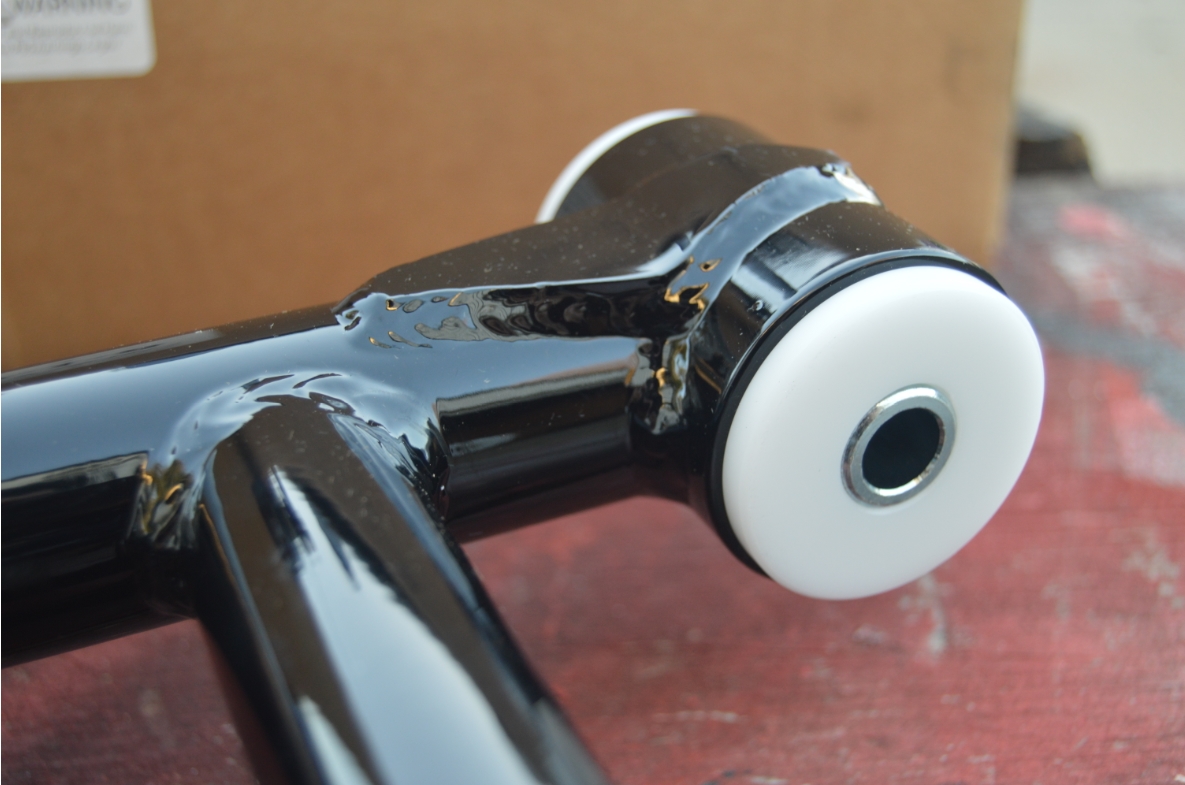
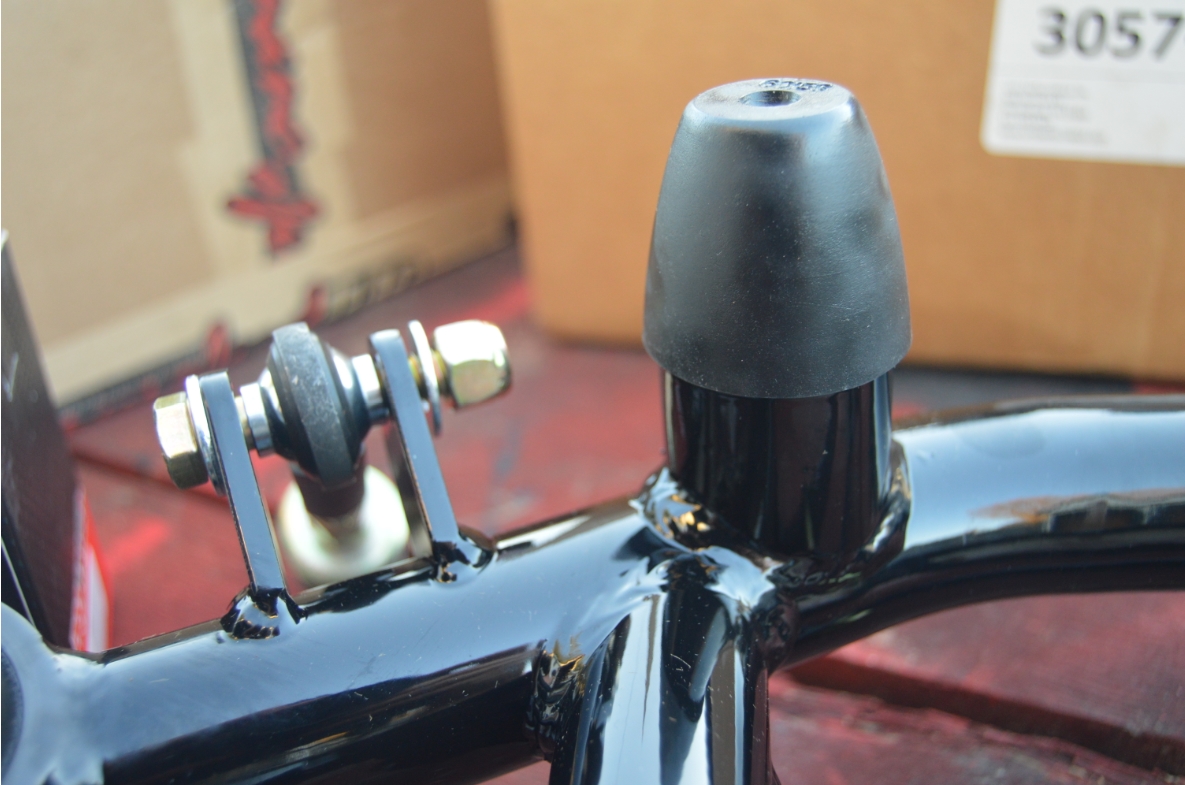
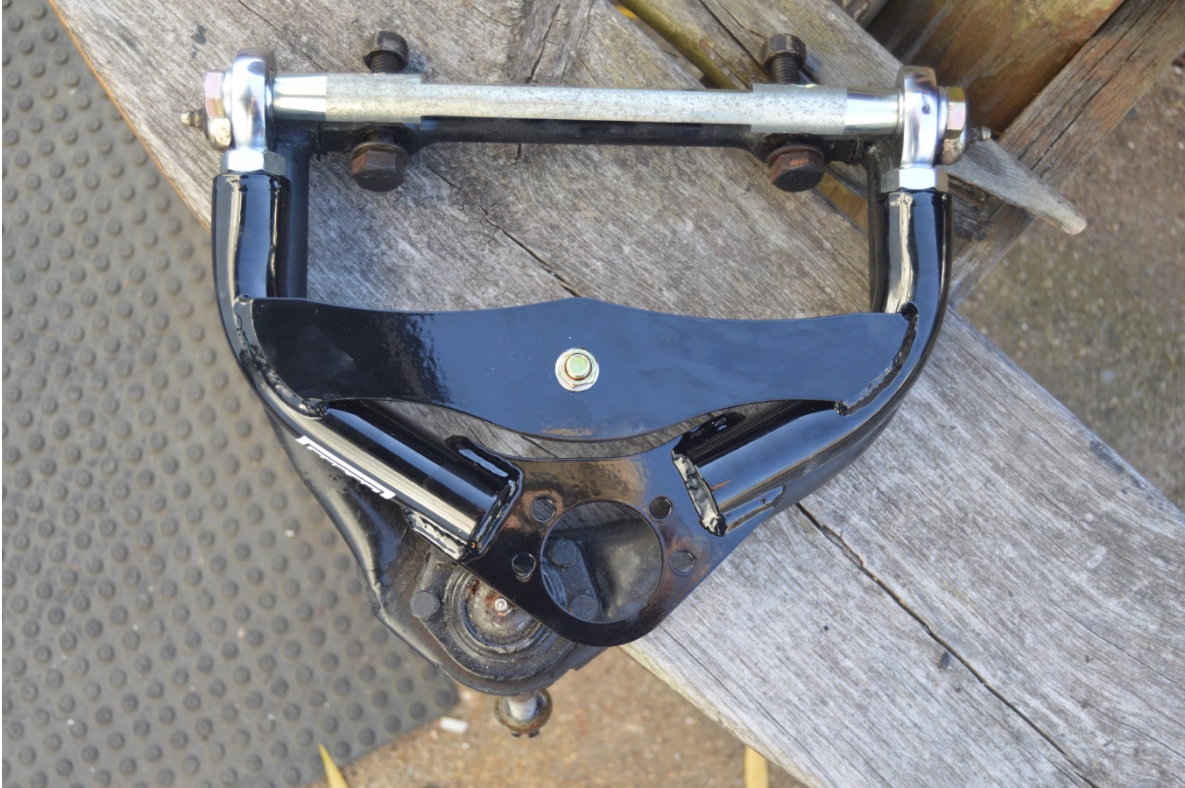
A LOOK AT THE NEW UPPER A ARMS (#3056 in black powdercoat):
Note that these arms are meant to be used with either tall spindles or taller ball joints, as these upper a-arms are straight flat across, and are not curved downward (or have the bj pad mounted lower than the arm) like other units have.
.
.
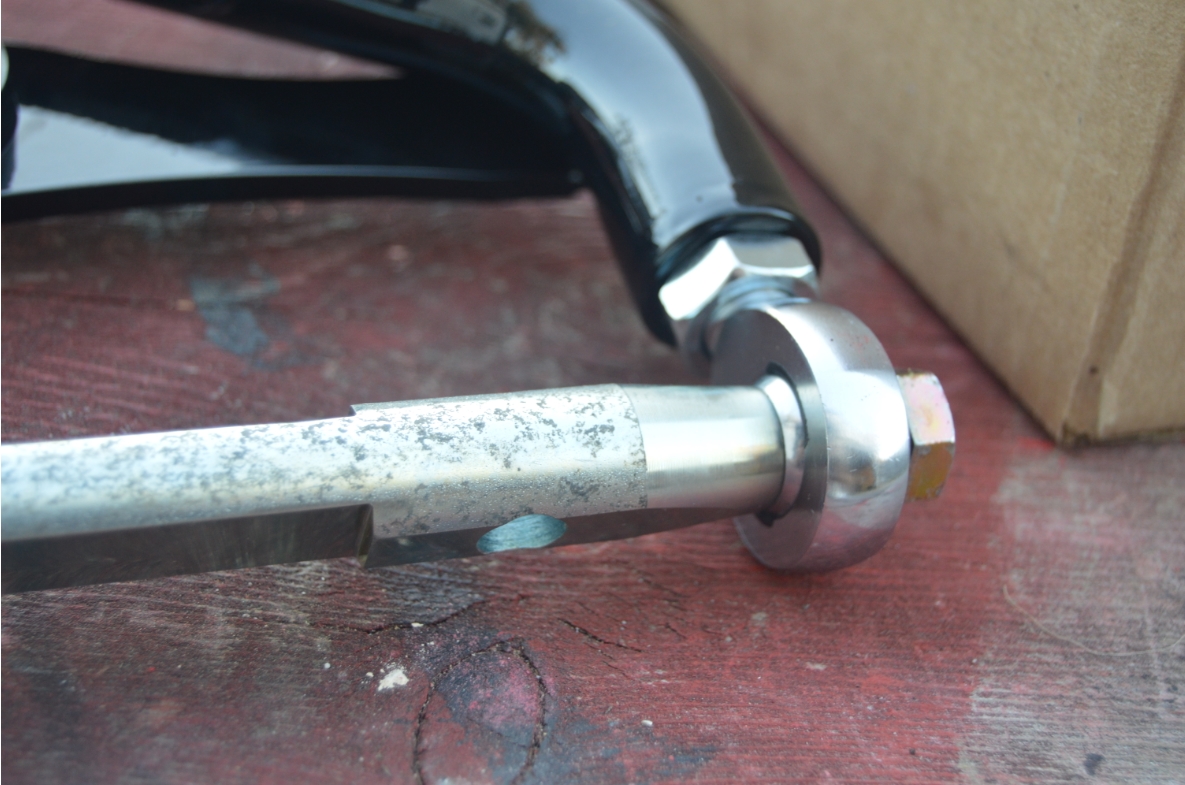
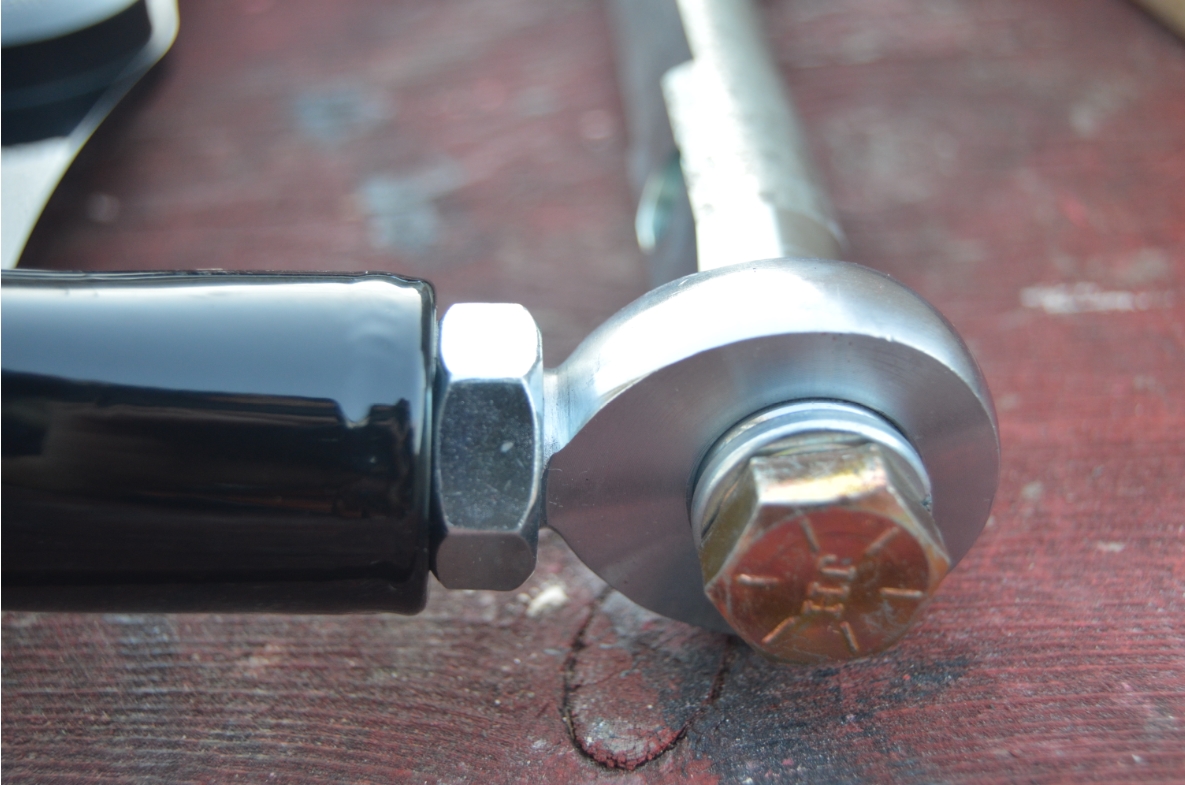
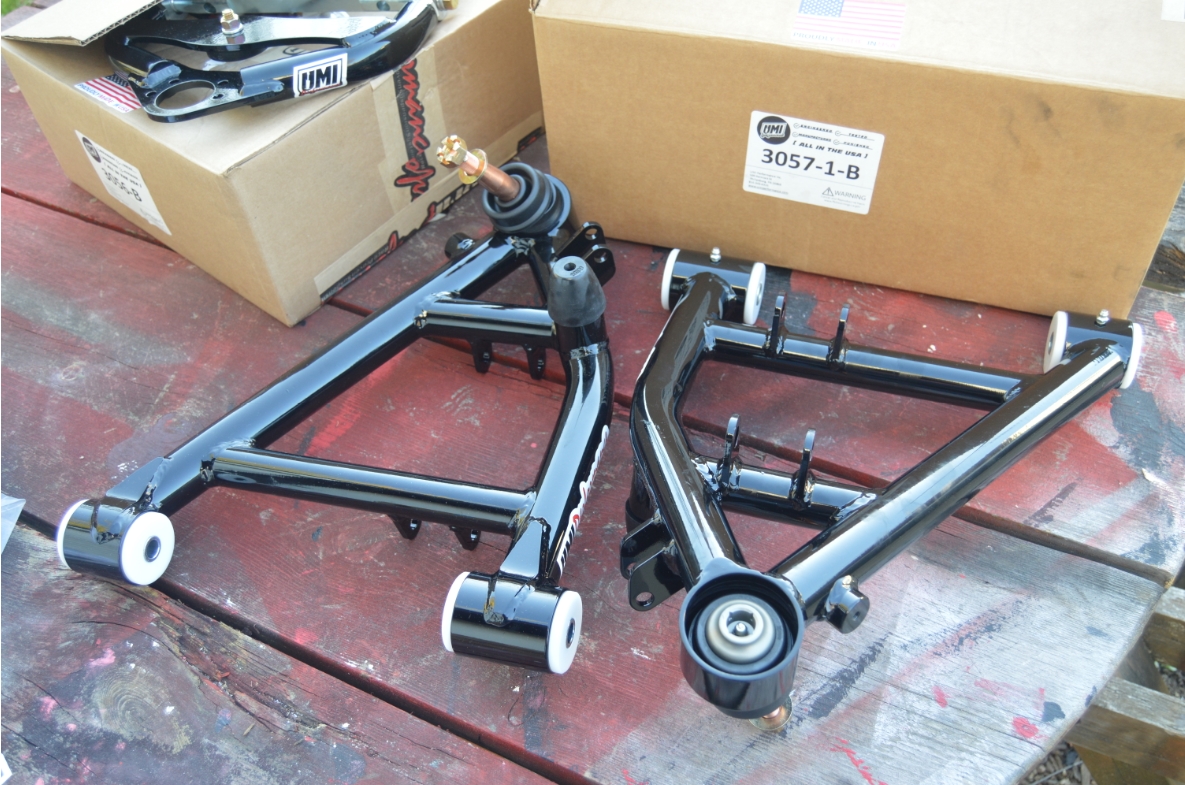
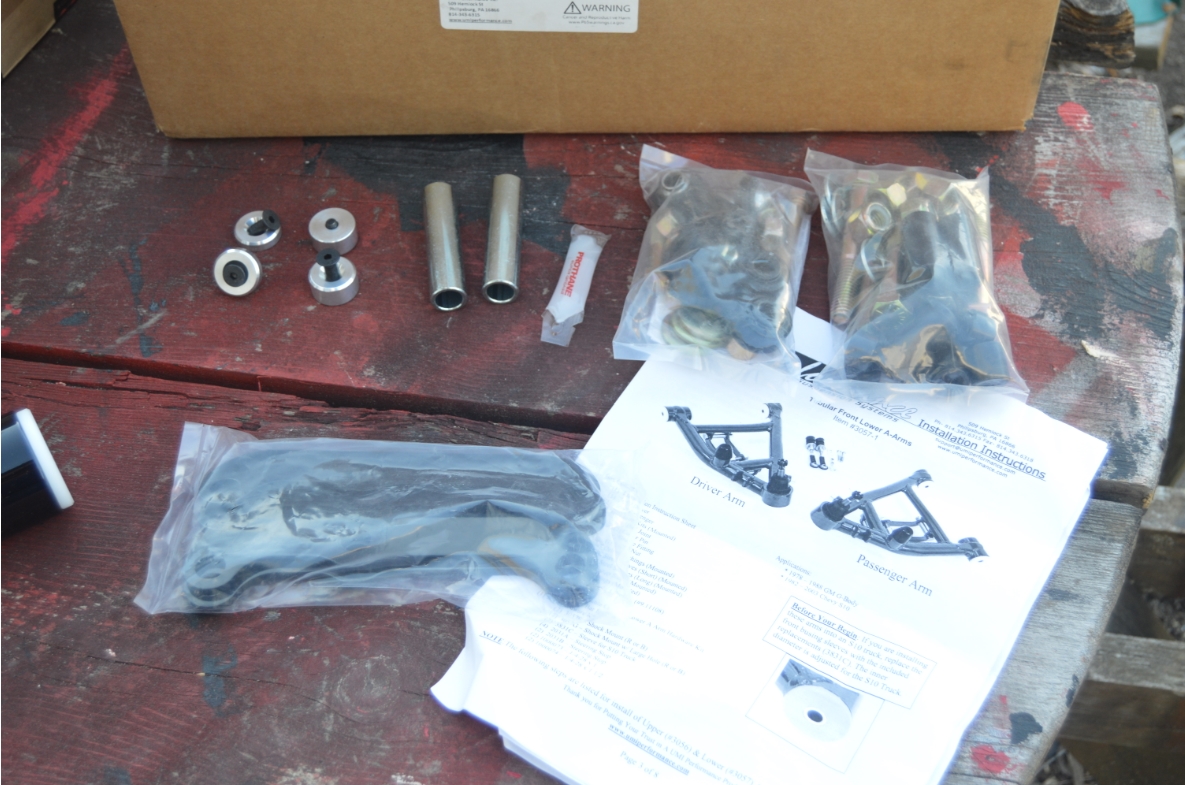
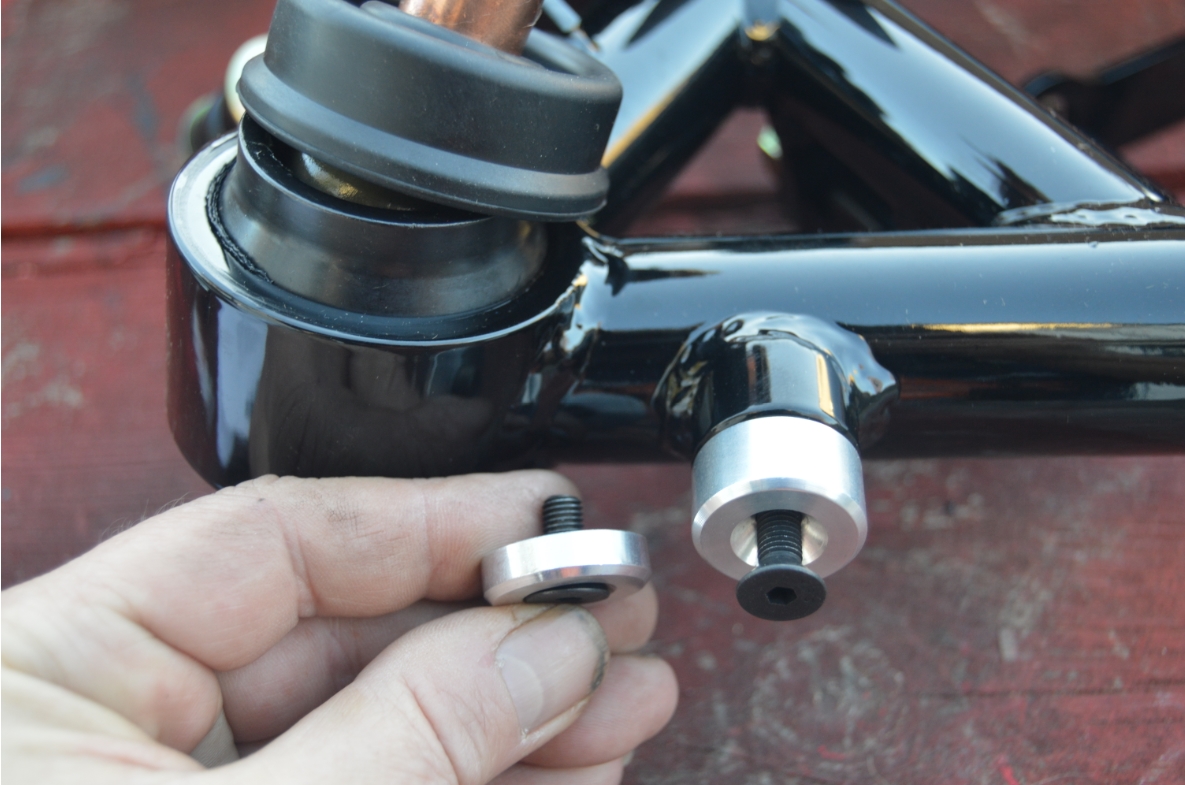
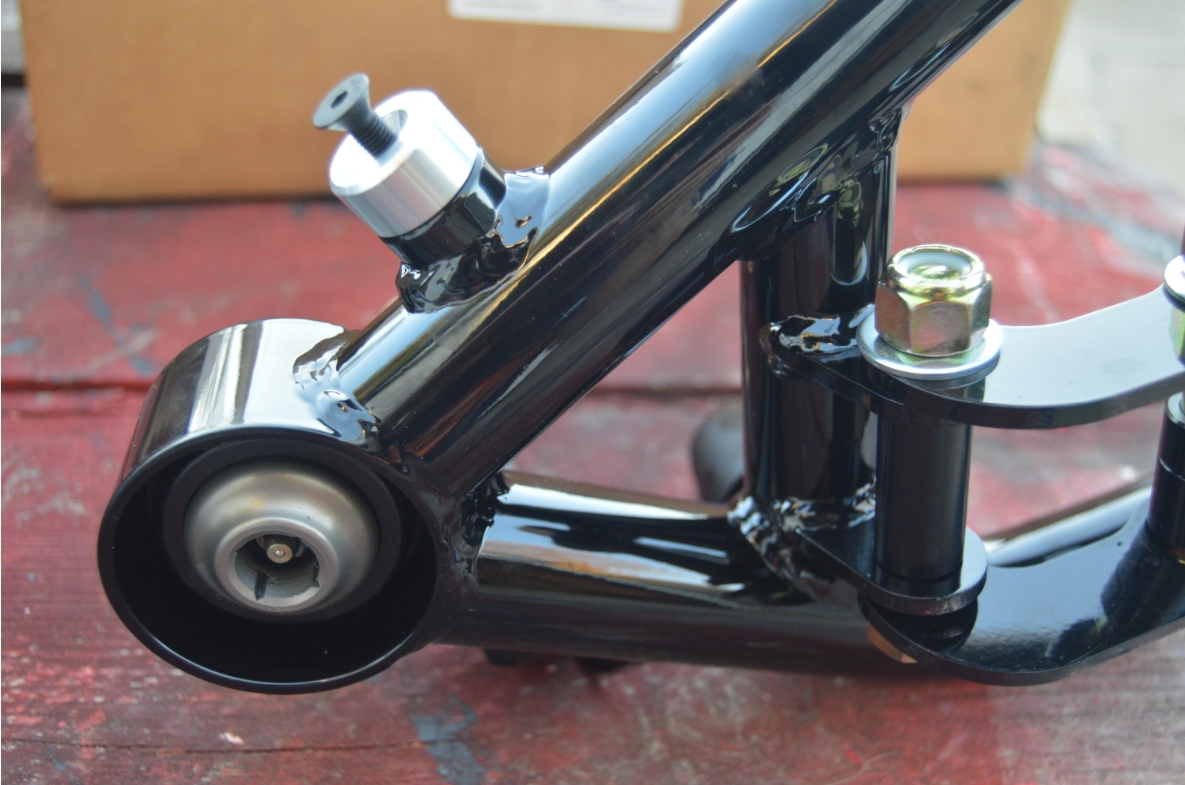
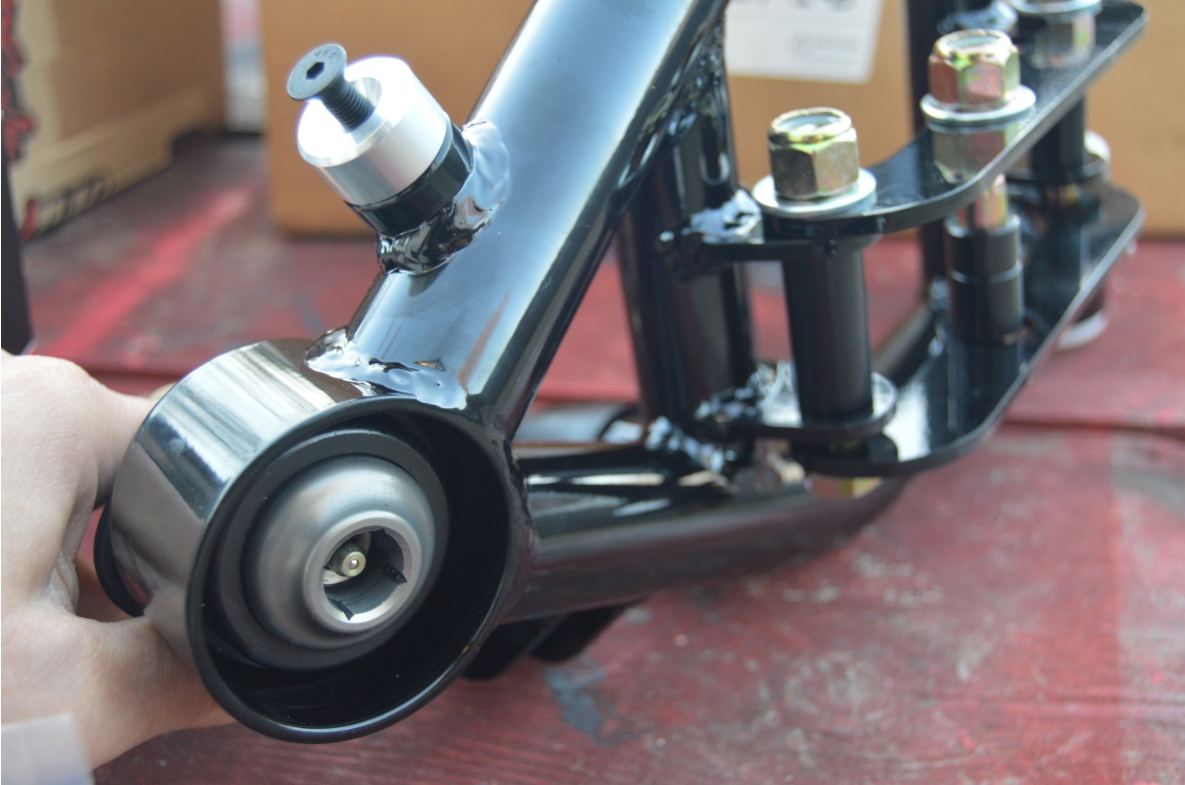
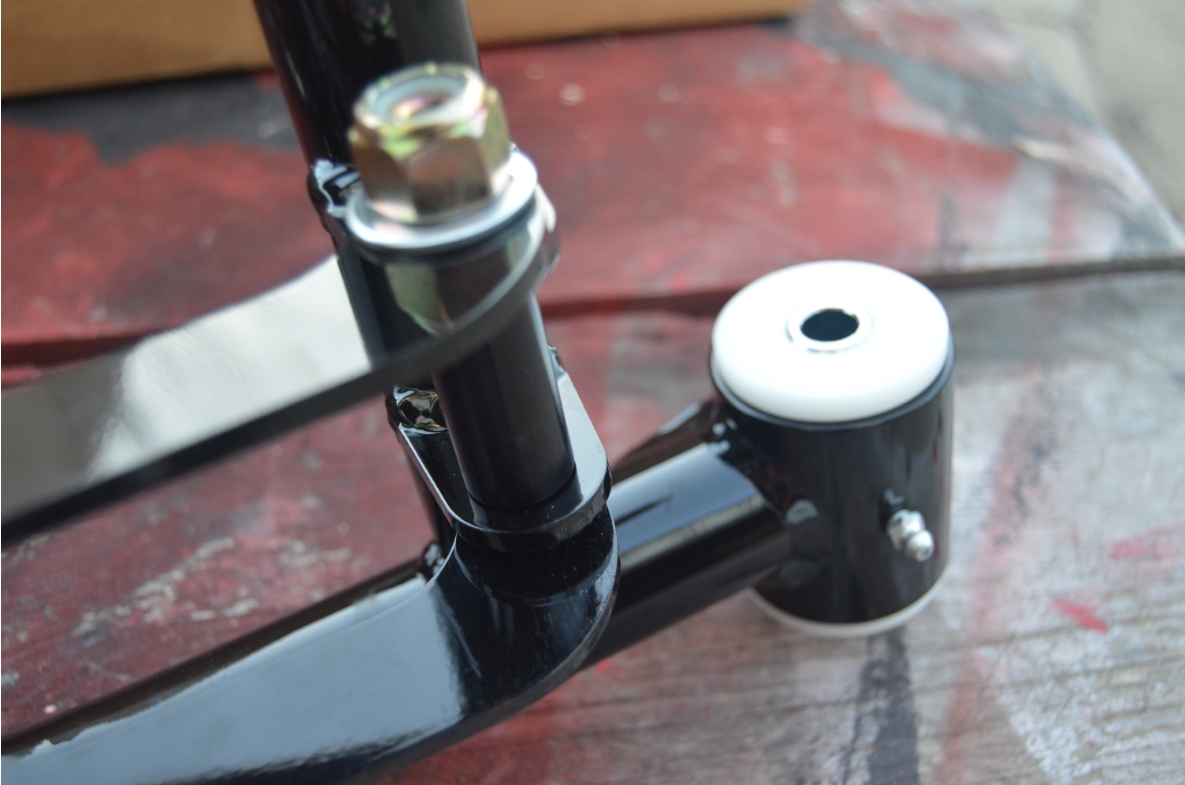
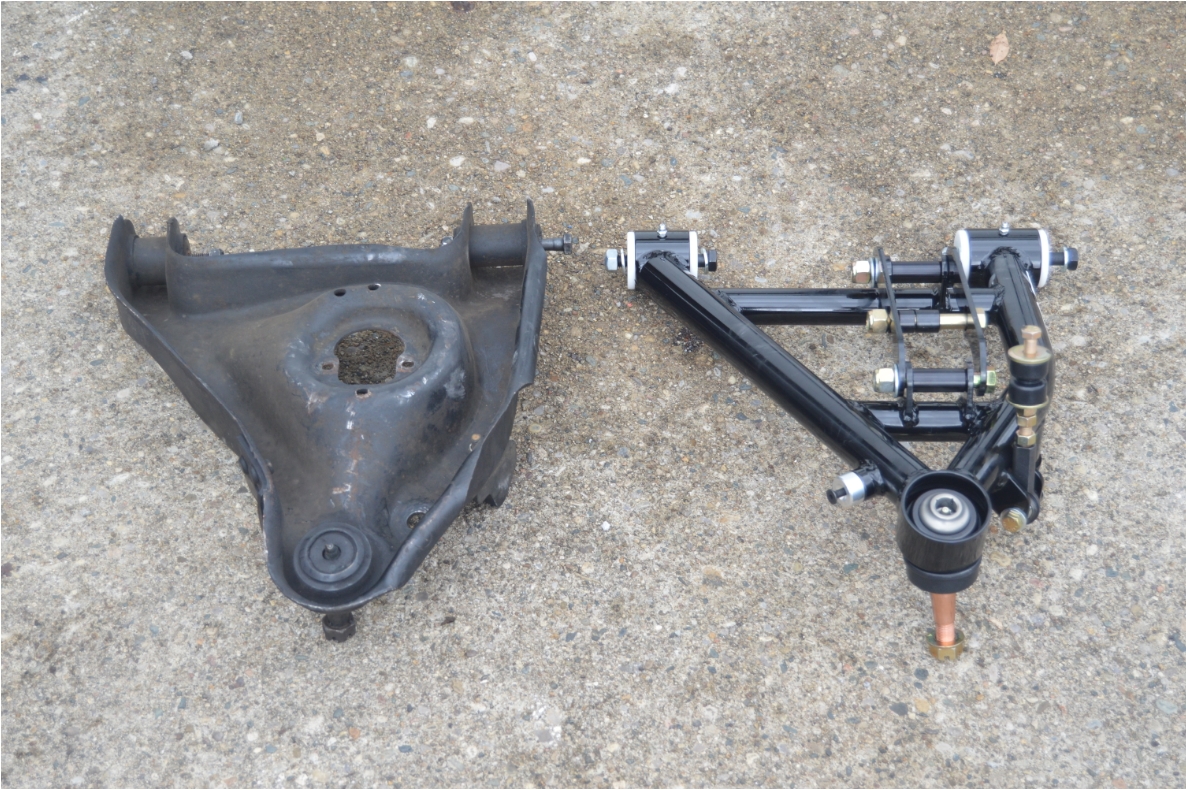
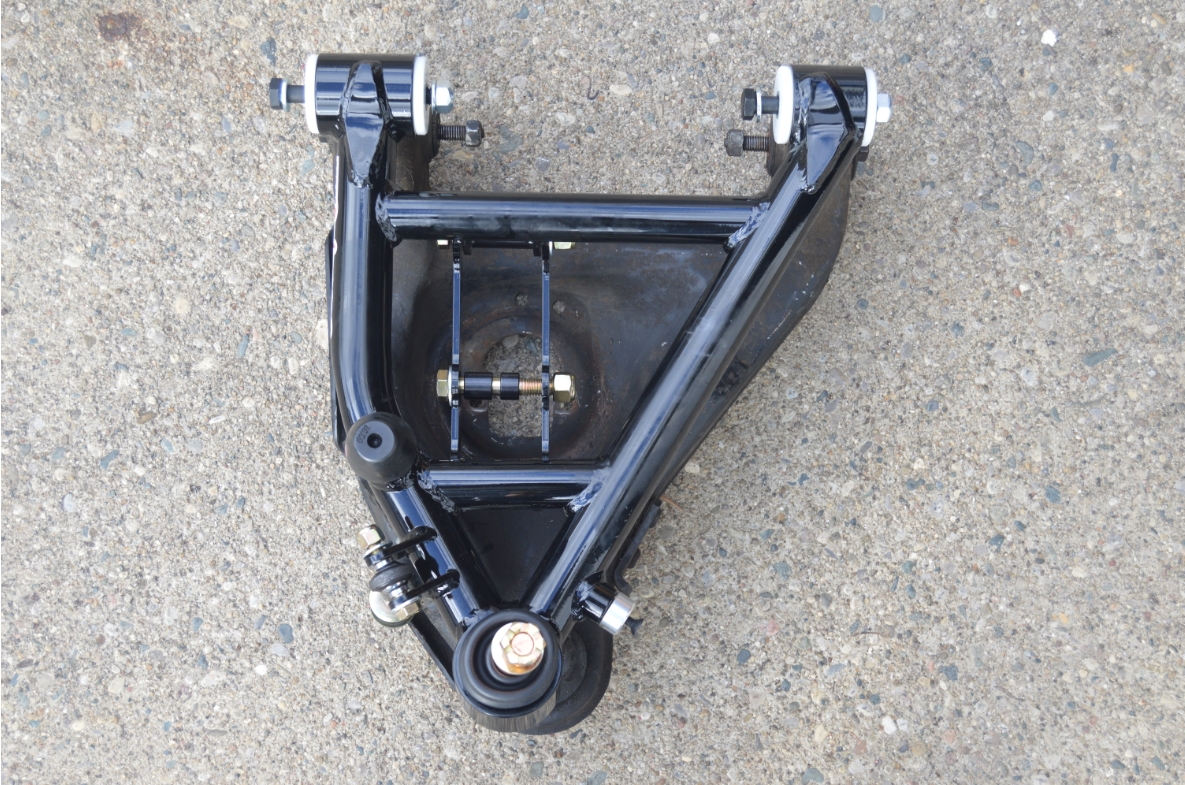
For the lowers, we chose #3057-1, UMI’s “competition” series. These have easy-access removable coilover shock mounts on the bottom for making spring changes (or shock removal) at the track (or elsewhere) a breeze.
.
A LOOK AT THE LOWER A-ARMS (also in black)
.

.
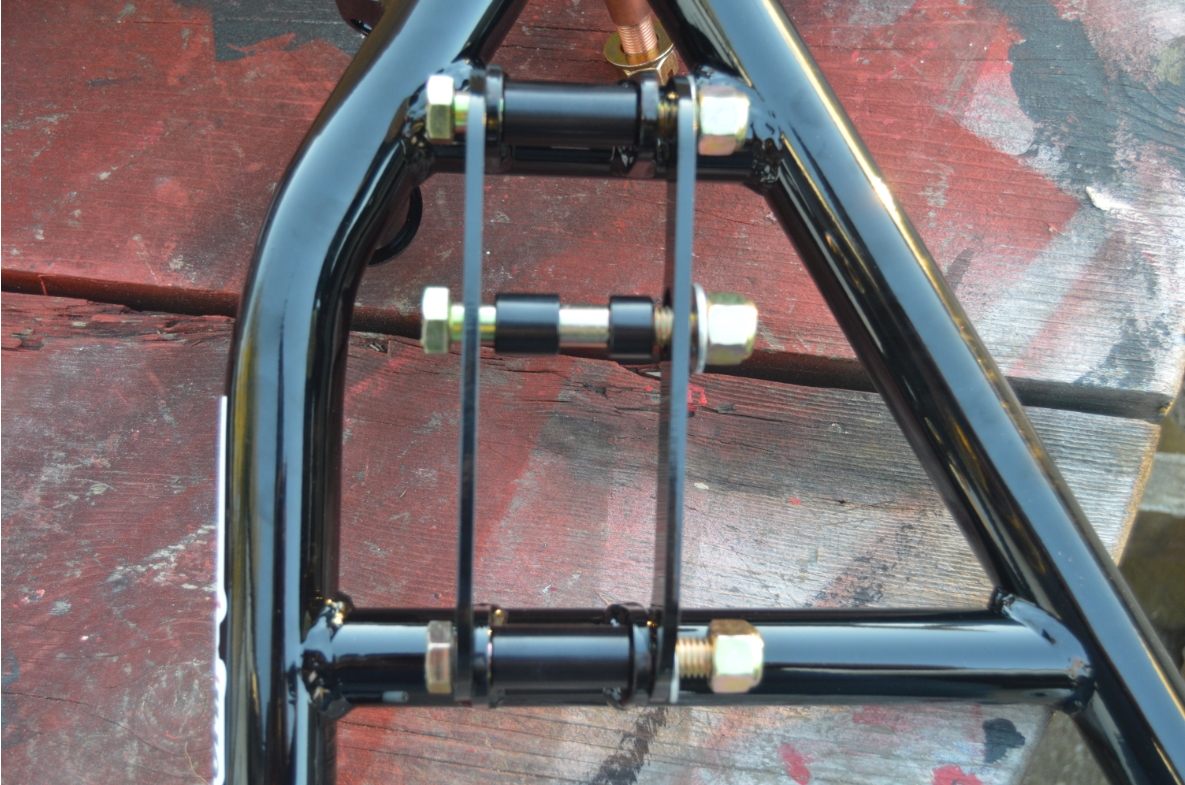
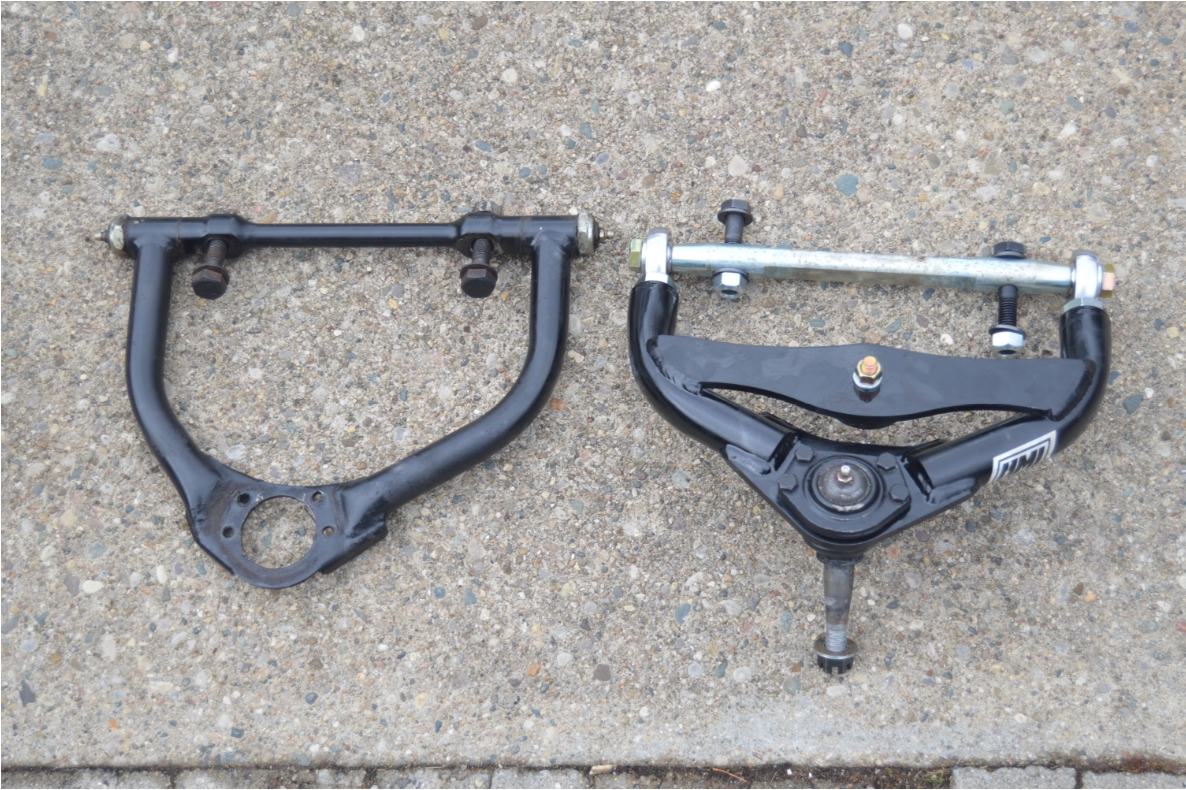
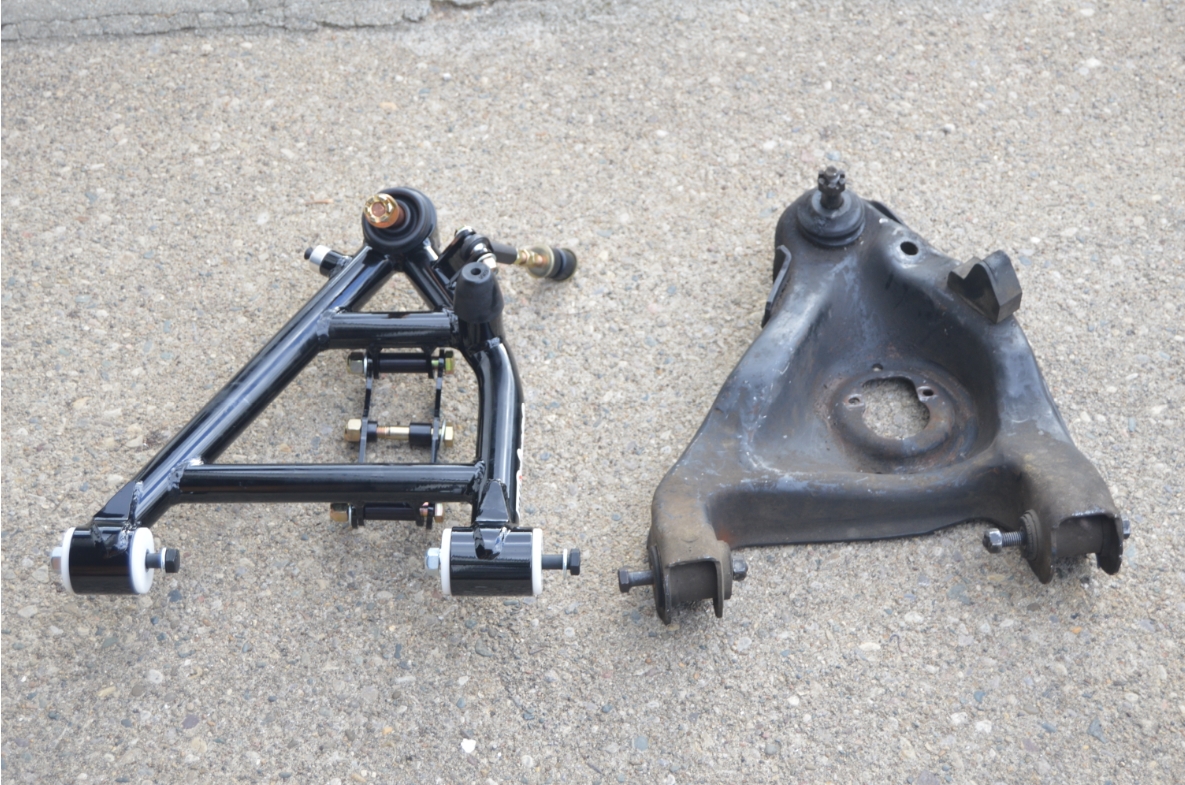
Here is a side by side comparison of the old (gbodyparts) upper a arms that were on the G-body Regal, which served us well for a long time, but with the changes we desire on the Buick GN, it was time to upgrade them.
You will notice on the new arm, the balljoint pad is moved (towards the rear of the car) by 3/4″ (compared to the old arm). This is how the UMI arm is able to obtain more caster/camber than factory versions or other tubular a-arms.
Also to note, we acquired these new arms without balljoints, since we already had a set of (1″) taller ones that were installed in the old arms earlier this year (so we’re reusing them in these new arms). This saved some coin when we got them (something for you to consider).
.
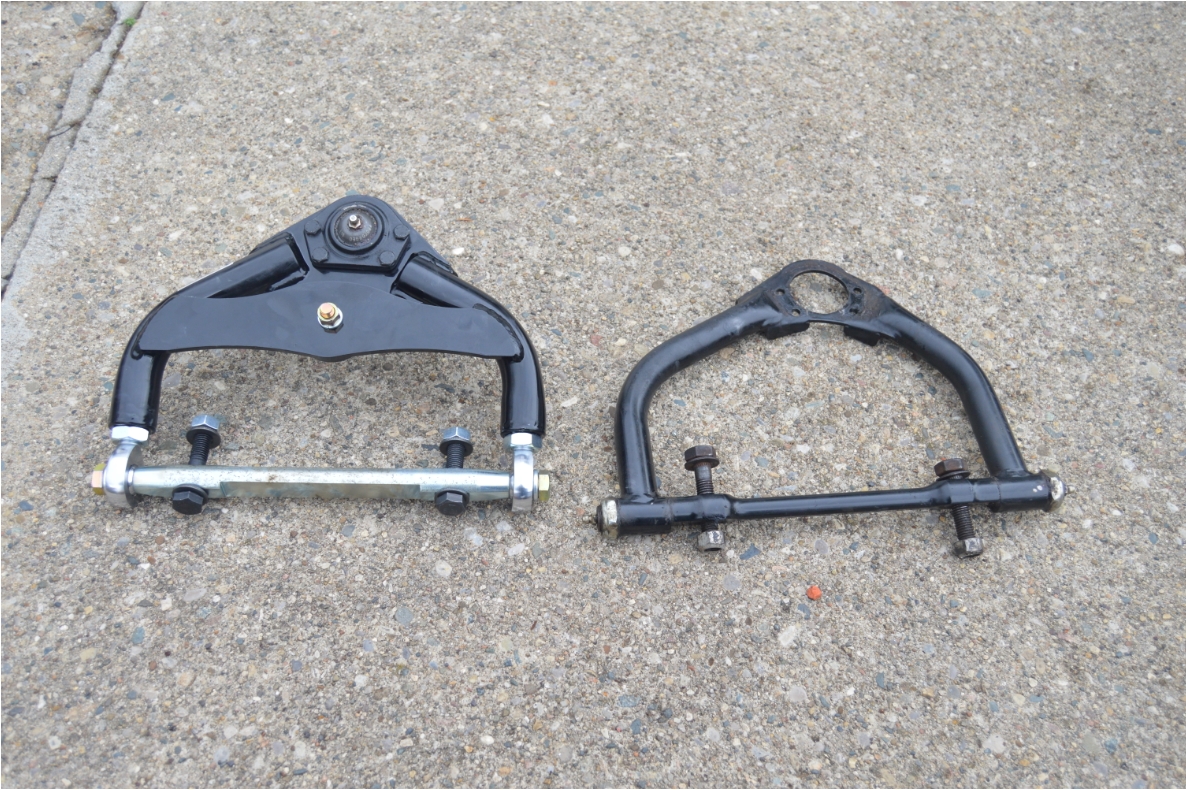
COMPARE OLD VS NEW UPPER A ARMS:

.
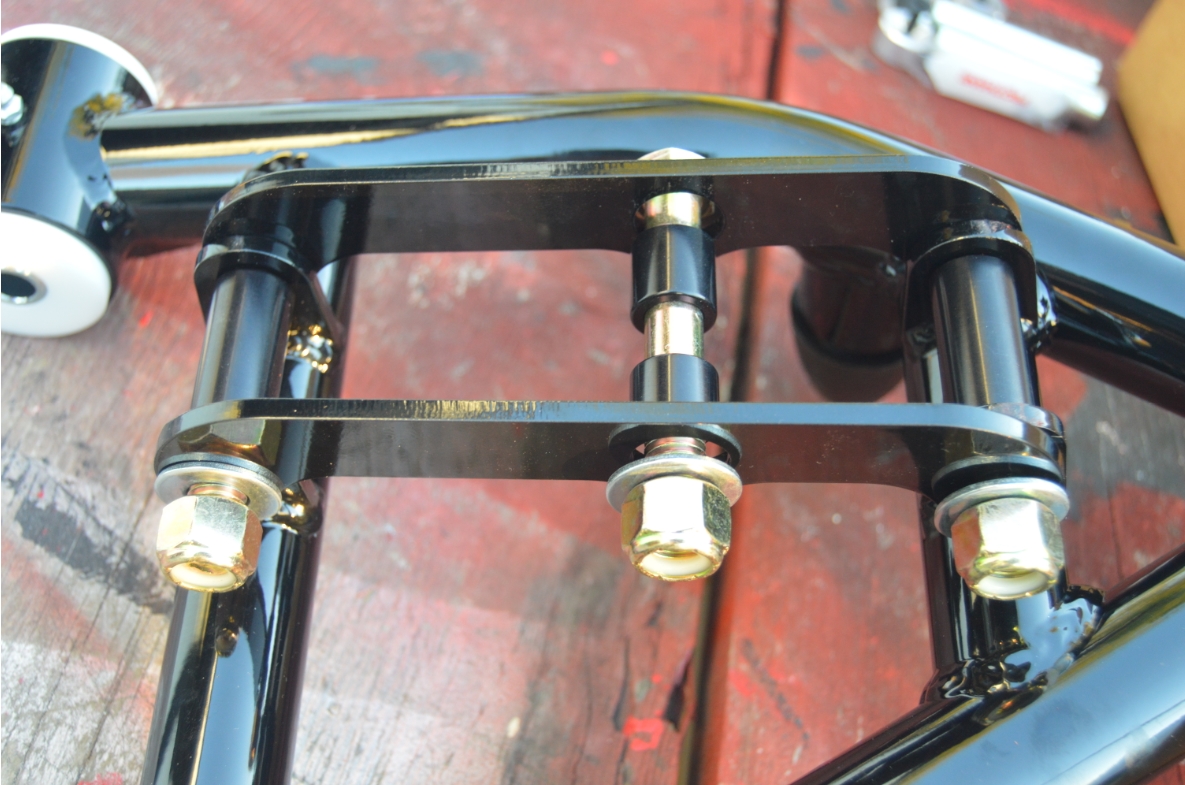
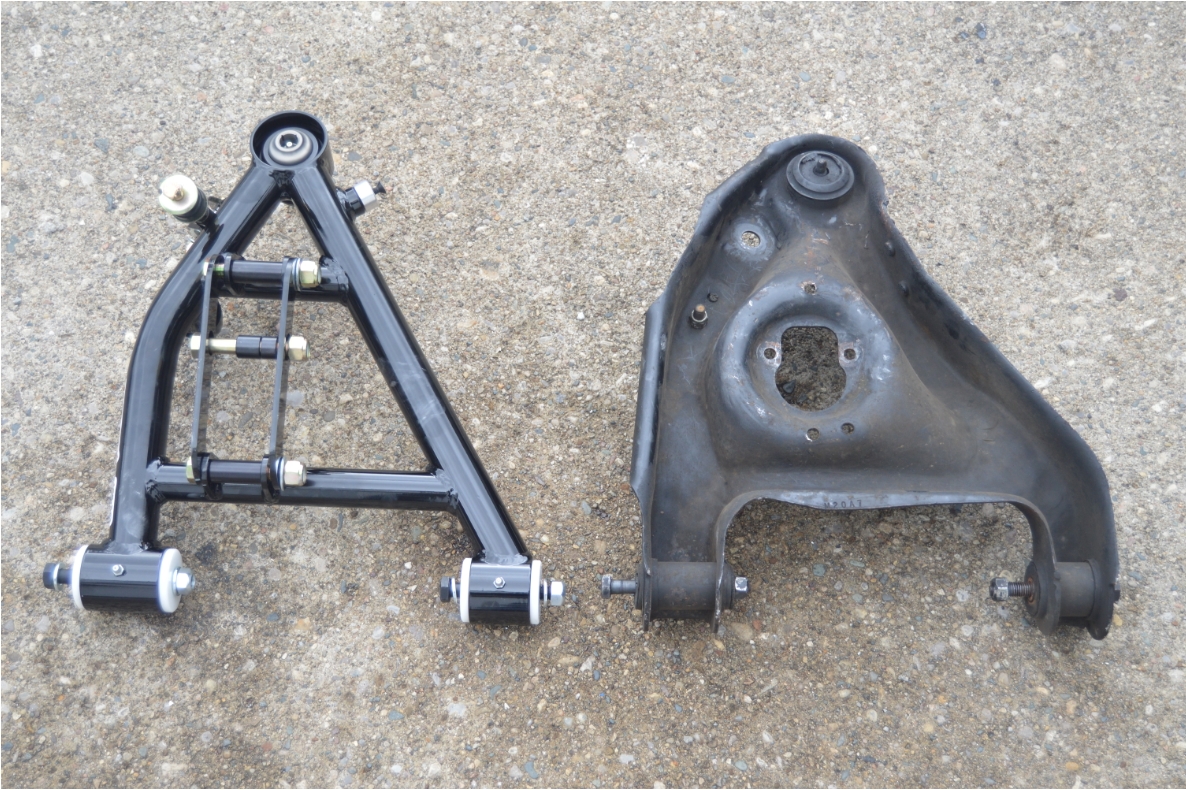
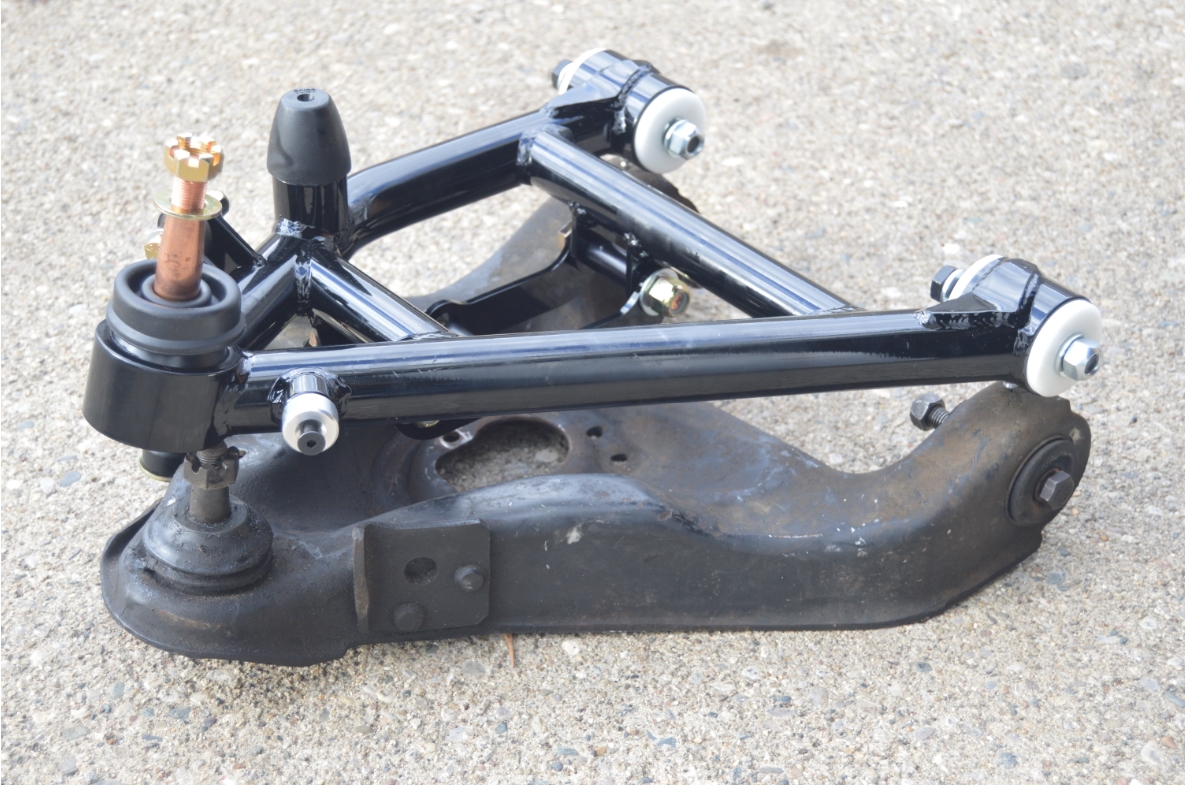
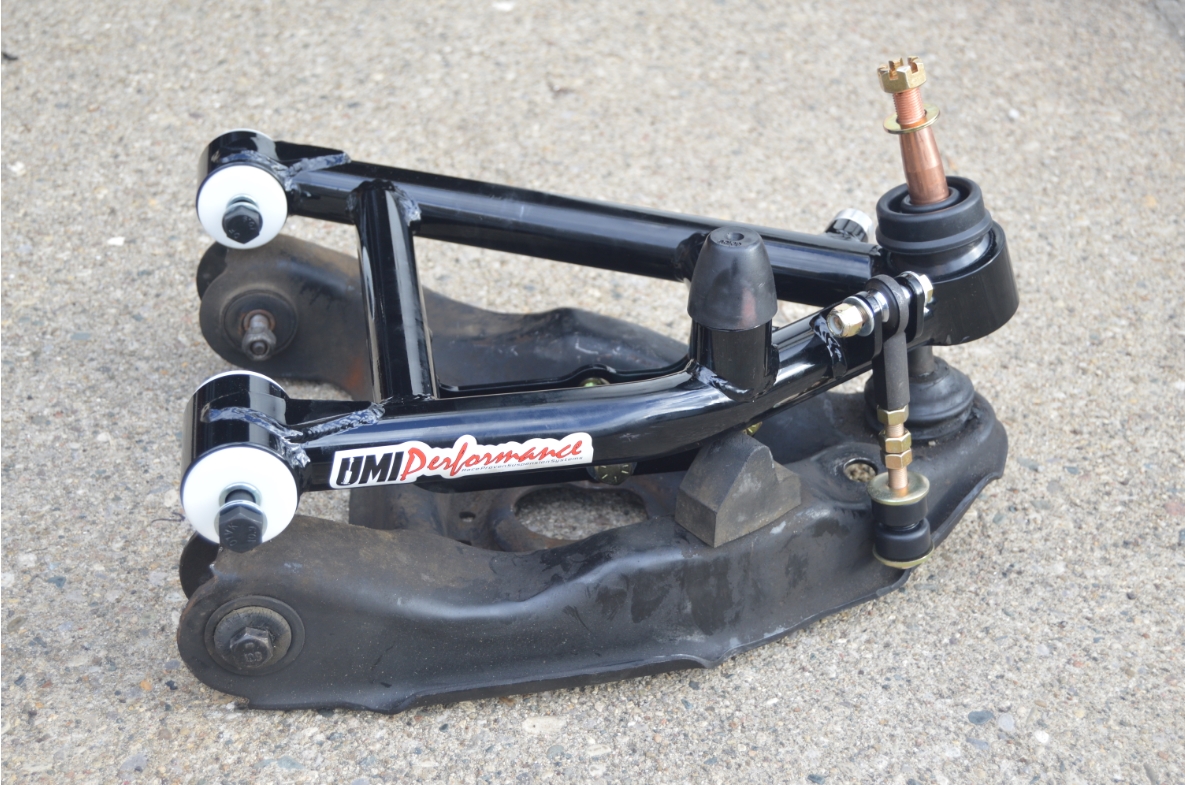
Here is a comparison of the stock lower a-arms vs the new ones.
You will notice that the balljoint pad is moved slightly towards the front of the Turbo Buick. Again, that’s how they achieve a better caster/camber position.
Shown in the pics, is the included, already installed (1″) taller balljoint, which we are debating on using or not, as a taller ball joint lowers the vehicle, something that we don’t really desire on this car.
.

.
We are taking this entire week to accomplish the install, because along with installing, we are cleaning the frame and painting it in this area, as well as giving the calipers, brackets and spindles a coat of a paint too. Not to mention a bit of additional prepwork for this entire task.
.
This weeks agenda:
1- Comparing Old OEM vs New UMI A Arms Before Install (Day 1 of 5)
YOU ARE HERE
2- Remove Old A-Arms (Day 2 of 5)
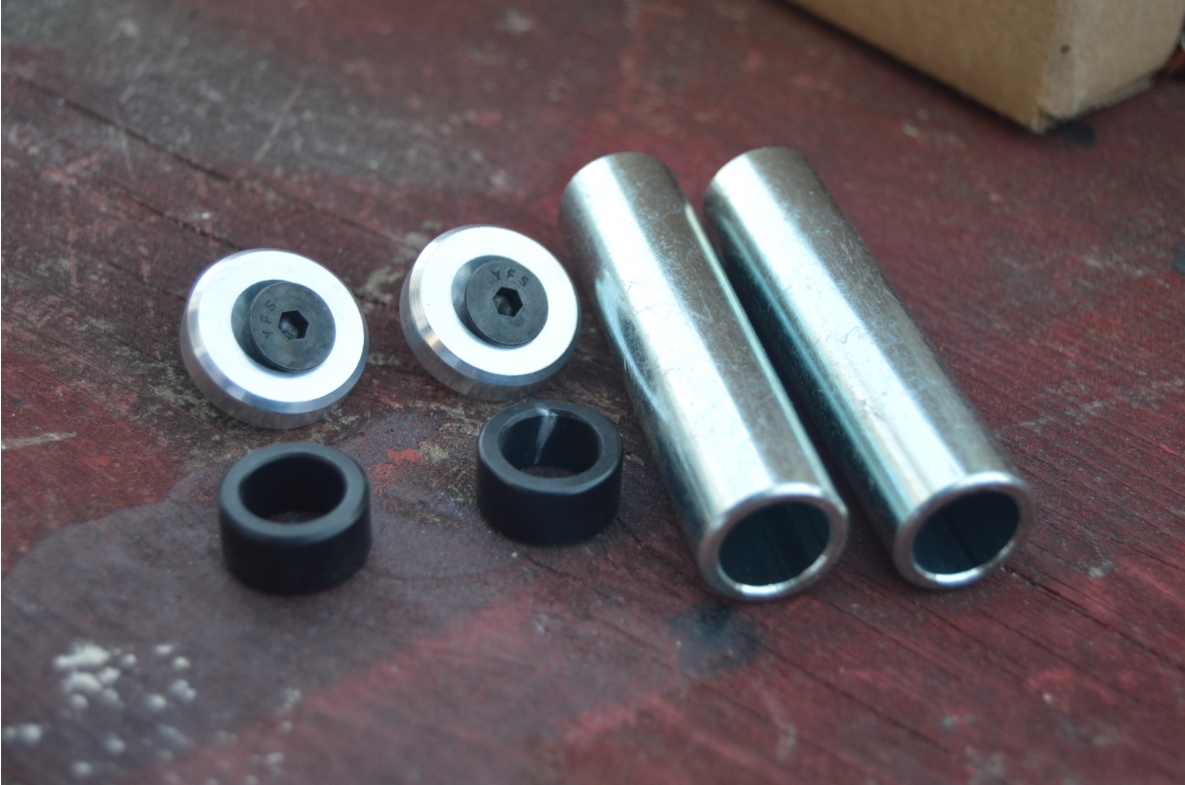
3- Prepwork Before A-Arm Install (Clean & Paint Frame, Install Spring Isolators, upper/lower Balljoint Swap, Replace Coilover T-bar With Sleeve) (Day 3 of 5)
4- Paint Front Calipers Brackets Spindles (Day 4 of 5)
5- Install UMI Upper & Lower A-Arms (Day 5 of 5)
.
Be sure to come back tomorrow to see our progression on this Turbo Regal!
.


