


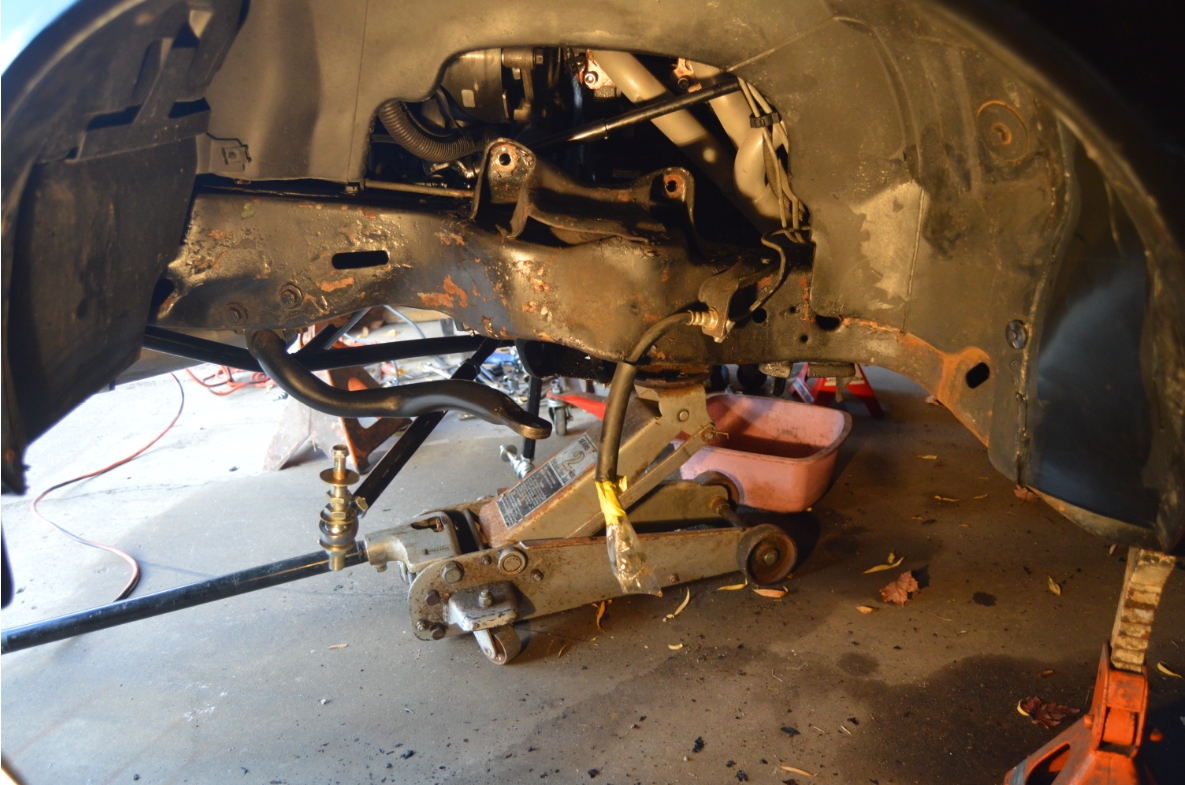
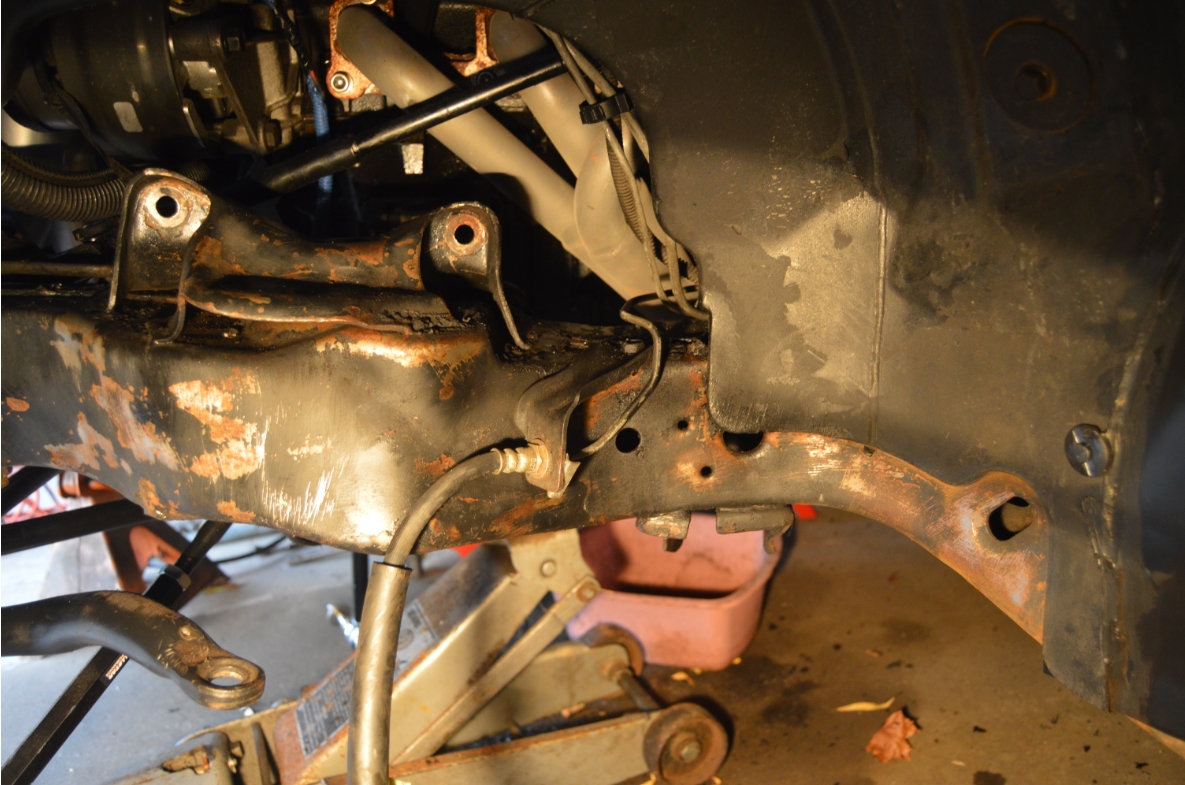
Yesterday we finished removing both front upper and lower a-arms and disconnecting all of the components that were attached to those on the Buick Grand National.
Today’s tasks are to clean & paint the frame in that area, install the spring isolators that we forgot to do when we originally installed the coilover setup (they go on the top of the spring, the part that touches the inside of the frame), upper/lower balljoint swap, and replace the original coilover T-bar (that was on the bottom of the shock) with a new sleeve that takes its place (to be able to mount it to the new lower a-arm).
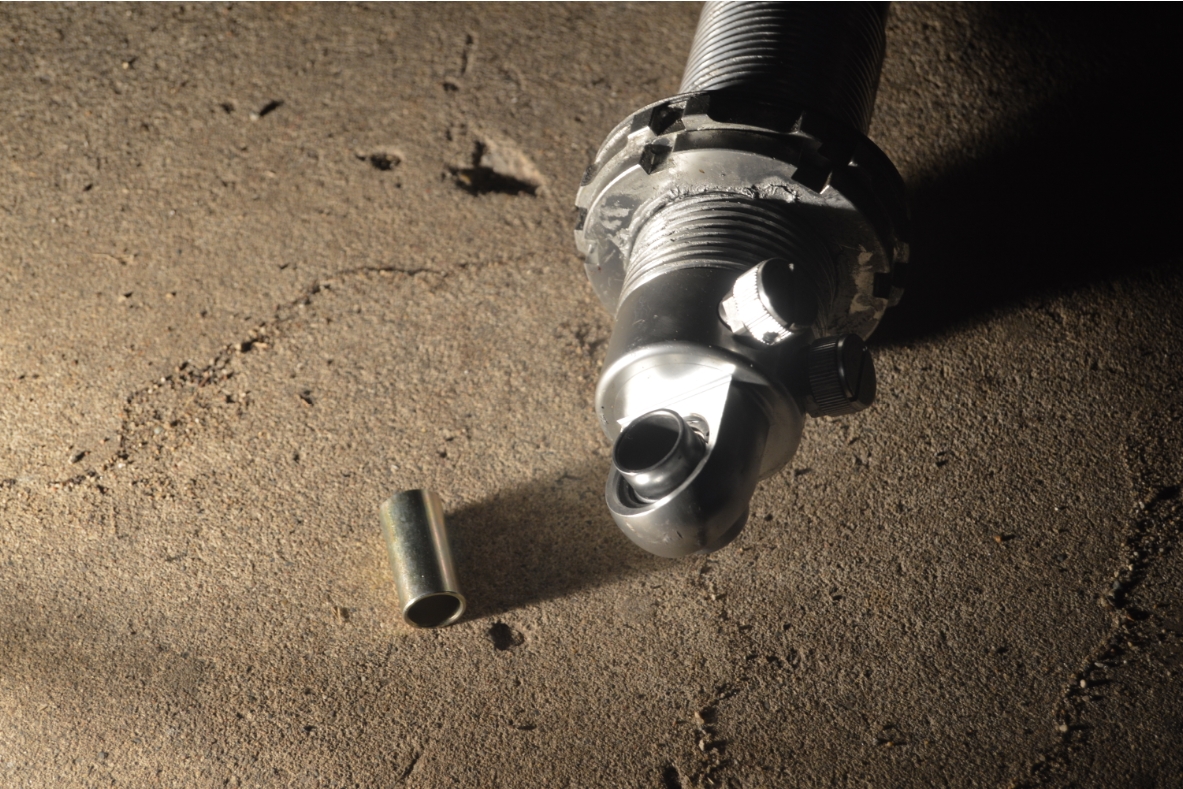
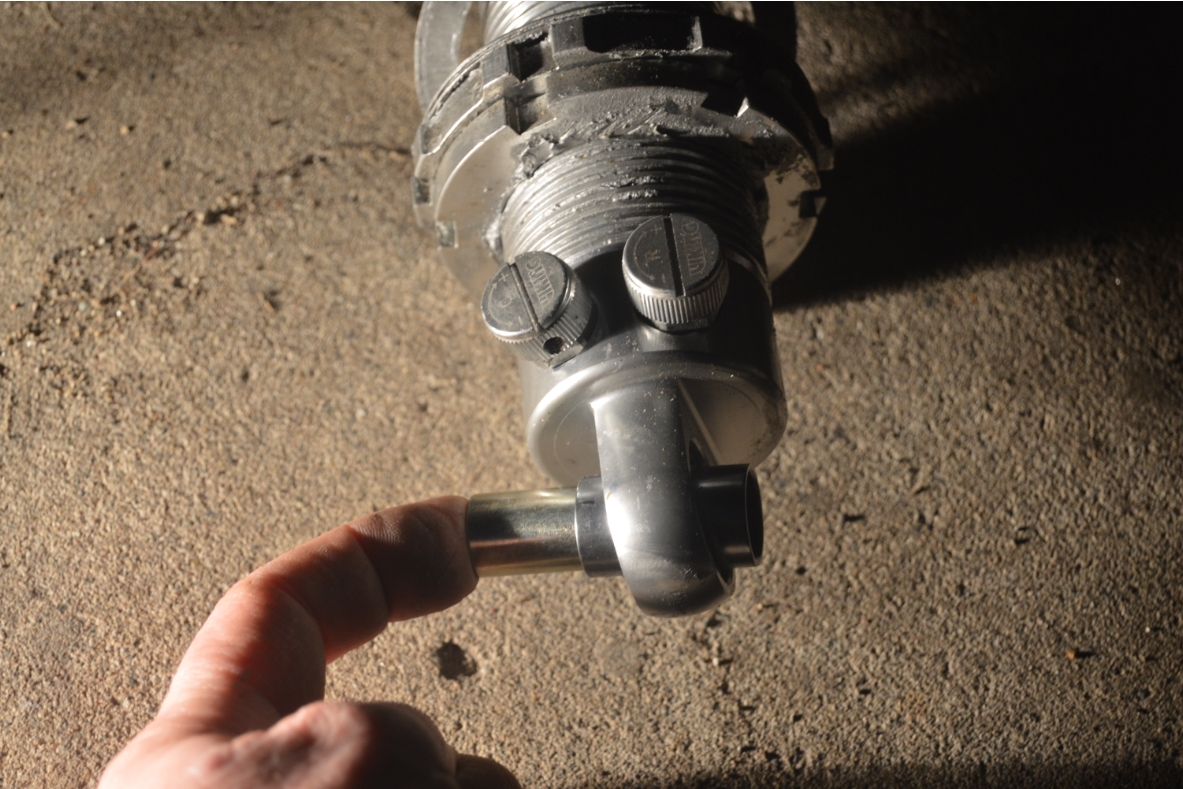
That coilover sleeve (actually an insert that goes inside the bearing) apparently isn’t too common of a part (when you don’t get it initially, I believe it’s included when you buy the entire arms & coilover setup all at one time, but since we bought the coilovers first, then later the arms, well…).
It’s not listed on UMI’s site, nor Vikings site (they make the part), but UMI can get it for you. Be prepared to wait a week for it to show up.
The part number for the sleeve is 9556-103 (and you need 2 of them).
That’s something to take note of if you have Vikings A224 shocks on your Turbo Buick, and you had it mounted to an OEM lower arm (or any other arm that is setup like the factory style, by using a t-bar to bolt it down to the arm).
The sleeves aren’t an expensive part ($2 each + $8.50 shipping), but the wait for them could put a damper on the project if you’re in a hurry to install them.
.
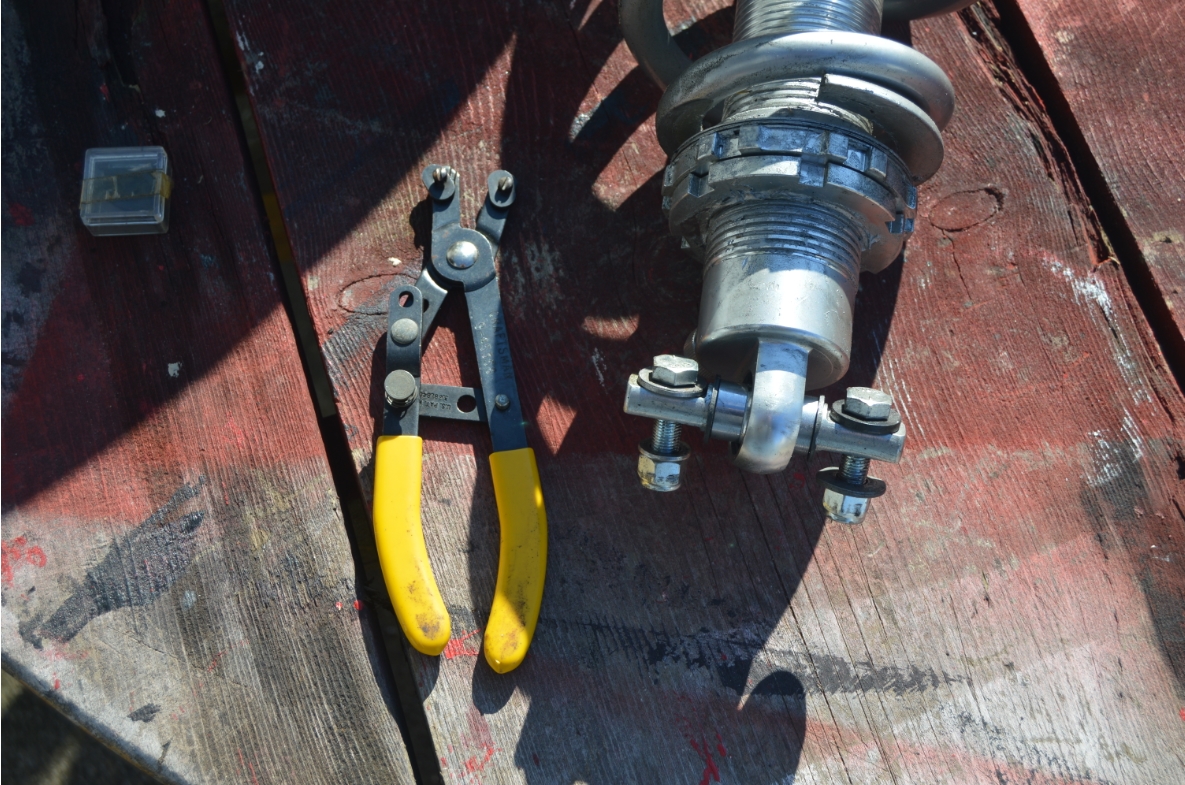
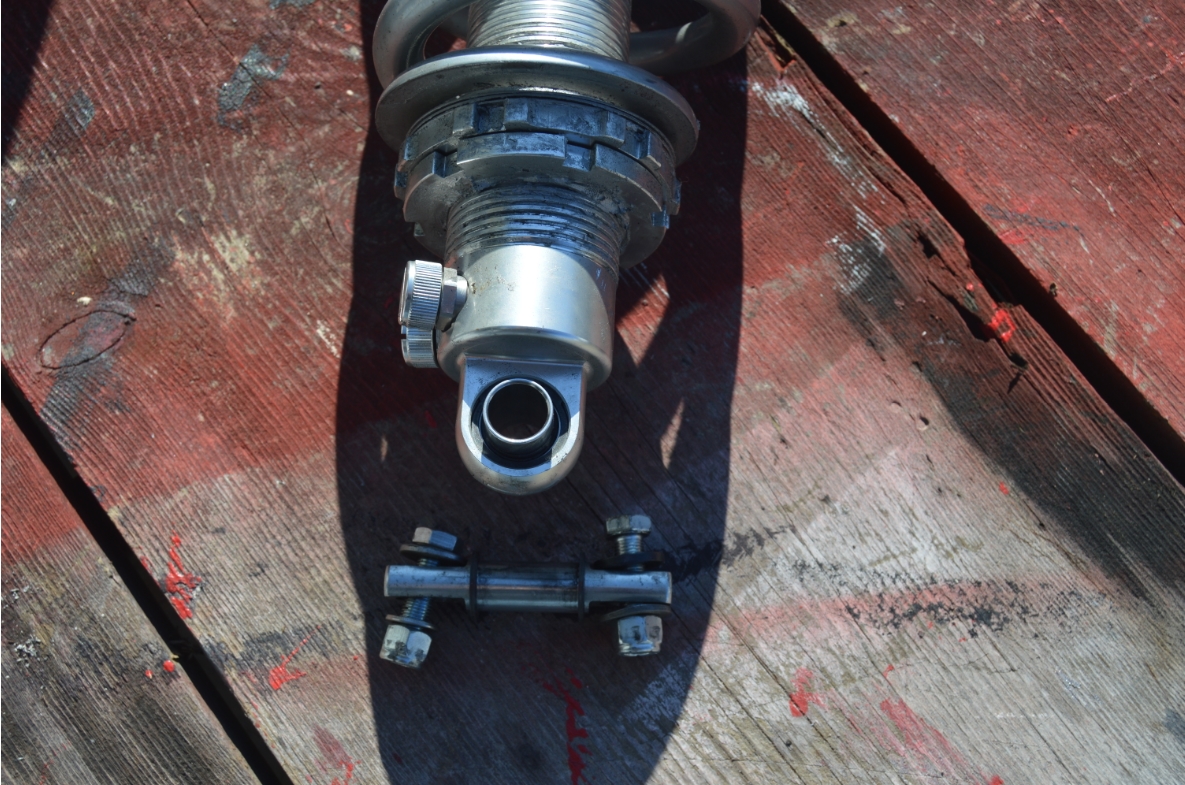
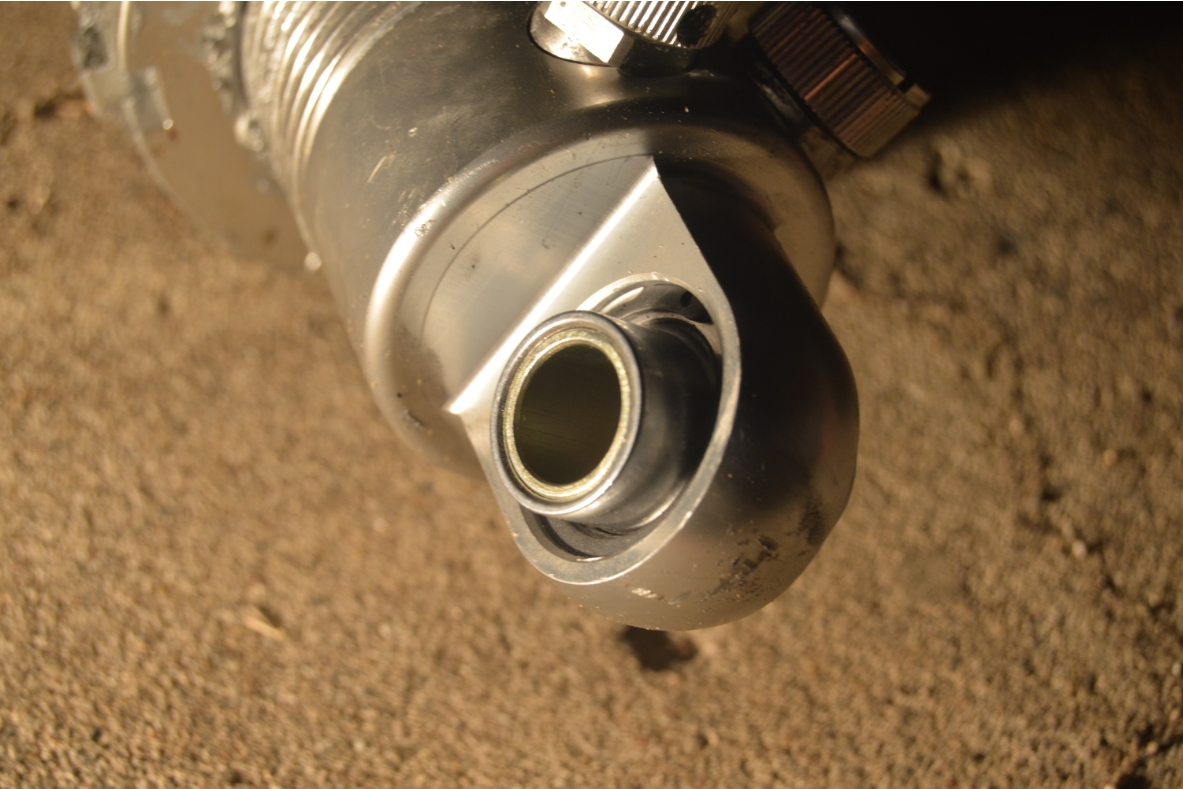
Coilovers: originally it had a “T-bar” setup on the bottom (that was attached to the OEM lower a-arm) that needed to be removed. The T-bar is held onto the shock via c-clips at each end. After removing the clips, the T-bar slides out. Then a sleeve is needed to go inside the shock bearing (so that it’s the same size as the new bolt that goes thru the shock mount on the shear bars of the lower a arm).
You’ll need c-clip installers to replace this setup.
.
.
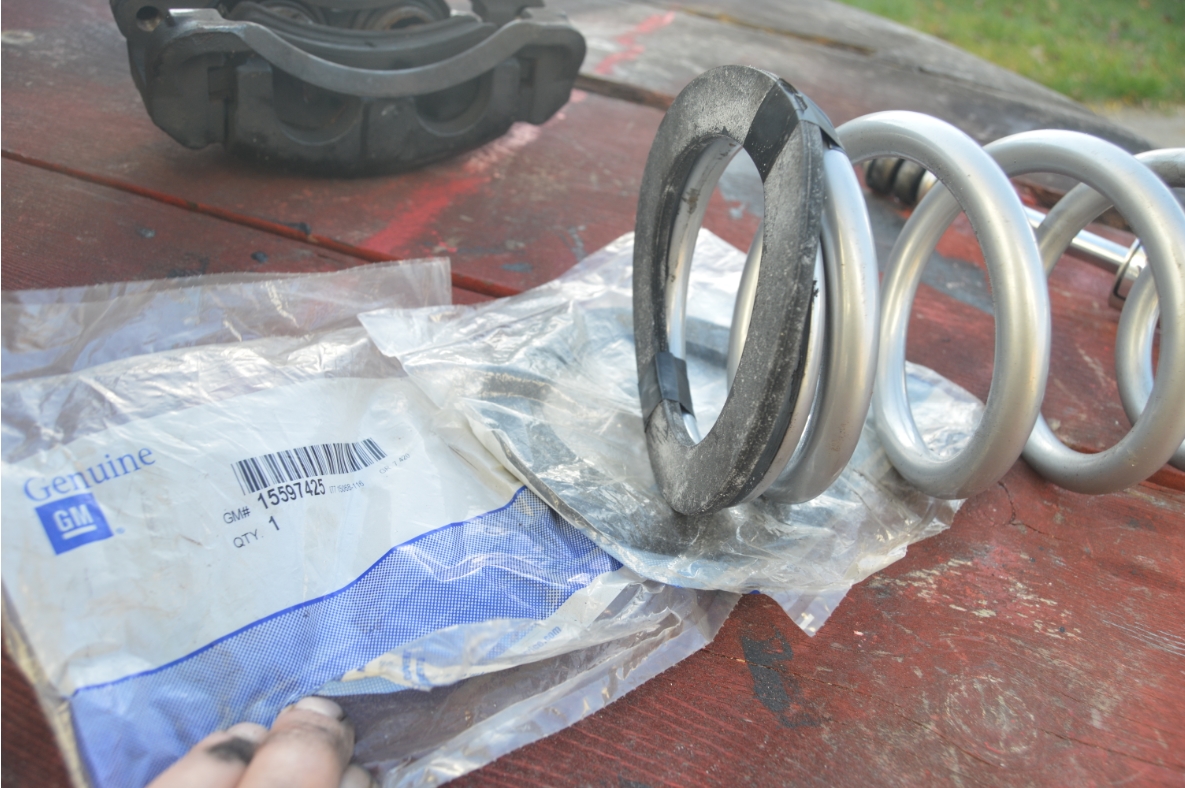
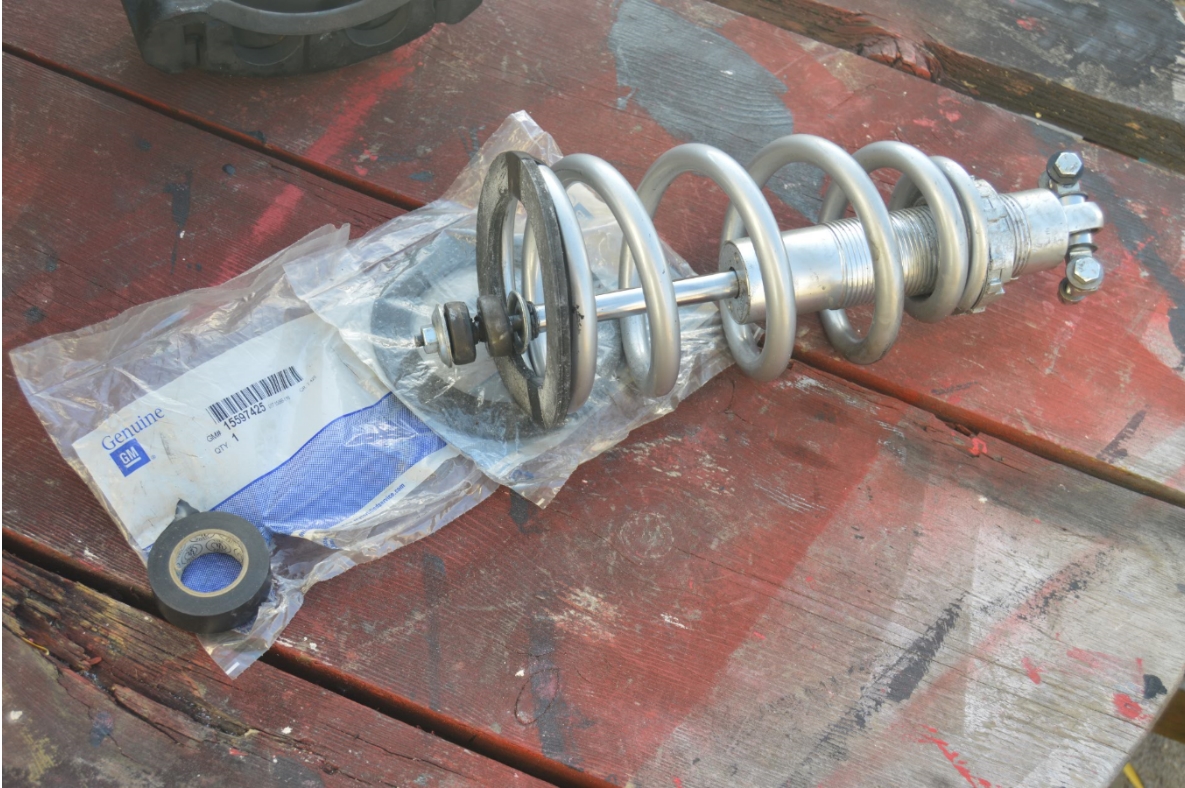
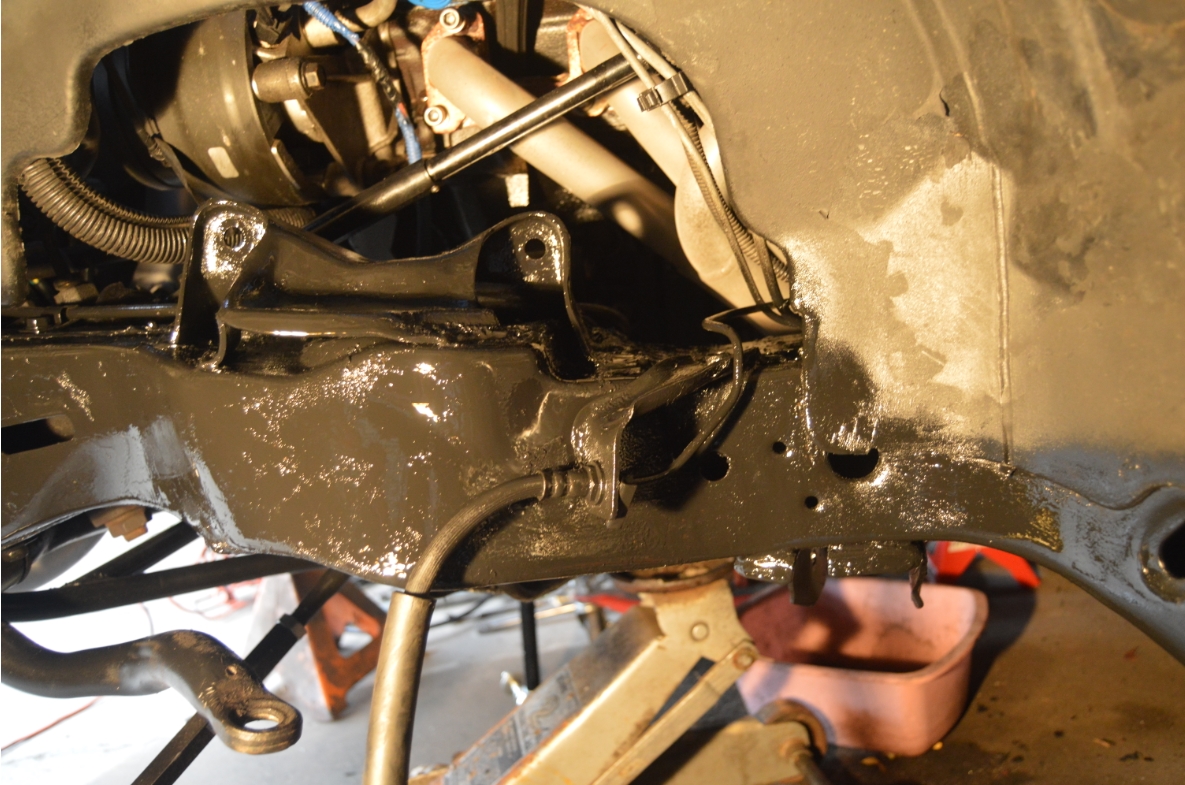
Coil spring isolators (basically padded rubber) were added onto the spring tops. Brand new GM parts were used (they cost about $15/set). These help keep the squeeks and rattles down in the G-body Regal. We used a bit of tape to keep them in place while they are being installed on the frame.
.

.
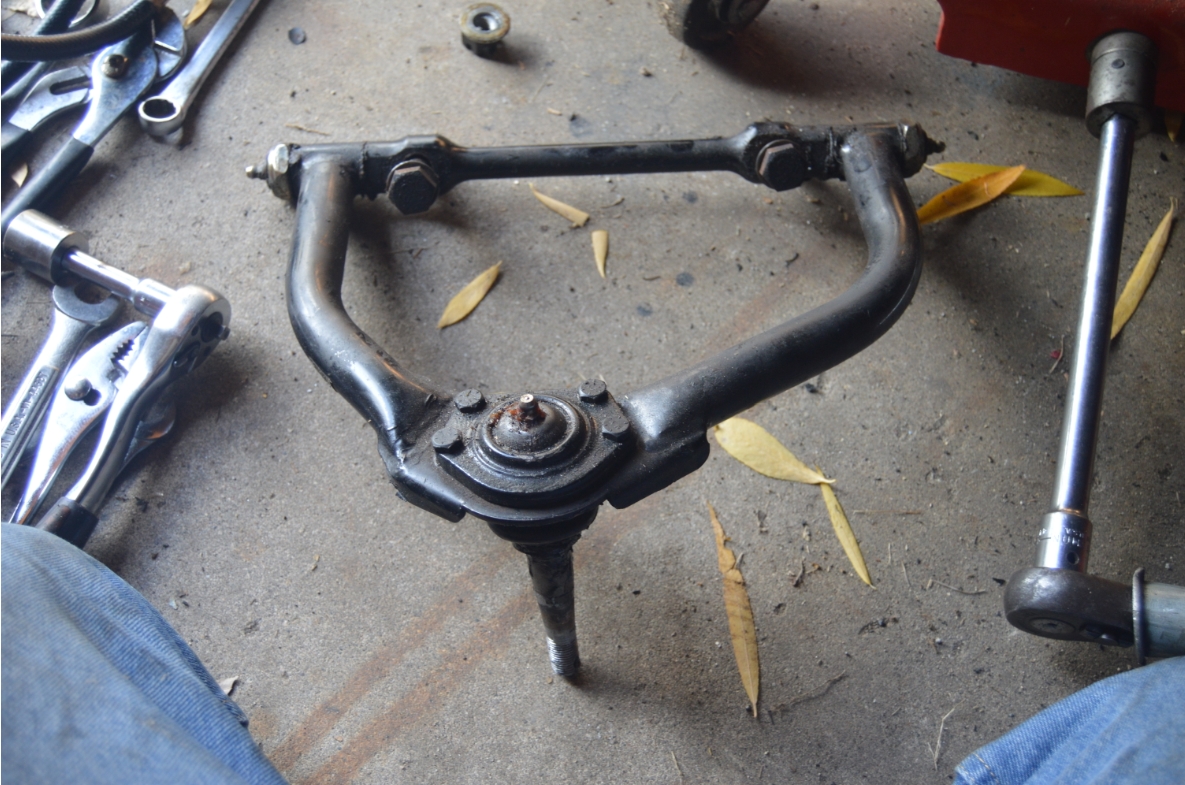
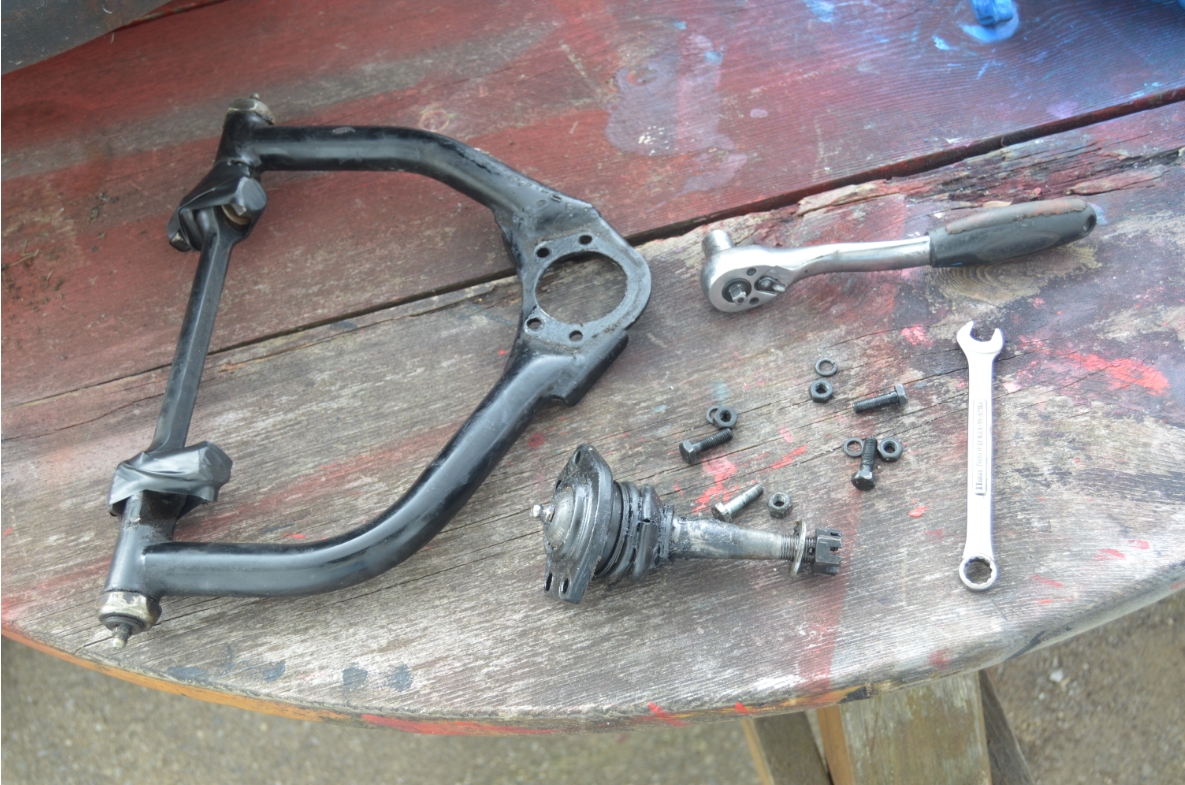
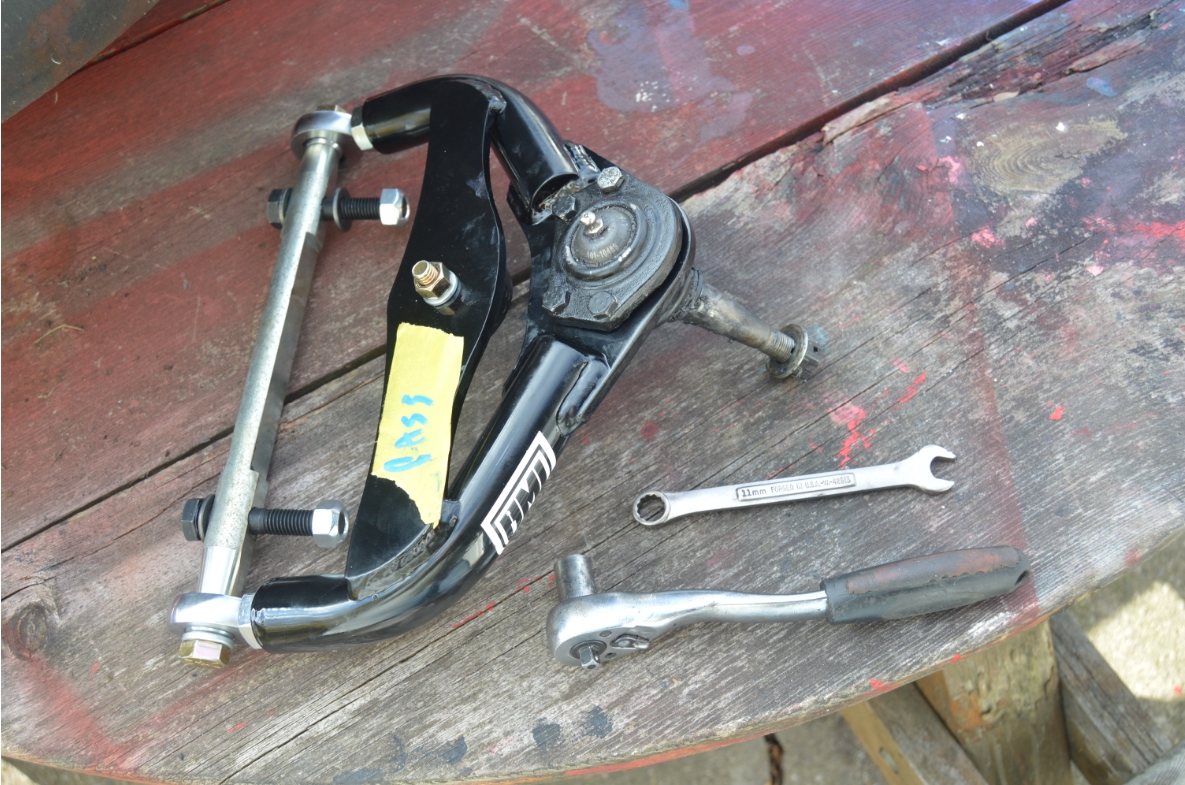
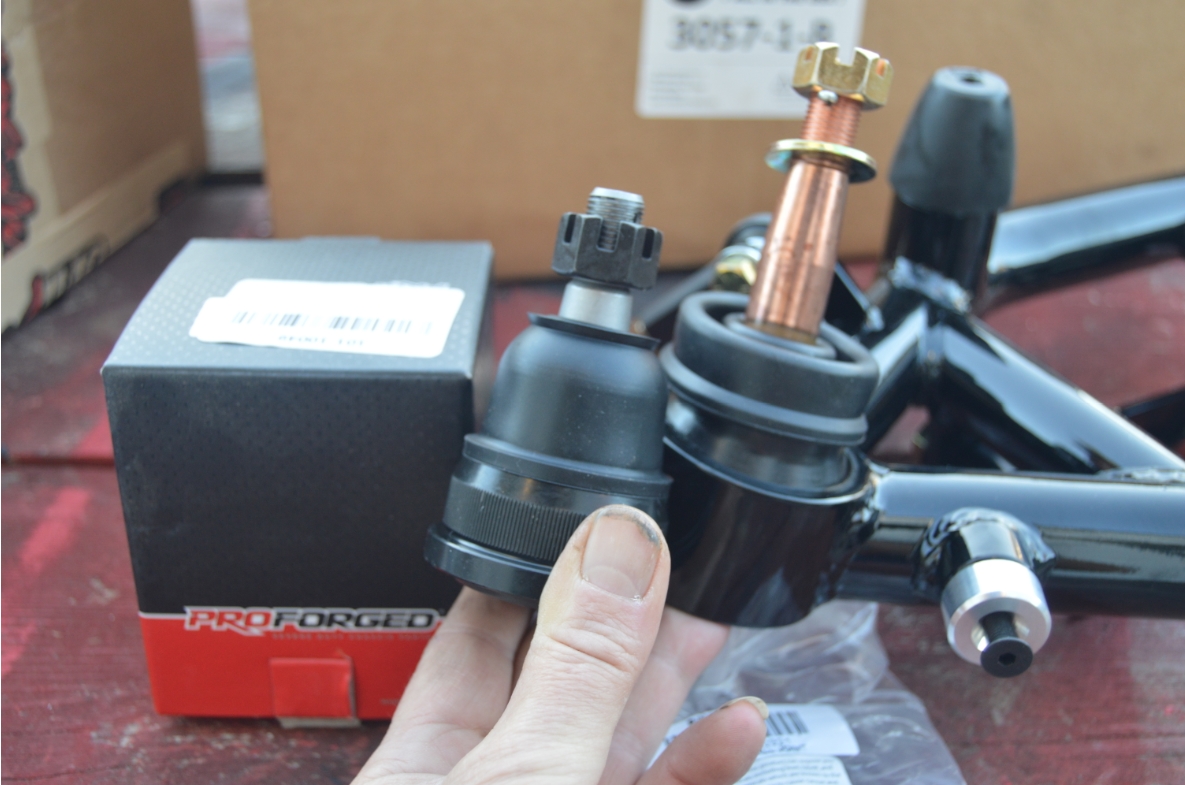
Upper A-arms: we removed the 1″ taller ball joint from the old a-arm (a GbodyParts unit) and installed it onto the new one. 4- 11mm nuts/bolts hold it onto the arm. Easy job, takes 5 minutes.
(on the factory upper a-arm it’s probably similar to do)
The 1″ taller balljoint that was previously installed in the old upper a-arm was reused.
(taller ball joints correct the suspension geometry in the Buick Regal)
.
.
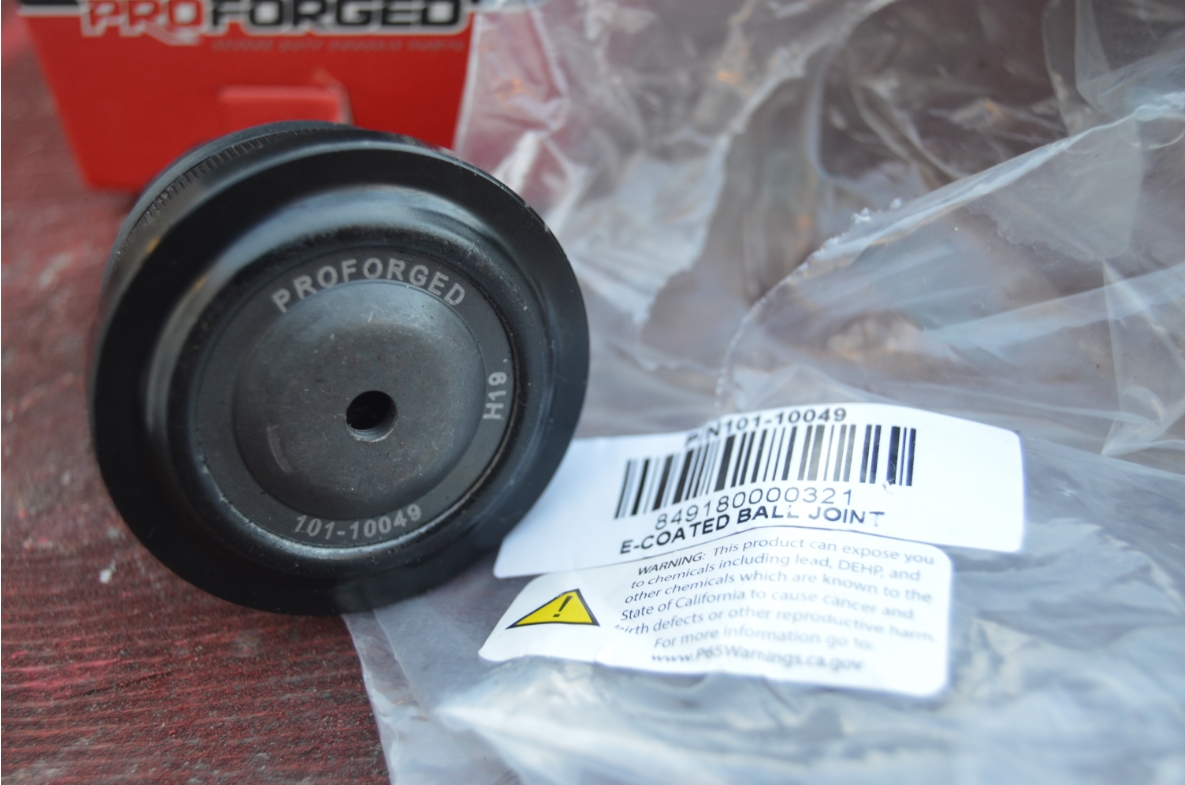
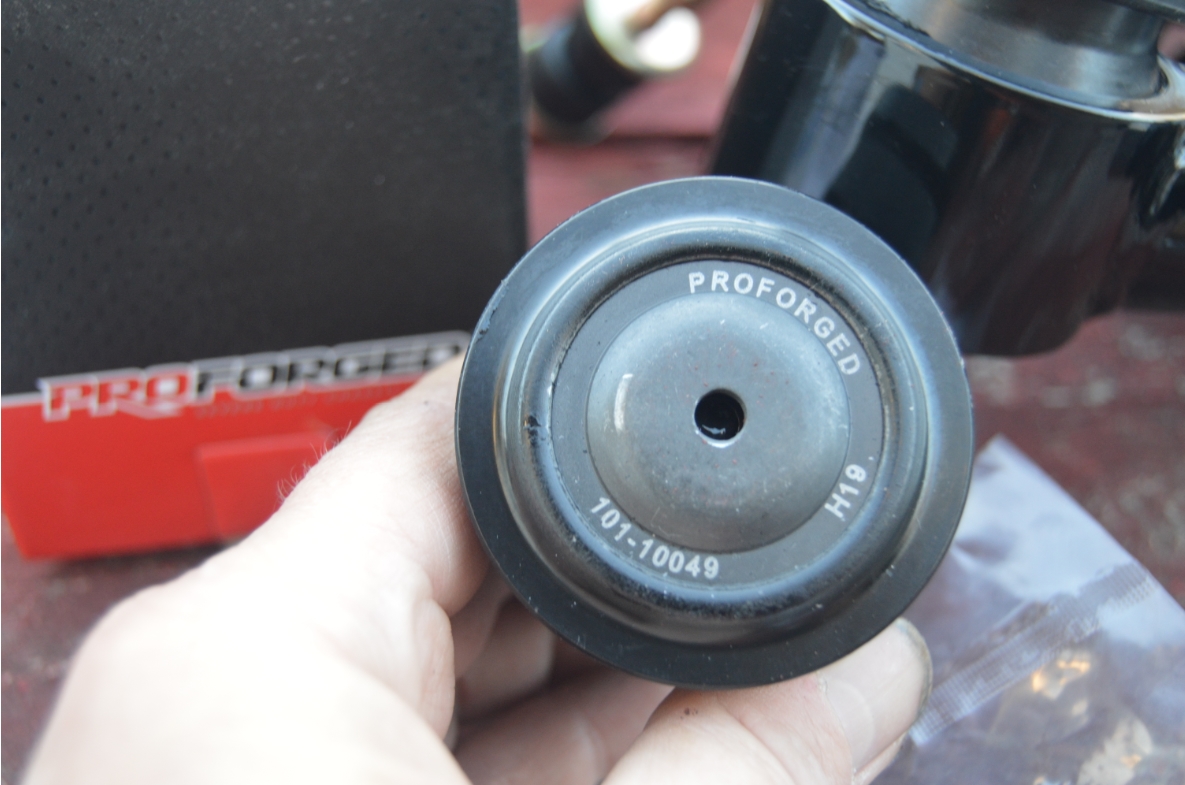
We are also thinking about replacing the original equipped (from UMI) 1″ taller balljoints in the lower a-arms with regular stock height versions (Proforged HD units), since we don’t want the G-body Regal to have a drop in the front end.
(lower taller balljoints drop the front end about the equivalent of the extra height of the BJ’s; 1″ taller BJ’s would drop the front end about an inch, something that is not desirable in this specific Turbo Regal)
[we may do this swap, maybe not, we are going to leave the taller balljoints on there for now, drop the car down and see how it sits and performs, then decide which BJ’s we want to use]
.

.
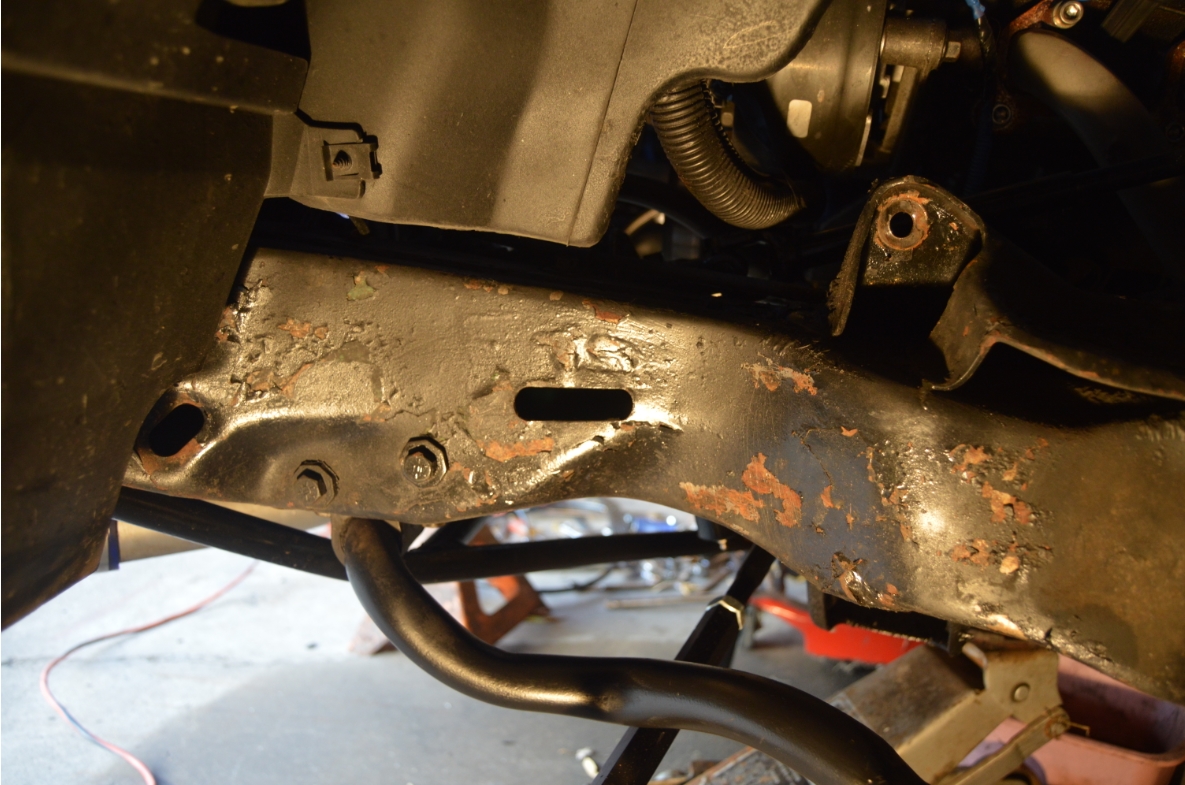
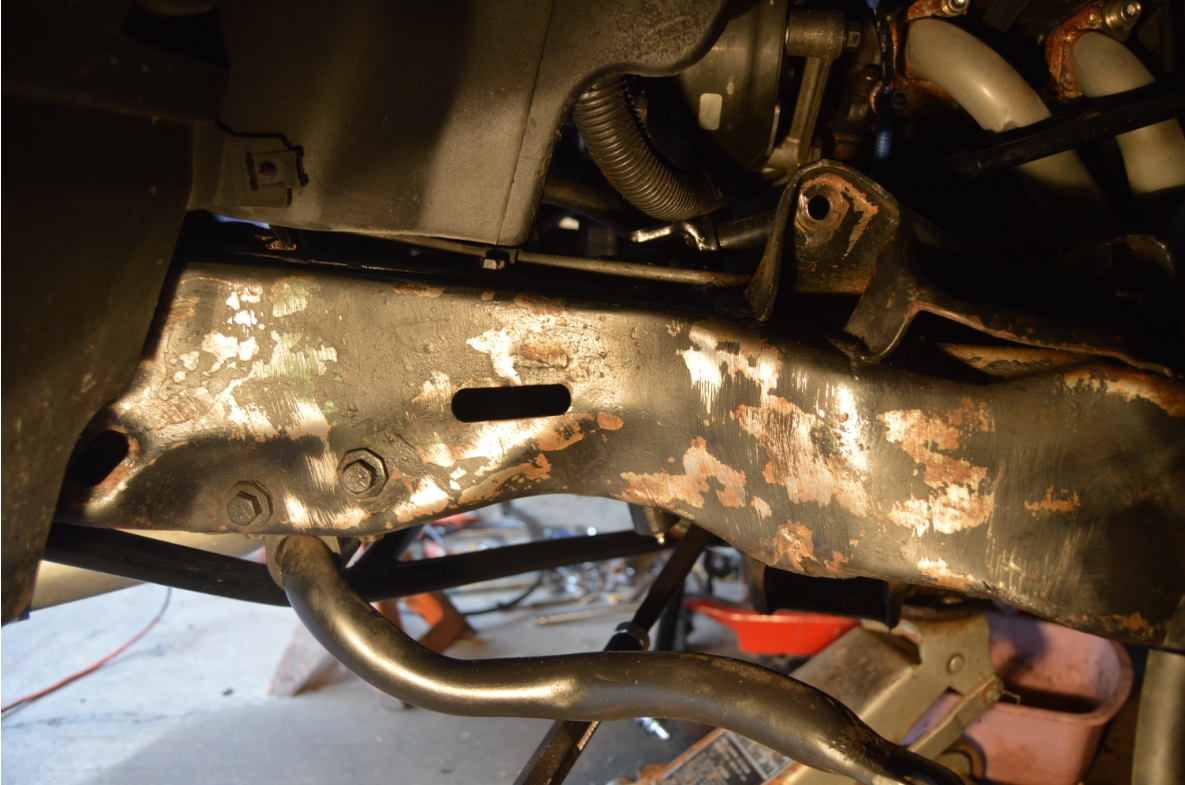
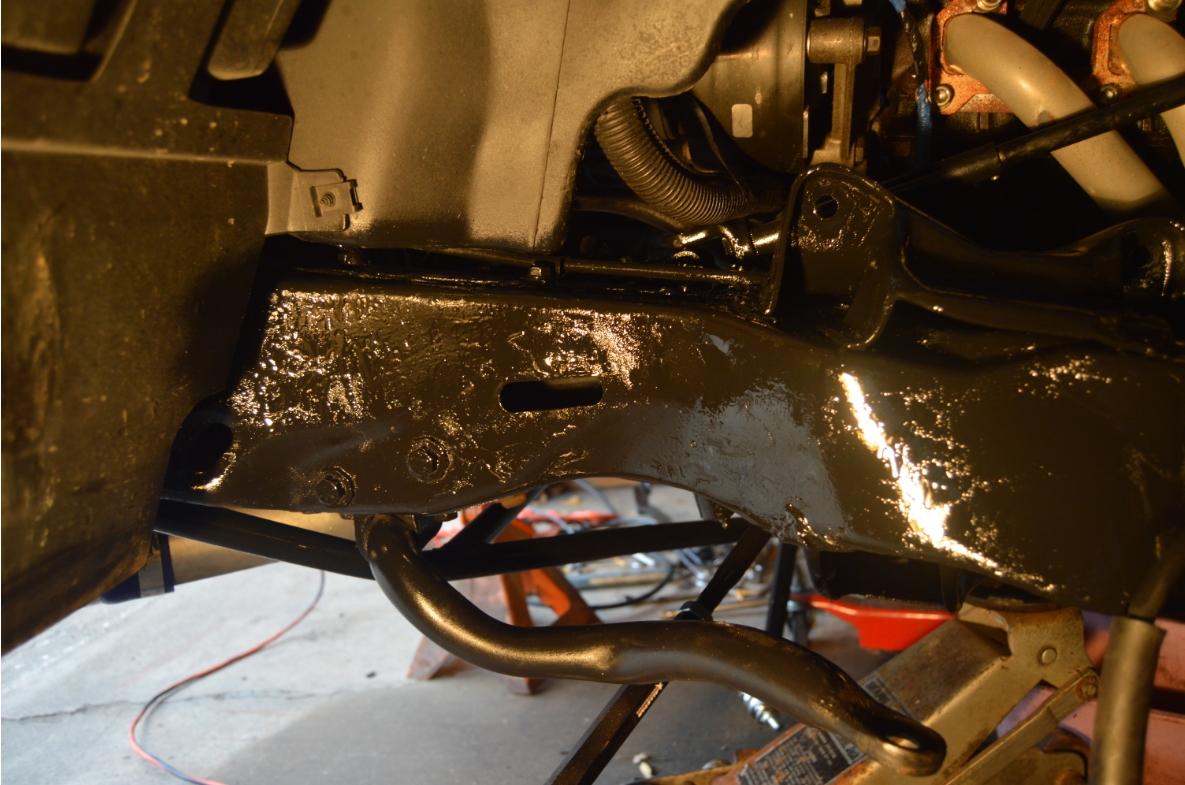
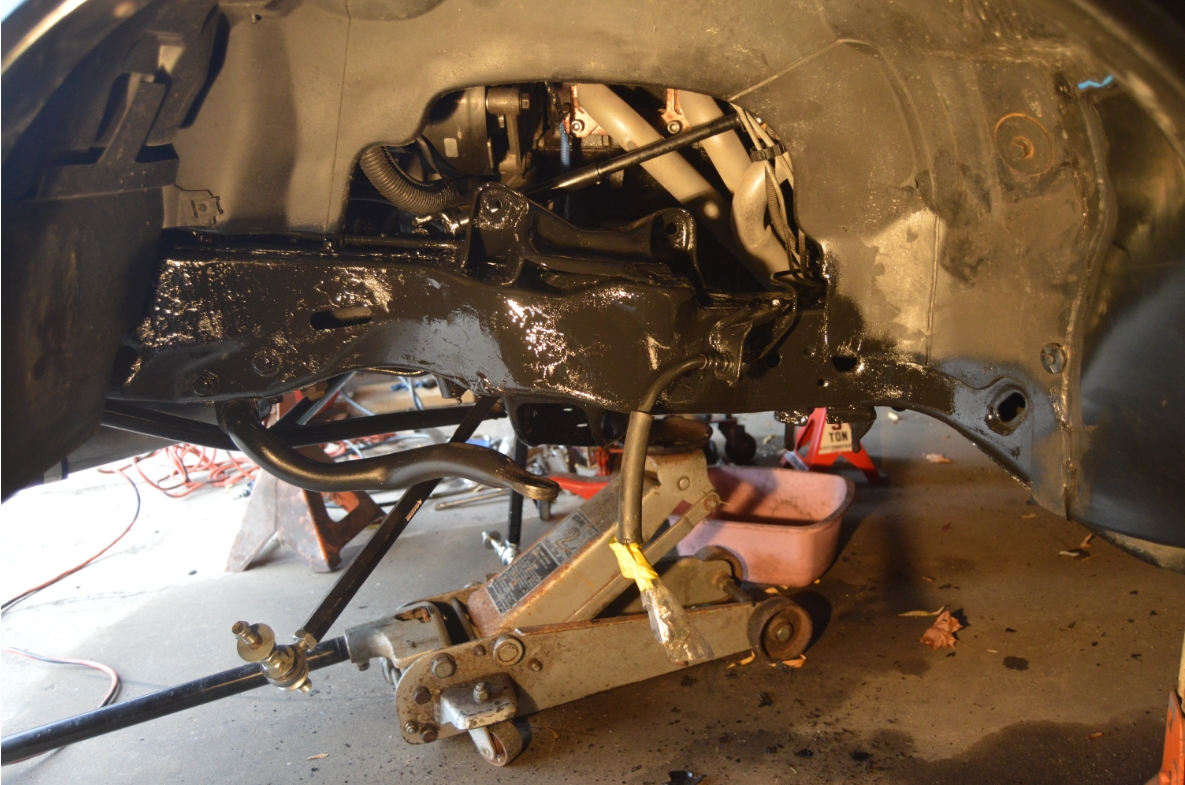
Finally for today, since this area is obstruction free at the moment, we decided to take some degreaser, clean and wipe it off, then a wire wheel brush to the frame to take some rust off. Then we (rattle can) sprayed it with (rustoleum) gloss black.
.
.
It took about 2 hours to get all of this stuff done today.
And worth it, it looks good.
Tomorrow we tackle painting the spindles brackets calipers and such.
(and adding a neat little detail onto the calipers 😉 )
.
This weeks agenda:
1- Comparing Old OEM vs New UMI A Arms Before Install (Day 1 of 5)
2- Remove Old A-Arms on Buick Grand National (Day 2 of 5)
3- Prepwork Before A-Arm Install (Clean & Paint Frame, Install Spring Isolators, upper/lower Balljoint Swap, Replace Coilover T-bar With Sleeve) (Day 3 of 5)
YOU ARE HERE
4- Paint Front Calipers Brackets Spindles on Buick Grand National (Day 4 of 5)
5- Install UMI Upper & Lower A-Arms on Buick Grand National (Day 5 of 5)
.
Be sure to check back tomorrow to see more progress on this Turbo Regal.
.


