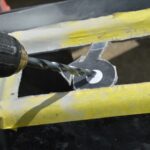
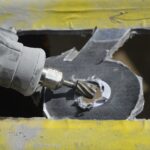
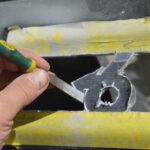
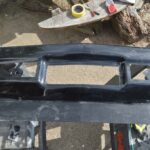
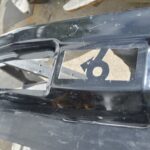
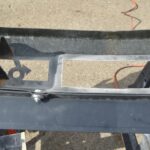
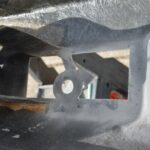
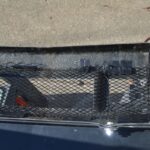
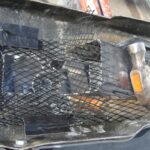
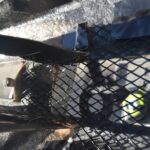
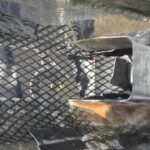
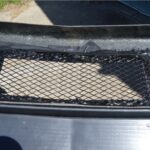
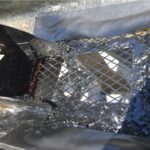
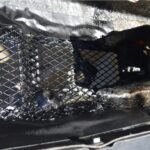
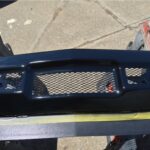
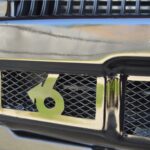
We fixed 1 of the 2 issues we had with the FG bumper yesterday.
Today we do #2 of 2.
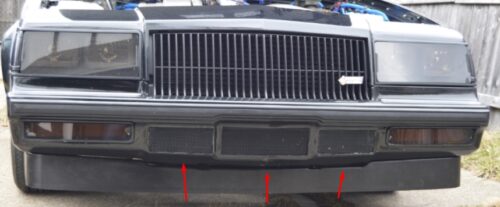
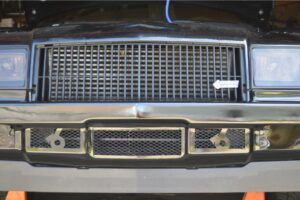
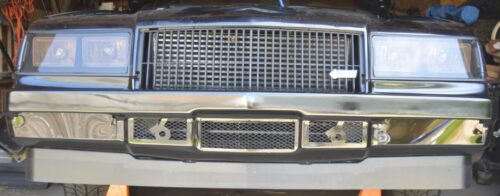
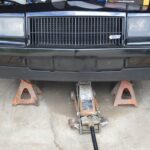
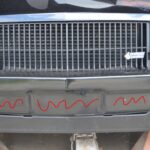
Initially the OEM front bumper on this 1987 Buick Regal Grand National was modded with 3 cut out areas and had a screen mesh insert, in the license plate area & the 2 sides next to it (see pic).
This provided much more airflow than what is normally allowed thru the grill opening only.
.
.
A new front fiberglass bumper was recently added onto this G-body Regal.
After that was done, the water temp went up 15 degrees while driving on the freeway!
(since it is now not getting as much airflow thru the grill as it was before)
[note that this particular Turbo Regal is apparently different than most, it runs fine (cool) when street driving, but on the freeway, the temps rise, most likely because of the big FMIC on it! it’s even worse when using the air conditioner!]
That original modded bumper had been on the car for a long time, and we never gave it a second thought.
Until now.
But of course, as you aren’t really thinking about things that are running ok.
Concerns only arise when things are amiss.
And they are, so it’s something we need to take care of.
So today’s game plan is to add in that same type of open area on the new FG bumper.
As always, whenever possible, we like to customize stuff.
If we’re going to do something, might as well make it special while you’re doing it. That’s our belief.
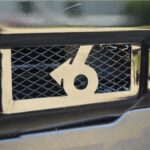
So we’re going to put some turbo 6 symbols into 2 of the 3 openings (the ones on the sides).
They will be cut out (negative image style) into the holes, meaning the areas around the “6” will be cut out (while the actual “6” is still visible as a solid piece in the bumper).
We’re not highlighting them in any way, with the bumper being black, and the mesh being installed is black as well, so they will sort of have a ghost effect.
They’re there, but you’ll only see them if you’re actually looking for them.
(a nice subtle touch, and a neat discovery for those people who actually search out cool & different things on other TR owners vehicles)
[you could always elimnate the turbo 6 arrow if that’s not your cup of tea & just cut out plain rectangular holes following the steps below]
Since these new holes replicate the ones that were on the stock bumper, our coolant temperatures should be restored once this mod is completed.
(and they were, it again runs an acceptable 190 degrees on the freeway now with the air on)
.
This mod can be performed on stock bumpers as well to assist your Turbo Regal in gaining cooler temps!
Works great to supply those massive FMIC’s with additional airflow too!
.
.
PARTS:
– mesh screen (13″ x 40″, $13 shipped, ebay, diamond shaped holes 1/4″ x 3/4″)
– tube of gorilla glue, or silicone, gasket maker, seal all, etc. ($5, to hold the mesh inside bumper)
– paper (to print out the turbo 6 symbol)
– masking tape
– touch up paint
.
TOOLS:
– tape measure
– dremel (with burr tool, & diamond cutting blades work great on fiberglass)
– drill with a large bit (to put a hole in the middle of the “6”)
– small file
– marker pen
.
HOW TO:
1. if you’re working on a hot day, and you want the mesh to be black, and it needs painting, do it now. It might be dry by the time you’re ready to use it!
2. disconnect bumper lights by unscrewing the bulbs & removing 4 bolts (2 on each side).
3. disconnect 2 grill springs.
4. unbolt 8 nuts (4 on each side) to remove bumper. Unbolt 2 air dam bolts.
[we left the air dam on, since you only have to remove the 2 bolts that are attached to the fender, nearest the wheel, and the whole assembly comes off. easier that way because there’s a lot of bolts holding it onto the bumper!]
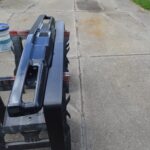
5. place the bumper (face up) on stands (or workbench, etc.) so you can work safely on it.
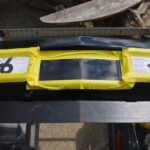
6. mark off the (outside of) 3 areas to be cut out (dimensions below) with masking tape.
(center your cut out areas within the available space in the 3 spots)
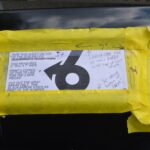
7. tape your turbo 6 arrow template on the bumper. (instructions below)
8. CHECK the backside for clearance on where you intend to cut BEFORE you start cutting! The top & bottom sides for the 2 side areas are real close to where the bumper mounts are located. That’s ok since we will be using the mesh to add strength back into these areas.
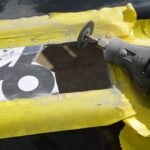
9. use a dremel, etc., to cut out your marked areas.
10. remove the template & masking tape.
11. take a file & smooth the edges of your cuts (both inside/outside edges).
12. paint the edges (on metal bumpers for rust prevention).
13. flip the bumper around so you can work from the backside.
14. from the inside of the bumper, take your mesh and form it around the holes you made. it’s pliable so make a tight fit around the hole (conform to the holes and bumpers shape).
(we used 1 solid piece of mesh for all 3 holes, 7″ x 33″, overlapping the bumper openings by about 2″ all the way around; start in the middle and work your way out)
(the 2 side hole openings are 2.75″ tall x 7″ wide, so the piece of mesh sized for 1 hole measures 6.75″ tall x 11″ wide, if you are using 3 separate mesh pieces; the license plate area is 3.5″ x 12″ wide, so you would use 7.5″ x 16″)
15. take your glue (or whatever you are using) and glue the mesh into place. all the way around! (we glued it right next to the actual bumper opening that you cut out, and then again right at the outer edge of the mesh to make sure it stays put). We used duct tape to hold the mesh in place in some spots to keep it held down while the glue was drying.
(don’t forget to glue down the “6” to the mesh as well, to give that area some added strength)
16. reinstall the bumper using 8 nuts. reattach the 2 bolts for the air dam.
17. reinstall the bumper lights using 4 screws.
18. plug in the bulbs.
19. reattach the 2 grill springs.
20. clean off bumper.
21. smile again at a job well done! Enjoy more cooling power now from this relatively easy mod.
.
.
.
NOTES:
The mesh works great to support the hole openings (& the turbo 6 cutout, as well as the entire unit itself) on a fiberglass bumper.
(and also to keep large debris from entering that area)
The 2 side holes measure 2.75″ tall x 7″ wide.
The center hole (license plate area) measures 3.5″ tall x 12″ wide.
(all 3 holes, on the top side, should be straight across the bumper)
.
.
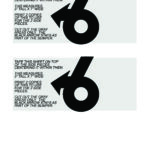
A template (with the turbo 6 arrow on it) is supplied here (below) for the side pieces.
Simply print out a copy (there’s 2 on the page) of the jpeg image to use.
(print at 100% using 8.5 x 11 paper)
Ignore what the template says on it!
Cut out the boxed area around the gray background, leaving a rectangular shaped piece (3″x7″).
Place the top of the paper at the top of your cut area, within the box you already taped off.
Measure down 2.75″ & place a tape line down (or move your existing bottom piece of tape up).
(YES, you will be cutting off part of the “6” – about 1/4″ – that gives the bottom of the 6 some strength to stay attached to the bumper)
.
.


