


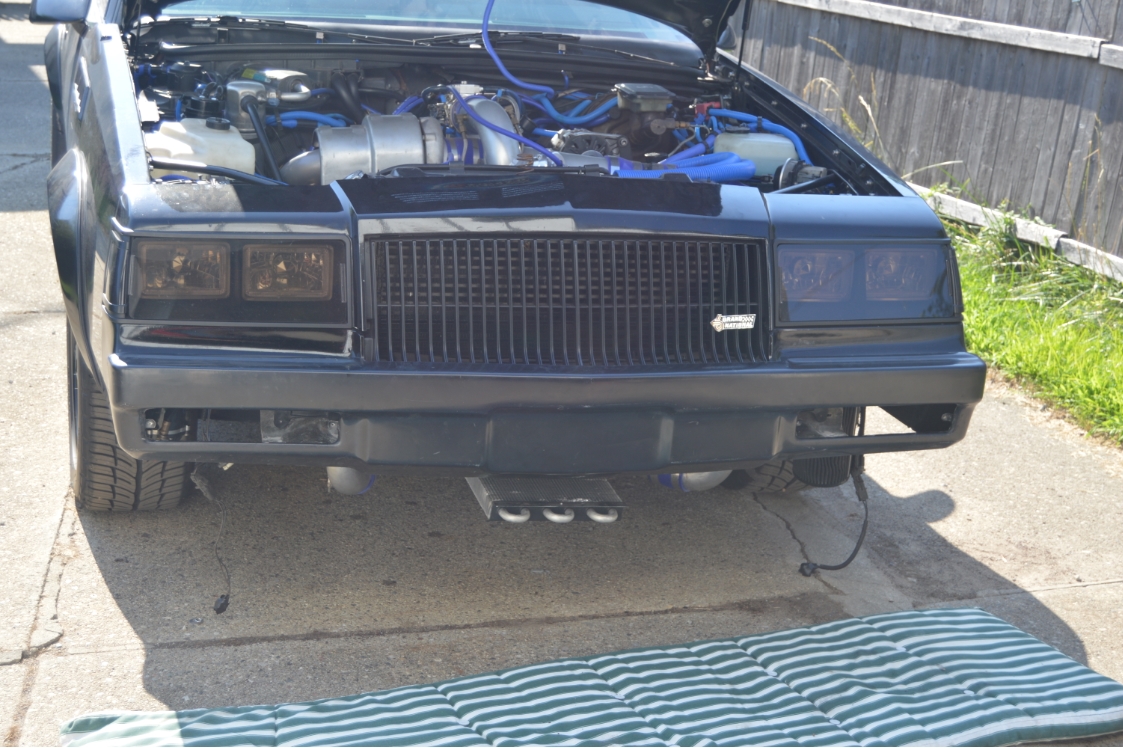
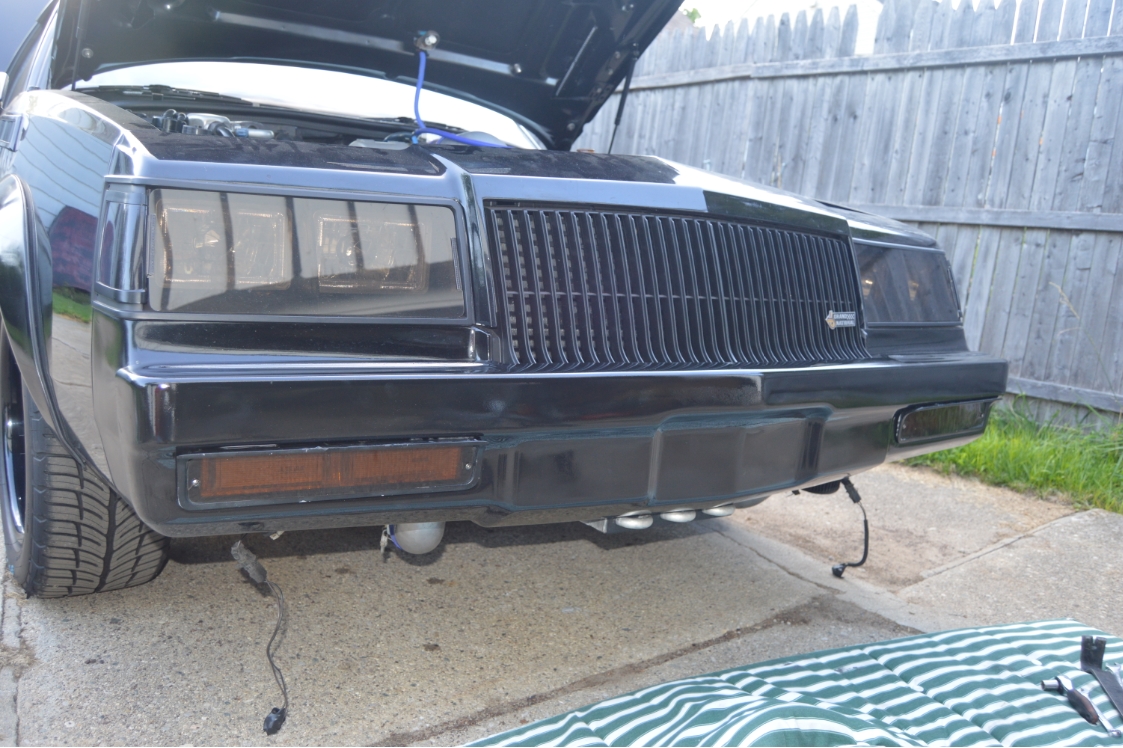
The last step in this 4 part series is to install the new front fiberglass bumper.
The FG bumper we’re using will be the one that Kirban use to sell.
[They don’t sell these new any longer, but other Buick vendors do carry similar units. you also might find someone selling a used version of this type]
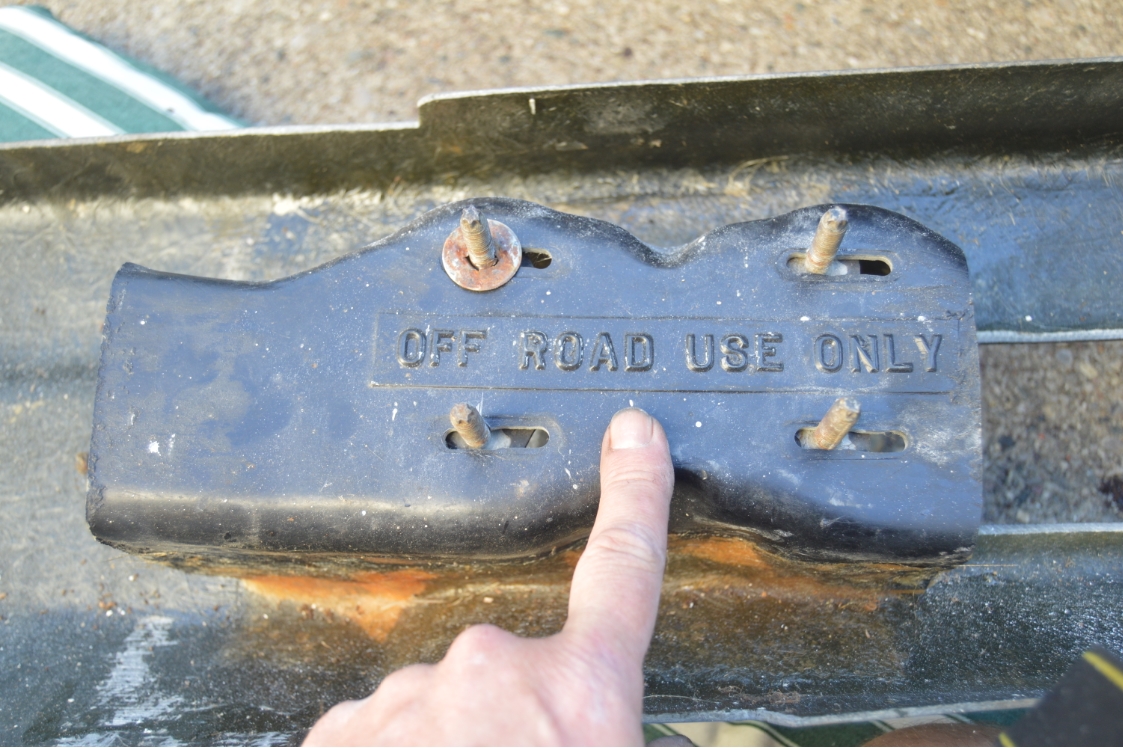
Fiberglass bumpers are suppose to be “for off road use only” – it even says so on it!
I’ve never heard of anyone being harassed on public roads for them, but it’s something to keep in mind.
.
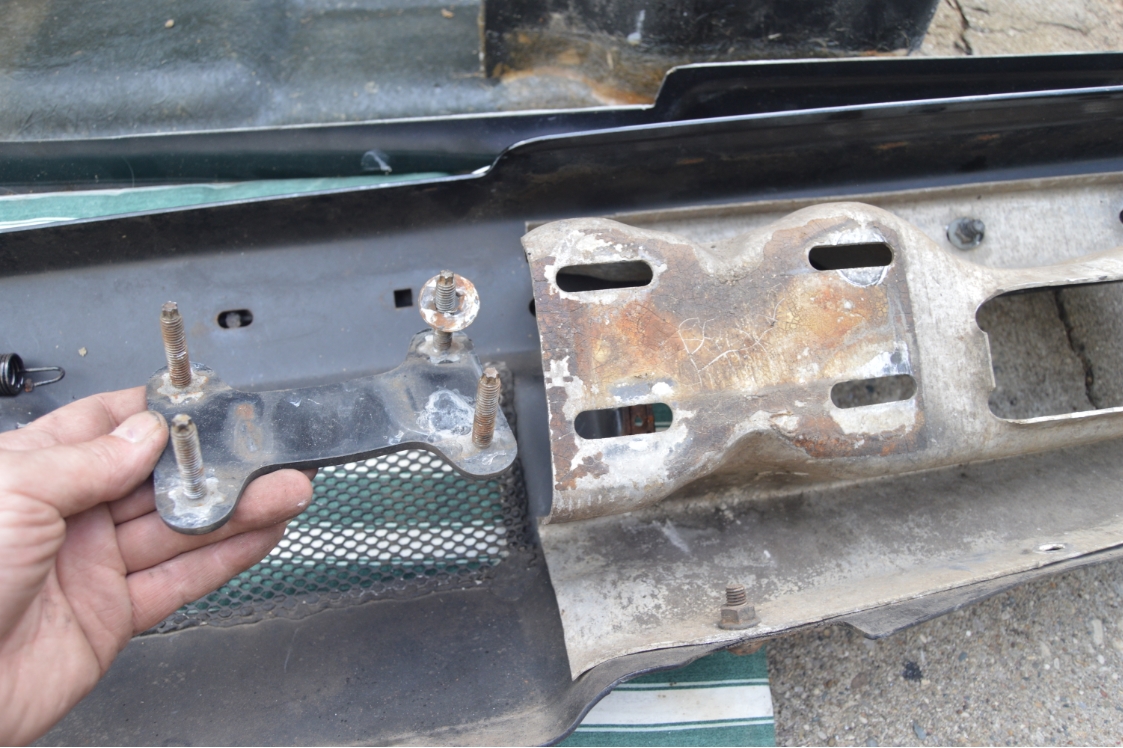
This Buick Grand National already has the aluminum bumper supports installed, as well as the new front frame brace that we created in the last step using the brackets that GNS sells.
.
You can get the brackets & crossbar HERE:

.
.
Once again, by adding that front frame brace, it does take away some of the weight savings gained by this FG bumper, but we like our safety, and the looks of the new fiberglass bumper more than we care about the overall weight savings attained by switching over.
[The crossbar weighs about 25 pounds, so you’re still losing overall weight vs OEM stock stuff, just not as much as if you didn’t add the new brace at all. Street driving a G-body Regal without some type of “crash bar” in that location is risky. You make your own judgments]
Remember though, once you remove your stock metal bumper, you are losing the stiffening (twisting/moving) factor that it provided to the frame, so having a new brace like this might not be a bad idea, since it provides a similar effect.
.
.
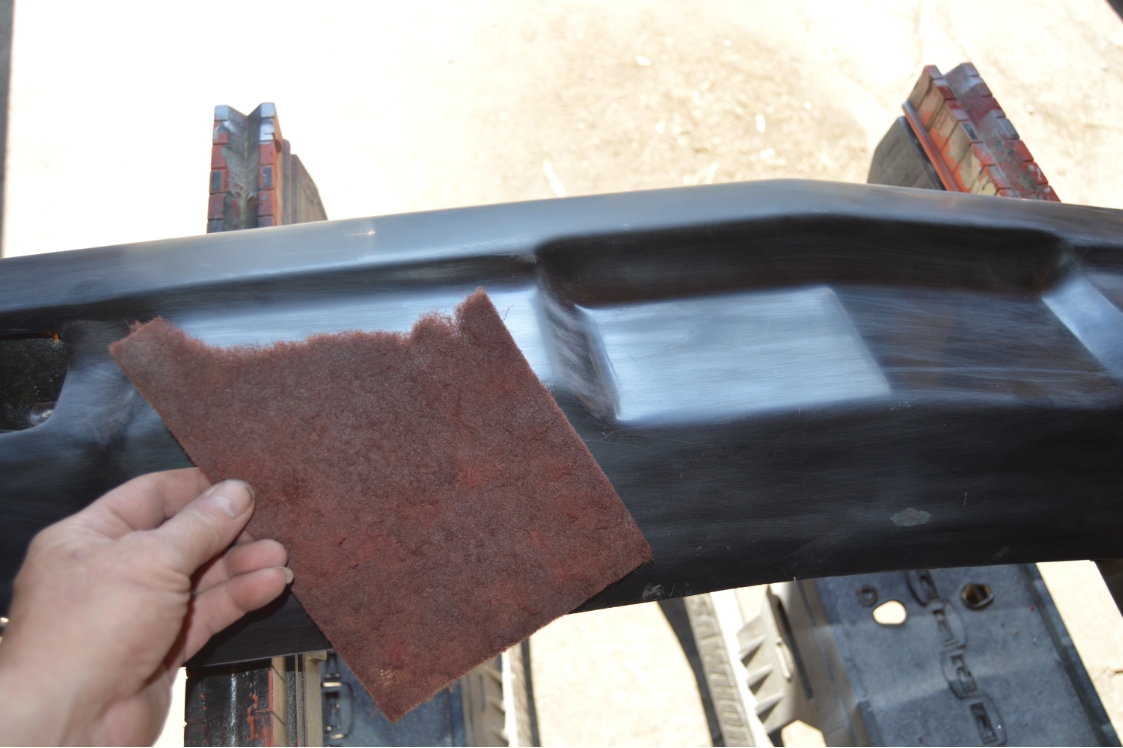
Prepping the fiberglass bumper is as easy as using a red scothbrite pad (akin to 400 grit sandpaper).
Primer, paint.
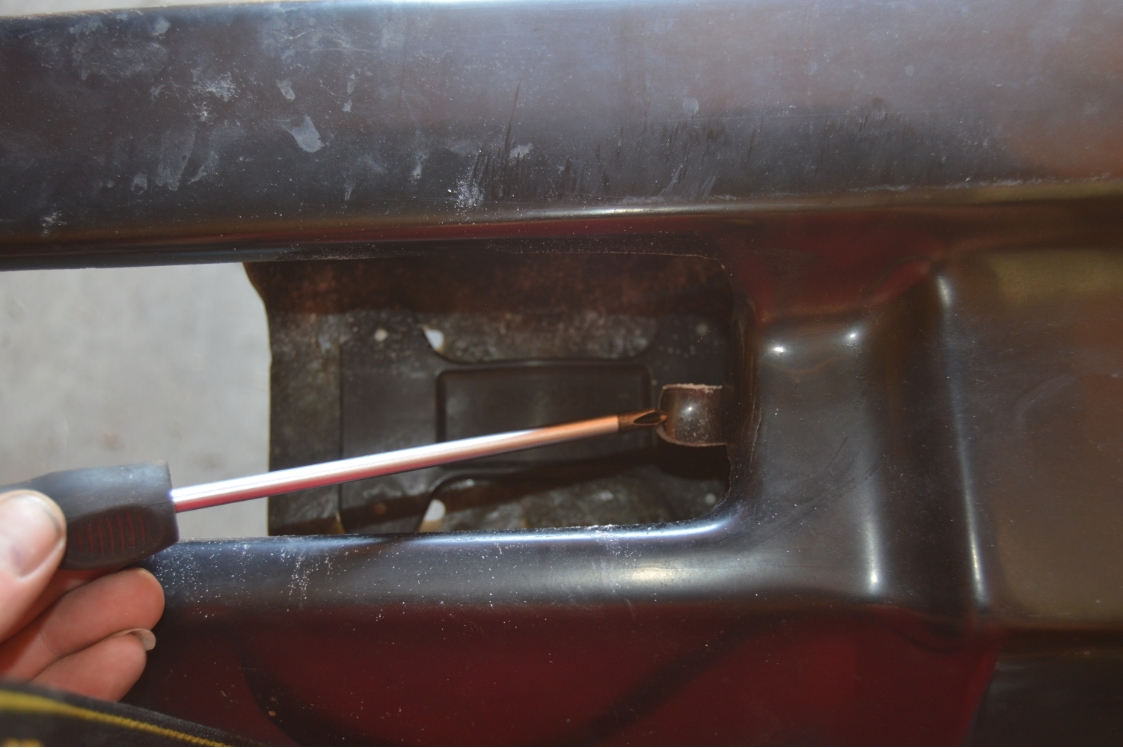
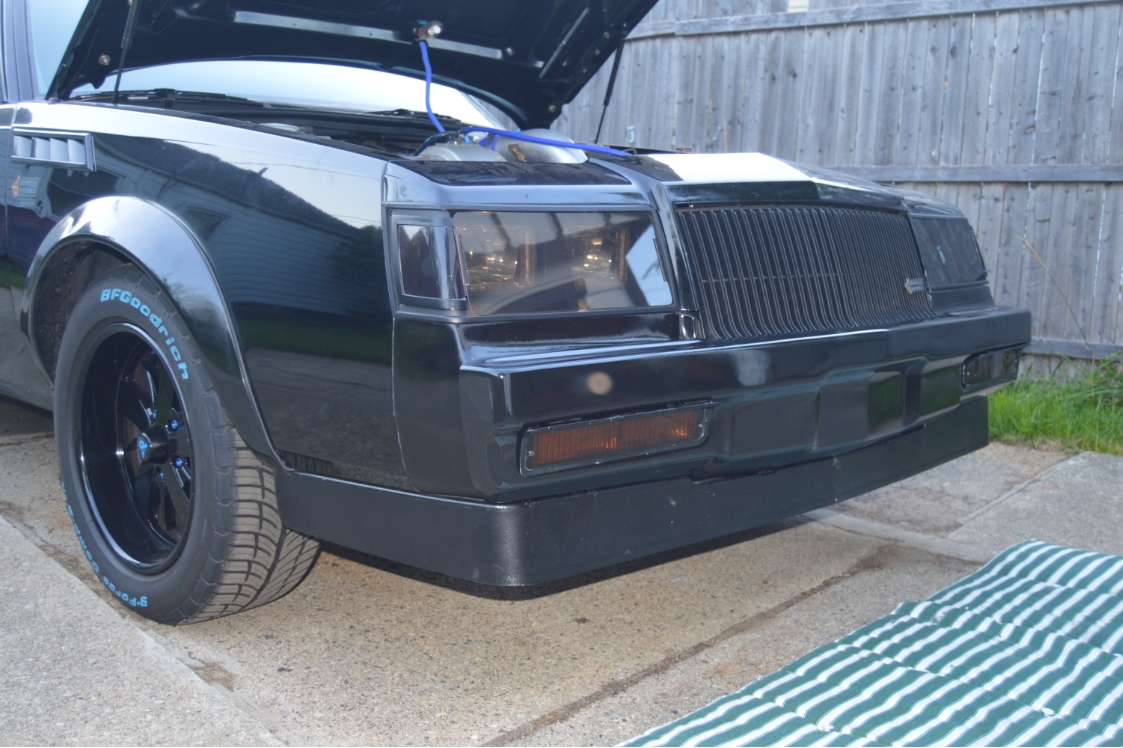
Remove your old parking lights & reinstall on the new FG bumper.
This bumper has some built-in tabs to hold the lights in, but you need to drill 4 holes (2 on each side).
Also, you’ll either have to reuse your original ones, or get some new screw retaining clips (like the factory style, same kind they use for car speakers), or nut & bolt the lights on, since the screws going into the fiberglass aren’t going to keep them secure by itself.
You may have to minorly trim the openings to get the light assembly to fit inside.
(we trimmed the passenger side at the top left to get the bezel to fit in more flush)
.
.
.
The overall fit isn’t as tight as the OEM was, the bezels seem to stick out a bit more than on the stock bumper.
We put some butyl tape on the top side of the bezels to try and keep this area waterproof, and to take up some of the slack.
(that seemed to work somewhat as a solution)
[on the bumper itself, the parking housing hits the bumper mounting plate, on both sides, on the sides nearest the center of the car, so it’s a tight fit jamming them in there. we intend on trimming one or the other to make them fit better]
{see what we finally did to fix the bezel fitment issue}
.

.
.
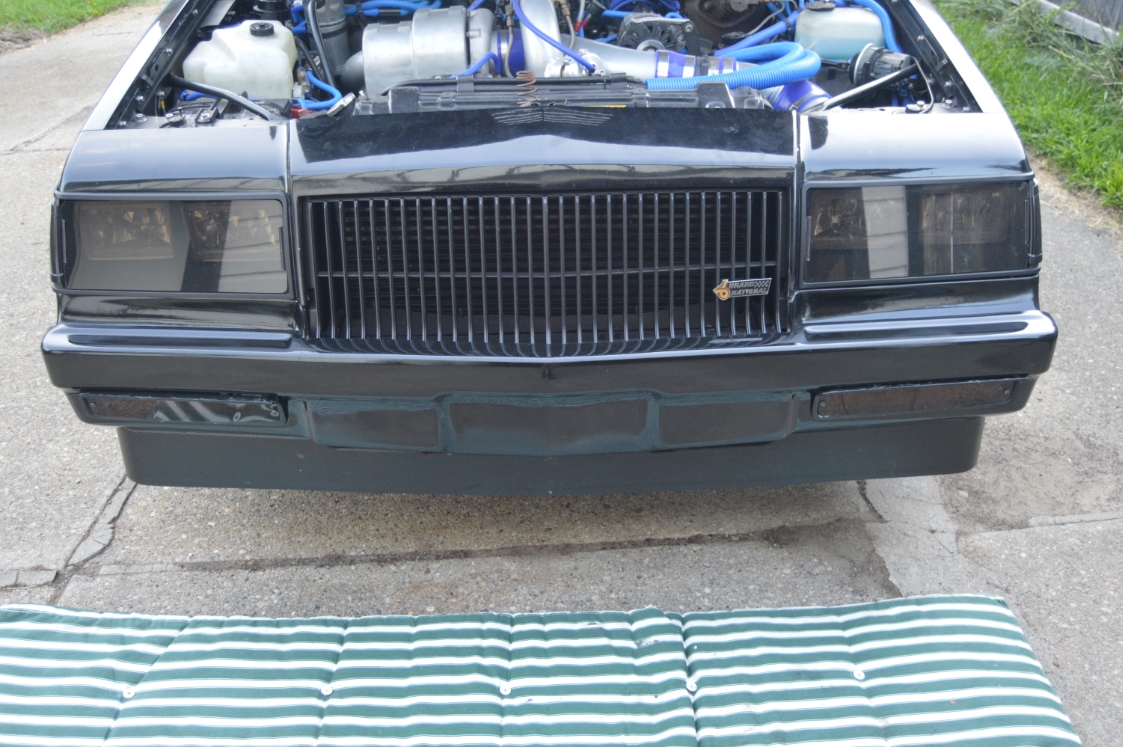
You may or may not need the original shims (if any, this Buick Grand National didn’t have any on it) to line up the bumper to where it needs to be, when mounting it.
We needed 1 shim on the passenger side to even out the FG bumper (bring it outwards), and since there were none on the factory front bumper, we took one from the rear, since that one didn’t need any.
4 bolts on each side secures the bumper to the supports.
[we replaced all the factory bolts/nuts with stainless steel versions. so pretty…]
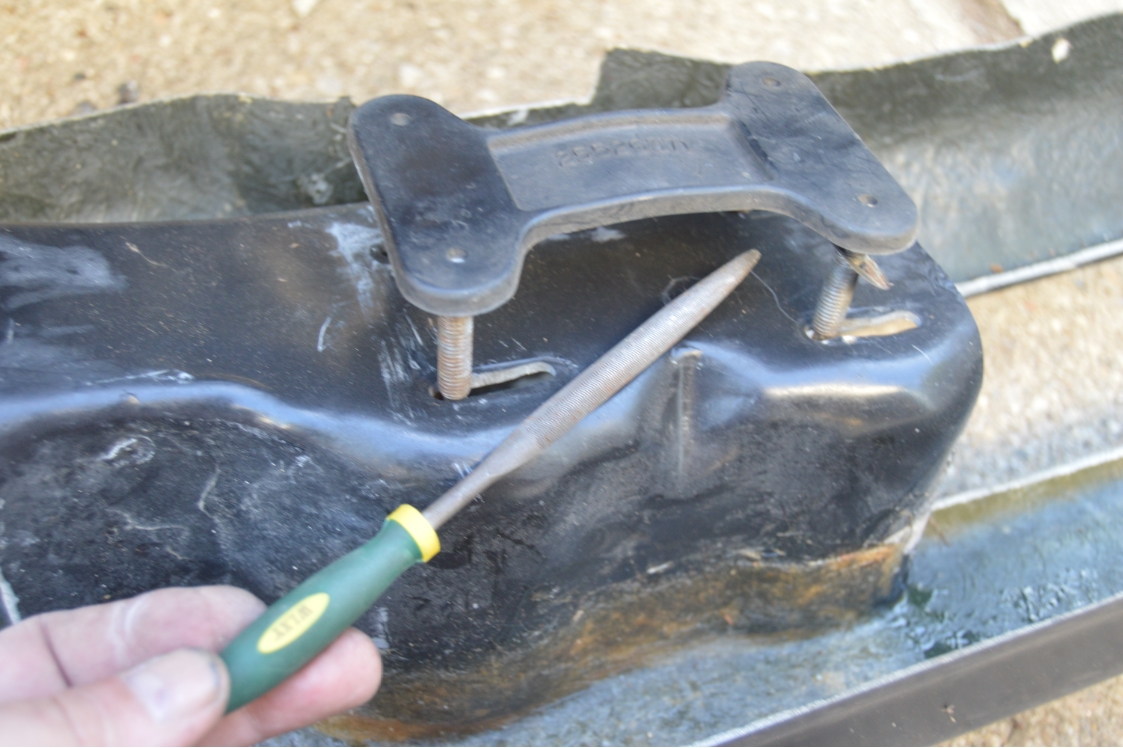
You may need to widen (the height of) the FG bumper bolt slots to fit the OEM bumper bracket bolts.
.
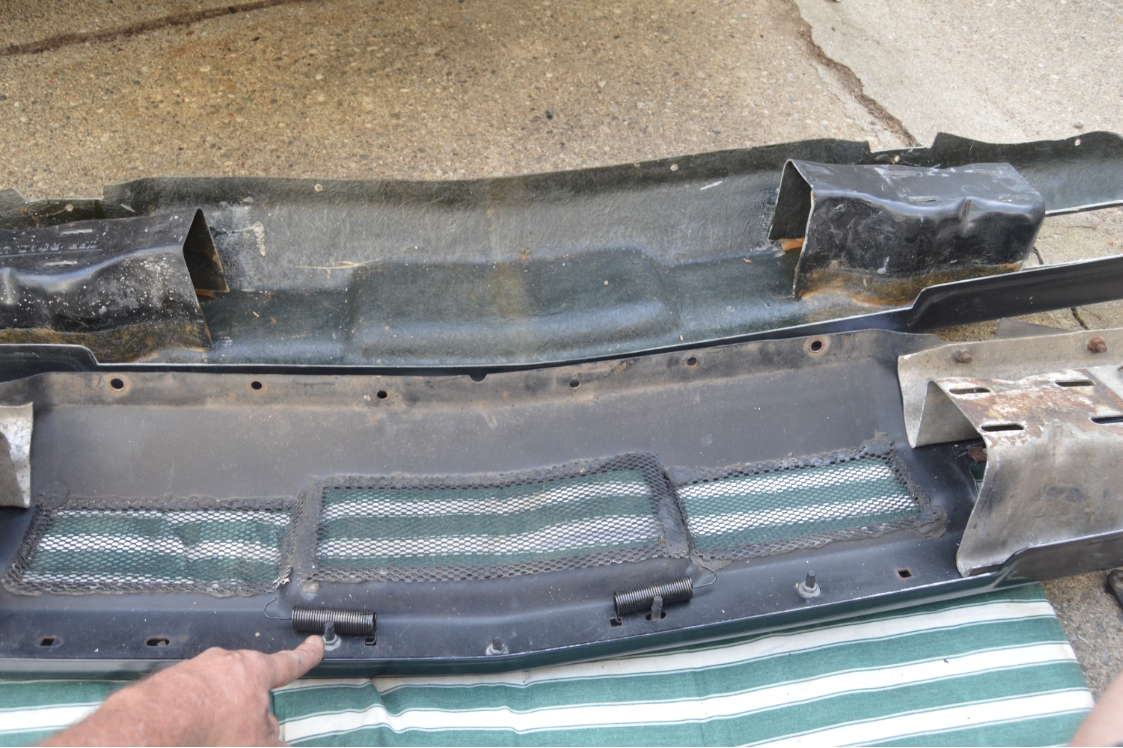
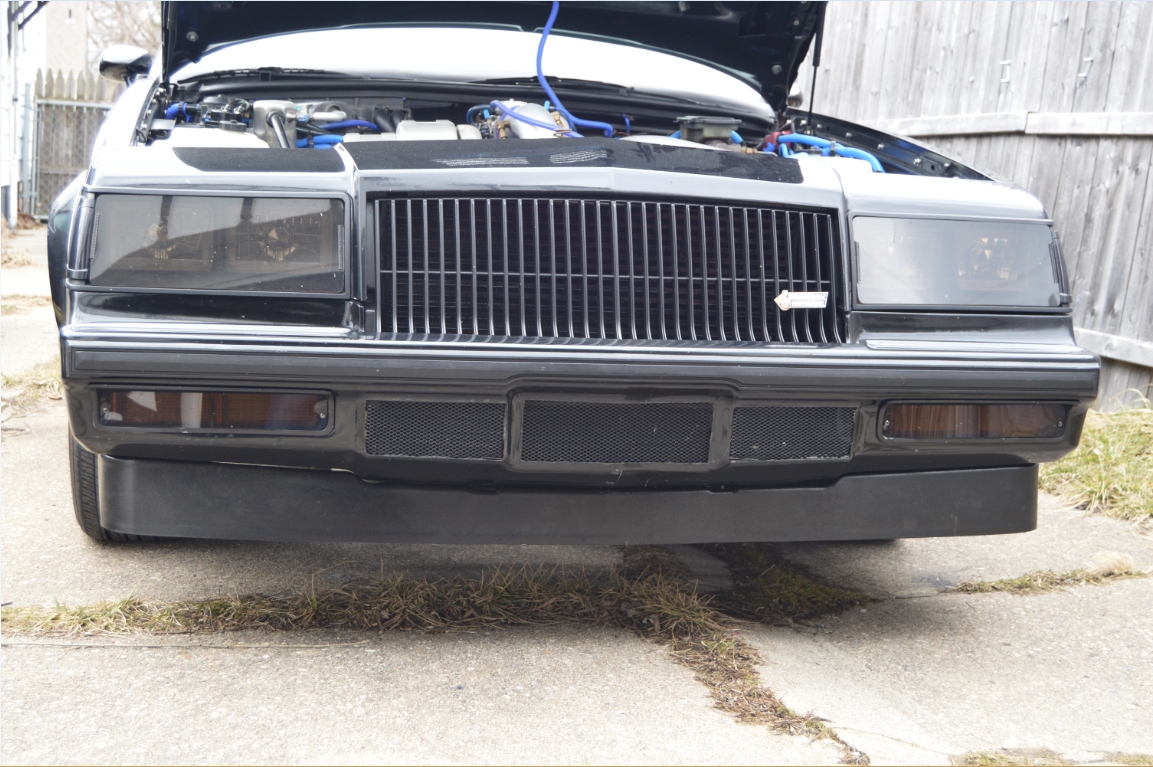
One thing to note,
on the FG bumper,
there is no provision (holes) for the 2 grill springs,
so you will have to come up with something for that if you need to use them.
.
(on this Buick GN, the aftermarket grill itself has an attached horizontal baffle piece that sticks out (rearward) and almost butts up against the FMIC,
so we didn’t even bother to attach the old grill springs,
as there’s only about 1/4″ of play that the grill moves,
in/out)
but that could have been because we didn’t have the original bolts that held it on.
.
There’s really not much that’s involved in swapping to a fiberglass bumper
(other than the bumper light issue as described above).
You just remove the original bumper,
reuse the bolt brackets,
prime it,
paint it,
reinstall the lights,
align it,
and bolt it on.
Then smile at your good work.
.
.
Comparison: OEM BUMPER vs FIBERGLASS BUMPER:
.
This is a 4-part story:
A= create rear frame brace
B= install rear fiberglass bumper
C= create front frame brace
D= install front fiberglass bumper – YOU ARE HERE
.


