


Buick GNX Fender Flares are not only for the GNX cars.
Especially when there are several companies reproducing these parts, and they are readily available.
Some people make GNX clones out of their Grand Nationals.
Others need the extra 2″ wheel coverings.
And a few just like the look of the flares on their G-bodies.
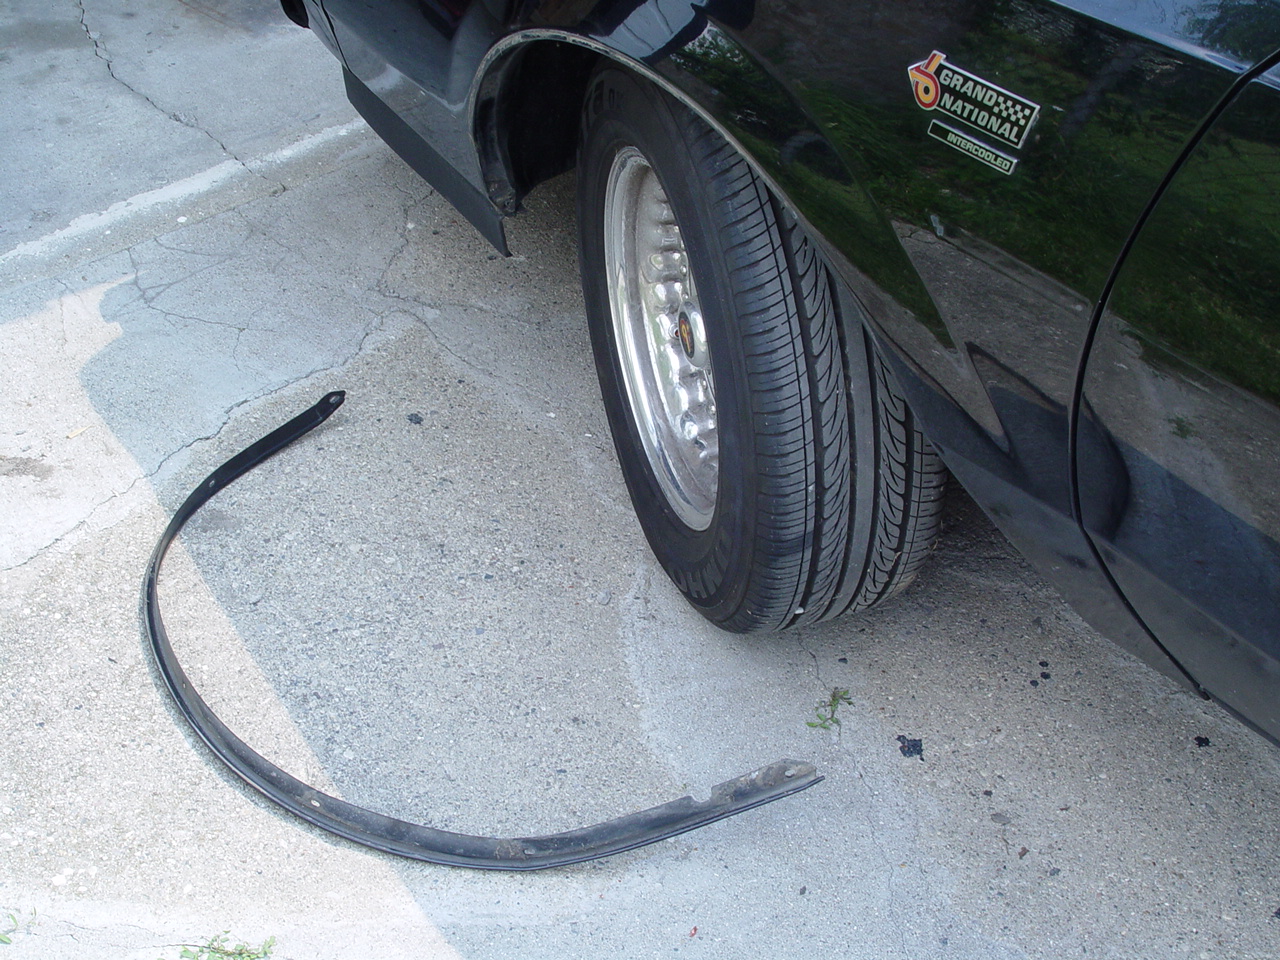
That was the case of the owner of this 1987 Buick Regal Grand National.
He bought them off ebay, used (but never installed), and got a great deal on them! ($150 shipped).
However, they didn’t come with the welting or screw package, so he purchased a kit from Kirban Performance (about $40 shipped).
The welting material needs double sided 3M tape to hold it on (not included in Kirbans kit, we went out & got 2 rolls), and a can of black paint was bought (about $25).
Total parts cost, a little over $200.
(Brand new, the flairs with included welting & screw kit is over $250+).
Time invested: less than 6 hours.
Looks after installing: priceless!
{kirban has GNX flares for $359.95; Danko sells on ebay for $255; other buick vendors have them as well}
The maker of the Buick GNX flares that we installed is unknown, as they are not marked, and the seller couldn’t remember where he bought them from.
.
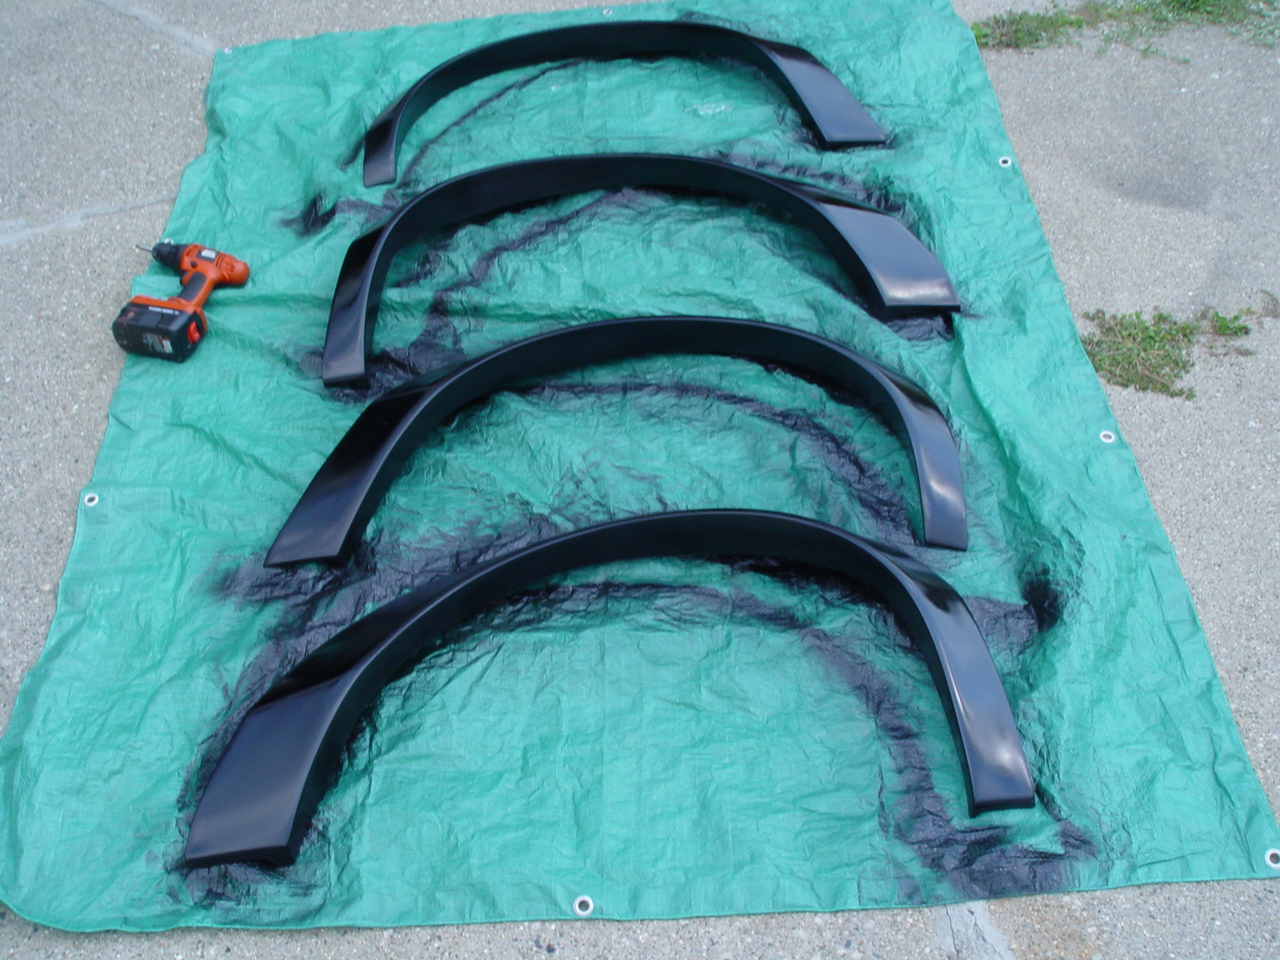
Here’s the installation how to:
Step 1.
Do a prefit check on ALL of the flares (you can do this right over the top of the existing trim pieces).
Make sure they all look ok & fit semi decent (for now).
The ones we had were not marked for which ones go where, but as you’ll see when you fit them, each one is a bit different & really only fits (properly) in one place.
We marked each one on the back side as to where it goes, to make installation easier.
.
Step 2.
Prep the flares.
They’re made out of fiberglass, so it’s relatively easy to get them ready.
A regular file works good for smoothing out the rough edges, high spots, or excess material that wasn’t trimmed off properly from the factory.
We went over every edge to make sure there wasn’t any sharp edges.
(use the file LIGHTLY! you don’t want to take off TOO much material!)
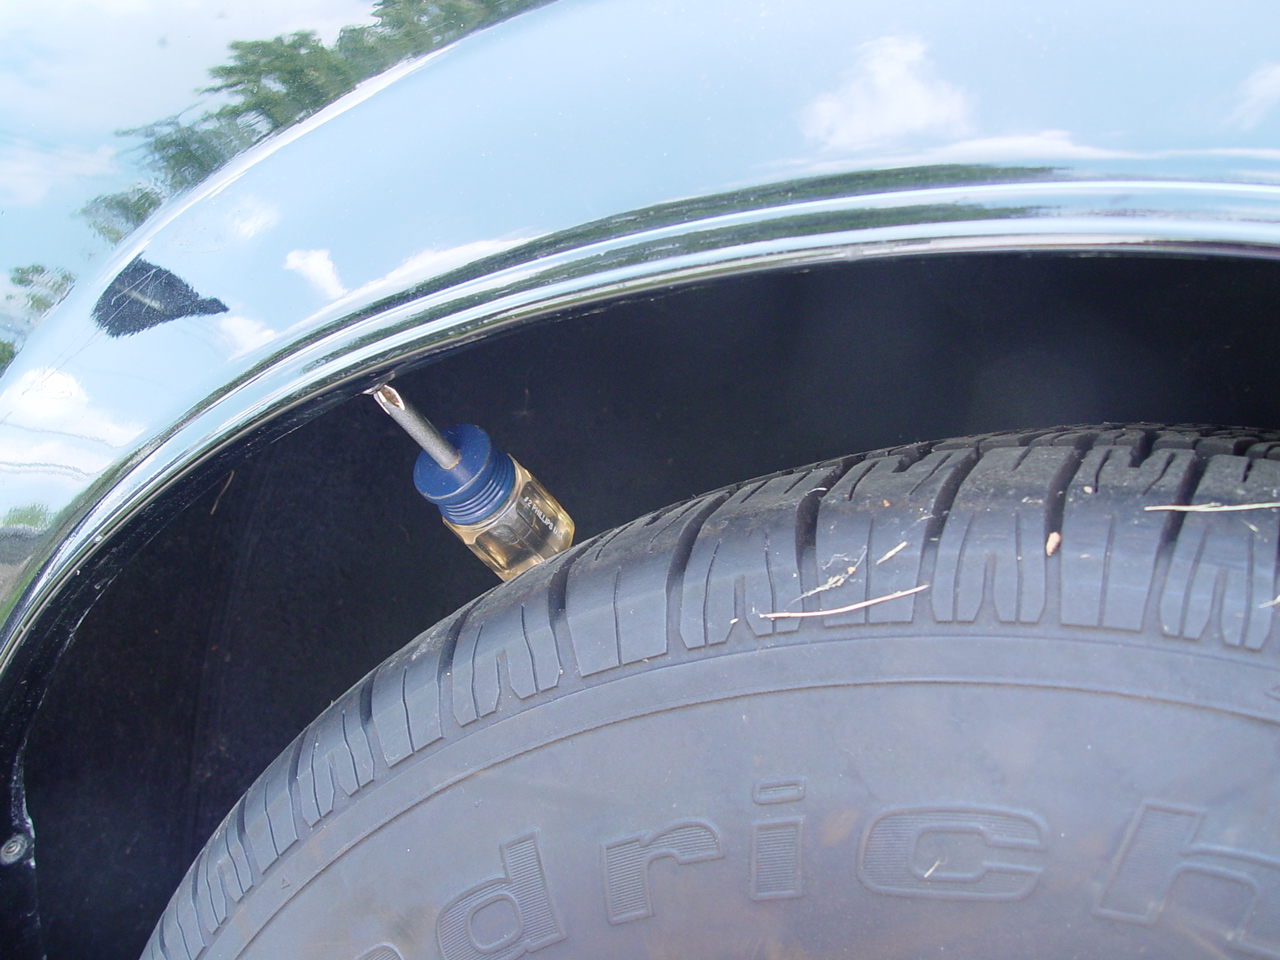
Be sure to check the rear flares for tire clearance!
If your rear quarters have had the lips rolled, try to match them up!
Otherwise, if your car bottoms out, you’ll probably crack the flares!
That’s assuming that your tires fit ‘inside’ your wheel wells right now.
{you can always trim the flares down after installation if they are too close to the tires, using a dremel tool, small grinder, etc., then don’t forget to touch up the paint!}
If you acquired the flares because your tires stuck out of your existing quarter panels and you wanted a way to cover them up, then make sure your tires never run into these, since they’re made of fiberglass, which isn’t as forgiving as the original metal that’s there now! (rear airbags work wonders!)
The flares come with a gel coat, but it’s recommended you paint them.
After the above prep work was done, we lightly sanded them down with 320 grit sandpaper.
Clean/wipe them off using paint prep, degreaser, etc.
If you use a self etching paint, you don’t need to prime them.
Knowing this vehicle would be totally repainted sometime in the future, we just rattle canned the GNX flares for now.
If you prep & paint them, then do step #3, by the time you get done with #3, the paint is probably dry! (so best to do this upgrade on a hot day!)
.
Step 3.
Place your car up on jack stands, etc., and remove all your wheels.
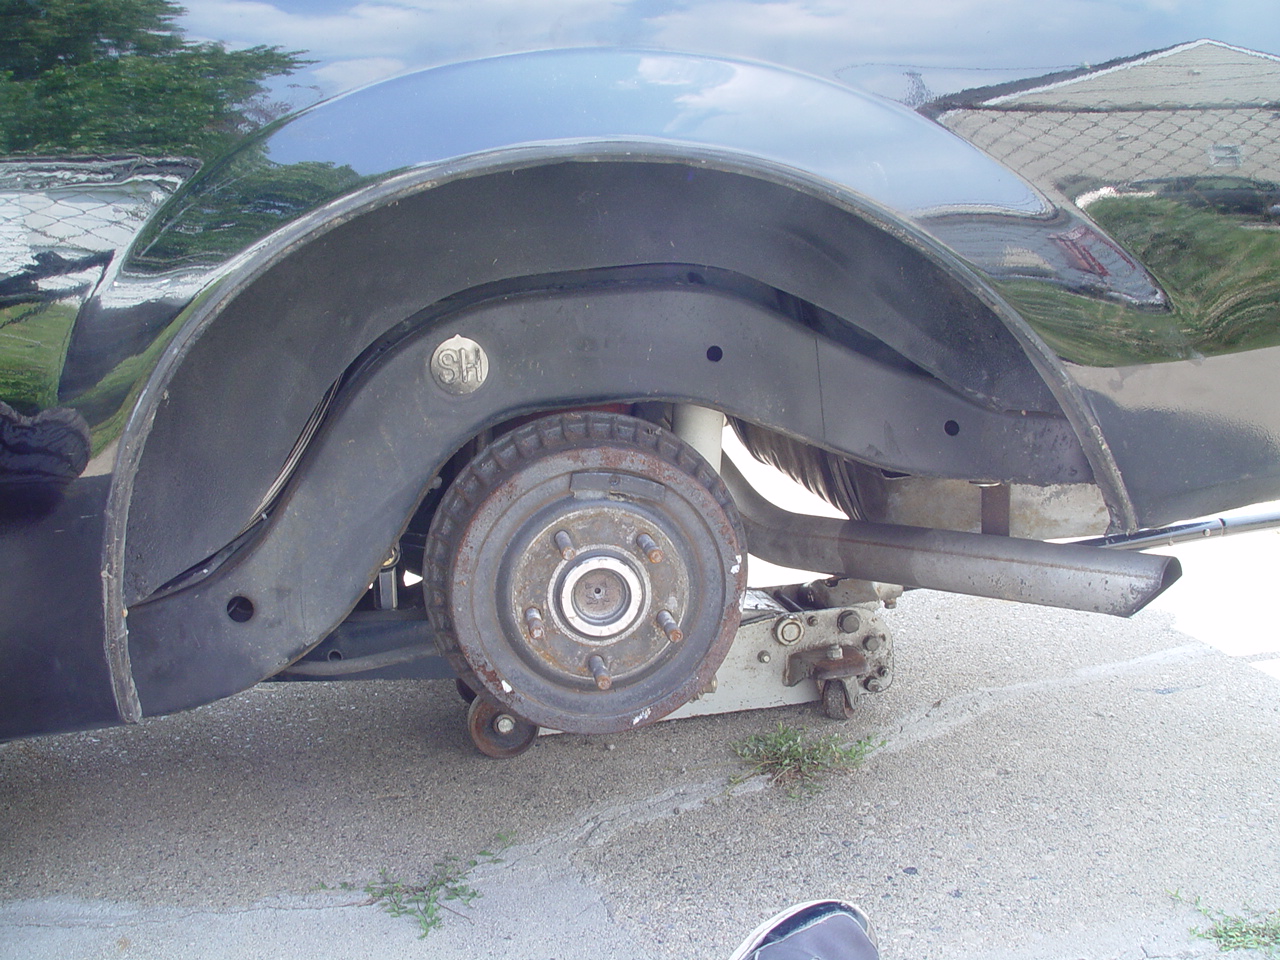
There isn’t enough room with the wheels on to be able to drill the holes for the flairs.
You might be able to get the trim off without tire removal using a small screwdriver, but you’ll need to have room for the drill.
Remove all 4 of the existing black metal trim pieces around the wheel wells.
A phillips screwdriver is required.
There are 7 screws on each front wheel well.
The rears only have 6 screws.
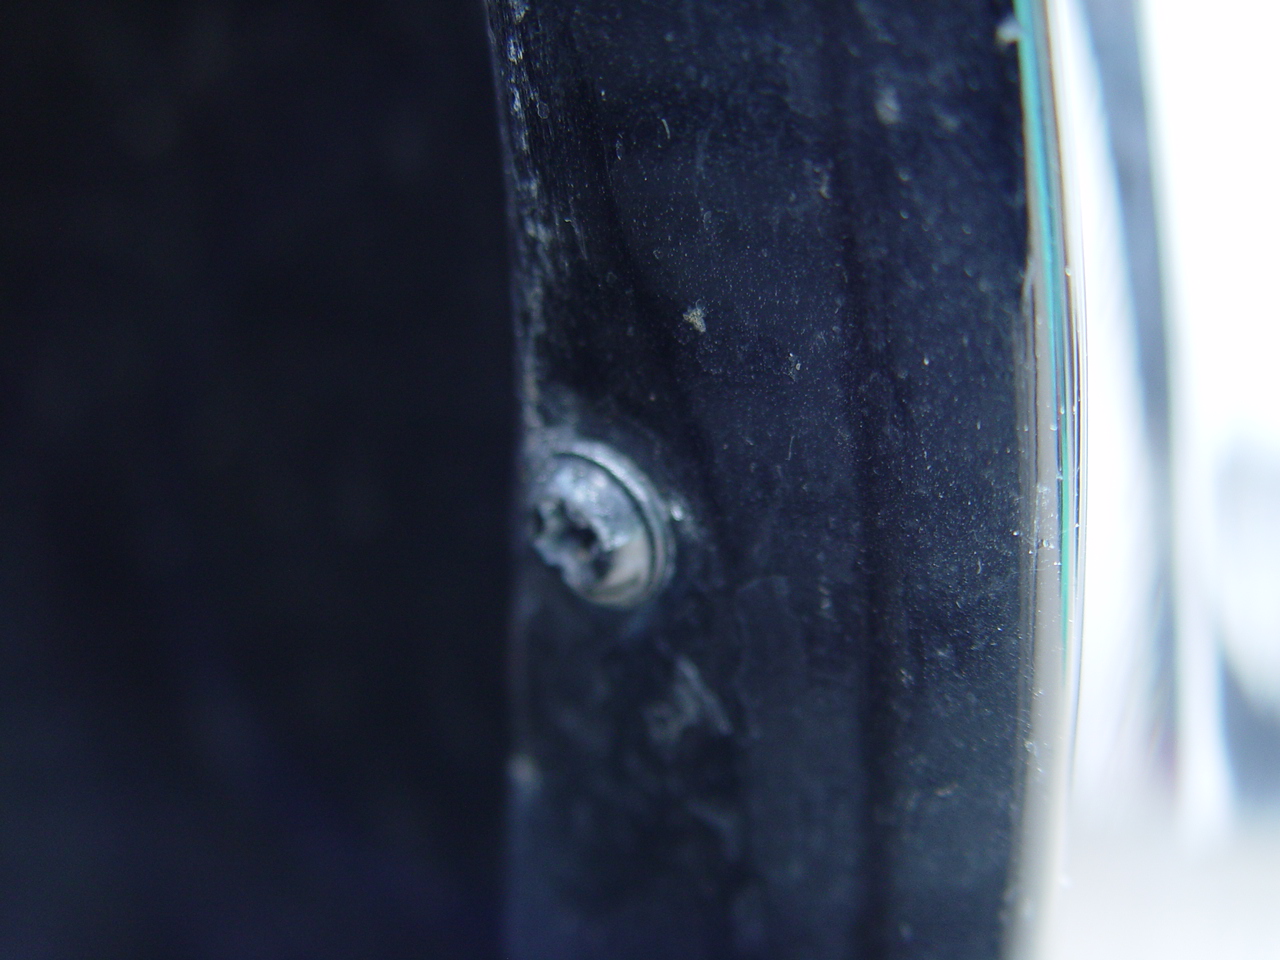
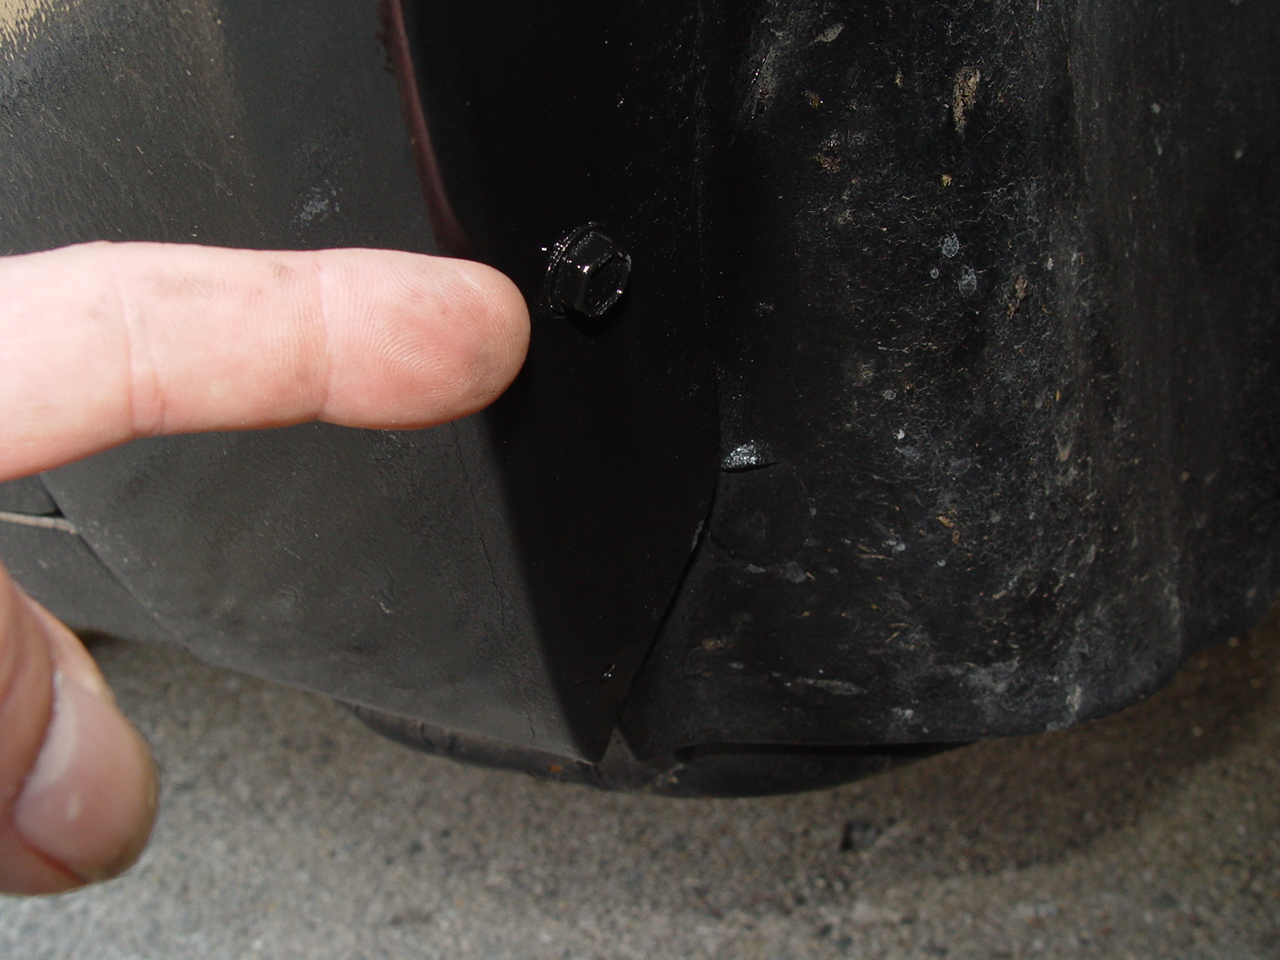
For the fronts, there’s a big bolt on the bottom, nearest the doors. You don’t have to remove those bolts, the flares will cover them up (and they are not in the way of the flare either).
.
[if its been awhile since you’ve checked out your rear brakes, now is an excellent time to do so, since your wheels are off!]
Wash the underside where the trim was, (& get rid of the rust, then paint this area, if applicable), as once you install the Buick GNX flares, you’ll probably never see this area again!
.
{after this installation is completed, sell off your wheel well trim to buy other goodies for your turbo regal!}
.
Step 4.
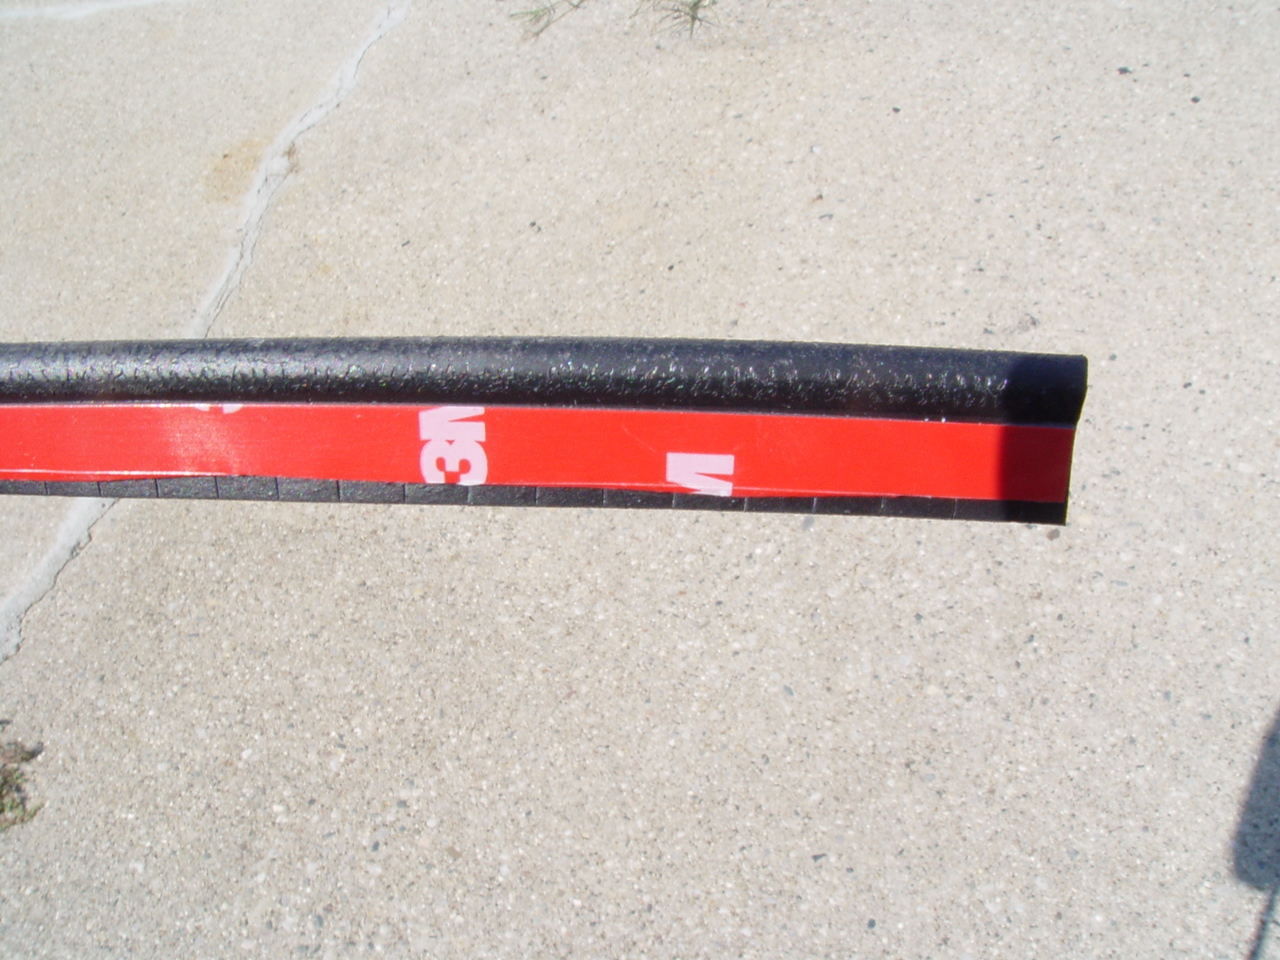
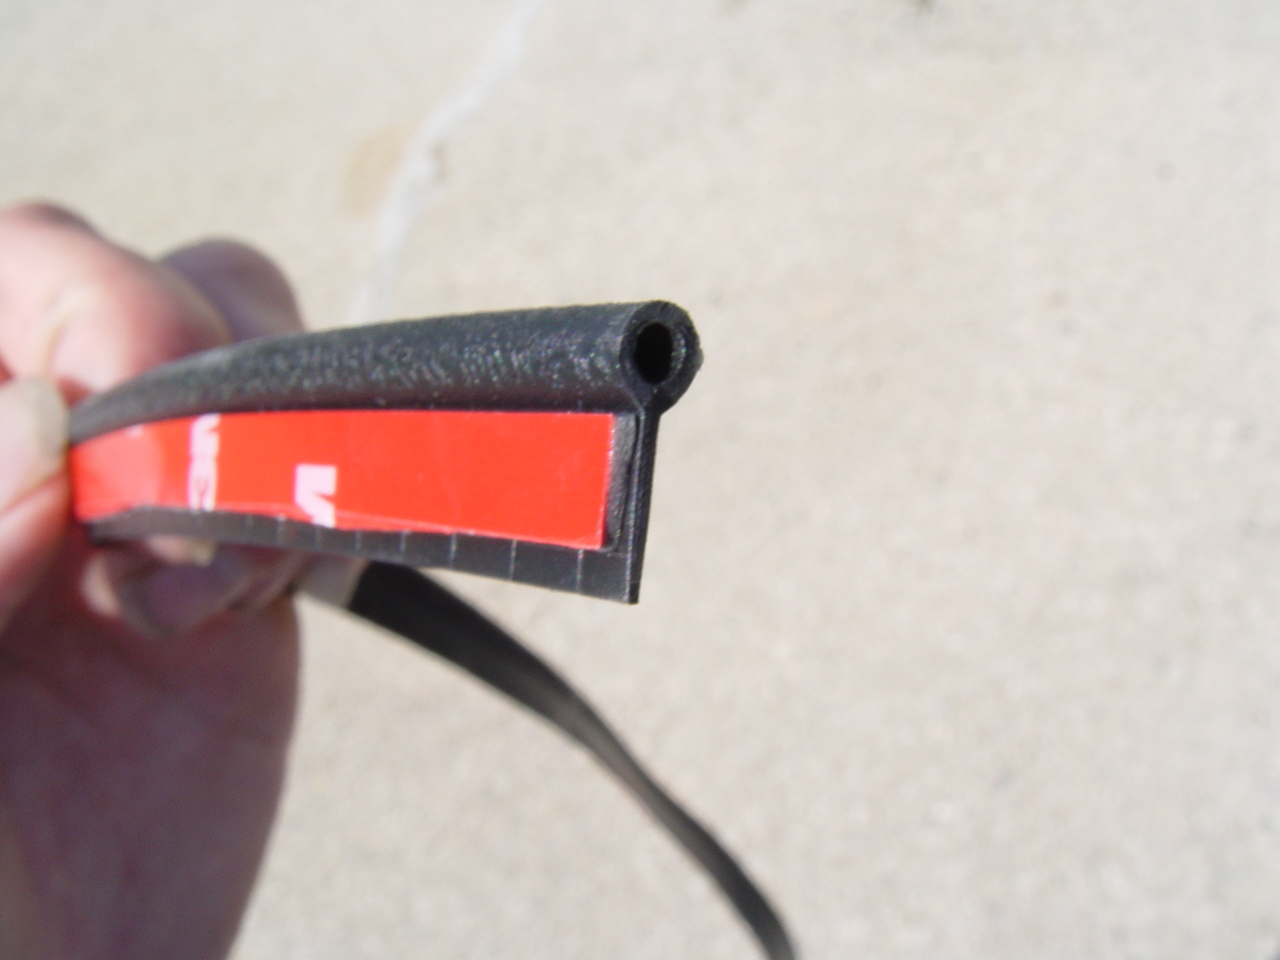
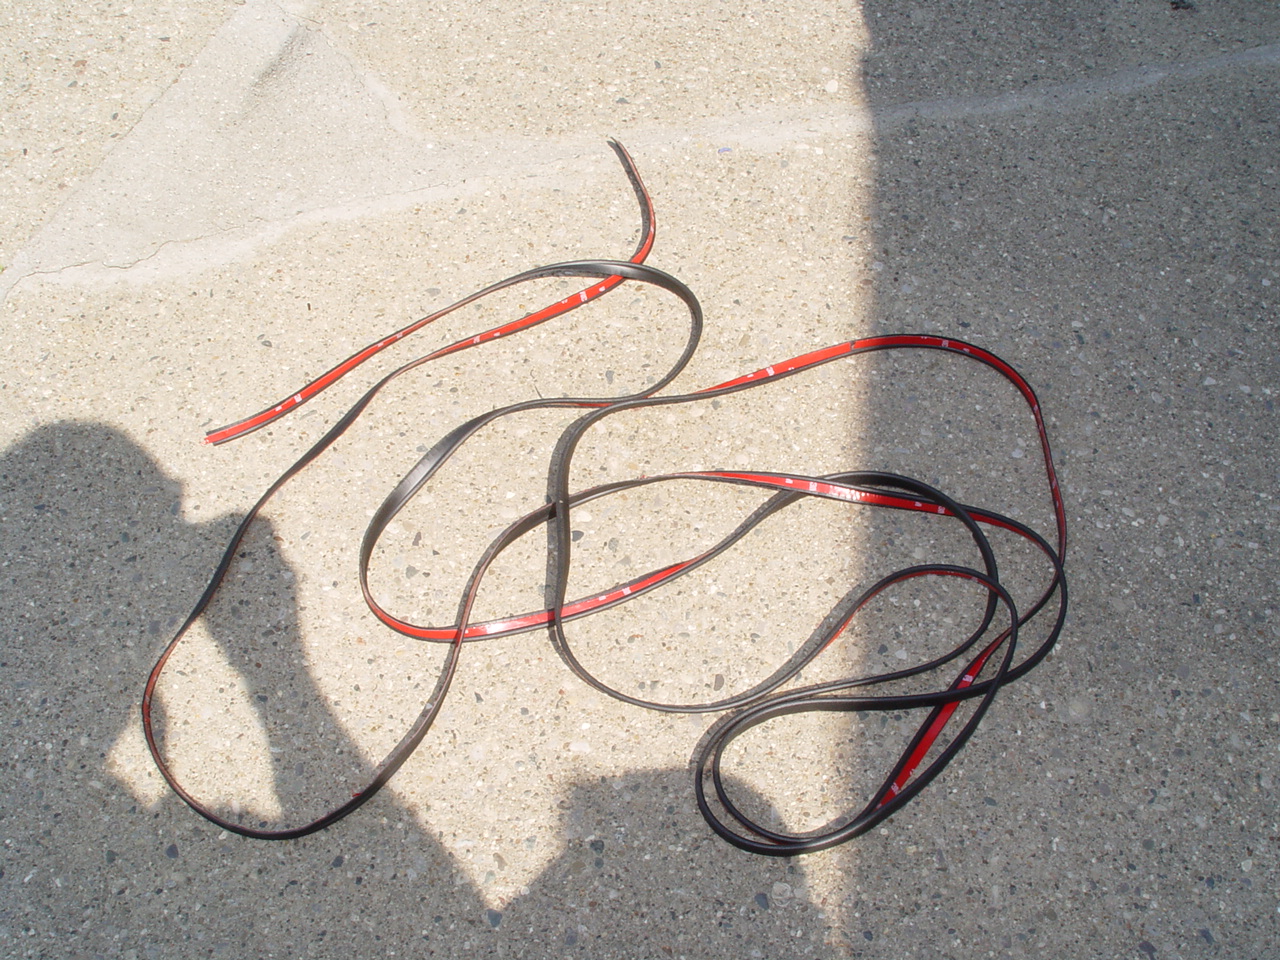
Kirbans welting & screw kit has 35 screws (more than enough, the factory trim only uses 26), and 260 inches (a lil more than 21.5 feet) of welting material (goes between the flare & the body of car, to keep water from getting trapped inside the flare).
It DOESN’T include anything to secure the welting to the flare though, so pick up some double sided 3M tape (at least 15 feet, 25 or more is better).
{you could use glue or some kind of adhesive, but thats messy & takes time to dry, the tape is fast & easy!}
you don’t need a huge amount of tape (width-wise), just something to hold the welting in place while you secure the flare against the body.
We bought 3/8″ wide tape & cut it in half while applying it to one side of the welting material.
(you can cut the 3M tape in half ON the roll, might be a bit easier).
{secure down the tape as close to the bead as you can, without actually sticking it ON the bead}.
Since the roll of double sided tape we had was 15′ long (and the welting material is 21.5+ feet), but I cut it in half, I took part of what I cut off and stuck it to the rest of the welting.
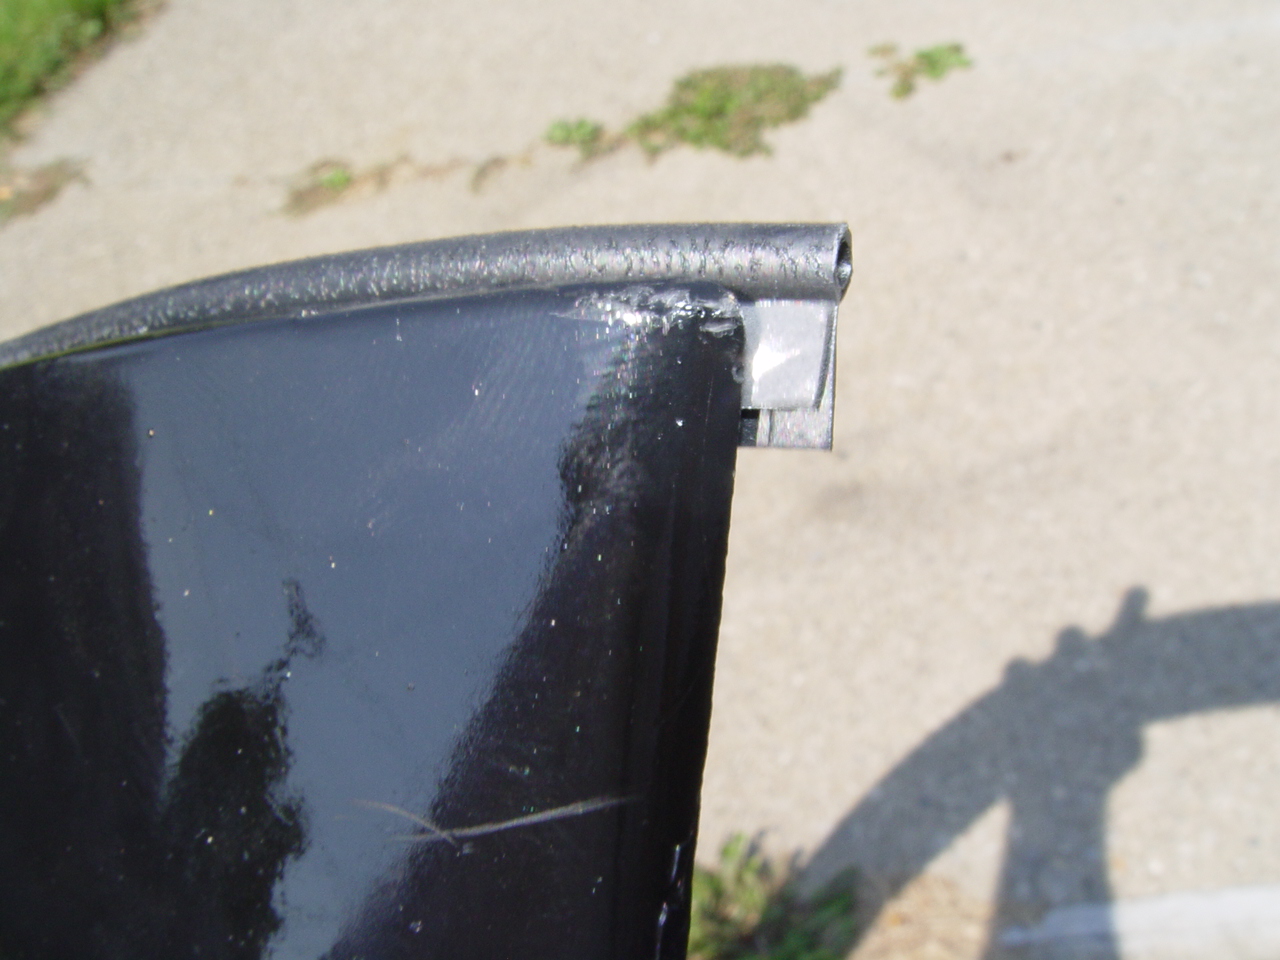
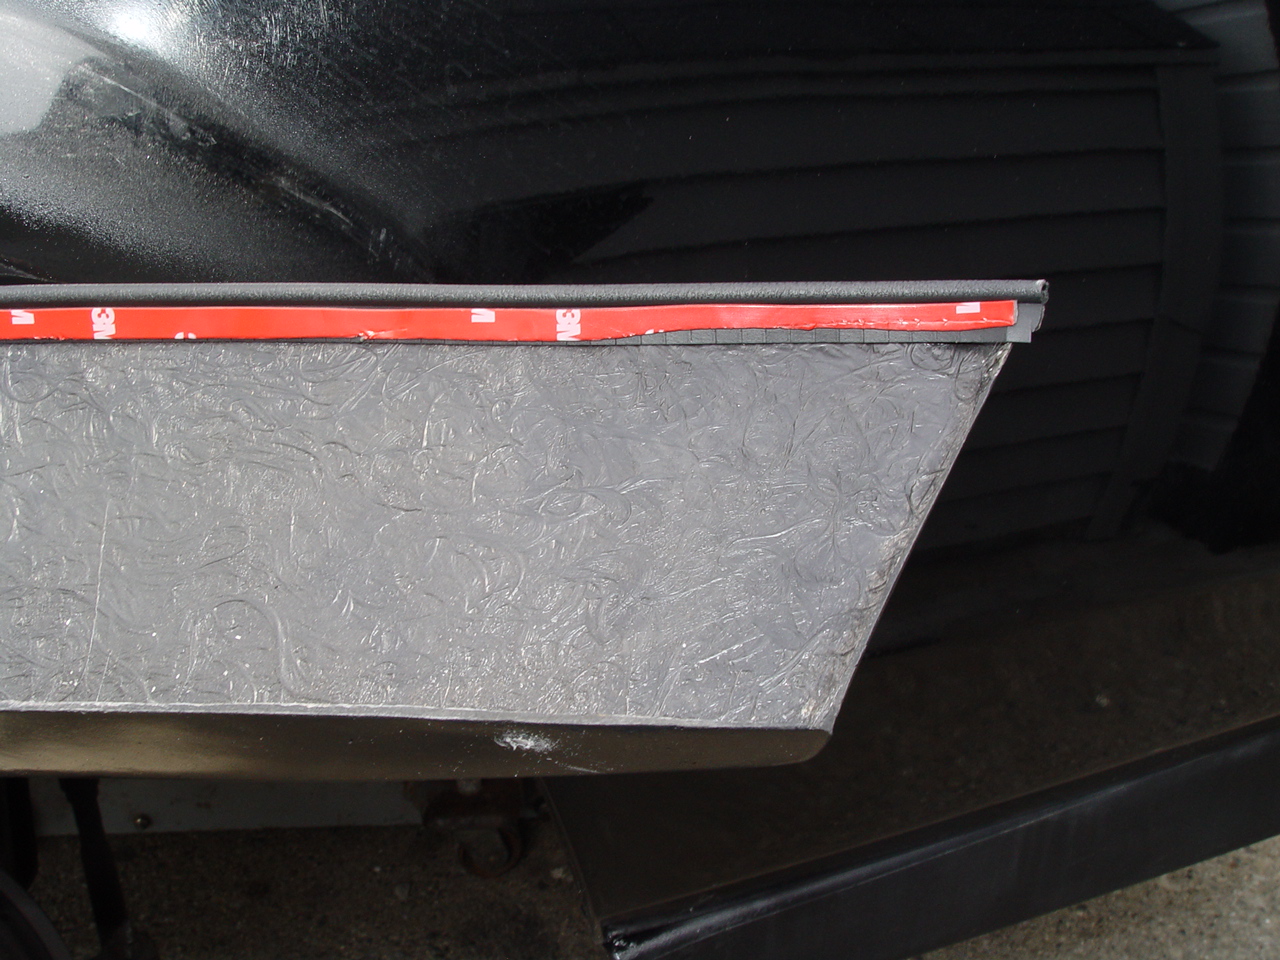
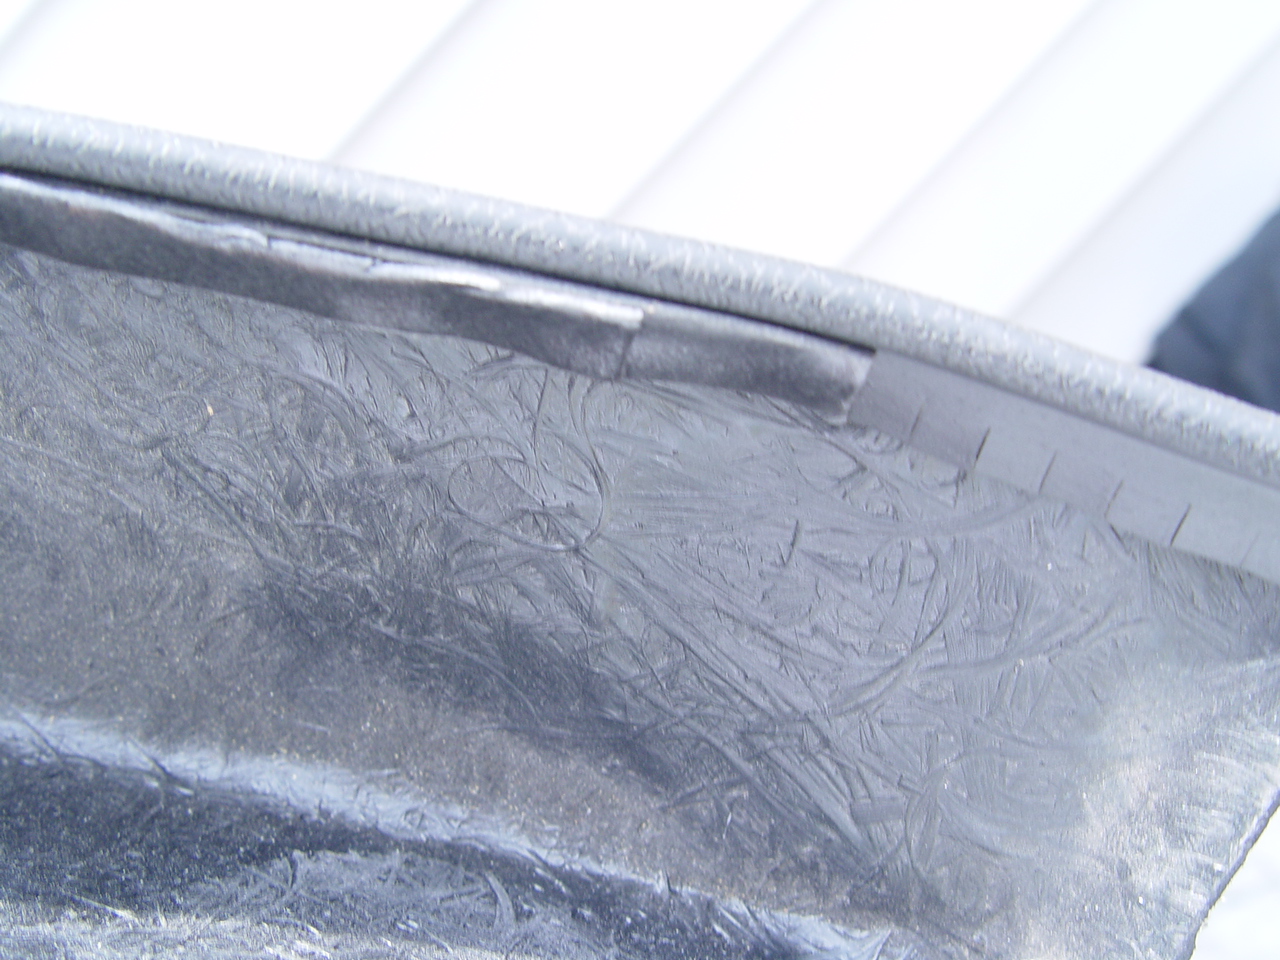
OK, now, after you’ve applied the tape to the welting, start sticking the welting material on the backside of the flares, all the way around the top edge that will be touching the car.
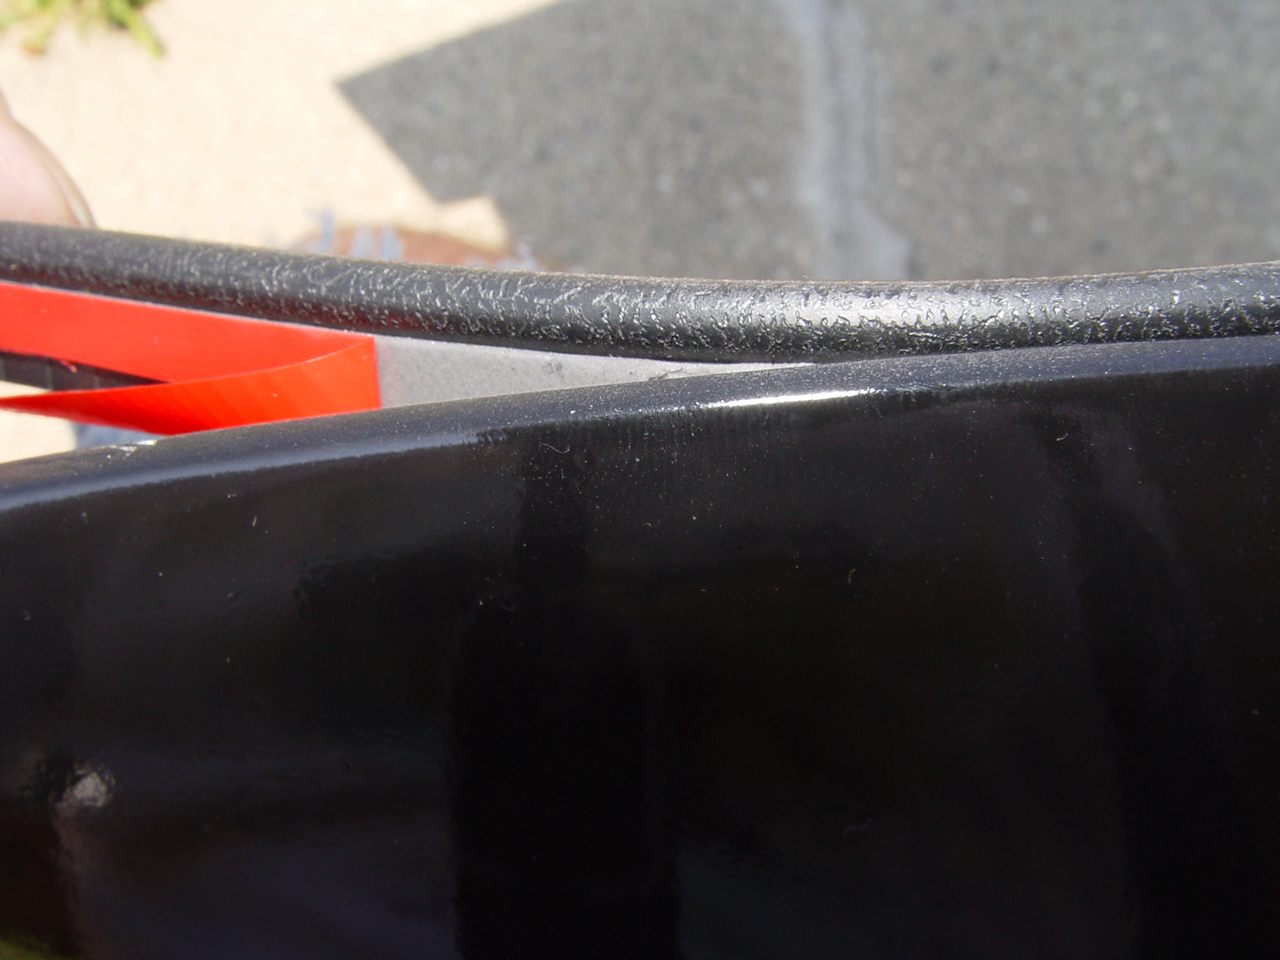
Put the bottom of the bead on the welting material just above the lip on the flare.
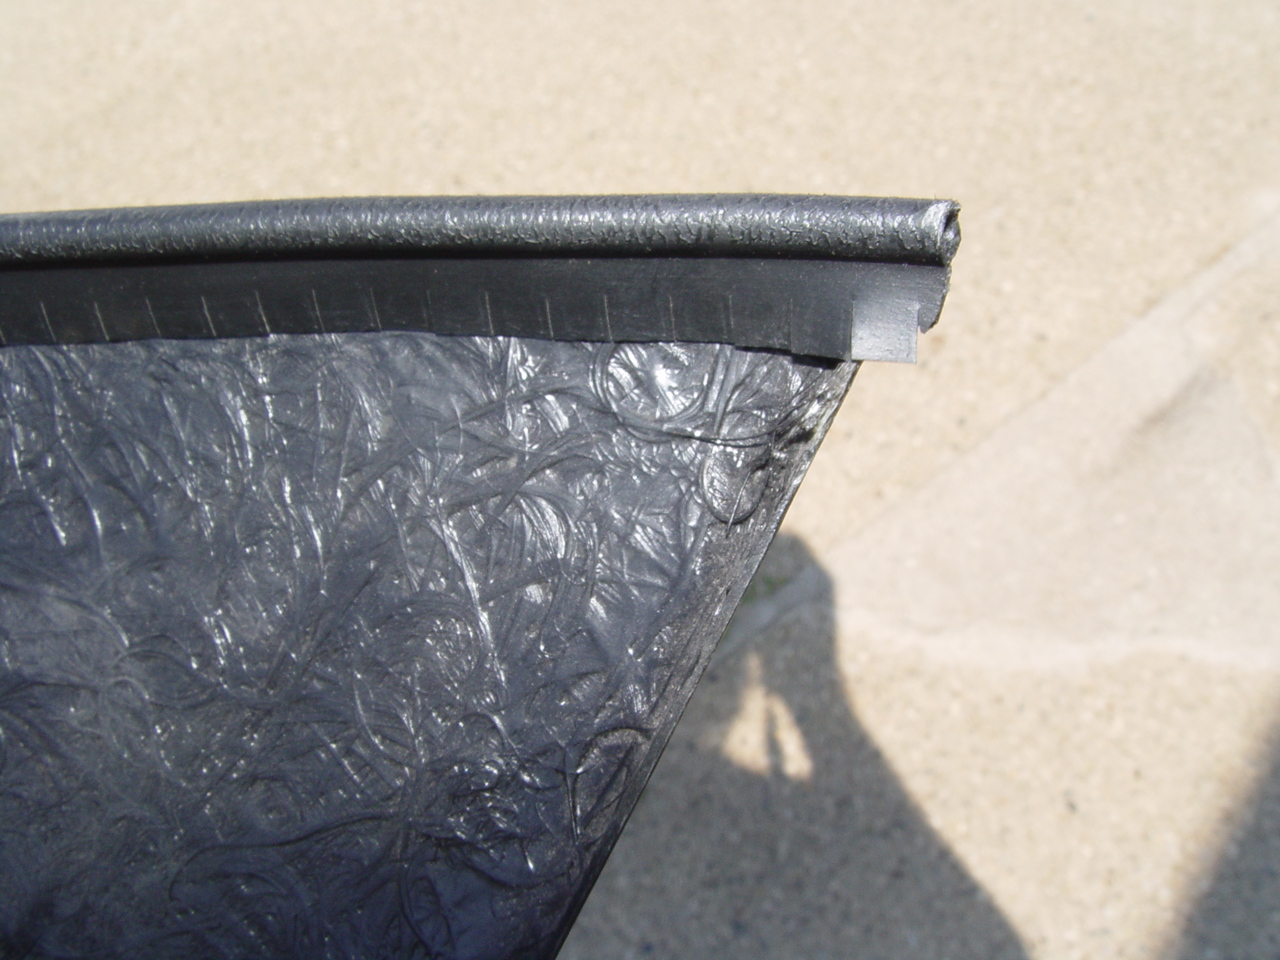
It’s helpful to leave a tiny bit sticking out past both ends (at bottom), as that will help the water drain off.
cover all 4 flares with the welting.
We had 3.5 feet of welting material left over after we applied it to the flares.
By now, any painting you did should be dry & about ready to handle.
If not, wait until it dries to proceed. (go have a beer or something).
.
Step 5.
Installing the GNX wheel flares.
It doesn’t matter which one you start with.
It’s helpful to have a buddy or 2 around (to hold the flares while you screw them in).
{but it can be done by yourself if need be, it just takes longer}.
The screws from the kit are self-tapping, but to avoid cracking the fiberglass, pre-drill the holes!
The flares don’t have any holes pre-drilled in them, so you will have to make your own. (7/64″ size drill bit works good, keeps the hole small, and makes a snug fit for the screws. You will have to push them in as you turn, as the screws are a bit bigger than the drill size).
You’re not going to be able to reuse the old holes from the metal trim, so count on drilling thru the flares AND the metal lip of the body, and make new holes.
Have your friend hold the flare into place while you start drilling holes.
Make sure you have the flares fully spread out against the body.
You will have to (sort of) spread them out into place (front to back) and also push them up into place at the same time.
We started with the 2 bottom screws, then did 2 at the top, and then came back and did the rest in between.
We put 8 screws on each front flare {about 6 3/4″ inches apart}.
We put 9 screws on each rear flare.
{that leaves you 1 extra screw from the kit}.
It may be easier for you to start in the middle (at the top in the center), and then work your way down on both sides.
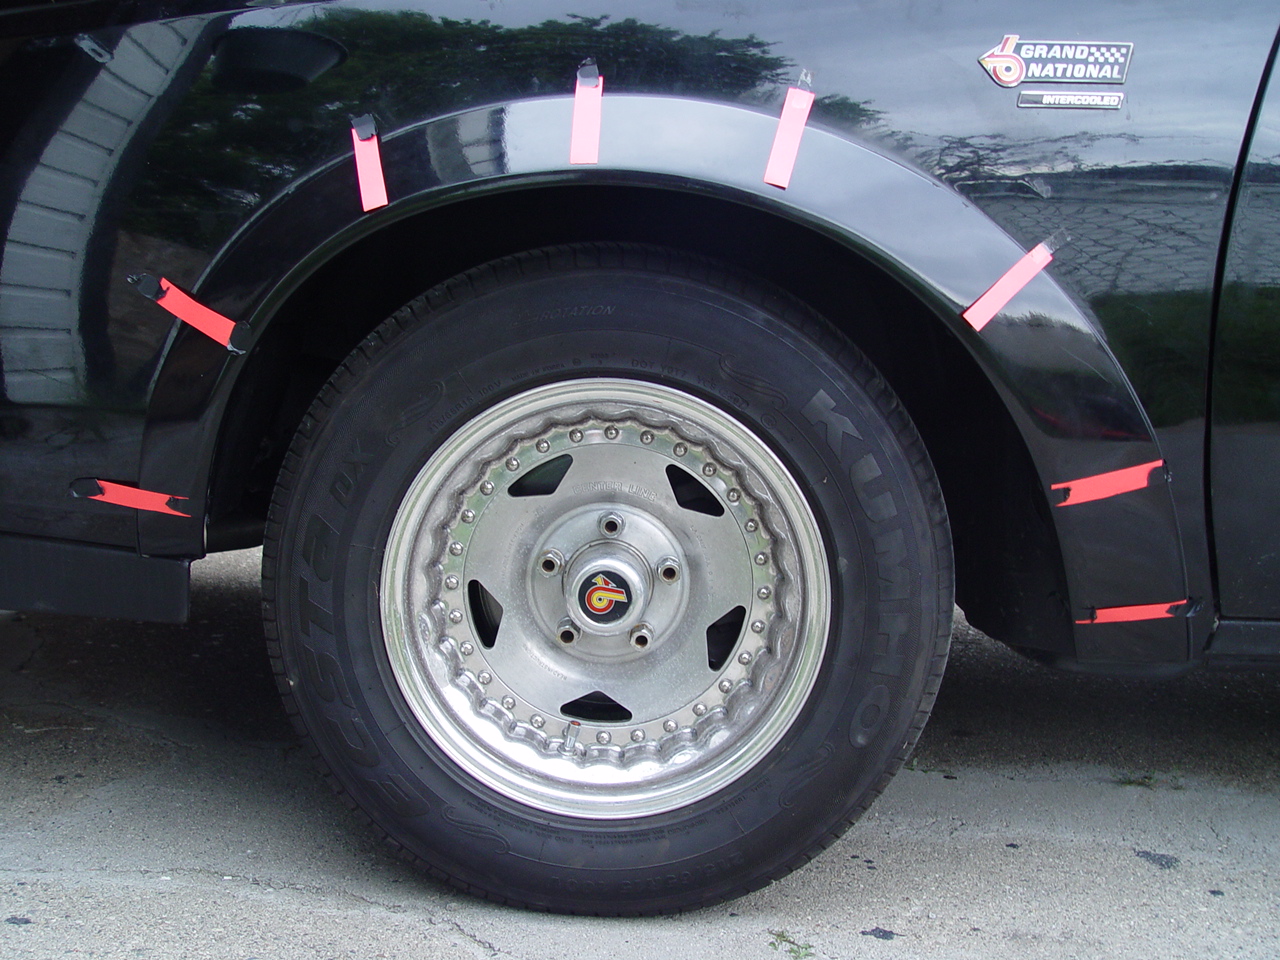
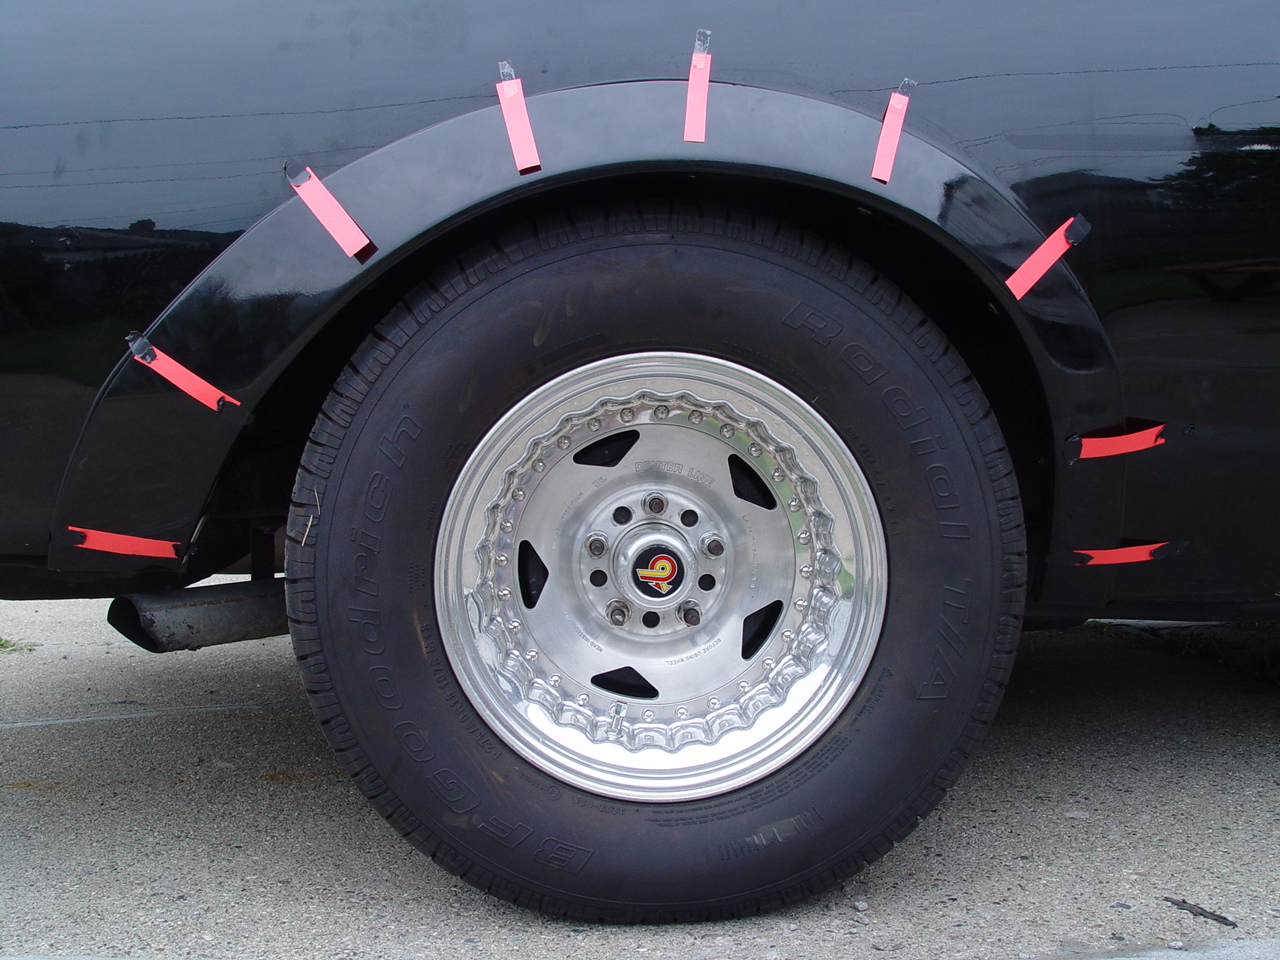
You can put the screws anywhere you want, but here’s where we put them:
For the front, the top screw hole is almost at 12 o’clock.
For the rears however, the spacing is not centered at 12 like the front, (it’s a bit to the right of), so you’ll have to adjust for that.
(see pics of the clocking positions for the screws below, each piece of red represents where the screw is underneath the fender flare)
{If your rear wheel well lips have been rolled, you will have a tough time trying to “grab them” (go thru them) while also putting the screw in (sort of) straight. its a balancing act! Also be sure to watch how you are drilling, so you actually catch the lip & not the quarter panel, or miss it altogether!}
(we broke several drill bits while trying to drill into the rolled lips! [because the lips are on an angle from being “rolled”, whereas the fender flares are straight] so it’s helpful to have a few spare bits on hand!)
[it’s convenient to have 2 cordless drills handy, one for drilling the hole, one for screwing]
Drill a hole, then put a screw in it.
Tighten the screws up “just tight” – DO NOT overtighten them!
(It’s fiberglass and WILL crack easily if overtightened!)
{We used the cordless to get them close to tight, then hand tightened them with a regular hand held phillips screwdriver}.
Repeat this process until you’re done.
This keeps your holes lined up & puts the flare flush & snug up against the body.
If after installing, you notice that the flare doesn’t exactly fit fully flush to the body, {gap between welting & body}, take note where the gaps are, then remove the flare.

Use the double sided tape & “build up” the gaps you found (since the welting sits on an angle on the flare, you may need multiple layers of tape to build up to the surface where this tape will actually adhere to the body).
Once you have a sufficient surface area of tape, reinstall the flare.
Be careful when reinstalling so you don’t stick the tape down in the wrong place!
(which pulls the welting down to far when you push up the flare & screw it down).
(try to get the side with the screws in first before you press the top side down [to seal the welting to the body]. This requires a bit of twisting & maneuvering to do!)
.
You might want to just consider installing all of the flares first, then coming back & redoing them all with (extra, built-up) 2-sided tape if you notice gaps.
We had to redo 3 of them, which we did as we went along installing each one, but I would think it would be easier to just redo all of them at the end.
{use masking tape to mark where your gaps are on the flairs}
Not sure if our gaps were caused by poor quality flares, or they were just slightly warped from sitting around. Either way, no big deal, they look fine now that the extra tape is on them & they sit snug & flush.

.
Step 6.
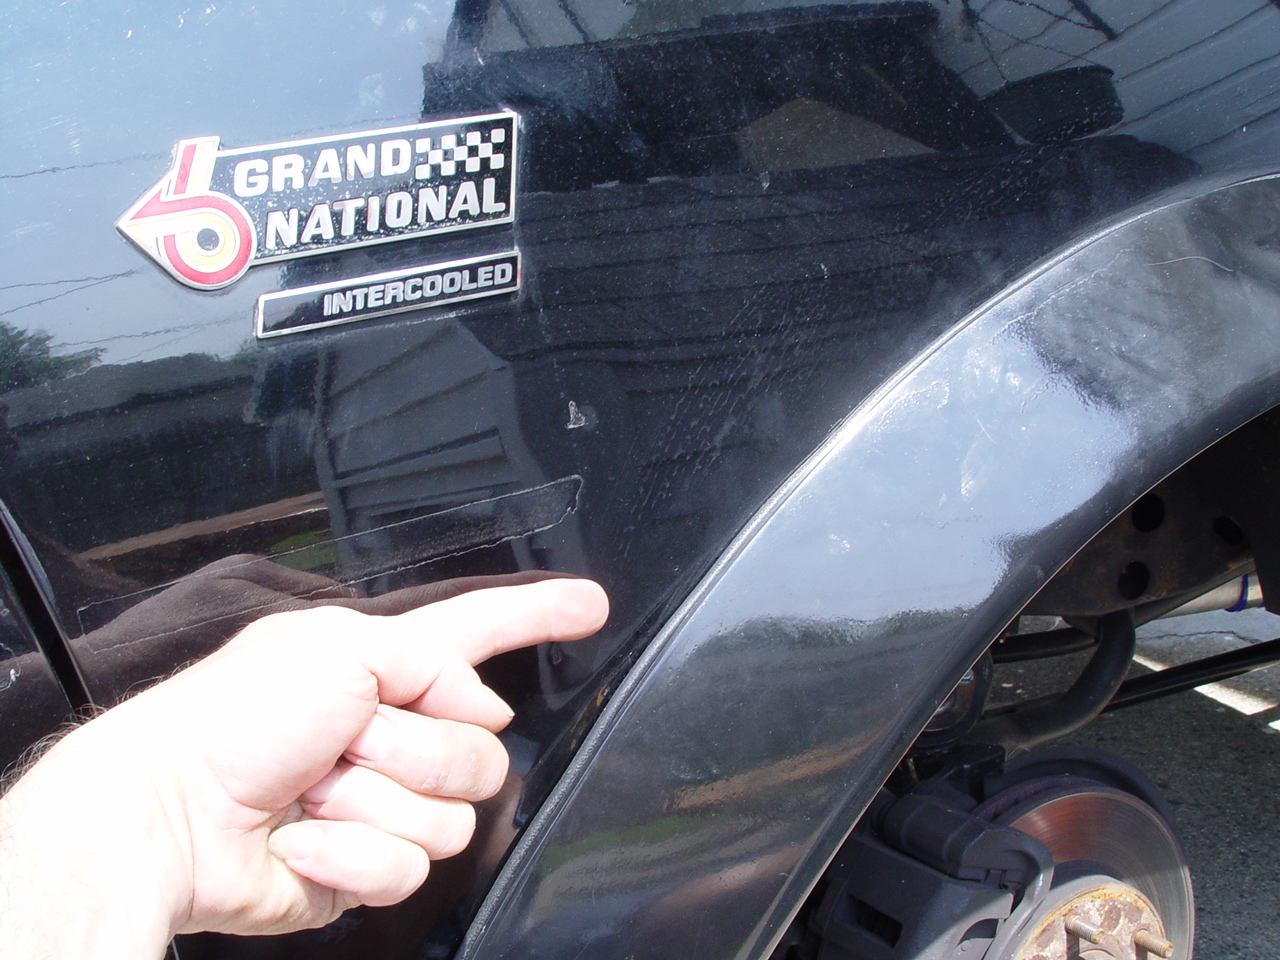
You will no doubt smudge up or leave a bunch of fingerprints on the flares from installing them. Wash/buff them off, then stand back and admire your work! 🙂
.
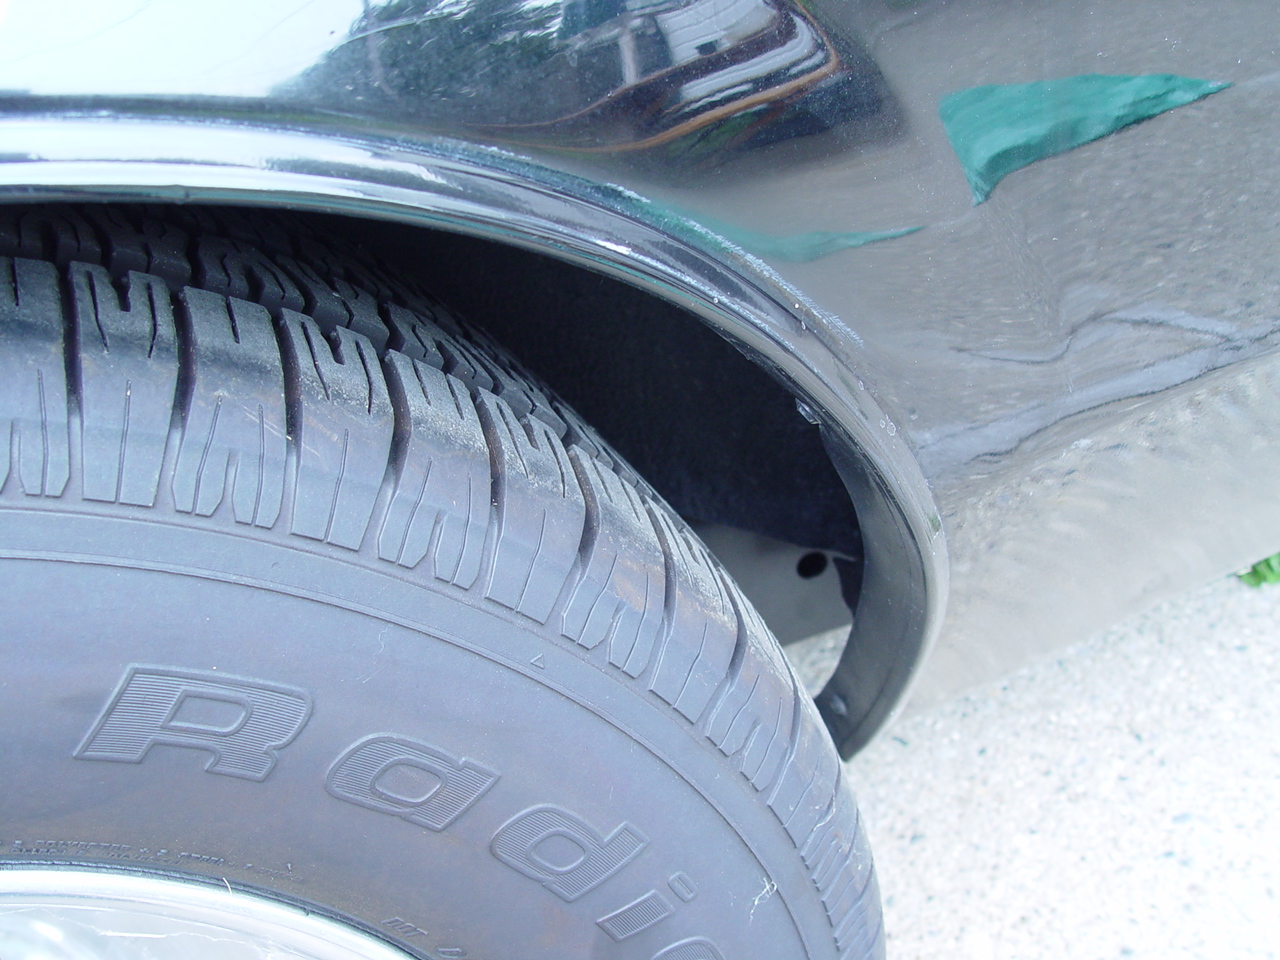
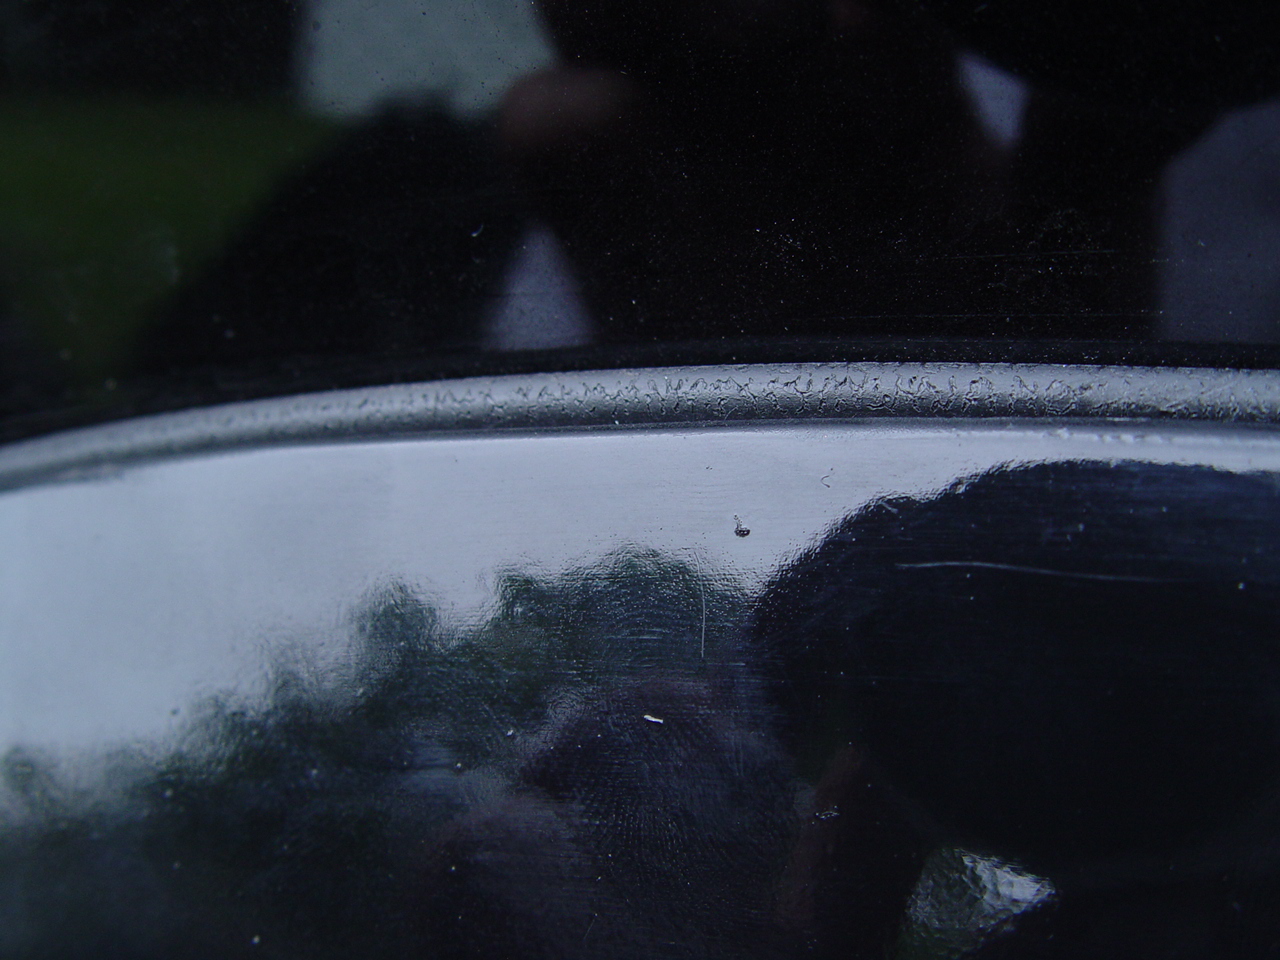
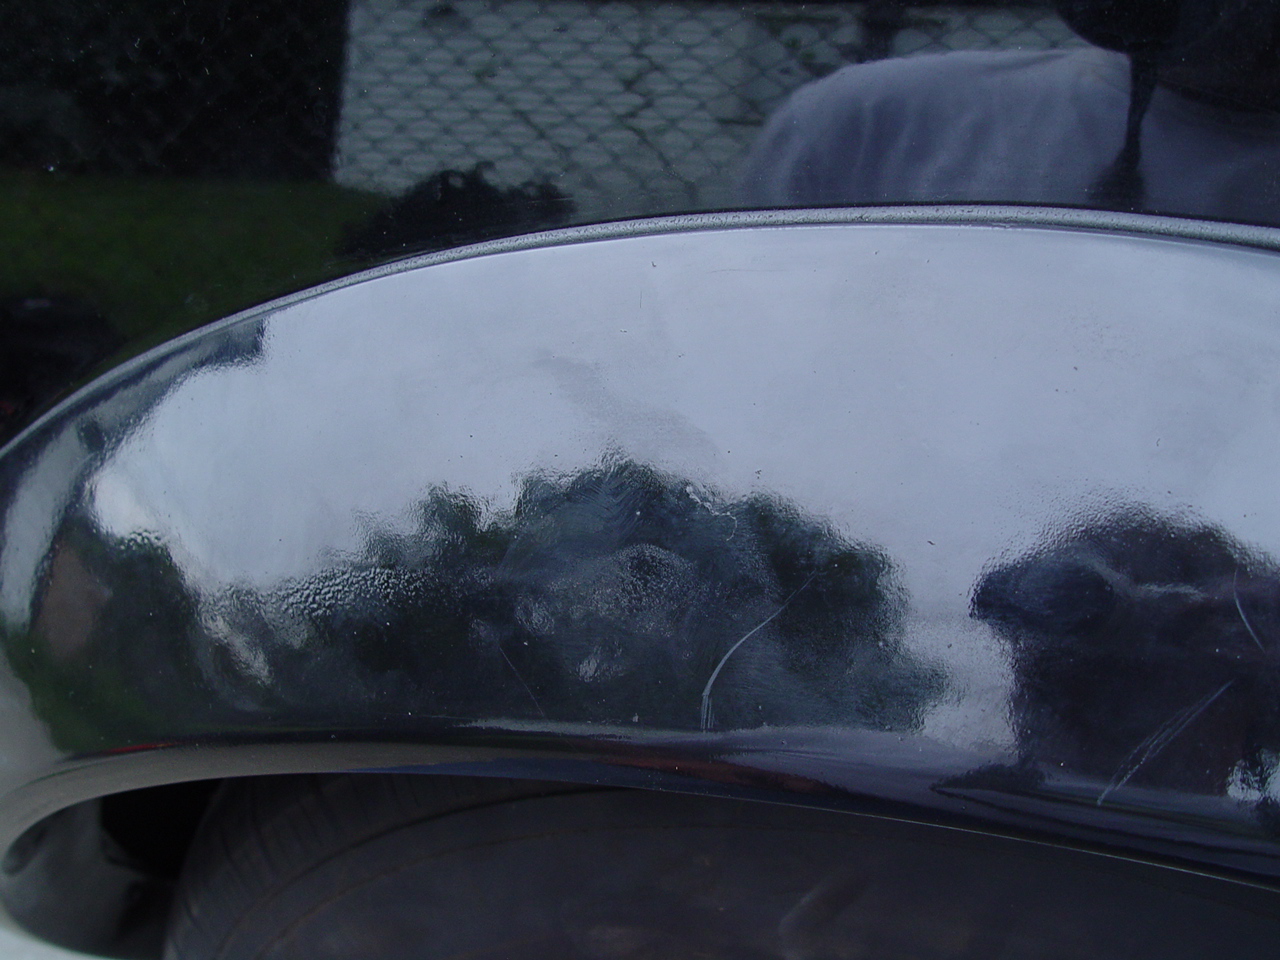
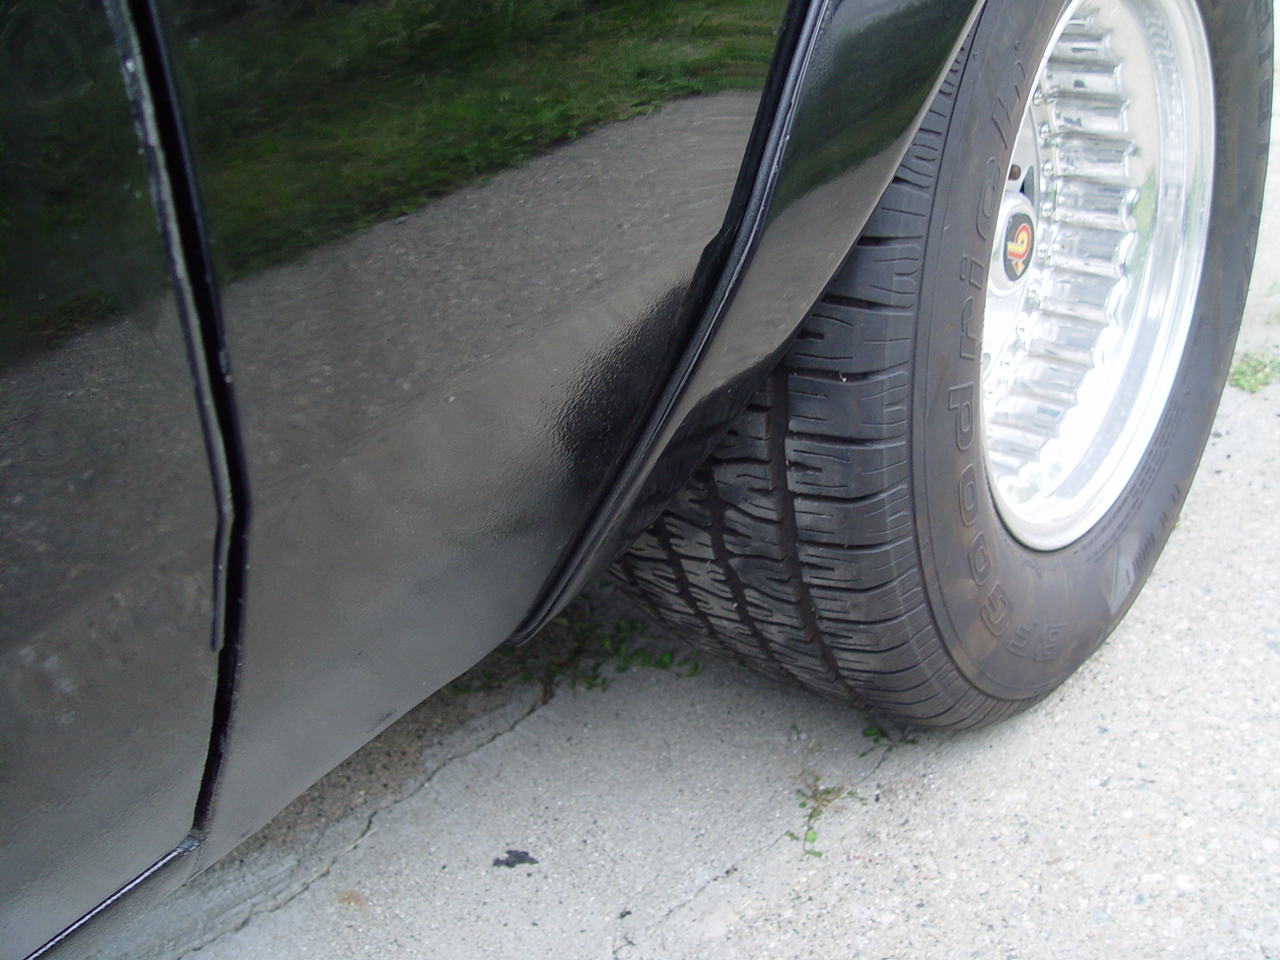
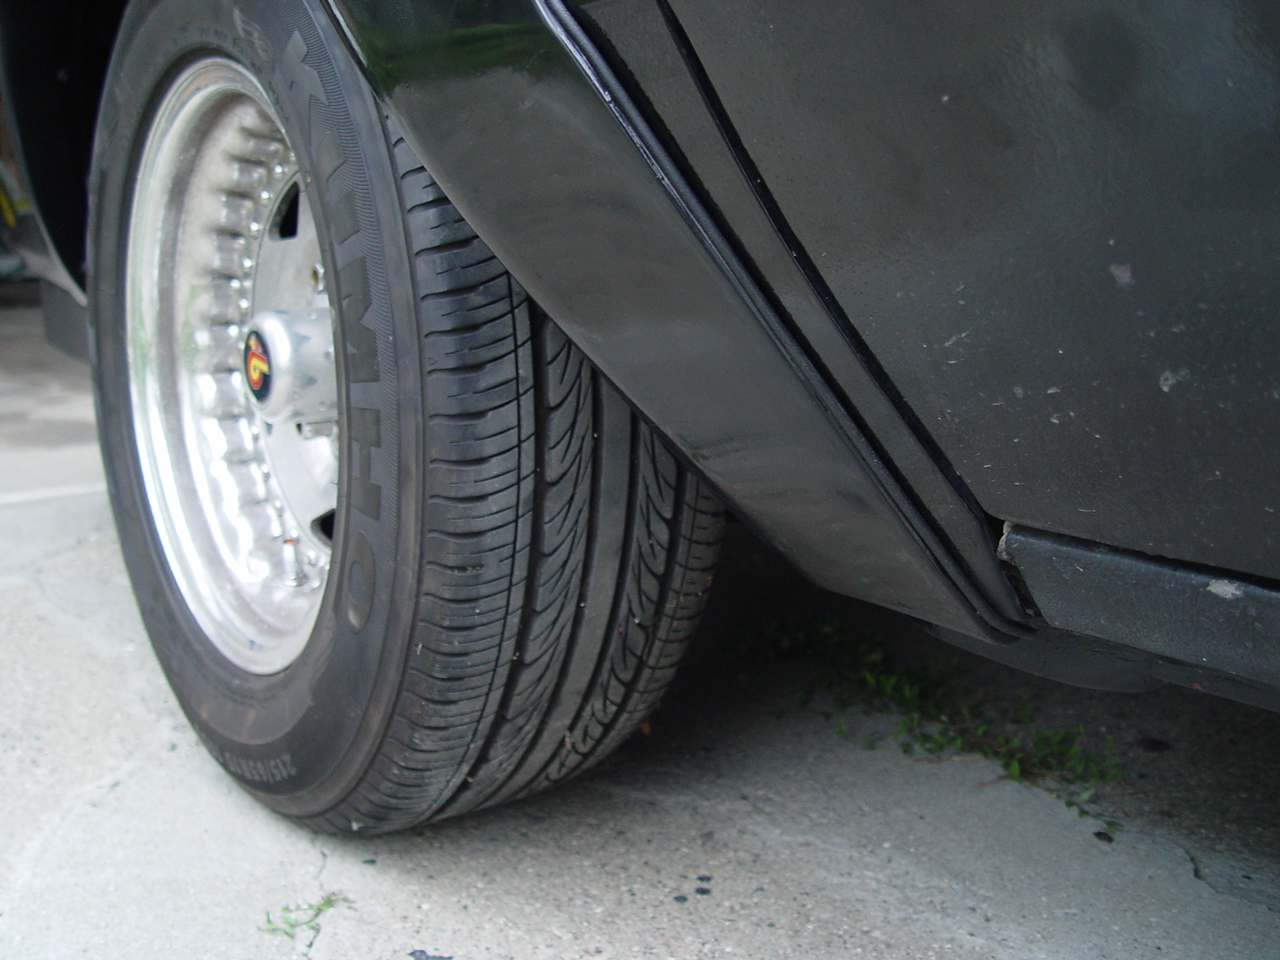
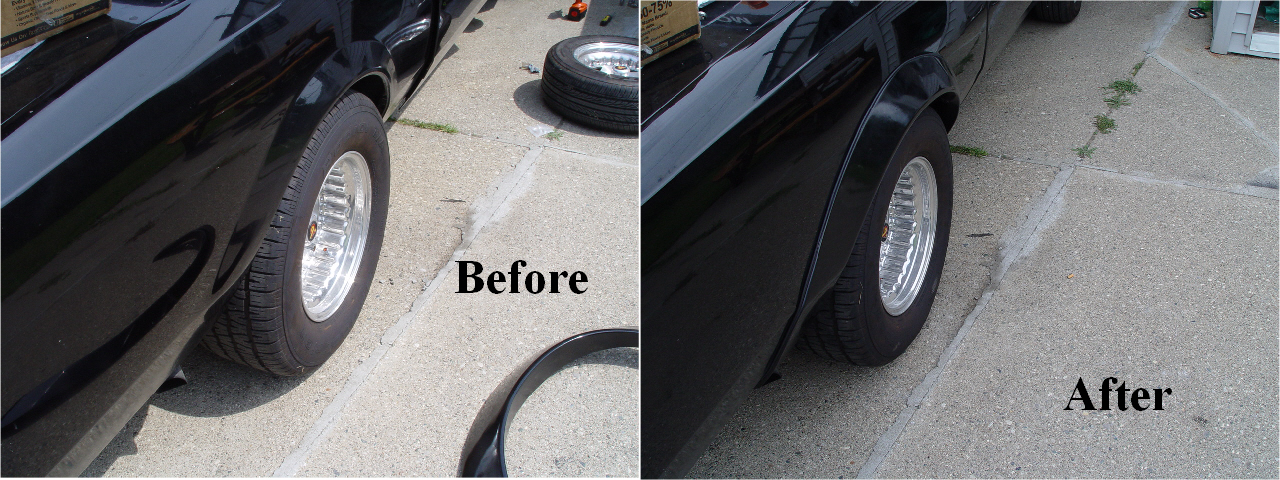
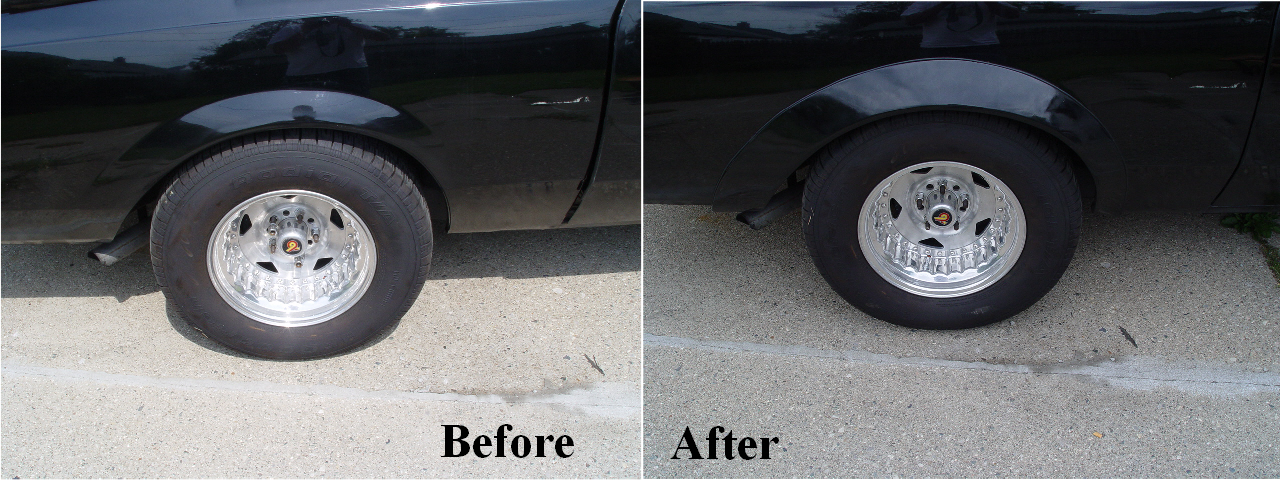
Before & after pics (we didn’t clean/buff them off yet):
.
.


