


After getting new tires and rims for the Buick Grand National, bumpsteer was really bad, and the tires were hitting the GNX fender flares whenever a pothole was hit.
In a way, part of that is the owners fault, as he bought 28″ tall tires. Intentionally though, as the back tires are not only wide, but tall as well. Having taller fronts was a way to prevent the old school “jacked up” look (up in the rear, down in the front) for the stance of the car, which wasn’t the desired look on this specific 1987 Turbo Regal.
The solution to correct bump steer, in part, is to buy a bumpsteer kit (AKA a heavy duty tie rod end & adjuster sleeve). Which the owner did, but will be installed later down the road.
The other half of the solution, is to get taller ball joints.
You have a decision to make here however.
You could get 1/2″ taller on the top AND the bottom.
The problem with that though, is that doing it that way will lower the car about an inch.
THAT isn’t going to help with this G-body Regal, as it is already too low.
So the only solution is just getting ONE tall ball joint, the top one, with it being 1″ taller than stock, which supposedly doesn’t lower the car any at all (and now after installation, this info is correct).
The above should correct 50% of the issues with this vehicle (which it did).
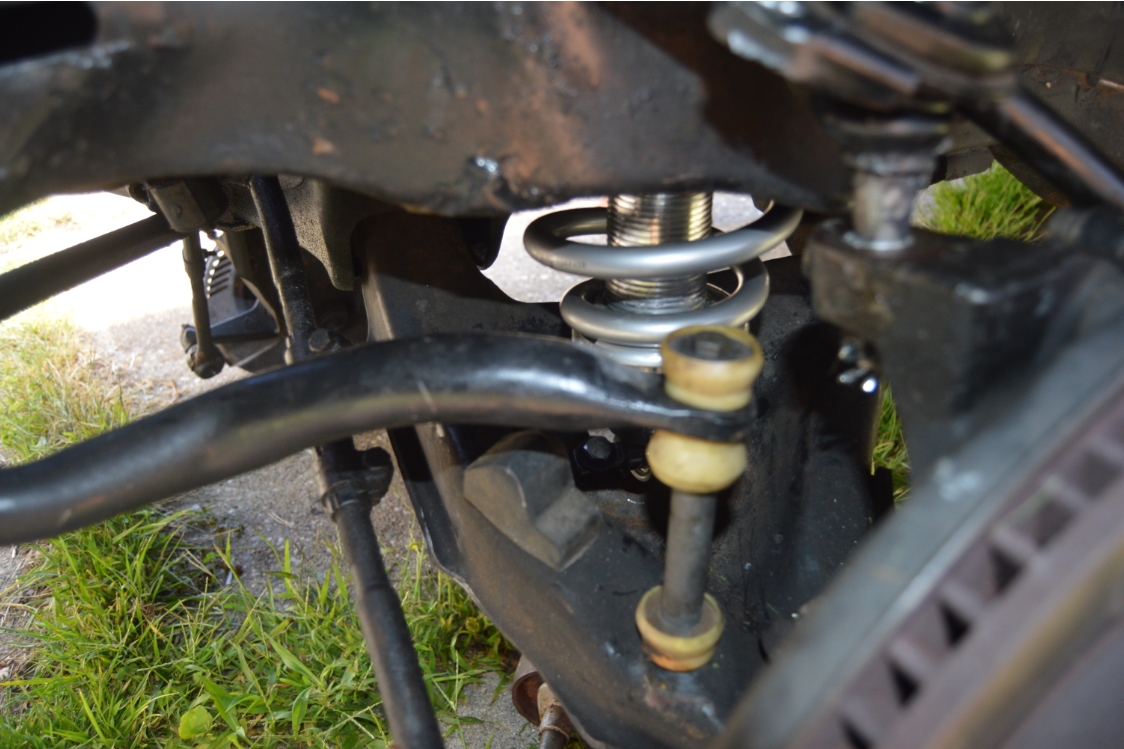
The other 50% should be (and was) solved by the addition of a coilover type setup.
[so the front end can be lifted up]
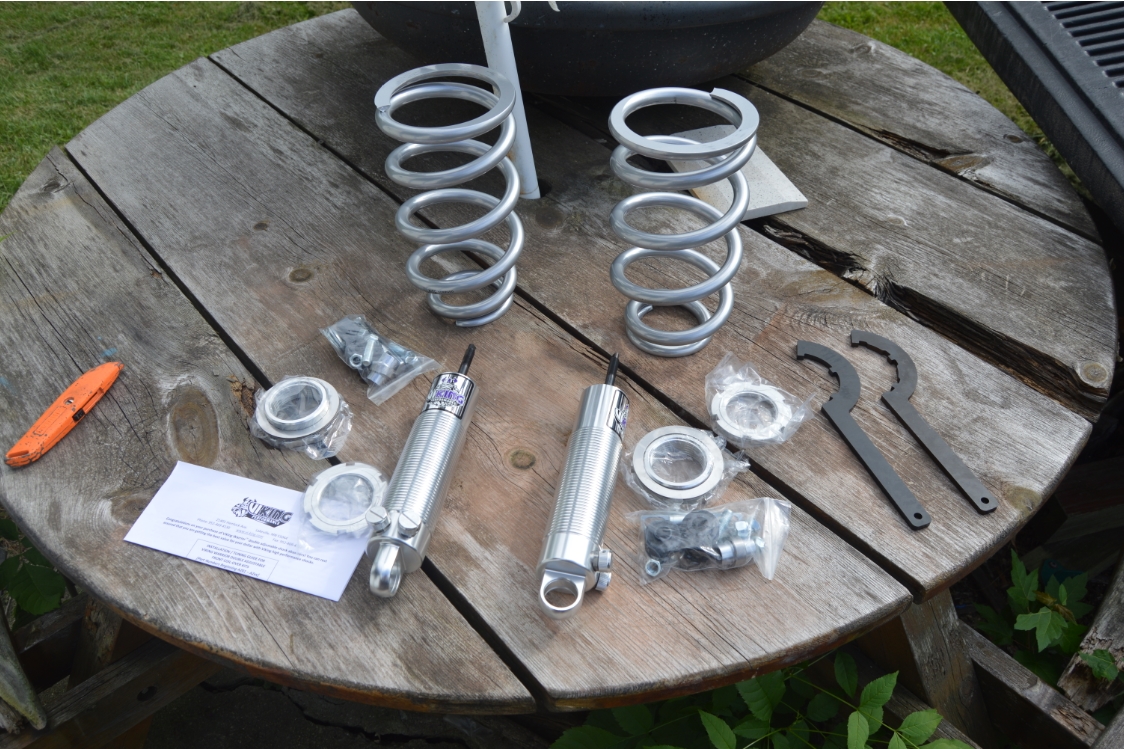
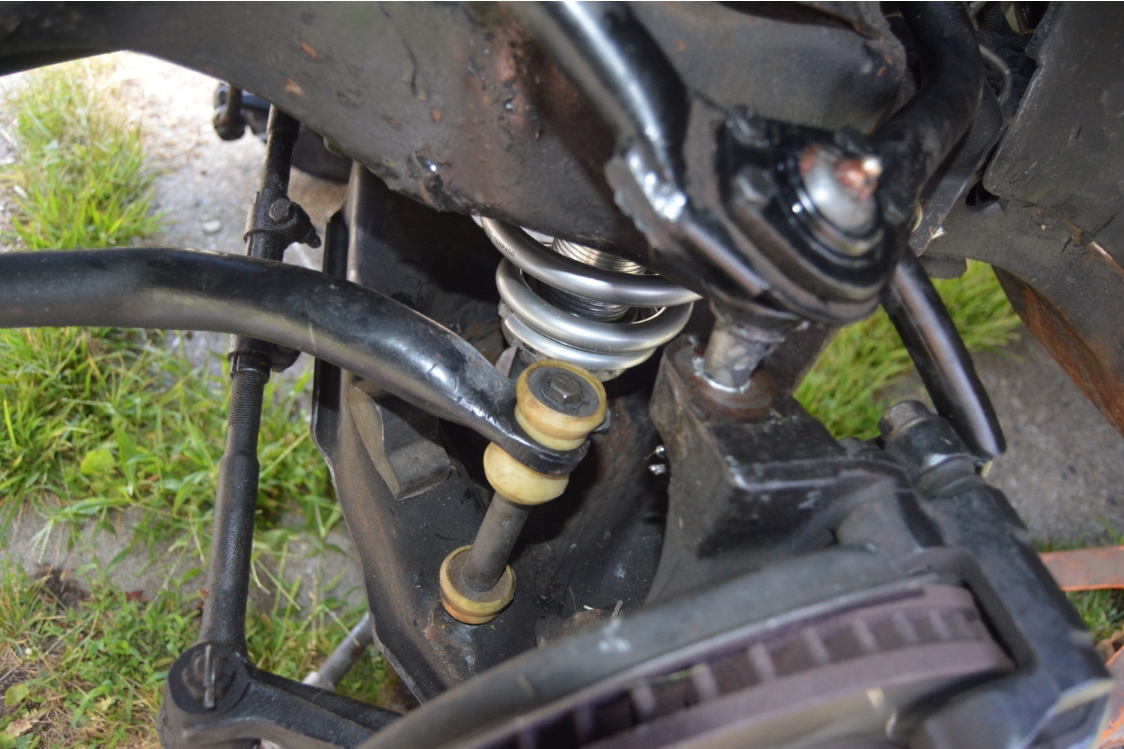
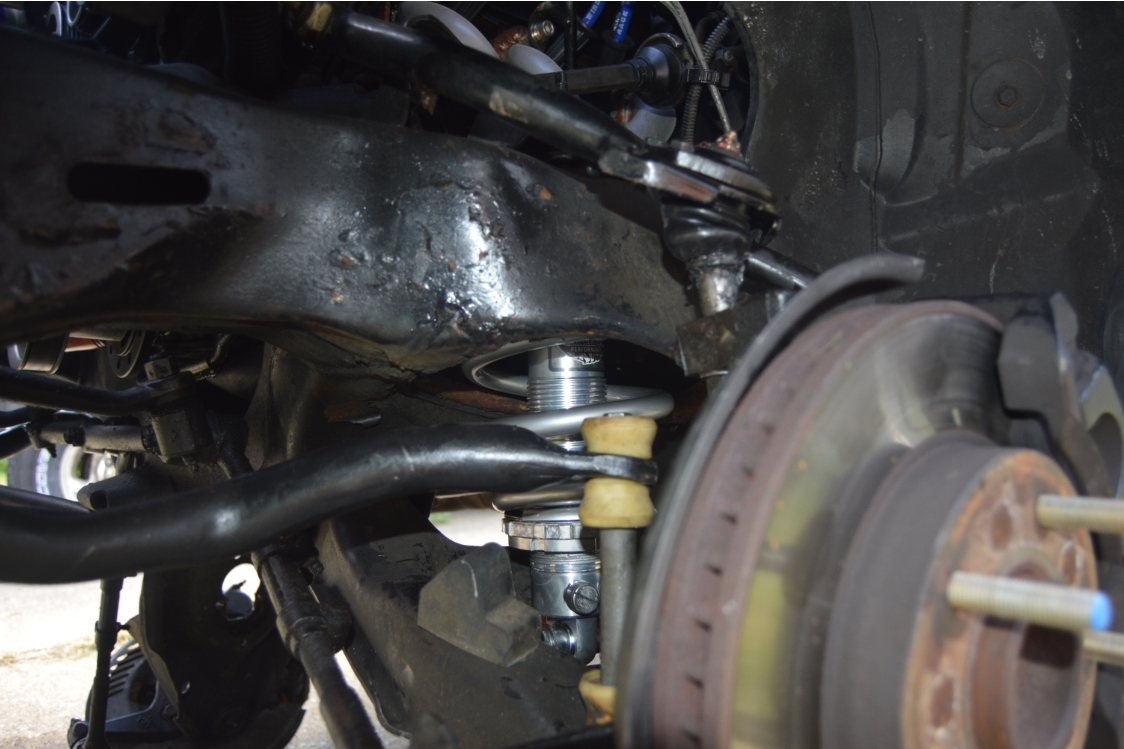
A Viking front suspension kit was purchased (shocks, springs, thrust bearing, spanner wrenches).
.
PARTS:
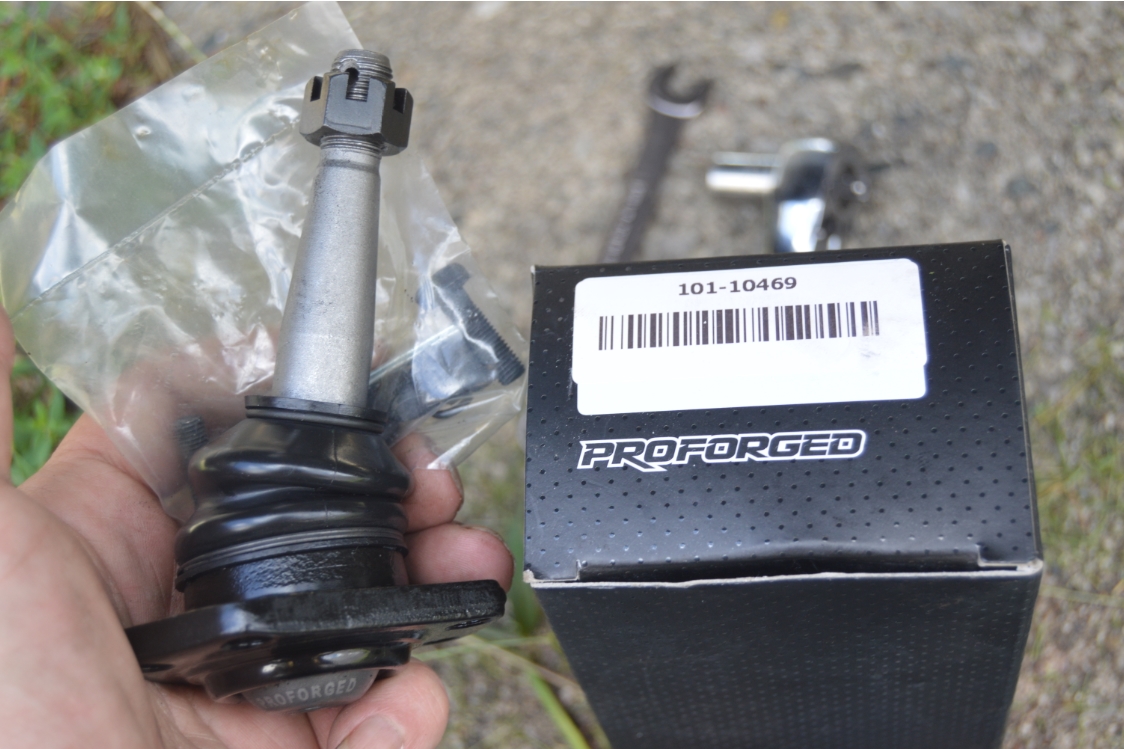
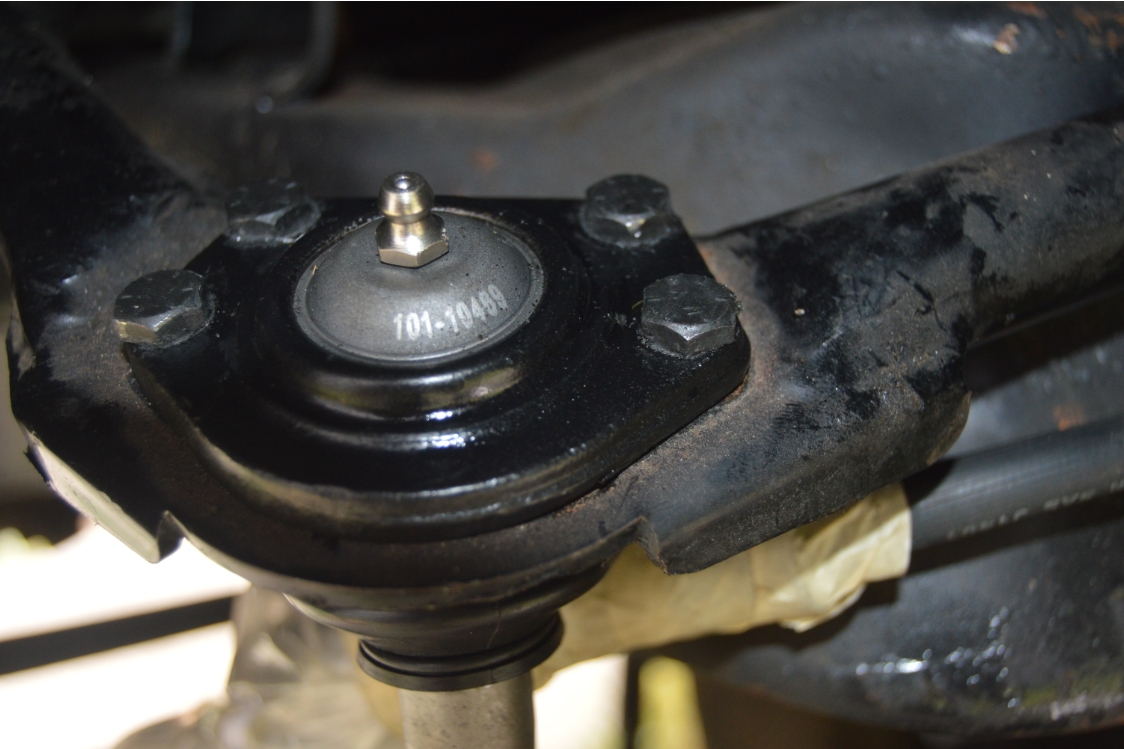
* Proforged 1″ taller ball joints (#101-0469, about $60 each).
* Viking Coil over kit (#A224-450RK, about $600), with 450lb springs
.
TOOLS NEEDED:
* 7/16″ 1/2″ 9/16″ 3/4″ wrenches & sockets
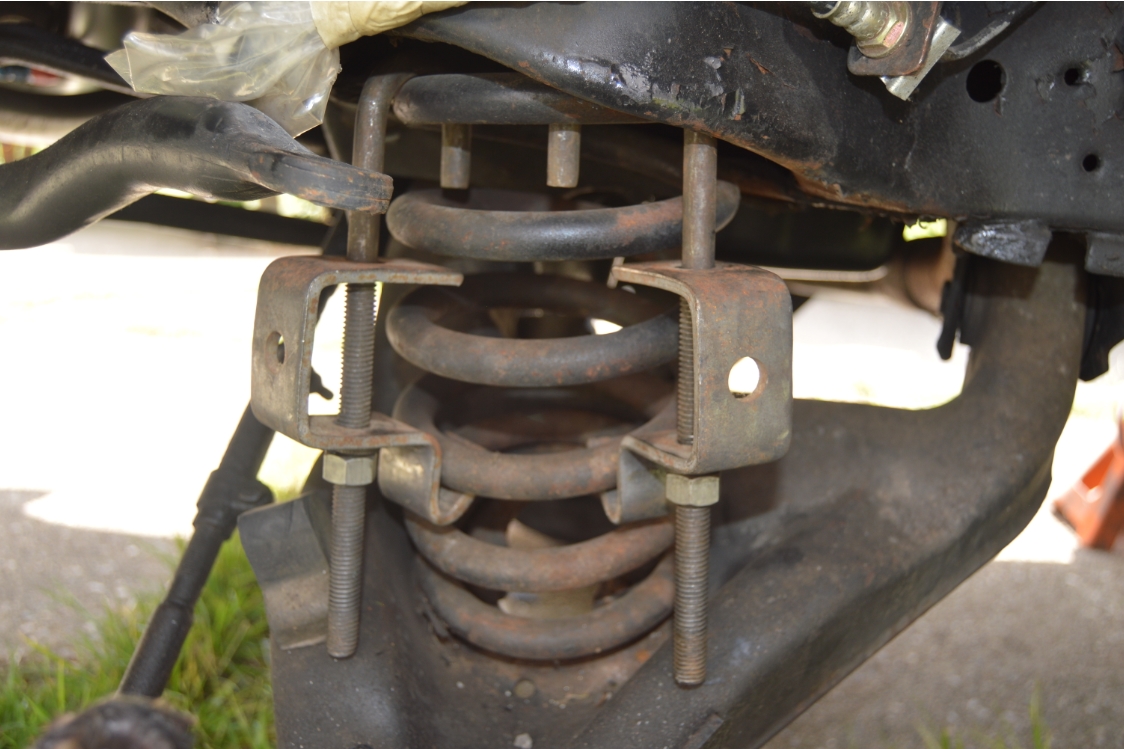
* spring compressor (either inside or outside will work)
* pickle fork
* BFH
.
TIME REQUIRED:
* several hours, maybe more…
.
HOW TO:
.
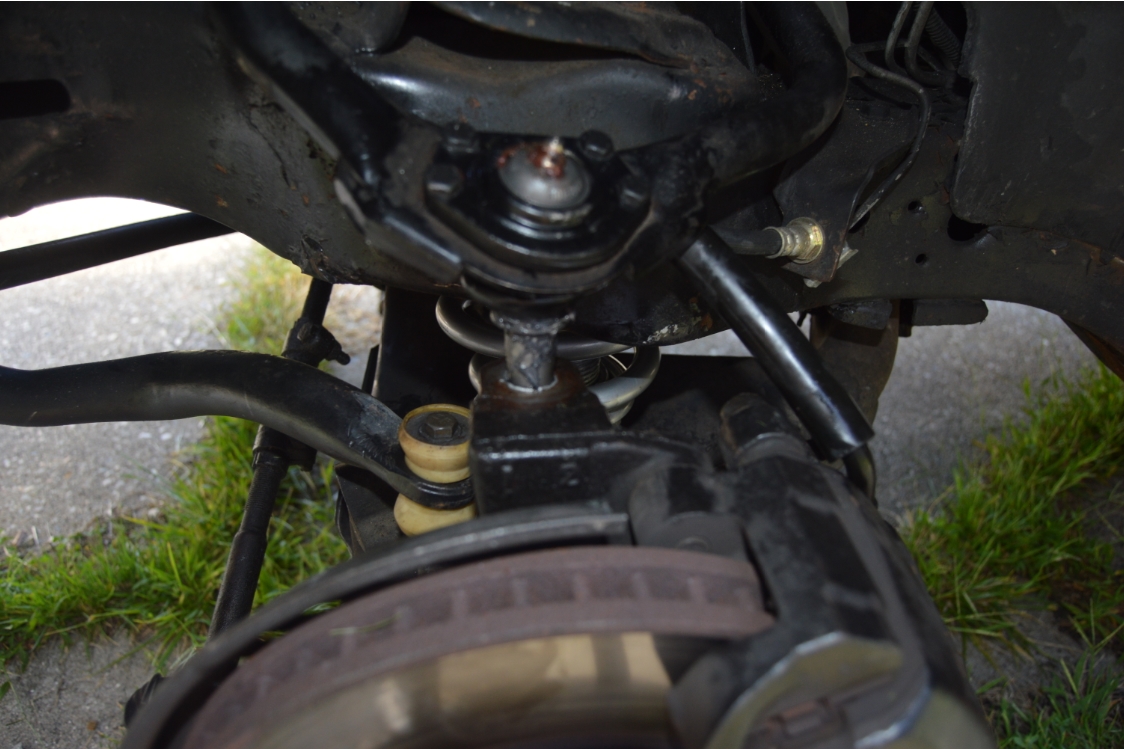
BALL JOINT:
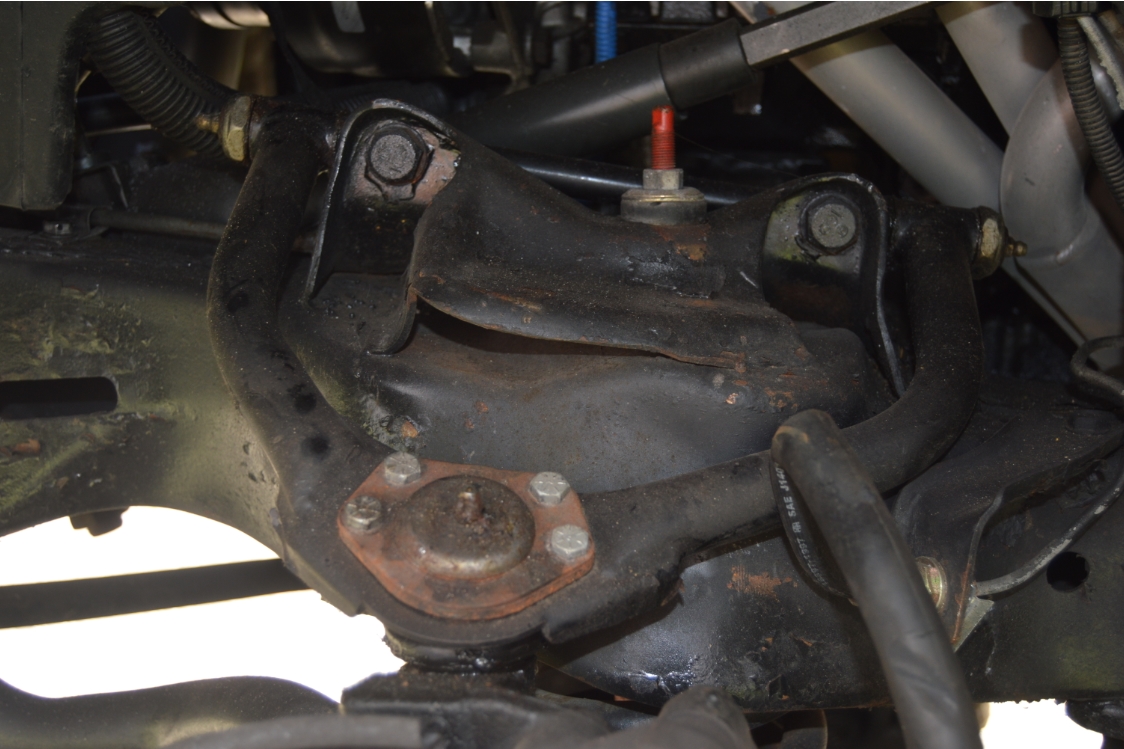
[this car has aftermarket tubular upper a arms, so install info may be slightly different from yours if stock]
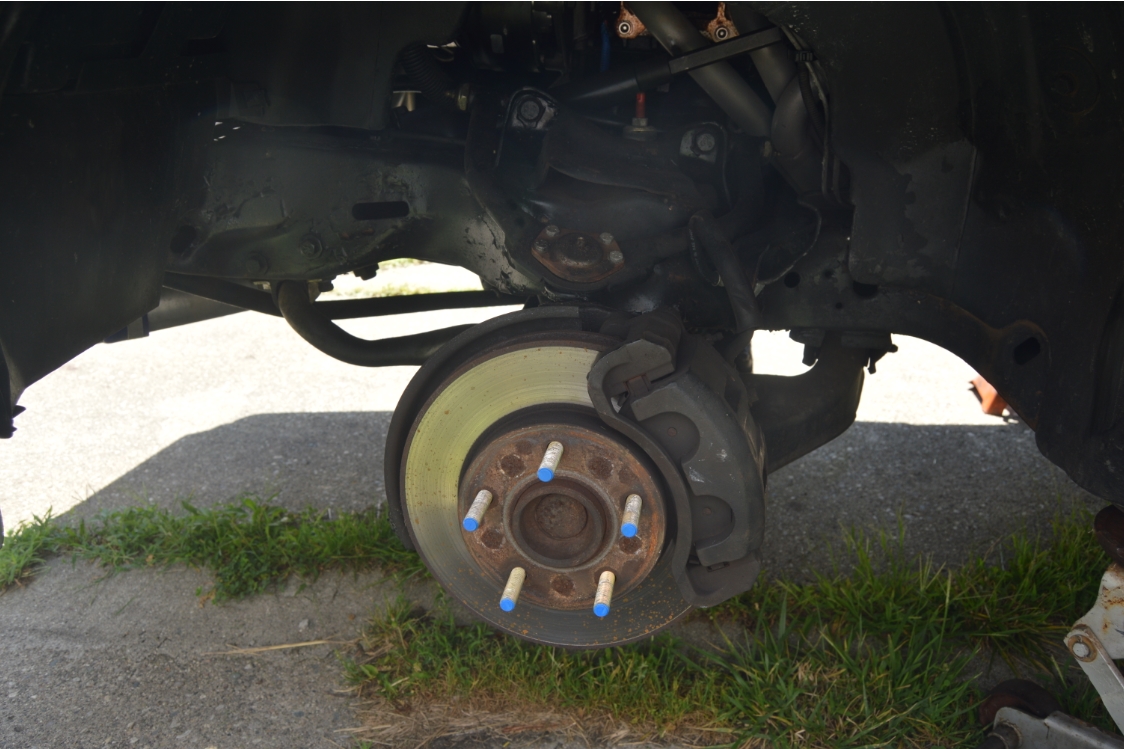
Start off with the usual: jack up the car, support on jack stands, remove wheels.
You’ll need a jack to put under the lower a arm.
1. remove old ball joint. 7/16″ takes off the top 4 bolts. 3/4″ removes the bottom castle nut.
2. use a pickle fork if the ball joint stud doesn’t separate from the spindle easily. (which it probably won’t)
3. use a BFH if it needs some persuasion. (thats a Big F****** Hammer in case you didn’t know)
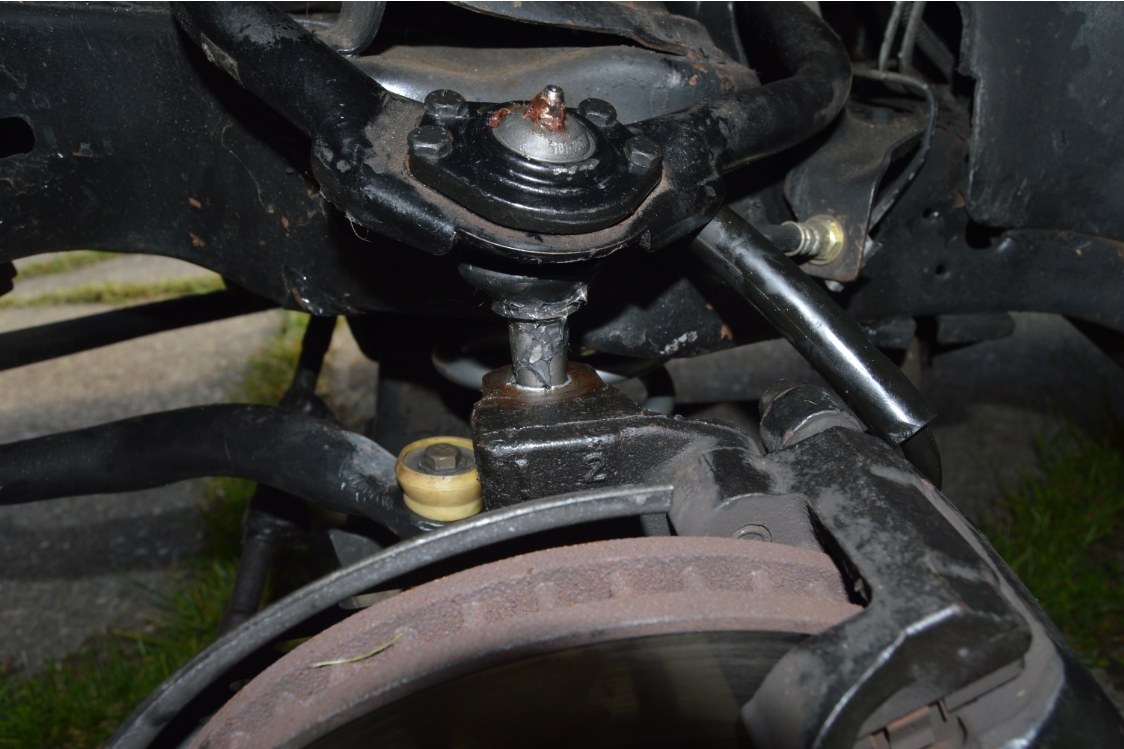
4. install the new tall ball joint from the top down (running it thru the hole in the a arm).
5. secure the 4 bolts on the top.
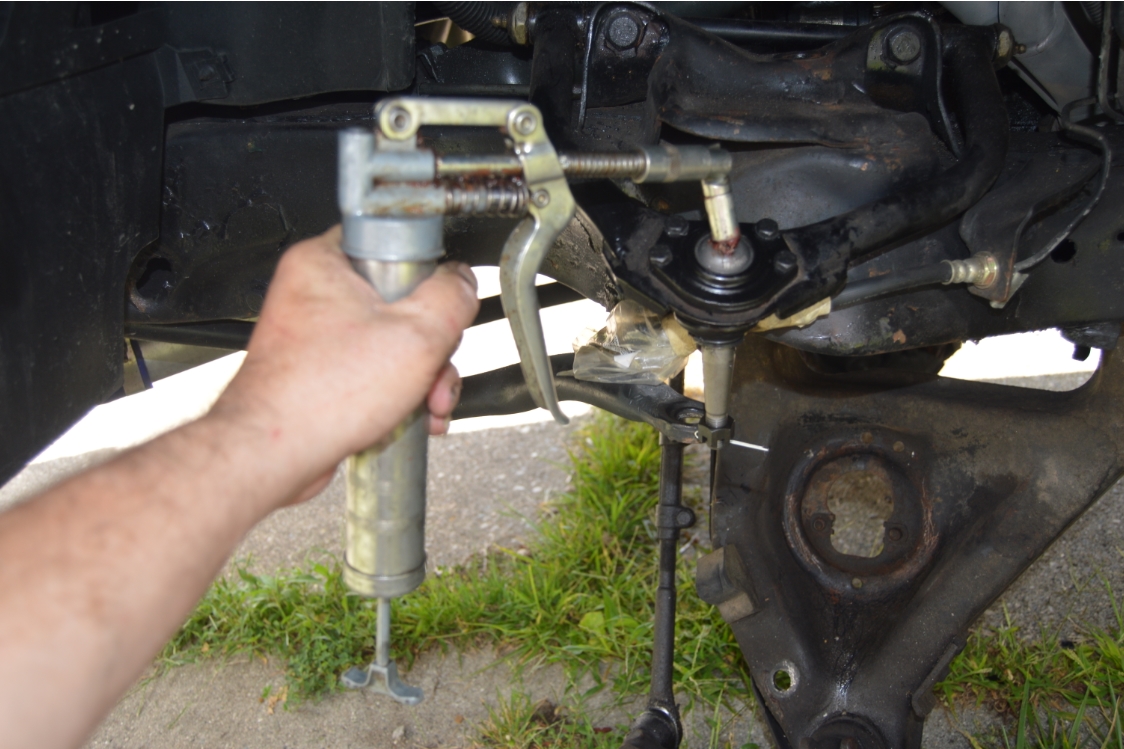
6. install the grease fitting, lube up the new ball joint with grease.
[if you are installing coilovers, this is a good place to stop and start the coilover install]
.

.
7. jack up the lower a arm and push the ball joint into the spindle hole.
8. secure castle nut, insert cotter pin.
[use the specs for tightening bolts to the correct torque settings]
.
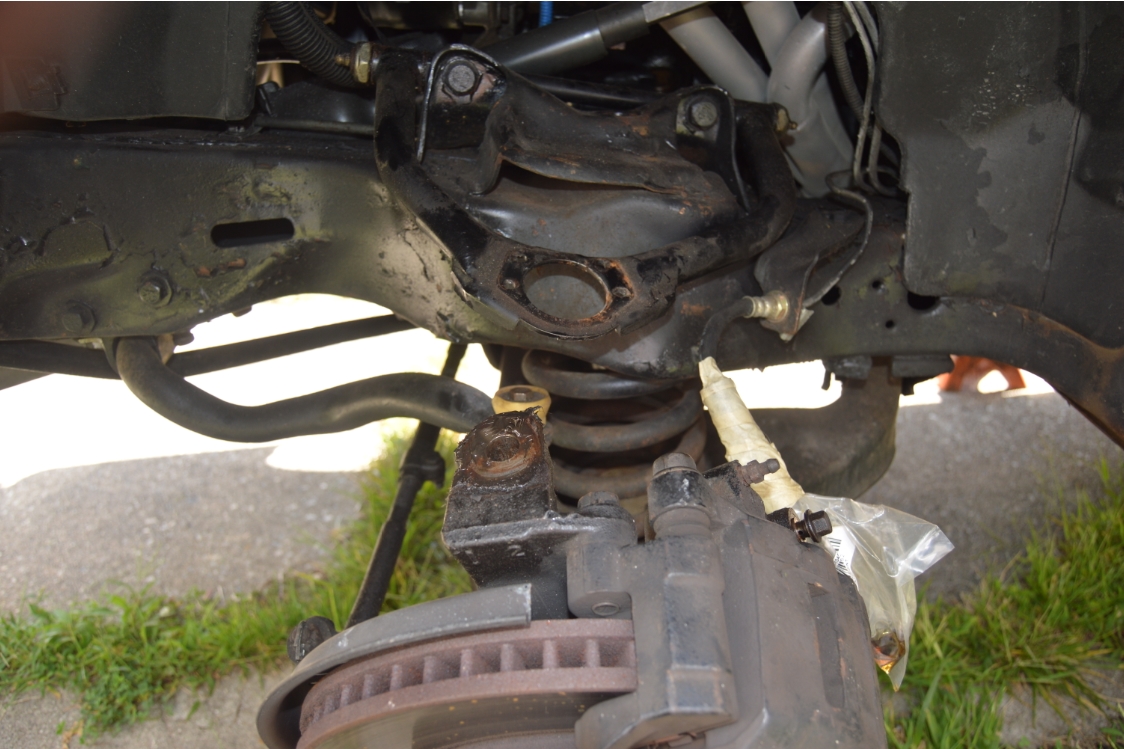
COILOVER:
1. you’ll need to disconnect the brake line (or take the caliper off & swing out of the way). a 7/16″ loosens the brake line off the caliper.
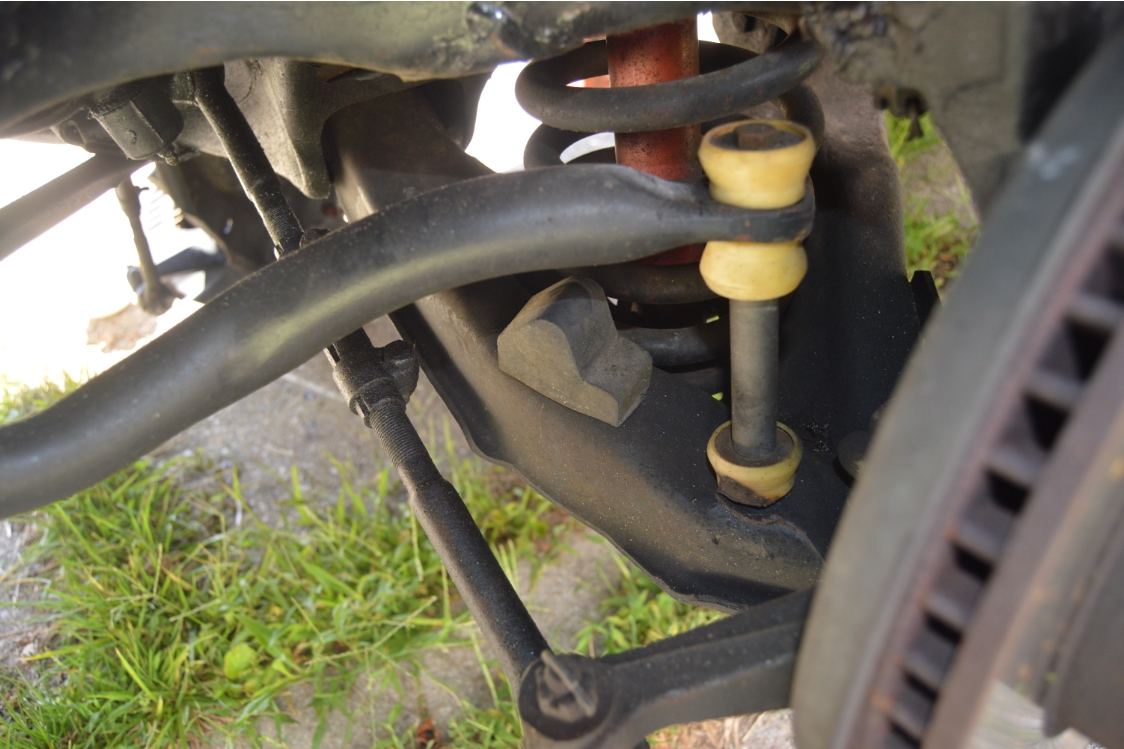
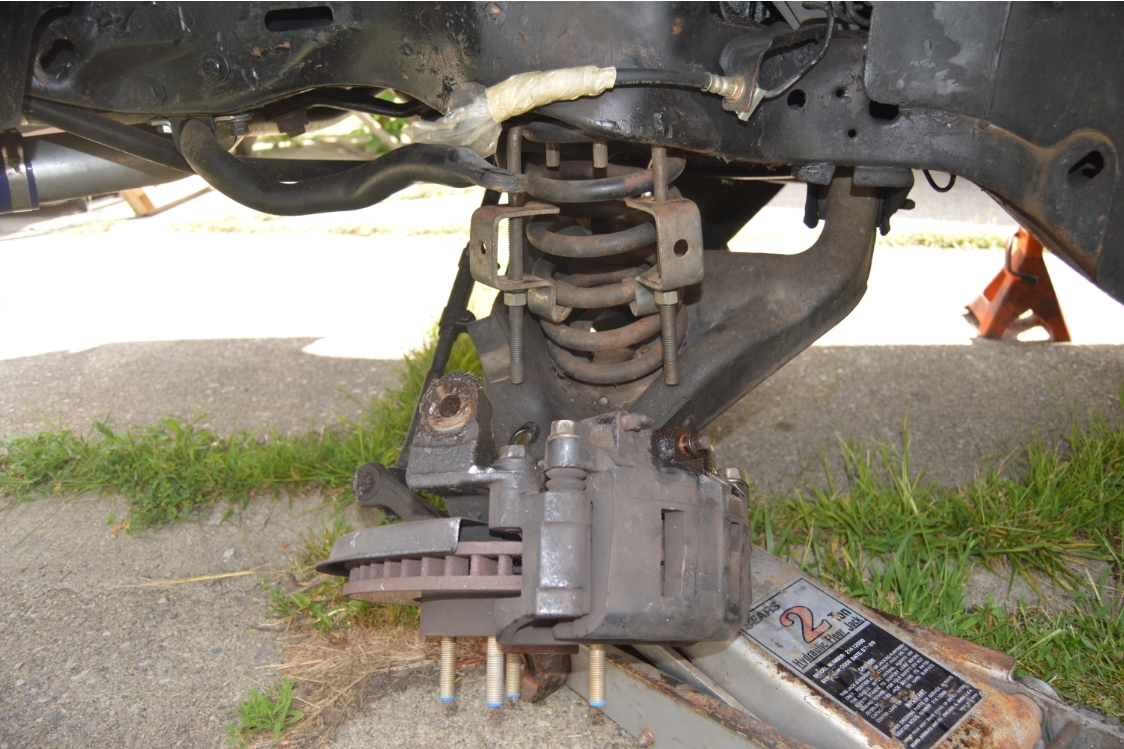
2. remove the shock using a 9/16″ on the top stud, and 1/2″ for the bottom 2 bolts.
3. disconnect the sway bar (off the a arm), a 1/2″ socket & wrench will do the trick.
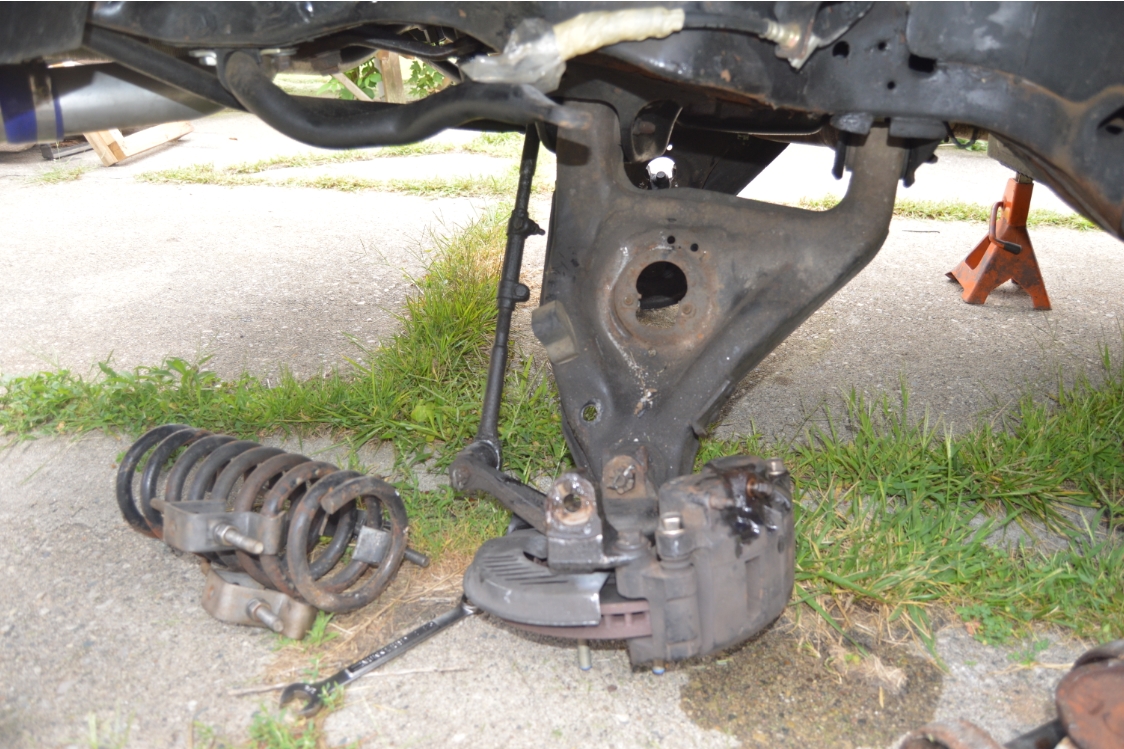
4. use a compressor, and remove the old spring.
5. lower the lower a arm as far as it will go (if u didn’t already from removing the spring).
6. read the directions that come with the new coil over kit, and preassemble.
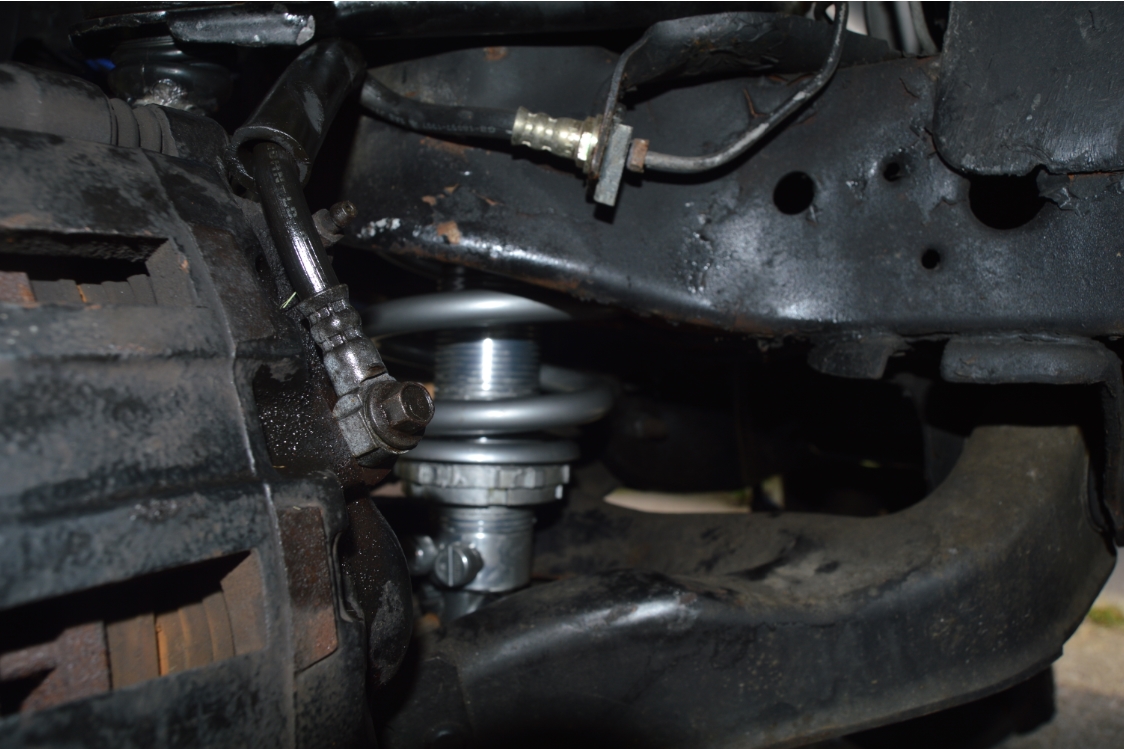
7. we semi-secured the new shock on the upper side first (the stud) to hold it into place.
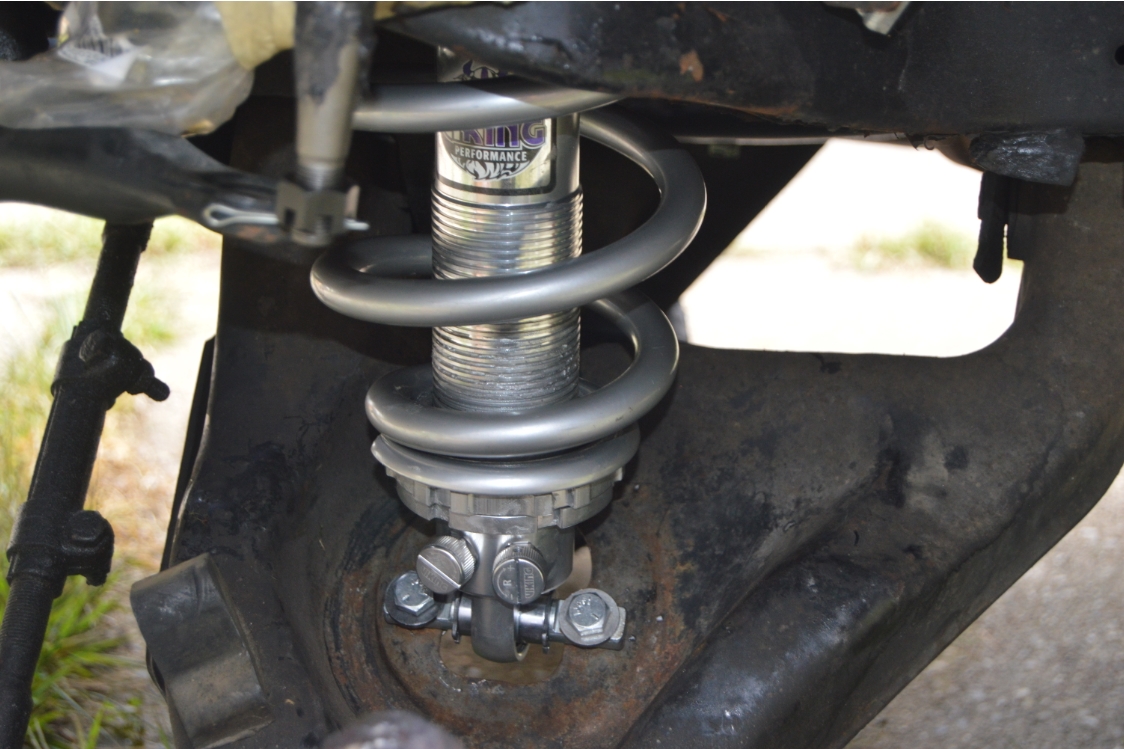
8. then raised the lower a arm into place, and secured the t-bar fitting on the bottom of the shock to the a arm.
9. guesstimate on your (spring) height setting, as well as the initial setting on compression & rebound.
[after getting everything back together, and the car on the ground, you may have to come back & readjust the height]
[do steps 7&8 from ball joint above, then continue on here]
.
.
10. reattach brake line (or caliper), and sway bar.
11. reinstall wheel & drop car to the ground.
12. check height setting. adjust if necessary.
[you may have to adjust several times, as the car will “settle” after each adjustment!]
13. you will have to drive the car to check shock settings, and make sure they are appropriate for your intentions of your vehicle.
[we set them at about a 70/30 ratio (12 clicks on C, 4 clicks on R) for the initial setting]
.
.
Now that these 2 items are installed, the bump steer issue has been almost totally eliminated, and it no longer hits the flares (after 3 rounds of adjusting)!
The tie rod bumpsteer kit will still be installed at a later time (along with a jeep steering shaft upgrade and bearing kit), and this should just make the steering even tighter (and more responsive) than it is now.
.


