


To catch you up on the complete story on exactly why we are adding these onto the car, after we installed bigger rims and tires on the Buick Grand National, we were experiencing a bad bump steer condition.
Part of the solution to correct this was to install taller ball joints, which mostly cured the issue.
Taller balljoints also make the suspension geometry on G-body vehicles better, making the cars handle much better.
We bought a bumpsteer kit at the same time as the taller ball joints, and now we are finally getting around to installing them.
[we waited because the new ball joints seemed to cure 95% of the issue, but now that we finally have some extra time, it’s time to finish this up]
Not to mention that we just got done installing a steering rebuild kit on the front end, so with this current job, the entire front end section will almost be done with the upgrades we plan to do in this area of the Buick GN.
[new tubular a-arms are next!]
.
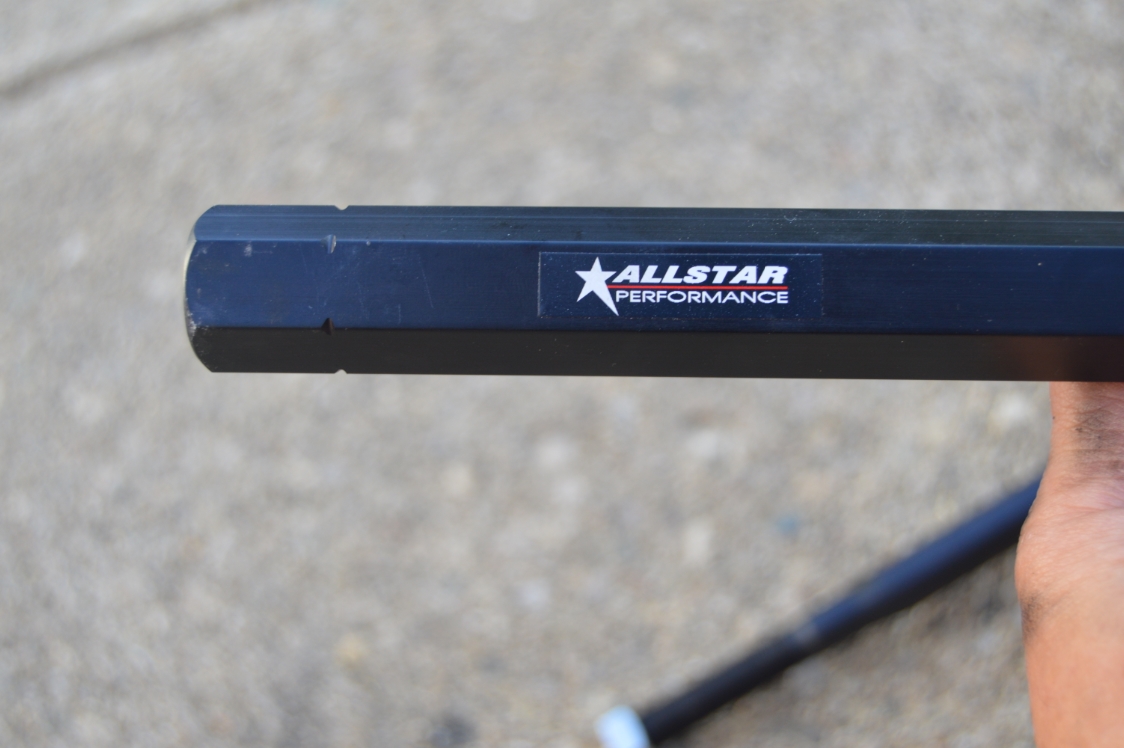
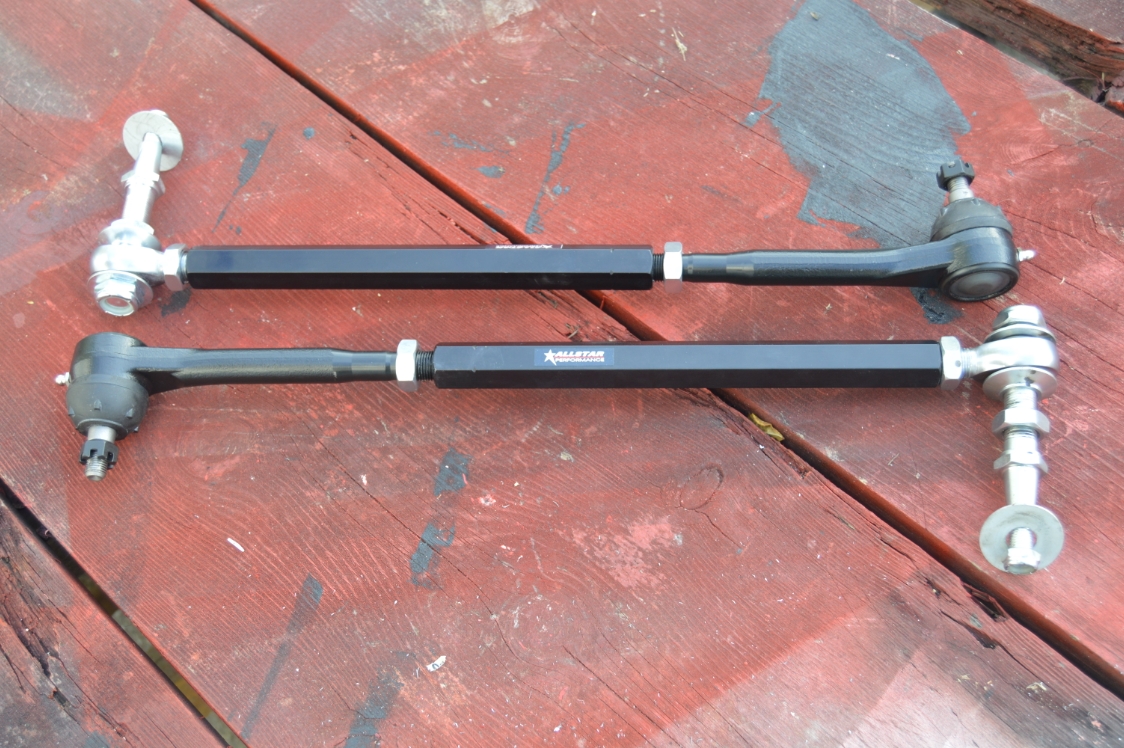
We bought a Bump Steer Kit from Spohn (on sale, shop smart 😉 ), but they are actually made by Allstar Performance (that’s what the sticker on them says).
Spohn’s definition for their Front Suspension Steering Bump Steer Kit:
Altering ride height on your 1978-1987 G-Body car can result in unwanted toe change during suspension travel. This is known as bump steer. Bump steer kits allow the user to alter the tie rod position on the spindle to correct bump steer.
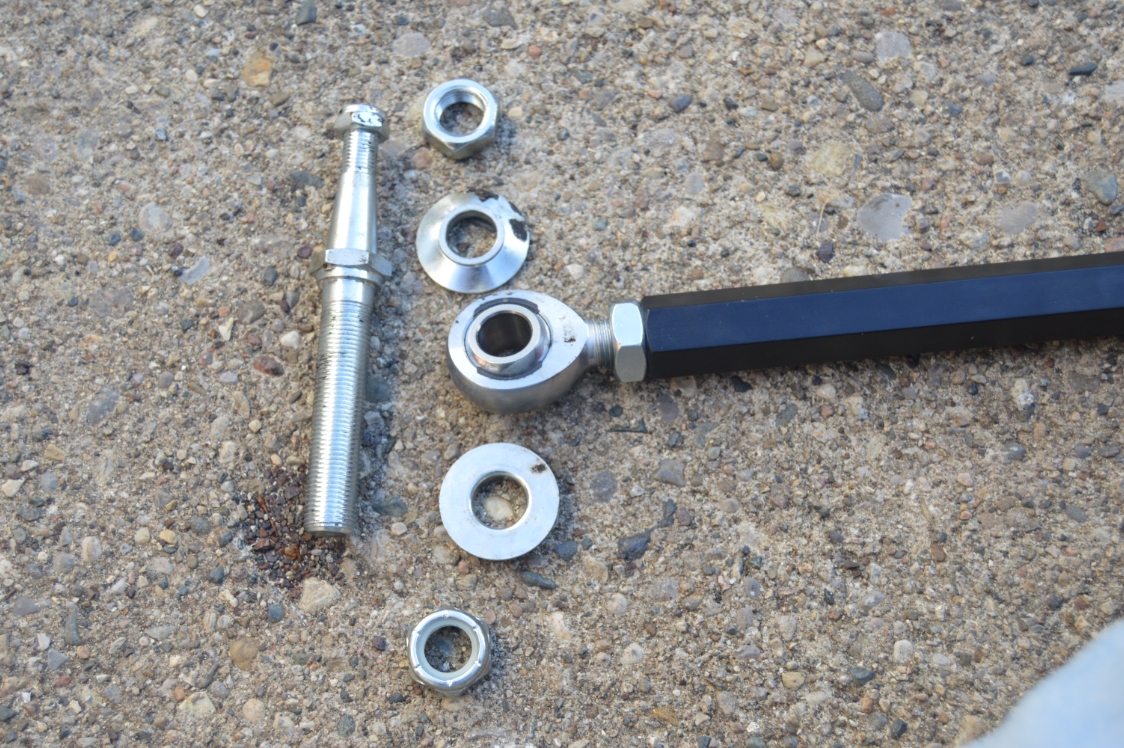
Our kit comes complete with black annodized billet aluminum tie rod adjusters, chrome moly teflon lined heavy duty 5/8″ rod ends, and 4140 chrome moly tie rod to spindle adapters.
Our tie rod end to spindle adapters do not require you to drill out your spindle hole. Our tie rod end to spindle adapters are CNC machined from 4140 chrome moly and are machined to be a direct bolt on to the GM spindle taper.
In addition, they are also on the car bump-steer adjustable. The tie rod to spindle adapters are fully threaded with double locking jam nuts for easy up-down adjustment that eliminates the need for spacers.
Our tie rod end set-up features 5/8″ chrome moly Teflon lined rod ends with 5/8″ chrome moly safety washers top and bottom for proper articulation and safety.
.
These parts look really nice, and should work fine for our application. We’re happy with them, and hopefully they will cure the remaining 5% of our bump steer issue..
Other manufacturers make similar parts.
We chose this version because it doesn’t need spacers, is pretty much a simple bolt-on (but does give you any adjustments you may need), and the price was right (compared to other units like this).
We’re slapping them on the Turbo Buick as-is, and the only thing we added onto the kit was some fender washers that were placed on the top of the outer tie rod ends, at the very top, below the supplied nut (since there isn’t a cotter pin and the nut seems kind of small).
[If I remember correctly, a washer like this is part of an NHRA rule for suspension components, or at least use to be years ago. It doesn’t hurt to have them, in case they ever decide to try and pull out]
.
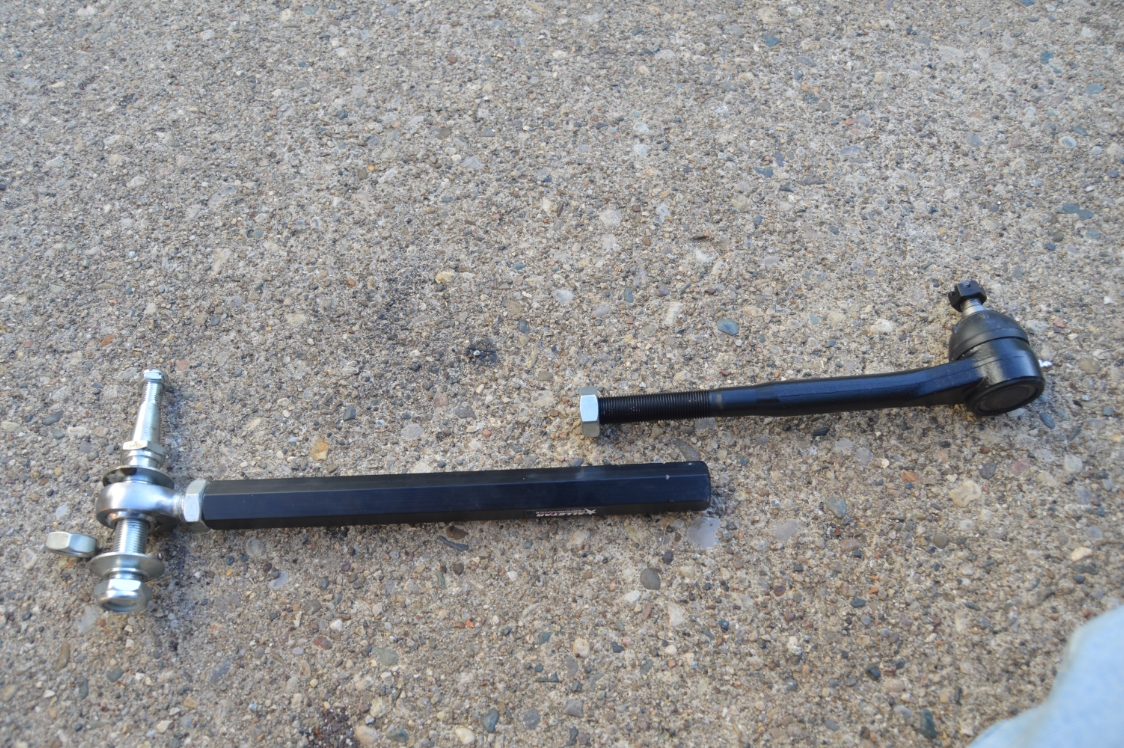
THE NEW PARTS:
(note that the inner tie rod shown in below pics is NOT part of the kit)
.
.
COMPLETION TIME:
30 minutes (installation only, proper/correct height adjustment varies, and assuming you don’t need to beat out your old parts too much!)
.
PARTS:
- Spohn Front Suspension Steering / Bump Steer Kit (#BS-2, $169.95)
- 2 fender washers
.
TOOLS:
- 5/8, 7/8, 15/16 wrench (new parts)
- 13mm, 17mm wrench (old parts)
- pliers (for cotter pin)
.
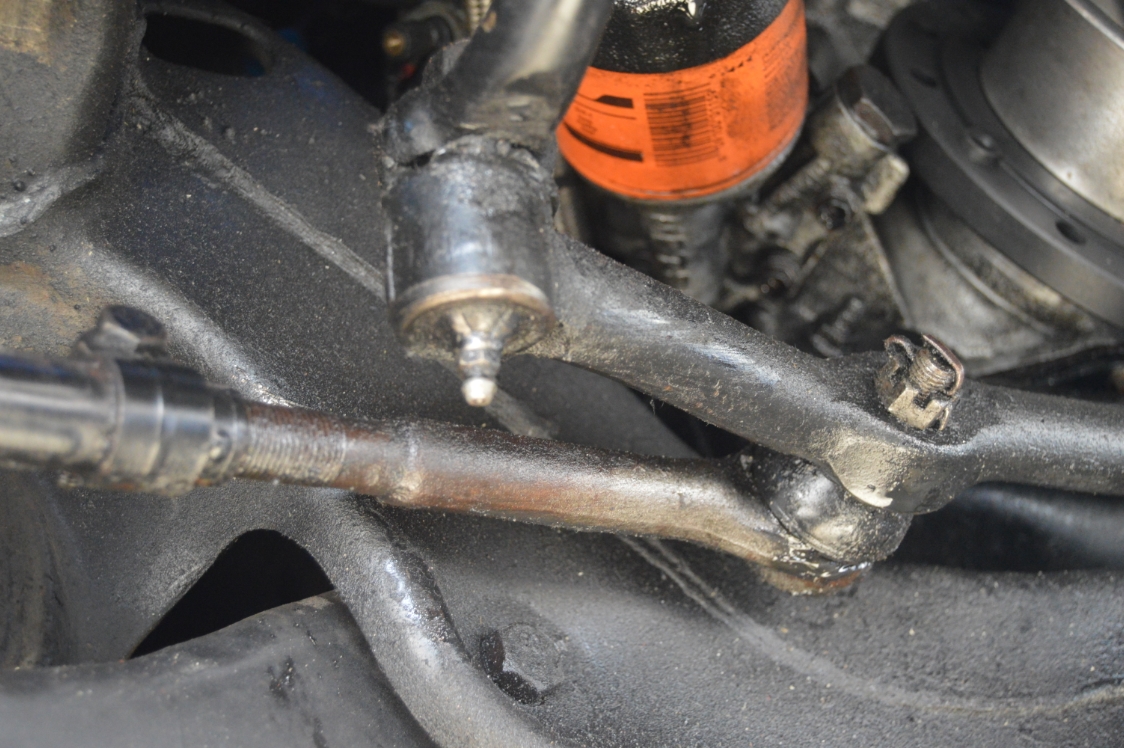
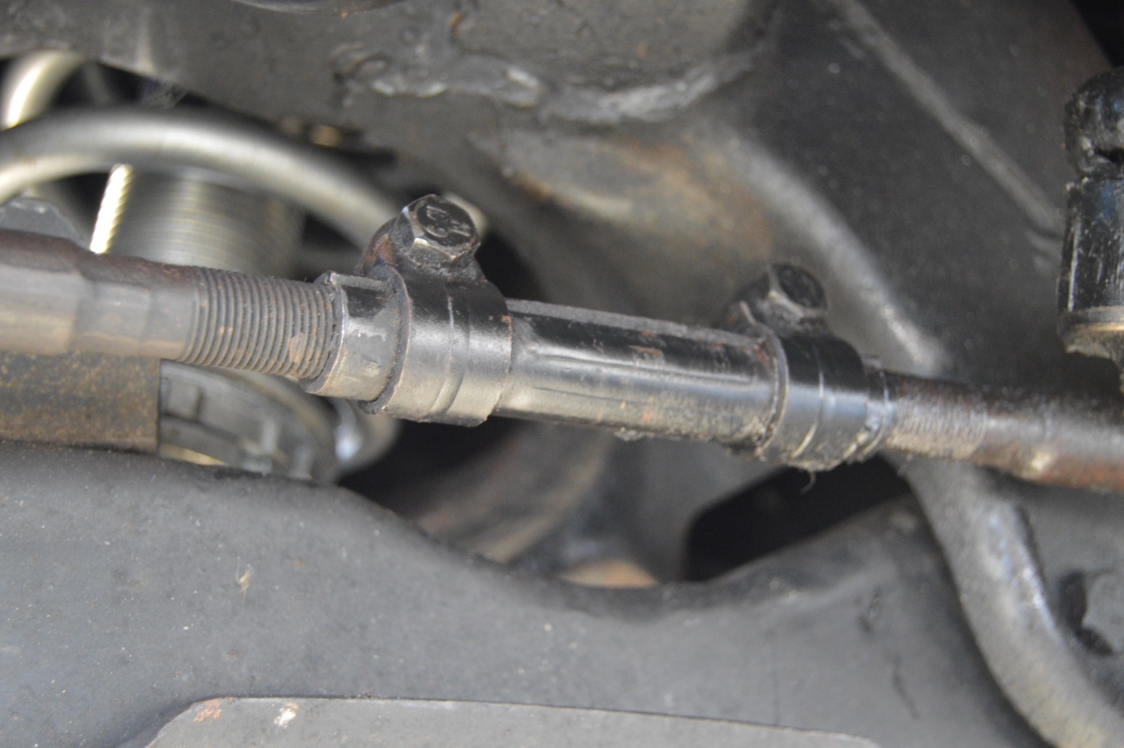
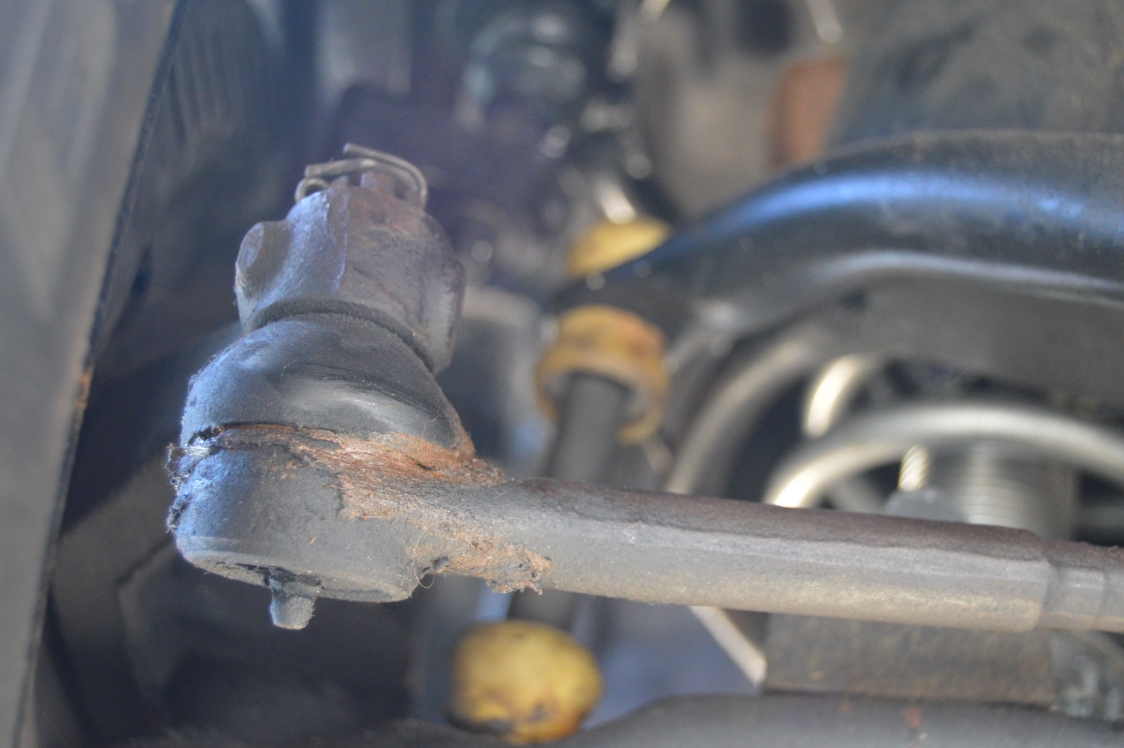
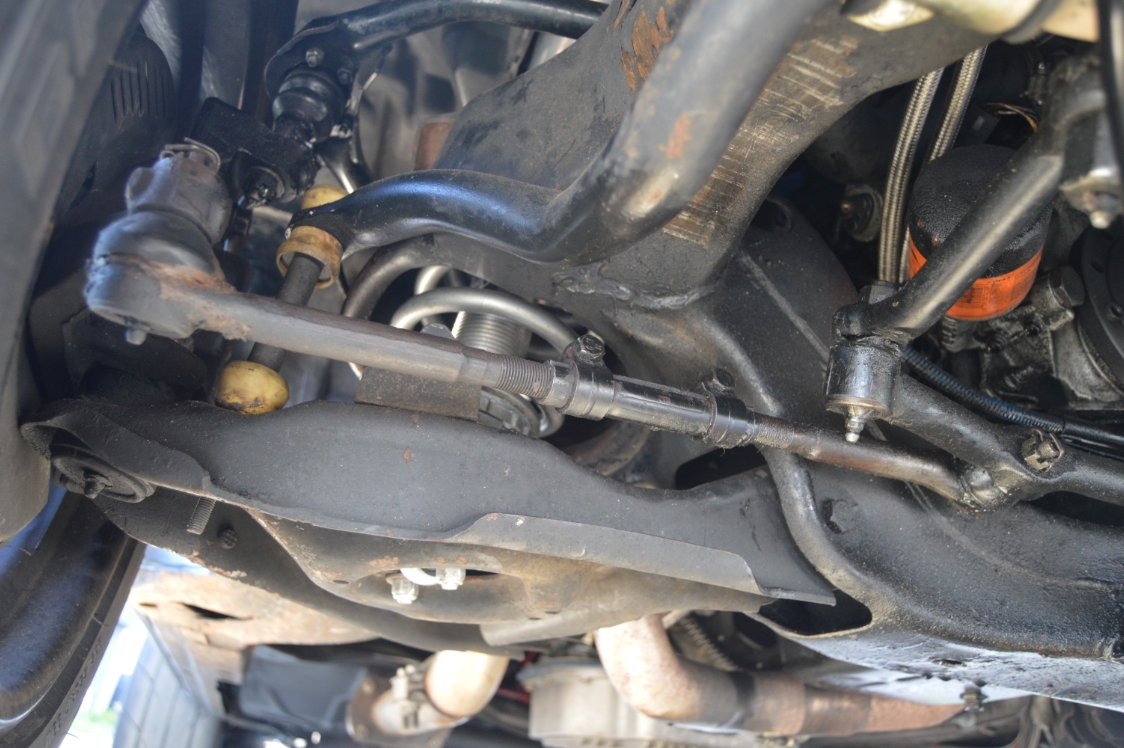
THE ORIGINAL PARTS:
.
.
HOW TO:
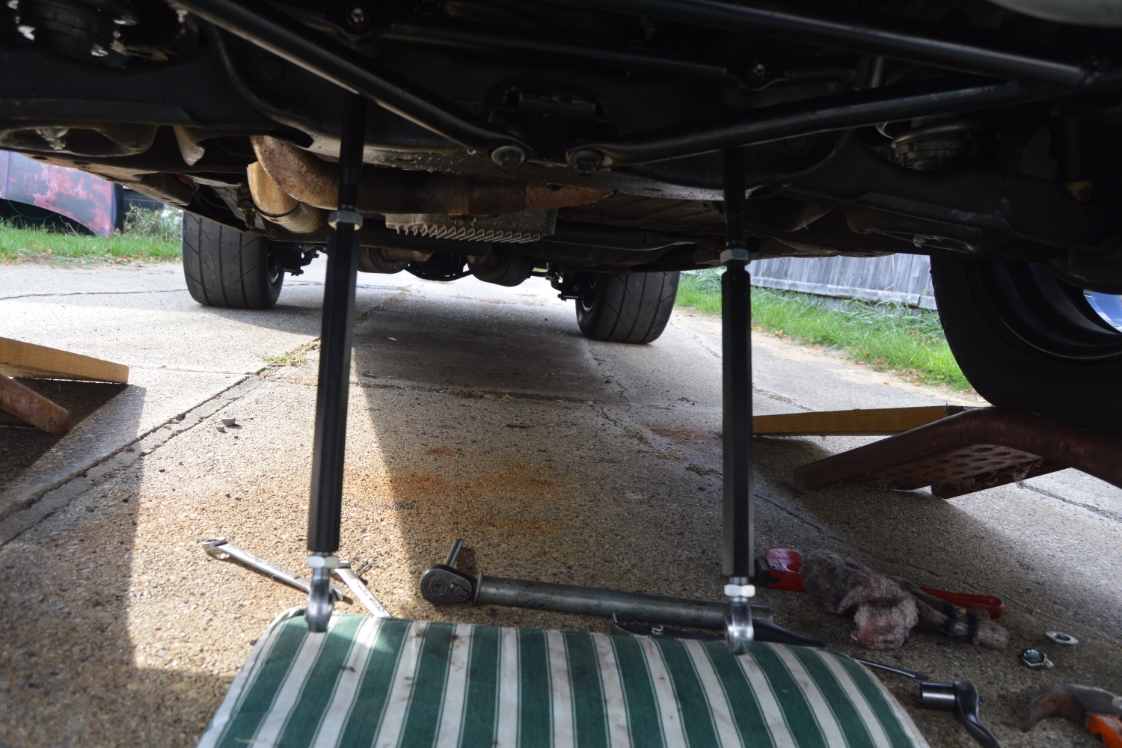
- place the front end of your Turbo Regal on car ramps.
(this will keep the suspension properly loaded) - you may want to take the new unit and place it next to the installed outer tie rod end on your vehicle. This will give you an idea of where and how the new piece will sit once installed.
[I have read where they say the new piece needs to be raised up about an inch on the outside. Meaning the new piece should be an inch higher up than the OEM piece is. However, setups vary. The general theory says they need to be parallel to your a-arms]
- Remove inner & outer tie rods and adjuster sleeves, all in 1 piece. Try not to disturb the original length of the 3 components.
- Measure the length, center of outer tie rod bolt to center of inner tie rod bolt.
(you could also measure them ON the car, and leave the inners attached – which might be easier, as removing the inner tie rod ends is challenging without loosening or removing the center link)
Do this on both sides of the G-body Regal (they may not be the same length). - disconnect outer tie rod & adjuster sleeve from inner tie rod. Discard.
- screw the included jam nut onto the oem inner tie rod and run it all the way on until it stops.
(the nut is stored loosely on the top of the stud of the new piece upon arrival)
Screw the new adjuster onto the inner tie rod until it stops.
It has reverse threads on it. - Screw the new outer tie rod end onto the adjuster sleeve.
Make this new 3-piece assembly the same length as your original ones were.
Try to center the adjuster between the rods. This gives you plenty of adjustment for later. - Attach the assembly to the center link. Tighten down.
- Push the stud up thru the spindle.
You may have to make minor adjustments to get the bumpsteer kit to the length needed to insert the stud thru the spindle.
[try to make sure the vehicles wheel stays in the same position as you adjust the bumpsteer kit into and thru the spindle, as this will keep the alignment intact] - we placed a fender washer on the top of the stud (resting on the top of the spindle hole) and then the nut.
Tighten down the top nut (5/8″).
[on the bottom side of the spindle hole, the new stud does not go all the way up, that first nut doesn’t touch the spindle even though it looks like it should. There is a gap of about 1/2″ from the bottom of the spindle to the top of the (fixed) nut on the stud] - adjust the lower section to the position you need it to be.
Use the 2 jam nuts to raise or lower as needed.
(this is where you would use the bump steer gauge if you have one, otherwise it’s trial and error. Parallel to your a-arm is a good start)
Tighten the 2 jam nuts. - finish adjusting the adjuster sleeve if needed, then tighten the 2 jam nuts.
- This ends the install, but it may need height adjustments.
Place the Buick Regal back on the ground.
The wheels should look like they are relatively straight.
Go for a test drive.
Adjust as necessary until bumpsteer is not noticeable.
.
NOTES:
There is a specific calibration tool made that will tell you the exact position that the bump steer kit needs to be in. Not many people, or businesses for that matter, have this specific (expensive) tool.
Short of that, you will have to make an educated guess on where it needs to be set at.
In general, start at the position the OEM one was at, and make adjustments from there.
Usually, you need to go up higher, but that may or may not be what your car needs (depending on tire height, vehicle height, whether your car has been lowered, etc.).
It may take you several attempts to get the most out of it.
Make small adjustments, go for a drive and test, repeat until the bumpsteer is gone.
.
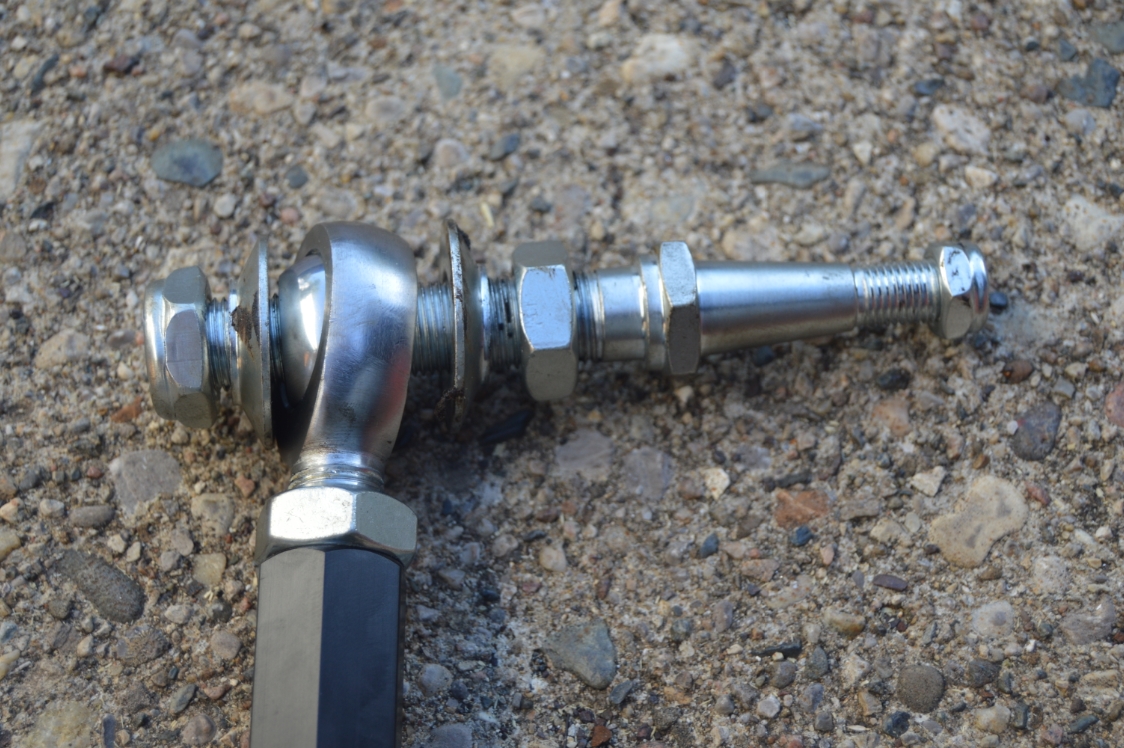
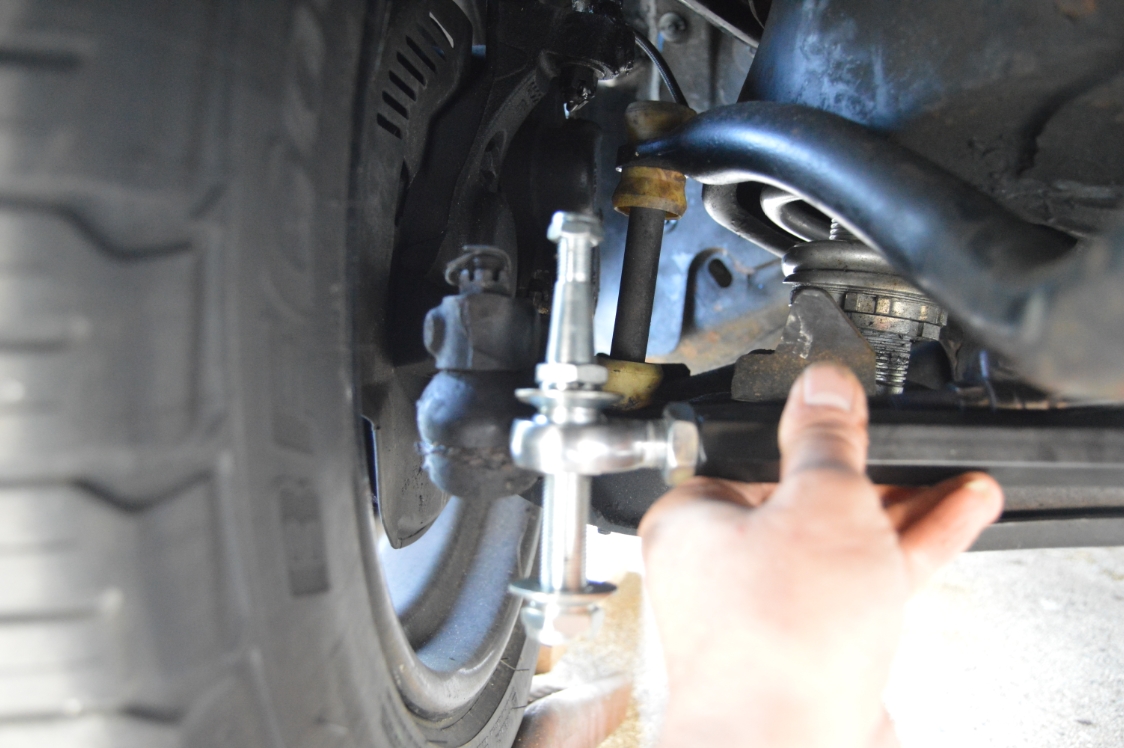
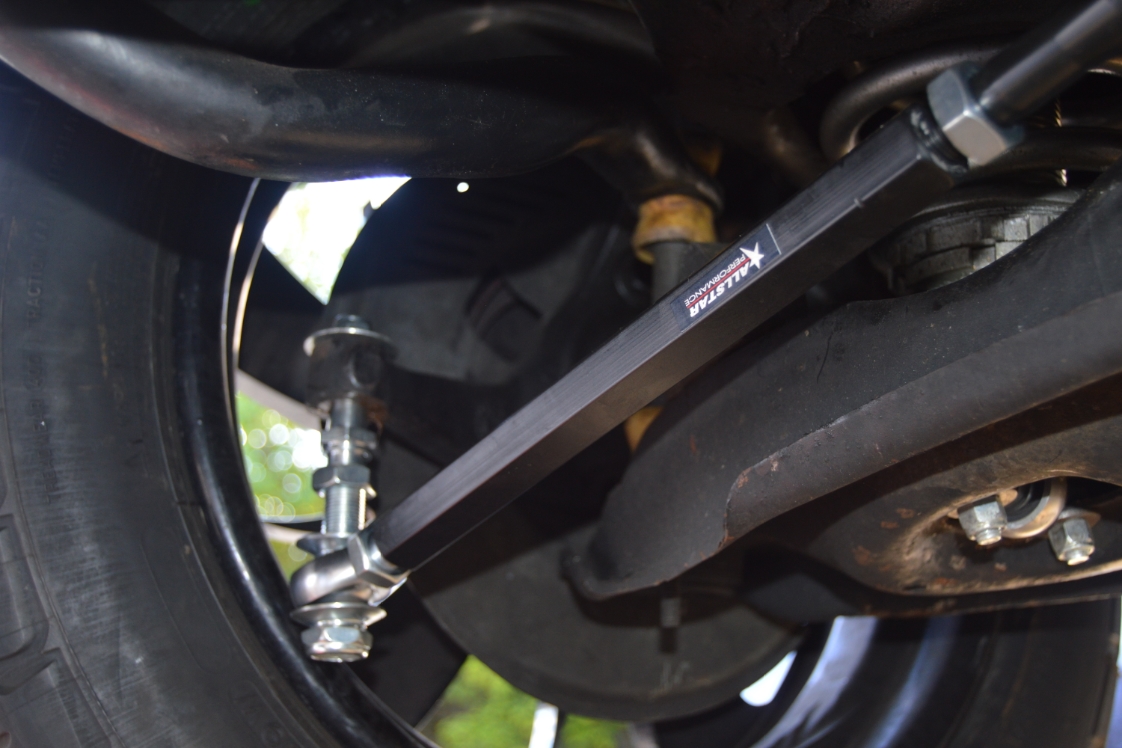
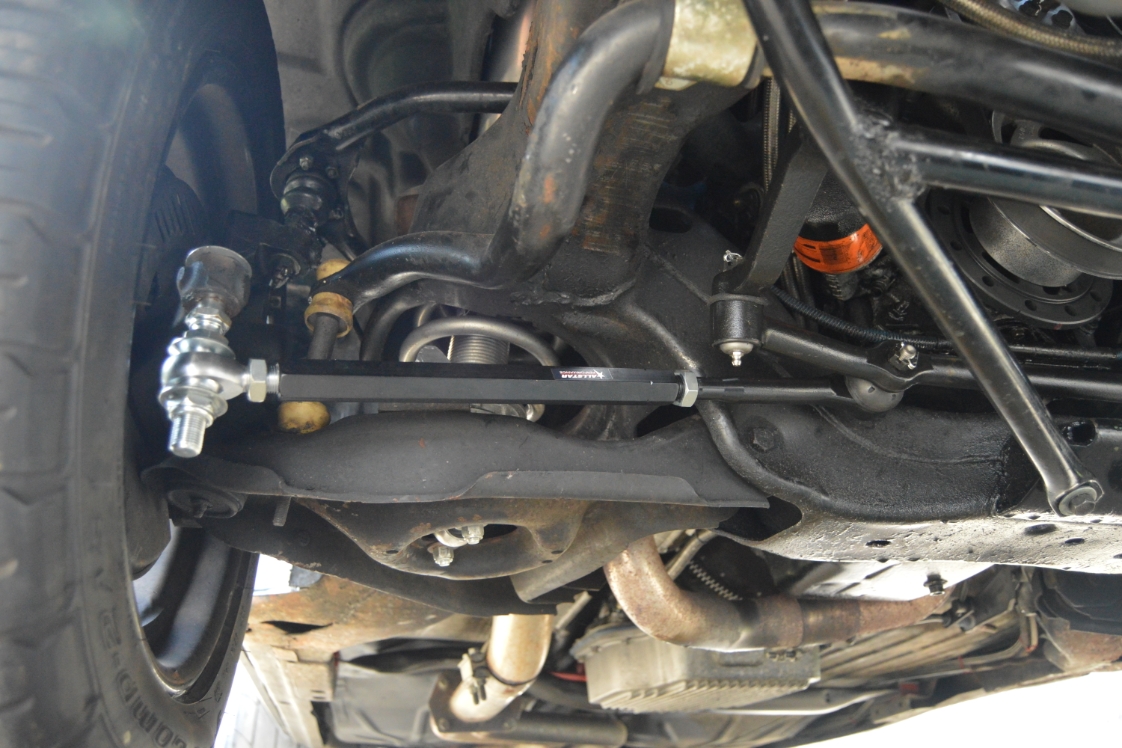
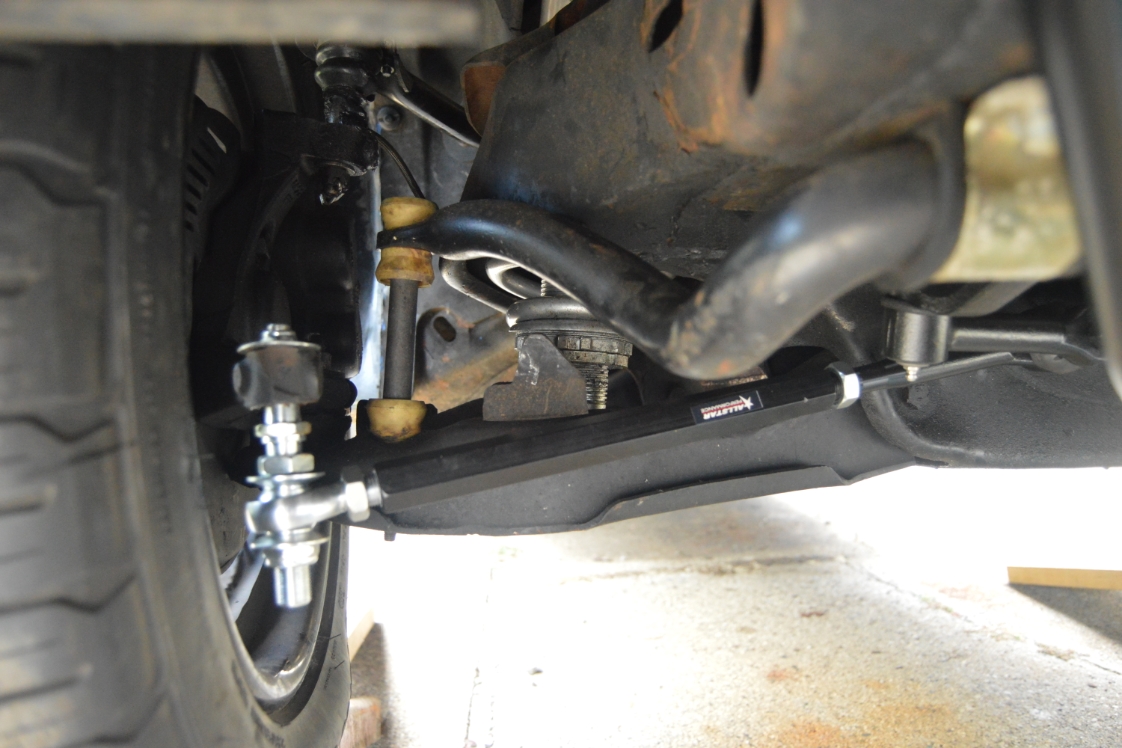
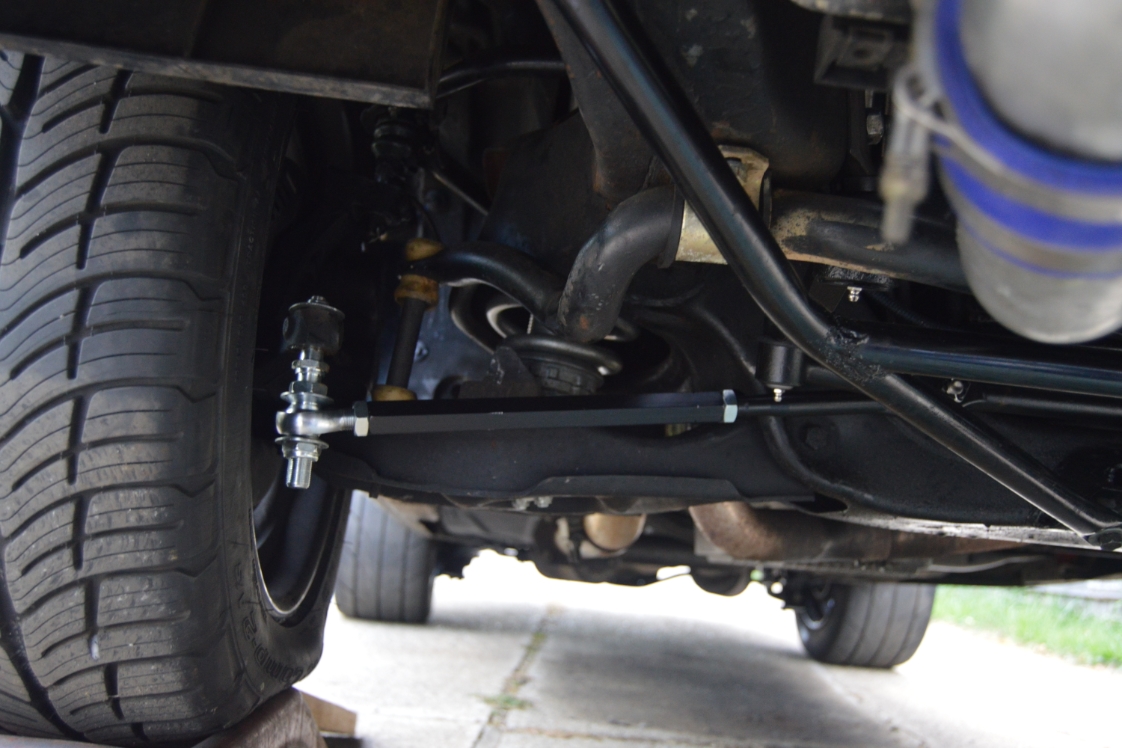
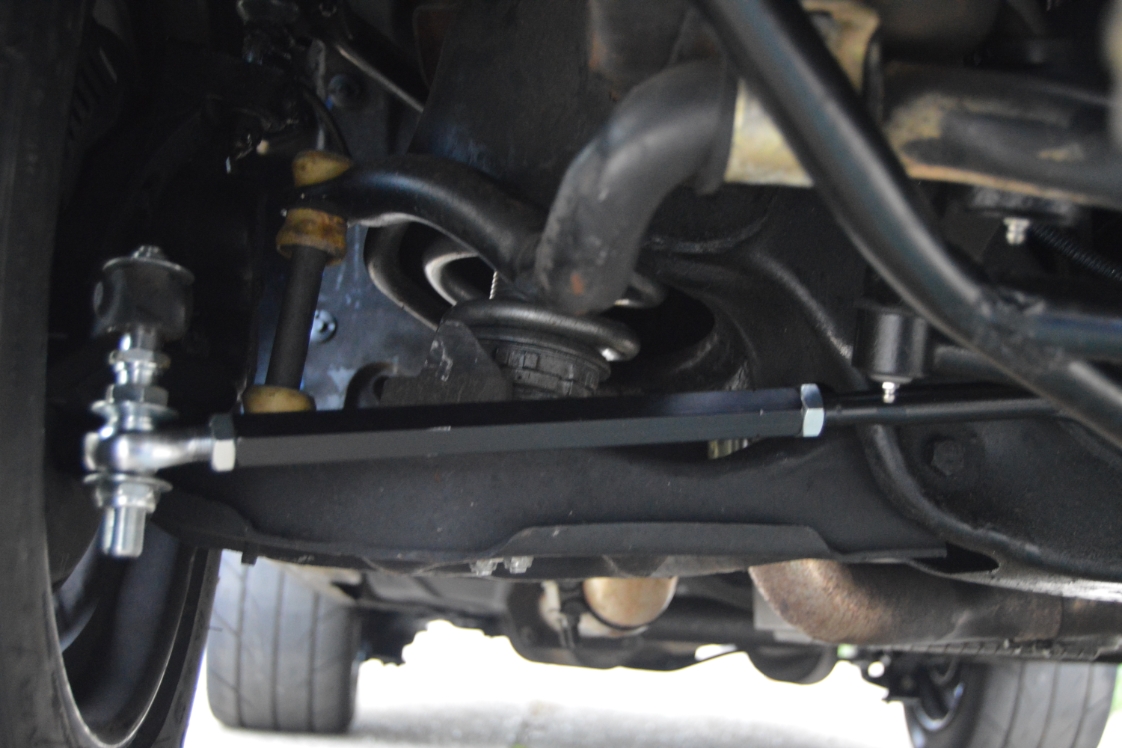
BUMPSTEER KIT INSTALLED:
.
.


