.
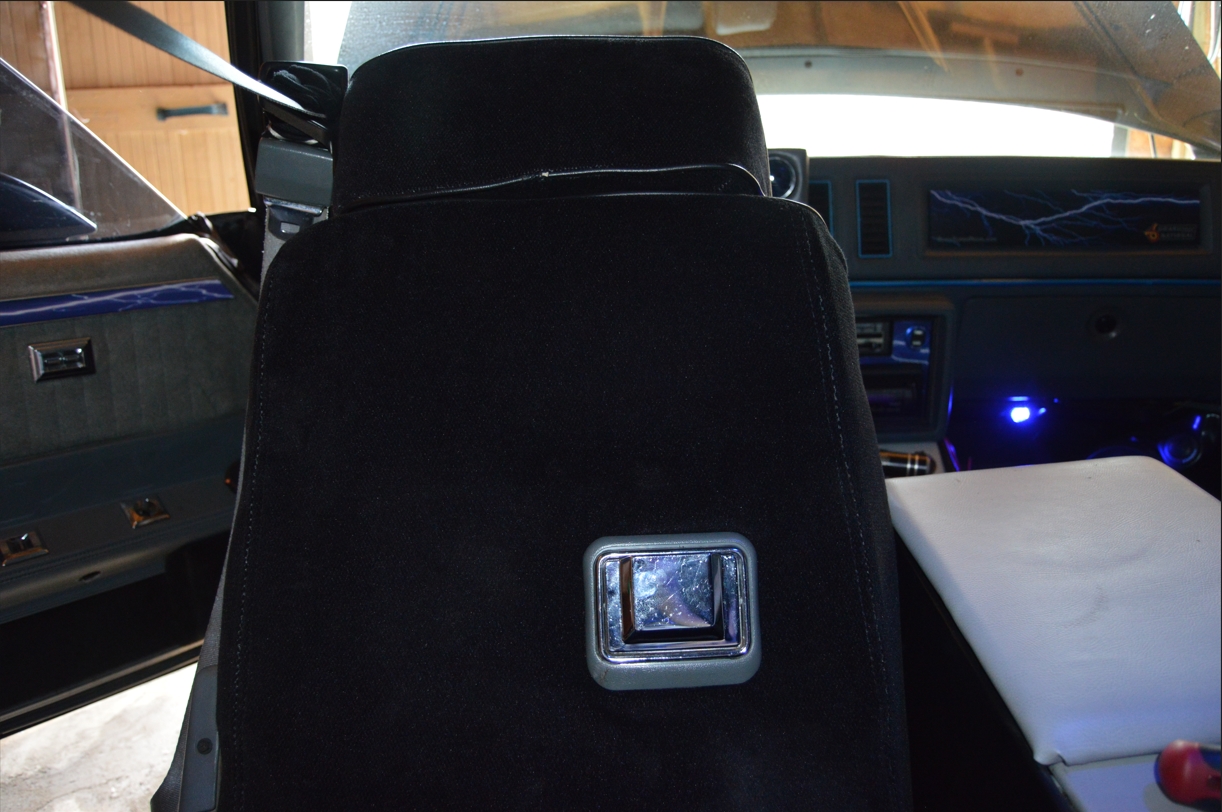
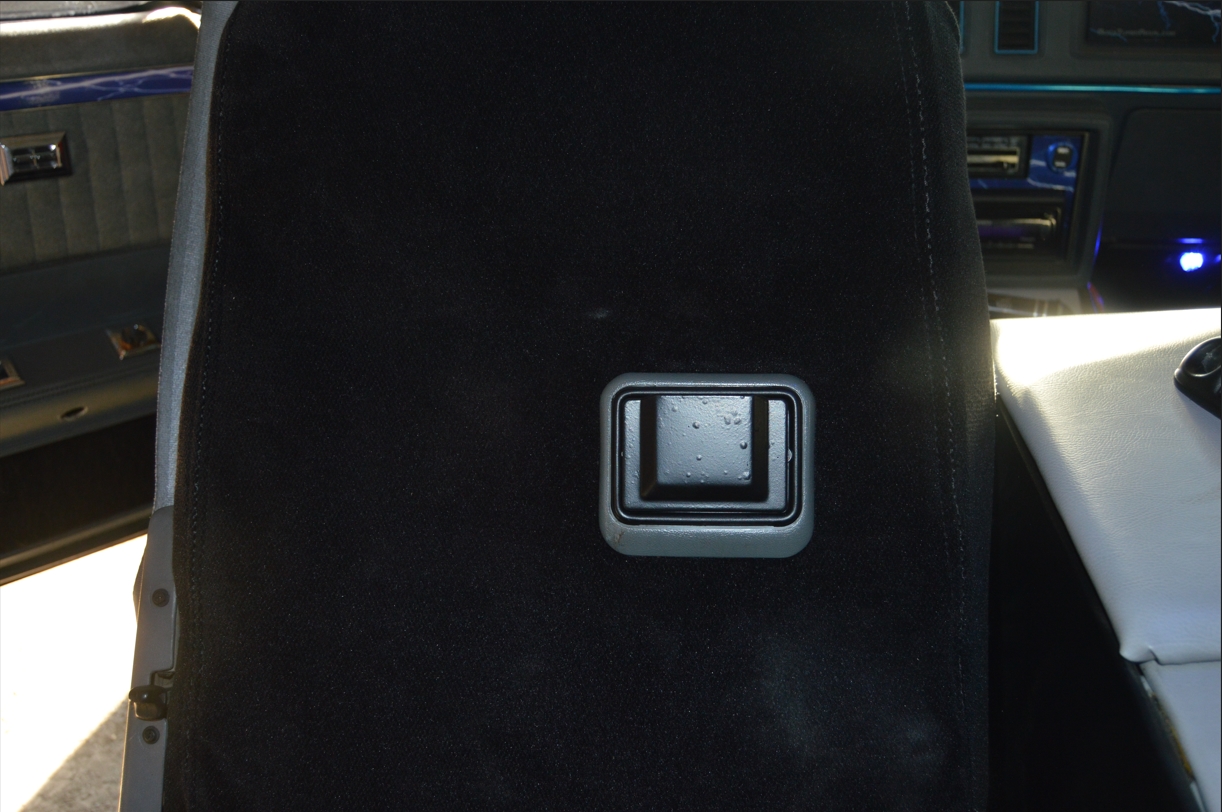
Most Turbo Regal owners usually don’t have rear passengers (except those people who have kids).
On top of that, nobody generally uses the rear seat ash tray as it was originally intended any longer.
[and most Gbody Regal owners don’t allow smoking inside the car anyways, unless of course, it’s the driver, but they ash out the window in most cases]
This item is a faded memory nowadays, but since it can’t be removed (without leaving an empty hole in the seat), it has to remain in the interior.
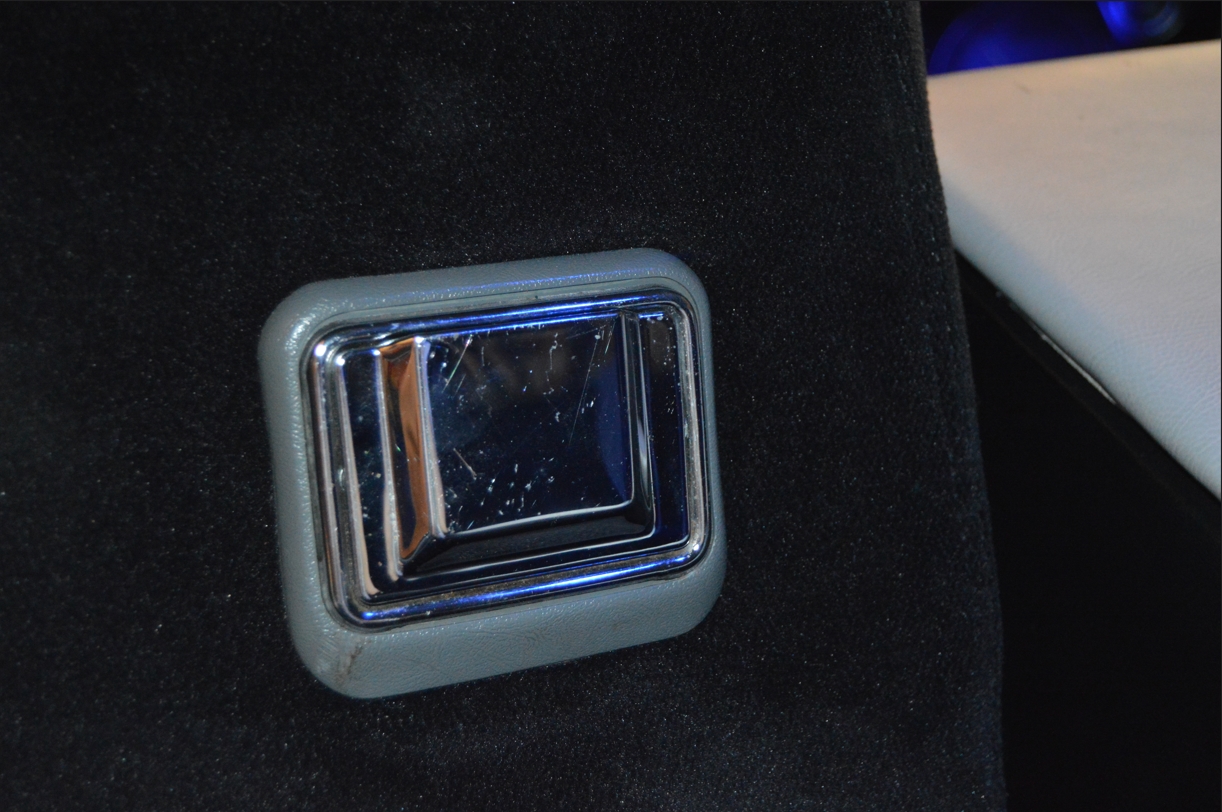
Even though it’s not normally seen by anyone (unless you have backseat riders), we figured since it is a chrome part, we’d give it the same treatment as we’ve been doing with the rest of the chrome items on this 1987 Buick Grand National.
Black it out!
Using plasti-dip, in a black matte finish, will turn this stock chrome unit into a matching part for the Turbo Buick’s interior.
[the plasti dip is the same stuff we are using on the sunvisor brackets, door handles, and dome light housing]
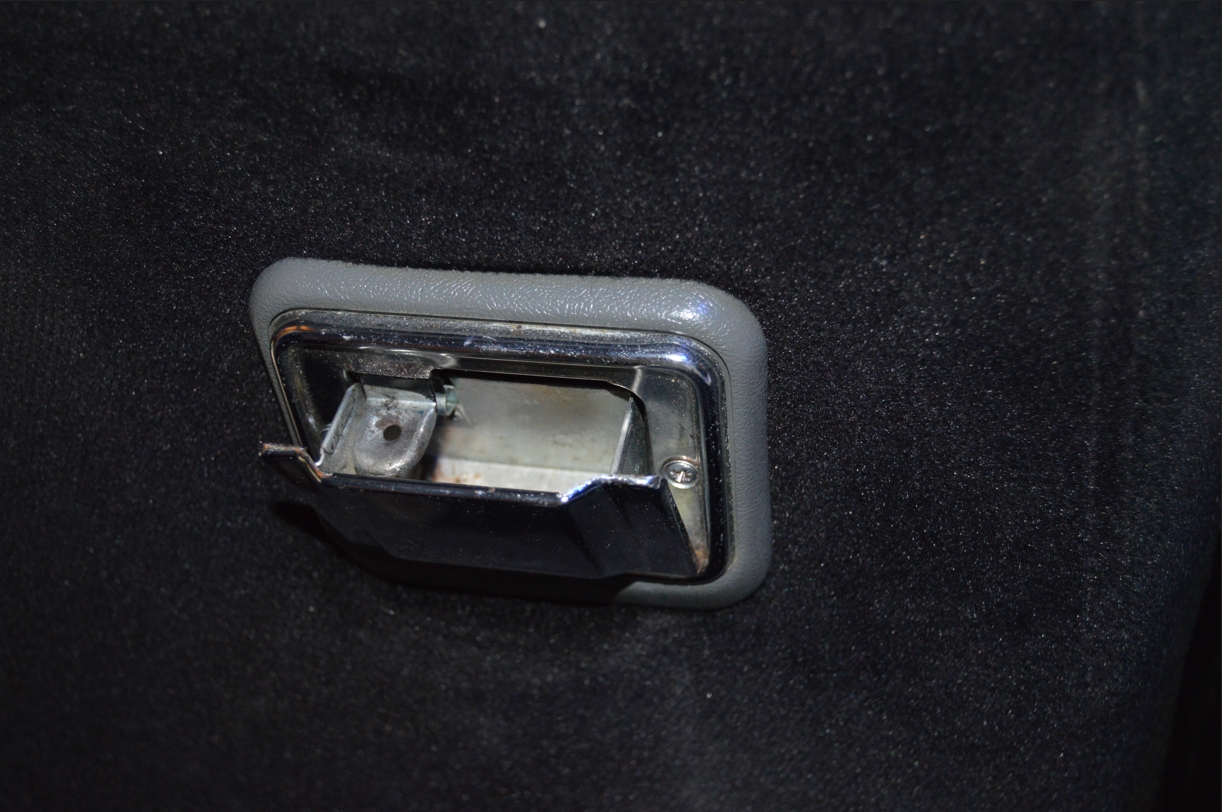
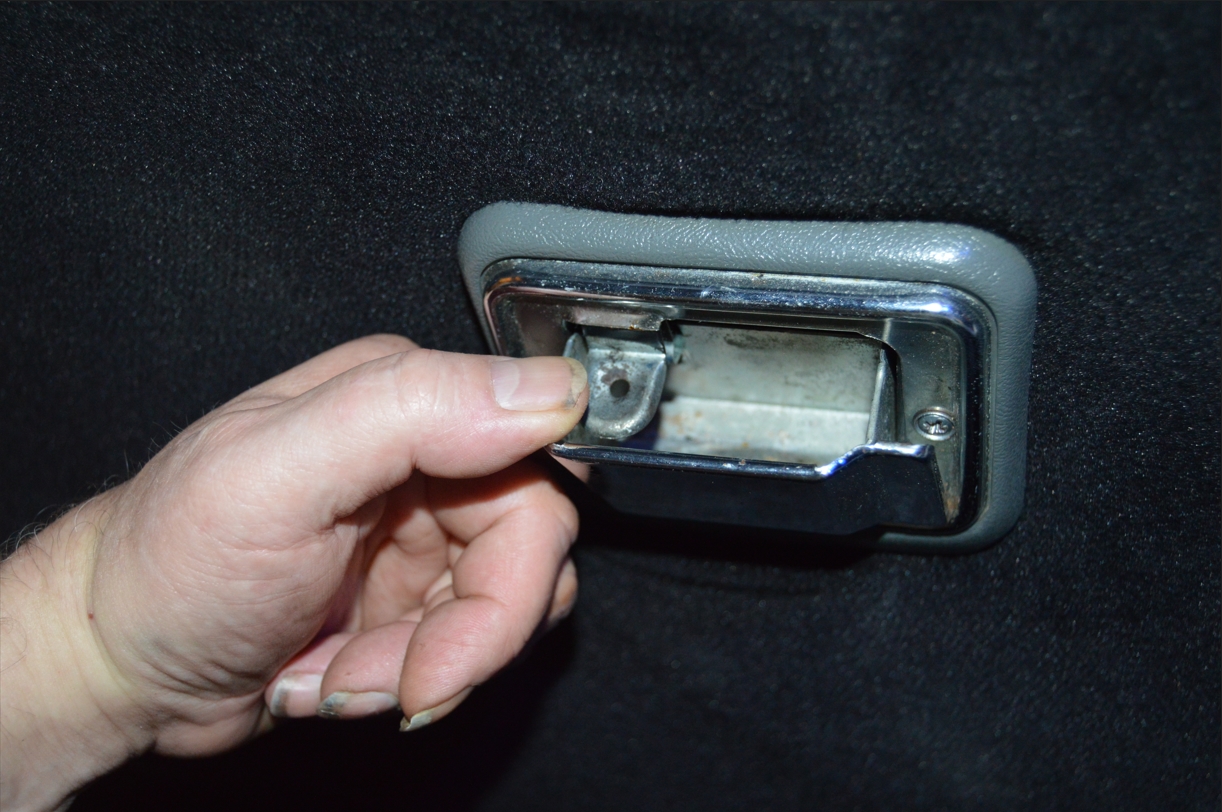
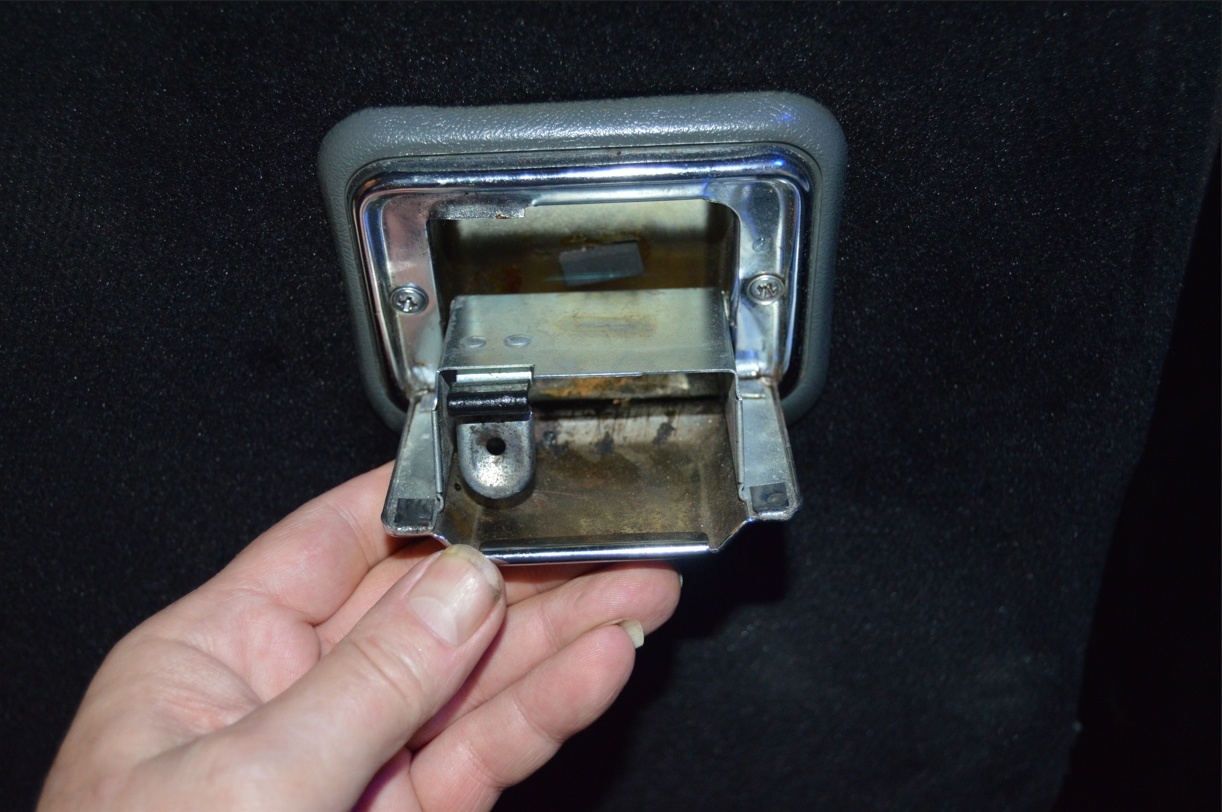
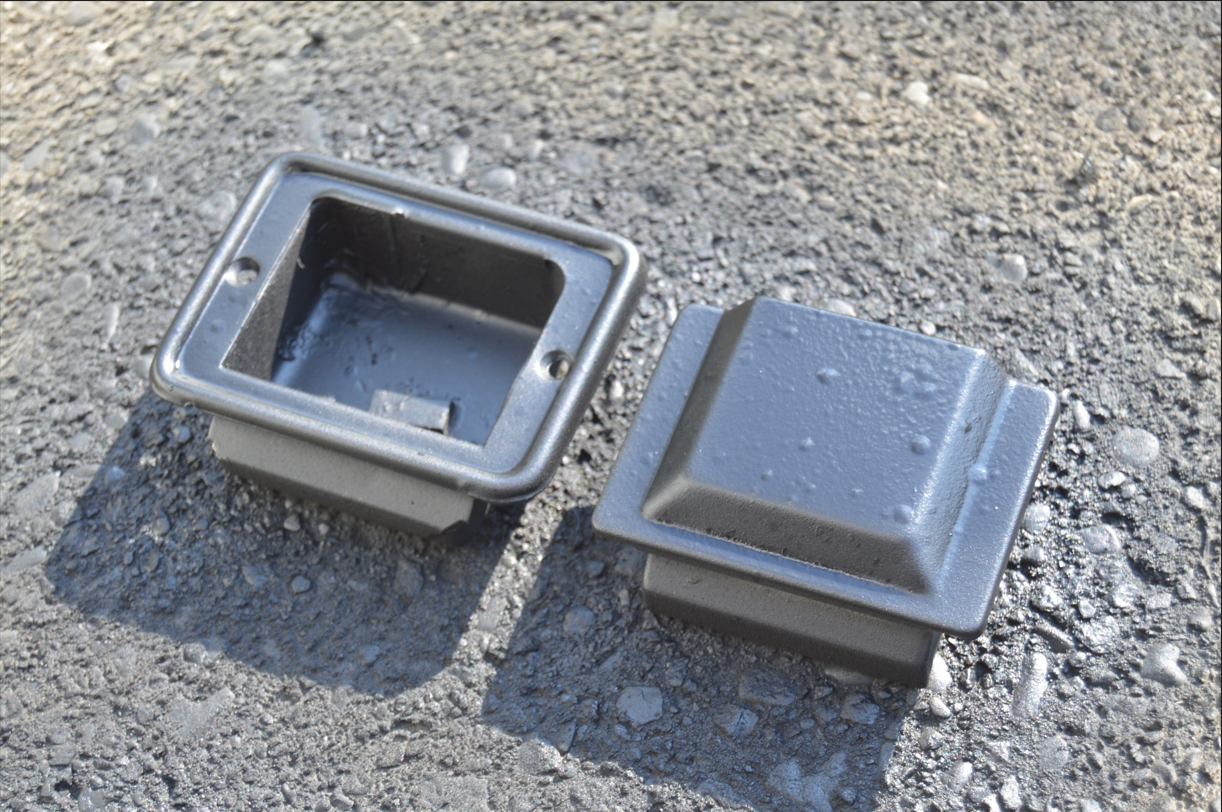
To remove the ashtray, you simply push down on the inside tab (on the left side), then pull it out of the housing.
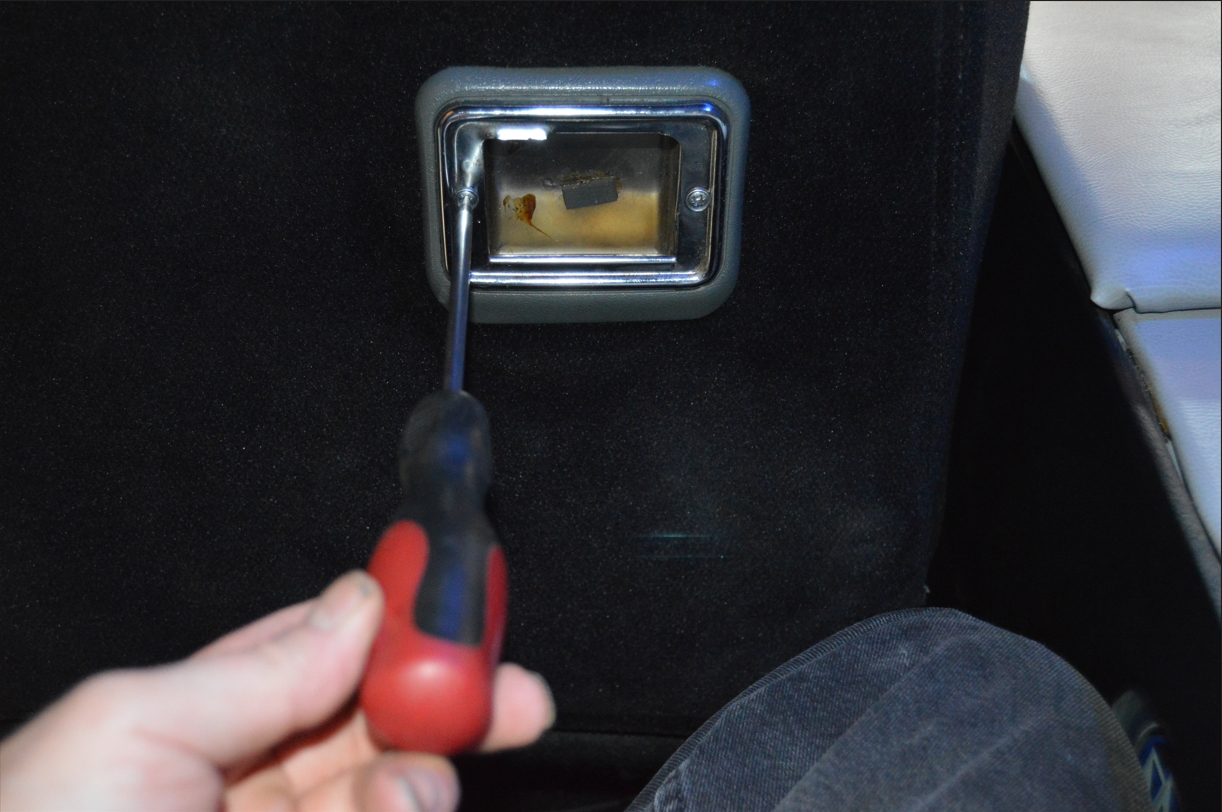
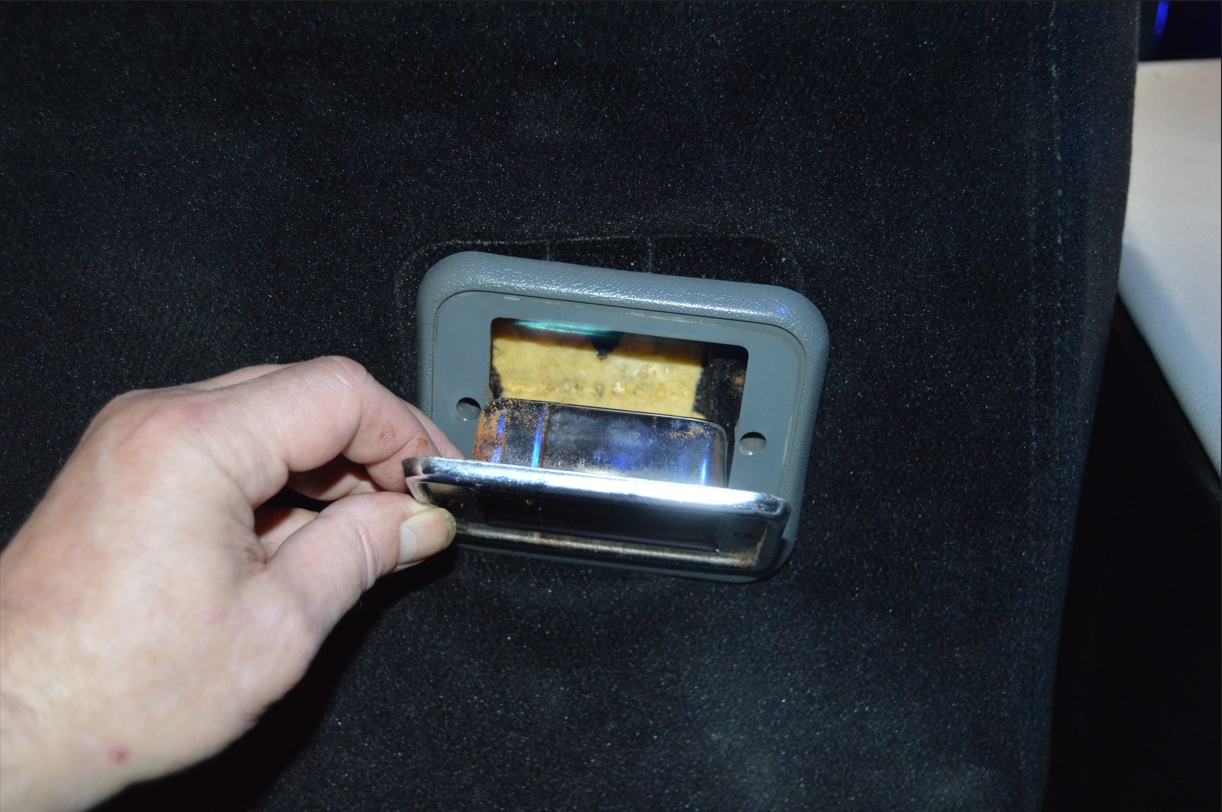
You will also need to remove the (chrome) base that the ash tray sits in.
It’s held in by 2 phillips screws (the chrome type, for which we swapped them out for more of the black interior screws that we used previously).
[note, there’s a cover trim piece that surrounds the entire ash tray assembly, but it’s gray, like the rest of the plastic trim pieces that were installed in the Buick Regals interior from the factory, so leave that part as is]
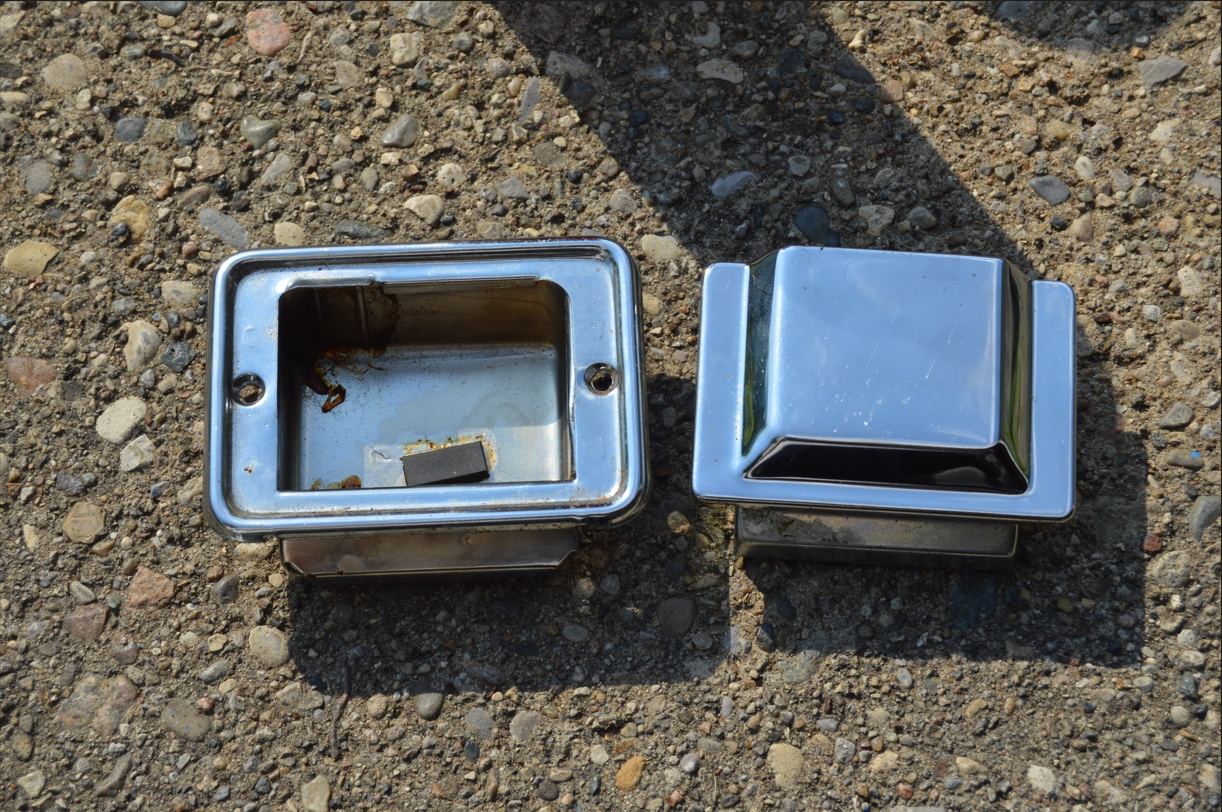
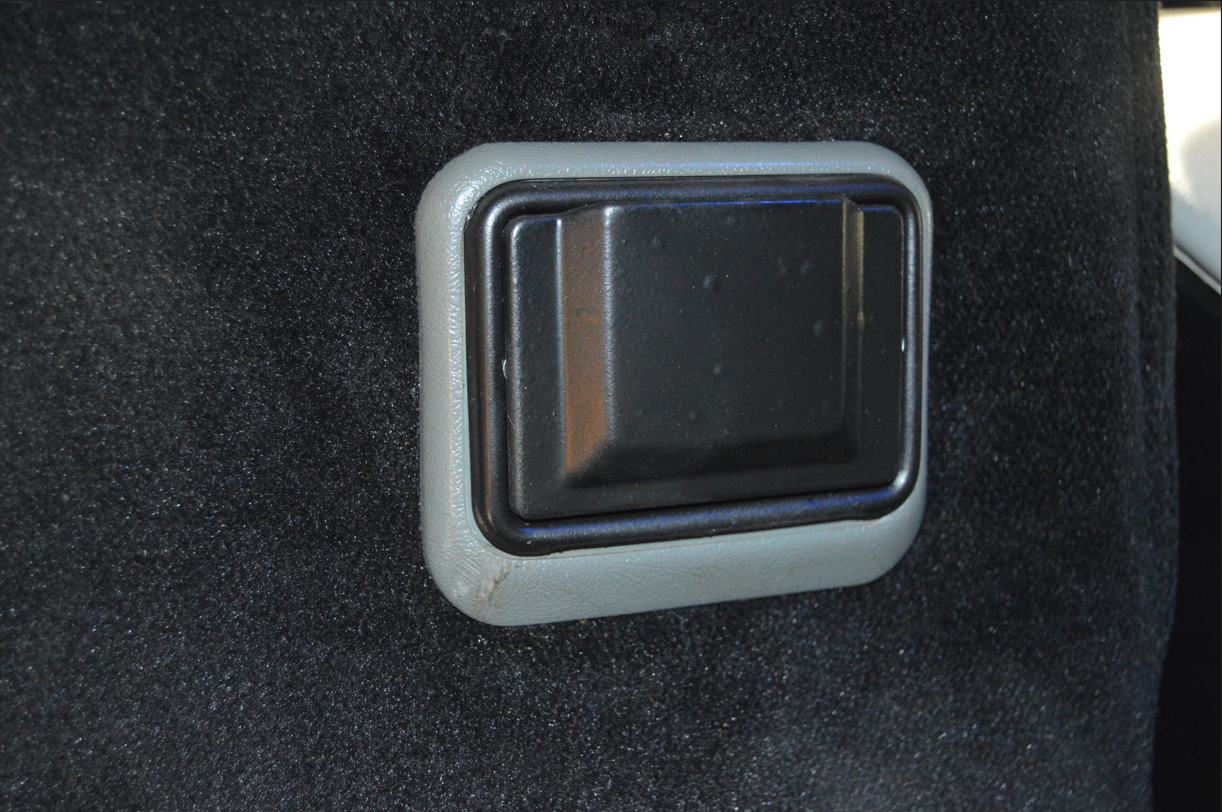
Clean it up real well, scuff it up with a red scotchbrite pad, shoot it with some self-etching primer, topped with a couple coats of the black plasti dip, and voila!
[there’s a bit of paint splatter on the ash tray that you see in all these pics, but after taking them, we took it back out and put a few more coats on it and it levelled out, looks much better now]
Another cool blacked out interior part finished!
Not that anyone will ever really see it, but we know it’s done, so good enough.
(plus, YOU are seeing it right now!)
.

.