


.
These are small items, but since we’re attempting to black out the interior as much as possible, and this is a simple part to replace, we went ahead and did this.
Black screws are a very common product used in numerous vehicles (in ALL of the various auto makers cars).
We had a bunch gathered from over the years from various projects (and assorted stripped cars we did).
Some of these screws are better than others, we prefer the ones that have a large washer on them (it’s integrated right into the screw, not a separate washer).
There’s 48 screws that can be seen inside the Gbody Regal interior.
(did you realize there was this many?!)
Note, there ARE other screws in the interior (holding the dash in place, behind the rear seat, etc.) but none of these screws are actually visibly seen (without moving things or looking under things), so we didn’t bother swapping most of those out.
Also, we are performing this task on a hard top 1987 Buick Grand National.
The t-top versions will have 16 more screws, as there’s at least 2 on each of the 8 trim pieces that surround the t-tops!
Here’s the locations of the visible screws:
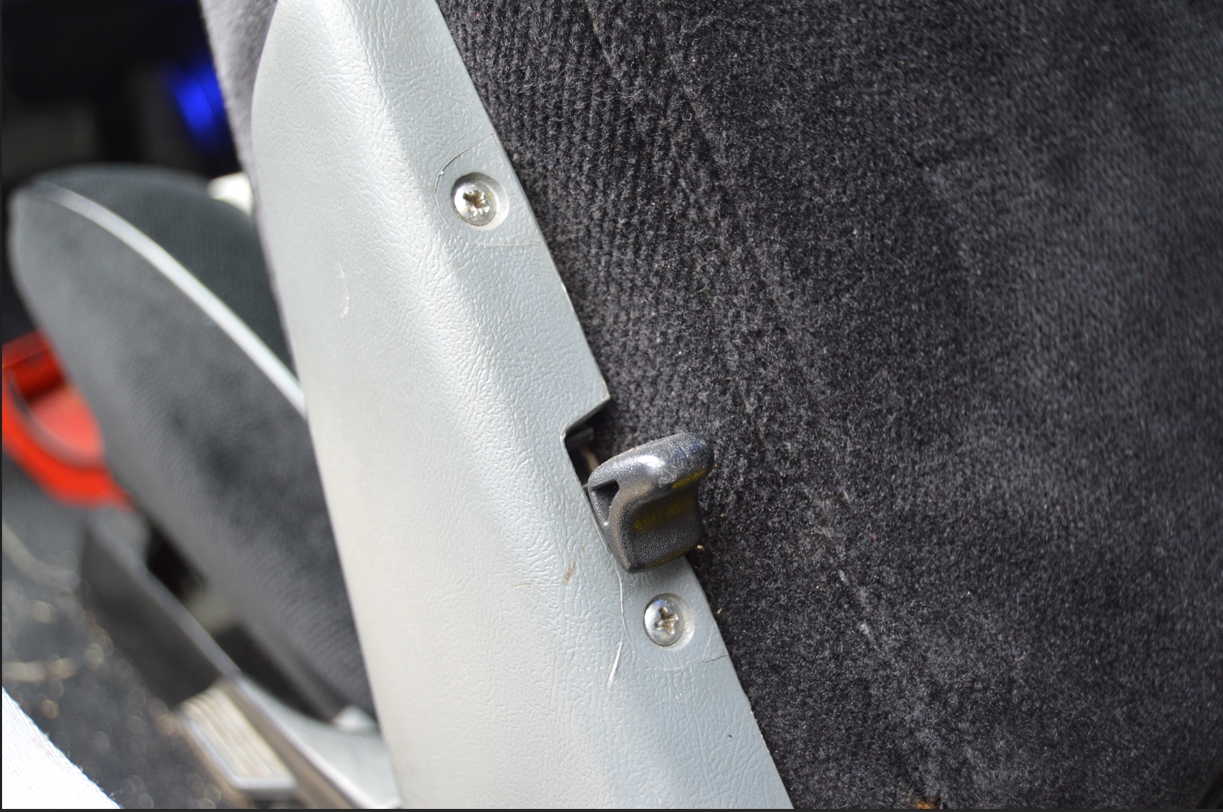
(4 total) 2 on the trim piece on the backside of the front seats.
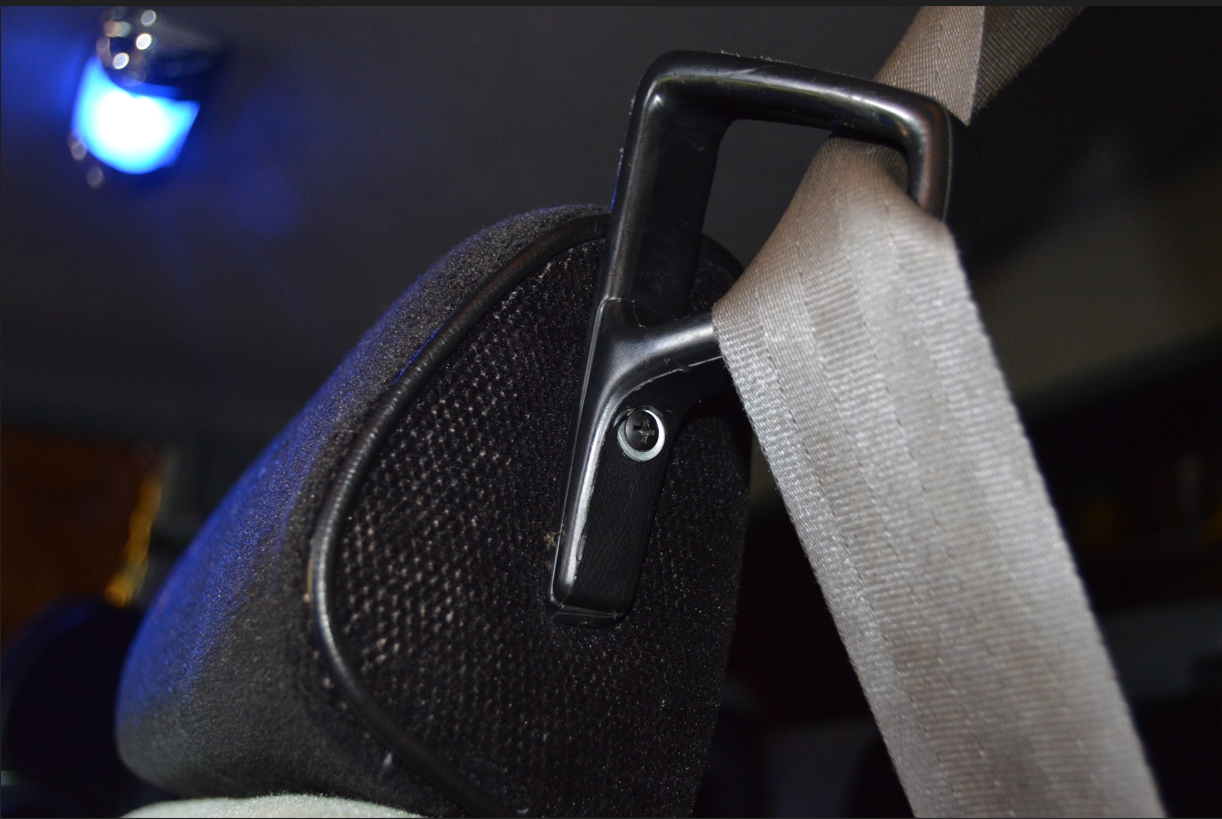
(2) 1 on each seat belt guide (attached to the seat at the top).
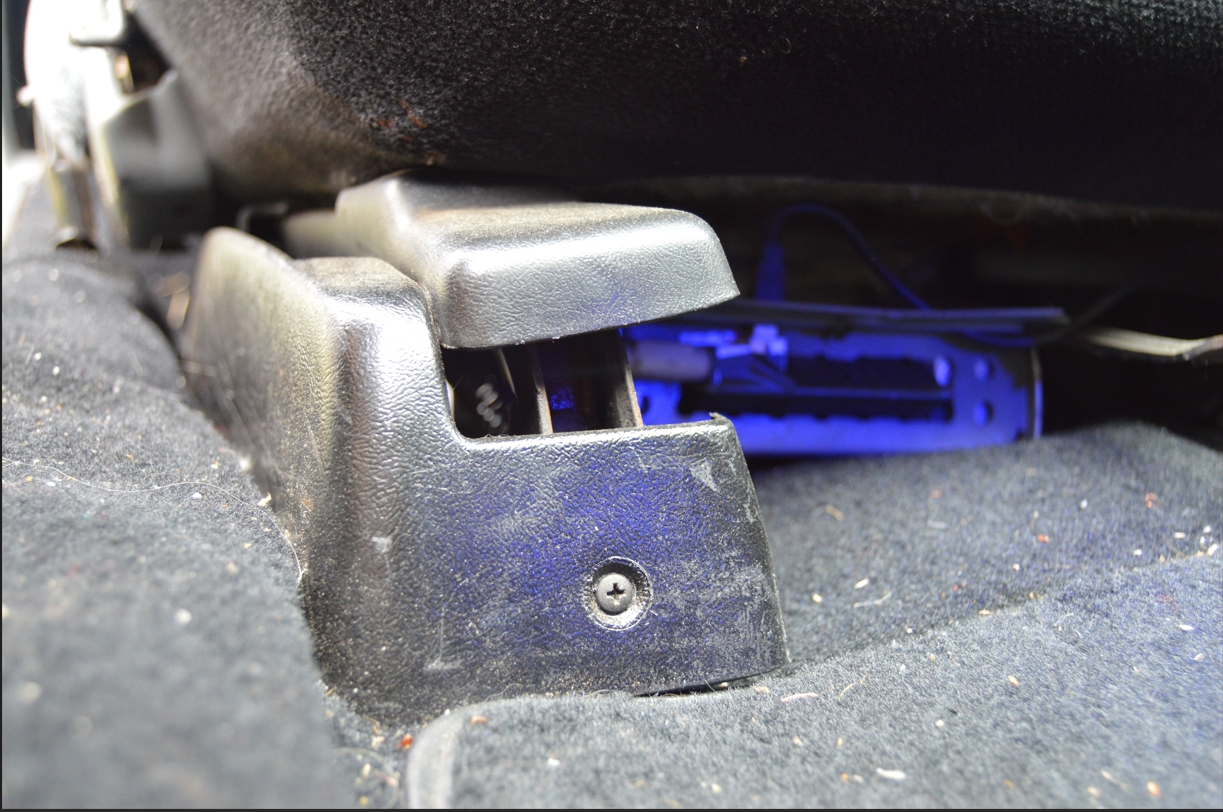
(8) 4 on each seat, for the seat track cover (near the floor).
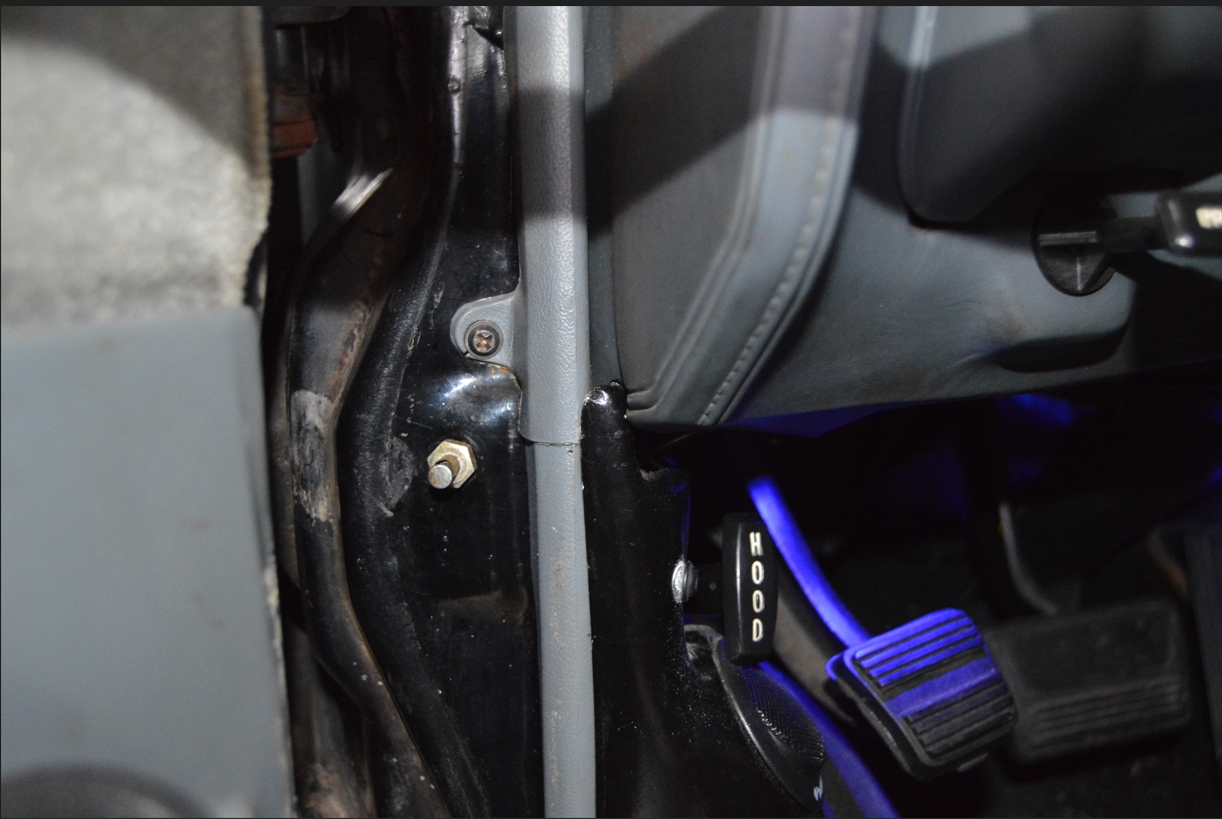
(8) 4 on each doorsill
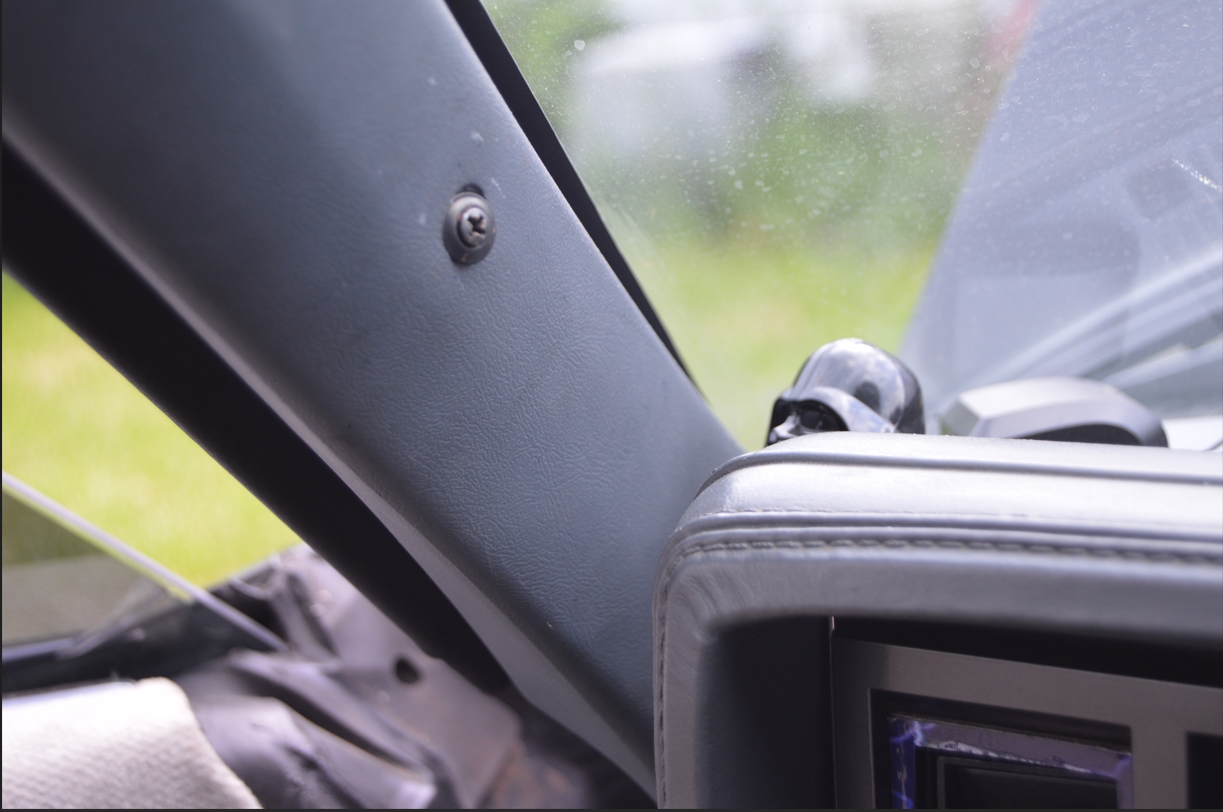
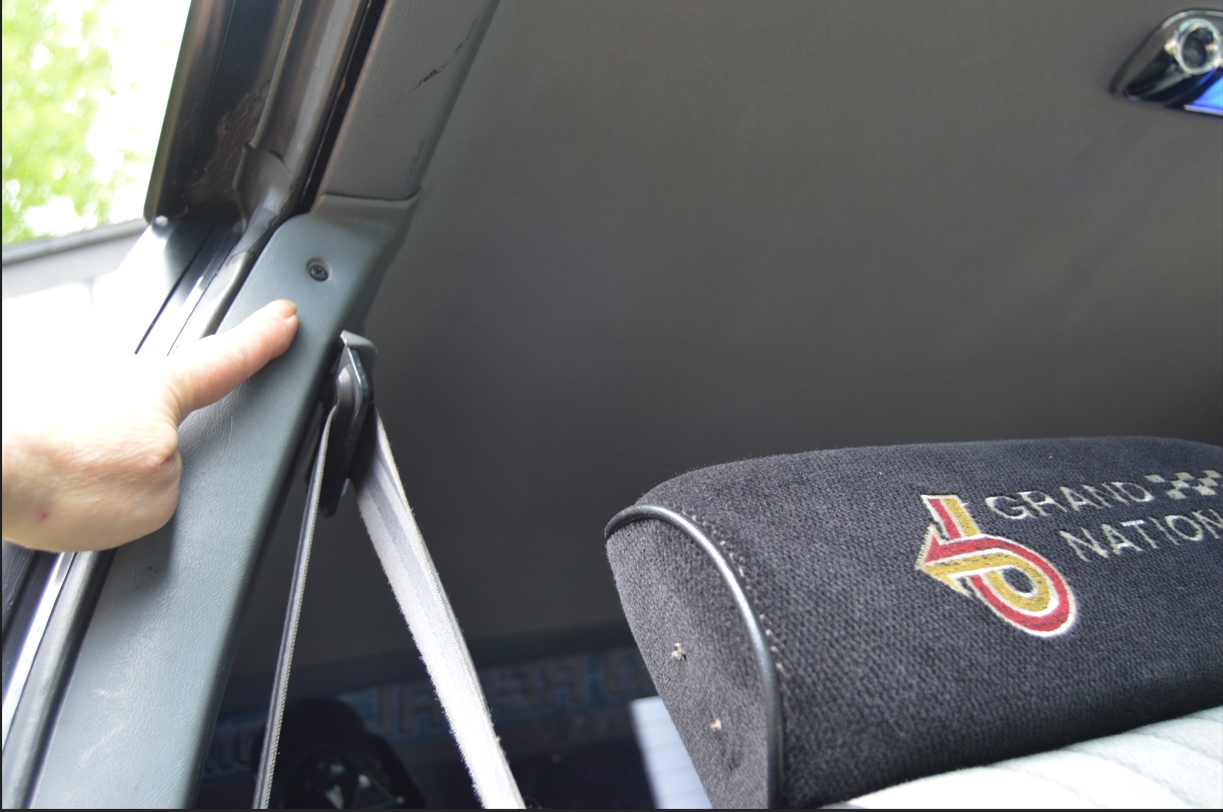
(6) 3 on each of the A pillar trim panels (2 by the windshield, 1 in the door channel)
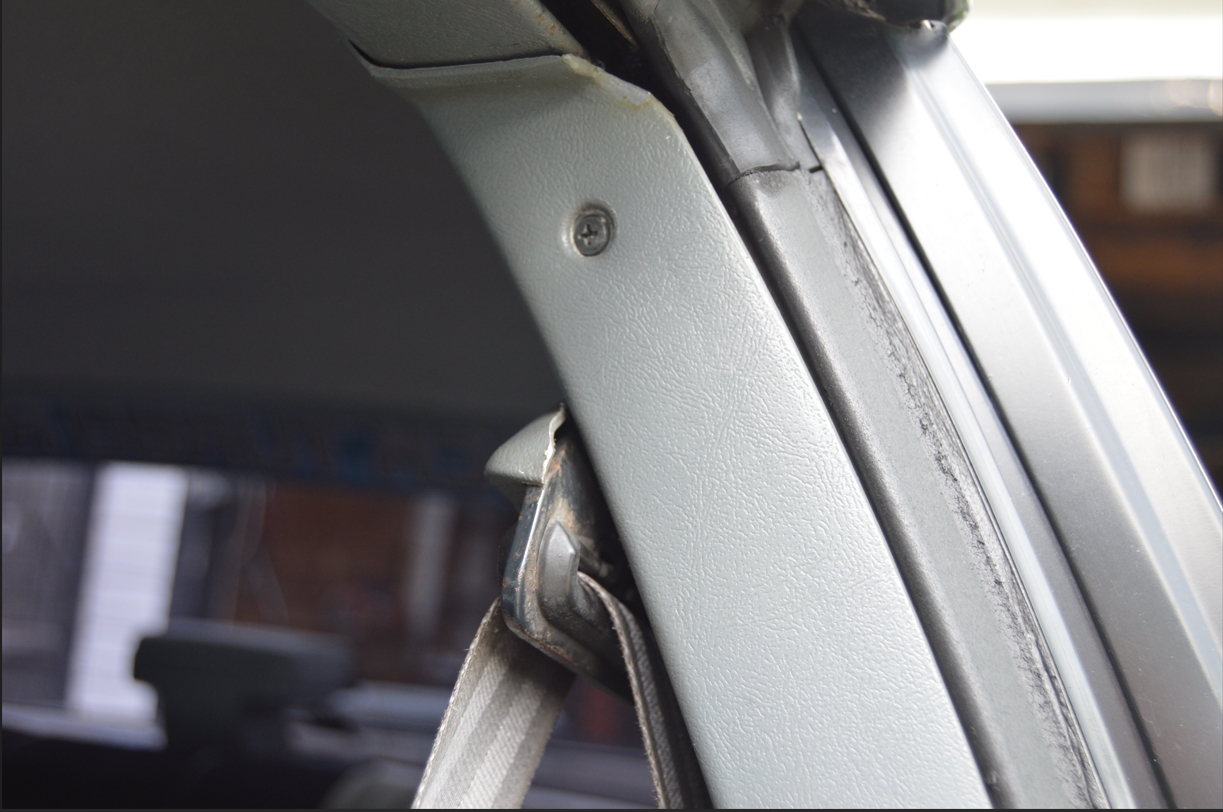
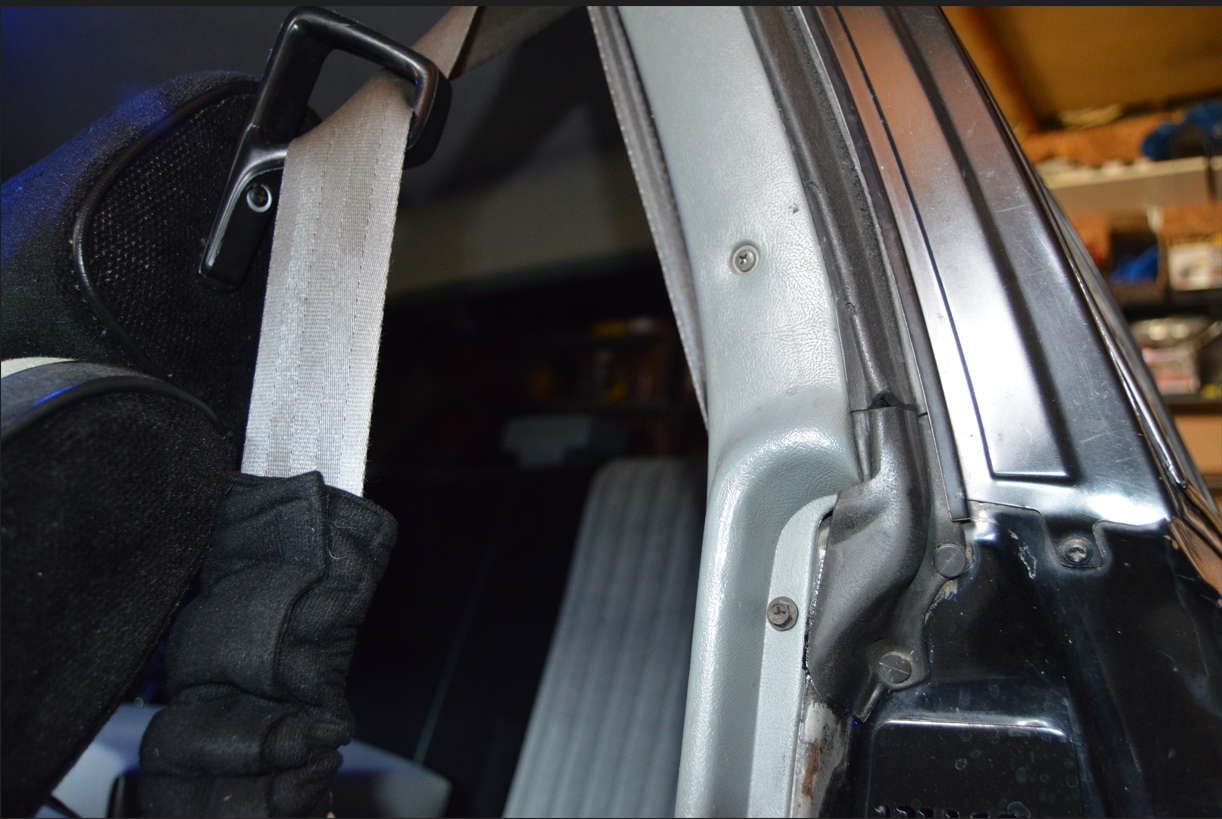
(8) 4 on each of the front side of the quarter window trim panel (B panel, in the door channel)
[the other 2 screws that holds this entire panel in place is behind the rear seat; 1 towards the top of the seat, 1 towards the bottom]
(6) 3 on each of the sun visors (on the bracket)
[there’s also 1 holding the visor onto the bracket (on the pin/rod) on each side]
(2) 1 in each coat hook.
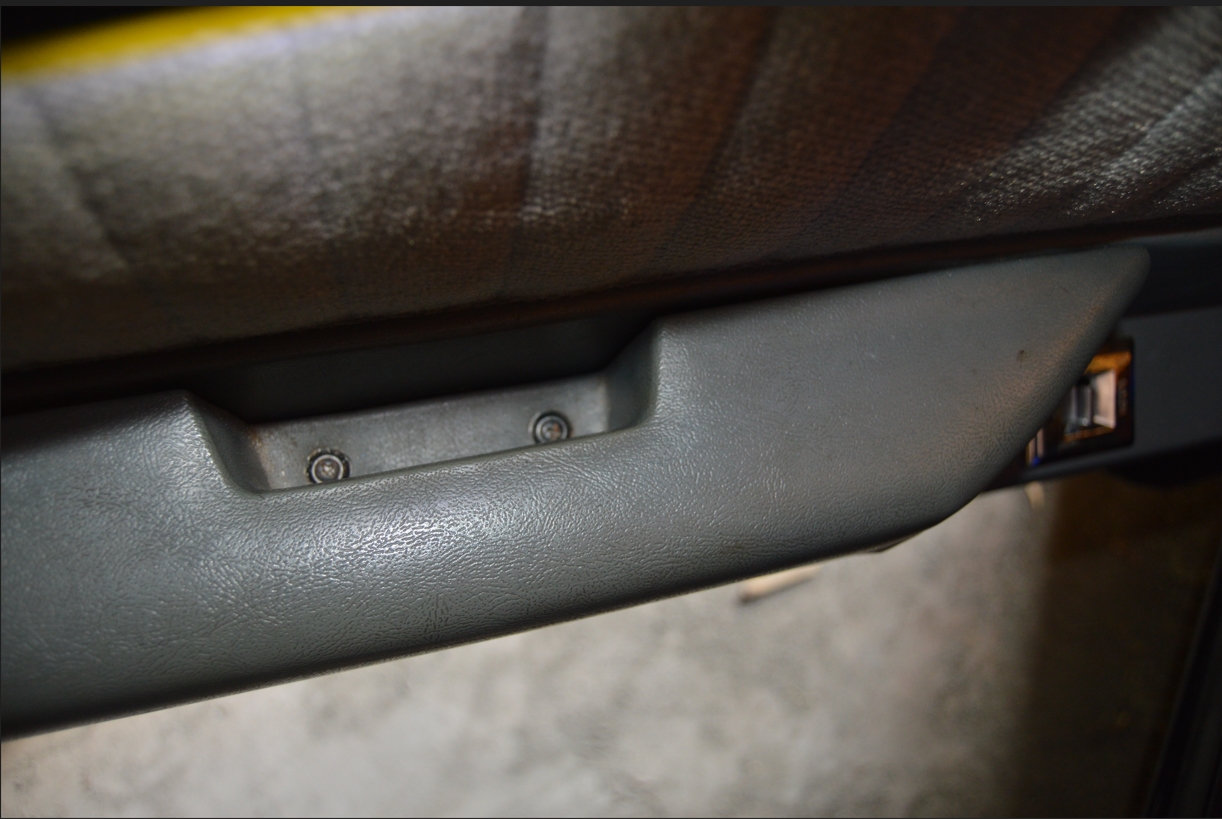
(4) 2 in each door armrest
(2) 1 on each side of the top rear window trim panel
[There’s also 2 visible screws in the third brake light, but ours were already black, and we think they all come this way]
With a handful of these screws, start on 1 side of the Turbo Regal and work your way over to the other side.
In less than 15 minutes, all of them will be replaced.
.
.


