.
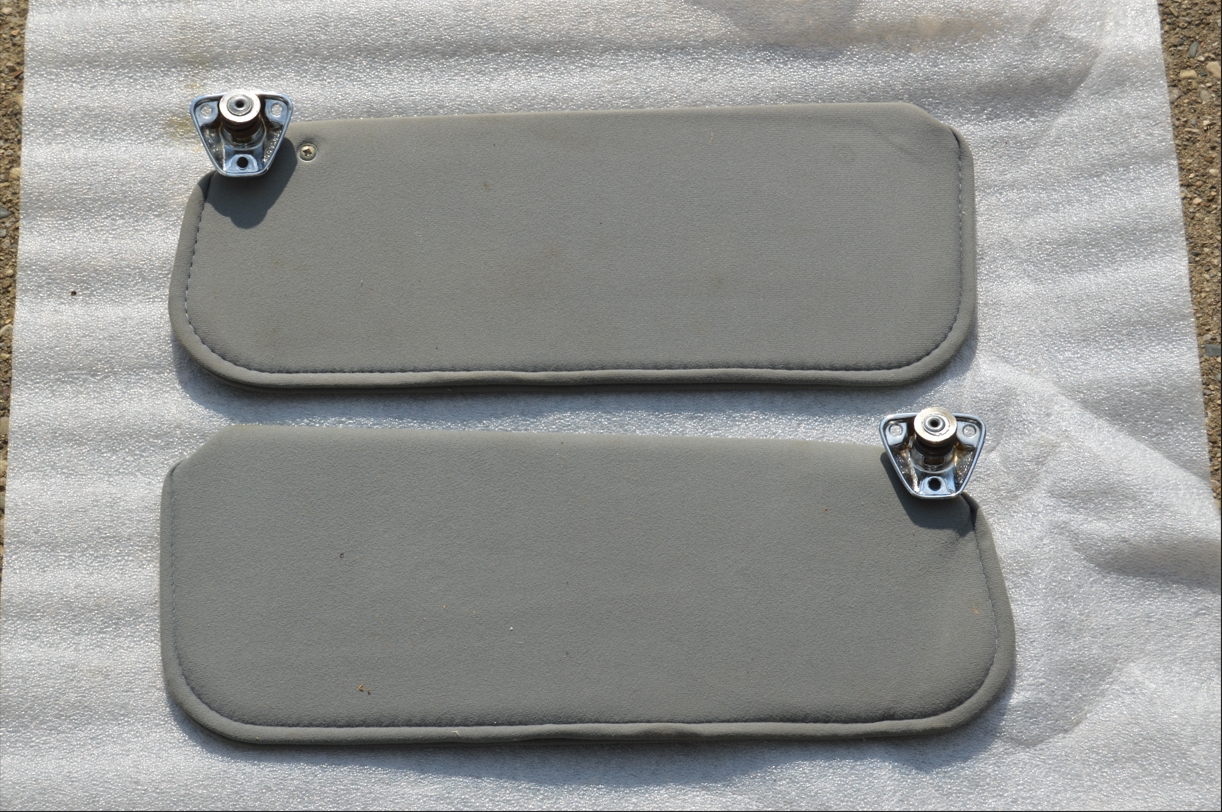
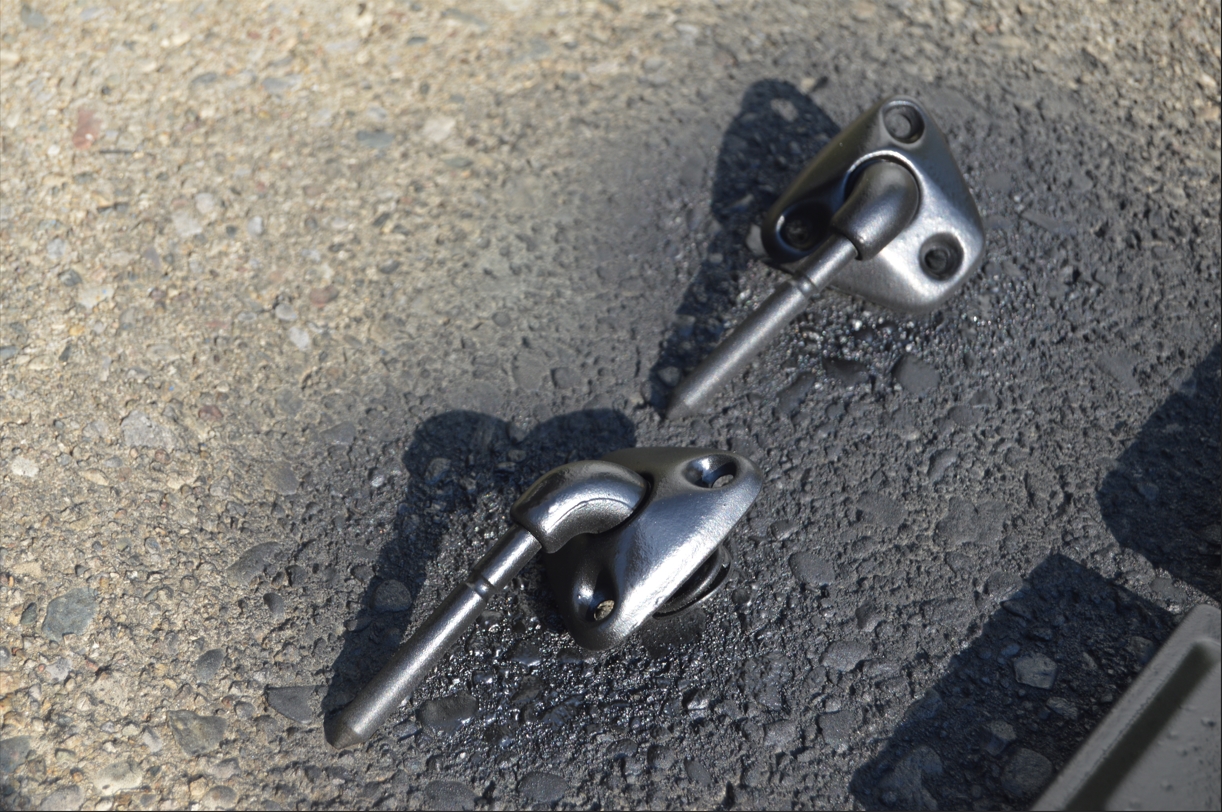
The OEM sunvisor brackets are chrome in all of the Turbo Regals.
The screws are also chrome.
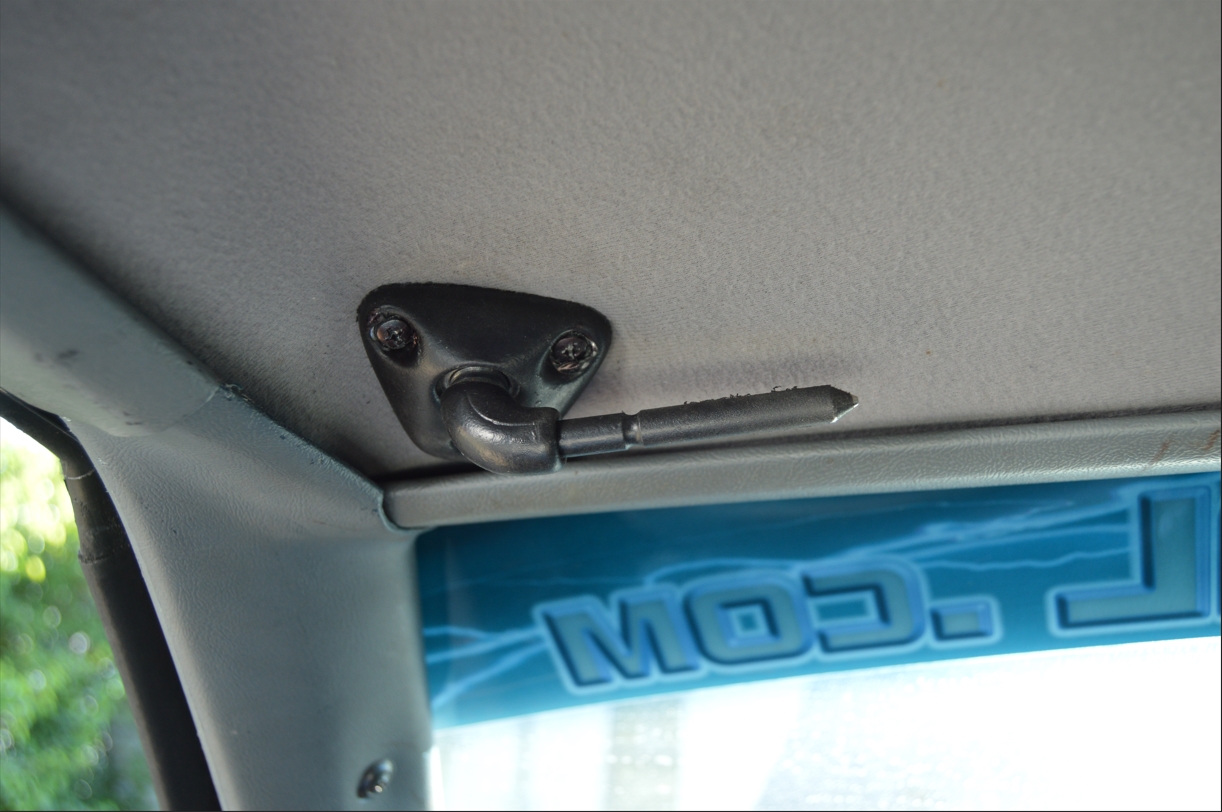
The current series of posts we’re doing involve blacking out all of the chrome that’s found on the inside of this 1987 Buick Grand National.
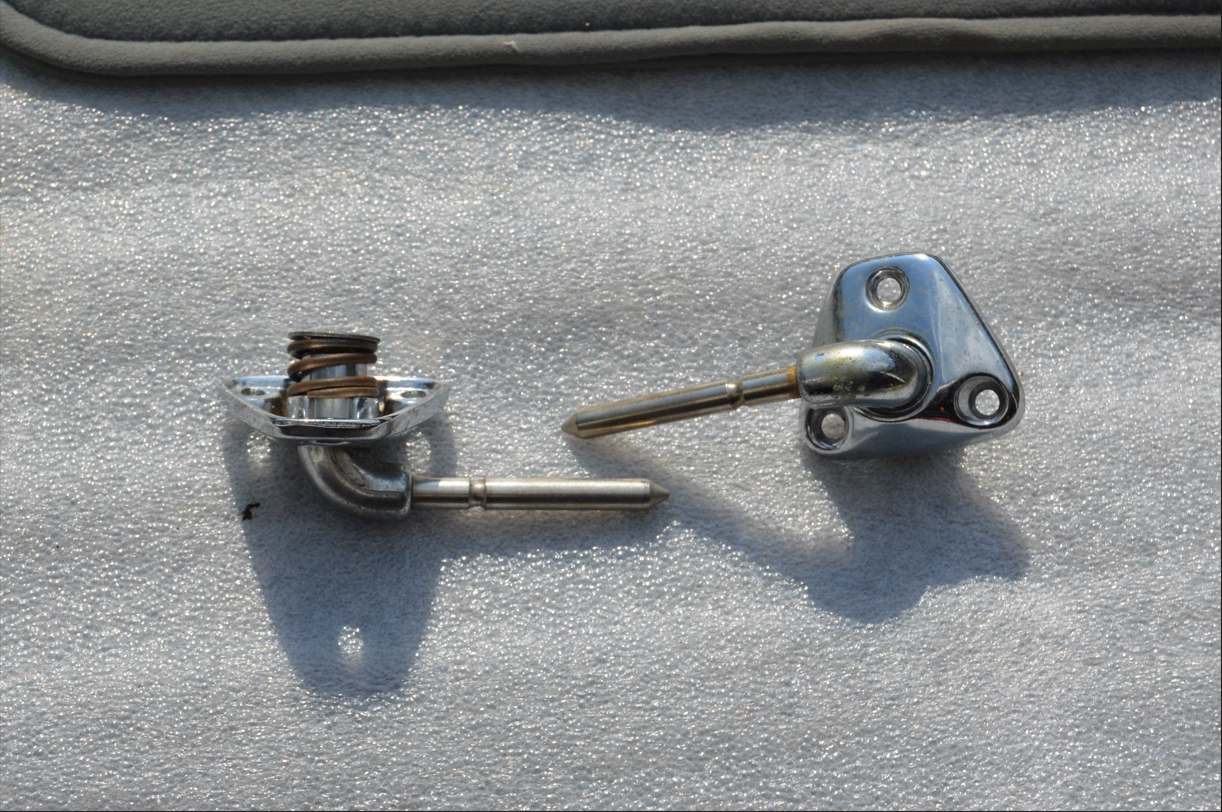
If you need to replace your brackets for some reason, there are just 3 screws that hold the bracket to the roof.
[and just FYI, the fat squarish part on the bracket gets placed nearest the a-pillar, on both sides of the car]
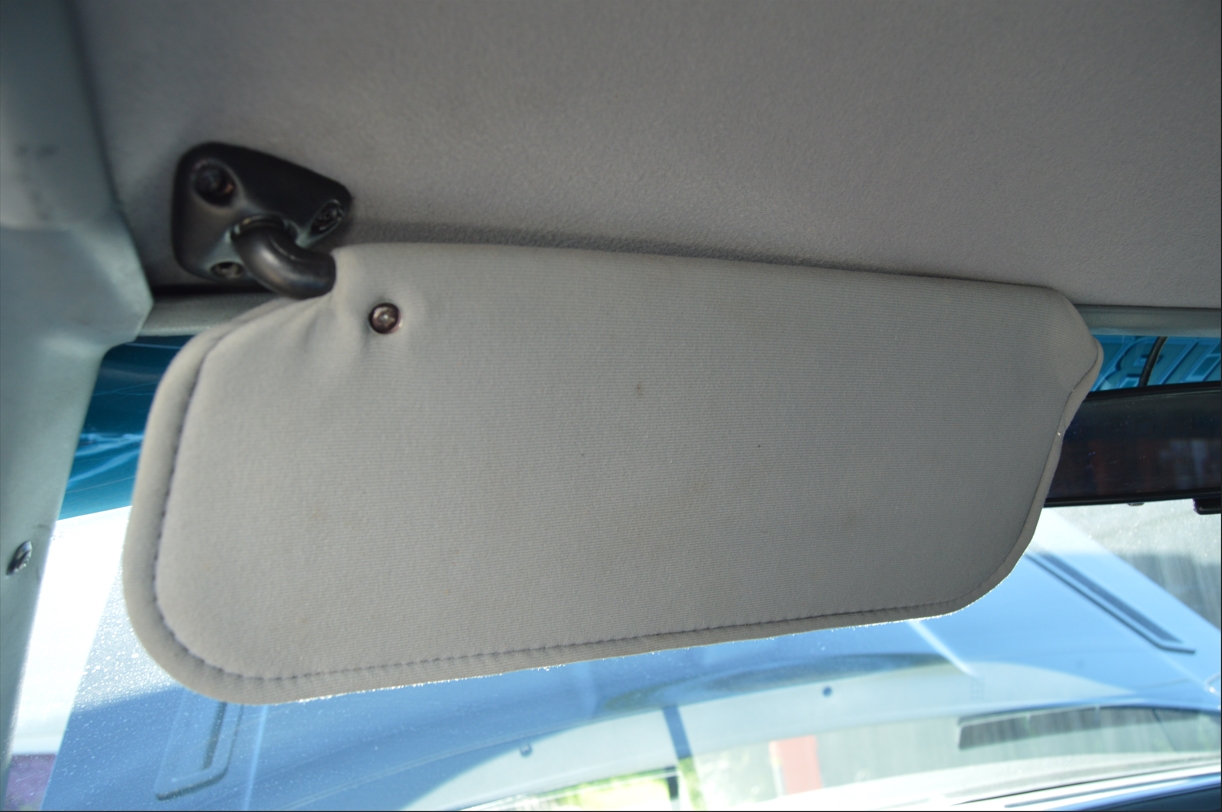
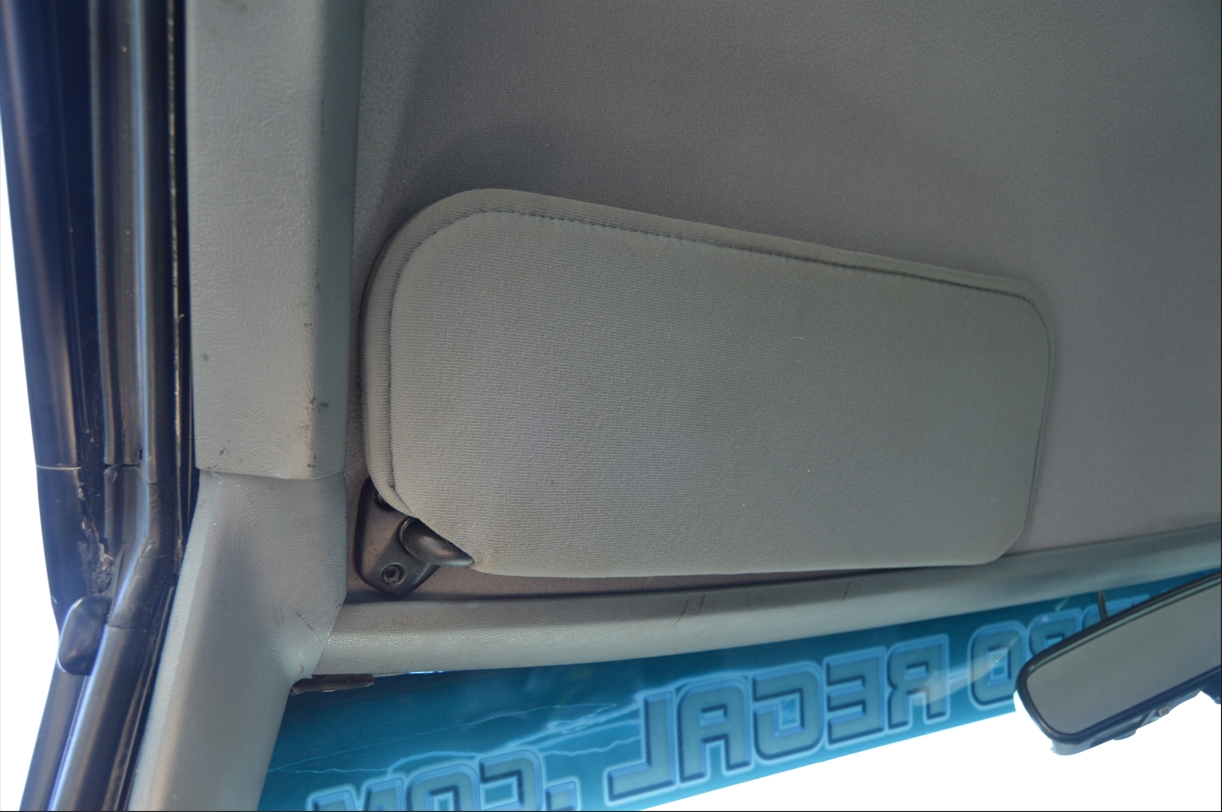
[BTW, if your sun visors are simply falling down, it’s NOT the bracket that needs replacing. Try tightening the 1 screw that’s ON the visor first. If that isn’t the solution, you probably need to replace the plastic sleeve that actually holds it up]
The actual visor is held onto the bracket by 1 screw (which jams into the plastic sleeve that slides on the pin of the bracket; this sleeve is located inside the visor).
[just FYI, the visors are actually the same exact part on both sides of the car, they are just flipped. On the drivers side, the screw that holds the visor to the bracket, faces up, meaning when the visors are up, the screw faces the headliner. On the passenger side, the screw faces the floor]
Performing this task for us is a bit easier, as this Turbo Regal didn’t have the sunvisors reinstalled after the headliner was replaced (many years ago), so they were just sitting in a box waiting for us to reinstall them.
[we did have to remove the brackets from the visors, as they were stored that way, but no biggie, unloosen the 1 screw that holds them together & it’s ready to modify]
[we suppose that since we haven’t needed the sun visors in the last decade, we probably don’t need them at all, but since we have them, now seems like a good time to put them back on]
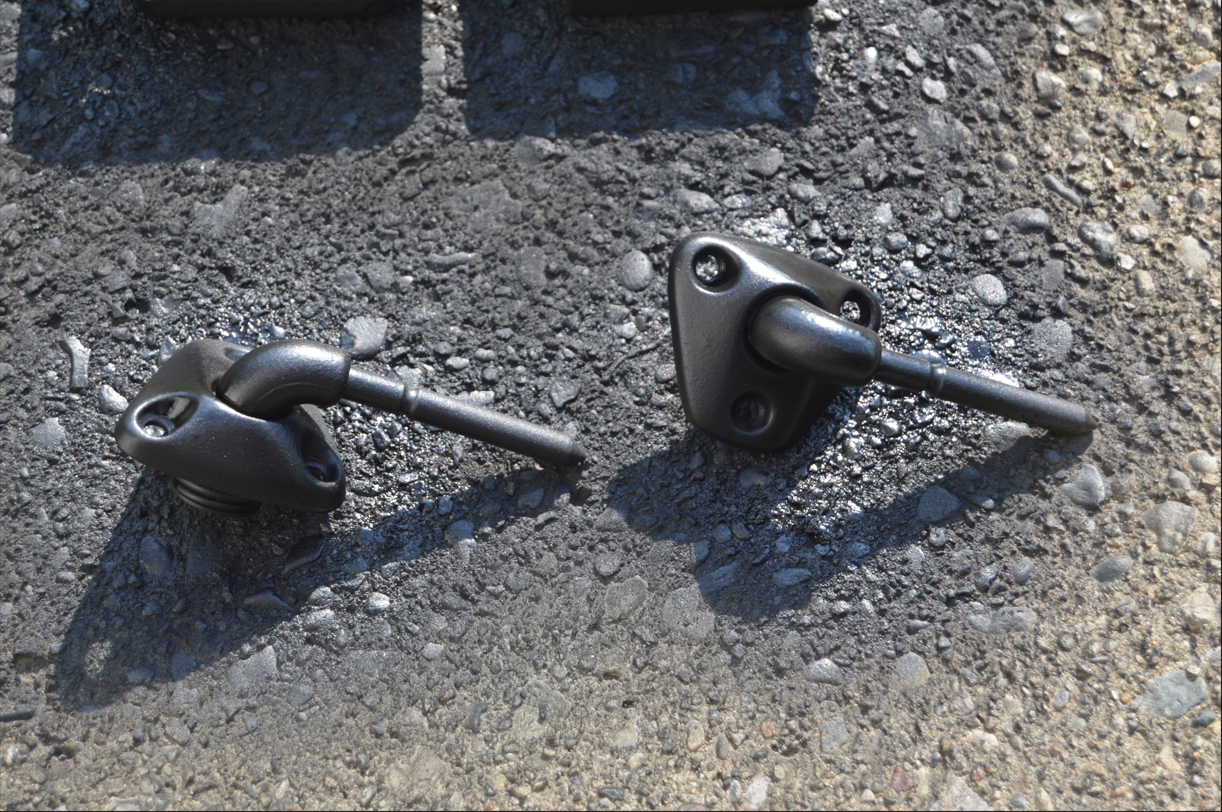
We started off with a cleaning via rubbing alcohol, followed by a quick scrubdown with a red scotchbrite pad to scuff up the chrome surface enough for the primer to stick.
2 coats of the self-etching primer followed by 2 coats of the plasti dip and this piece is finished once it dries.
[the plasti-dip is the same stuff we are using on the door handles, dome light housing and rear ashtray]
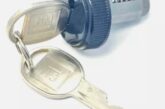
As for the 2 factory chrome screws, those screws are a special sleeved screw with a washer, made especially for this purpose. No replacing them with the black interior screws we’ve been using for the other components in this Turbo Buick. So we took a black permanent marker and just colored the heads and washers black! Easy peasy.
.

.