


Yesterday we told you what, why, and the style we wanted to do to create a custom center console for our 1987 Buick Grand National.
Today we will discuss the features being implemented on it, parts needed, and show you the beginnings of how we made it. As well as things you will need to think about if you’re planning on attempting this feat yourself.
Enjoy the ride, here we go…
.

.
PARTS:
– scrap cardboard (the bigger the better)
– mdf (1/2″ thick, one 2′ x 4′ sheet, $20, home depot, for all the cross braces)
– MDF (4- 1/4″ sheets 2′ x 4′, for sides boxes lids, about $13/sheet, from home depot – which is the ONLY place that actually carries 1/4″ stock)
– wood glue ($5 bottle, home depot)
– 2 cans 3M tack spray (holds vinyl to mdf, $11/can, home depot)
– GRAY vinyl material for outer cover ($35 ebay)
– BLACK vinyl material for outer cover ($72 ebay)
– foam padding (for armrest, $19 ebay, 1/2″ – which we intend to double up in some areas)
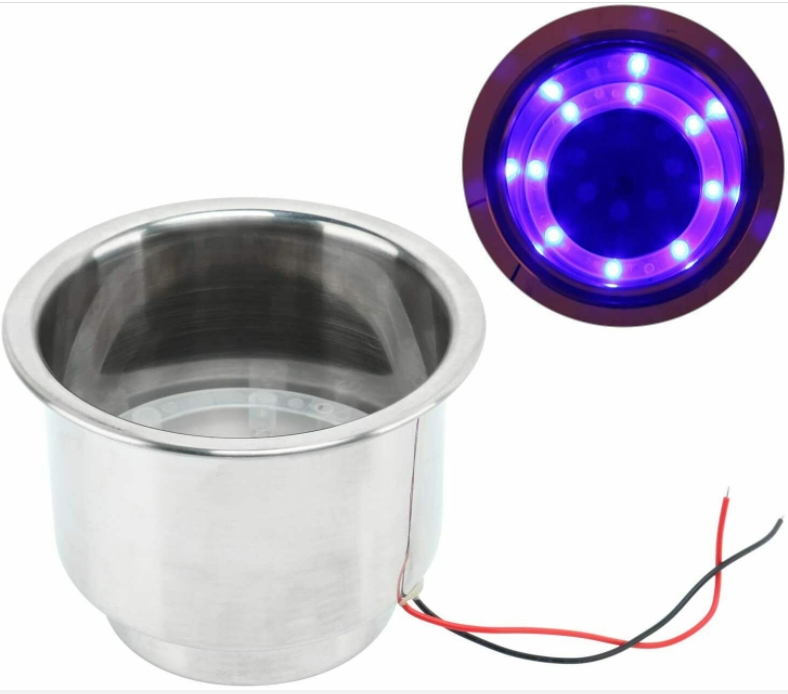
– Stainless blue LED cup holders (4 total: 2 in front, 2 in back. $28/set of 4, ebay)
– 2 light sockets ($4, for back lighting the tri shield logo on the sides)
– 2 LED bulbs ($4)
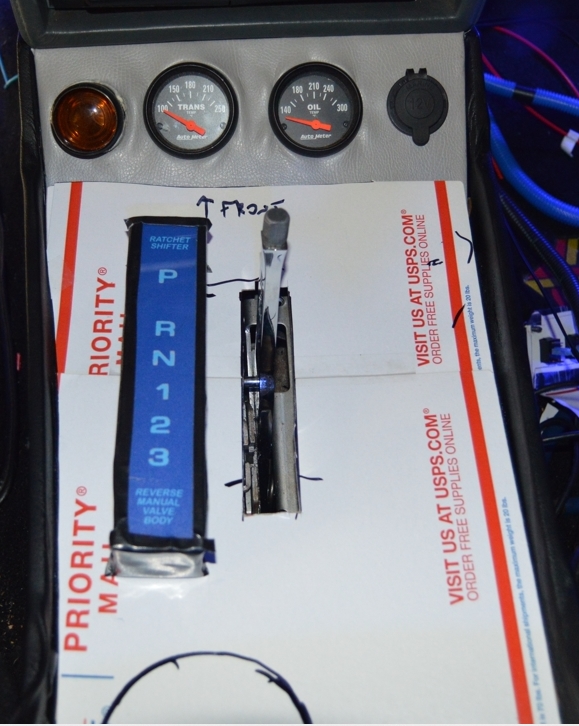
– decal for shifter area ($5, local print shop)
– Buick emblem ($10 ebay)
– tri shield logo image (backlit film, $10)
– 4 pieces of 6″ plexiglass ($15, sheet of 12″ x 12″ cut down to fit)
– 2 relays ($5)
– wire (18ga., we had some already)
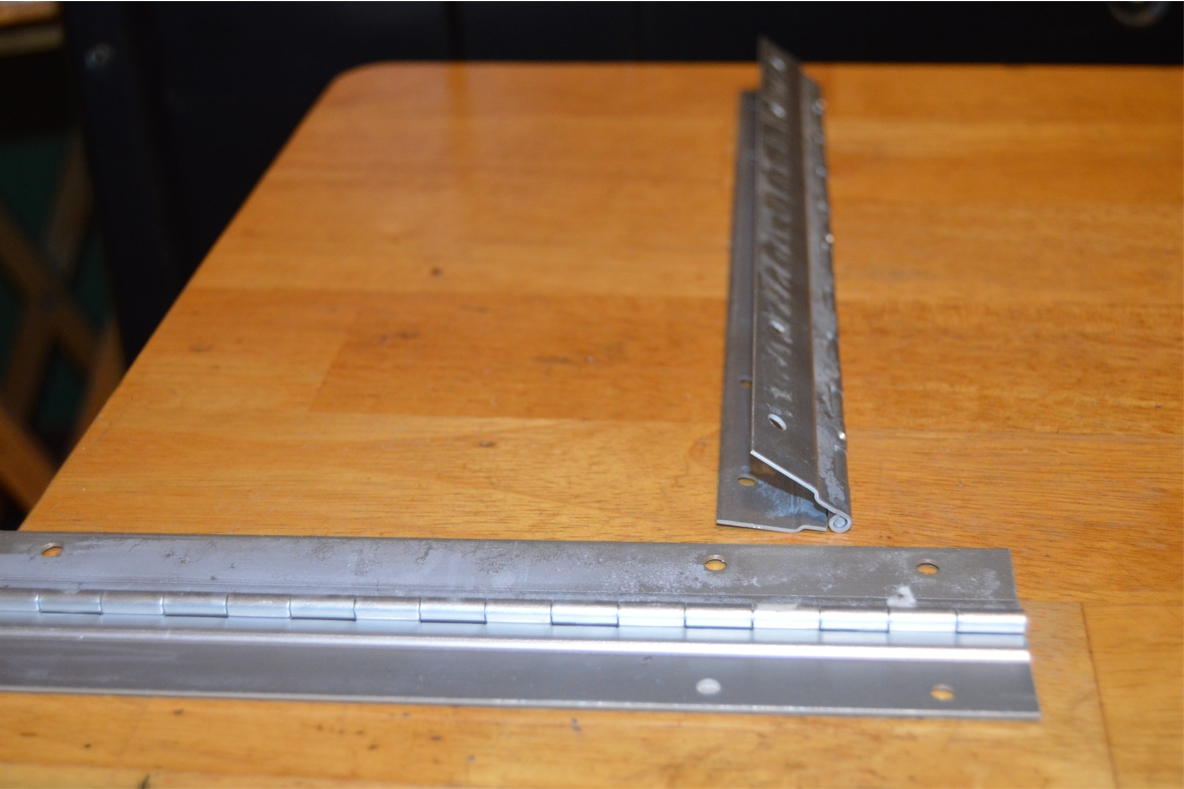
– hinges (2, 10″ aluminum, for console box lids, $8/set)
– screws (pkg of 50, 1″ for hinges & assembly & attaching braces, $5 home depot)
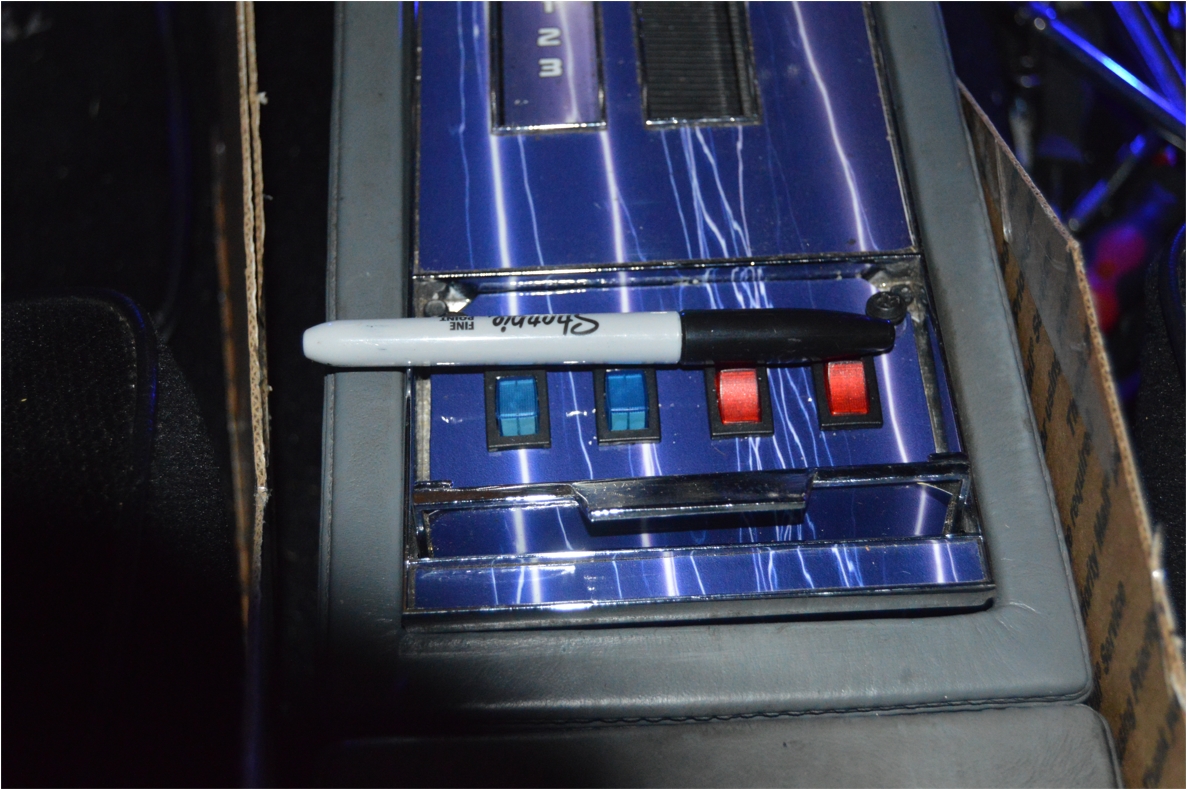
– switch panel (5 switches, cig lighter port, usb charger, volt gauge, $25 ebay)
– 2 custom (2 tone blue) turbo 6 arrow patches ($20, for rear sides)
.
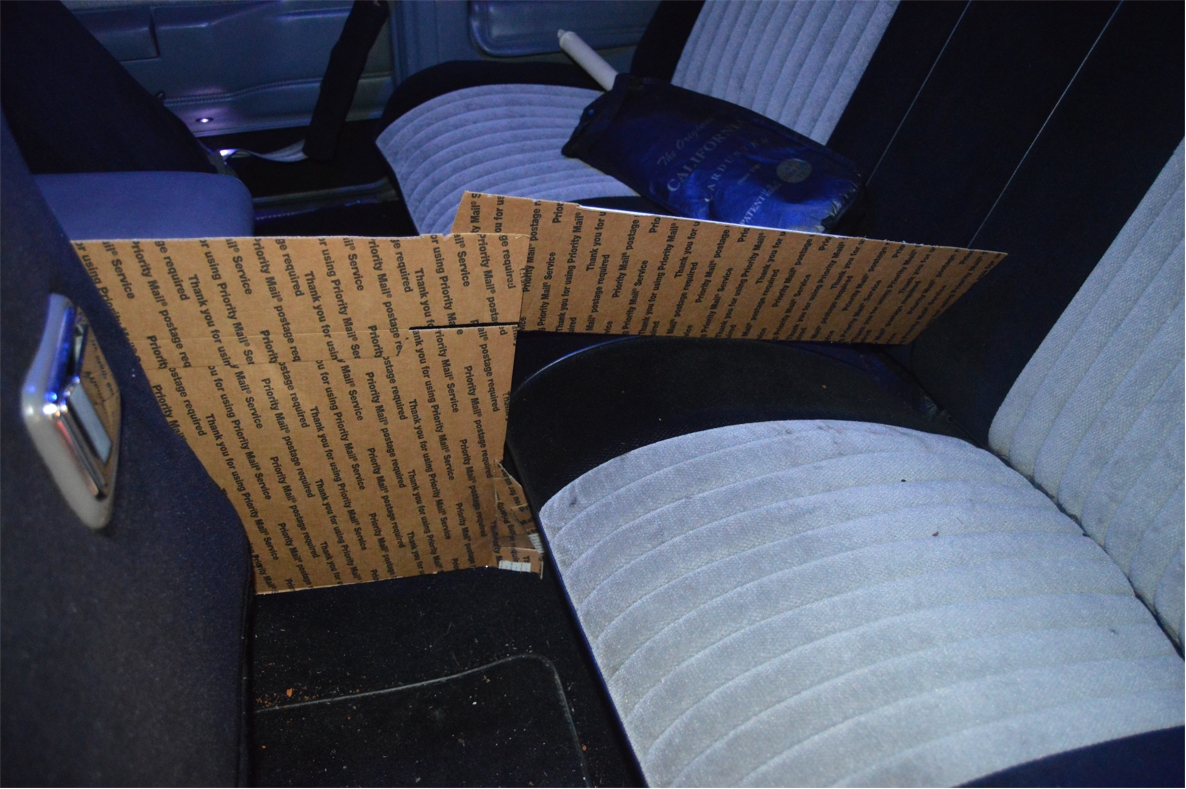
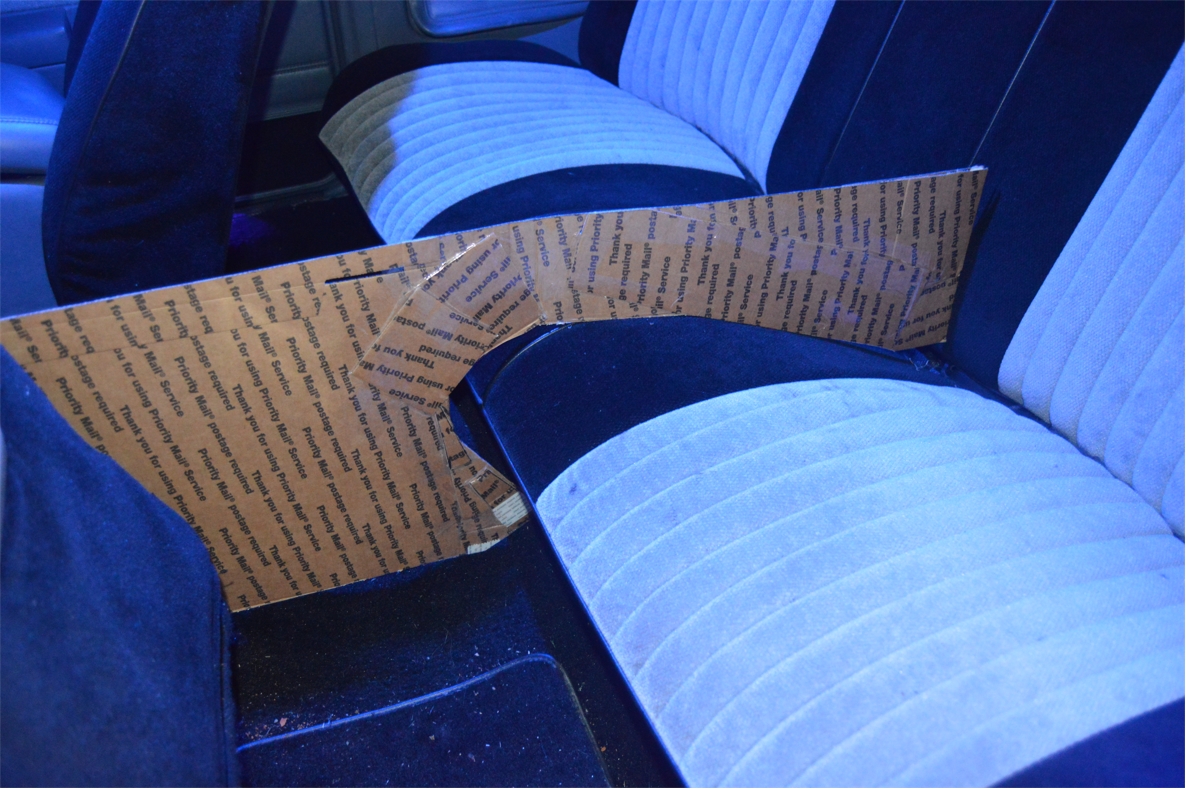
Using scraps of cardboard for a mockup template, only the drivers side was actually fabricated up. Then it was simply duplicated for the passenger side on another piece of cardboard.
You have to pretty much make the entire thing (the base) so you can be sure of the exact layout, and see how it will truly fit inside your G body Regal.
(This took about 2 hours to design/mockup and think about how the complete unit would look. There’s lots of figuring out the proper angles, varying heights and lengths of the overall unit and then each attached component (like the hidden box sizes), where and how the shifter area would be, etc., and other visual aspects)
For the moment, creating just the sides is a good start, since our new console dimensions are totally different than the original, making it not as easy as just copying the factory specs that were used.
[we made some sloped angles on the outer edges (the sides of the console) to blend in the gauge area and console box riser portions, to the center section, and because it gives the console unit a neat overall look]
.


.
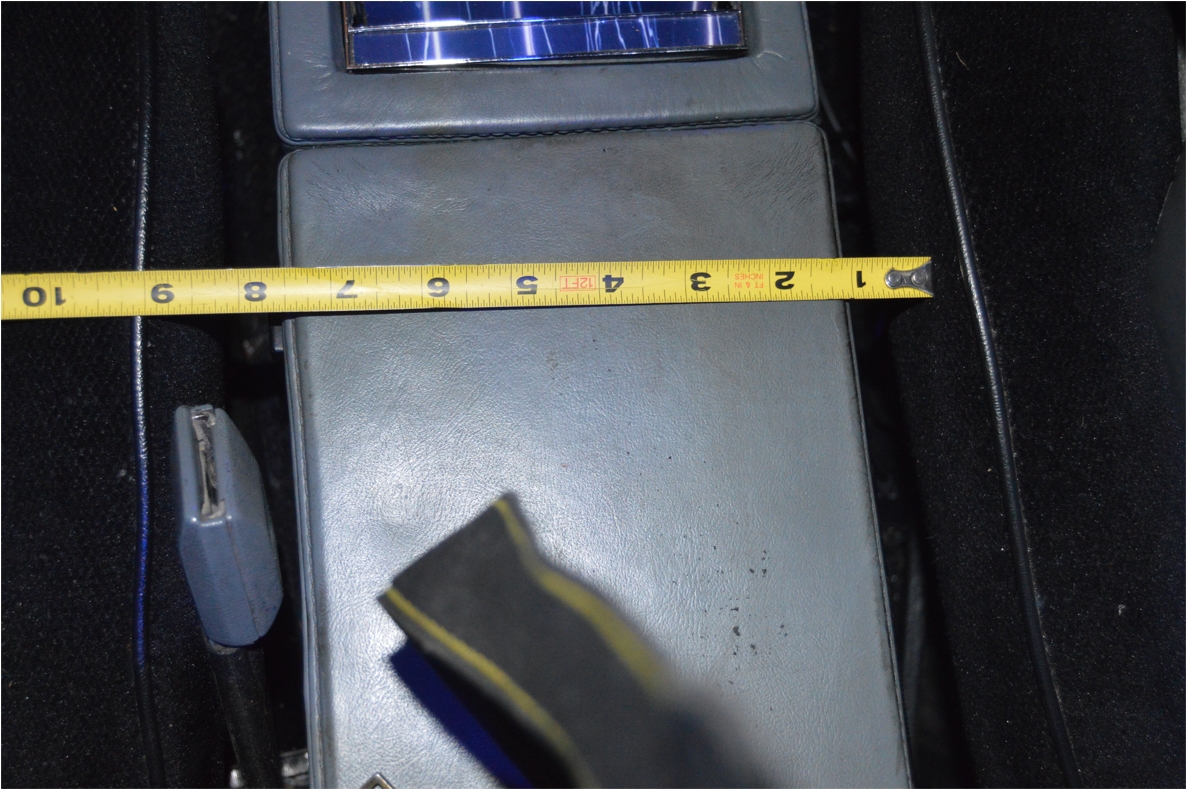
The original console is about 6 5/8″ wide x 37 1/2″ long x a (varying) height of 3″ in the front, tapered to 7.75″ in the rear.
[and note that on the OEM console, the top surface is completely flat/straight/level, meaning the trans tunnel is what actually slopes downward in the car, hence the taller height in the back than in the front]
For ours, we wanted the front of it to be approximately the same size (width) as the radio surround outer dash bezel (so this center section of the dash looks flush when looking down, from the top of the dash all the way to the floor), which is about 10 3/8″ wide.
We also plan on making the length longer than the OEM version, (by about 30″), extending it into the back seat (for rear passenger use). A total of about 68 1/2″ is the overall length of the new piece being created.
The very front, and very rear of the new console isn’t an issue as for the new widened width dimension.
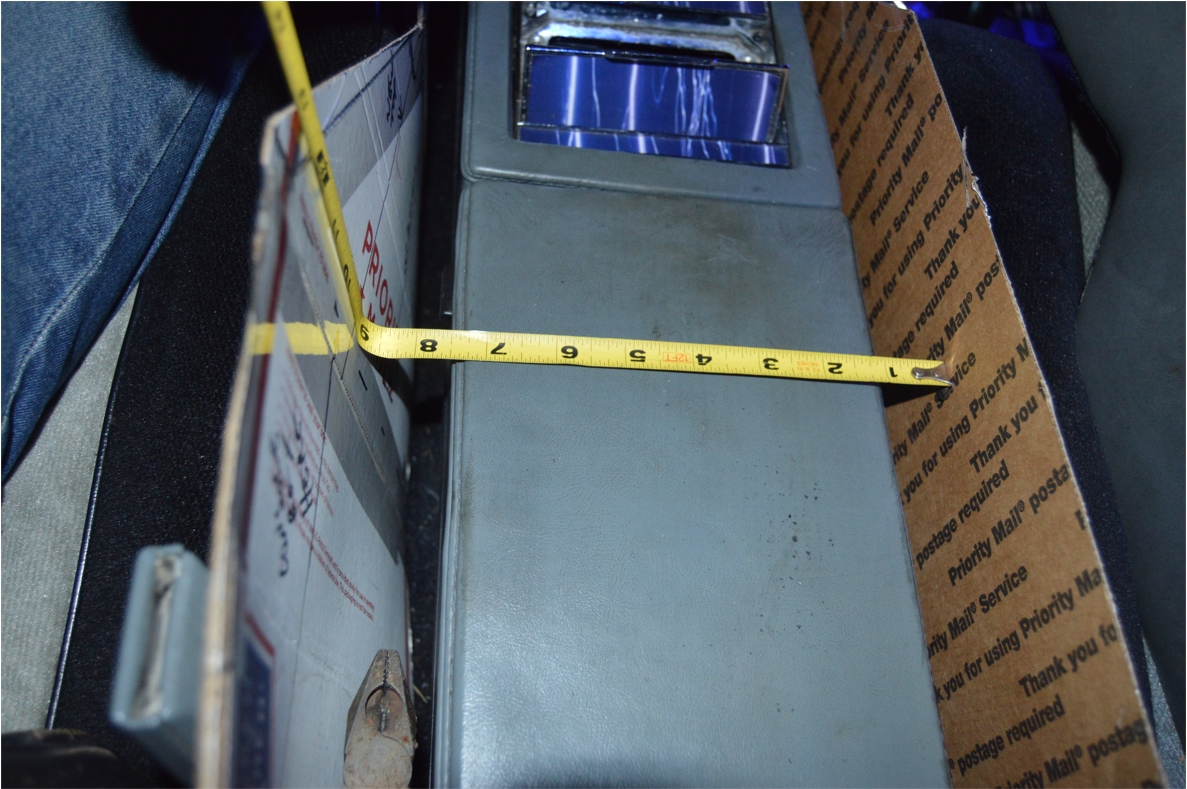
The section between the seats, however, would be almost 4″ wider than the factory version (if made the same width as the front & rear), so it would be much tighter here in this area than in stock form.
(and remember, your seat belts fit in this area, so it would be pretty snug)
So what we intend to do, is leave the front and rear portions the predetermined 10 3/8″ wide, but make the (approximate 20″) section between the seats, squeezed down to 9″ wide.
This will make the console slightly wider than the stock unit (between the seats), but yet leave (barely) enough room for the seatbelts and not have to have the seats be squished.
.
.
(you don’t need to make all of the required internal cross braces for this cardboard mockup, but do be aware of just where you might need to put them, and how many, to support the entire structure on the actual console. Make sure the supports aren’t in the way of things like the shifter, etc.)
You should look at the console that’s in your Turbo Buick right now, before you start any modding, to see what’s all there now, and what you plan to add or remove on the new version.
Will you need gauge holes? Scanmaster slot? Cup holders? Phone holder? Ashtray?
Are there switches inside your ashtray that now need somewhere else to go?
What are you planning to do with the shifter, and accompanying metal plate.
 (we plan to put our ashtray switches inside the new hidden box area, mounted on the front side of the box, on a vertical plain – as opposed to the horizontal plain that the switches were mounted when they were in the ashtray compartment. That will keep them out of the way of the other junk we plan to put inside the box, while keeping the switches easily accessible when we need to turn them on/off)
Do you plan on reusing the old top metal shifter plate (with gear indicator), and simply placing it on top of your new console, then secure it down somehow?
(that’s how the custom console from yesterday’s post was made, basically a hole was cut to fit it, and the plate was attached on top of the new unit)
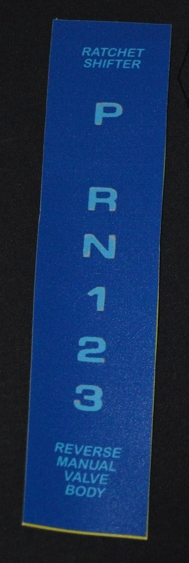 (we don’t intend on using that part at all, we will just make a new area for that, where the shifter comes thru a simple slot cut in the top of the console plate. As far as the gear indicator goes, there’s a TH400 in this specific Turbo Buick, with a ratchet shifter, so the OEM indicator didn’t really serve a purpose anyways (revealing the gear we’re in) because of the ratcheting action. We do intend on having the markings [PRN123] on there, via a custom decal, so others will know that it’s a reverse manual valve body 3 speed trans and not the factory version transmission. A light will still shine from underneath, like the stock unit has)
Whatever else (your aftermarket add-ons) is on your current center console, that you intend to keep utilizing, needs a plan on your part to incorporate that somehow onto your new custom center console.
Keep in mind that if you have any electrical wires that are used (switches, lights, etc.) that these too need to be installed into the new console somehow.
One of the benefits to creating a custom center console, is you can add new things to it that weren’t easily embedded into the stock unit.
(or you chose not to, as to not devalue the OEM unit)
Things like extra stereo speakers, a usb port, lighted cup holders, other type lights, built-in gauge holders, and similar items. You are only limited by your imagination as to what you can implement into this new custom piece.
MAKING THE TOP SIDE:
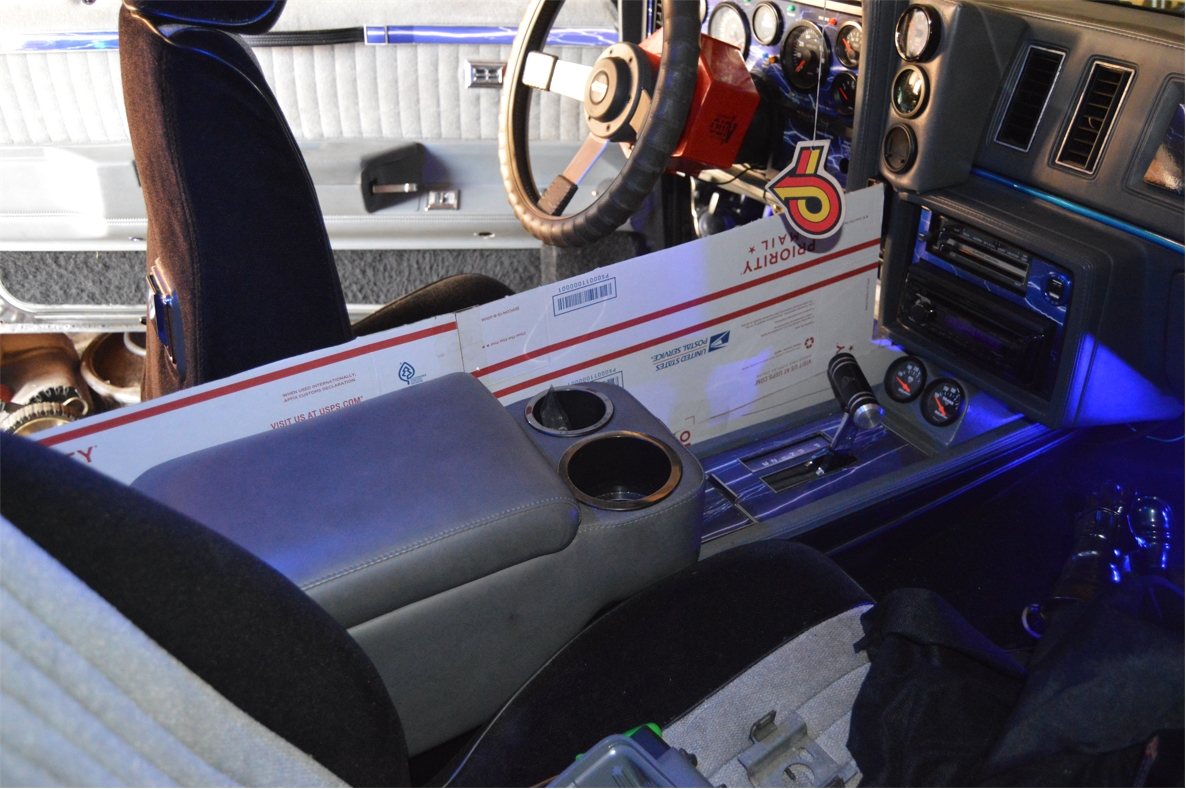
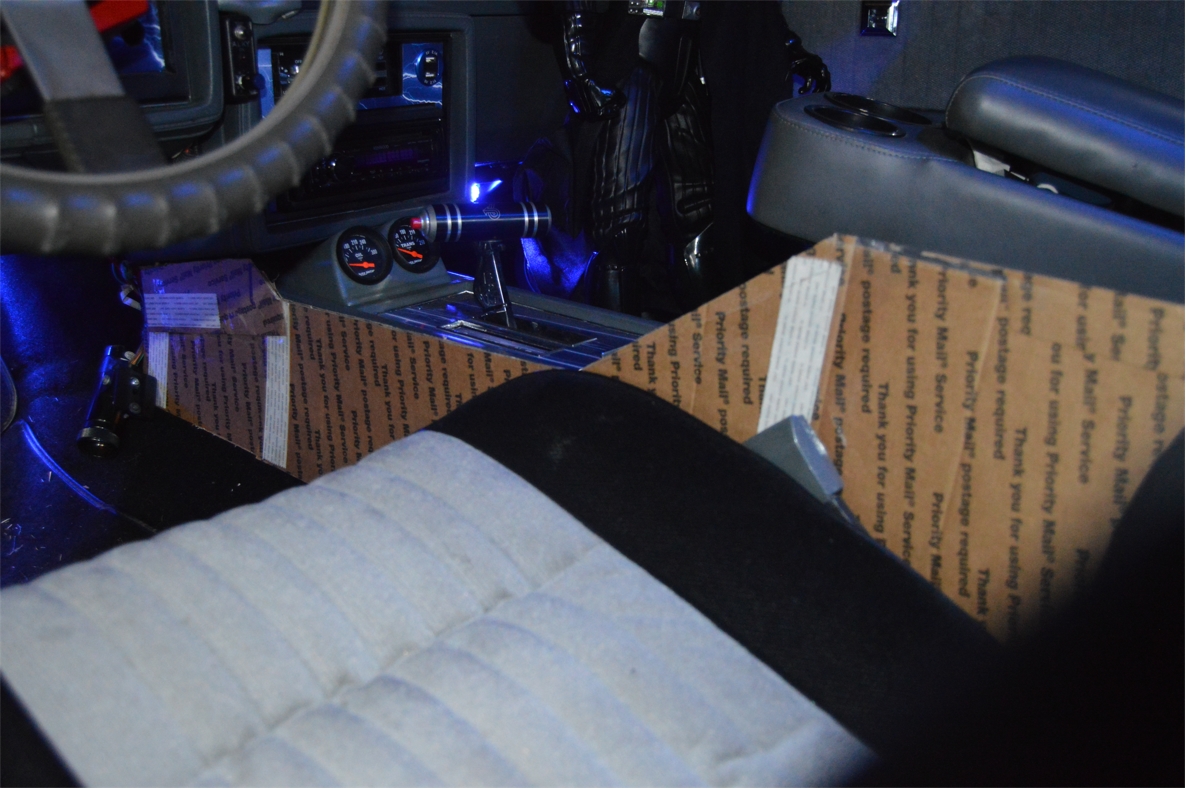
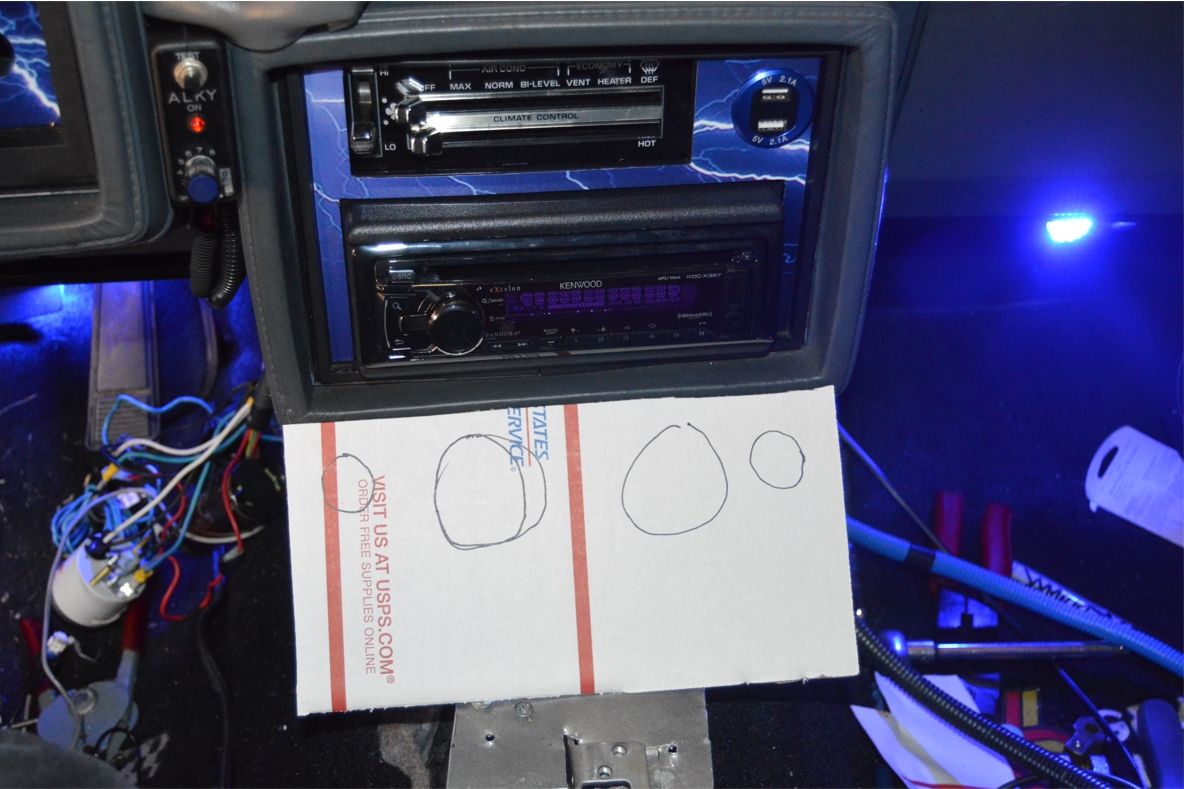
Make a crude cardboard version of exactly what you plan on putting in/on the top of the console so you can plan out where these items need to sit when finished.
For ours, in the front, we need 2 small gauge holes (two 2 1/16″ gauges, so two 2 1/4″ holes. The material we use to cover the console will go into these holes, filling up the gap between the gauges and the holes).
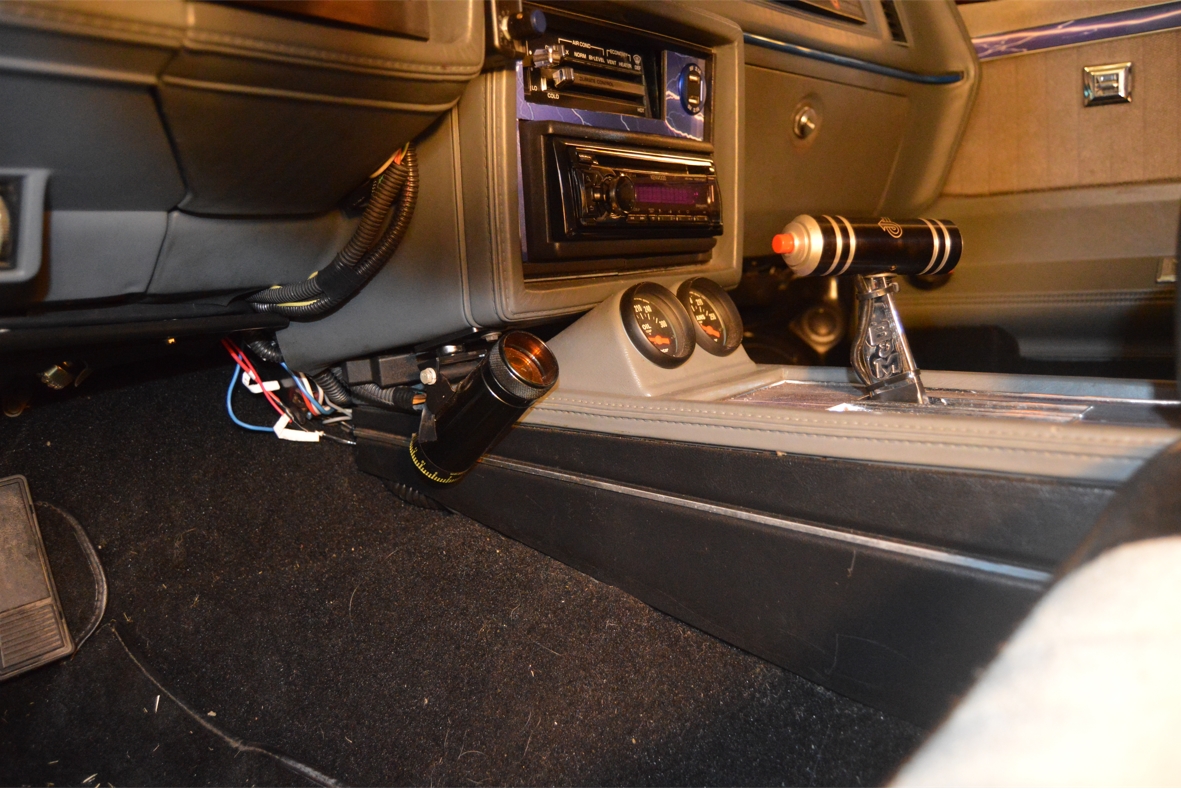
We also have a shift light (that’s currently mounted on the left side of the console, under the radio bezel surround piece), so that needs to be incorporated.
With a 10 3/8″ wide surface to work with, there’s plenty of room to also add a big square slot box to hold a phone (ipod, etc) or mount your scanmaster if you need to.
(this new box could be about 4″ wide x 1 1/2″ tall x 3″ deep)
(we also have a cool BUICK emblem that will be placed in this area, or directly below it somewhere)
.

.
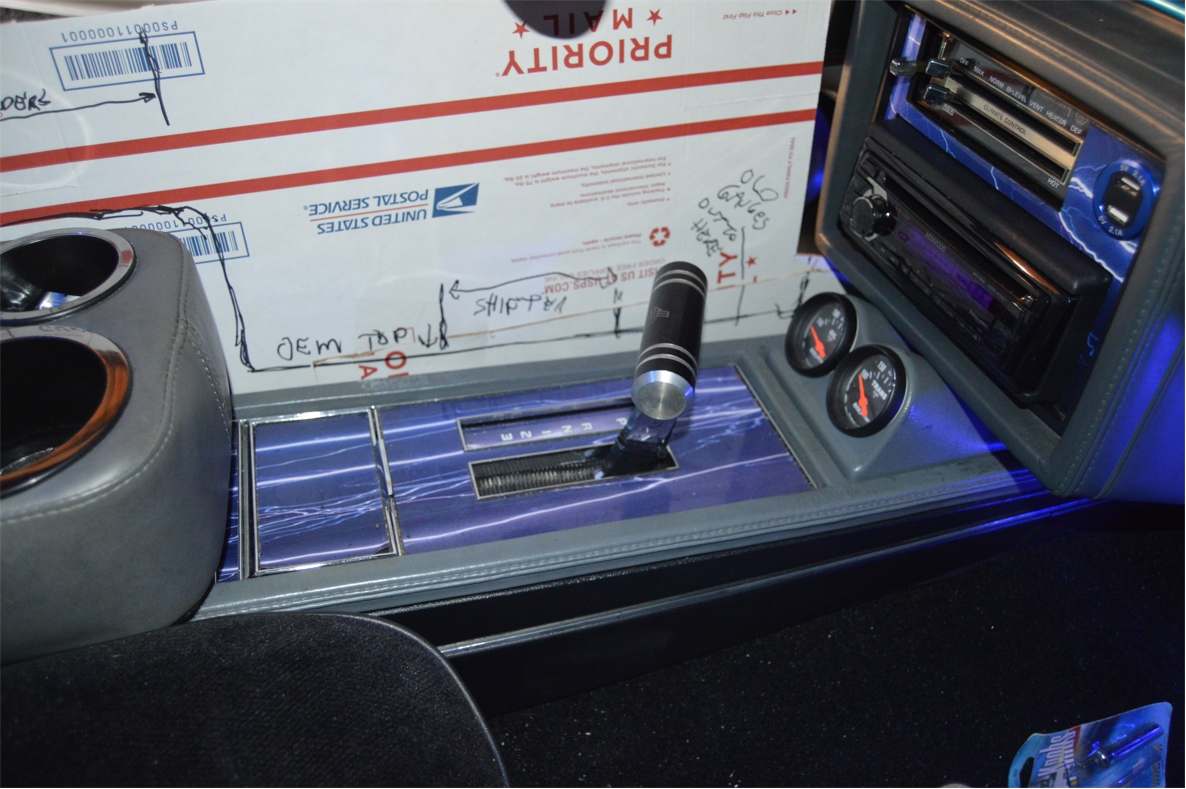
Note, that making the console wider than stock, makes the shifter plate sit noticeably more on the left (driver) side than the right side (as compared to the factory console whereas this plate sits pretty much centered on the unit). But this is really an optical illusion, as if you look at the shifter stalk, that part IS still (mostly) in the center of the console (it’s just the gear indicator section that sits more to the drivers side than the passengers side).
Which is totally fine, as that leaves plenty of room to add a recessed box that can hold a phone (or whatnot) in there (without it sliding around, or off, while you’re driving!), on the right side of the shifter.
(this new box of ours will measure about 3 1/2″ x 7″)
For the shifter, we intend on cutting a simple rectangular hole (1″ wide x 4.5″ long) in the exact same location that the stock unit had.
(we are not using the factory shifter plate, so all we needed was the new slot for the shifter, and a rectangular hole for indicator, plus 1 for the phone holder)
.
 Those long drives (and some short ones) usually necessitate a beverage, so a couple cup holders are mandatory.
We acquired these 4 awesome stainless steel versions, complete with (8 blue) LED lights inside!
(they will be wired up to light up when the running lights are on)
(these are marine units and have drain plugs in the bottom, so the cup holders are just inserted into premade holes, and are removable if you ever need to drain them)
(there will be 2 for the front and 2 for rear passengers)
THE CONSOLE BOX:
(inside) Dimensions for the front box will be about 8.5″ wide x 8.5″ long x 11″ deep, much bigger (but differently shaped) than the factory specs (which is 4.5 x 11.5 x 3.5).
The rear box will be 8.5″ wide x 11″ long x 3″ deep.
[For comparison, our aftermarket cupholder console riser, specs for inside dimensions are: 7.25″ wide x 9.5″ long x 3.25″ deep]
The bottom of the front box is in basically the same place as the original, retaining the 2 factory mounting bolts (at the bottom of the console box), to keep the console secured down.
(and unlike the stock version, ONLY these 2 bolts hold the entire console in place. It’s wedged in there and basically sits in place because of the length and weight)
 For the console box lid, it’s made from the 1/4″ MDF. Heavily padded, vinyl covered, and hinged, same concept as the stock piece.
Two more of the exact same cupholders are added in the rear portion, for backseat passengers.
They are placed aligned with roughly the front edge of the (bottom portion of the) back seat.
That leaves enough room for another hidden box area to be implemented onto the rear section of the console.
(all 4 of these cupholders are wired together, then connected to a ground source, and also tapped into the gray colored wire [power] from the HVAC light, which turns them on when the regular running lights are on)
Finally, another hidden box type area is added at the very rear of the console.
Back seat passengers can put their phones or other junk in there.
(or you can have a neat extra storage area for basic road travel supplies or other needed items that don’t require constant access to)
Once you get an idea of where everything goes, and your mockup is done, it’s time to transfer your templates to the MDF.
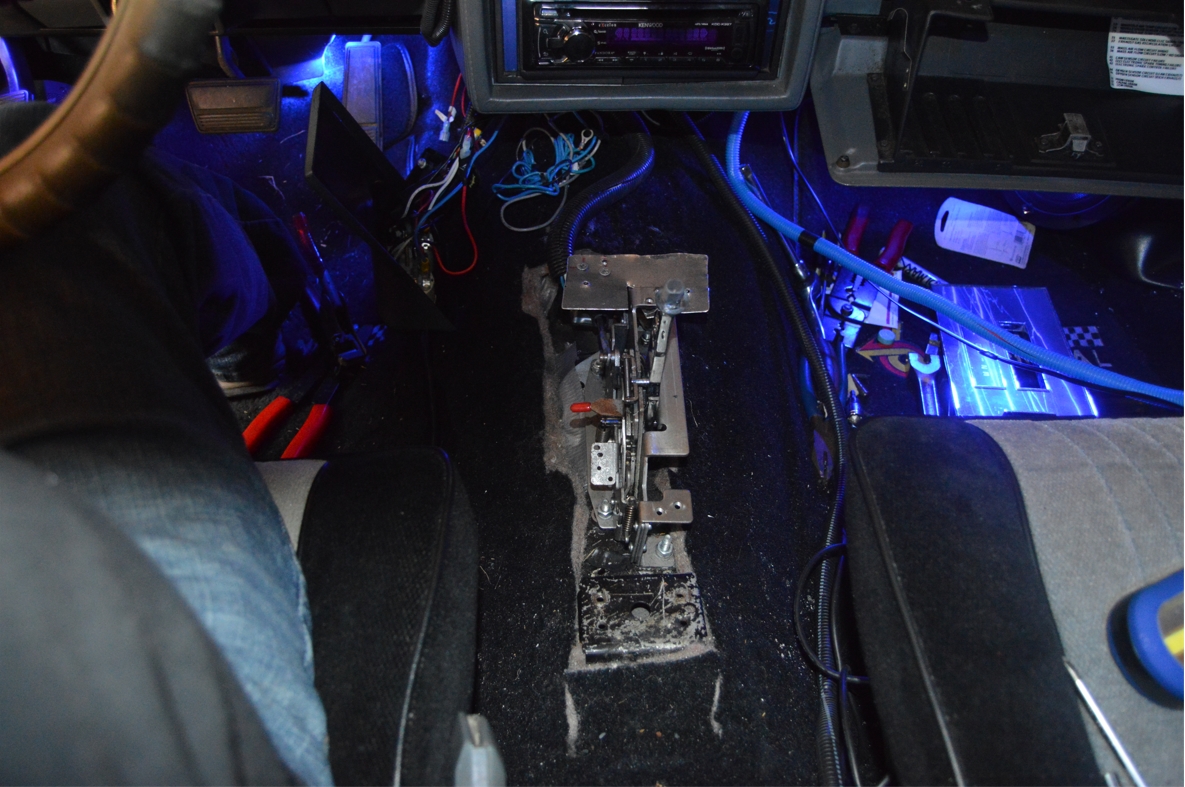
You can also now remove your OEM center console, so that there’s room to test fit the new shell when it’s ready.
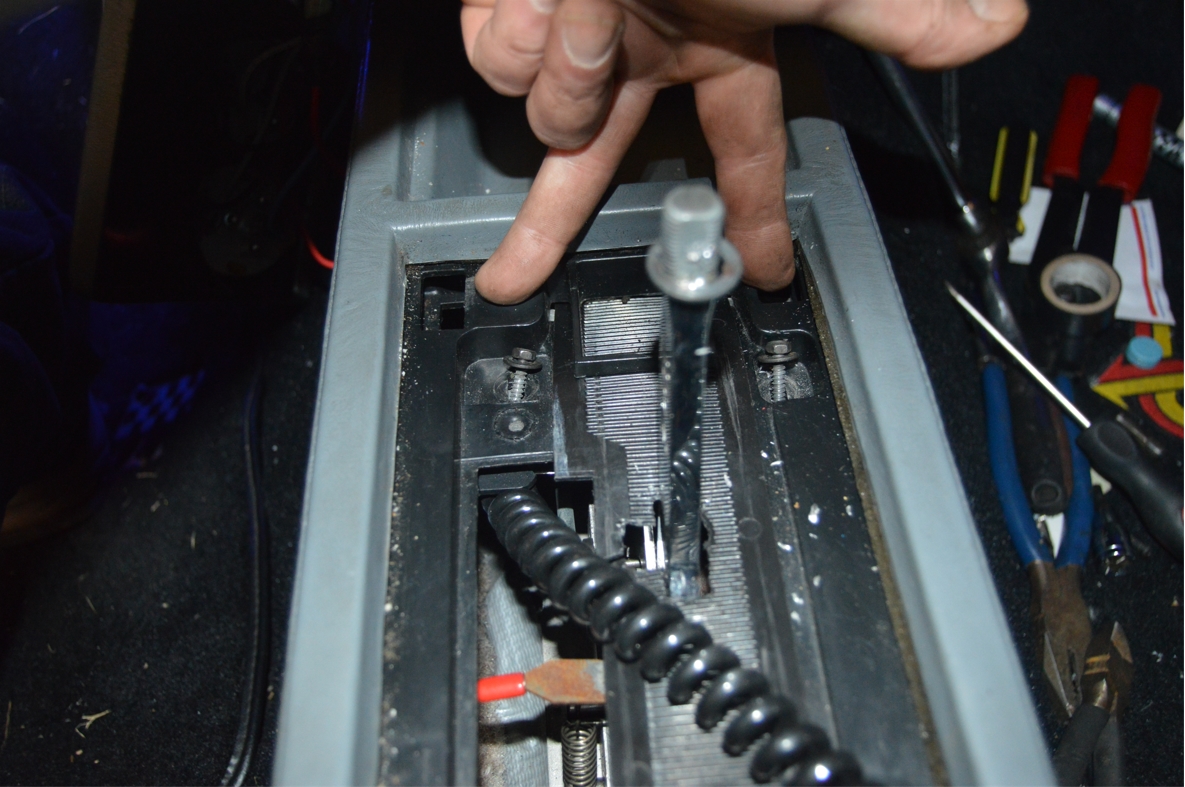
4- 7mm bolts hold the console to the floor, 2 are in the console box at the bottom, and 2 are attached to the shifter.
Remove the shifter handle. (and putting it in 1st gear will also aid in getting the stock unit out)
The console will now come right out.
(lift up from the back, and pull it out on an upward angle towards the back of the car)
.
.
Cutting the MDF is what we will be starting tomorrow. Be sure to come back and follow along!
.
This is an ongoing series about creating a new custom center console unit for a Buick Grand National.
See the steps taken below to create (they will be linked after publication).
Find the first part (thoughts, plans) here:
Custom Center Console for Buick Grand National (1 of 7)
Find the second part (specs, parts, building template mockup) here:
Custom Center Console for Buick Grand National (2 of 7)
Find the third part (wood size choices & the weight differences) here:
Custom Center Console Buick Grand National (3 of 7)
Find the fourth part (prep work, cut out parts) here:
Custom Center Console Buick Grand National (4 of 7)
Find the fifth part (building the console) here:
Custom Center Console for Buick Grand National (5 of 7)
Find the sixth part (wiring up all the lights) here:
Custom Center Console for Buick Grand National (6 of 7)
Find the seventh part (installing the console) here:
Custom Center Console for Buick Grand National (7 of 7)
.


