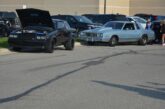
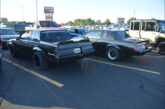
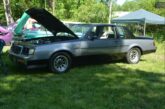
So the 87 Buick Grand National that we did the install Buick GNX fender flares on is back.
This go round: install the matching Buick GNX fender vents.
The owner said if he was going to go through the hassle of getting these installed, he wanted them to be fully functional and useful other than just looking cool. We couldn’t agree more.
That meant the louver duct kit needed to be acquired, along with the Buick GNX fender louvers.
Parts:
• GNX fender vents (Kirban Performance, $60).
• functional ducting (Gbodyparts, Inner Vents & Collars Only {no relay brackets}: $200.00).
{relay relocation brackets were not ordered since a custom bracket was made previously for the drivers side, & the passenger side the only modification needed is for the ESC module}.
• a can of glossy black paint (Autozone $8) – (we painted everything including the vents as we wanted didn’t the flat {stock exterior finish} appearance. Painting them makes the vents “flow” {and seem integrated} with the rest of the {black painted} car as opposed to them sticking out & noticeable when they are flat black).
• masking tape (to tape around the holes where the vents go on the fenders).
Tools needed:
• heavy fishing line (to remove the GN emblems).
• goo gone (to remove the residue left from the backside of the emblems on the fenders).
• cutoff wheel (to cut the holes in the fenders).
• 9/32 socket (to secure the inner bezels to the ducting & remove the relay apron from passenger side).
Time to Completion:
• 4 hours (we took our time, plus writing this story up & taking photos at the same time)
How to do:
1. If you do this job on a hot sunny day, you can paint everything first, then cut the holes, and they should be dry & ready to install by the time they are needed. vent kit
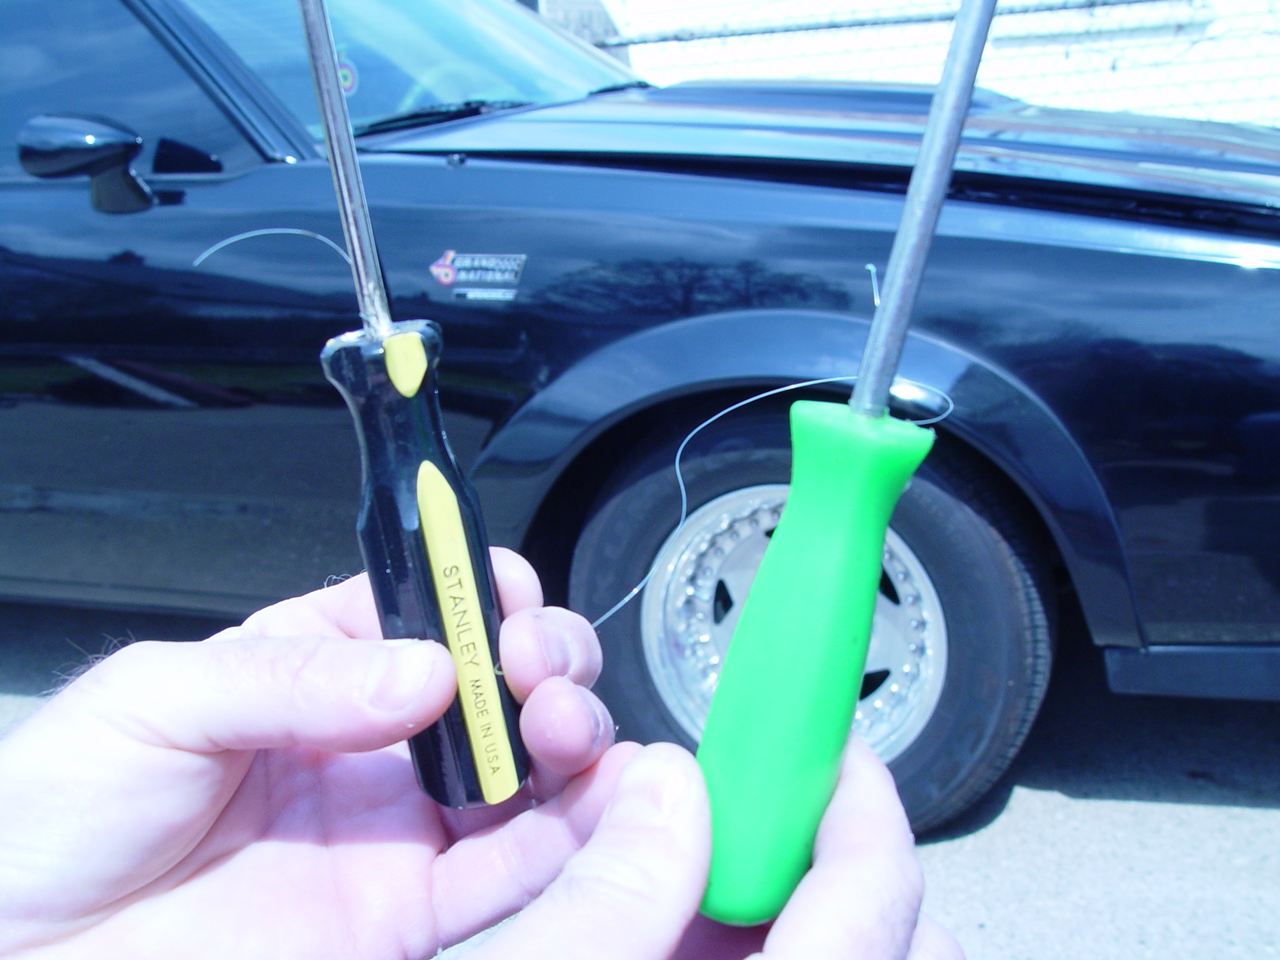
2. Wrap the fishing line around 2 screwdrivers as shown. Using a back & forth motion, wiggle the line behind the fender emblem and use it like a saw until the emblems come off.
the fishing line we used was not the heavy duty (thick) type, and it ended up breaking before we finished.
A flat screwdriver solved the problem! slight prying & the emblems popped off easily.
(way too easily! but they were the originals, so that could explain it).
3. Use goo gone or something similar to remove the tape residue left on the fenders.
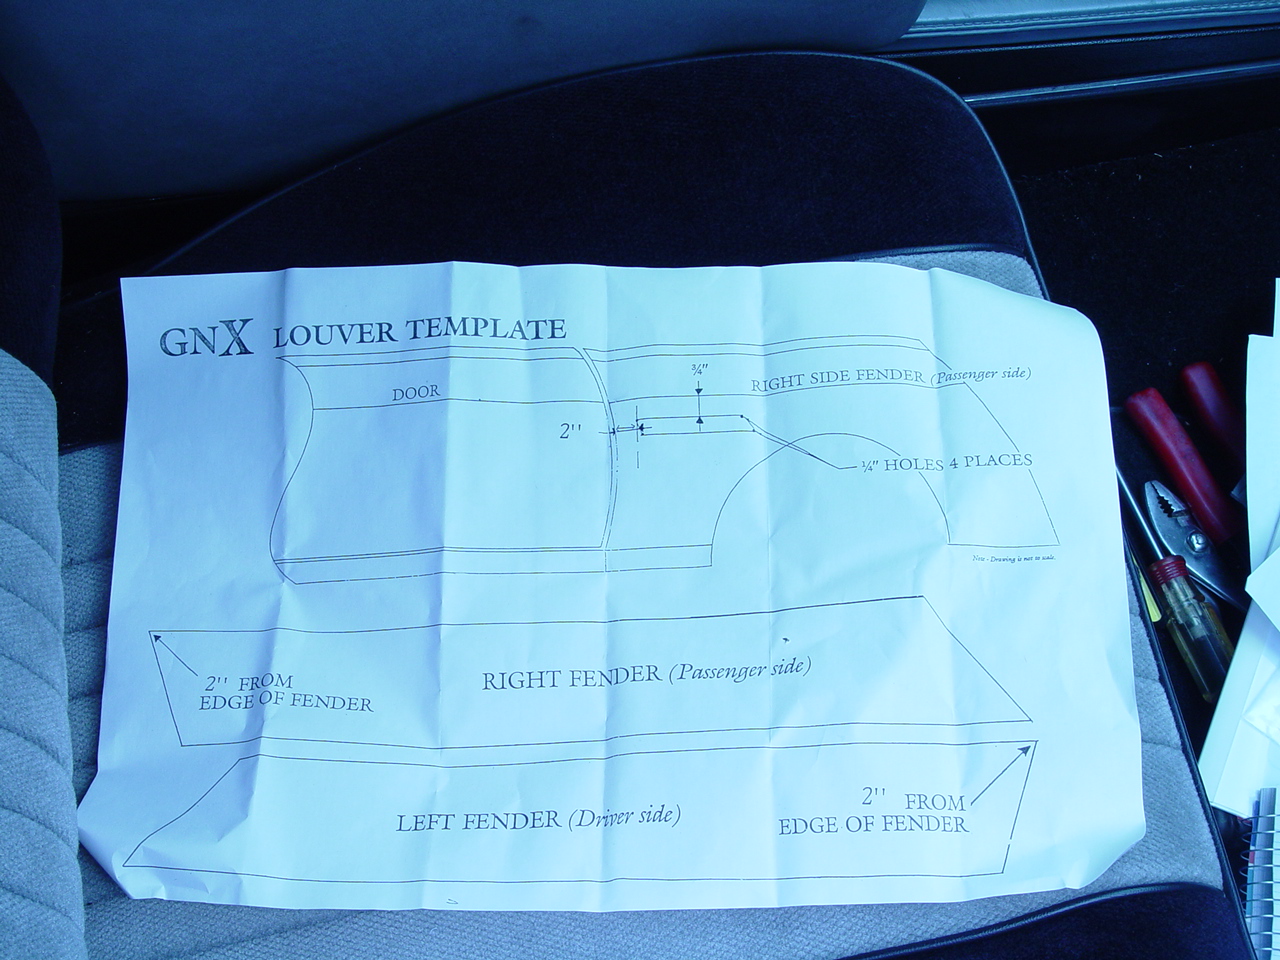
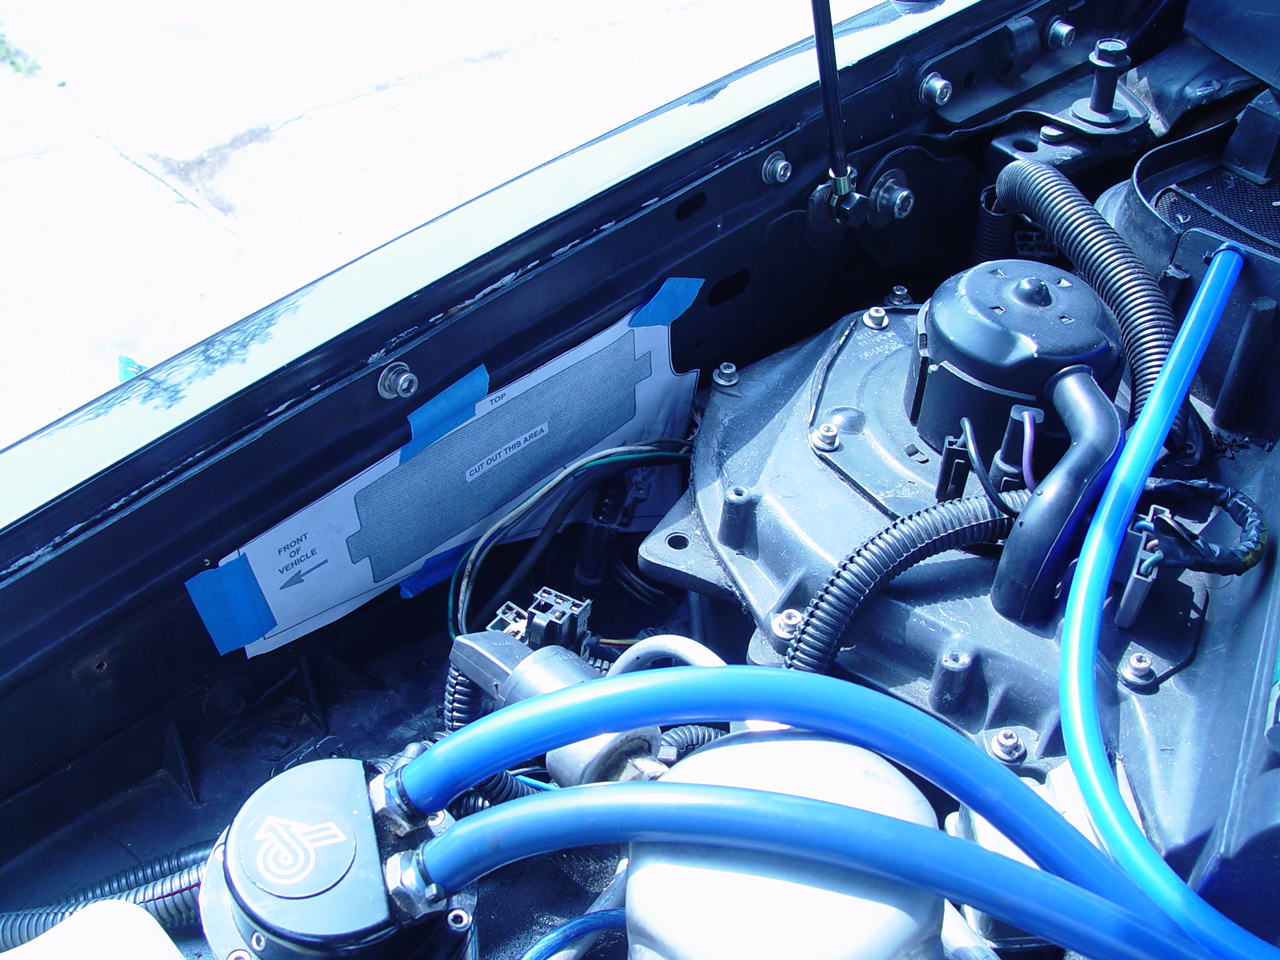
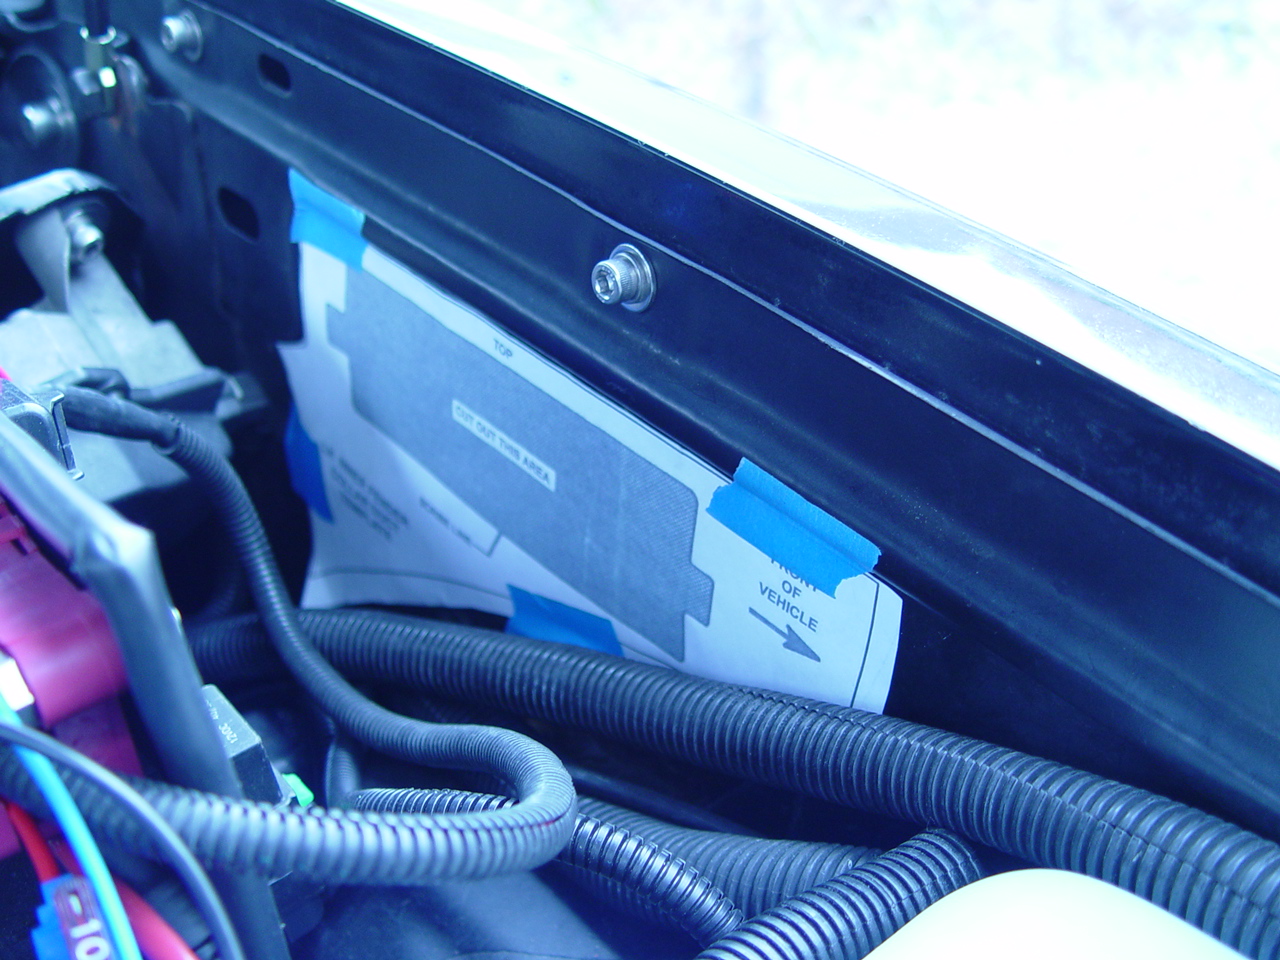
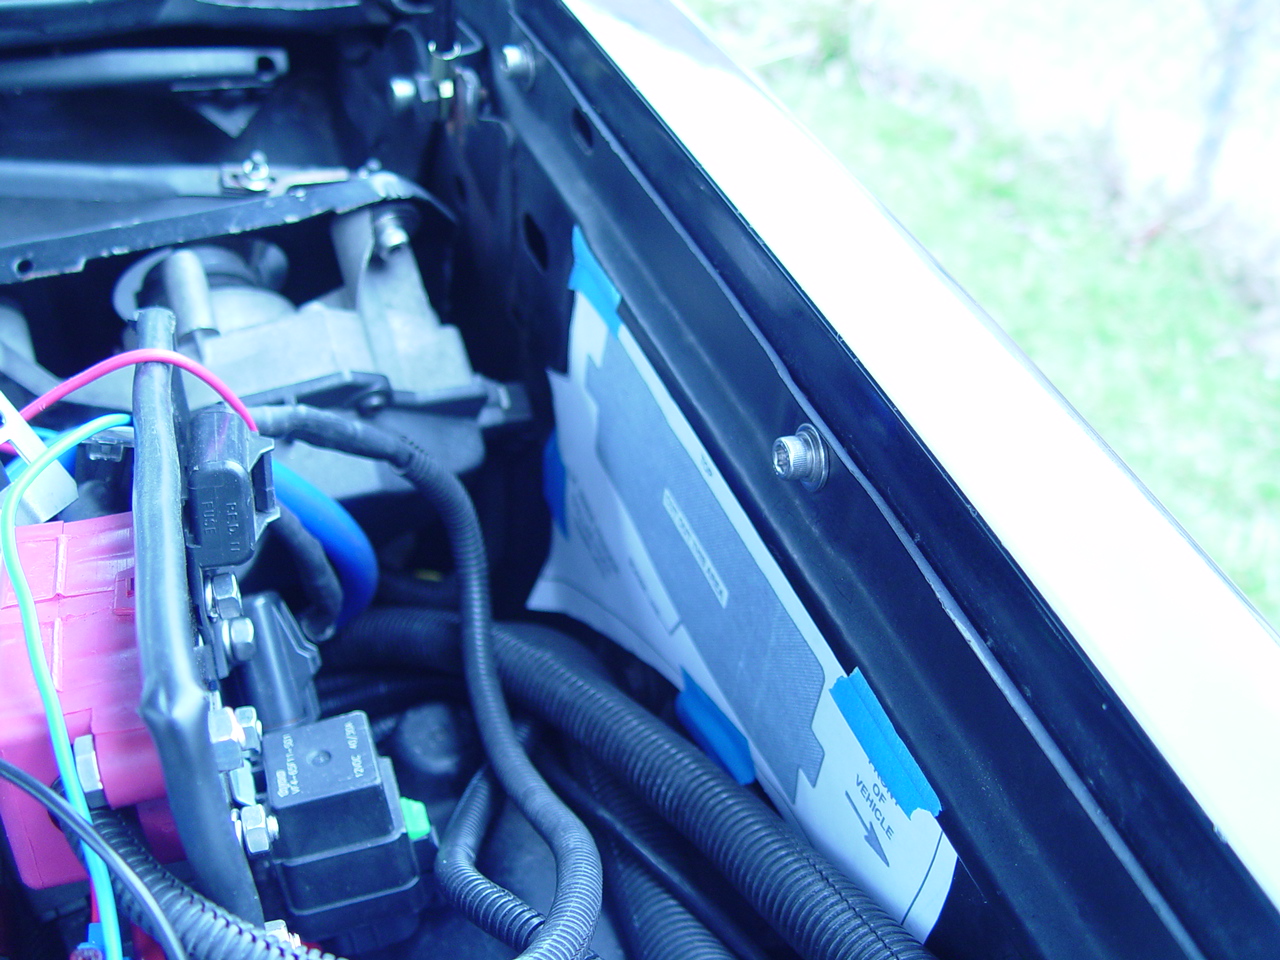
4. We started out using the big template (the one supplied with the ducting kit) (on the passenger side), but the measurements weren’t accurate on this printout.
The top left tip where you’re suppose to cut out, should be 2″ from the edge of the fender, but it wasn’t, it measured 1.5″.
The top of the cutout needs to be 3/4″ down from the fender body line. (this part looked ok).
It’s not easy to make sure these dimensions are where they need to be using the big template.
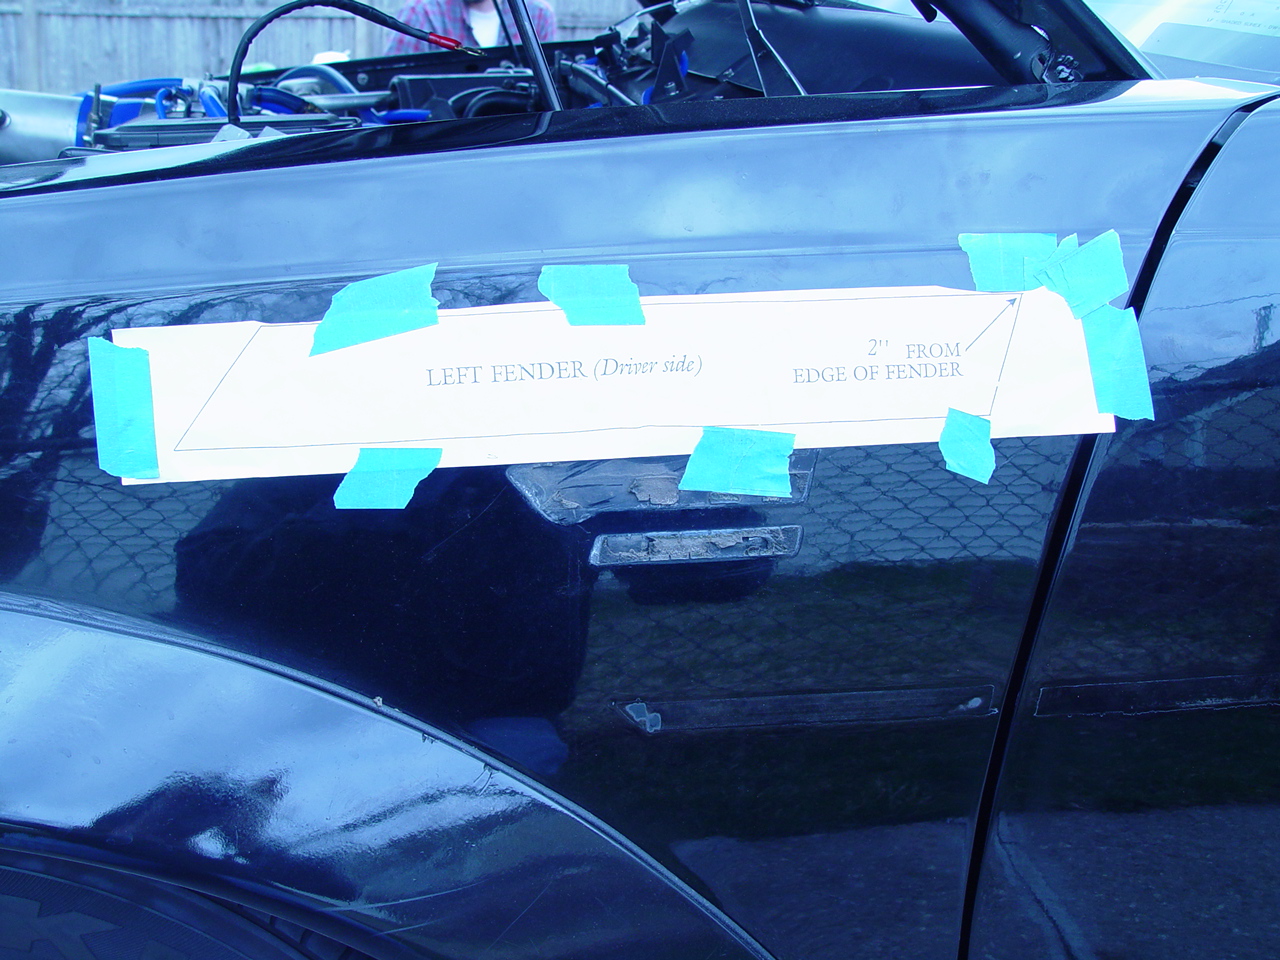
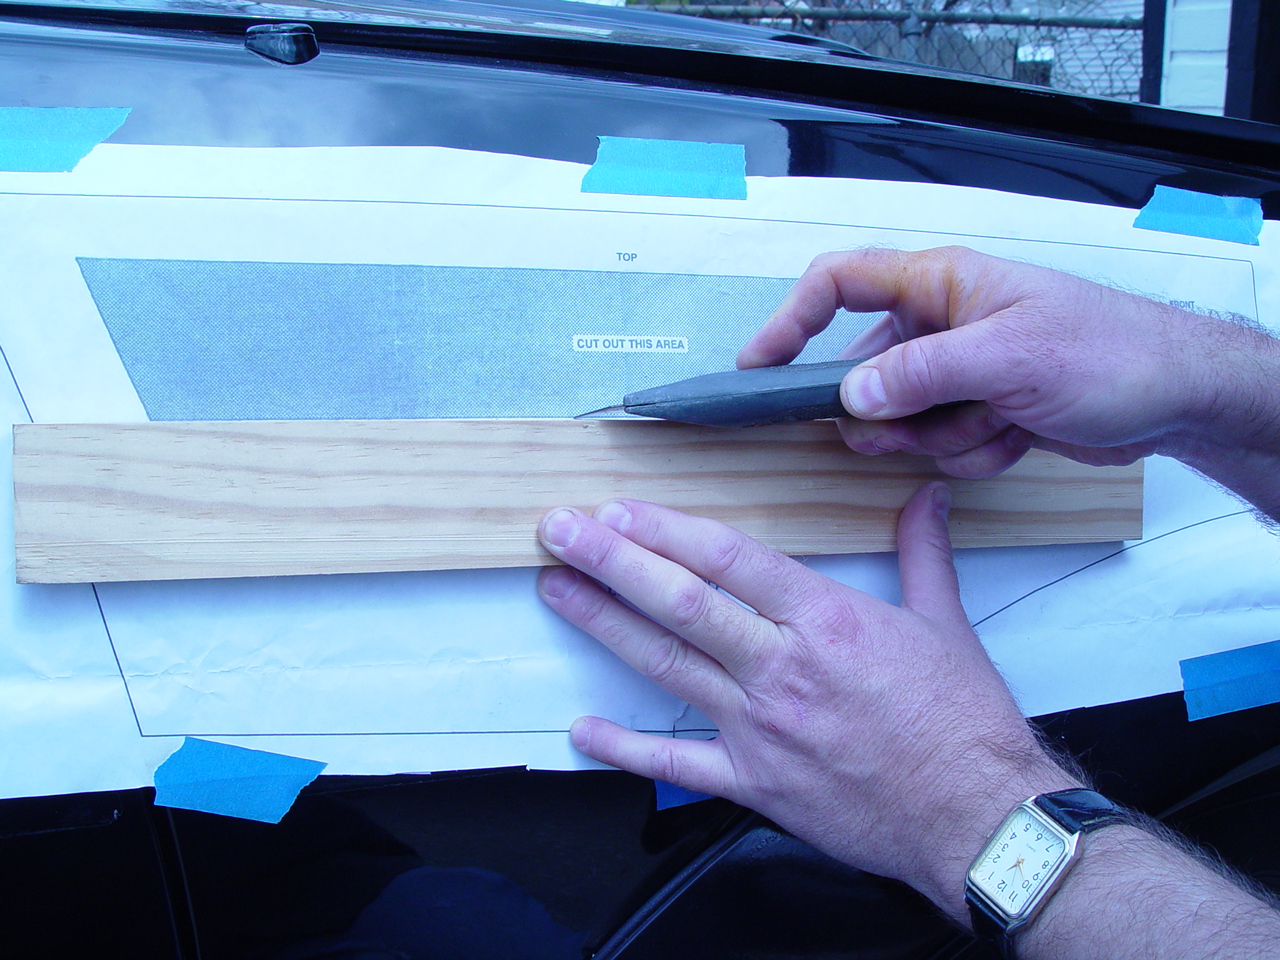
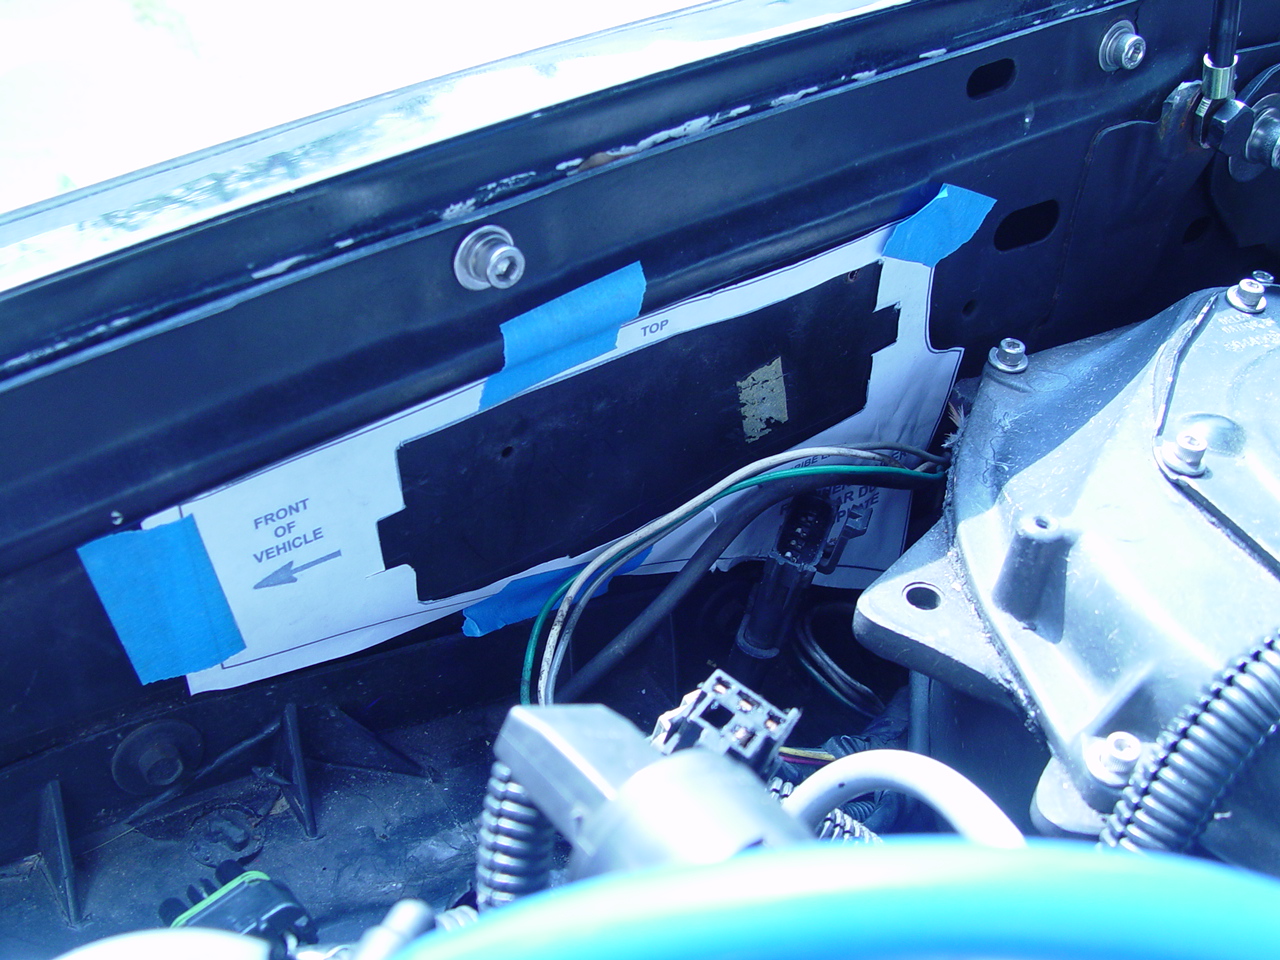
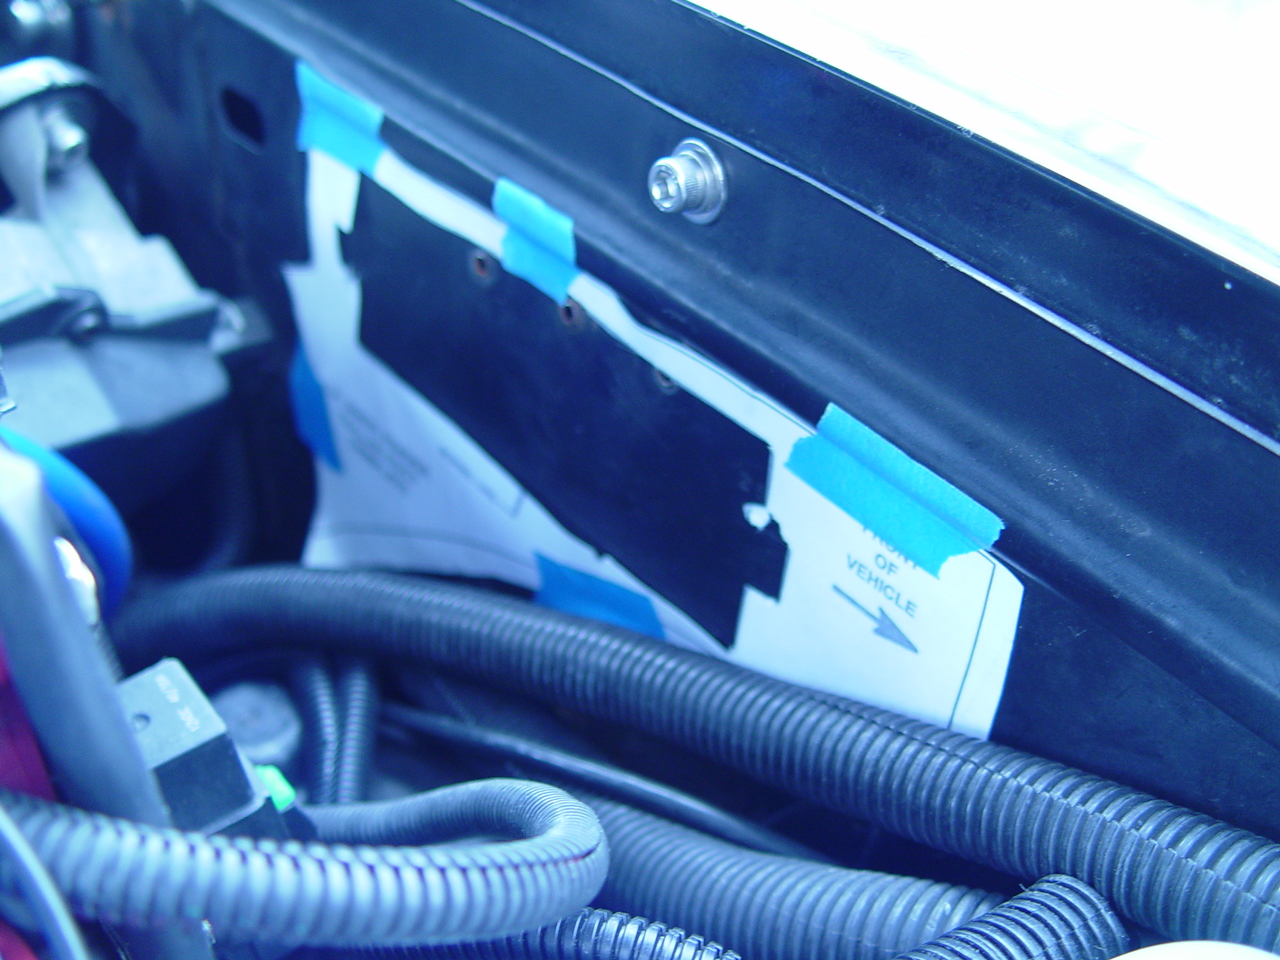
So we opted to use the other template supplied (from the louver kit) – (see the drivers side pic).
It’s much easier to use this one.
Cut 2 notches on the paper, 1 at top left, 1 at top right, so you can place accurately.
We premeasured & stuck a piece of masking tape down at the correct locations, so all we had to do was place the template in the correct spot.
these are the instructions that come with the ducting kitthese are the directions from the fender louvers
5. using a razor knife, scribe the lines where indicated. (cut into your fenders so it leaves a line). use a straight edge to get an even line!
6. remove the paper template.
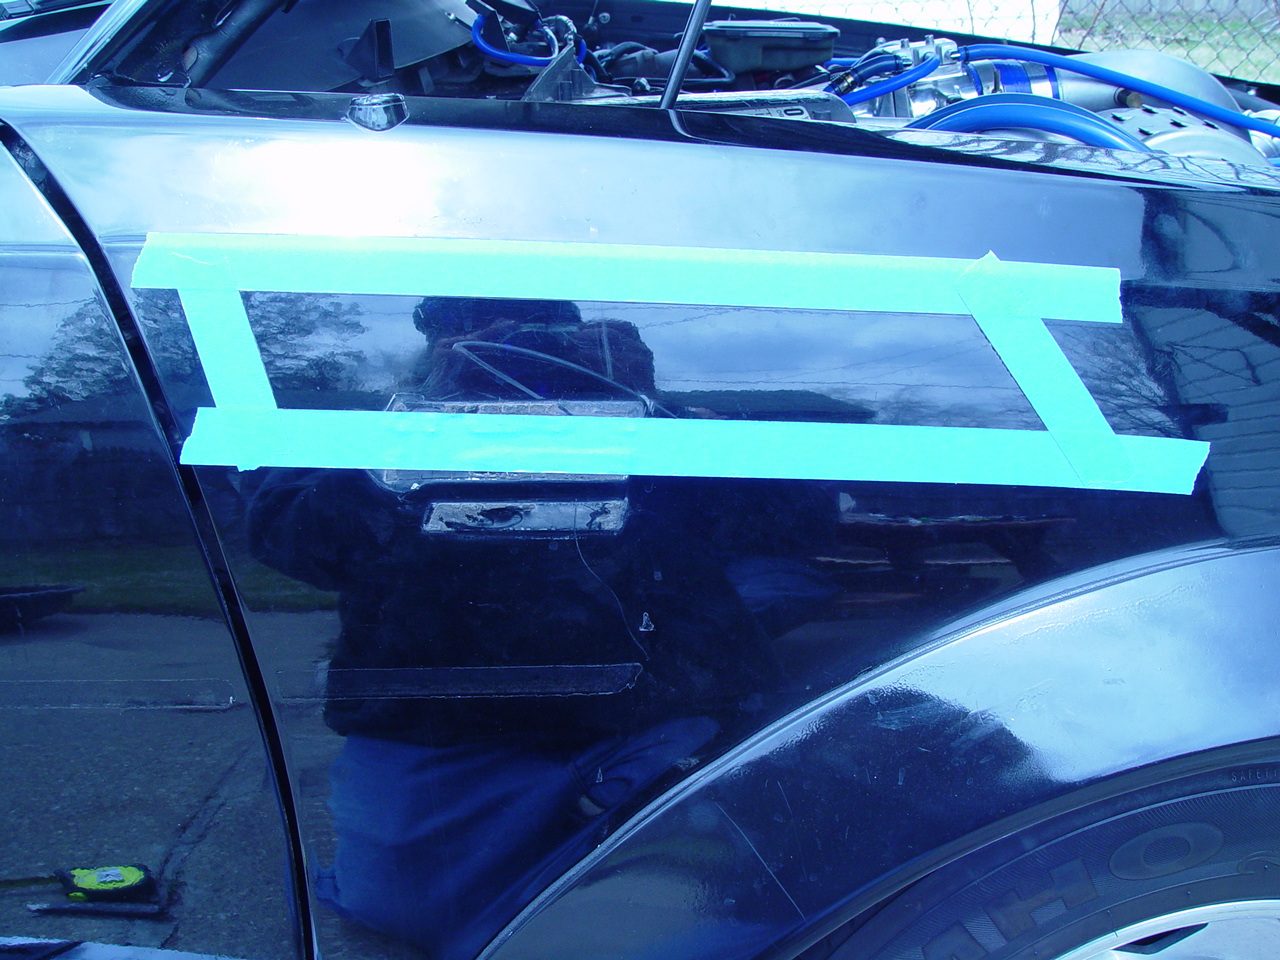
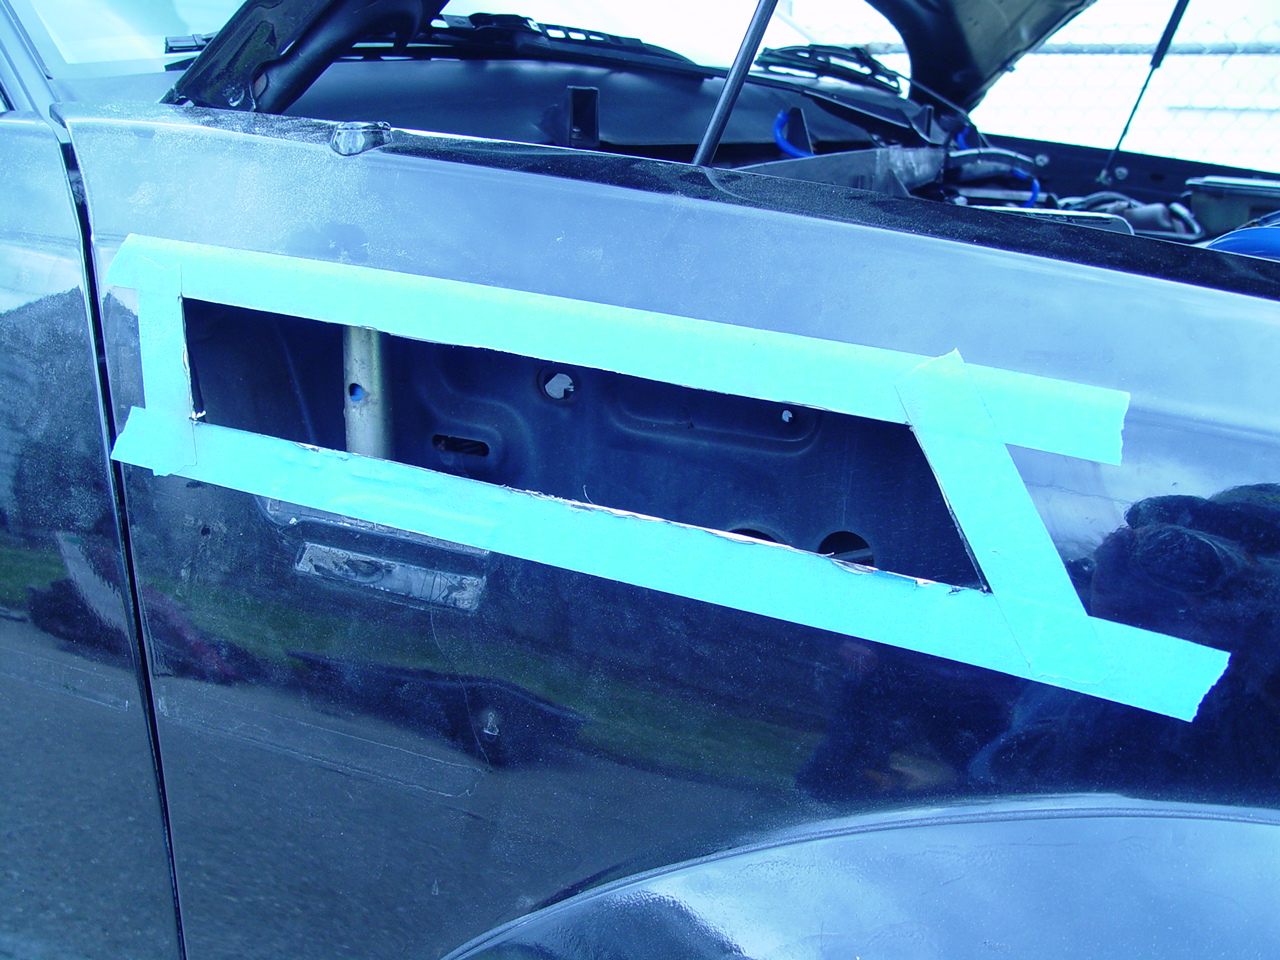
7. mask off just outside of the scribe line.
(just in case you miss when you’re cutting, plus gives you a visually straight line to mimic)
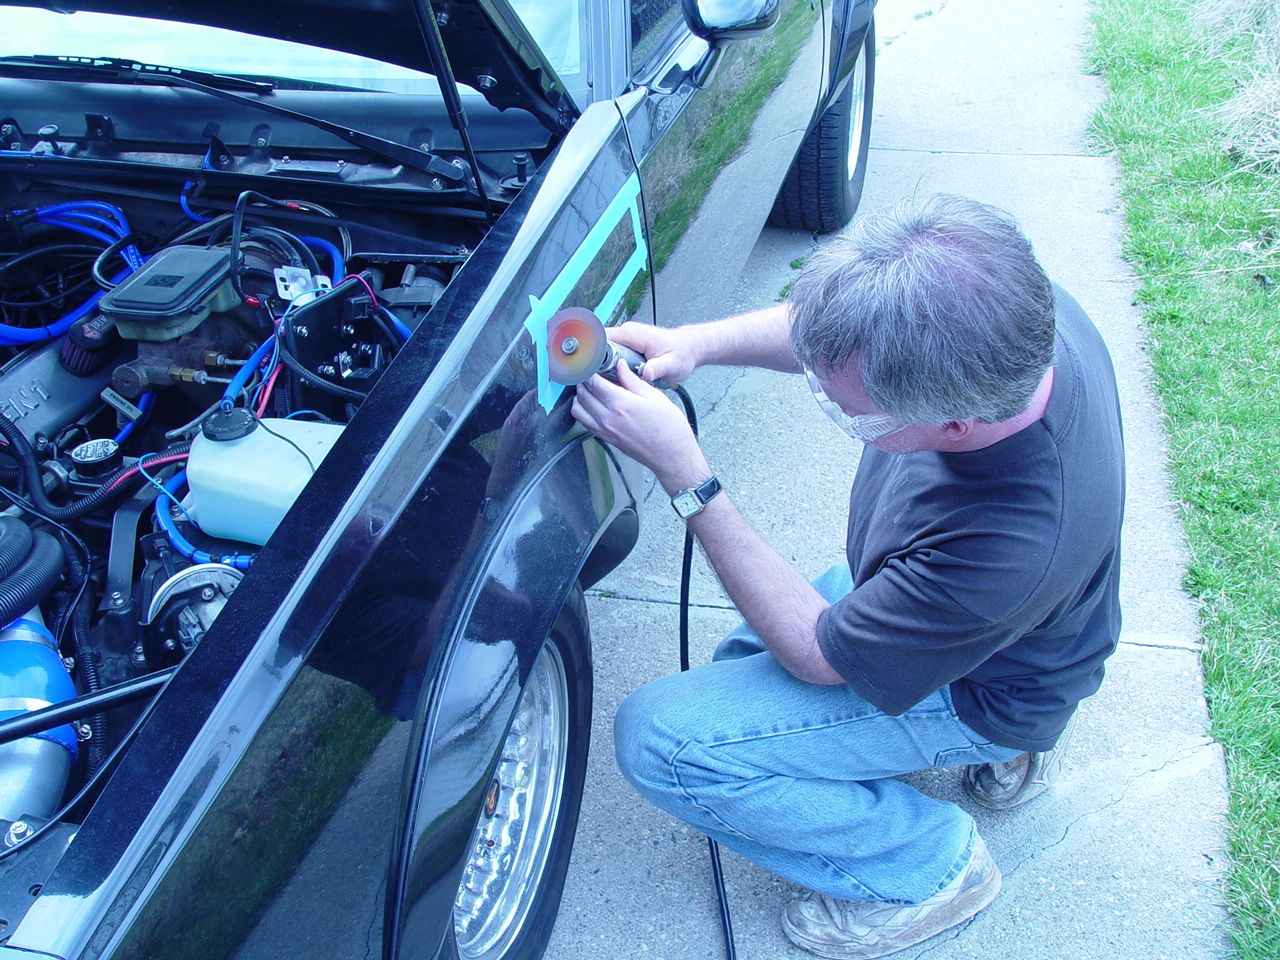
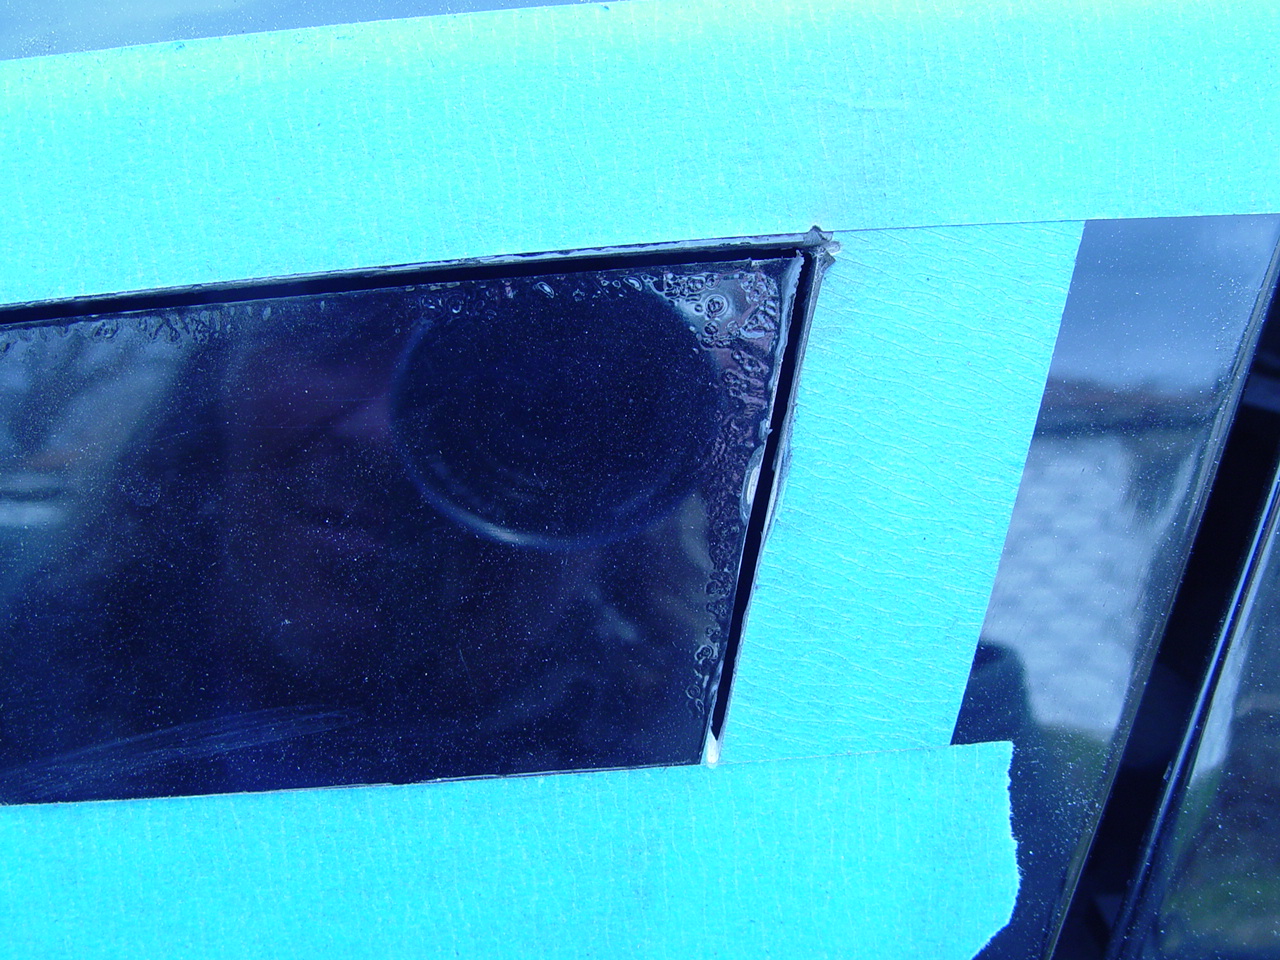
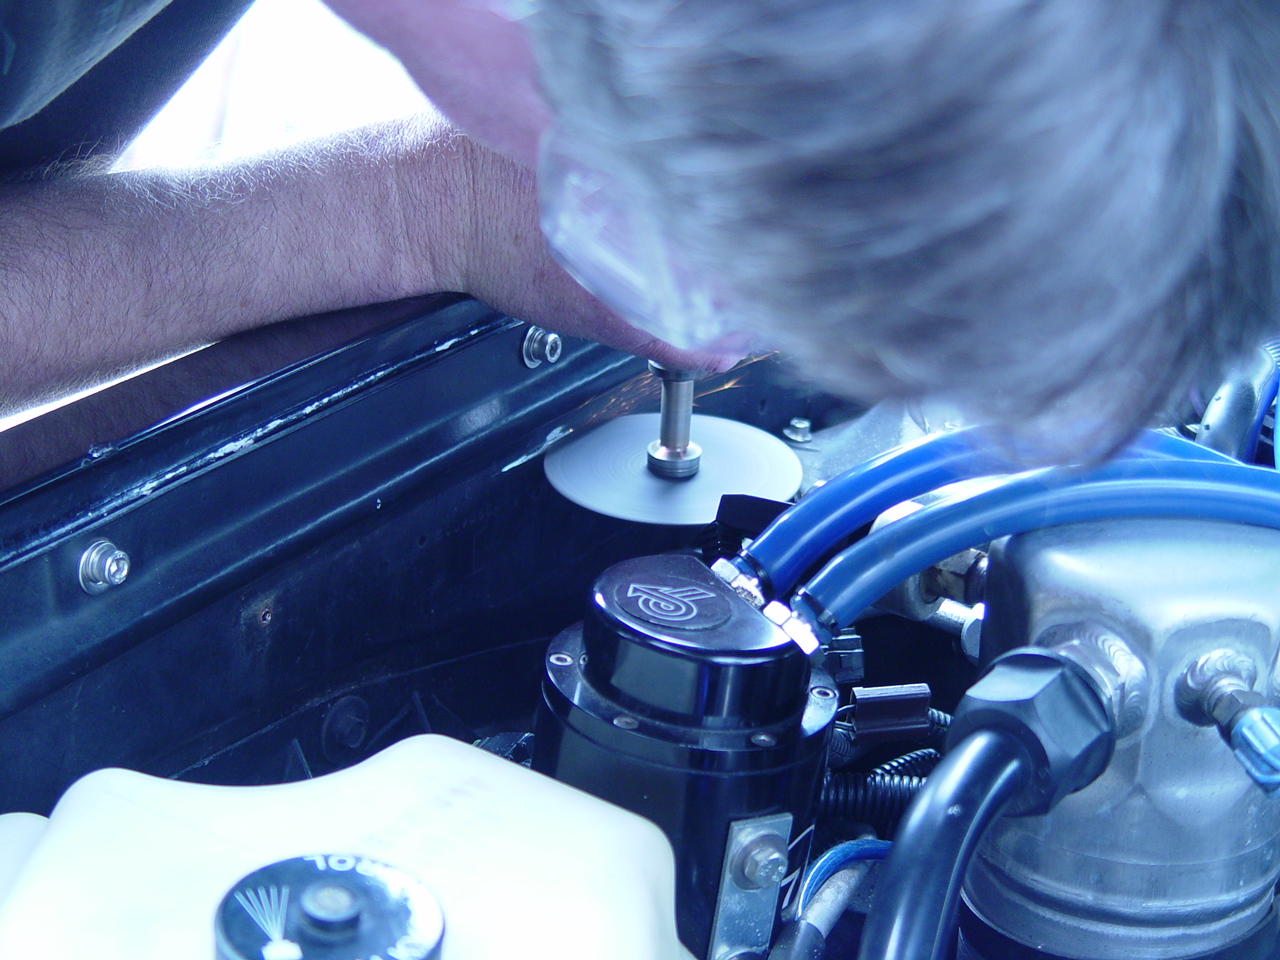
8. use a cutoutoff wheel to remove the vent section. (be careful for the antenna on the passenger side!) cut slowly to avoid burning or bubbling the paint!
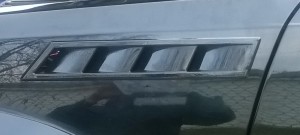
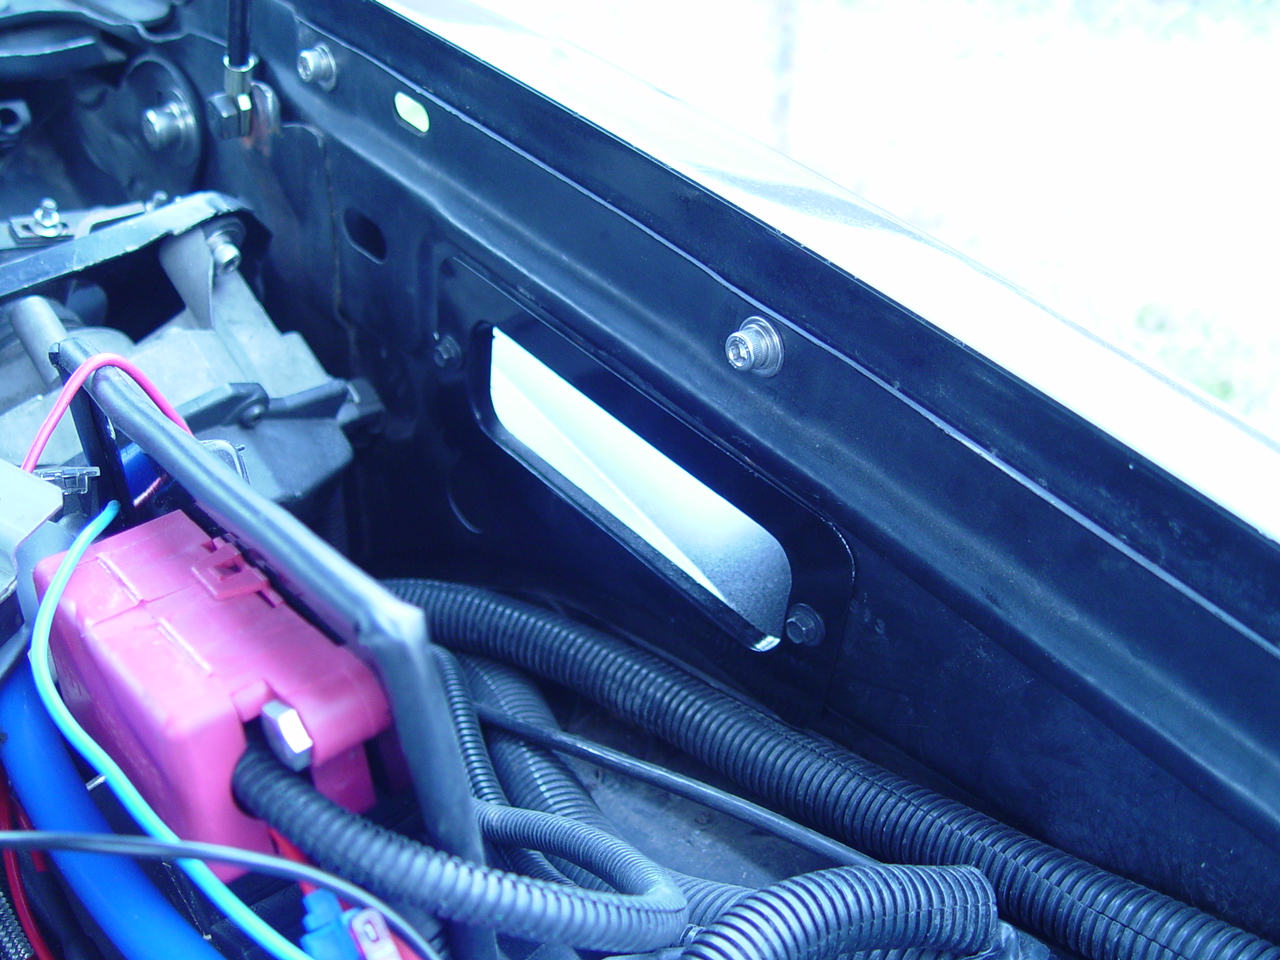
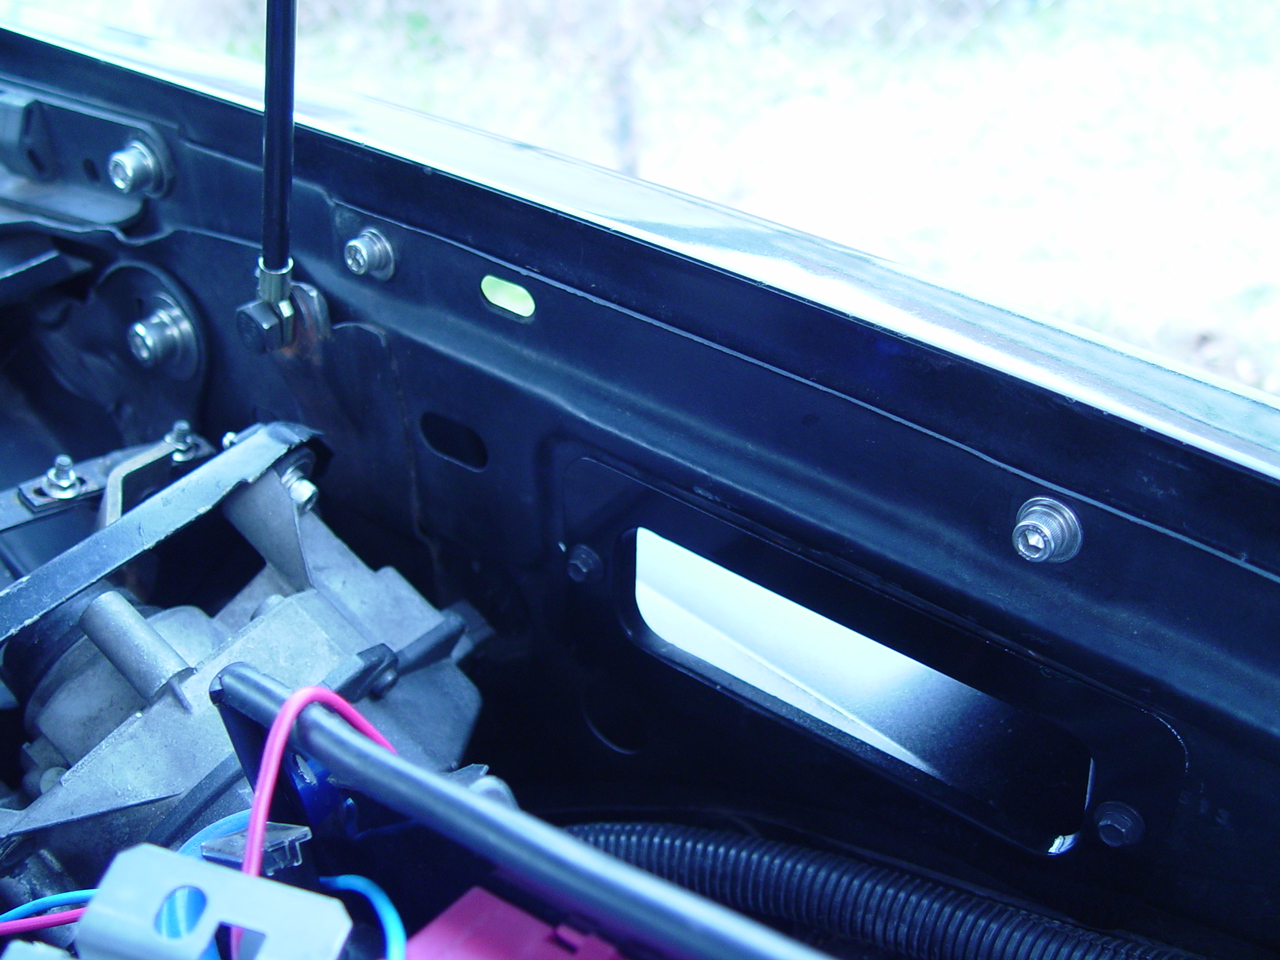
if you did it right, it looks like this when you’re done!
9. move the masking tape outward on every side by 1/8″ or so.
10. file the edges smooth & paint (rust prevention).
11. disconnect the ESC module wiring connector, 2 relay plugs & MAP connector & vacuum line.
remove the relay apron.
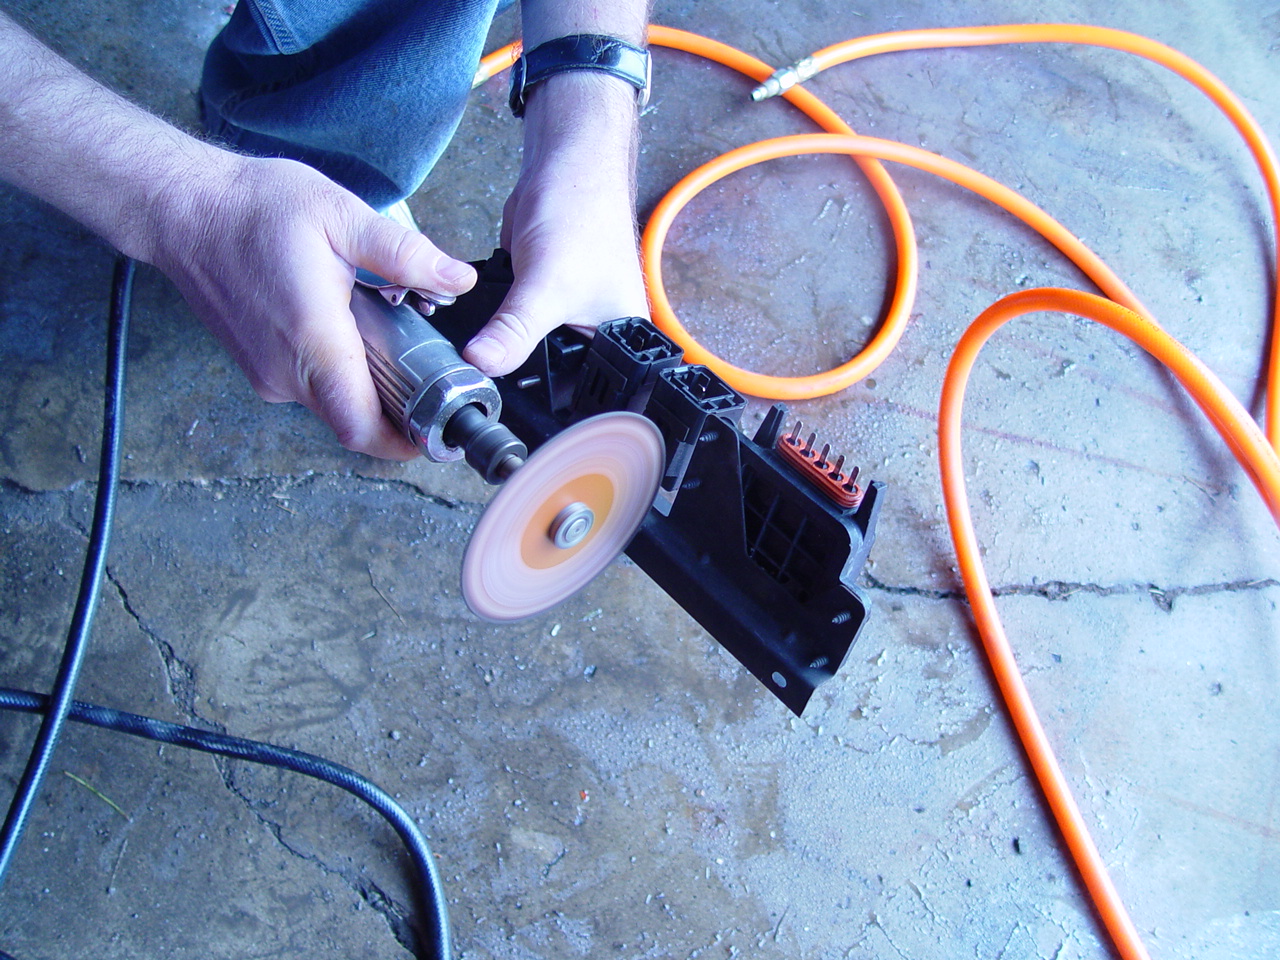
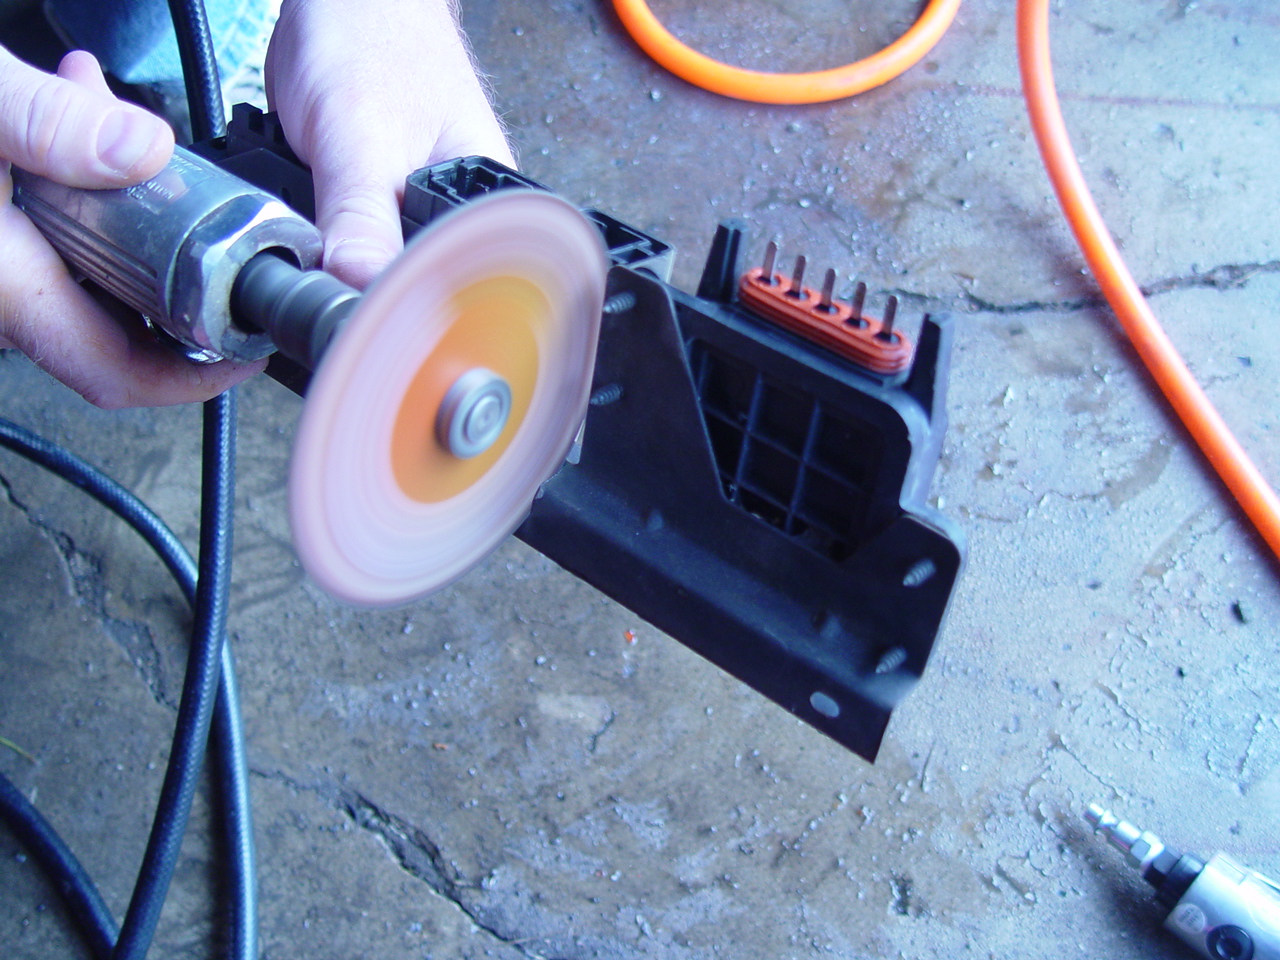
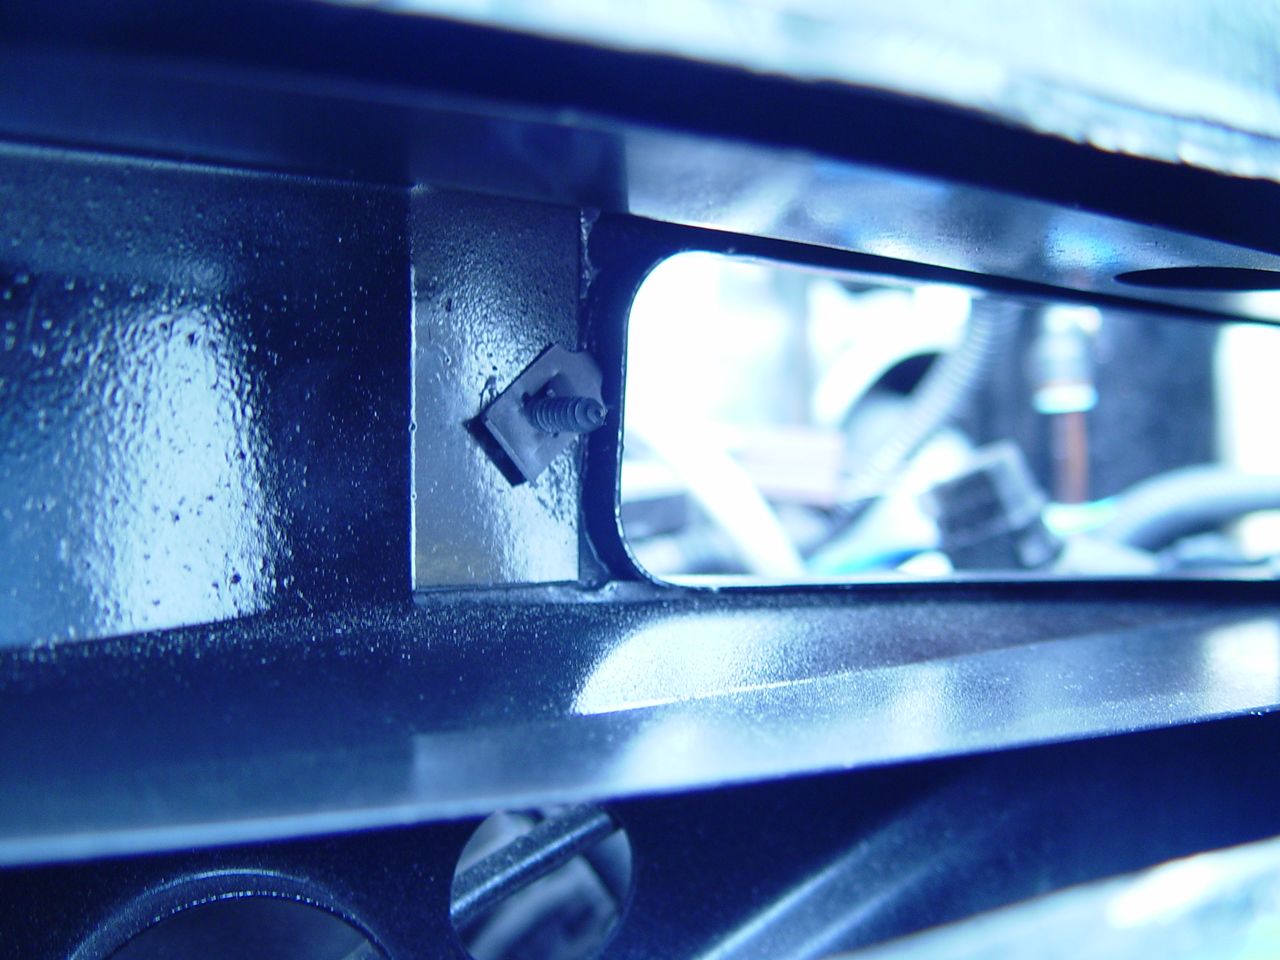
12. you will need to cut this bracket between the ESC & relays.
13. on the right side of the bracket (as shown in the first pic), you will need to drill a hole about the same size as the one on the left (so you are able to secure this piece back onto the fender). new hole in bracket, file all edges smooth & paint
14. file the edges & paint. set aside for now.
We didn’t have to deal with the relays on the drivers side as they were already relocated on this Regal Gbody. But for those who need to modify that area, here’s how:
Relay mounting apron bracket (passenger side) instructions are included with the duct kit.
It shows you where to cut the passenger side bracket, as well as where to attach the new brackets (if you bought them with the kit).
The diagram has a slight error however, as it does not show the MAP sensor in figure 3.
(not a big deal, just follow the directions I supply herein for mounting the bracket).
The drivers side has 3 relays on the fender (fan delay relay, hi fan relay, lo fan relay).
If you purchased the relocation brackets (with the duct kit), then install them.
If you didn’t buy those brackets, you could build your own bracket. It’s not hard to take a piece of aluminum & bend it to accommodate these.
Or mount them further forward (in front of the inner bezel & in back of the windshield washer bottle).
{wait on actually installing them until you finish cutting out the inner bezel}.
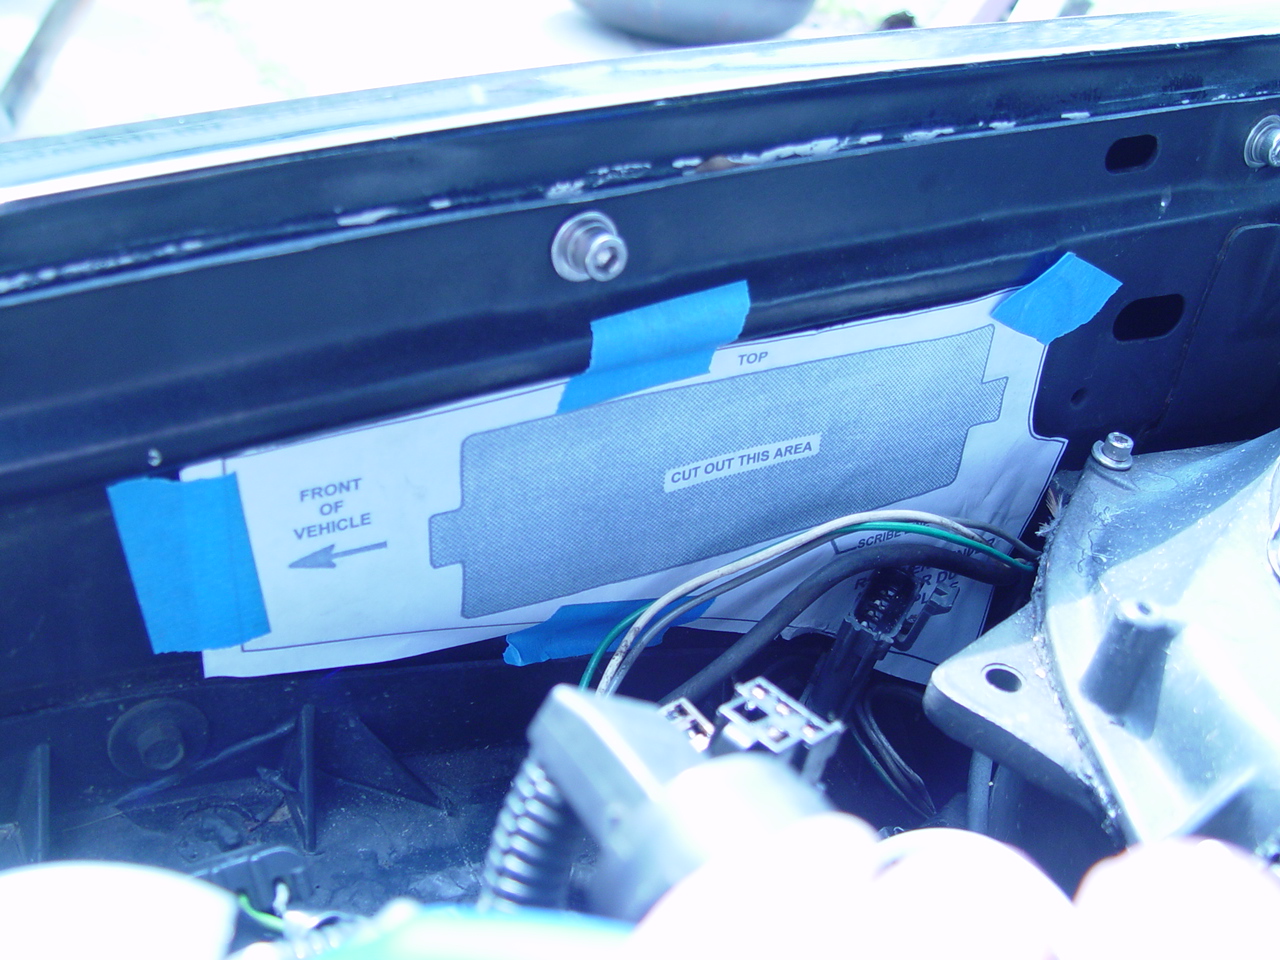
15. affix the smaller templates on the engine compartment side.
(the ones from the ducting kit).
passenger side:
drivers side:
16. scribe the cutout area, then remove the paper.
(or leave on to visually guide you as you cut). passenger sidedrivers side
17. use your cutoff wheel to remove metal from the marked area.
this is a tight area to work in!
on the drivers side, you may want to remove the windshield washer bottle for easier access.
Be careful not to cut the wire loom on the drivers side!
18. file the edges & paint the exposed metal areas.
19. insert the inner bezels into the holes.
passenger side:
driver side:
20. attach the 2 screw clips onto each duct in the proper places.
(the smaller opening end). pass side ductdrivers side
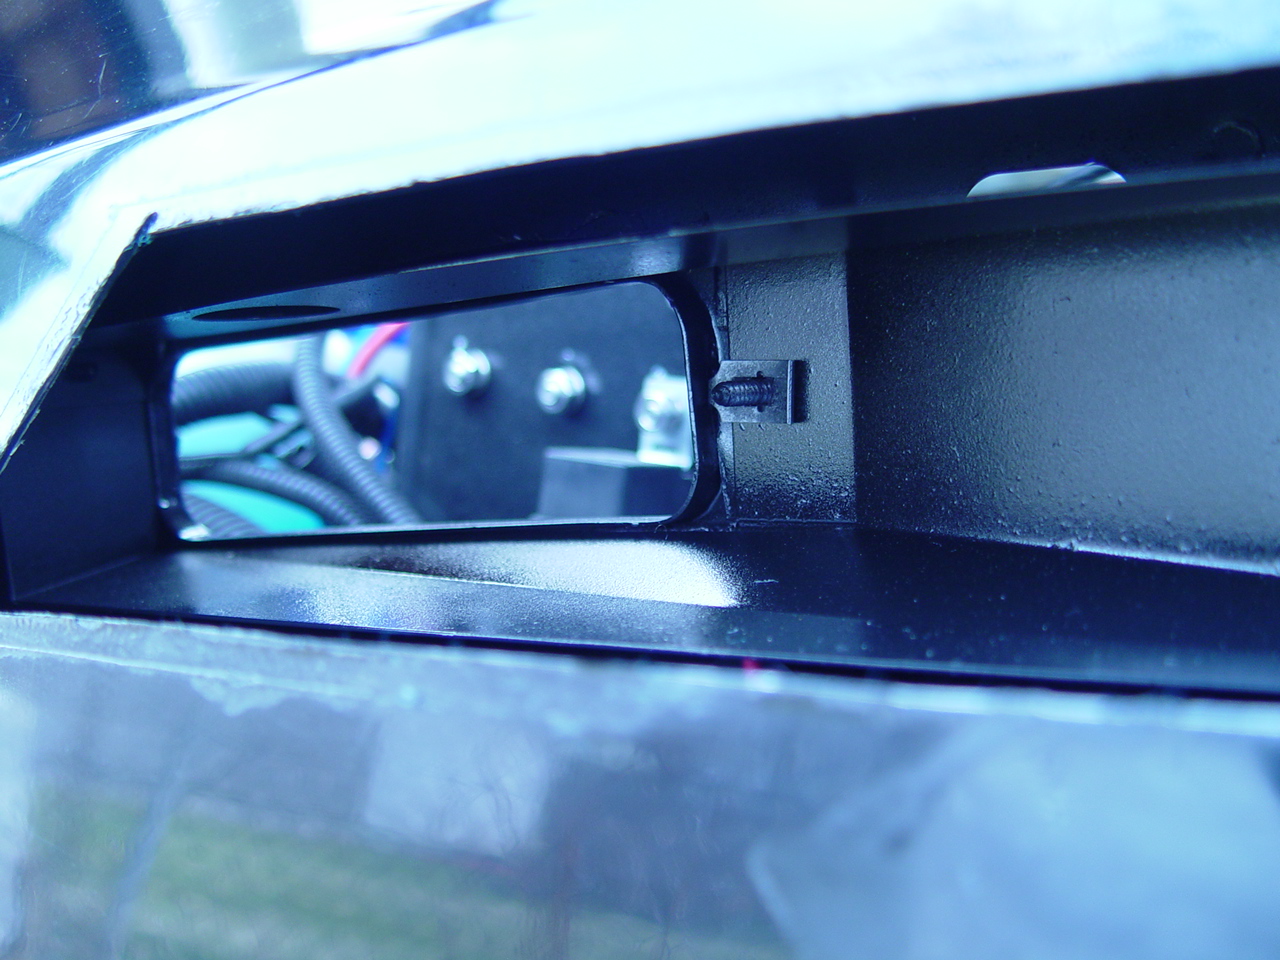
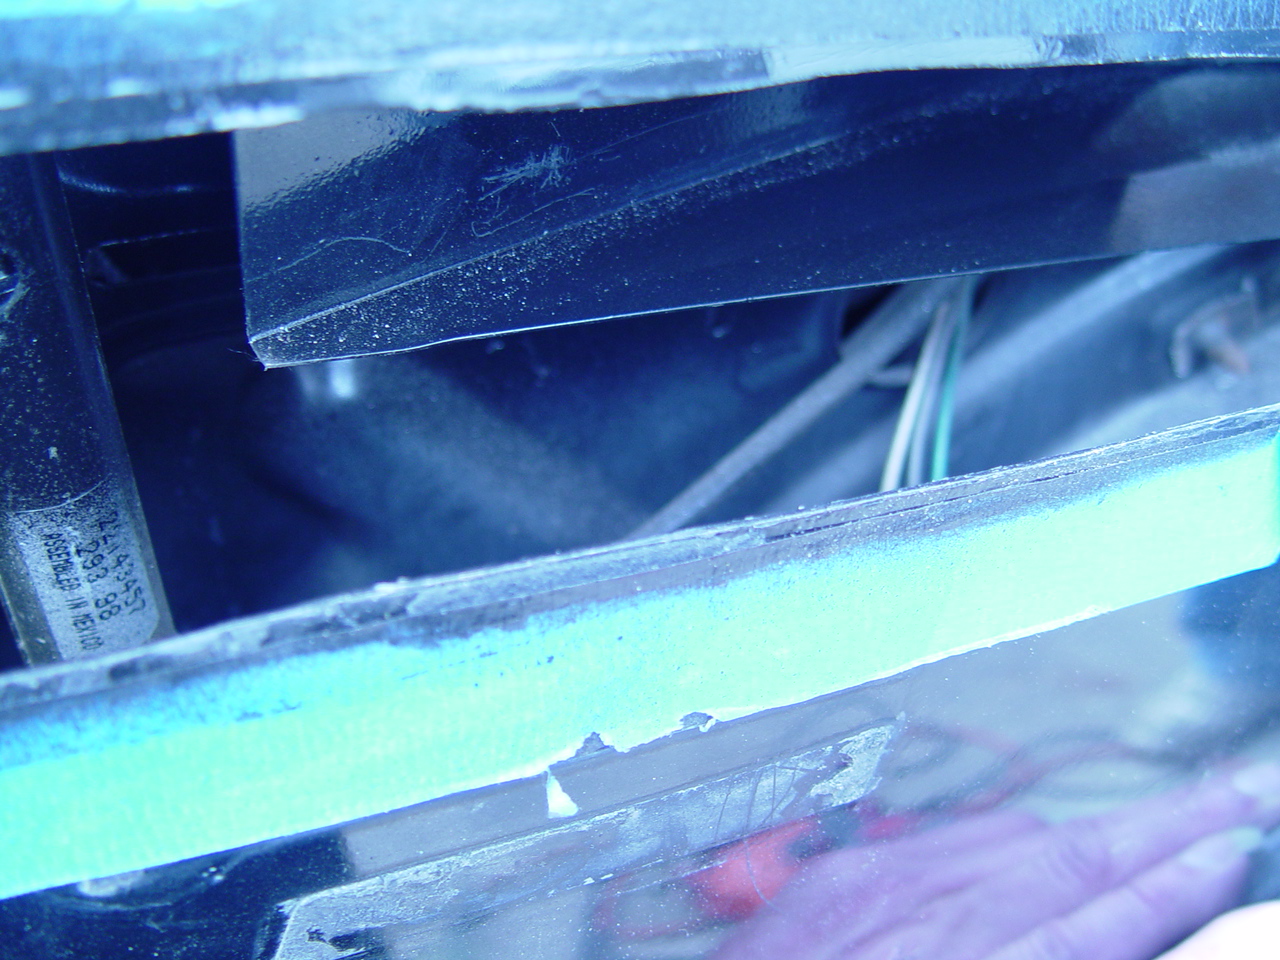
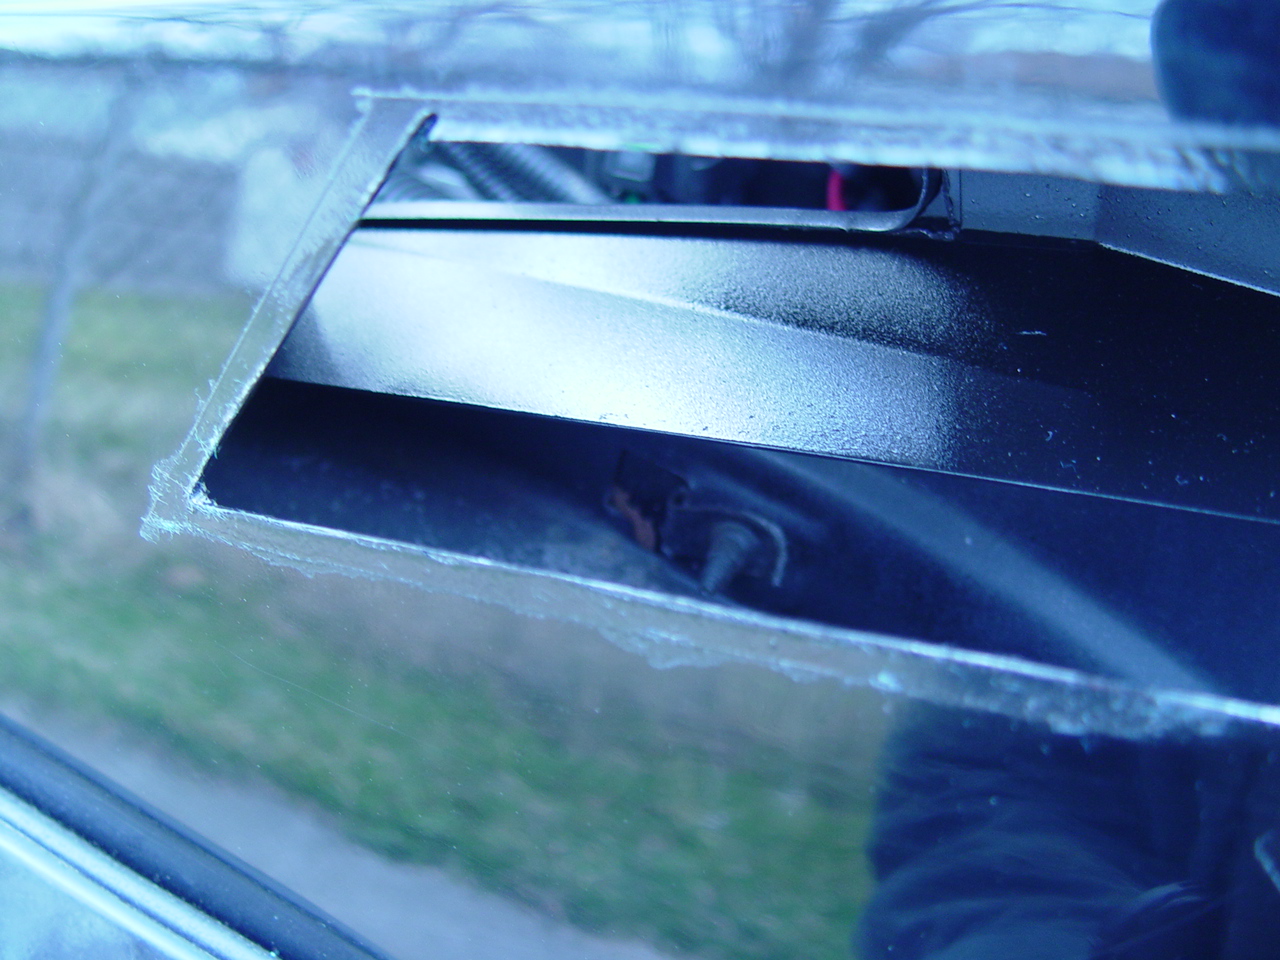
21. slide the ducting through the outer holes & attach to the inner bezels using the bolts provided.
The ducts are going to look like they are way too far forward after you install them, when you look at them through the exterior fender holes.
This is correct however, as the angle meets up with the most rearward vent opening (stick the louver in the hole & look at it at a position from the rear of the car towards the front & you’ll see what I mean).
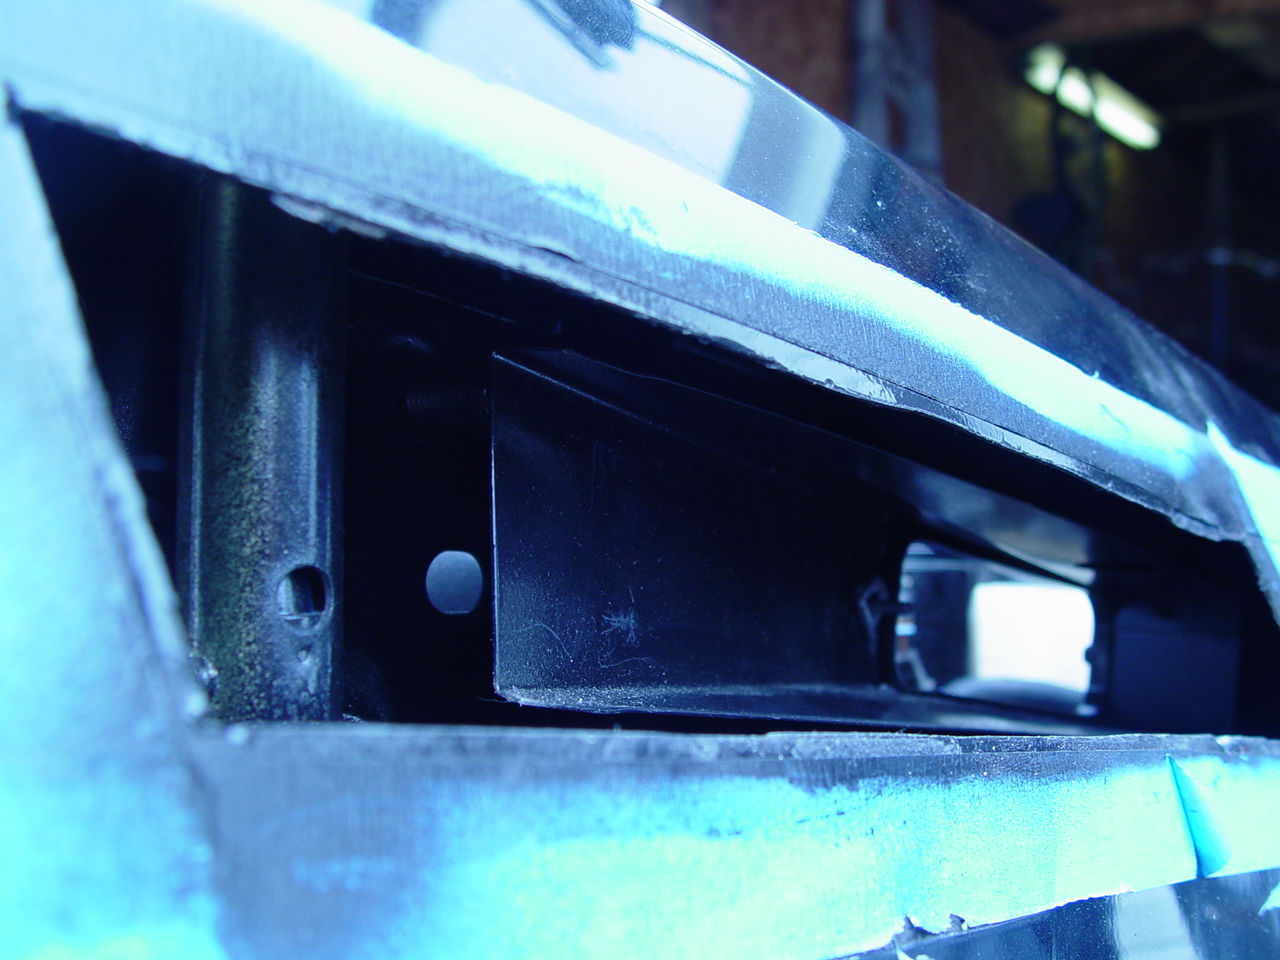
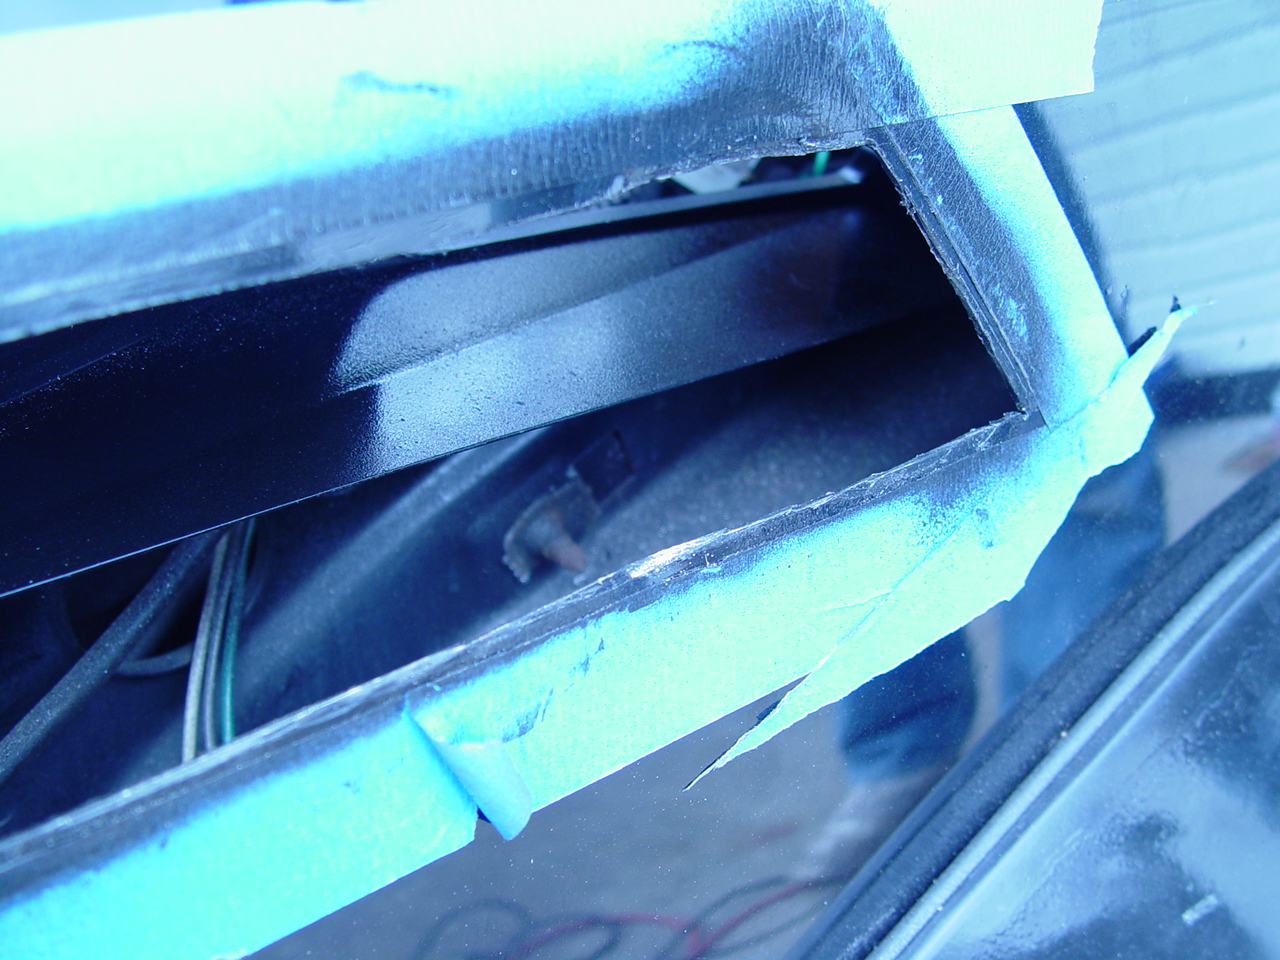
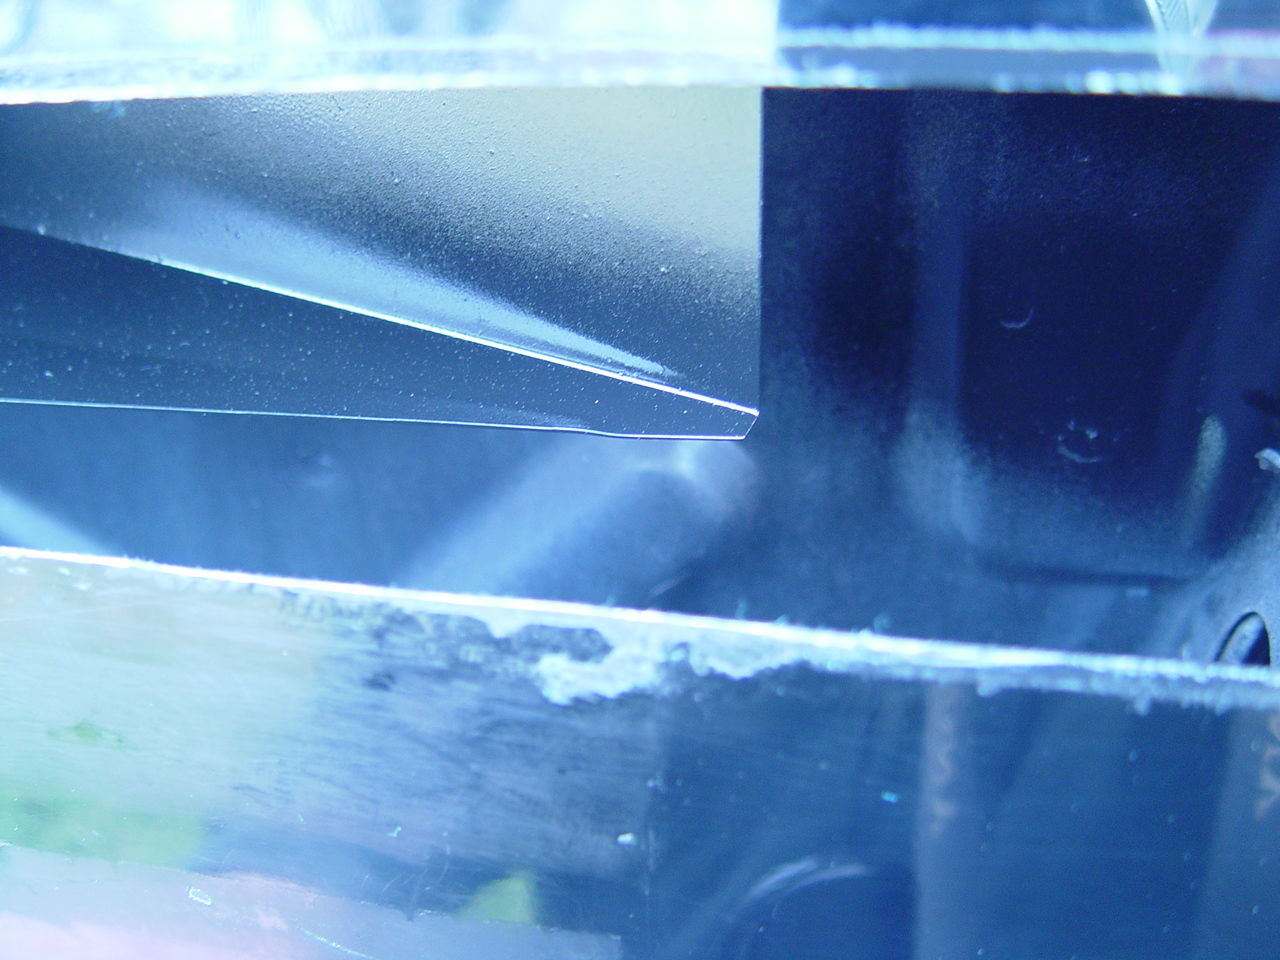
22. the ducts more or less direct the flow of the escaping heat. (instead of being a sealed tunnel).
They do not match up (touch) to the inside of the fenders (the back side of where the louvers are).
As a matter of fact, the distance between the fender & the ducting is well over an inch!
But that distance is reduced a little when you insert the vent.
passenger side:
drivers side:
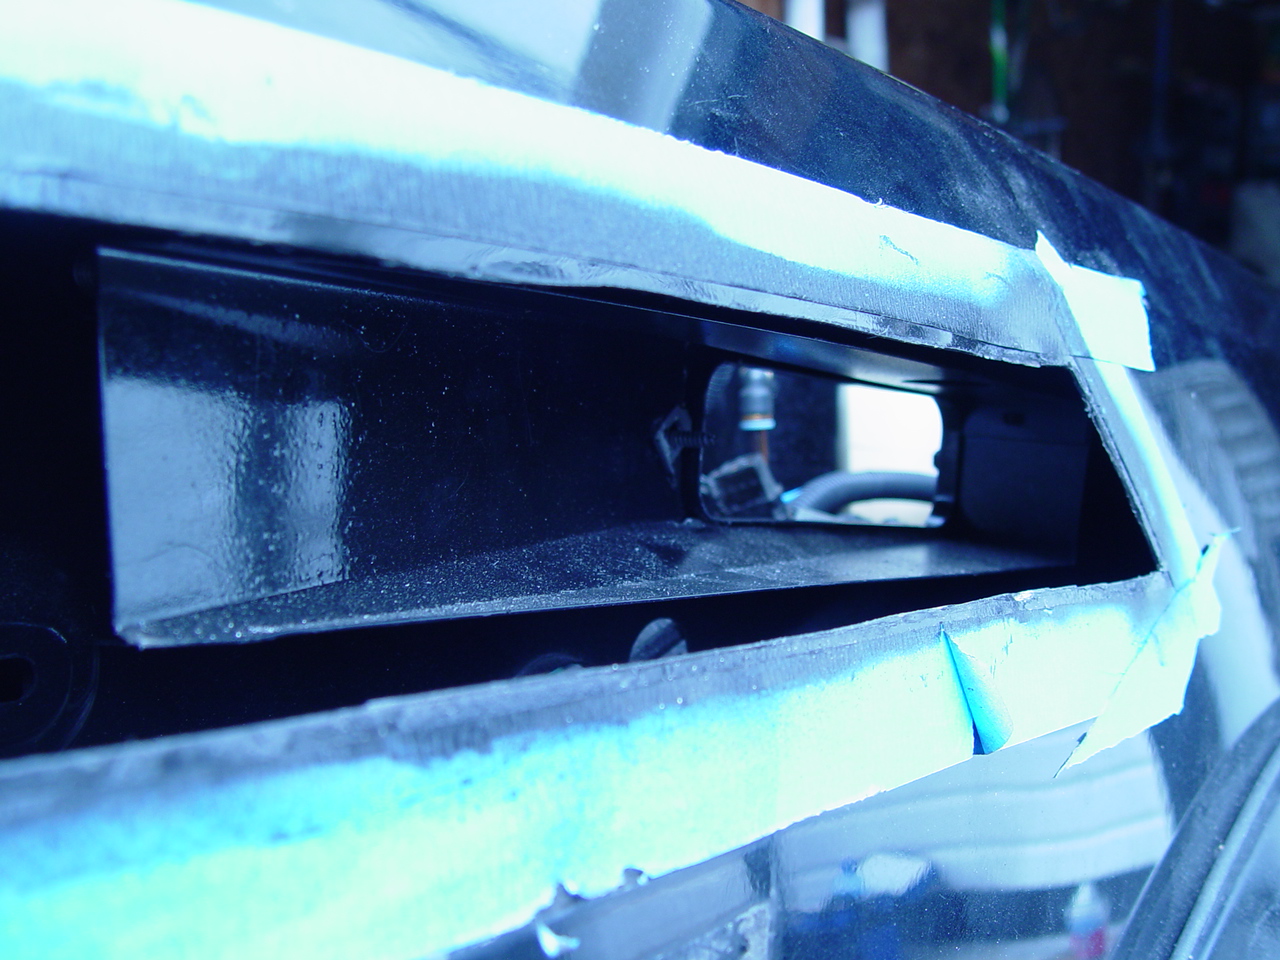
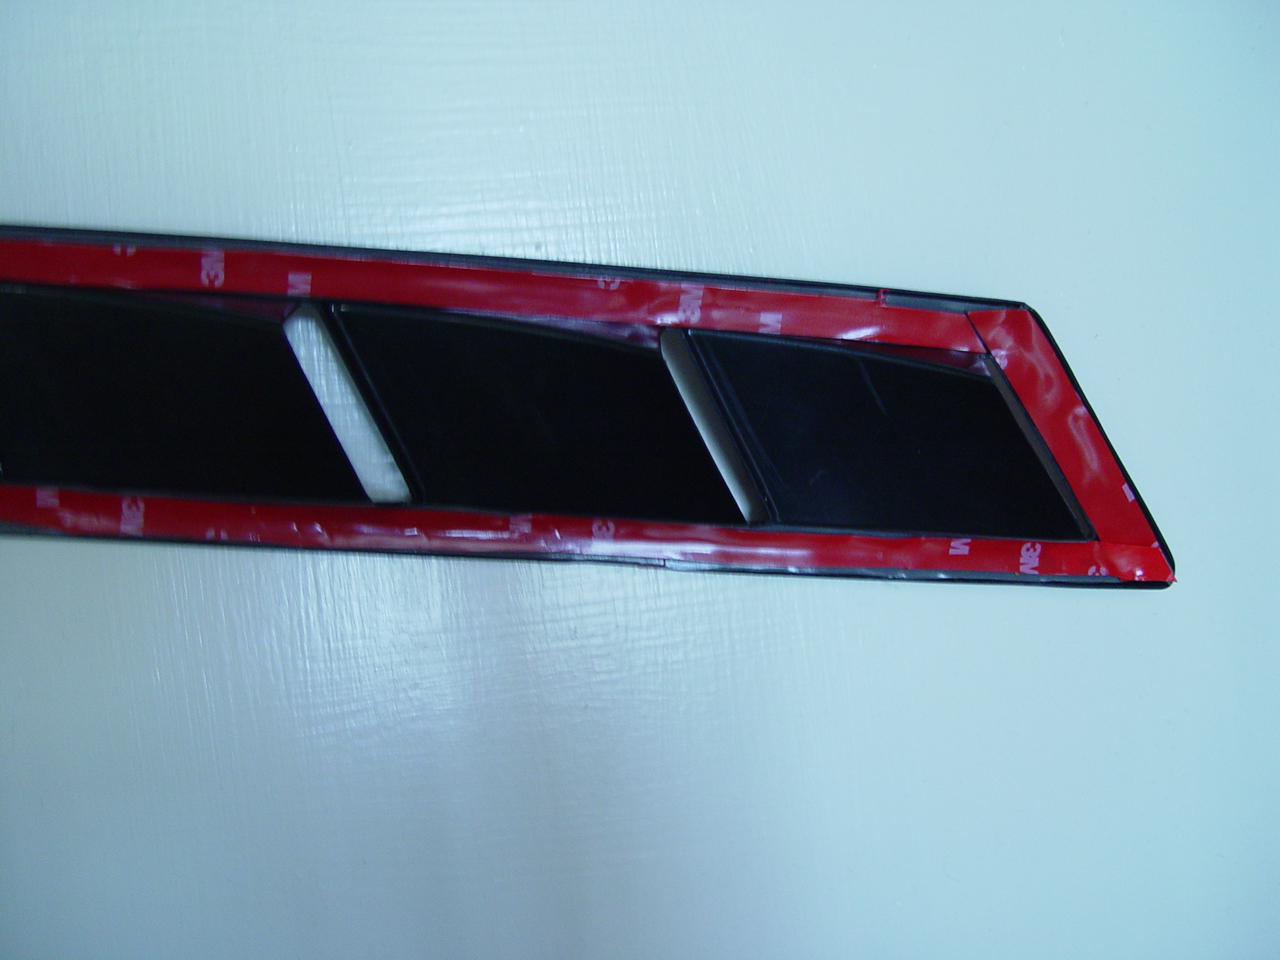
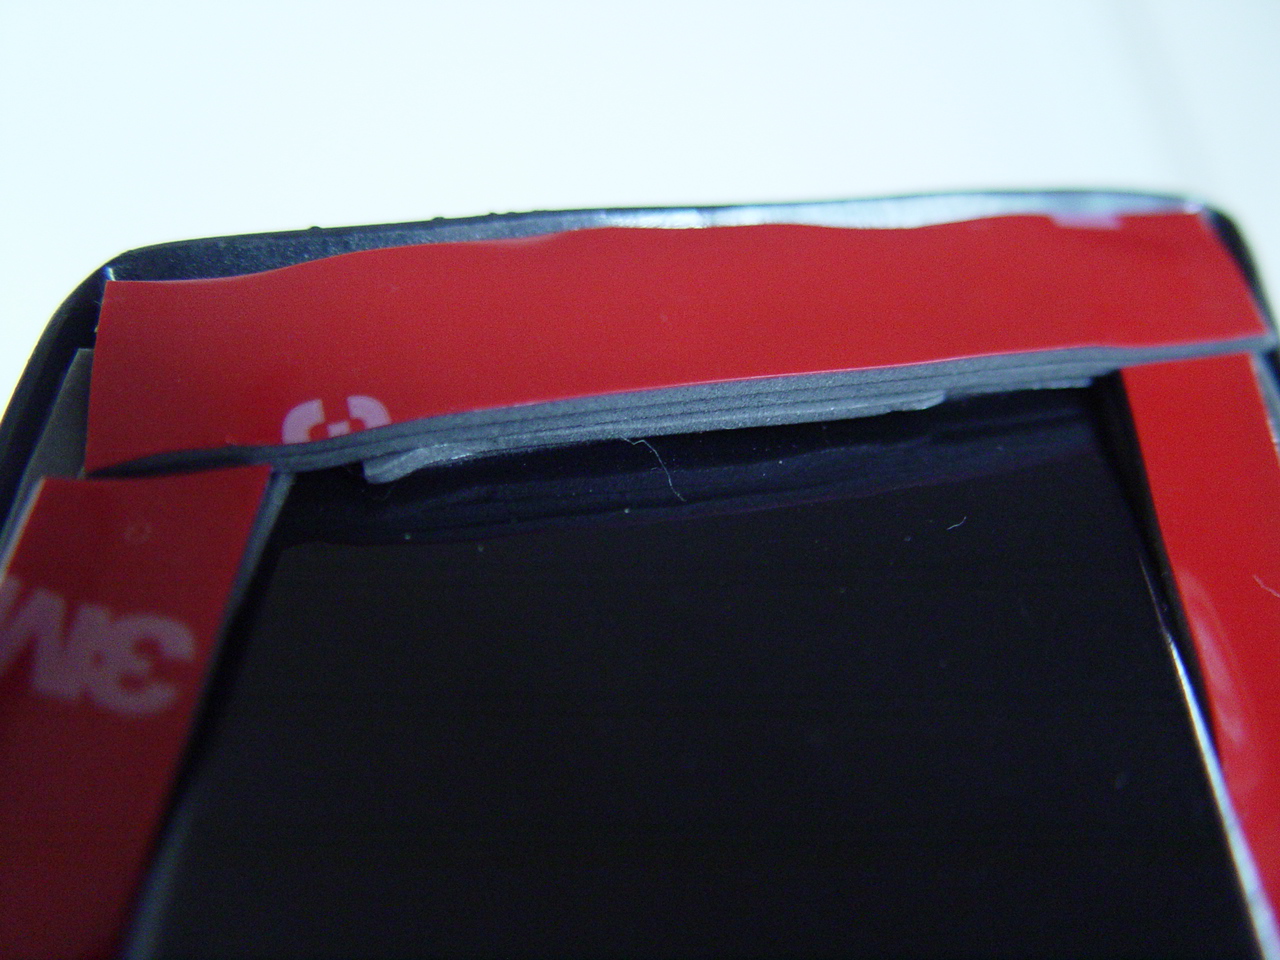
23. Using the double sided 3M tape supplied with the louver kit, layer this on the back side of the vent, flushing it up to the surface where you will mount this onto the fender.
This means doubling or tripling up (stacking on top of each other) all the way around.
(there is no other way to secure these down, as the ducting kit {nor the louver kit} does not include either the inner or outer louver {securing} bezels {like the original buick gnx’s had from ASC} ).
24. line the louvers up straight & level, as the opening in the fender is bigger than the (inside of the) louver. Remove the strip from the double sided tape & push the louver securely onto the fender.
25. drill 2 new holes for the new relay bracket location on the passenger side.
Use the hole openings in the bracket as a guide to where to put the holes.
26. secure it down using the original 2 screws that held it in place.
(you should plug the connectors in before mounting, as you’ll have to stretch the wires over to this spot to fit).
27. if you didn’t buy the relay brackets (with the ducting kit) you’ll have to figure out where to mount the ESC module on the passenger side.
(we removed the original bracket it was secured on & attached the ESC to the blower motor.)
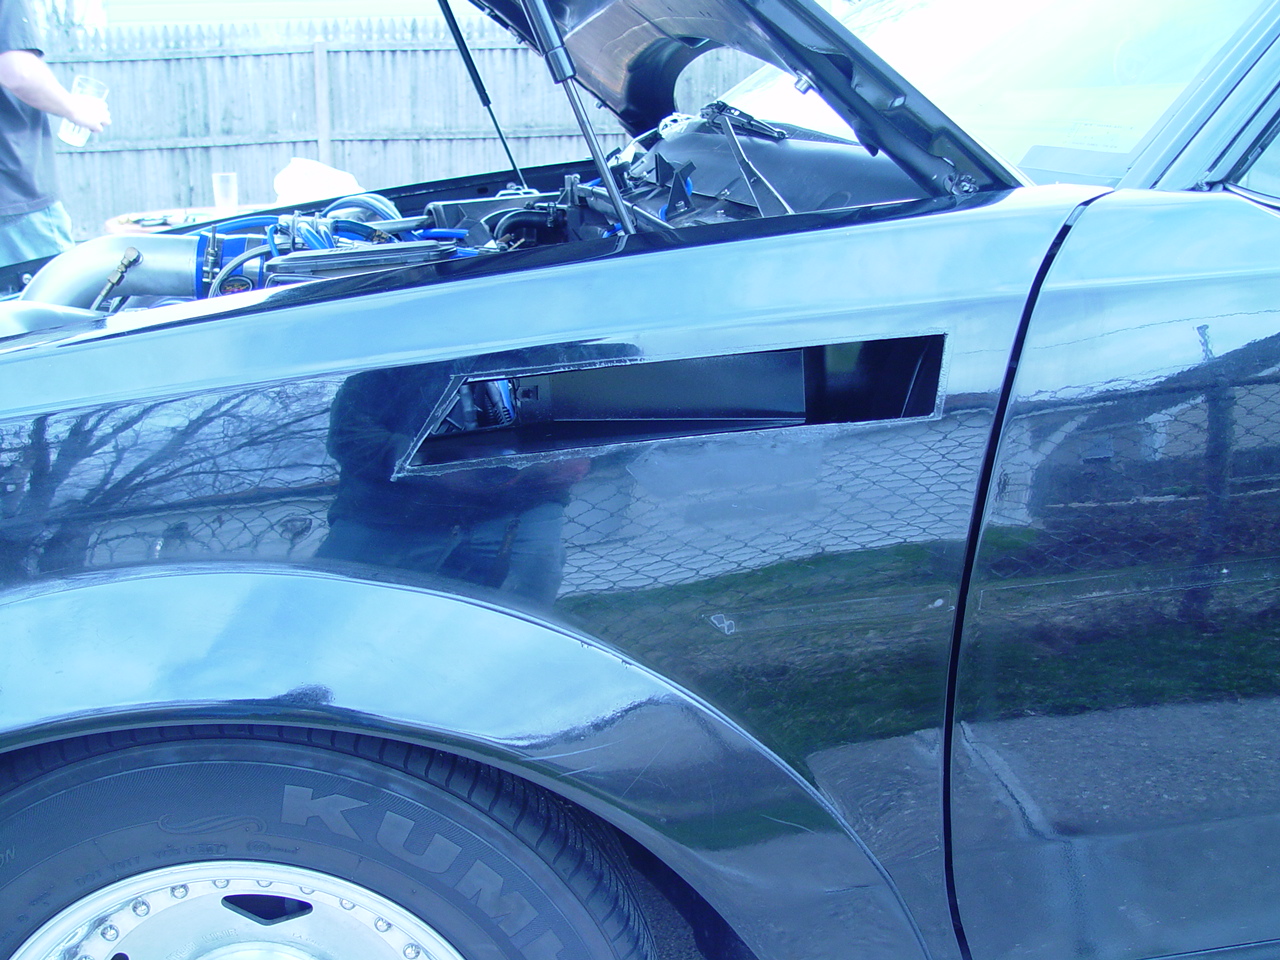
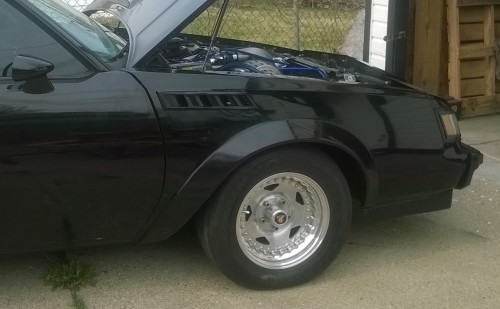
28. That’s it! Clean everything up, stand back… and admire!
Not only do you have awesome looking GNX style louvers, but they are functional as well, since they’ll suck the hot air out of your engine compartment! (that means your car will go even faster now!)
*** Want to print out directions for this project?
Below is a zip file (20mb) that contains 10 jpegs (8.5×11) that show you all of the above steps.
Click the link to download it!
Was this post beneficial? More Cool Info is Added Daily! DON'T Miss Out! Sign up to our FREE subscription service
and receive an email whenever we post new articles. Just enter your email address below and click the Subscribe button. (NO spam sent - only new post alerts)