.
We’re continuing on with our series of totally blacking out the interior of the 1987 Buick Grand National.
(AKA “dechroming”)
For many of the parts to convert to black in color (instead of the OEM chrome parts found on stock Buick Regals), you can simply swap in Chevy Monte Carlo items.
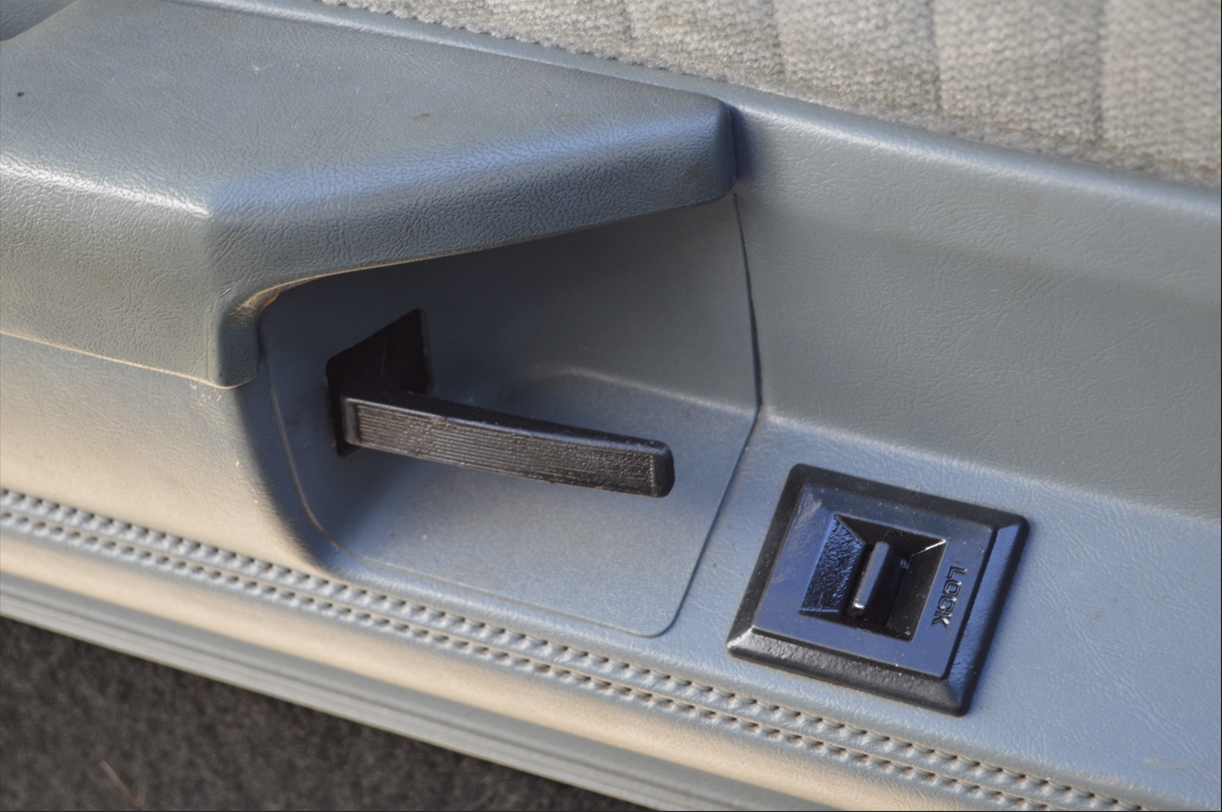
But for the interior door handles, ALL of the G-body vehicles used the same chrome versions.
Hence having to find a different way to accomplish this task.
We thought about regular paint, but due to the regular wear of constantly using the door handles, it probably would have rubbed off in no time.
Solution?
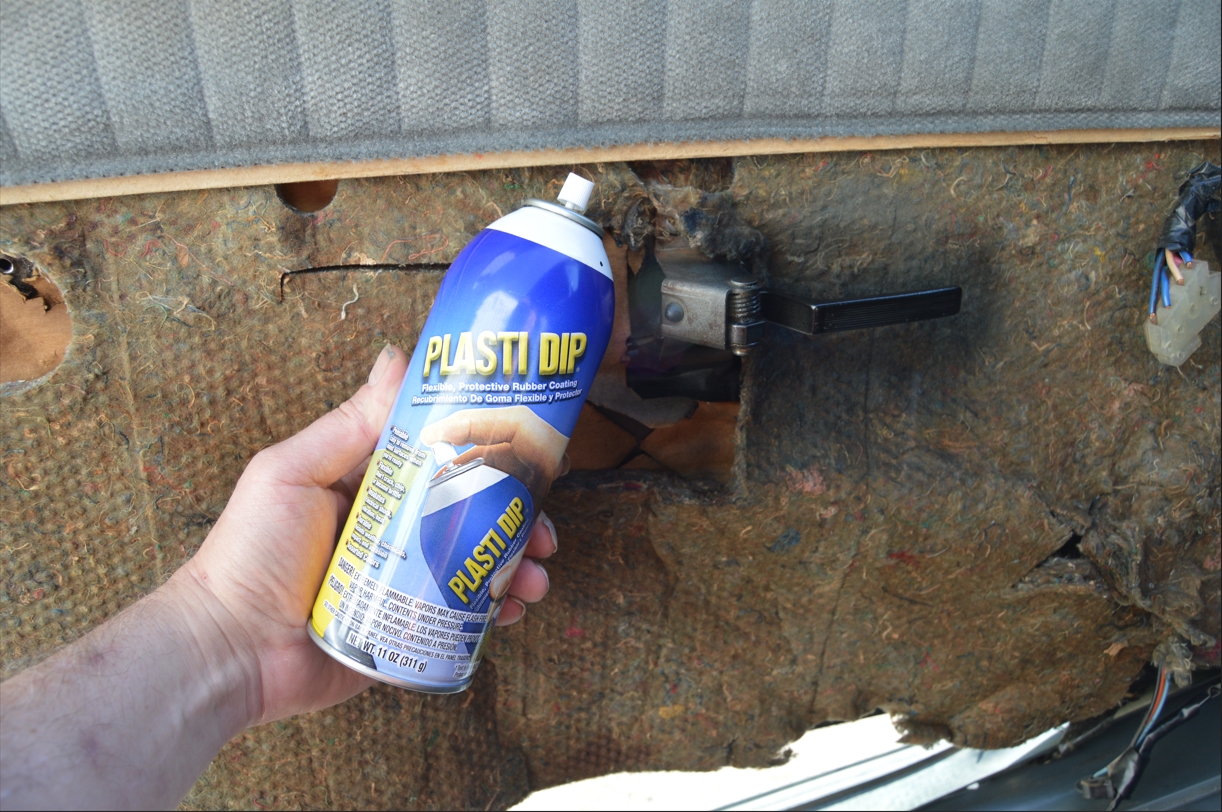
Plasti Dip Multi Purpose Rubber Coating Aerosol, matte black in color.
An 11oz spray can cost about $11 shipped.
This should hold up pretty well.
(especially with multiple coats applied)
We’ve heard good things about it, but have never really used it before.
[the plasti-dip is the same stuff we are using on the sunvisor brackets, rear ash tray, and dome light housing]
.
HOW TO:
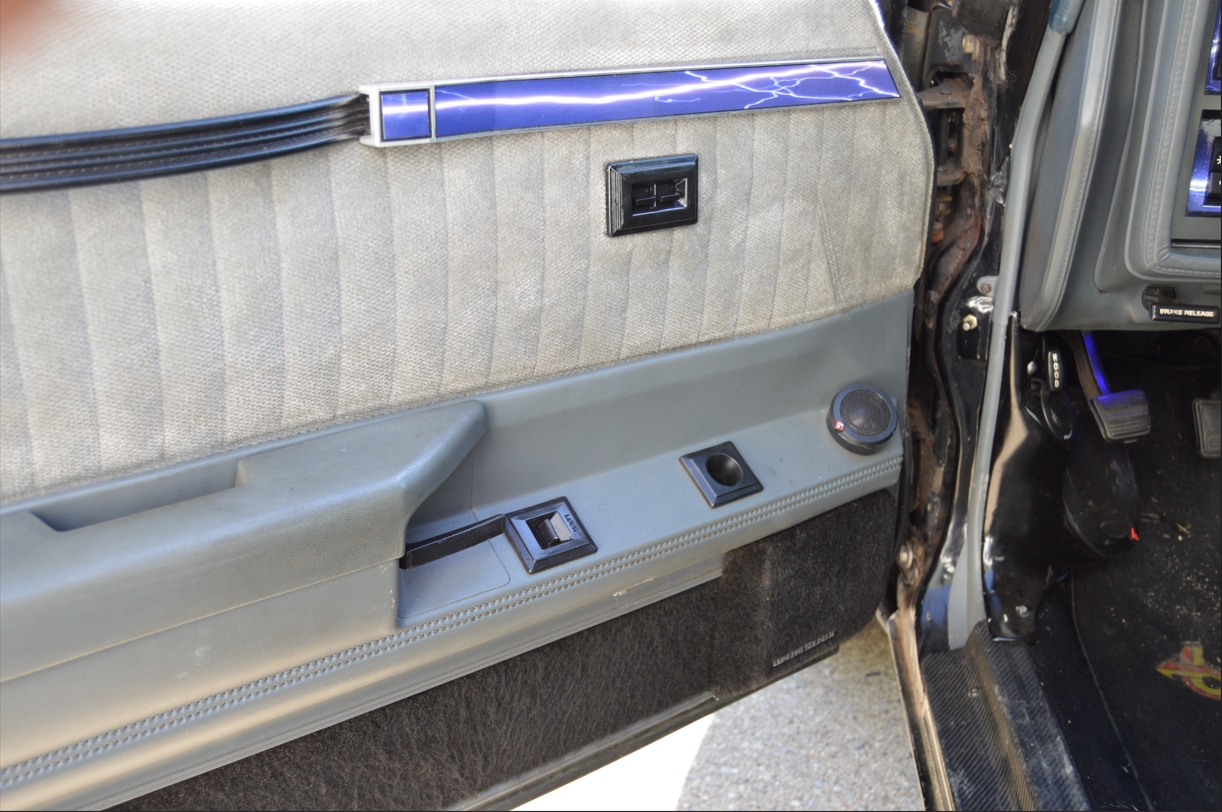
1. Remove door panels.
[note: we did this project at the same time that we did the power door lock switches and the power window switches, so not much more of an effort for this specific project since everything was already apart]
[IF you need to see pics on how to remove door panel, check out the power door lock switch replacement post, where we show you step by step info]
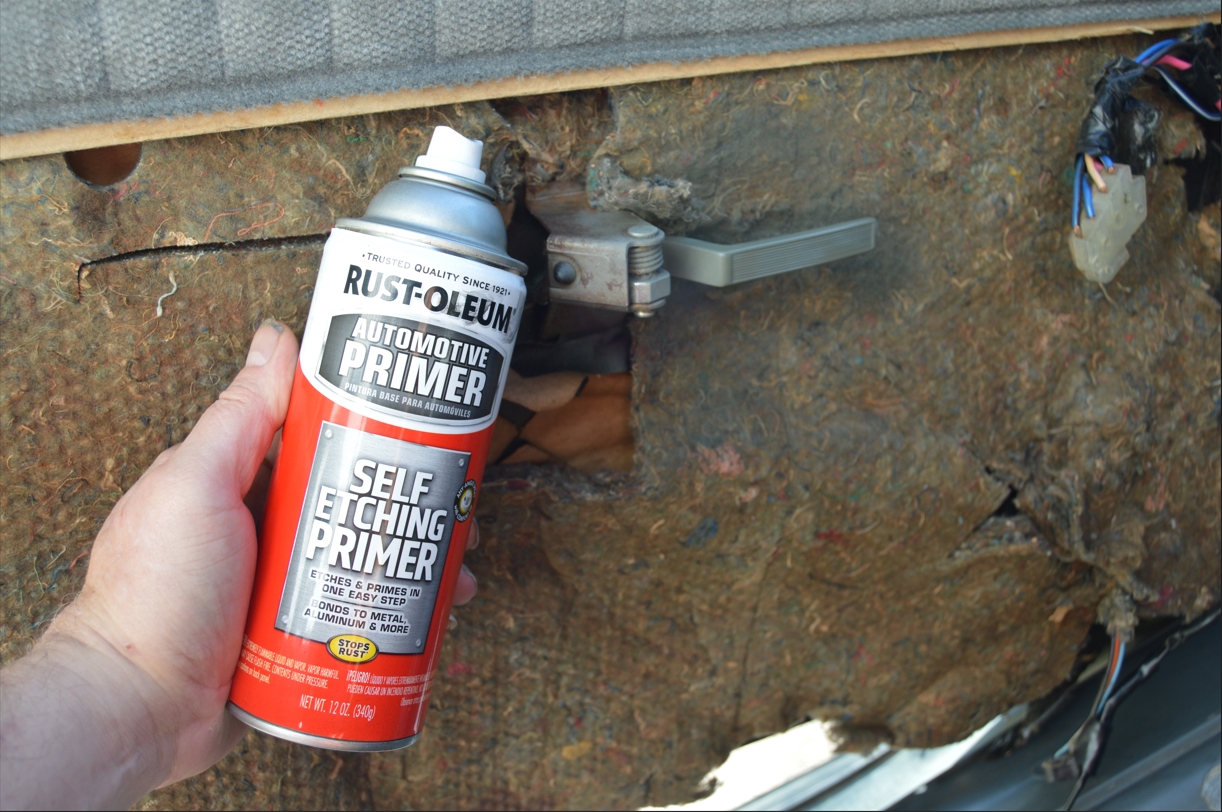
2. Clean the door handles well, with rubbing alcohol to remove grime.
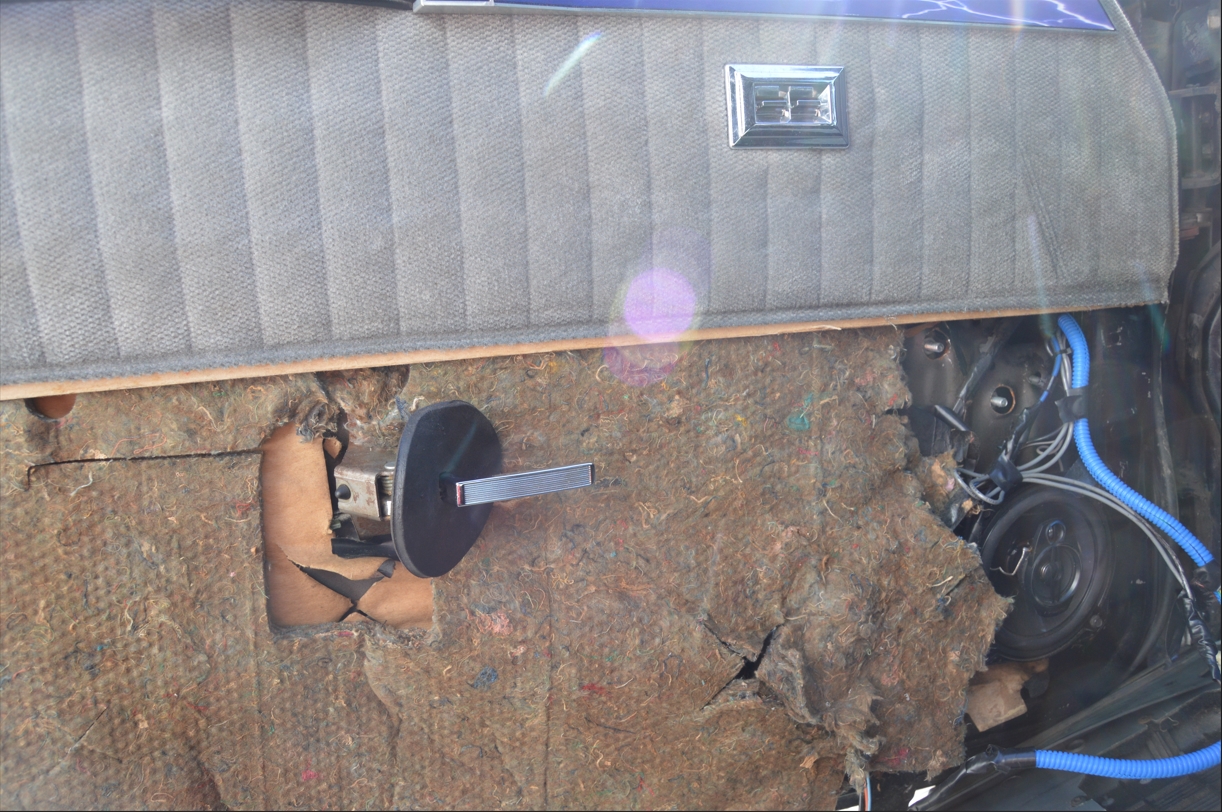
3. Since the area surrounding the door handles (AKA the door frame & whatnot) won’t be viewable once the task is done (meaning after the door panels are reinstalled), we didn’t even bother with masking off the area from the overspray (there isn’t much if you’re careful, and it’s absorbed by the jute padding on the door, so no biggie).
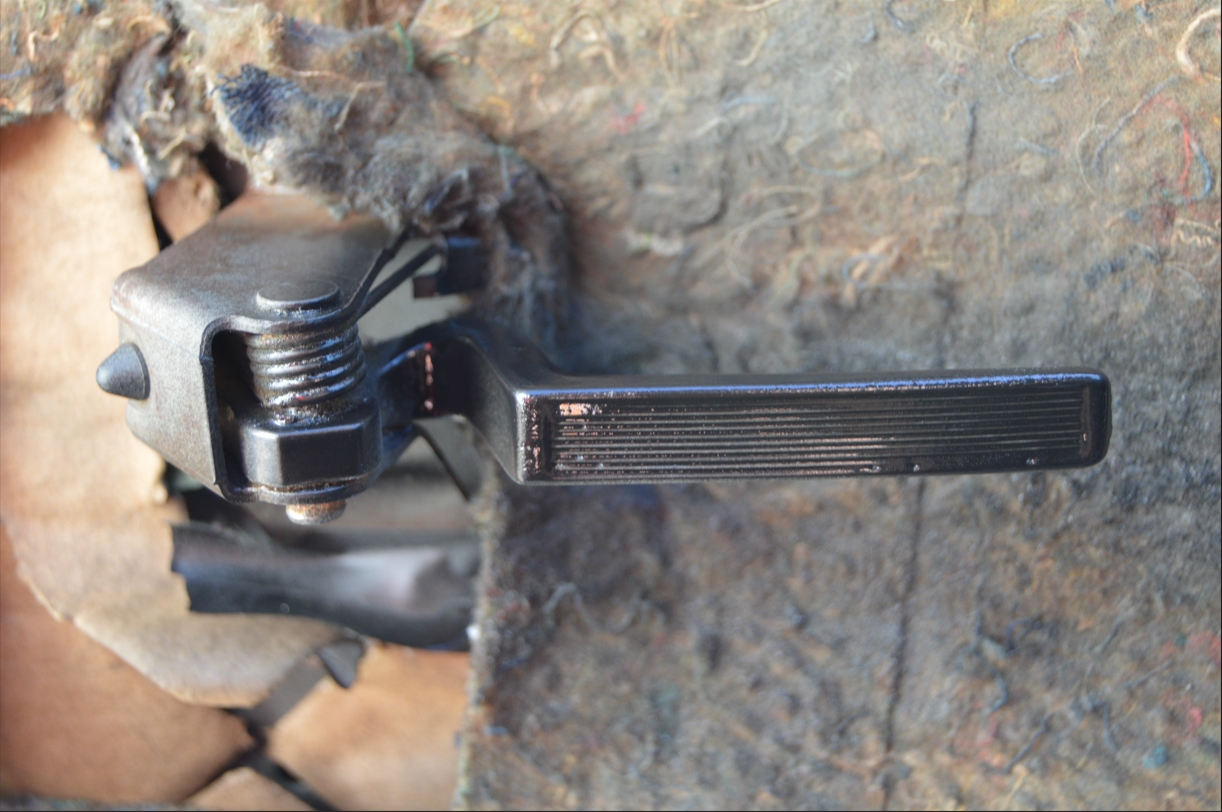
The only thing for concern is the springs.
You don’t want the paint to bind them up so they are non-functional. So use caution around them.
(this section doesn’t show once the door panel is on, so you don’t even need to paint this area)
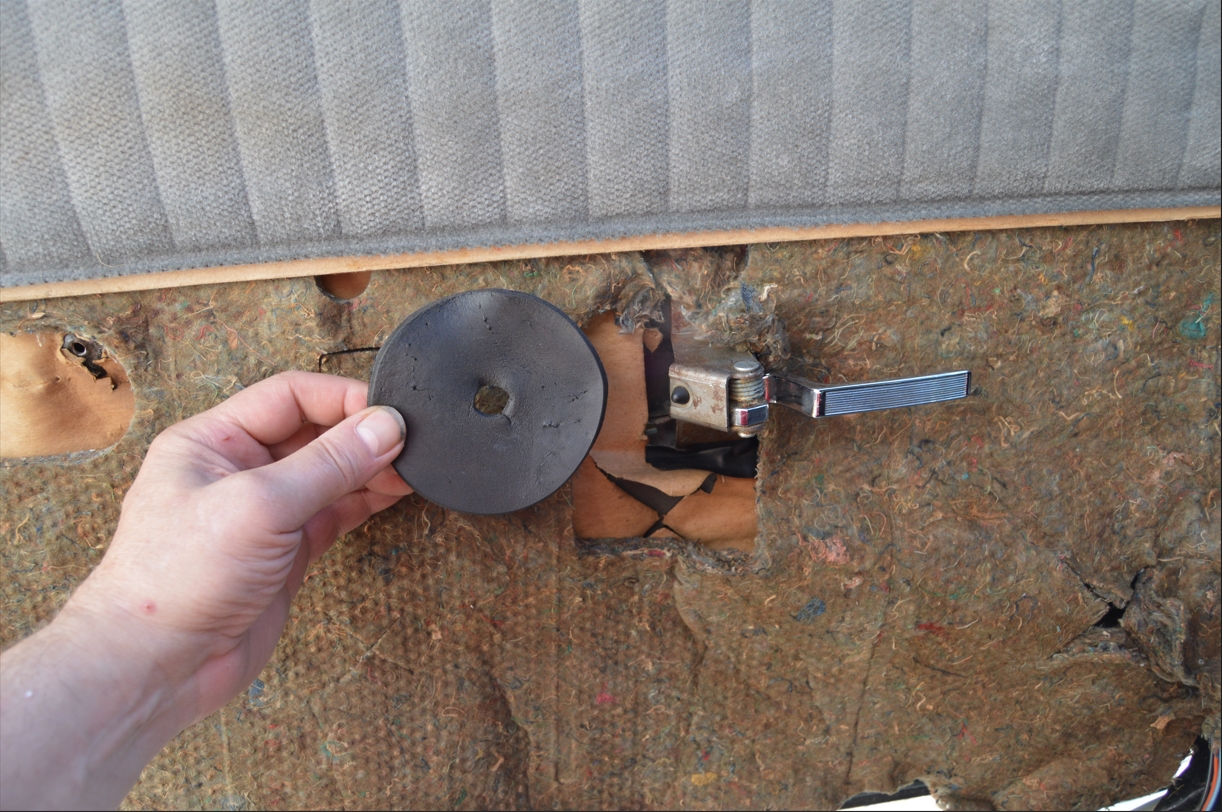
Also, there’s a round foam gasket that goes over the handle (it gets wedged between the handle and door panel).
We removed it before spraying, then put it back once everything was done.
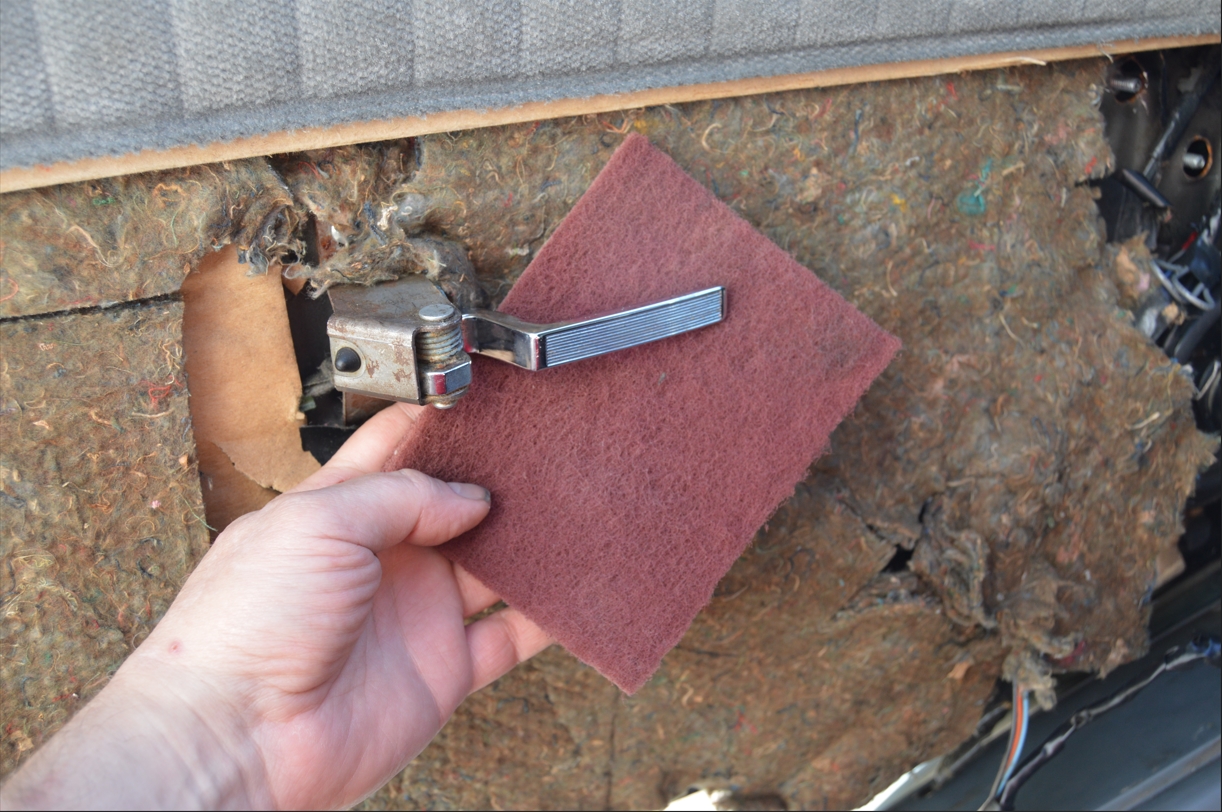
4. The can directions say this rubber coating sticks to just about anything, so we quickly scuffed up the chrome (like we did with the window & door switches) with the red scotchbrite pad.
[and by the way, this stuff DOES stick very well once it’s dry]
5. We did spray some self etching primer on the interior door handles, to allow the plastidip to adhere better.
[a few coats were applied to supply ample coverage since this is a big wear and tear type item]
6. We gave each of the door handles 4-5 coats of plasti dip (on both the faces of the handles, front and back), plenty enough to last a long time (since they are constantly used, unless you do Dukes of Hazzard style entries and exits!).
[the plasti dip was allowed to dry for 5-10 minutes between each coat, it was a very warm day, so it dried quicky!]
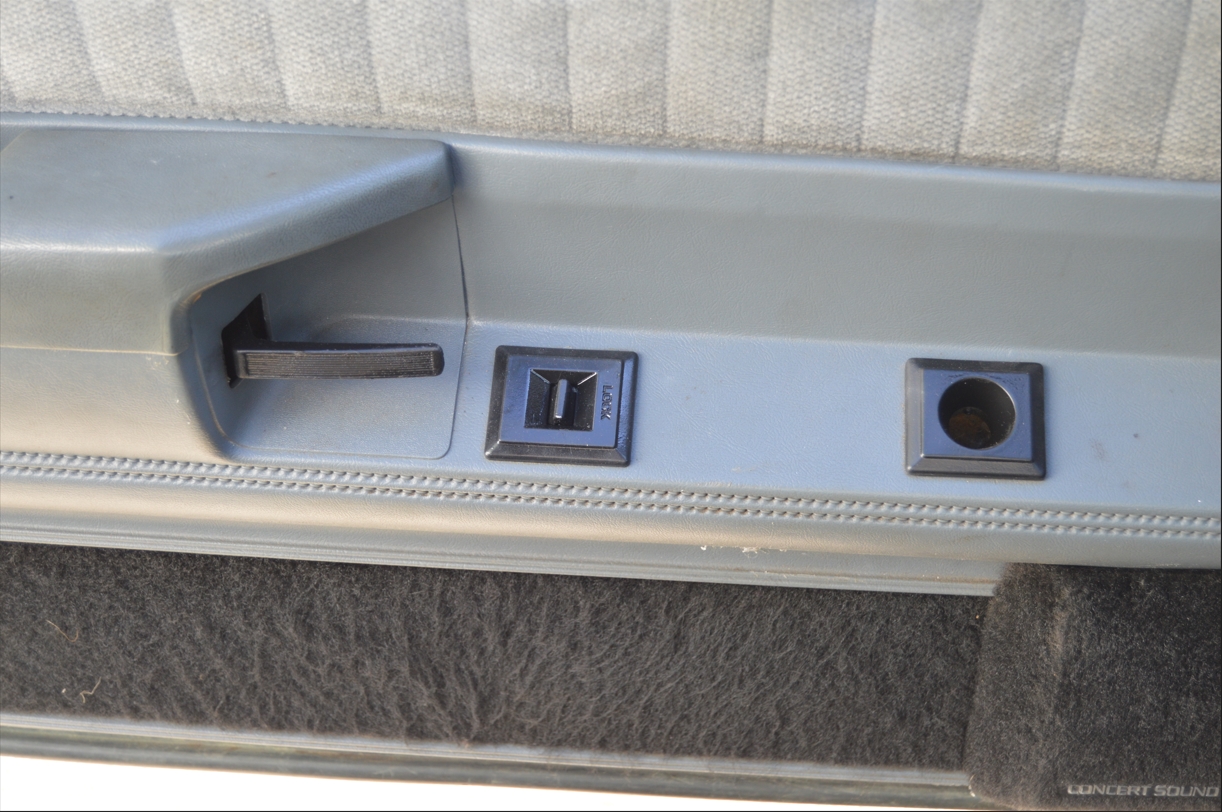
7. We left it to dry for an hour after the last coat of paint, then reinstalled the door panels.
8. Looks great!
Another job done in our “total blackout” series.
.
.