


Yesterday we discussed the idea of converting the factory Buick Grand National Spoiler into a NASCAR type rear wing, while also turning it into a 1-piece unit!
Today are the steps on how to make the stock Buick Regal spoiler turn into an all one piece unit.
Those with low mileage, all stock Buick Grand Nationals (or WH1’s), probably shouldn’t even consider performing a modification such as this.
[that would just totally ruin the value of those vehicles]
However, if your Gbody Regal didn’t come from the factory with a rear spoiler, and it was added on later, or your building a custom creation, then you should be free to change things up if it suits your purposes.
.
 PARTS:
* 3/8″ dowels (4 pieces, about 2-3″ long each)
* fiberglass, bondo, expandable foam, or similar, to fill the 2 gaps (between center & 2 end caps)
* glue (to hold the dowels in place)
* masking tape
* pen/marker
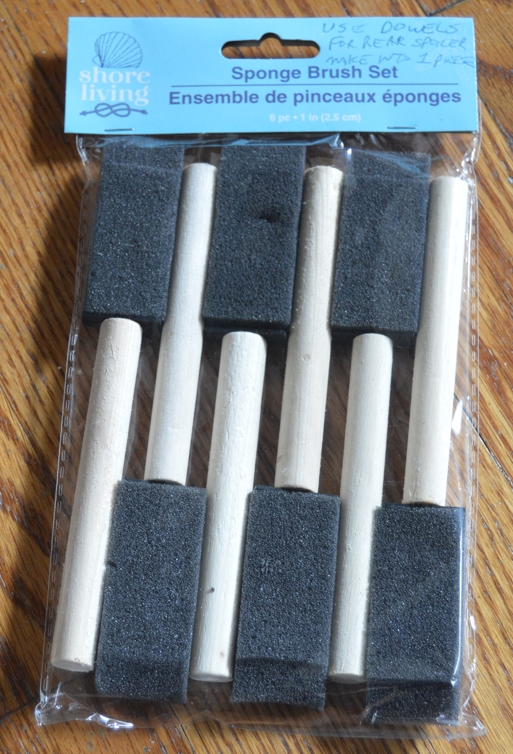
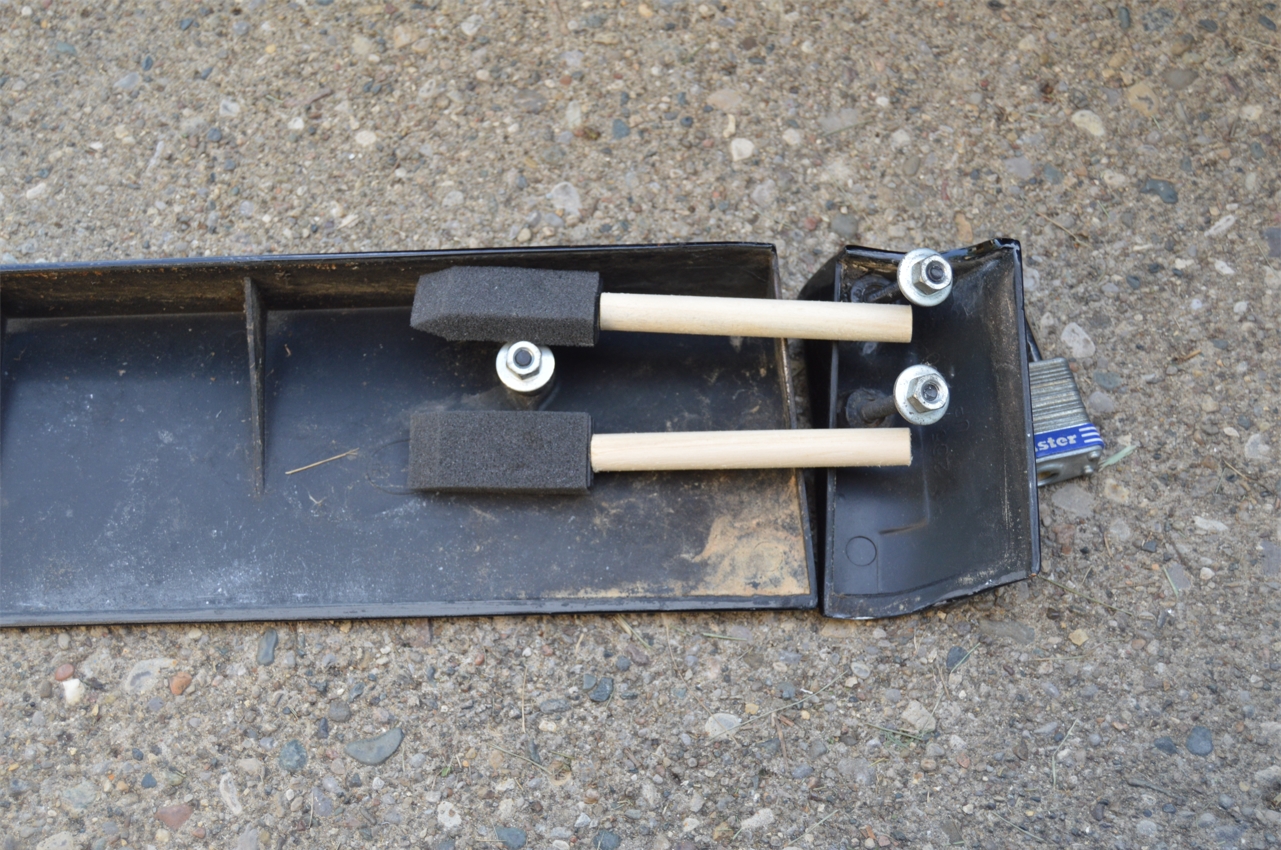
[don’t know where to get dowel pins?
check out the pic on the right, we got them at the dollar store…
just rip off the sponge and use the wood handle as a dowel pin!]
[you should use the biggest pins you can fit in there to provide optimal support for this area!]
.
TOOLS:
* 3/8″ drill bit (or however big your dowel pins are)
* putty knife/spreader (to put the bondo, etc., in place)
.
HOW TO:
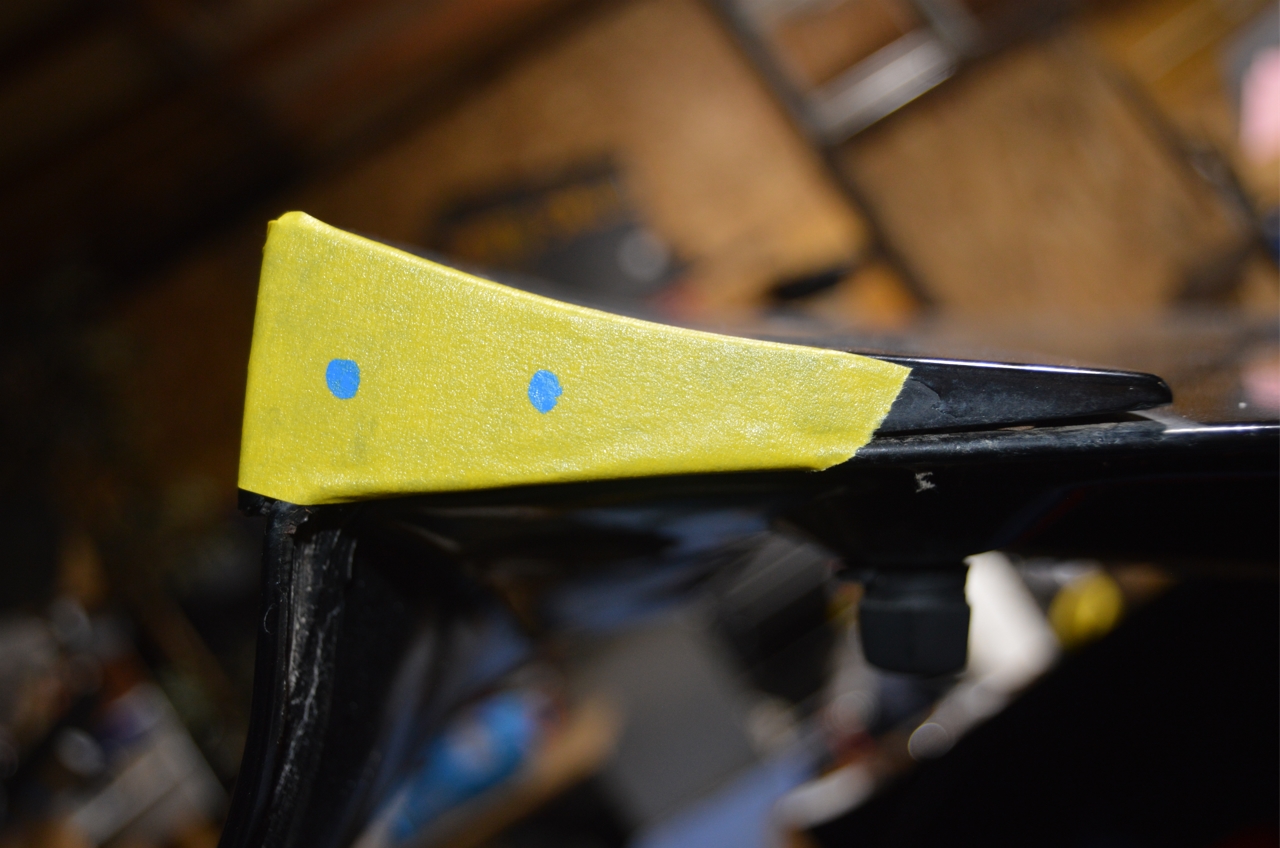
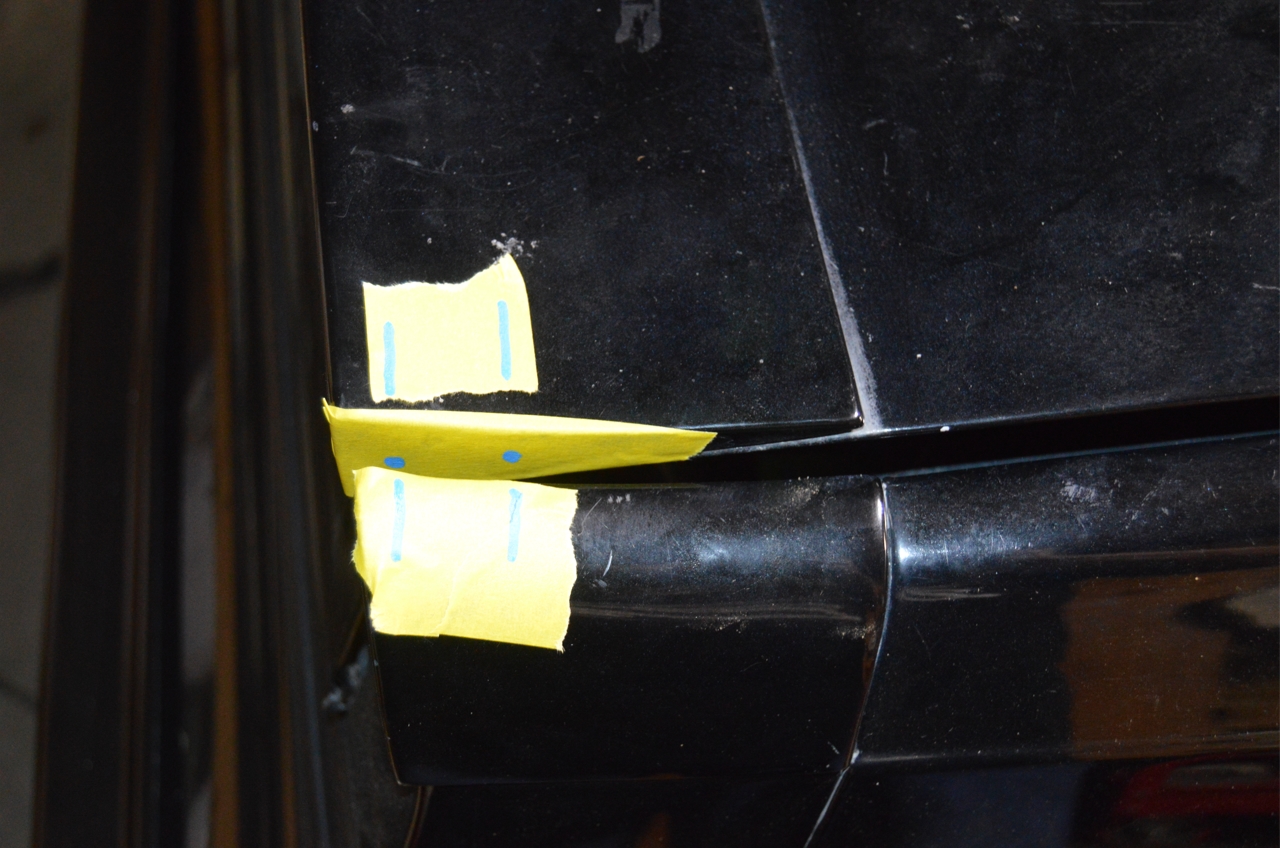
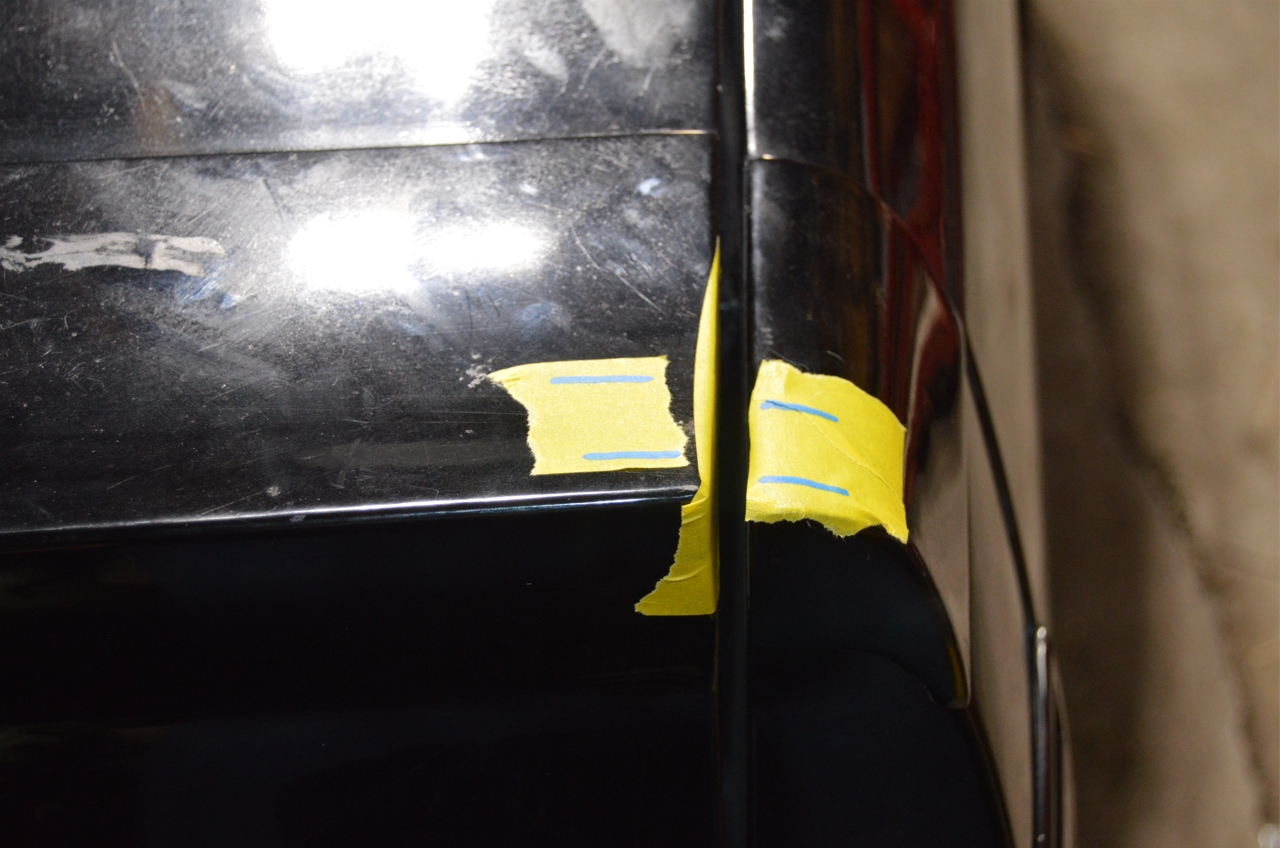
1. we put masking tape on both ends of the center section of the spoiler, on both the top side and the vertical parts.
2. we did the same on both end caps.
3. we marked where we wanted to place the dowel pins, on both the center section, and both ends caps, on both the top and sides.
(the goal is to align the center section with the end caps, vertically)
(you can see where/how we marked where the holes need to be in the pics, you want the holes to be sort of centered so they will provide a stabilizing platform for the pieces, too close to any of the edges will probably make the plastic crack)
[making a small starter hole may be a good idea]
.
.
4. remove all 3 pieces of the OEM rear spoiler.
The center section has 6 nuts (10mm) holding it onto the trunk lid.
[you can access all the nuts via the existing access holes in the support frame on the underside]
[you’ll need a swivel on your ratchet to achieve the proper angle to remove]
The end caps have 2 bolts (on each side) holding it onto the quarter panel extensions (11mm).
[to remove the end caps, you have to remove the quarter panel extensions first. These have 2 bolts accessible from inside the trunk. remove extensions, then from the underside of them, you can unbolt the 2 bolts that secure these 2 pieces together]
[the 2 pieces will probably be pretty well attached since they’ve been on there for decades, and will take some effort to separate. tapping the studs with a hammer works well]
[once you have the spoiler end caps off the extensions, reattach the extensions to the body]
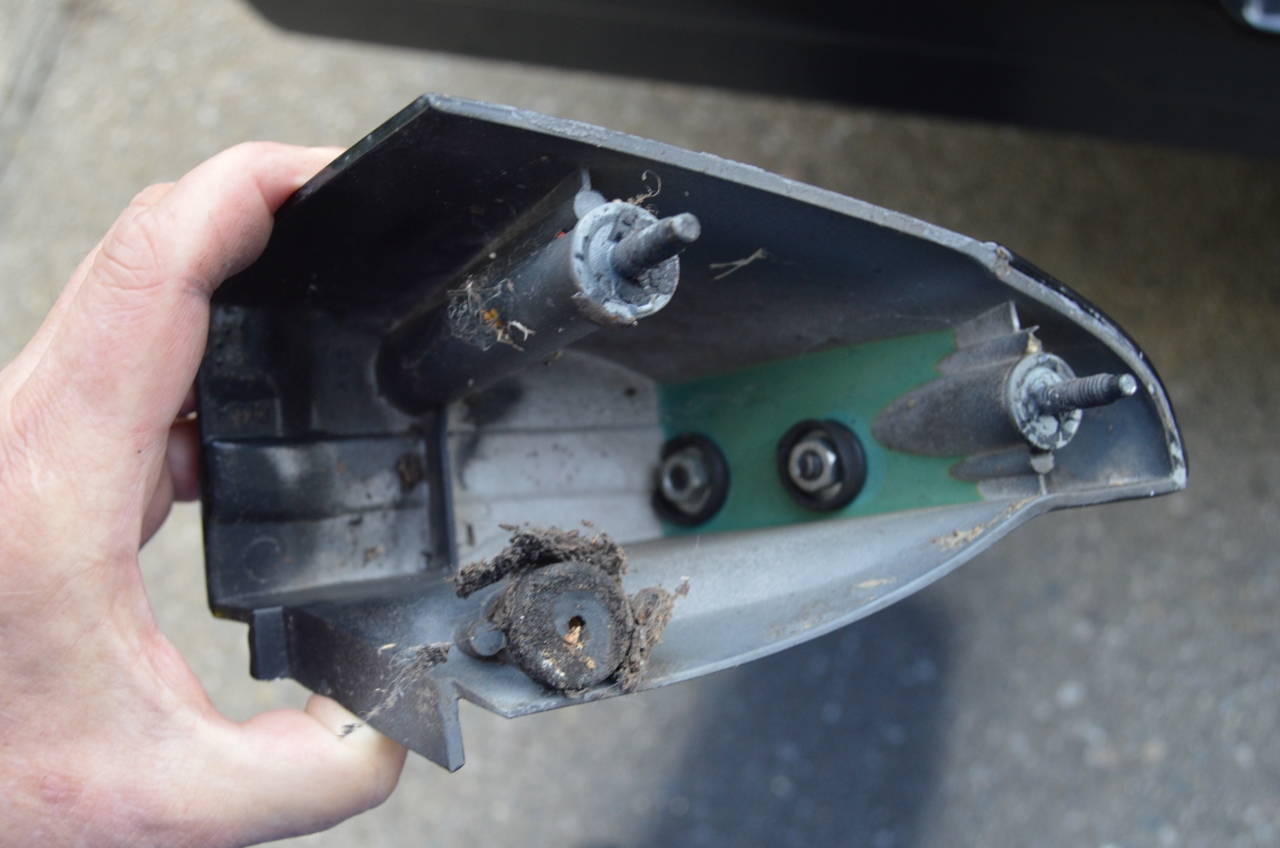 5. remove all of the studs
(4 total, 2 on each one)
from the spoiler end caps.
(you won’t need them any longer since these end caps will now be secured to the center section)
.
6. use your 3/8″ drill and drill the 4 needed holes (on each side), where the center will attach to the cap. hog out the holes “slightly” bigger than 3/8″ (so the dowel will fit in, snugly).
[a total of 8 holes are needed, 2 in each cap, and 4 in the center section – 2 on each end]
7. dab a bit of glue in and around each hole of the center section. then insert the 4 dowels into the center part.
8. dab a bit of glue in and around each hole of the end caps. insert the end caps onto the dowel pins, towards the very ends of them, with them barely being on the dowels.
9. place the entire spoiler (center and ends) back onto the trunk lid in their proper spot.
[the trunk lid should be fully closed]
10. push the end caps inward, lining them up properly to where they used to sit on the Gbody Regal, aligning up the previous existing trunk gap.
(you are basically just reinstalling it all where it originally was, except that the end caps are no longer bolted to the extensions)
[you may want to put another gab of glue on the tops of the dowels (between the trunk gap) to give it a bit more strength for the time being]
11. let the glue dry, to make sure the end caps don’t move out of place.
once it’s dry, flip the spoiler over, and on the underside, you should glue the insides (on the inside portion of the center section, as well as the inside portion of the end caps) around the dowel holes and onto the spoiler, for extra support. also probably a good idea to secure the dowel pins onto the spoiler (between the bottom side of the dowel and the spoiler, as you’re looking downwards at it), so it doesn’t have a chance to wiggle around before you fill in the gaps.
(a big glob of rtv/etc in there would do the trick, or insert a small block or something to take up the space in there, then secure that down)
12. filling in the gaps (between center and end caps) is next.
you could do this ON or OFF the car.
ON: you’ll need to put down plastic (etc) onto the trunk lid so none of the filler gets on the lid or anywhere else it’s not suppose to be.
OFF: on the underside of the spoiler, you’ll need to place tape, cardboard, etc., so the filler doesn’t fall out.
13. use your preferred filler and fill the 2 gaps.
it may take a couple few attempts to completely fill up those gaps (due to shrinkage once dry), and then make them smooth enough to be totally level across both surfaces (the center piece and end caps).
[so the spoiler ends up looking like a 1-piece unit when you’re done]
14. you’ll also need to fill the 2 holes (for each end cap) on the extension pieces (where the end caps use to be mounted on).
Use more filler to fill.
OR, acquire some plugs to close up these holes.
(spoolfool uses this technique for the one piece spoilers he sells)
[keep in mind when the trunk is open, you will see these plugs]
15. once the above is completely dry, you may want to fill in the bottom side of the end caps, since there’s a big gap as made from the factory.
Or just leave as is (paint it and call it good), since the only time anyone will actually see these gaps is when the trunk is fully open.
Your call.
.
The 2 below steps are IF you are only creating a one-piece spoiler.
Since we wanted to make it taller as well, we left it as is at this point, since we would be taking additional steps which will be shown in tomorrows post (“Rear Wing 3/4”).
.
15. finish sanding the filled in areas to make it smooth.
primer then paint.
16. reattach the rear spoiler to the trunk lid (using only the 6 nuts on the center portion)
 17. slowly close your trunk to make sure there’s enough clearance
(there should be)
between the spoiler and the quarter panel extensions.
(if the ends smack the extensions, it could break the rear spoiler!)
.
18. finished, enjoy.
.
Come back tomorrow to see how we make this cool new rear spoiler taller!
.
[NOTE: we didn’t actually do any of these steps within this post, but they are laid out exactly how we intended to do them. we chose to go a totally different route, which you’ll see in 2 days!]
.

.


