


To match the rest of the look of the gauges inside this 1987 Buick Grand National we are swapping out the regular boxed shaped Scanmaster and replacing it with the round Scanmaster G version.

.
All of the original functions of the scanmaster remain the same on this new G unit, as well as having some new features that are added on.
The original Scanmaster has red lights in it, while the new Scanmaster G gauge has white lights.
The 2 1/16″ G gauge also has:
– Dot matrix OLED display, clear and readable, 128 x 64 pixels
– Captures the leanest reading and highest knock for immediate recall, along with the MPH’s where it occurred
– Has a bluetooth module, so you can log from it to a phone / tablet / laptop (with a compatible Windows and Android device)
– Has a flash memory chip and will store logs that you can download later
– Works the standard Buick datastream and the Powerlogger
– Displays analog data (boost & wideband) when connected to a PowerLogger
– Displays all the Speed / Density info when running an SD2 chip as well as Fuel Composition (E85 alcohol)
The Scanmaster G is stylish as a black gauge with black bezel, fitting into a gauge pod of your choice, or wherever else you may want to mount it. The face stays blacked out while the car is off, and only lights up when the G-body Regal is on.
Similar versions are available for use with Syclone/Typhoon (SyTy), 1989 Turbo Trans-Am, XFI and Classic-FAST ecm’s.
The Scanmaster G (and original Scanmaster) are compatible with the ecuGN ECU.
The new Scanmaster G gauge will show you:

KR – Knock Retard
AF – MAF Airflow in grams/sec
LV8 – Load Value
BAT – Voltage to the ECM
INT – Integrator
BLM – Block Learn Multiplier
MPH – Miles Per Hour
CLT – Coolant Temp
ATS – Air Intake Temp
RPM – Current Engine RPM
TPS – Throttle Position in volts
IAC – Idle Air Control motor commanded position
CC – Oxygen Sensor Cross Counts
MAL – Malfunction Codes
.
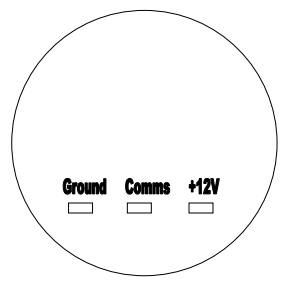
The Scanmaster G unit features a simple 3 wire hookup:
12 volt power source, ground, and one wire connects to ALDL plug under the radio.
.
You can acquire the Scanmaster G (as well as the original Scanmaster unit) from Bailey Engineering:
.

.
COMPLETION TIME:
15 minutes
.
PARTS:
– Scanmaster G unit ($269.99)
– 3 pieces of wire & connectors/splices for connections, or get the wiring kit ($20)
The Scanmaster G for the Buicks does not include any wiring or crimp connectors.
(but available separately: HERE)
.
TOOLS:
– wire crimper / stripper
.
HOW TO:
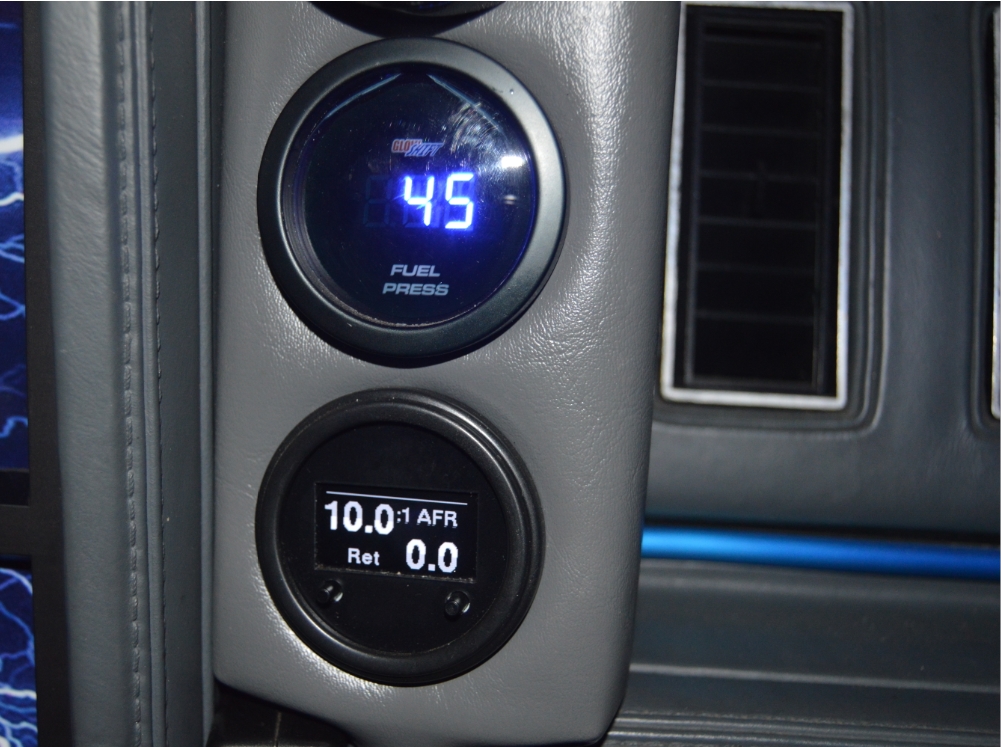
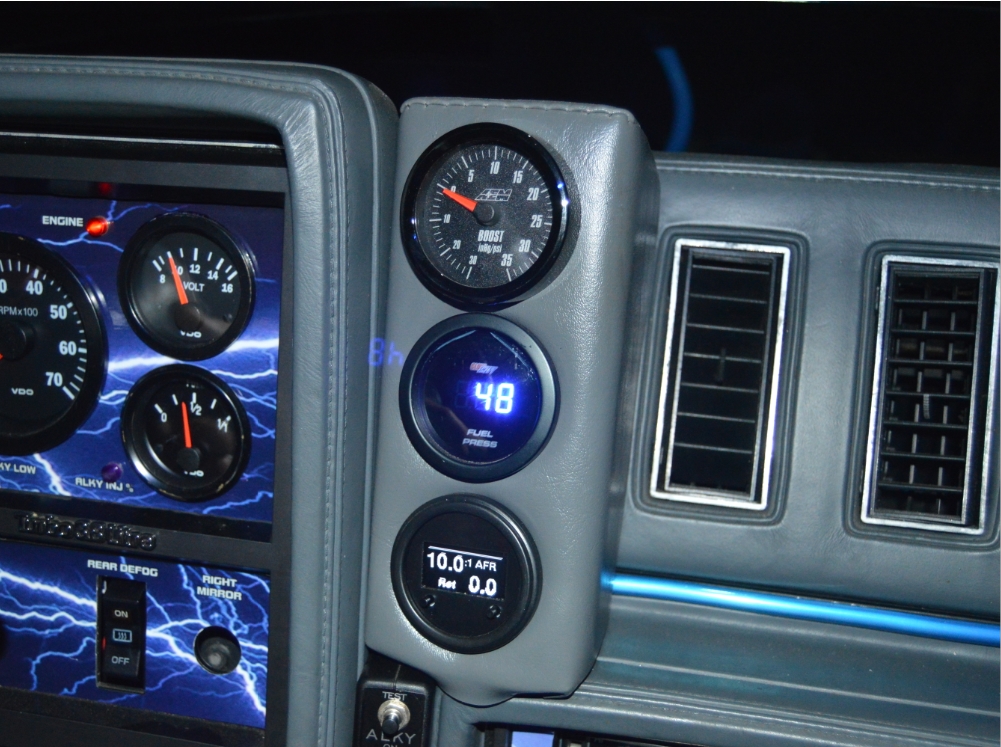
 1. figure out where you are going to mount the gage.
(we chose to put it into the 3-pod unit which is mounted above the radio section to the right of the main gauges on the dash)
2. Connect the red wire of the Scanmaster G to a 12 volt source.
The fusebox will work, make sure you have an inline fuse on the power line.
(this is the right plug on the back of the Scanmaster G)
3. Connect and ground the black wire on the gauge.
Any bolt under the dash that secures the dash to body will work, however, splicing it into the ALDL ground wire is better.
(this is the left plug on the back of the Scanmaster G)
[powerlogger users should ground it on the PL analog block if possible for more accurate readings]
 4. Connect the white wire to your ALDL plug.
It gets tapped into the orange wire from the ALDL.
(this is the middle plug on the back of the Scanmaster G)
[this may also be connected to the white wire at ECM for those running a powerlogger]
5. mount the finished gauge into your chosen location.
6. All done!
.
 Start your Turbo Regal and check out your new Scanmaster G unit.
Scroll through all the readings using the left button.
All information should be displaying correctly.
.
NOTES:
.
If you have an existing scanmaster, just swap the wires from the old connections to the new connections.
Turn on the “scanmaster g” option in powerlogger, if applicable.
The left button on the unit is the Mode button and will step thru the various display modes.
The right button is the reset/recall button and will return the display to the default display as well as display any captured data.
While holding the recall button you will see the leanest captured data frame and the MPH that it occurred.
While holding the recall button, if the mode button is also pressed the highest knock retard value will be displayed along with its MPH.
Internal Logging: The PowerLogger logs will record in the Scanmaster G, and can be extracted later. This function is preliminary. The trigger threshold is set in the Powerlogger Control on the F3 page.
Having trouble figuring out what all the numbers mean on your scanmaster?
This guide might help: powerlogger readings
.
.


