


Sometimes, when you upgrade one part of your G-body Regal, another adjacent piece needs to be replaced as well.
This is the familiar story.
This specific 1987 Buick Grand National had a coil over type setup installed in the front of the vehicle.
While the stock parts could be ok using those (for a while at any rate, some say the stock lower a-arms were not designed or strong enough for coil overs), it was desired to also upgrade the a-arms.
A lot of different manufacturers were given consideration, but ultimately, one set rose above the rest for the following reasons:
- trusted brand name
- more adjustable caster/camber configuration than the others
- easy spring/shock removal on the lower arms
- they look beefy and suit the purpose for this car (both for now & other future possibilities)
- other parts from UMI are installed on this Turbo Buick, and they just seem to work!
UMI Performance offers a-arms in a powdercoat finish, your choice of red or black.
(we chose black to keep that stealth look going on with the other matching parts on this Buick GN)
As always, if you’re not in a hurry for the install, shop them!
Wait for holiday discounted specials, check out UMI’s “scratch & dent” sales, grab discount codes, buy used, etc.
Of course, this means planning your purchases well in advance & play the waiting game until you get the best prices!
We scored a great deal on this set of a-arms by doing just that!
.
Something to take note of, we started with a Viking coilover shock kit, the warrior versions with a bearing mount, #A224-450rk. Those were mounted on the factory lower a-arms using a T-bar to secure them down. When you switch over to the #3057-1 lower arm, you’ll eliminate the t-bar & replace it with a bearing sleeve. You need to acquire this sleeve for inside this bearing (.625 to .5) so that the included 1/2″ bolt fits properly. It’s not an expensive part, but you do have to special order them and wait for them to show up (it took a week for them to arrive).
.
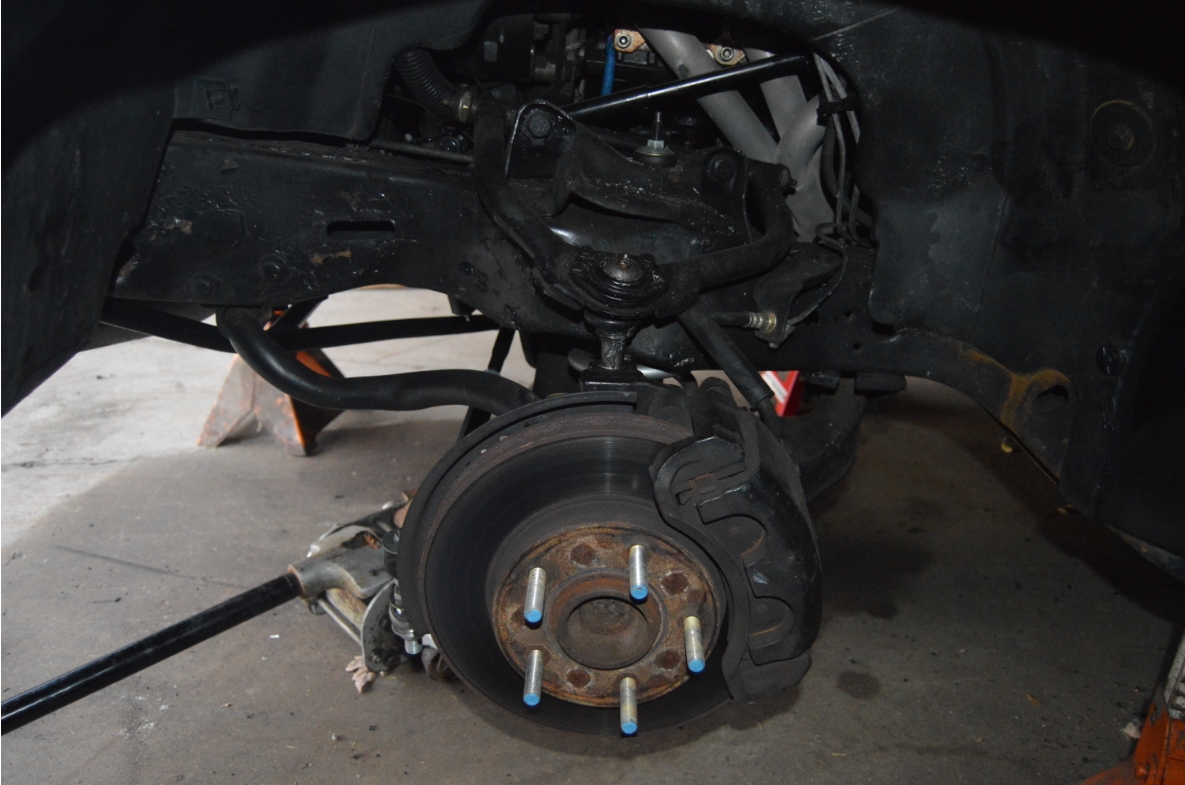
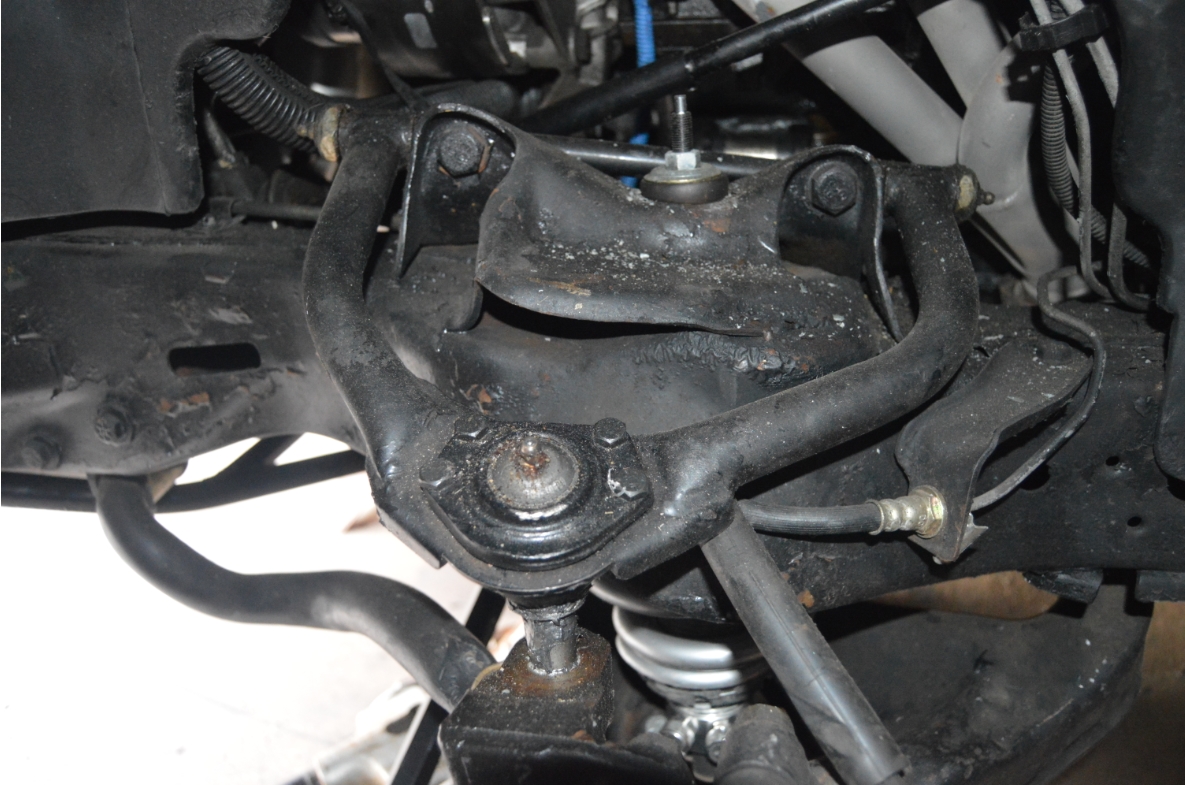
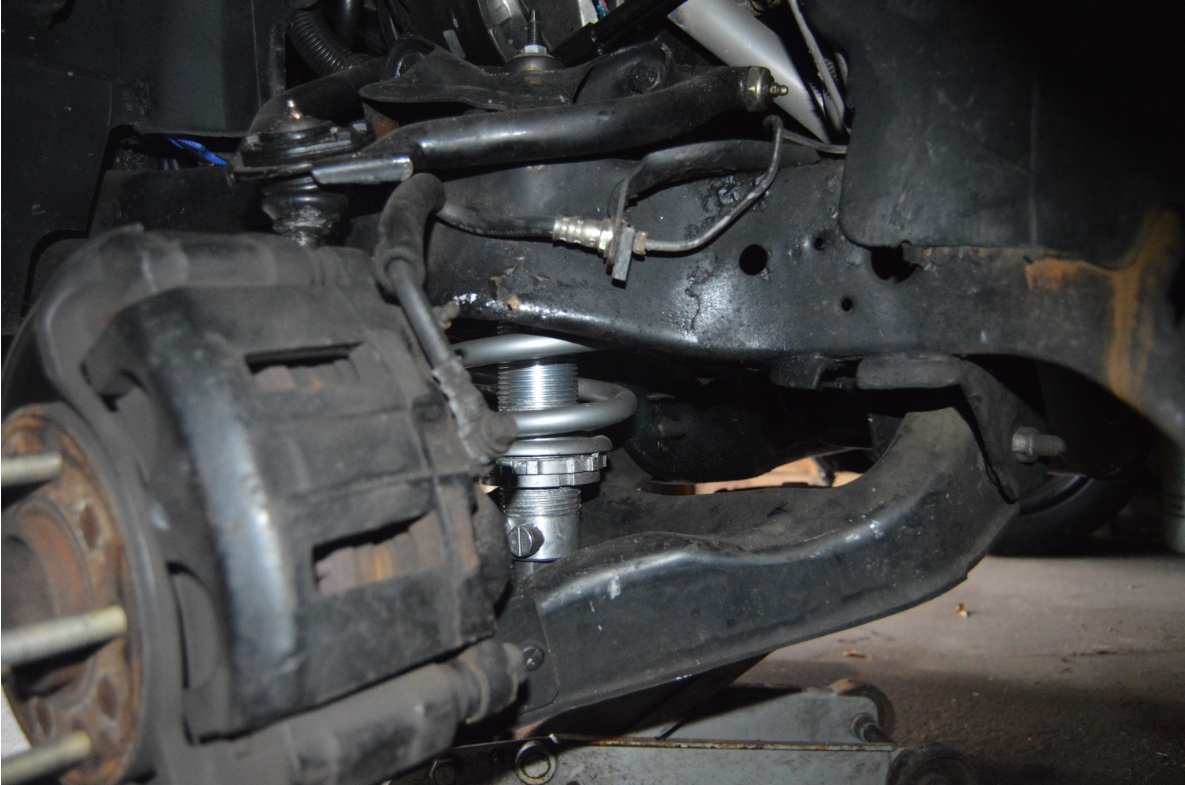
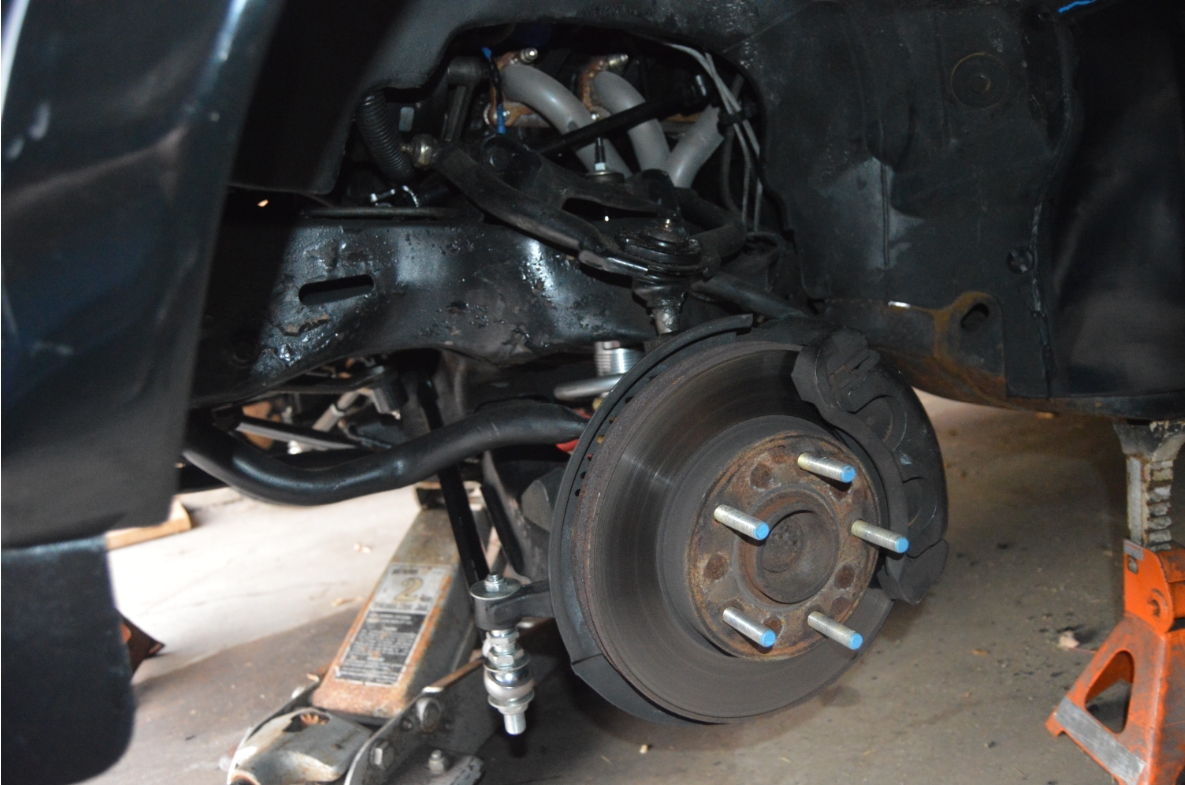
THE ORIGINAL SETUP ON BUICK GN BEFORE TEARDOWN:
.

.
TIME TO INSTALL:
- allow the majority of a day! (for only removal/install, not including anything else we are doing along with this task)
.
PARTS:
- upper arm #3056 (we bought arm without ball joint, since we already had a new taller upper BJ proforged #101-10469, current price for upper a-arm $459.99)
- lower arm #3057-1 (we replaced the taller balljoint with stock height unit below, current price for lower a-arm $679.99)
- set of both upper/lower arms (current price $1,279.99)
- proforged (regular height #101-10049) lower ball joint (need 2, $20 each, summit)
- proforged (#101-10469) upper ball joint (need 2, $60 each, summit)
- 2 sleeves for coilover shock (#9556-103, $12.50 , a Viking part ordered from UMI)
- new bolts/nuts/washers (for upper & lower, 8 bolts & nuts, 16 washers, grade 10.9) for frame attachment (they say reuse factory ones, no thanks, cheap insurance going with new ones, $15 local bolt shop)
(the bolts for sway bar, coil over attachments, bumpstop, etc. are included with arms)
.
TOOLS NEEDED:
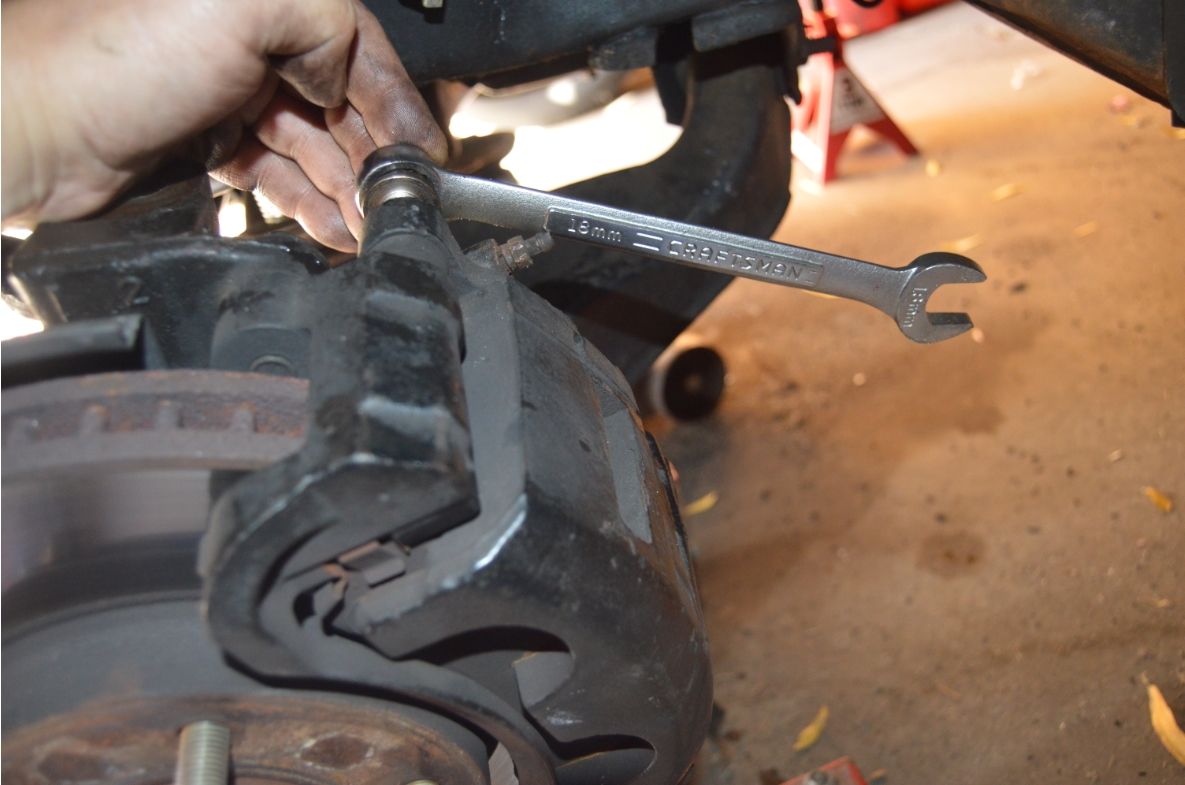
- 12mm-21mm sockets & wrenches
- 1/2″ – 3/4″ – 13/16″ wrench
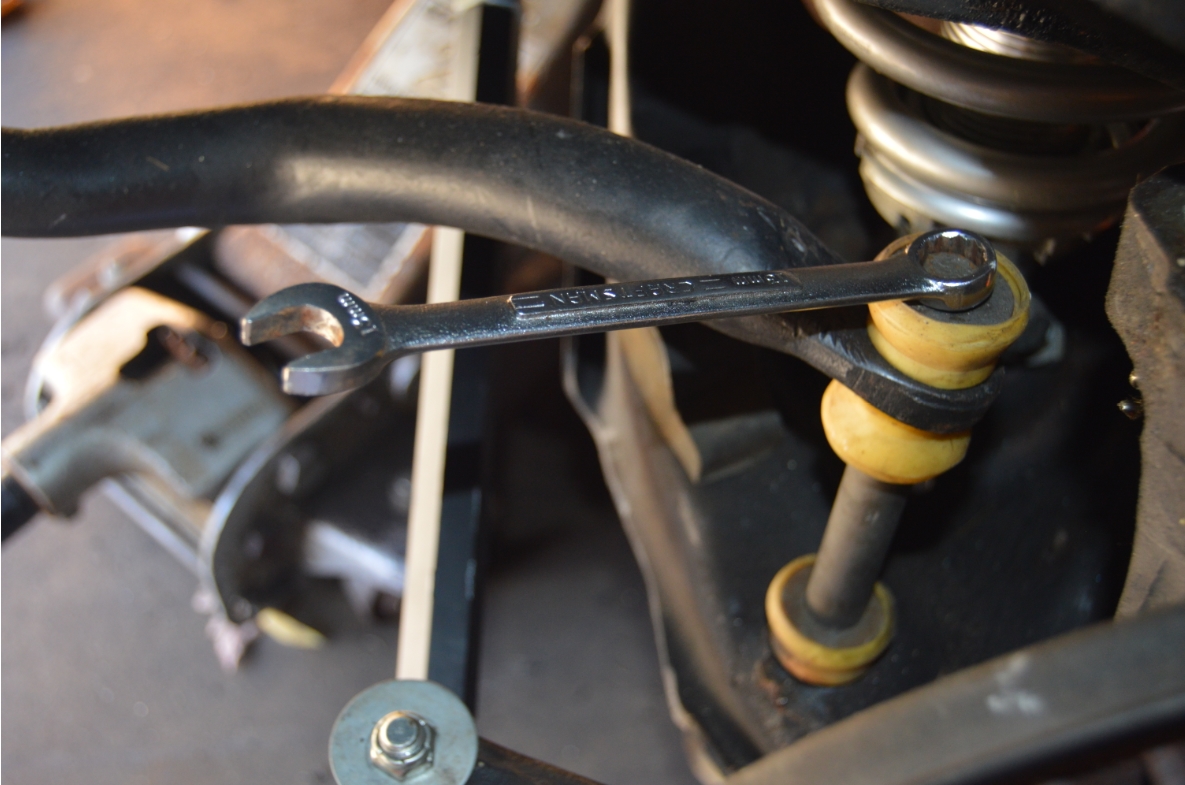
- 9/16″ wrench, jam nuts on sway bar rod (end links)
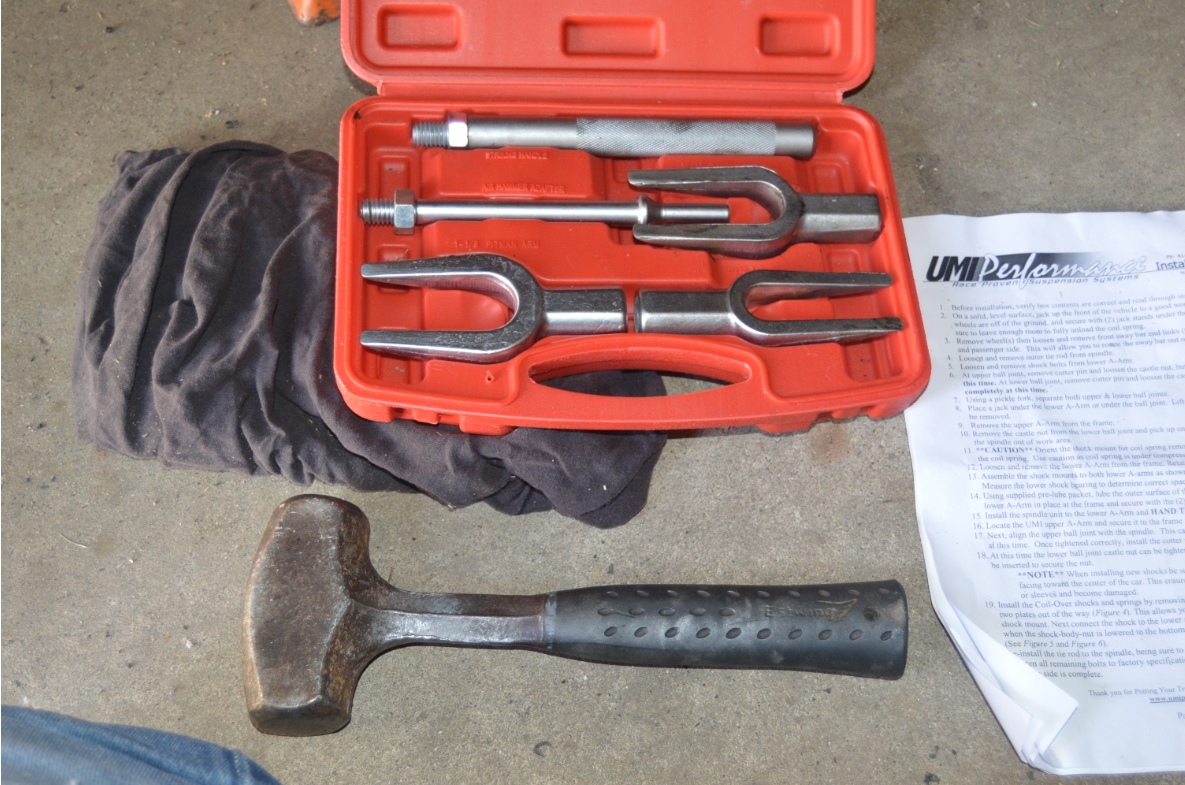
- ball joint / tie rod separator
- big hammer
- pliers (to pull out cotter pins)
- c-clip installer/remover (for coil over shocks)
- floor jack
.
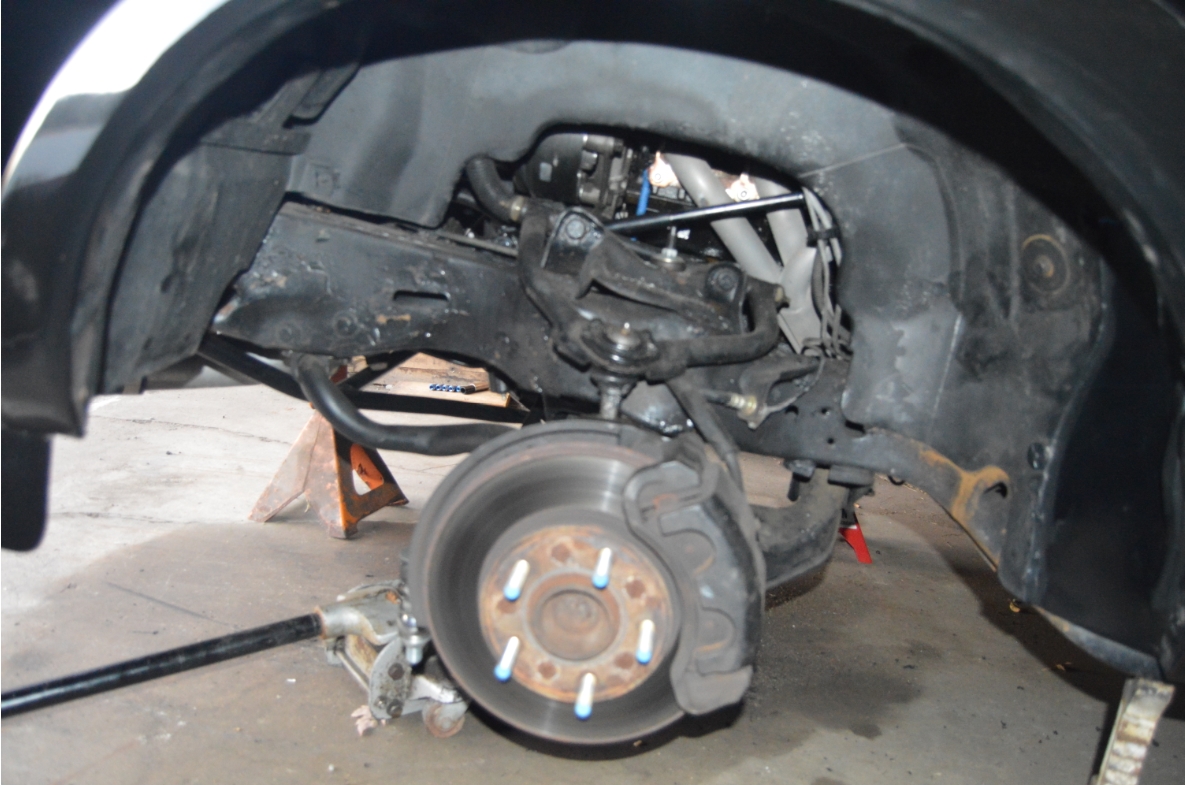
HOW TO REMOVE:
- place the Turbo Regal frame on jackstands.
make sure there’s enough space to drop coil springs out. - remove wheels.
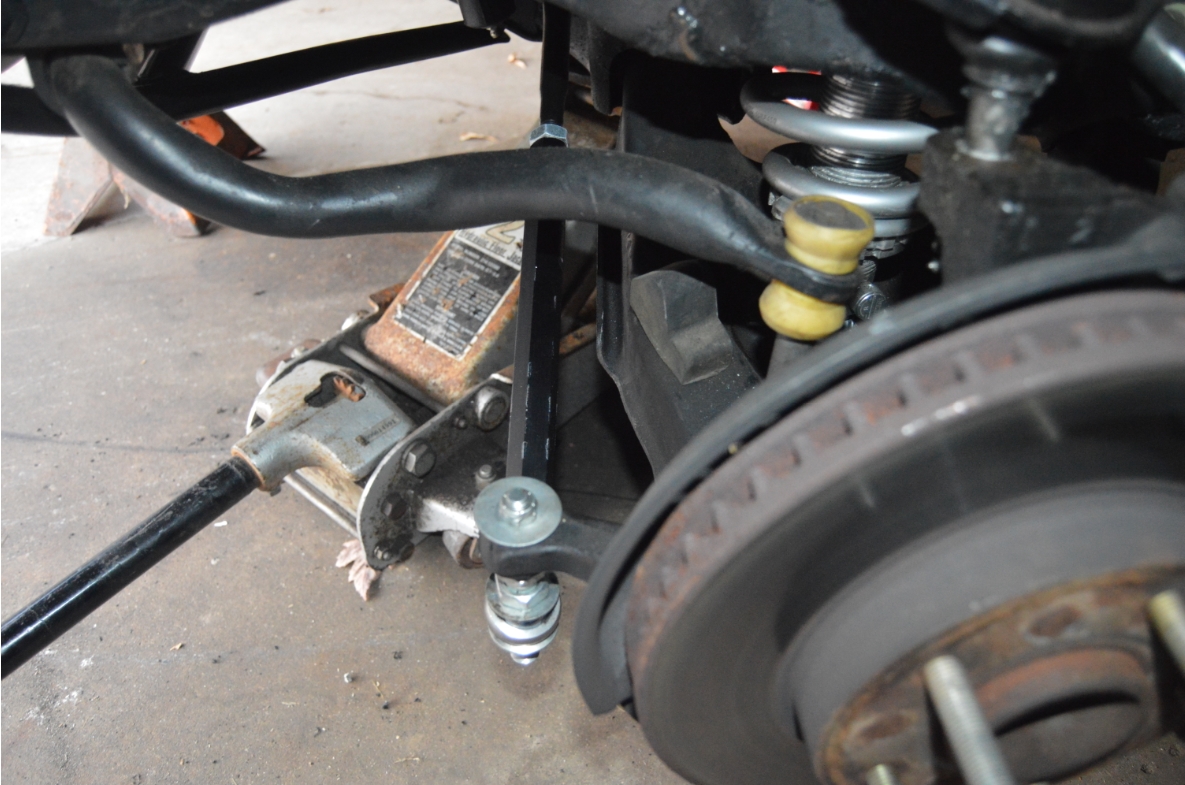
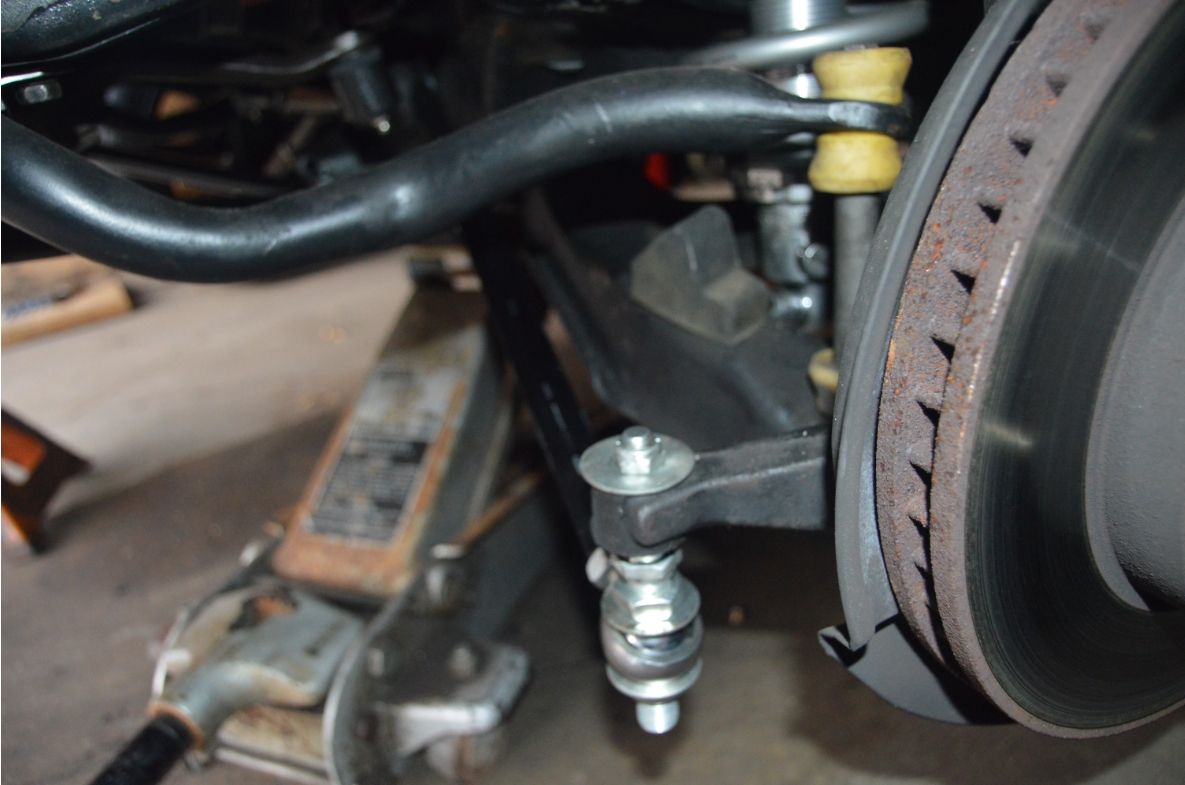
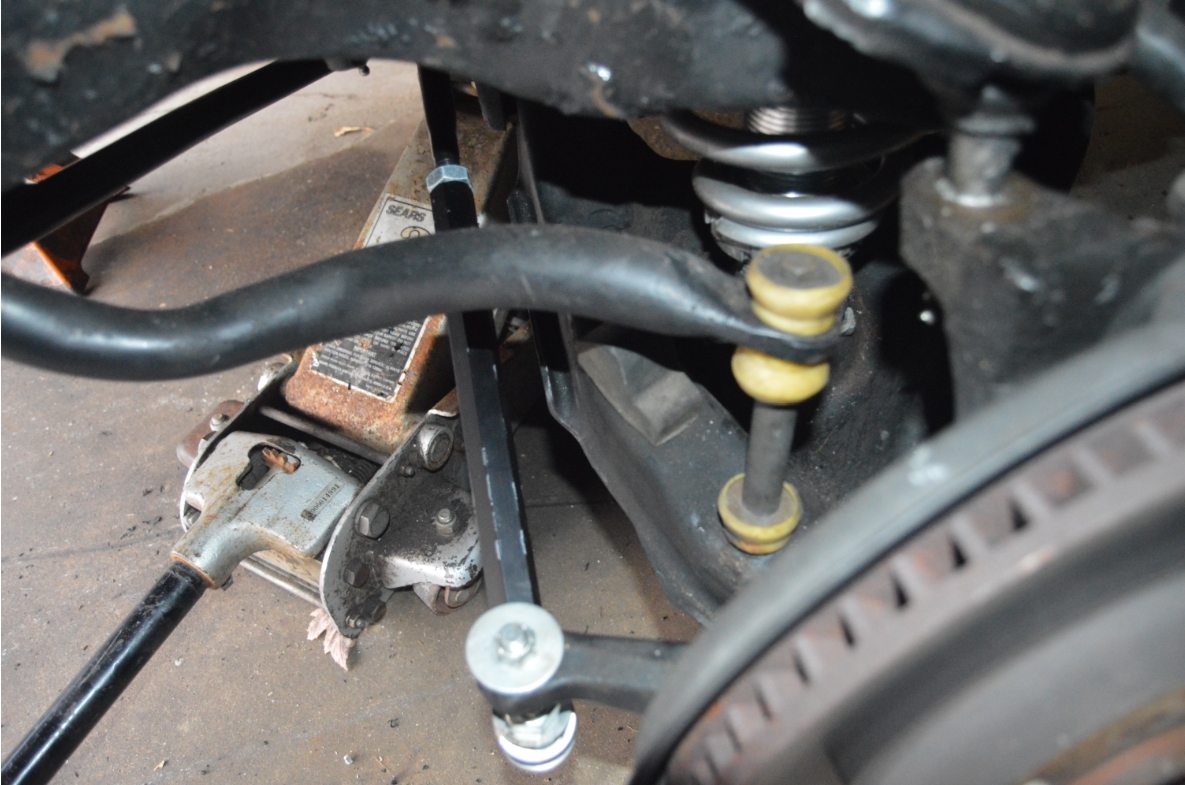
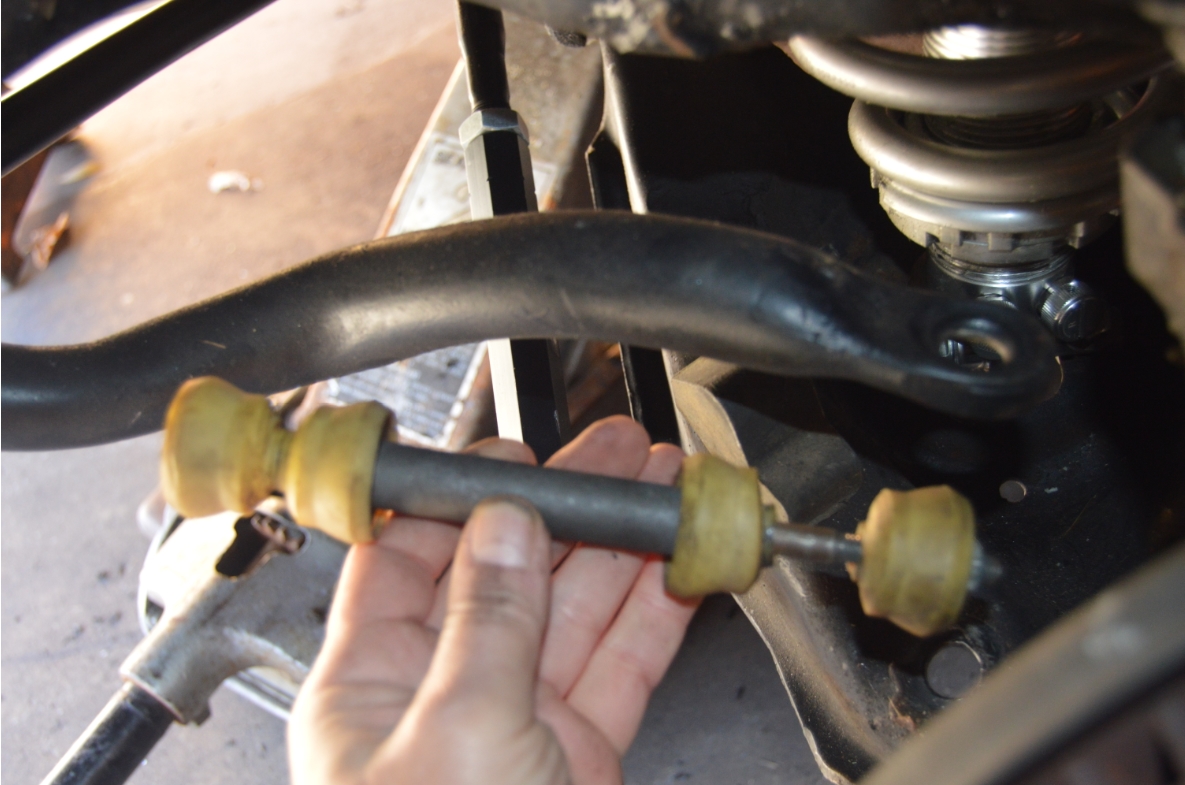
- loosen and remove sway bar links from both sides.
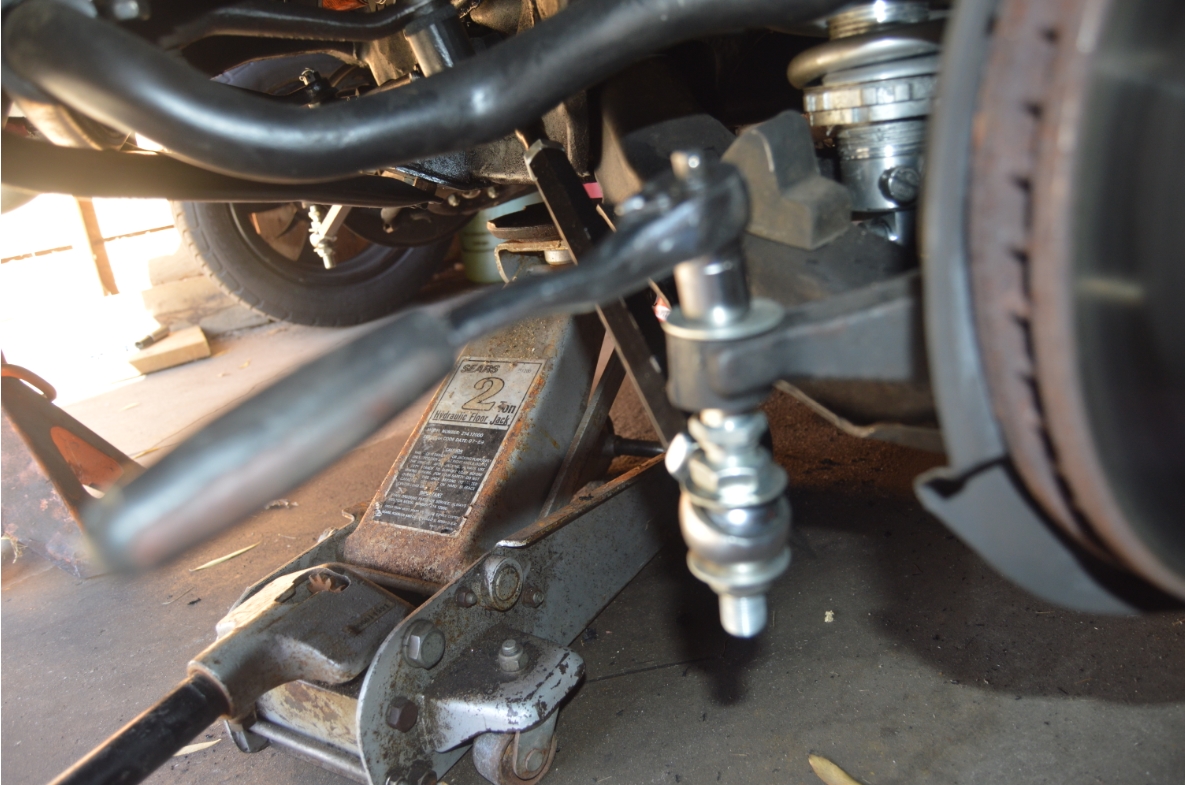
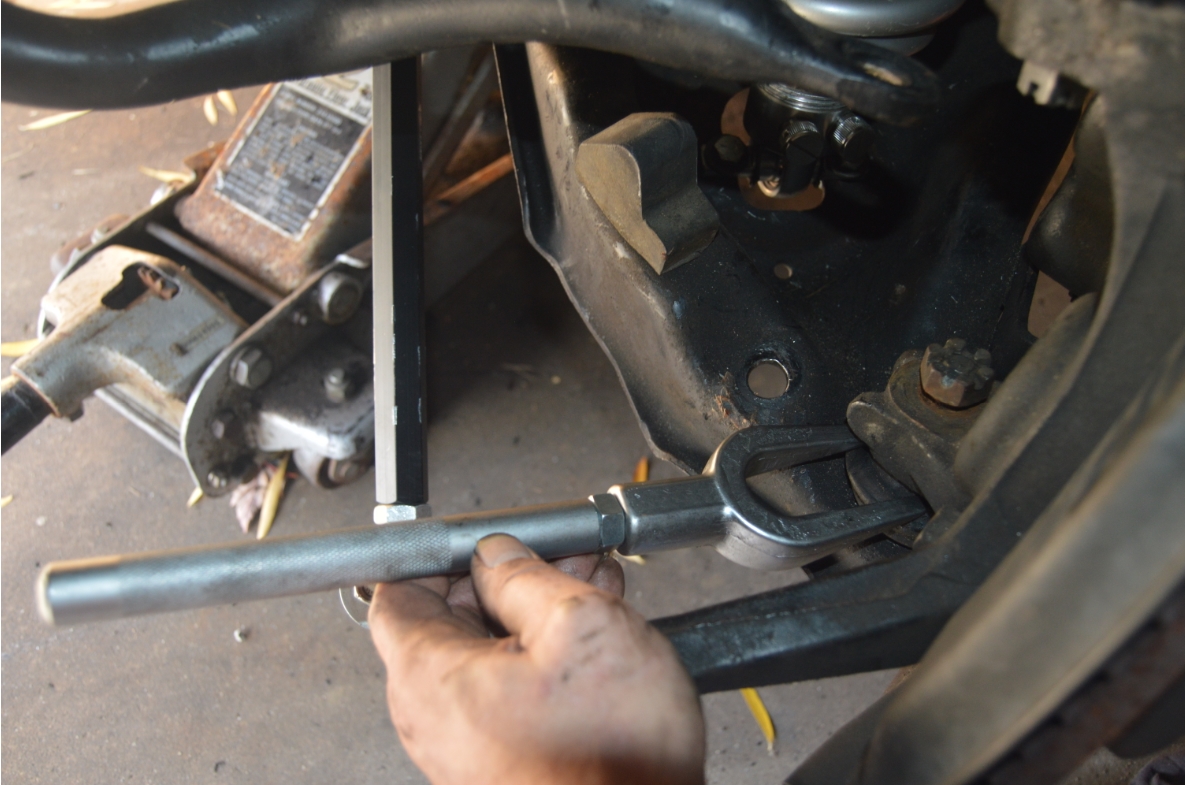
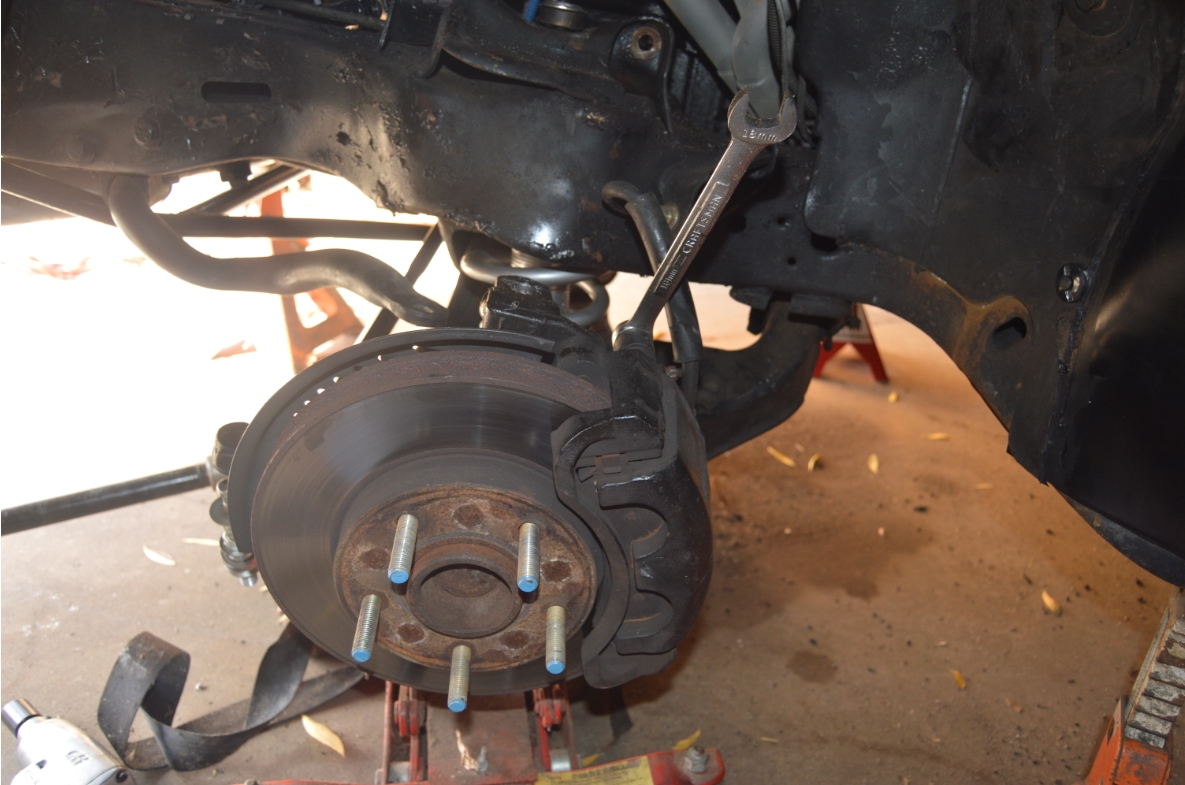
- loosen and remove outer tie rods.
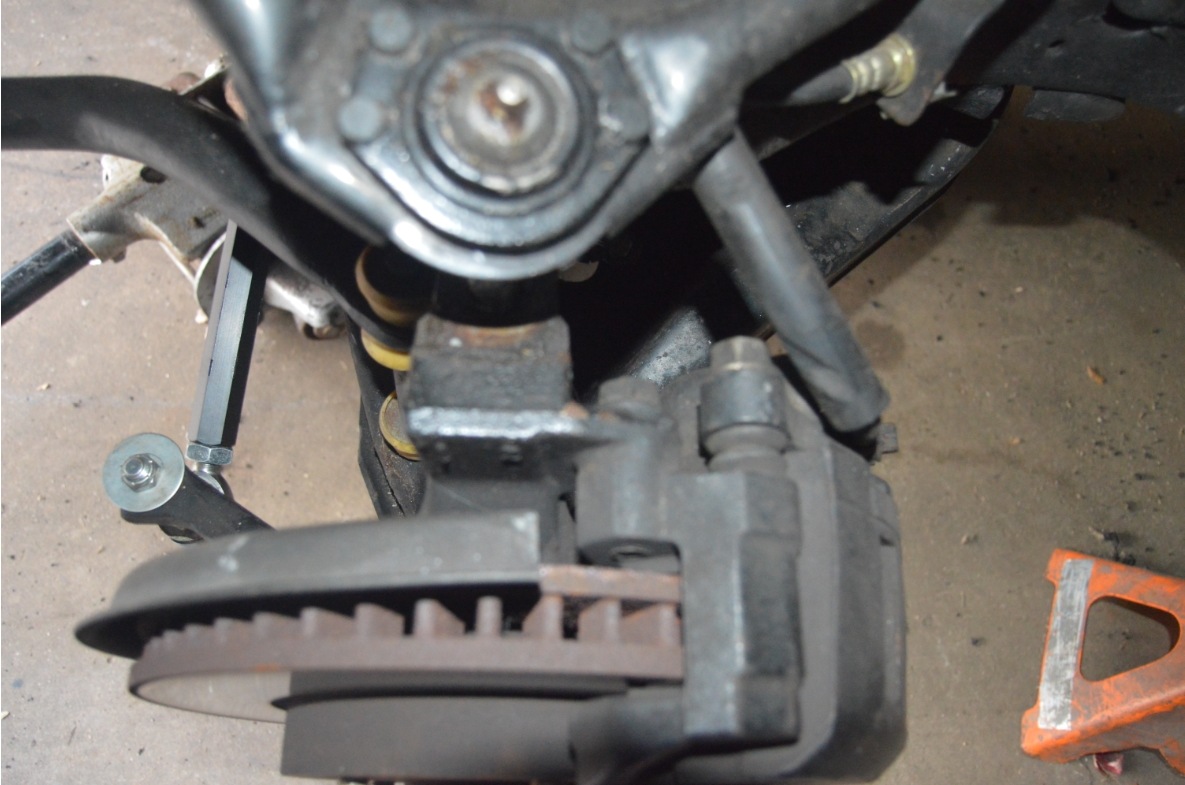
- loosen and remove shock bolts from lower a arm.
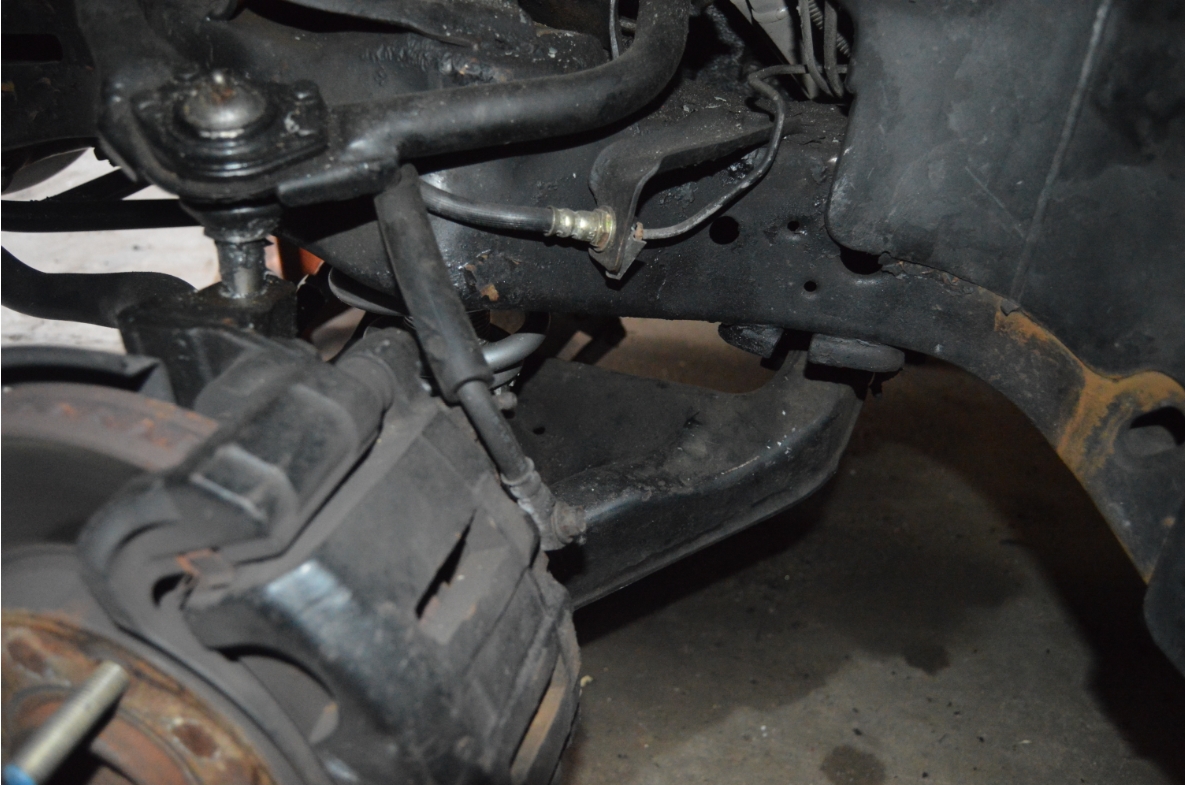
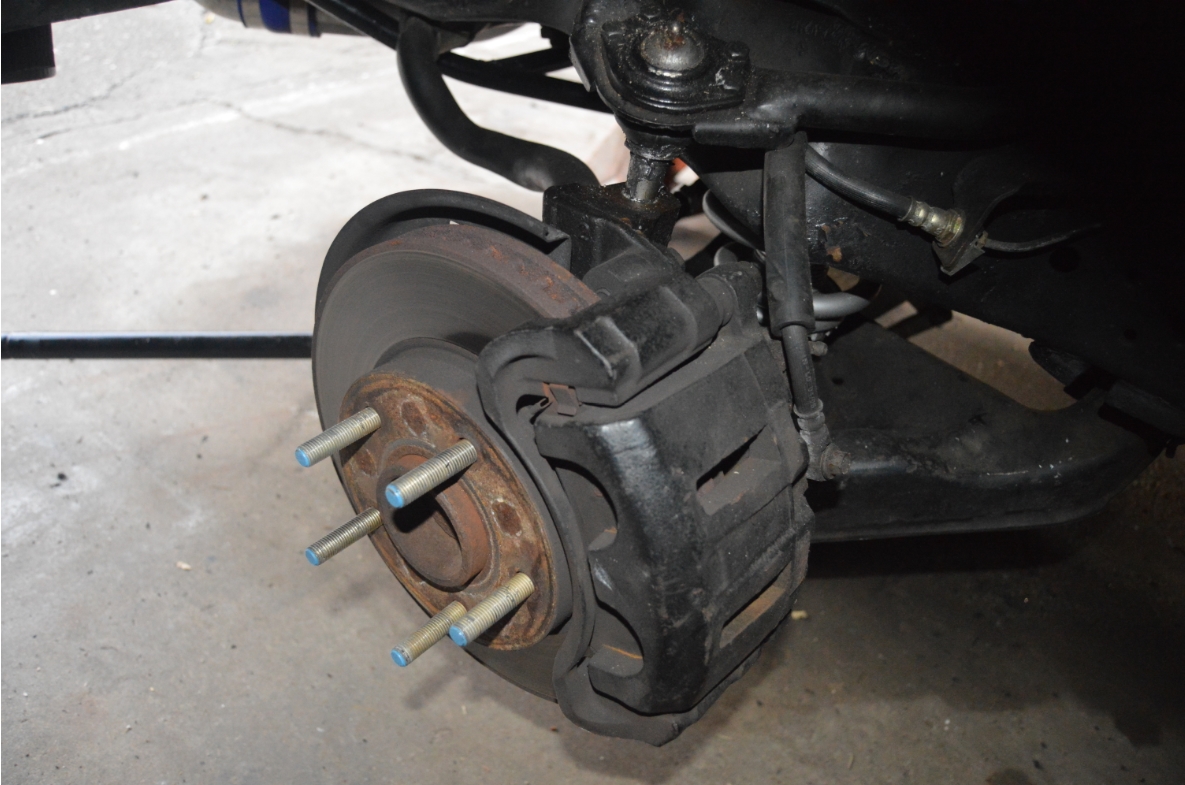
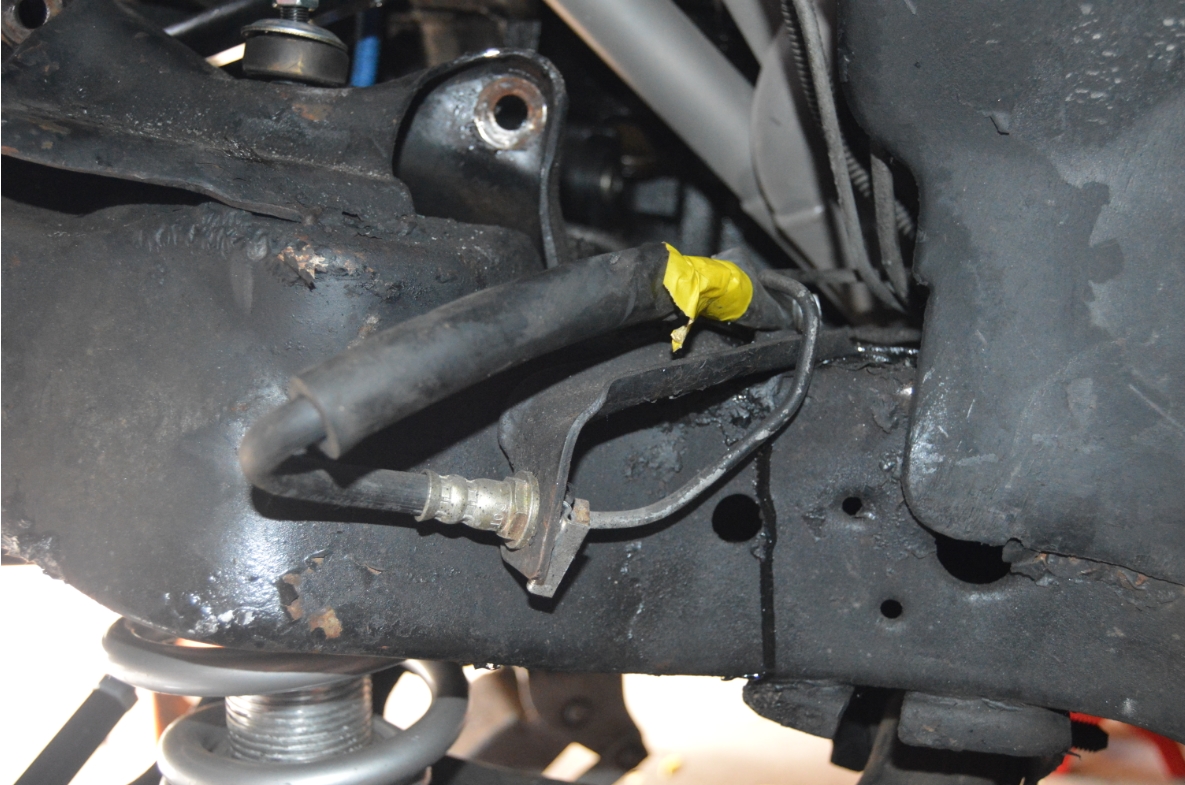
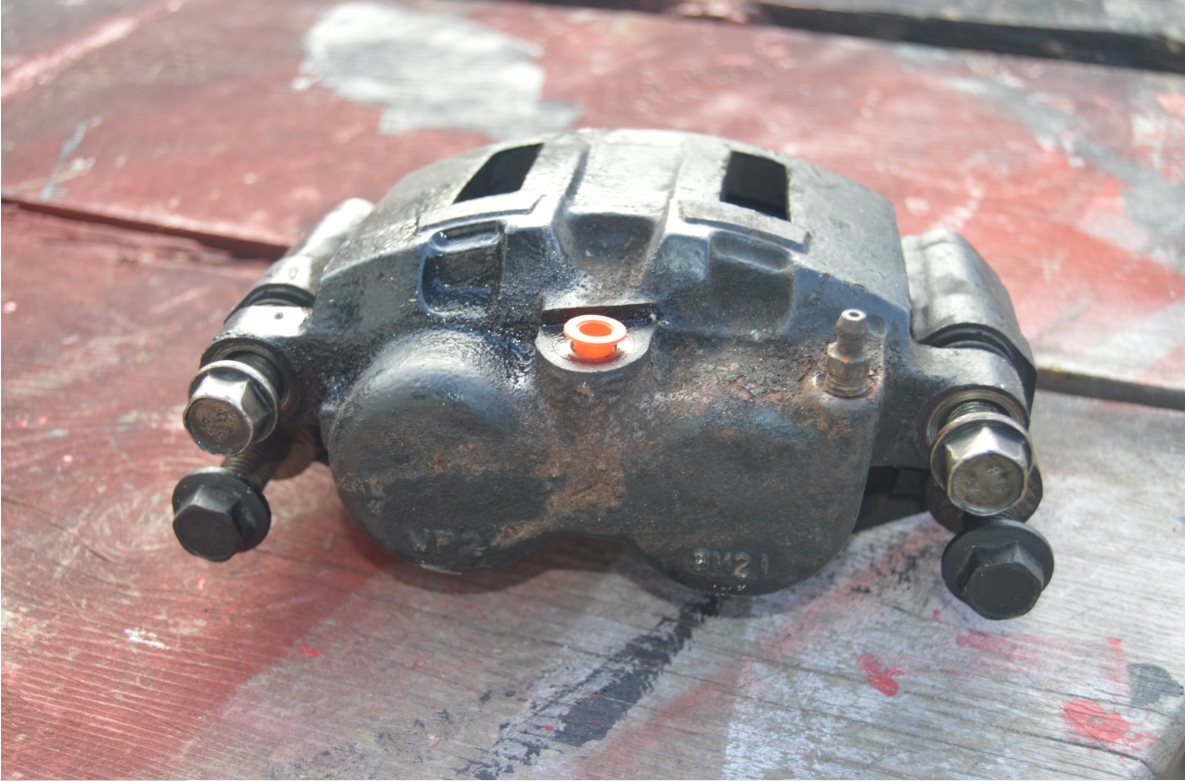
. - remove calipers and brackets.
tuck the brake hose out of the way.
(WE REMOVED CALIPERS SINCE WE ARE GOING TO PAINT THEM, IF YOU ARE NOT, YOU CAN LEAVE THEM ATTACHED)
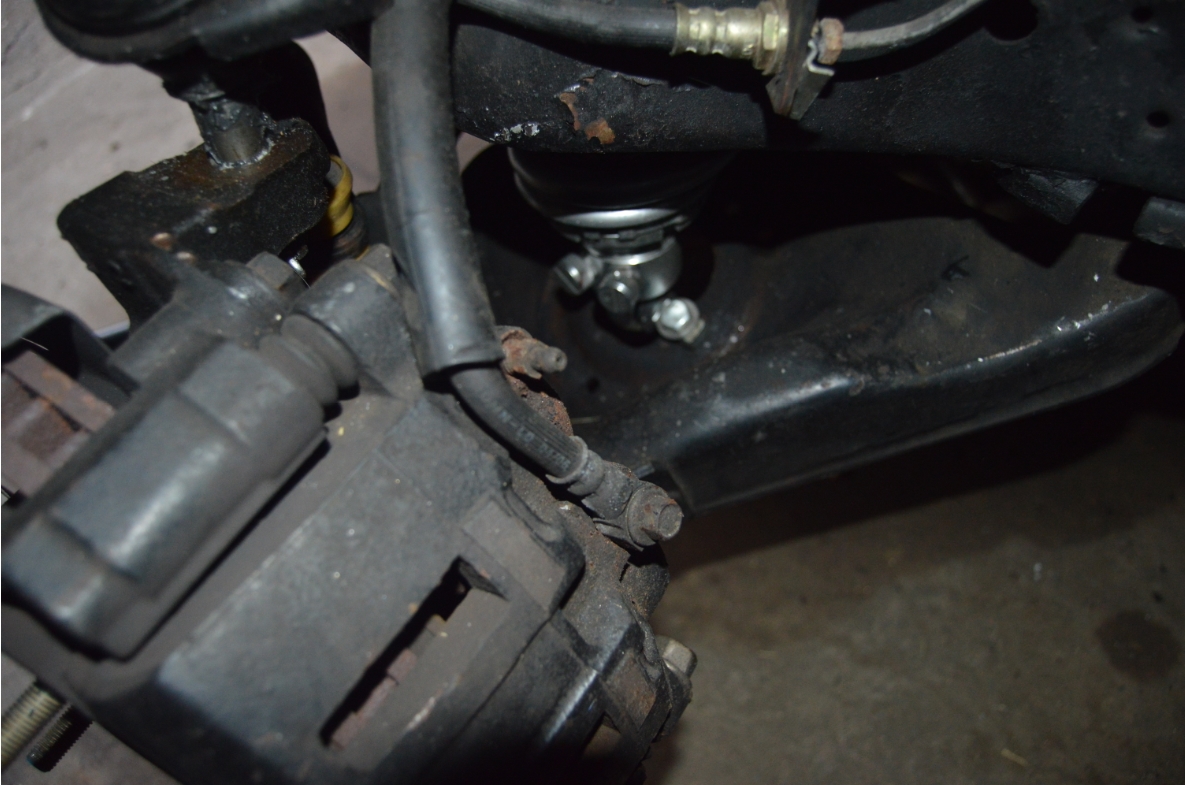
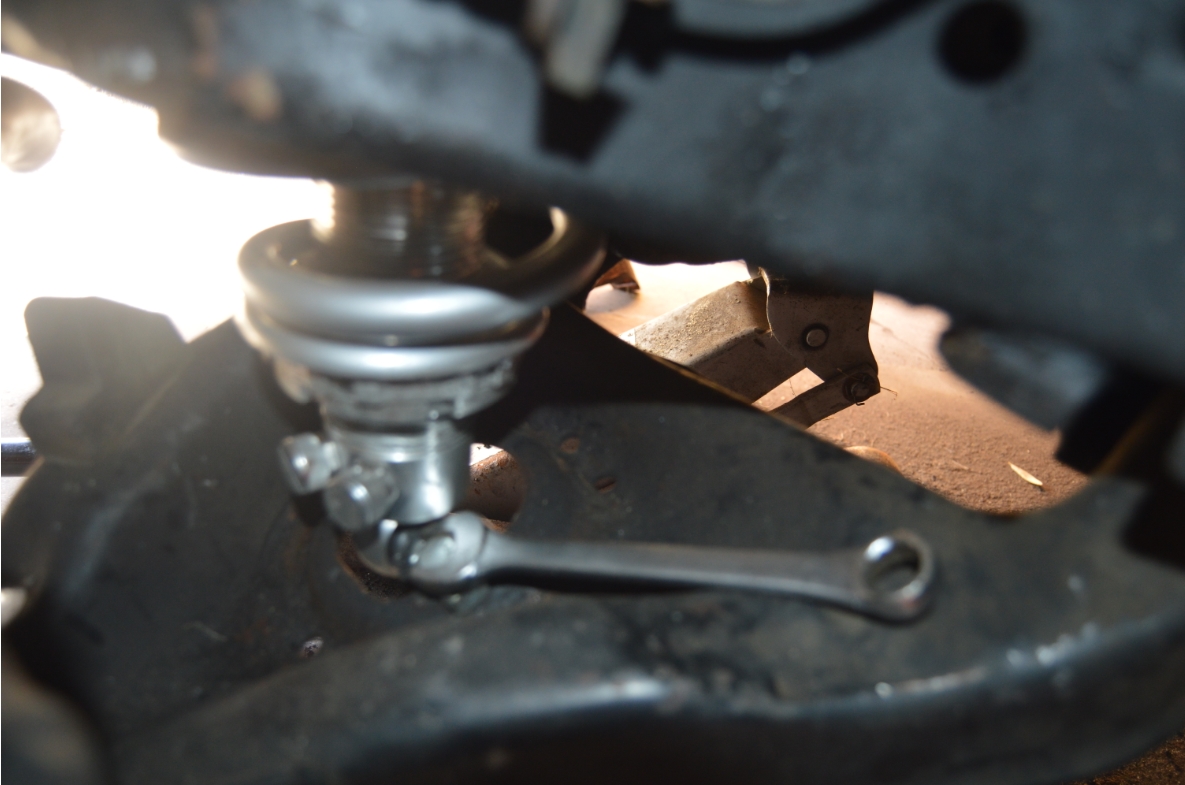
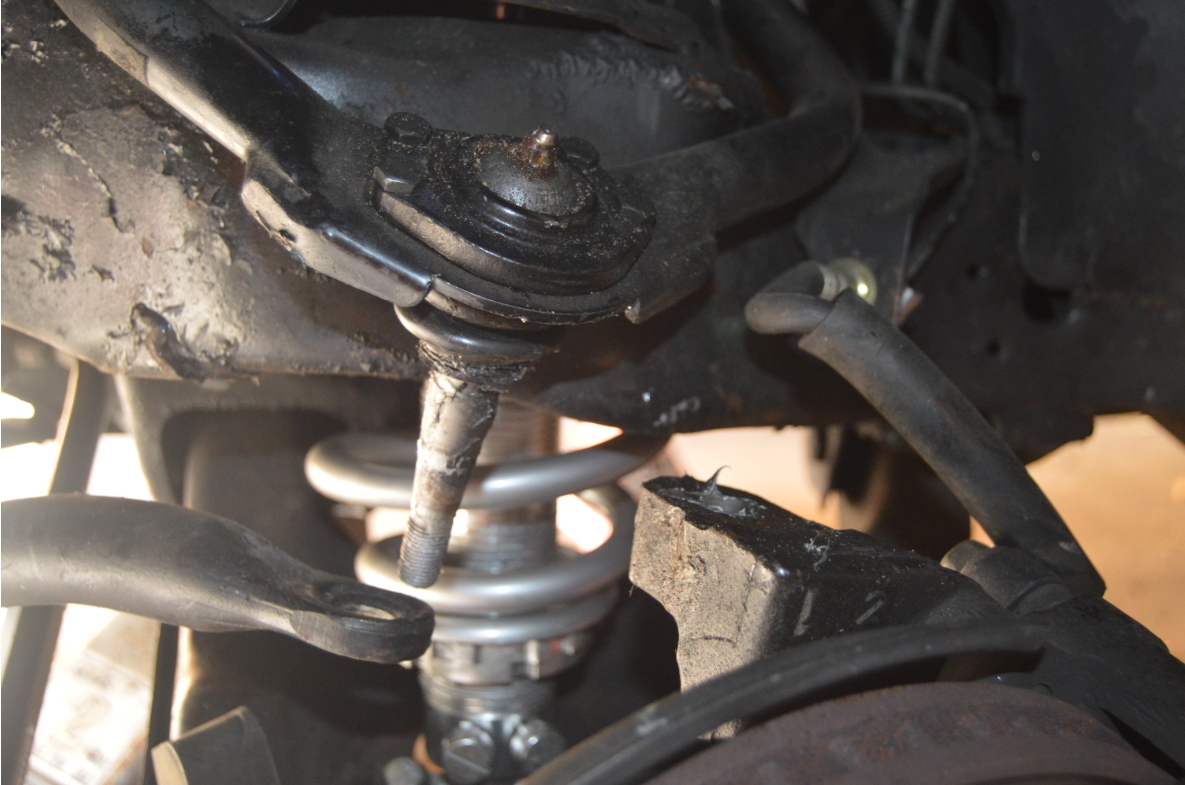
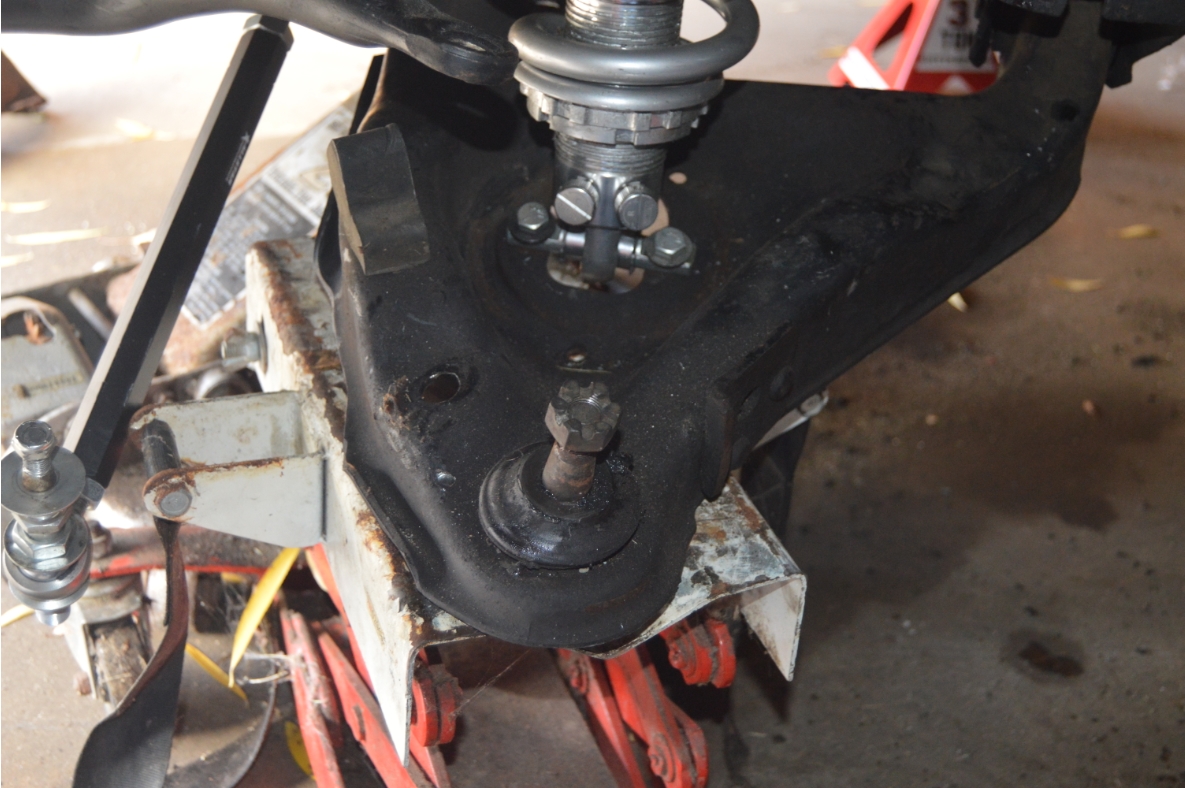
. - on the upper ball joint, remove cotter pin, loosen castle nut but DO NOT remove it yet.
- do the same to the lower ball joint.
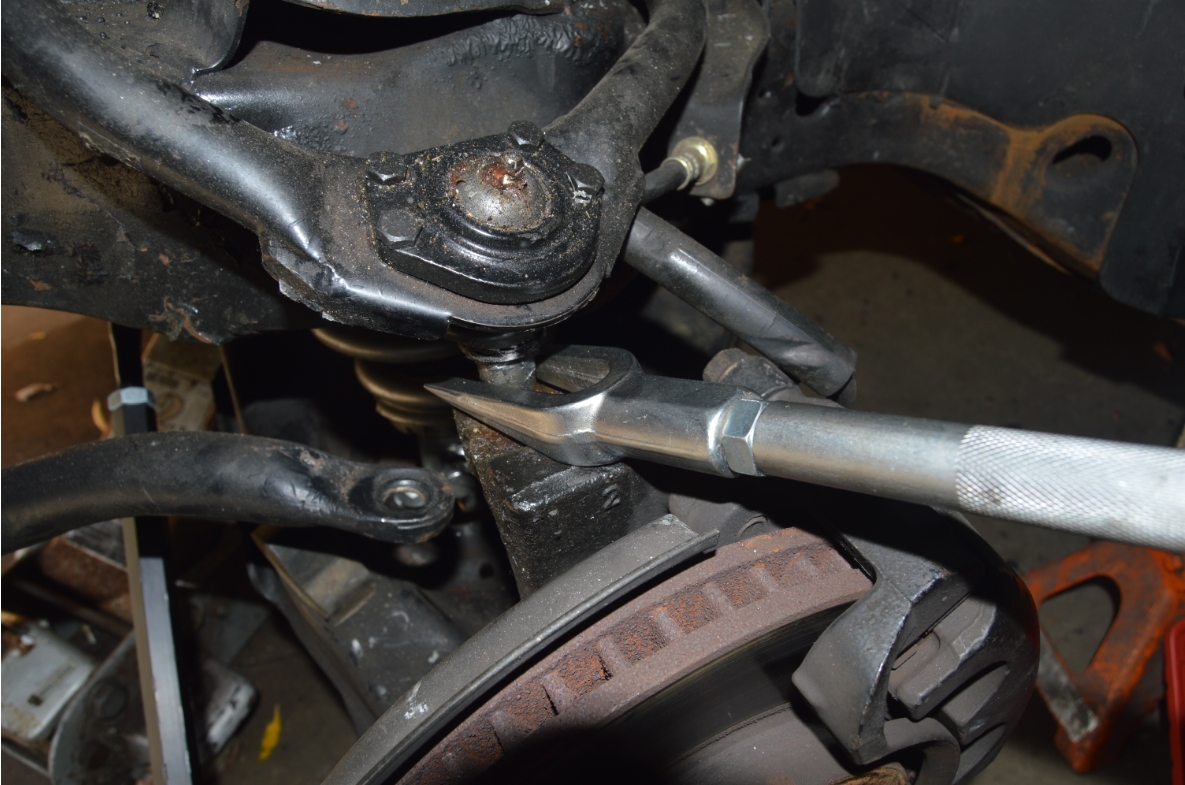
- separate both upper and lower ball joints using a pickle fork.
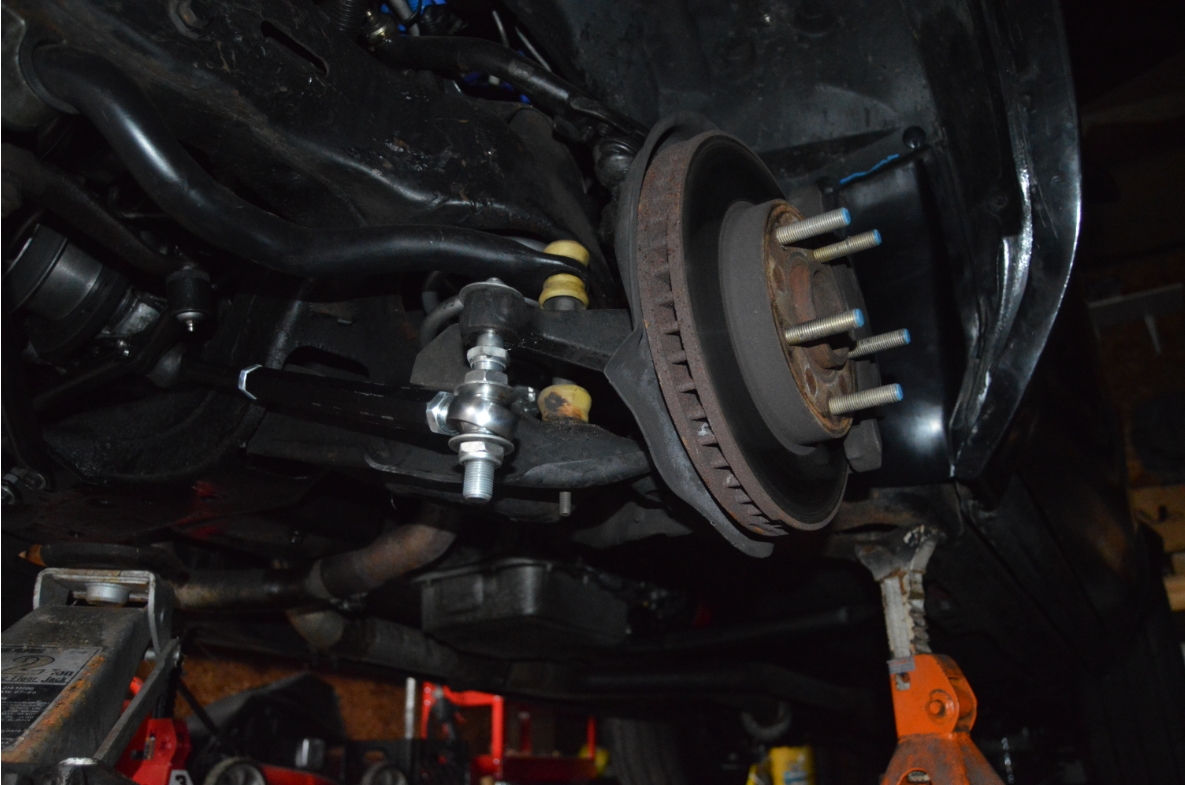
- place a jack under the lower a arm to support it.
- remove castle nut from upper balljoint. lift up the upper a arm until it comes out of the spindle.
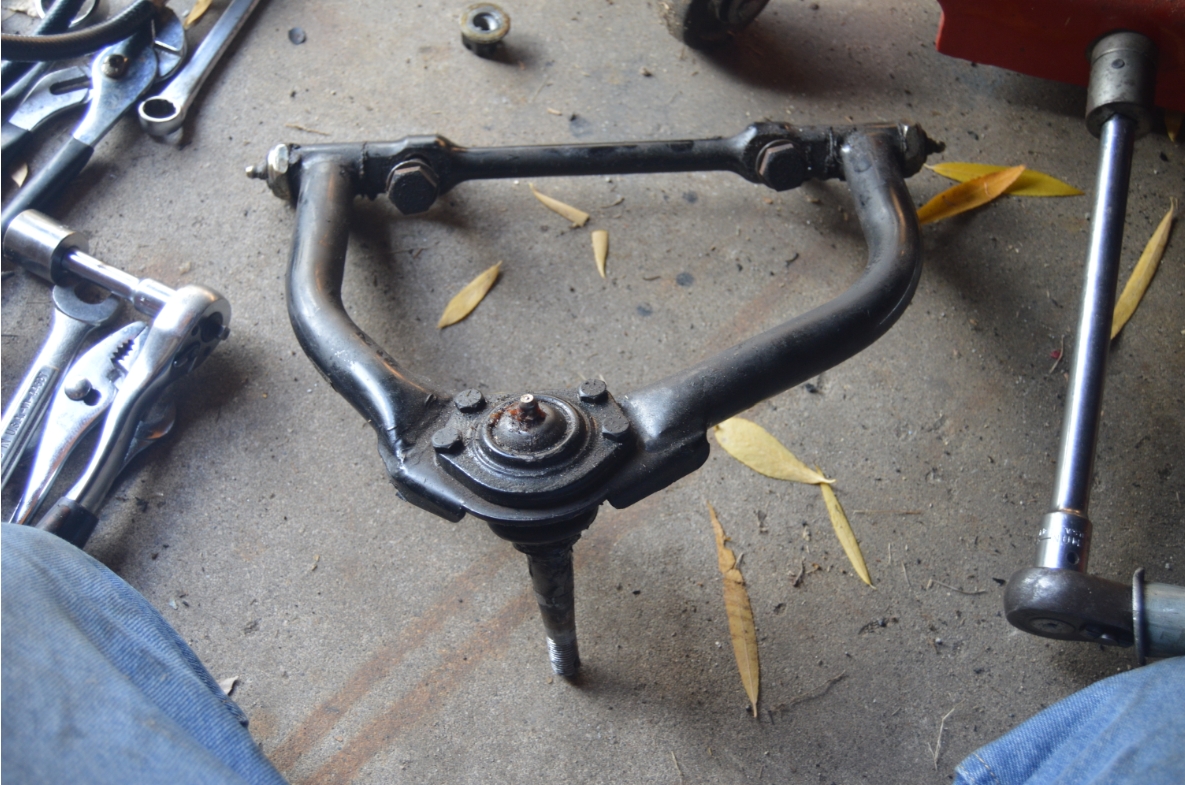
- remove upper arm (via 2 bolts on the frame).
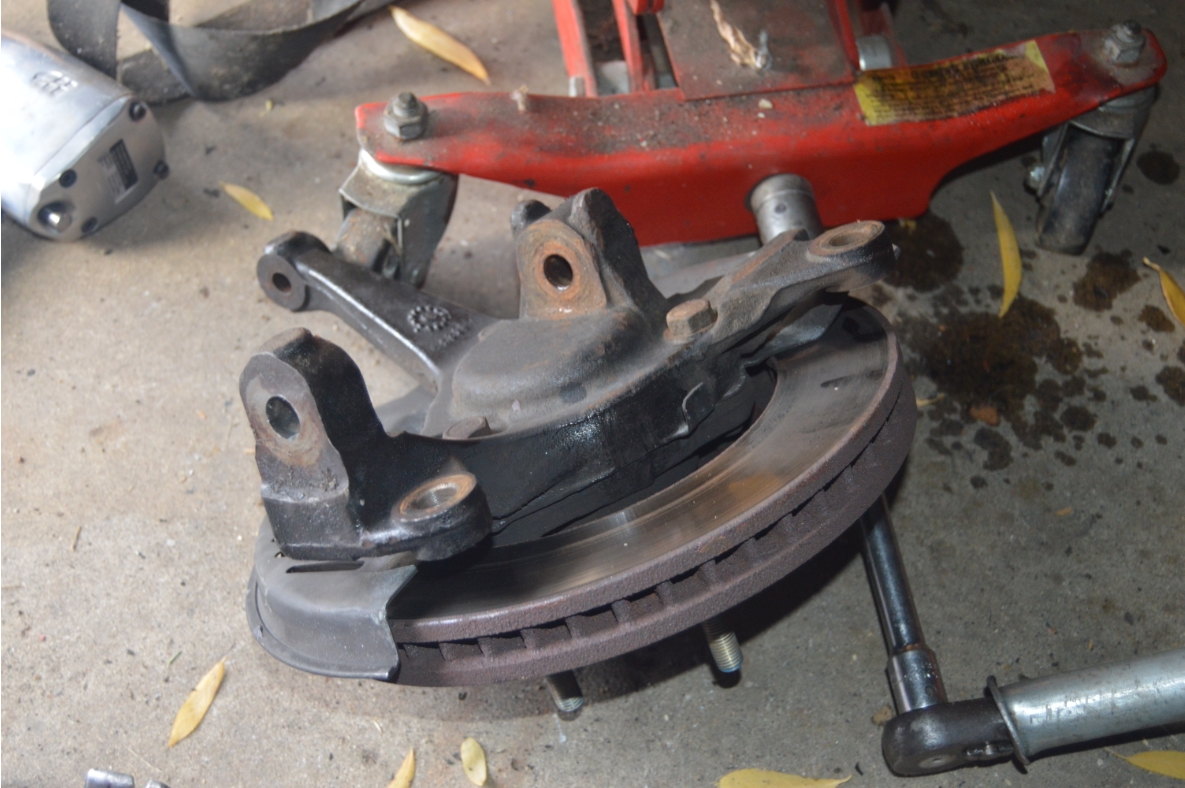
- remove lower ball joint castle nut. lift the spindle off the lower a arm.
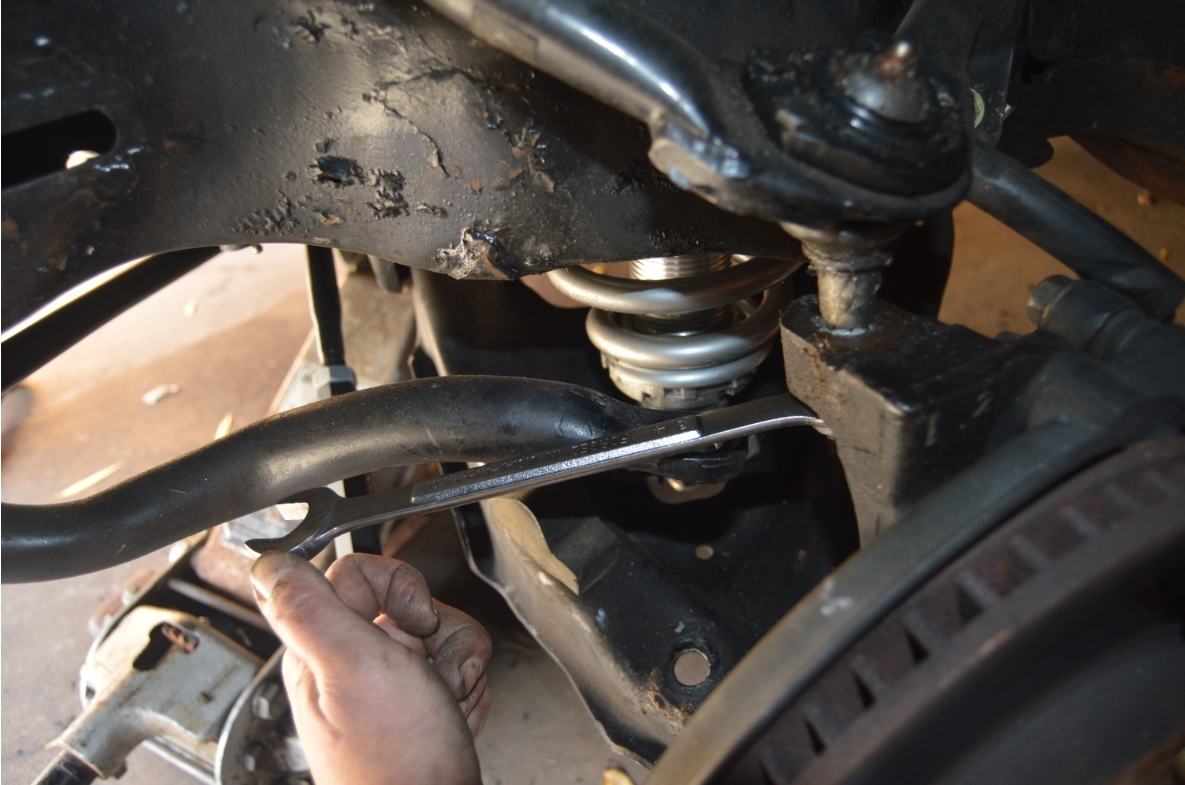
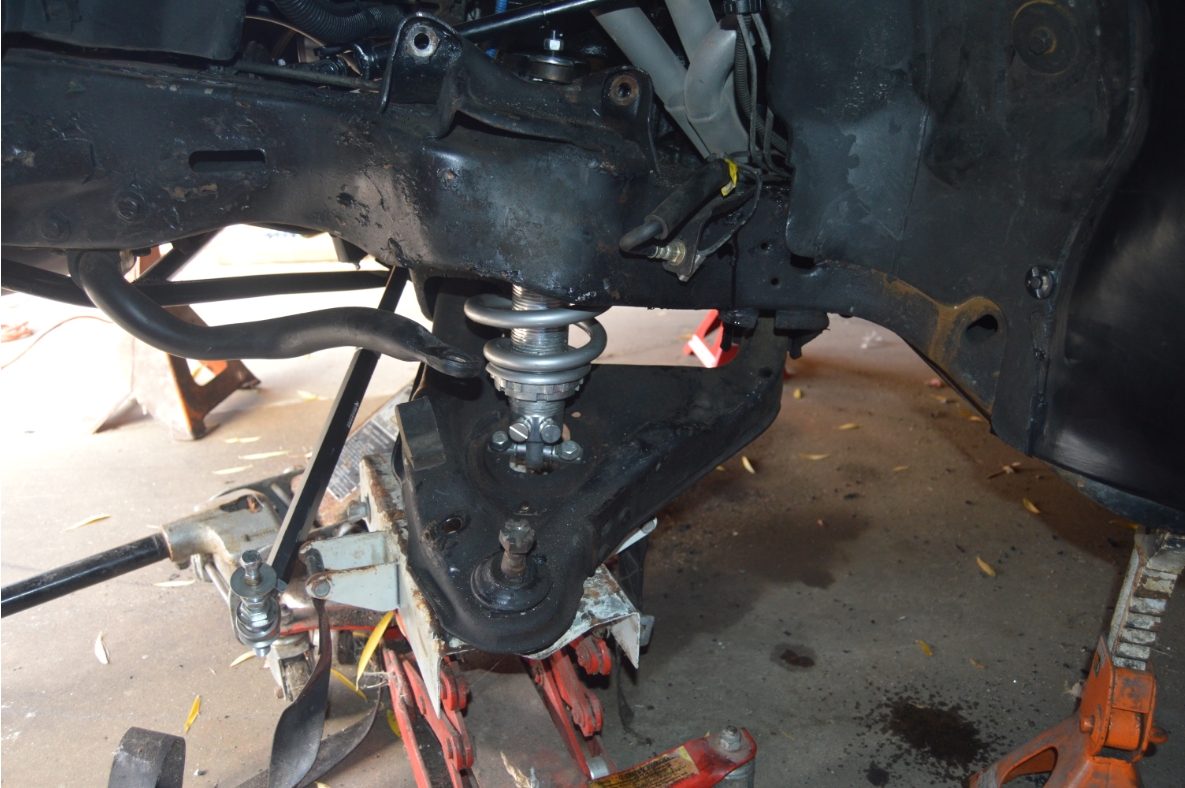
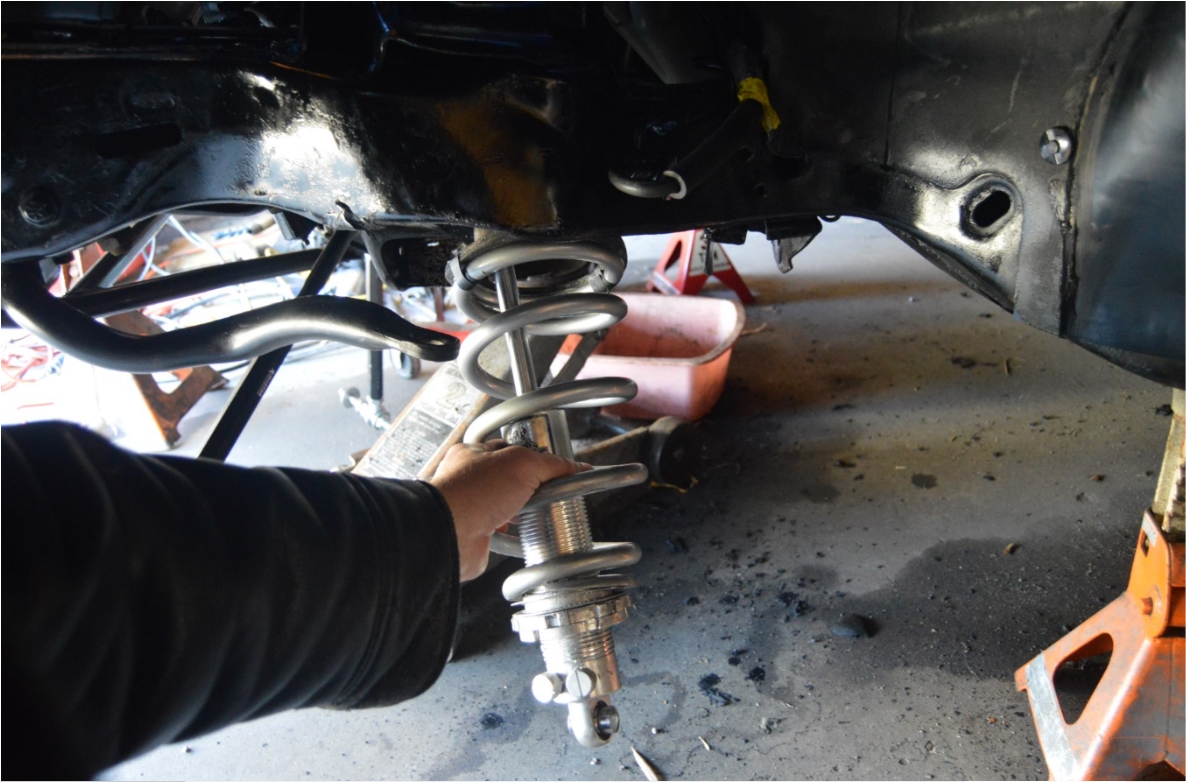
. - orient the shock for spring removal. SLOWLY let down the jack.
USE CAUTION as coil spring is under pressure!
(it’s not so bad with existing coilovers, but watch out for stock springs!)
remove spring.
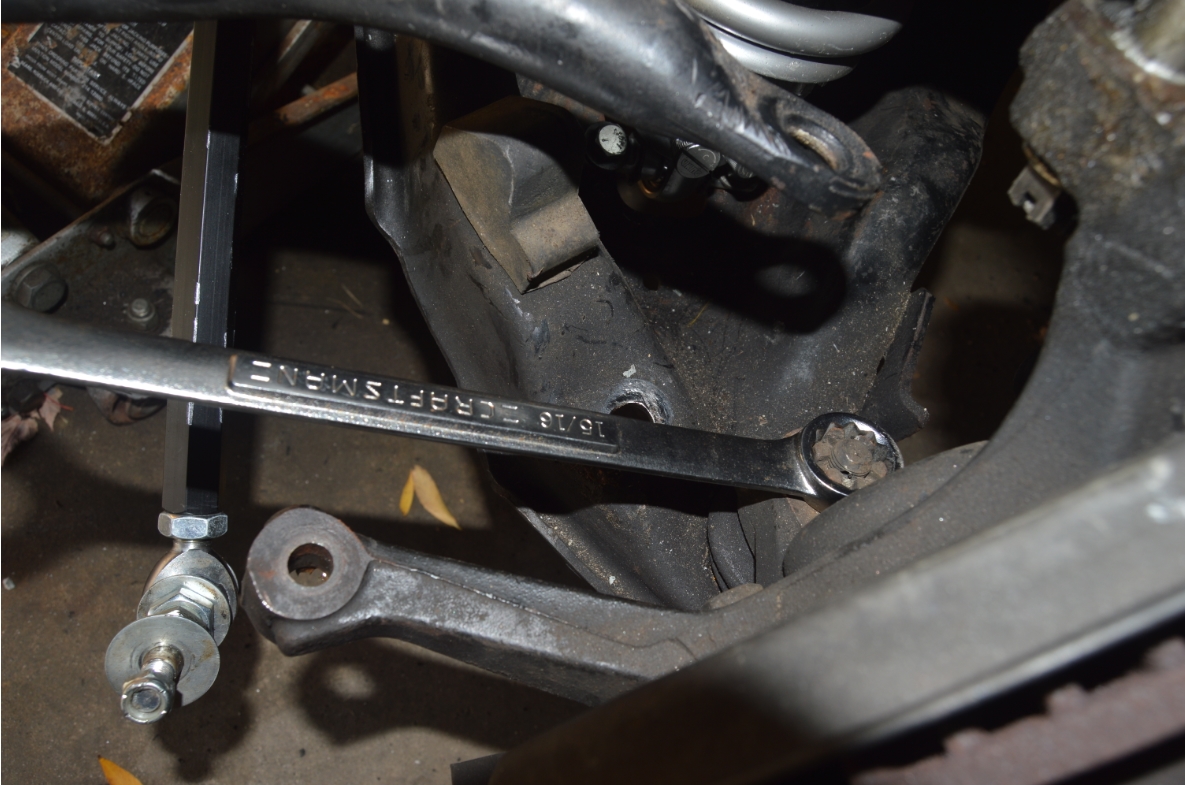
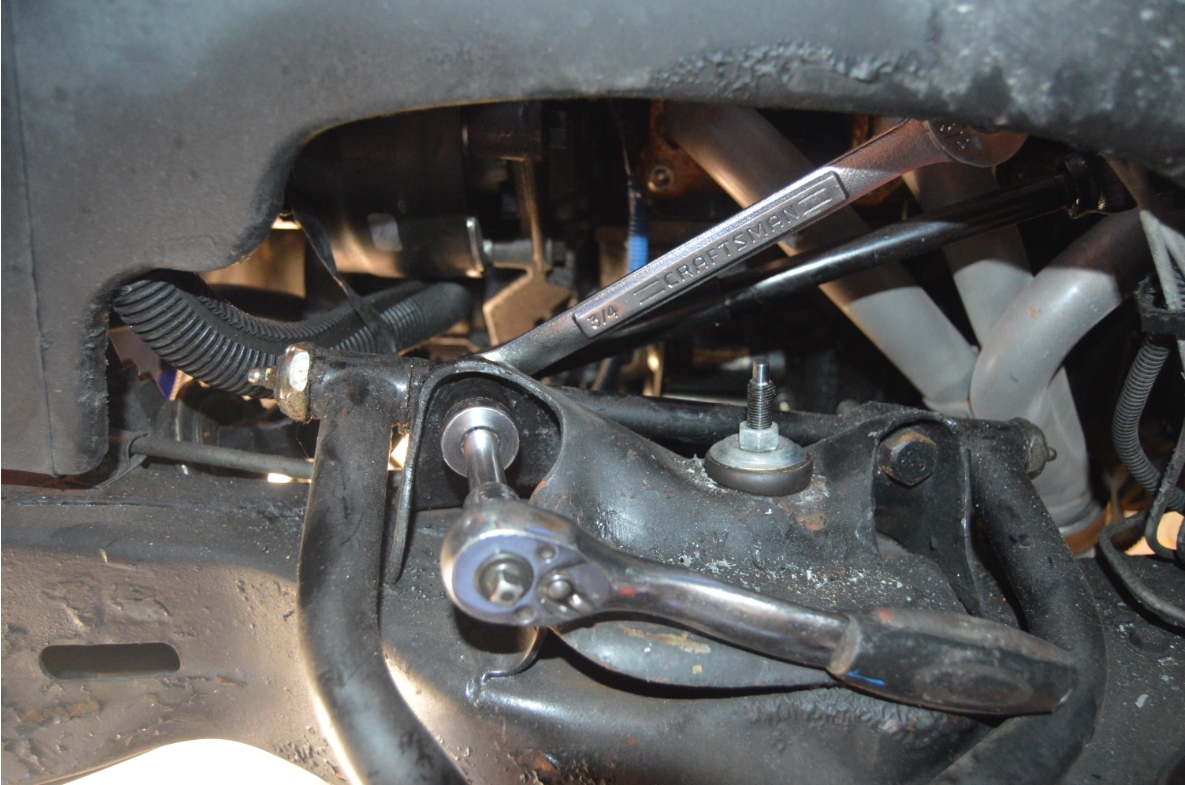
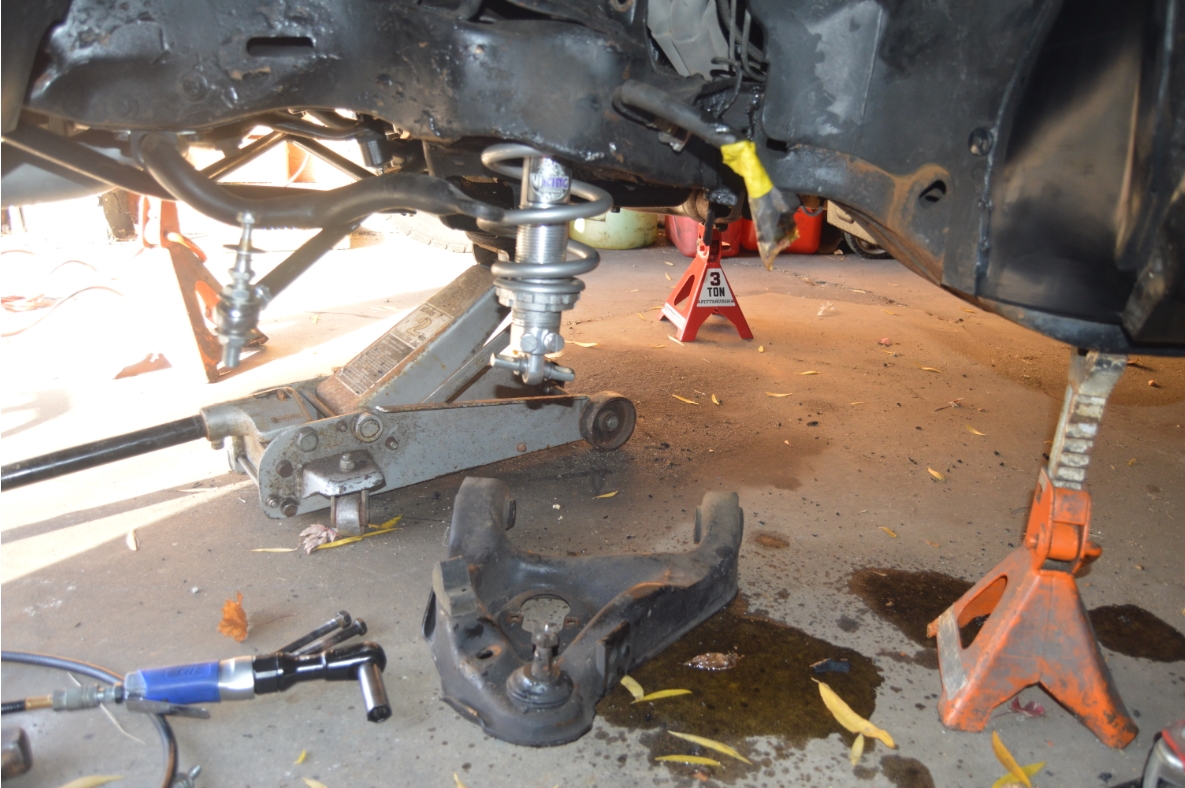
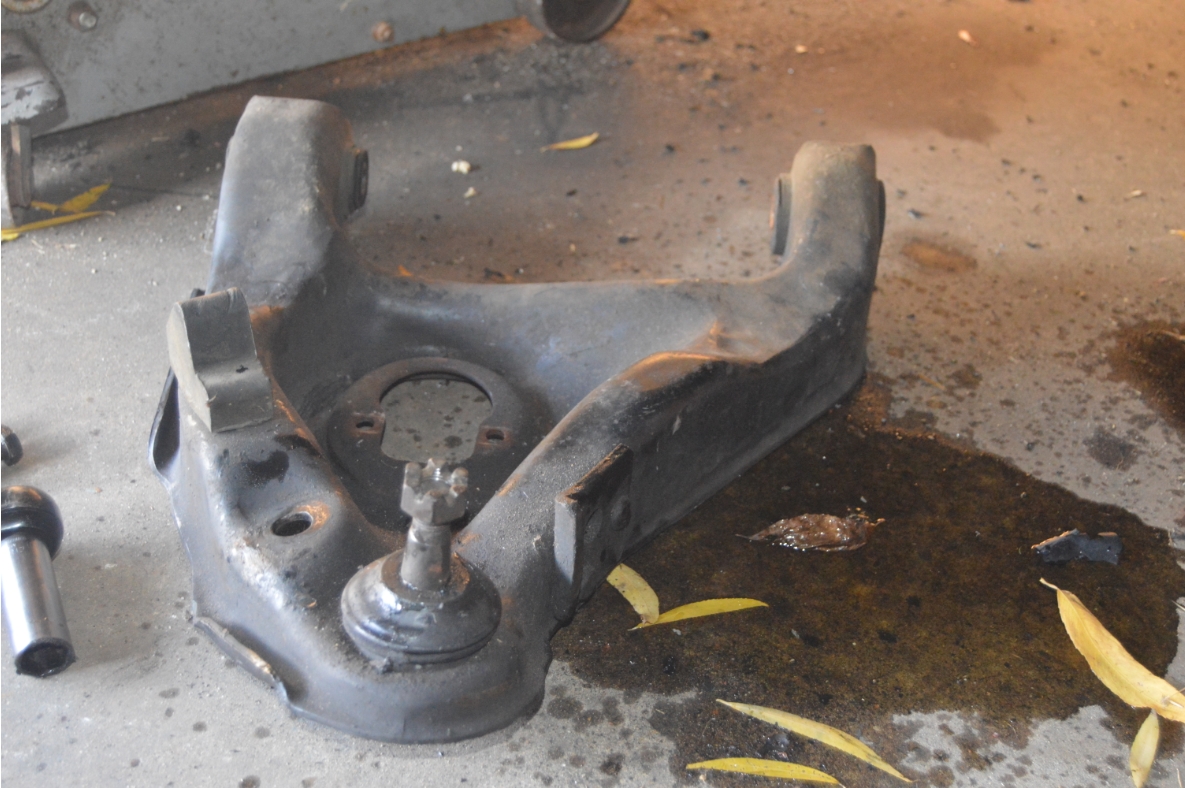
. - loosen and remove lower a arm (2- 18mm bolts).
retain bolts, as you will reinstall them.
(we purchased new bolts for installation here)
IF YOU ARE NOT CLEANING/PAINTING YOUR FRAME, ETC. STOP HERE! YOU WILL BEGIN ASSEMBLING THE NEW COMPONENTS NOW.
(but we aren’t installing ours yet for another 2 days)
. - remove shock.
.
.
NOTES:
Good luck with the passenger side lower a-arm rear bolt!
On this Buick GN, the crossover pipe is right in the way of pulling out the bolt!
(the head of the bolt was on the inside of the arm, not sure they’re all like this)
We ended up removing the front bolt, then wiggling the entire arm back and forth and jiggling / coercing the bolt out.
(As well as taking a hammer and denting in the crossover pipe slightly!)
.
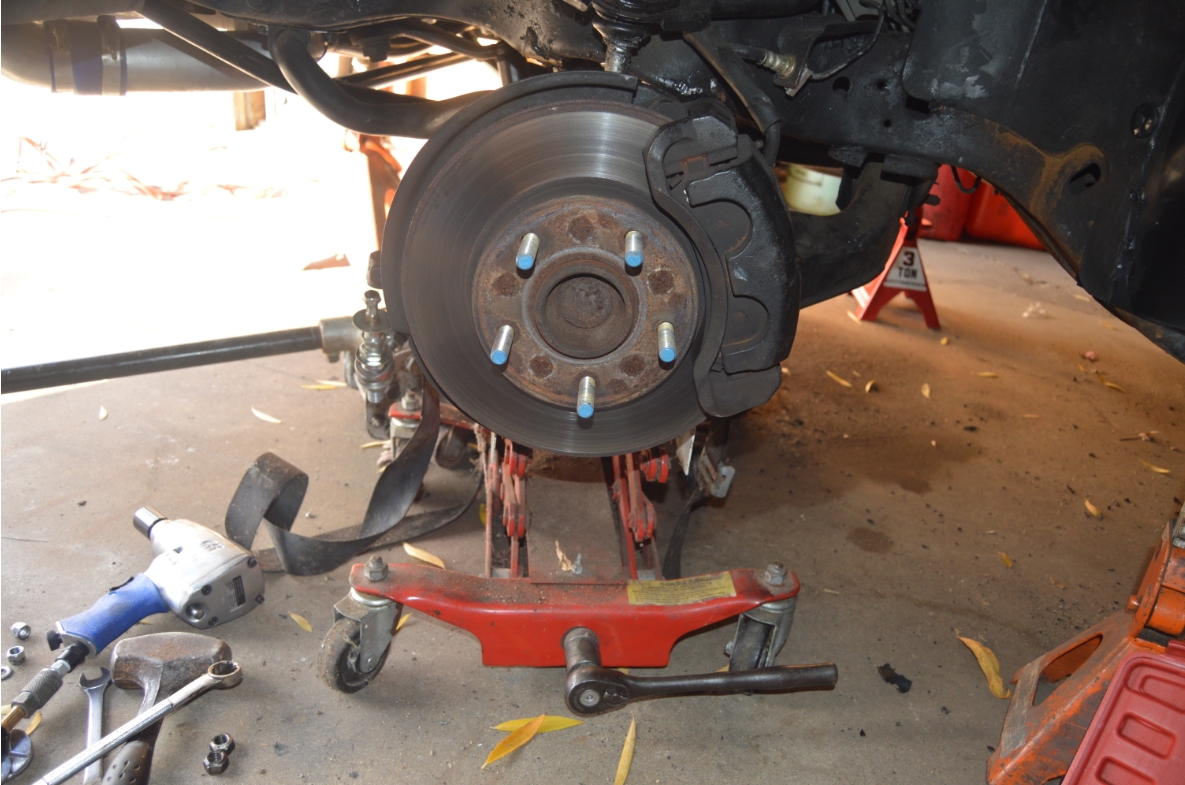
That’s as far as we are going for today.
Cleaning and painting and prepping everything will be next.
This weeks agenda:
1- Comparing Old OEM vs New UMI A Arms Before Install (Day 1 of 5)
2- Remove Old A-Arms on Buick Grand National (Day 2 of 5) YOU ARE HERE
3- Prepwork Before A-Arm Install (Clean & Paint Frame, Install Spring Isolators, upper/lower Balljoint Swap, Replace Coilover T-bar With Sleeve) (Day 3 of 5)
4- Paint Front Calipers Brackets Spindles on Buick Grand National (Day 4 of 5)
5- Install UMI Upper & Lower A-Arms on Buick Grand National (Day 5 of 5)
.
Be sure to come back tomorrow to see our progression on this Turbo Regal!
.


