


At some point and time over the life of your Gbody Regal, without a doubt, those heavy doors will begin sagging when you open them.
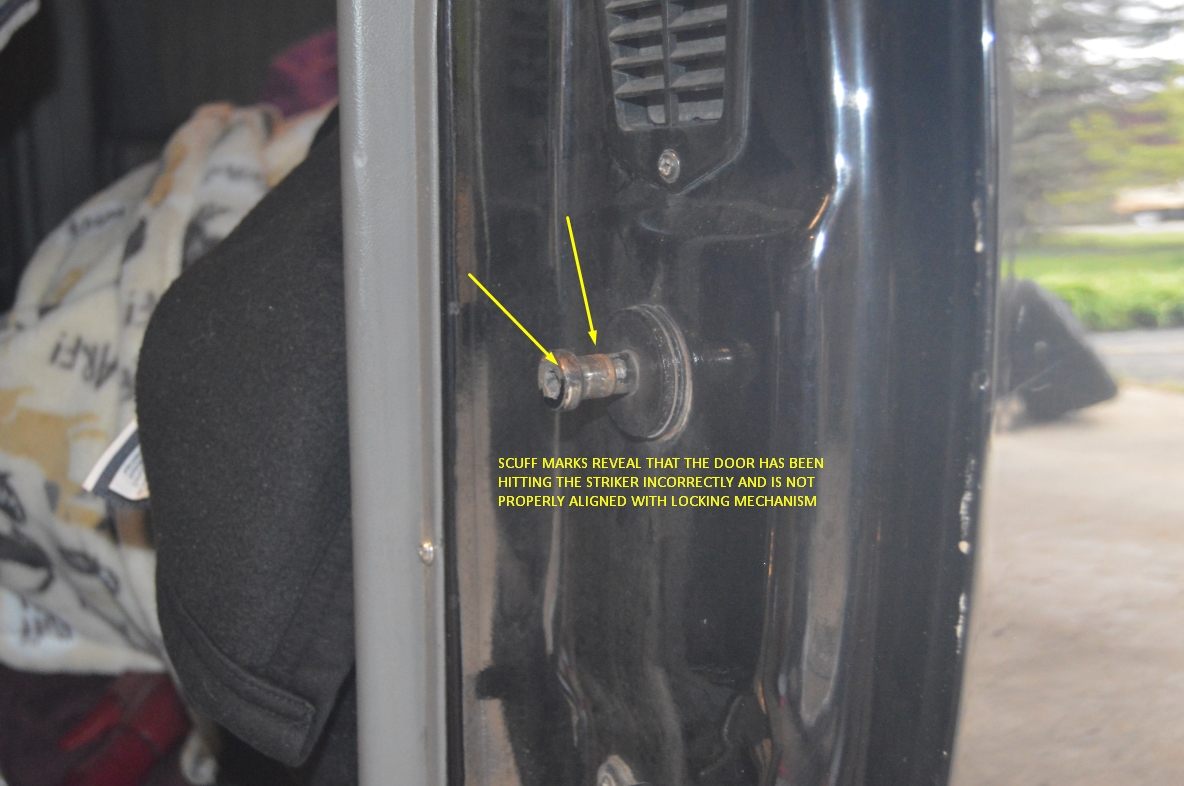
They will become harder and harder to close shut properly as the locking mechanism inside the door misaligns with the door striker pin that is on the body.
Adjusting the door striker to compensate will only work for so long before you need to resolve the issue completely.
The solution is to either replace the hinge entirely, or replace the pin that makes the hinge function correctly (to keep your door raised up into the proper position).
Purchasing a new hinge is definitely an easier method of fixing this issue, but it’s more expensive than simply installing a new pin.
(it’s usually only the upper hinges that need to be replaced)
(1 brand new upper hinge can be had for about $75, a new door hinge pin repair kit is $5)
(replacing either requires the door to be supported, then removing the hinge bolts, inserting the new hinge or pins and bushings, and finally reinstalling the bolts. Having a friend assist you is a good idea!)
Replacing the door hinge pin is pretty cheap, but it takes a bit of time, and you MUST have a spring compressor to perform the task at hand.
So it’s a trade off again of time vs money.
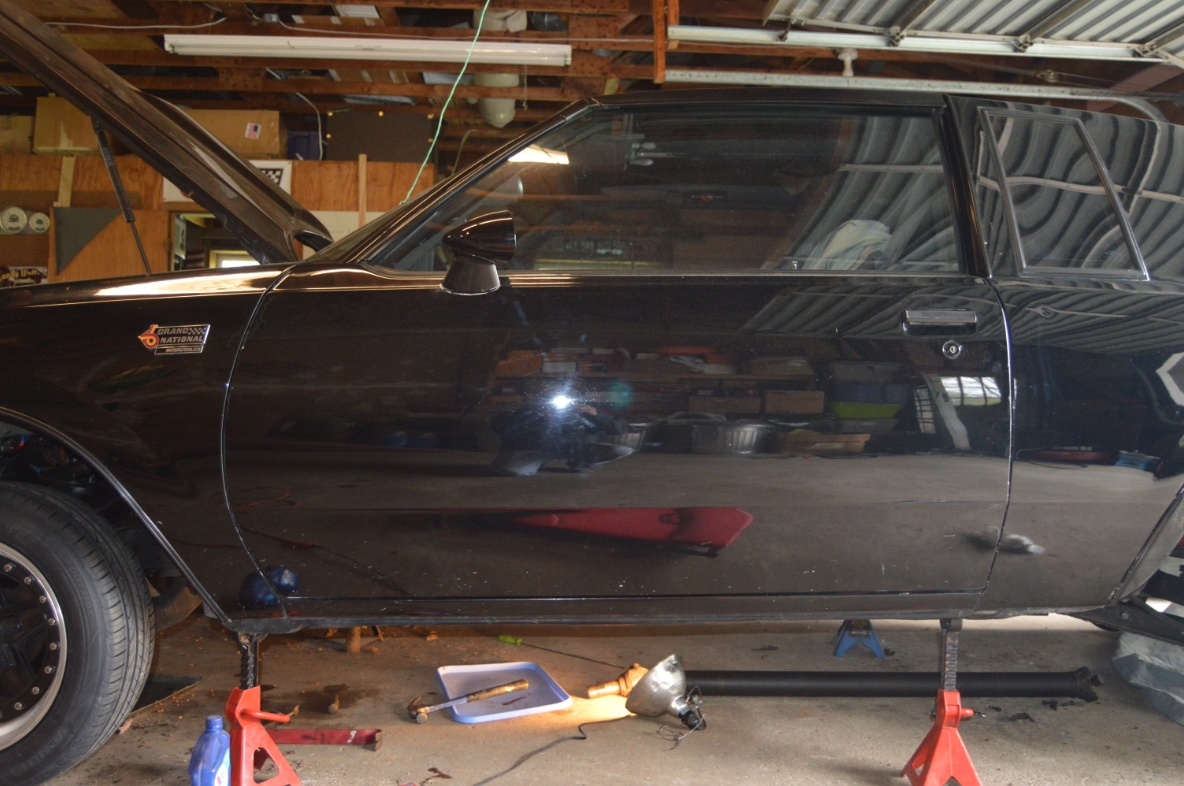
The owner of the 1986 Buick Grand National that we are working on today acquired new door hinge pins a long time ago in anticipation of this issue arising at some point.
Today is the day that they get replaced.
.
.
COMPLETION TIME:
about 1 hour (per side, give/take)
.
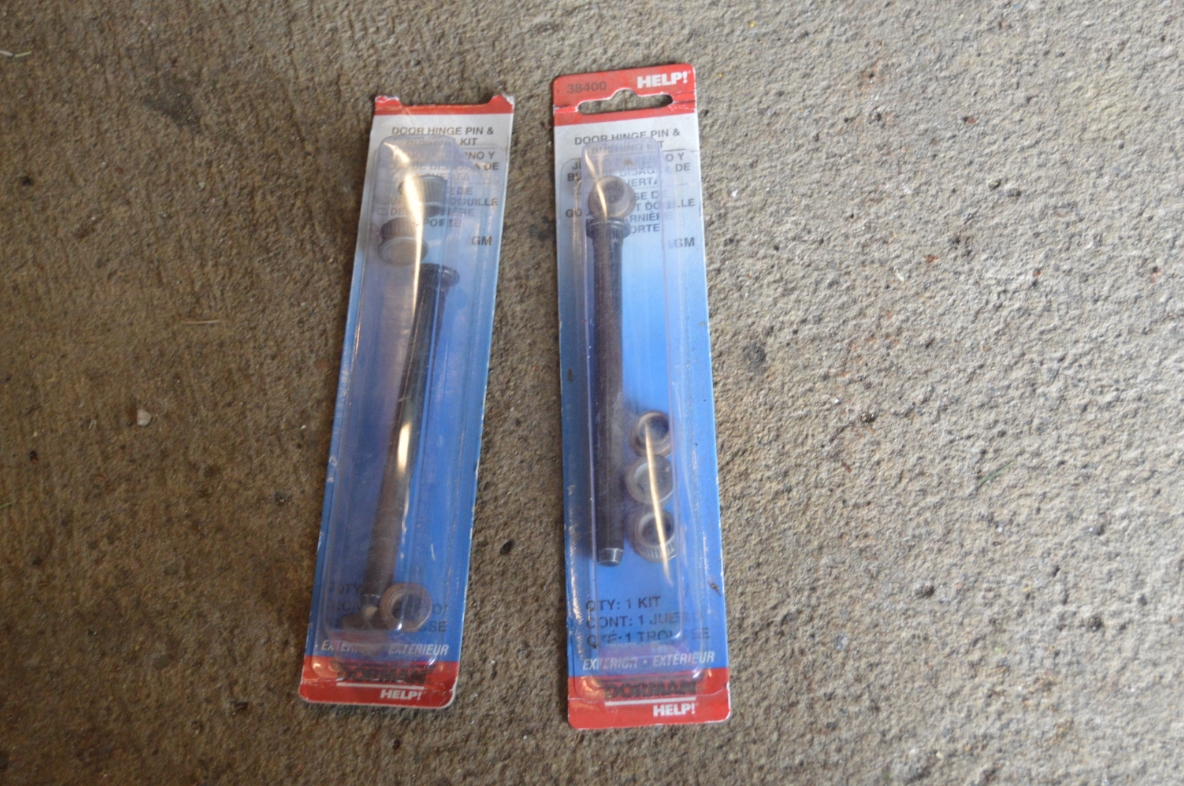
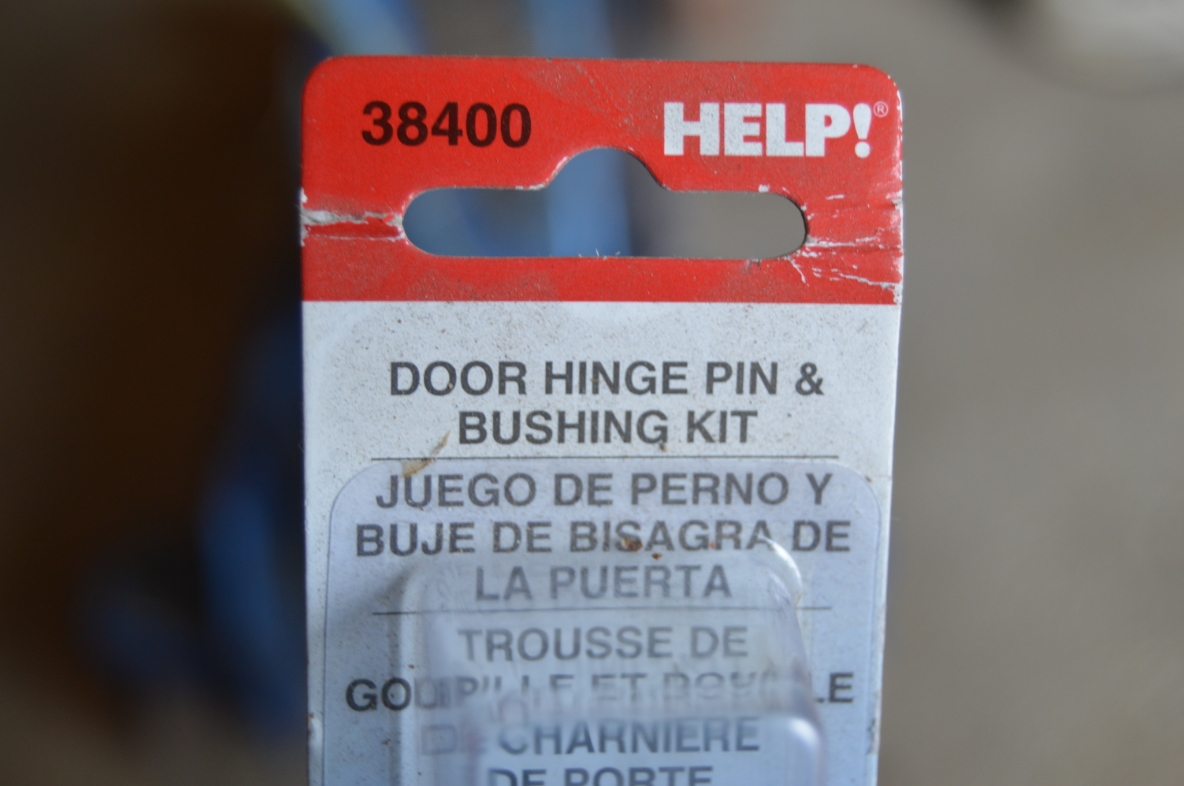
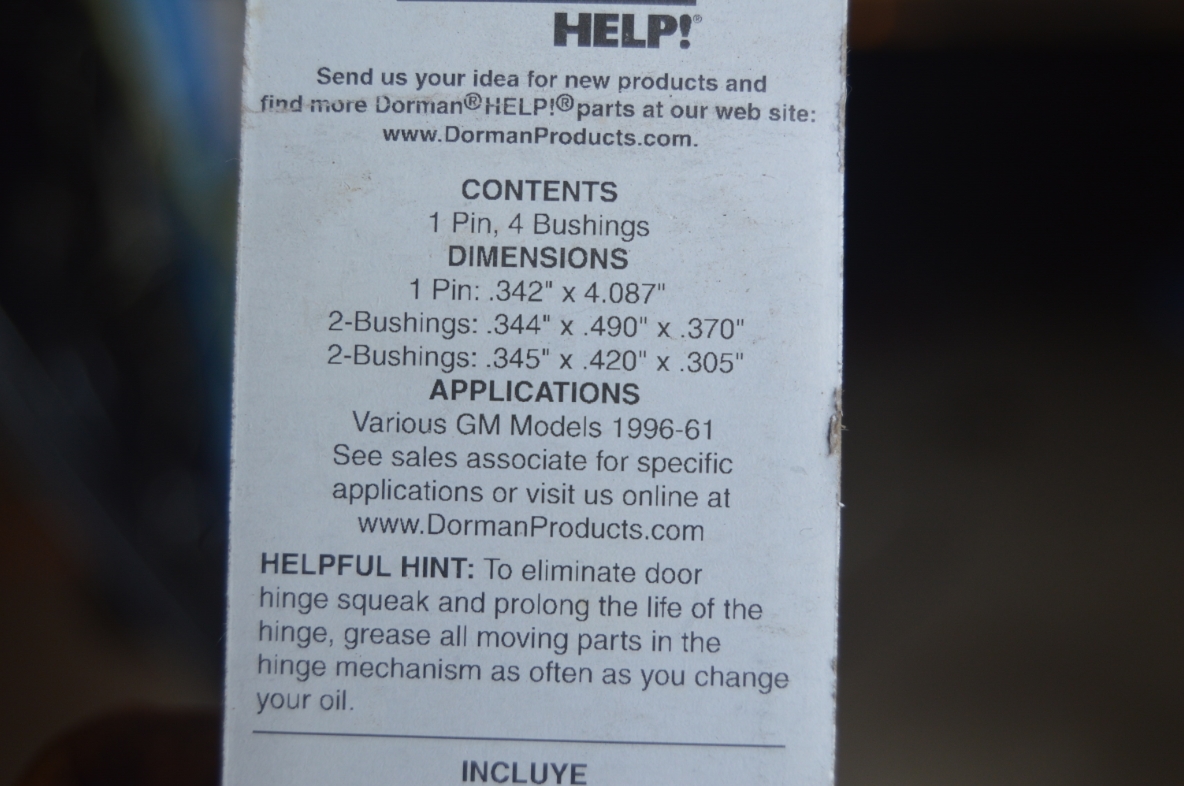
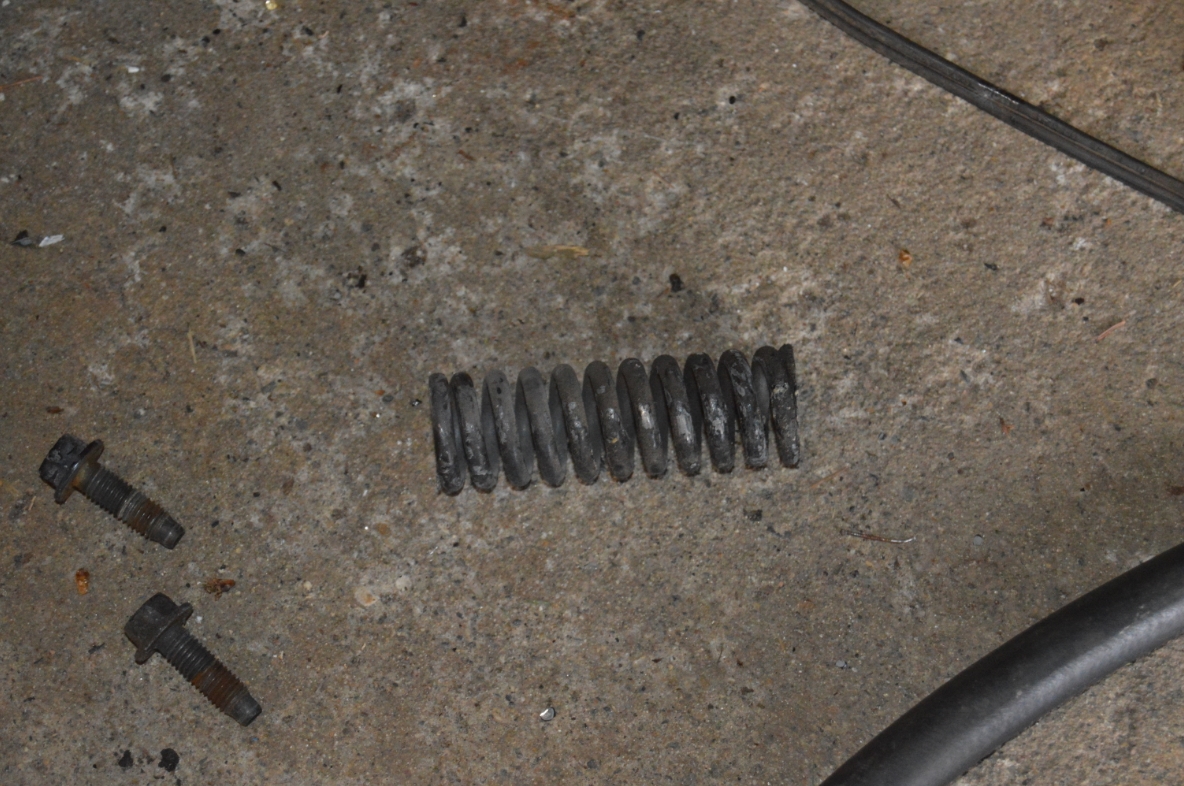
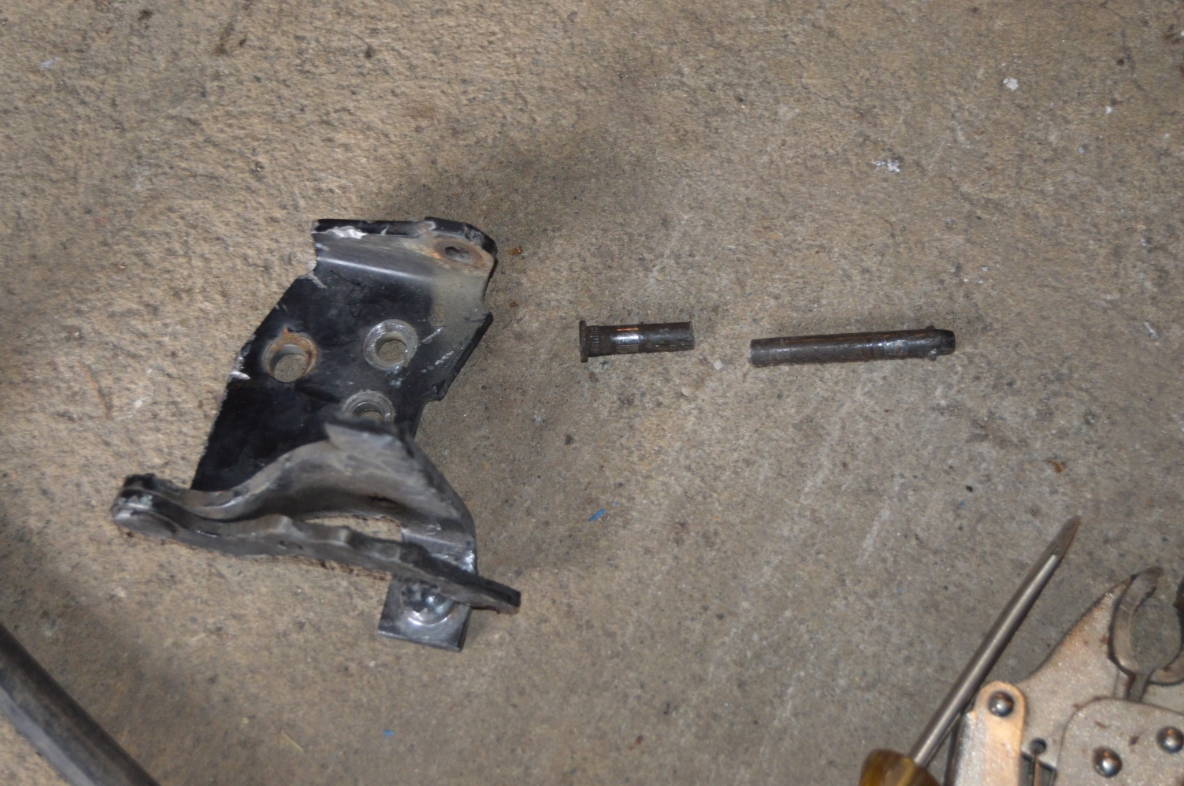
PARTS:
– door pin hinge repair kit (dorman help kit #38400, about $5 per door)
.
TOOLS:
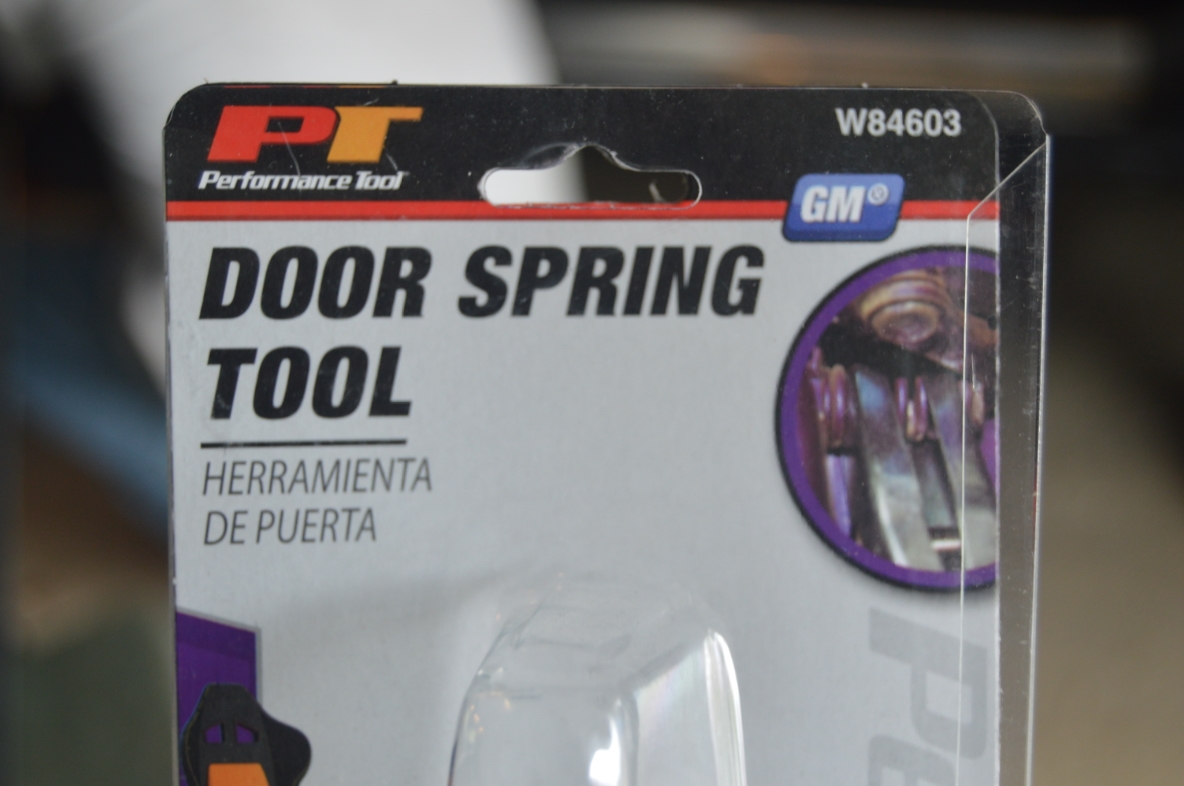
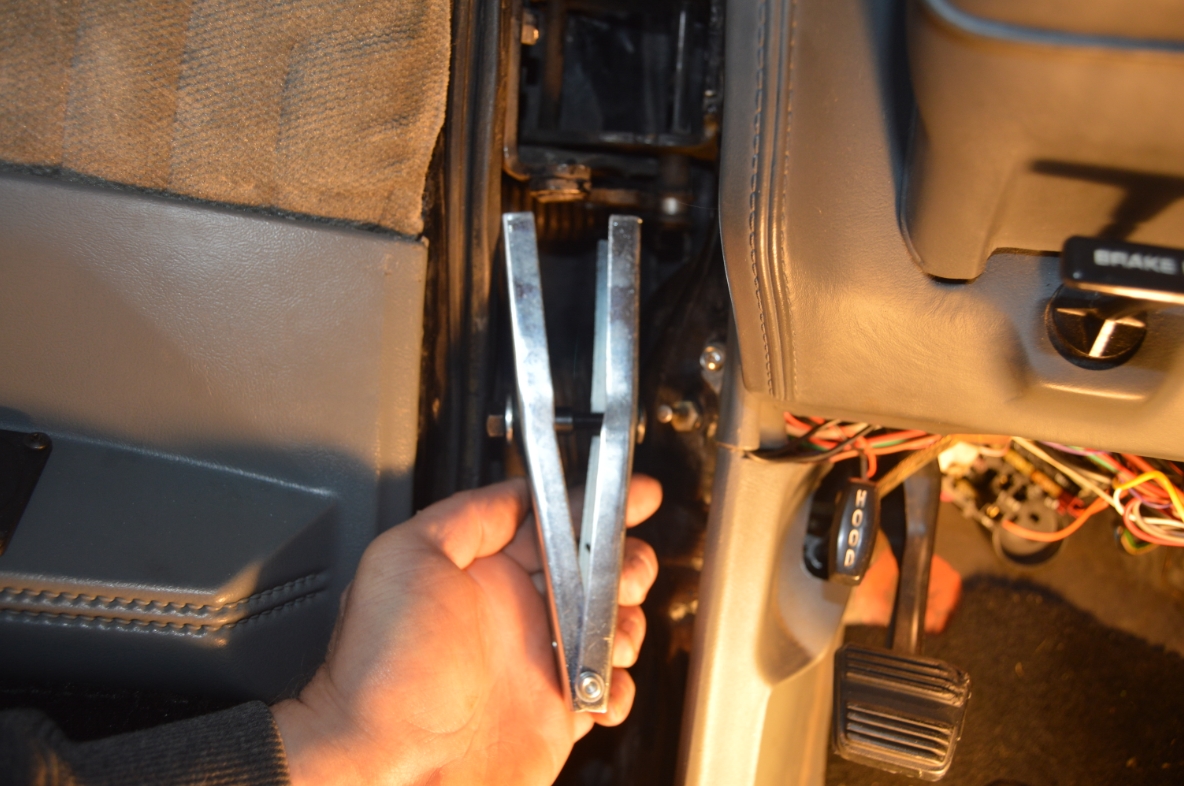
– “door spring tool” – spring compressor (about $10, o’reilly auto)
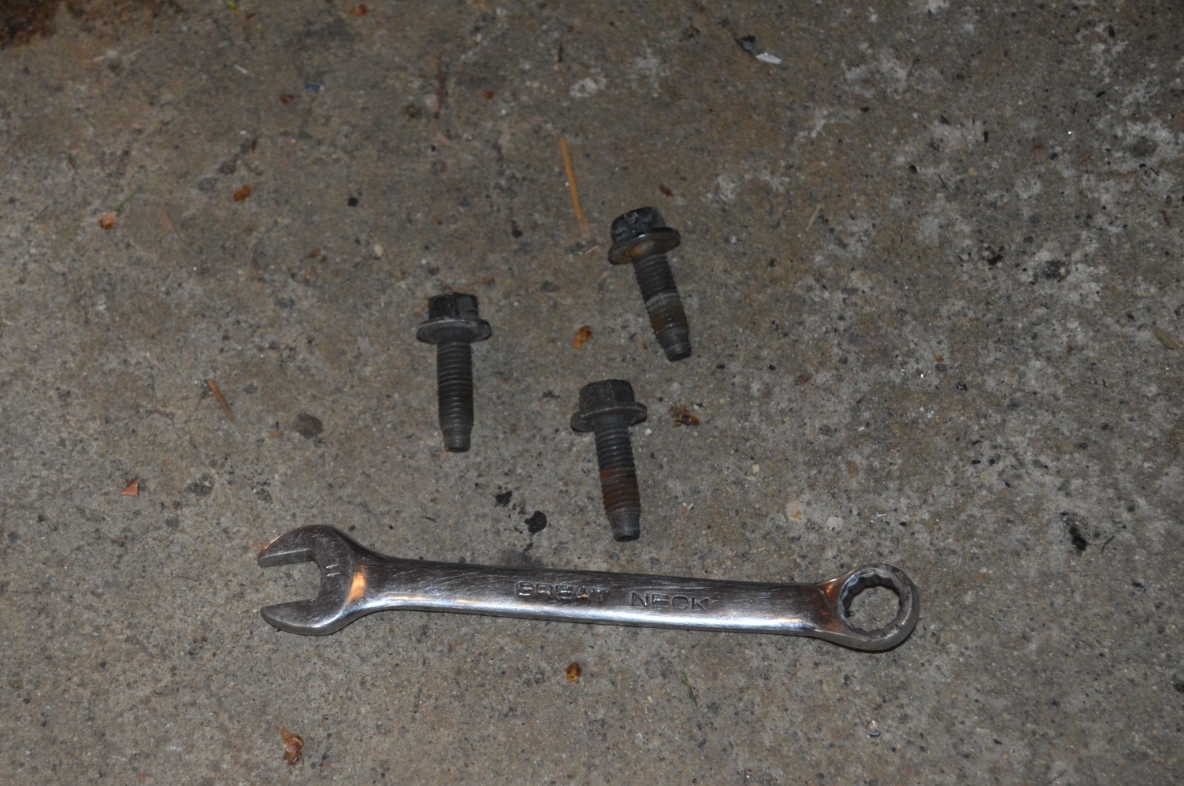
– 11mm socket (remove hinge from door)
– hammer
– prybar
– flathead screwdriver
– 1/2″ wrench (for spring compressor nut)
– small width (but long) bolt (to go inside bushing), 2 washers (1 to fit bolt snugly, the other with a hole bigger than the bushing), to pull the new bushings into the hinge
.
.
Note that initially we tried NOT removing the door to do the replacement.
We attempted to use a grinder, then a cutoff wheel, but there really wasn’t enough room to get either of those inside the hinge (between the upper & lower parts) to be able to cut the pin off, the proper angle to accomplish this couldn’t be achieved without hitting the hinge.
(you might be able to get a dremel with cutoff wheel in there if you try)
(a sawzall may be able to cut the center of the door pin, and you may not have to remove the door)
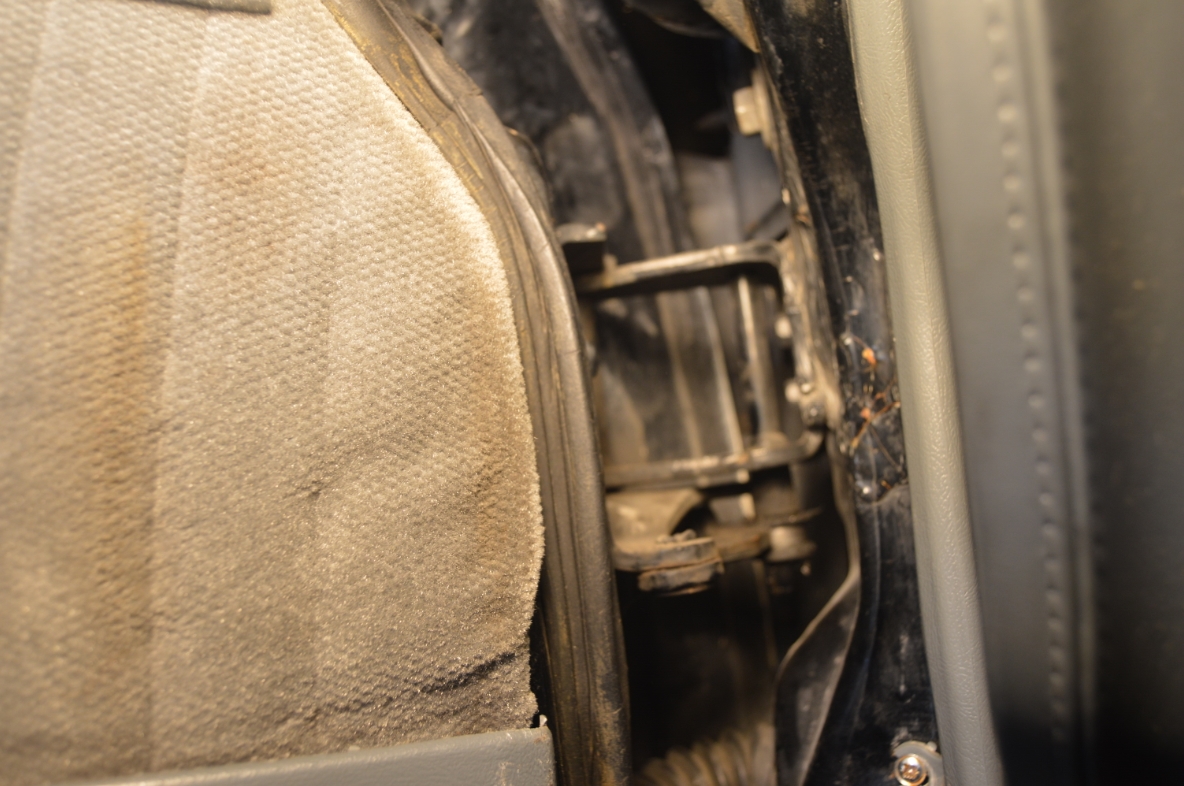
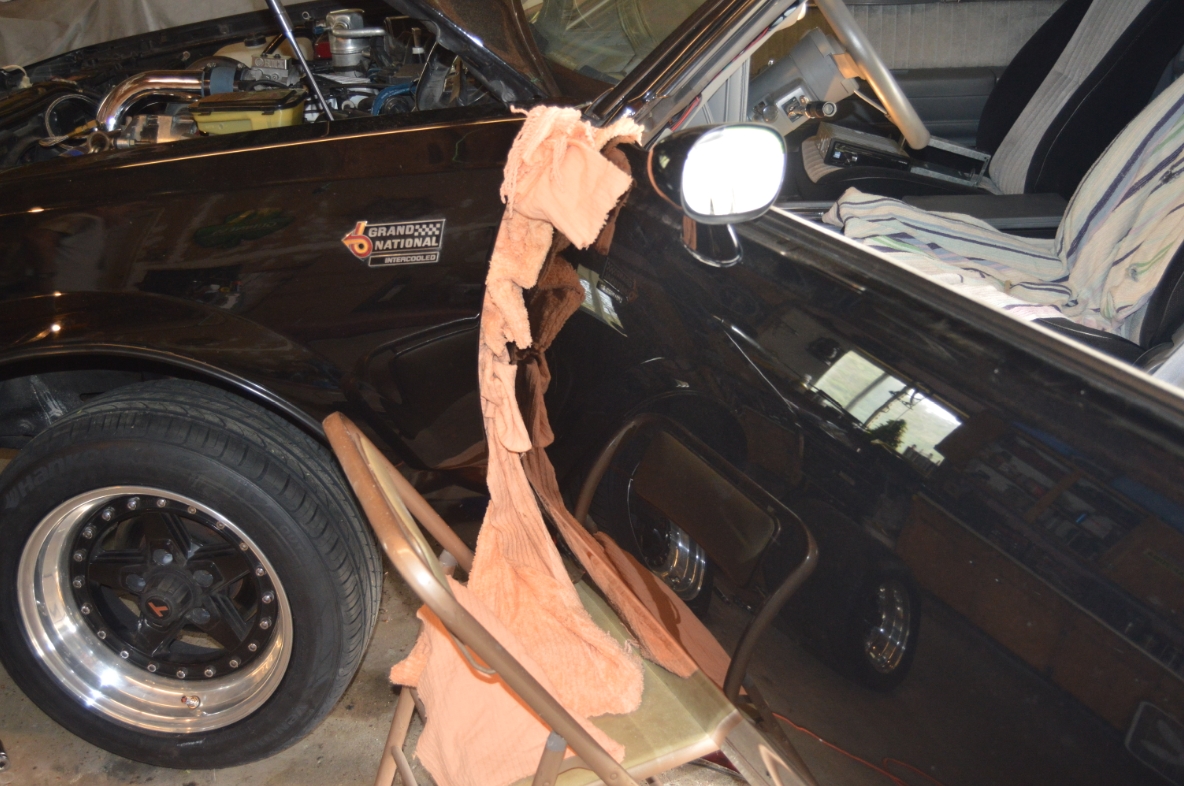
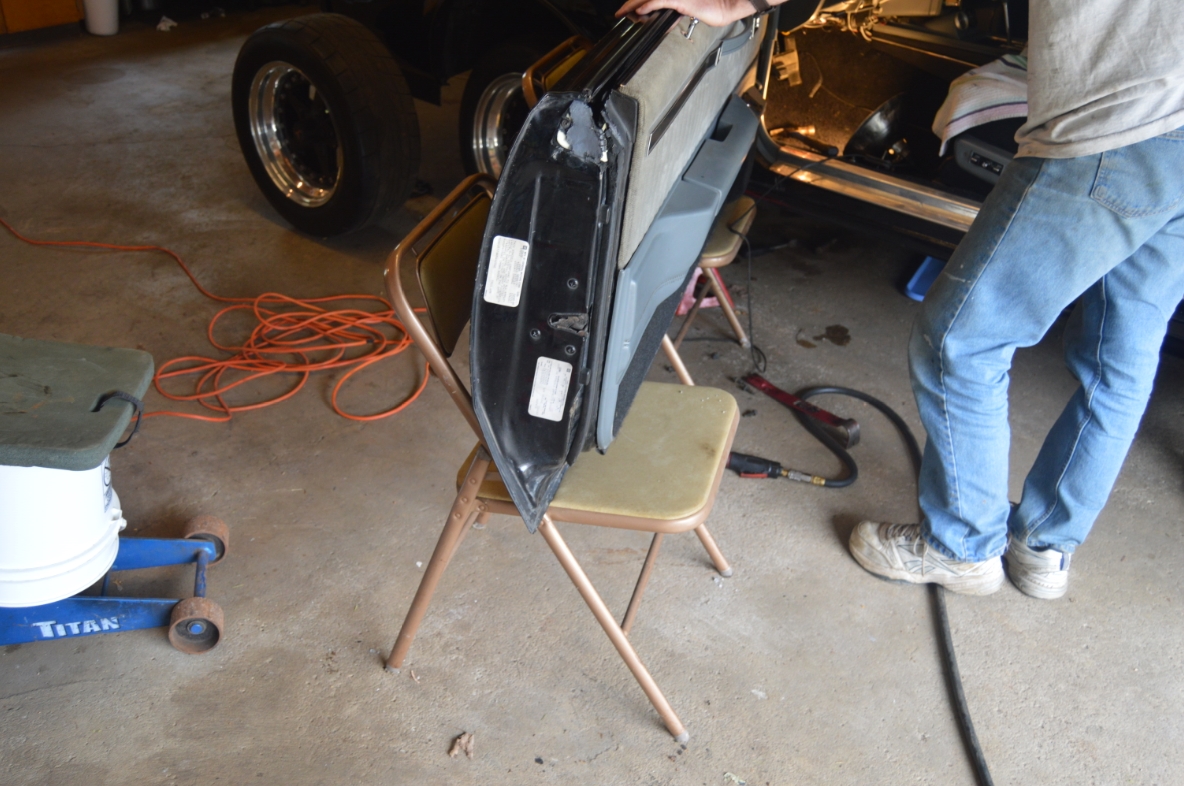
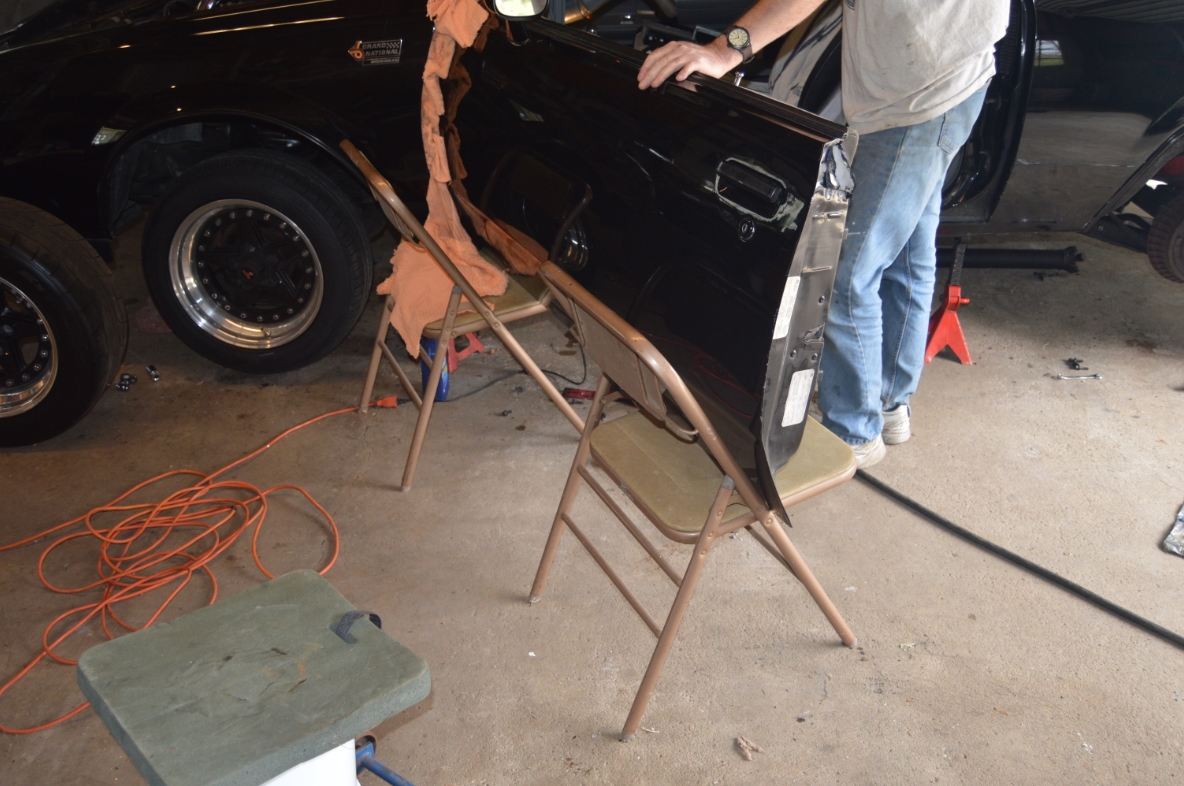
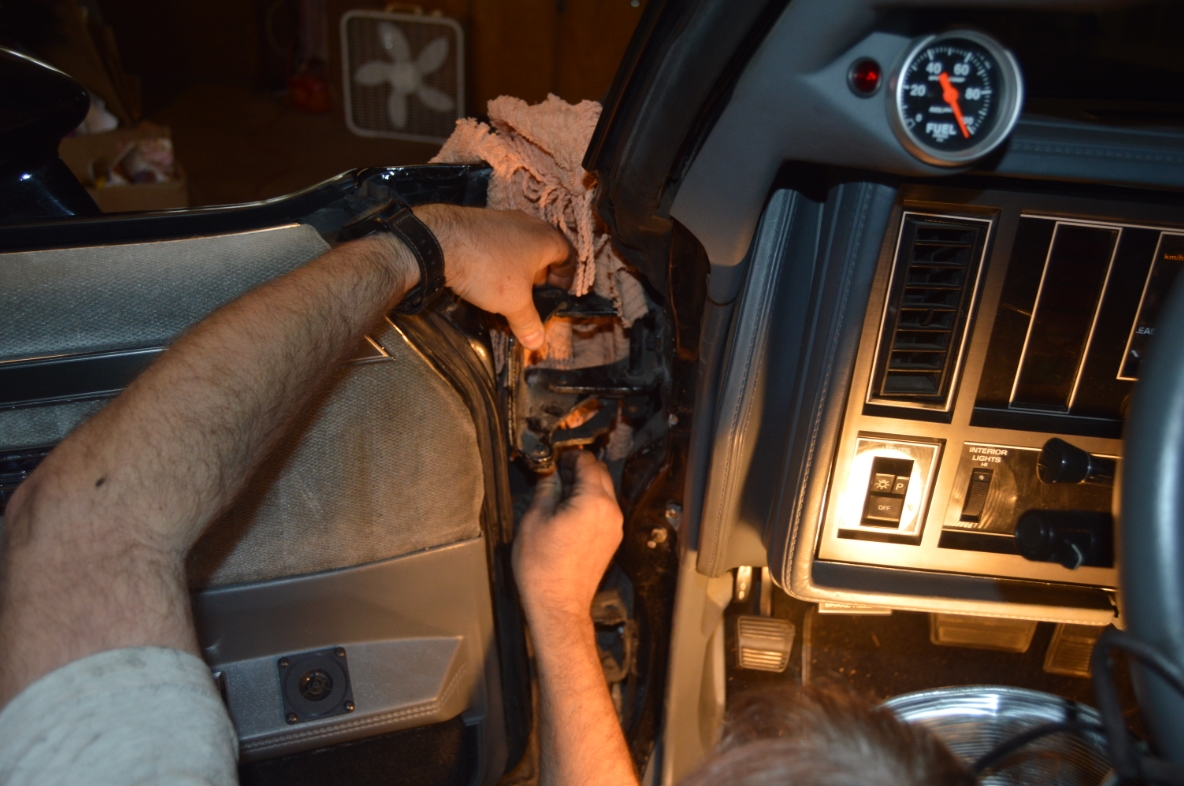
So we ended up unbolting both upper and lower hinges from the door, removing it (but not completely), then supporting it on 2 chairs.
We did NOT disconnect the electrical wiring or the rubber boot that encases the wires that goes into the door.
The door was pulled slightly away from the body, just enough to swing the door open very wide to have some room near the hinge to perform the task at hand.
(the car was already up on 4 jack stands from previous jobs, so it was easy to put 2 folding chairs under the door for support)
.
We are showing you the drivers side of the car in the photos below.
.
HOW TO:
.
It’s way easier to have a friend assist you! Especially when you’re trying to remove the door from the body!
.
Take a grease pencil or marker, and make an outline on the door, around the hinges, so you will know where to realign it once the job is done.
.


.
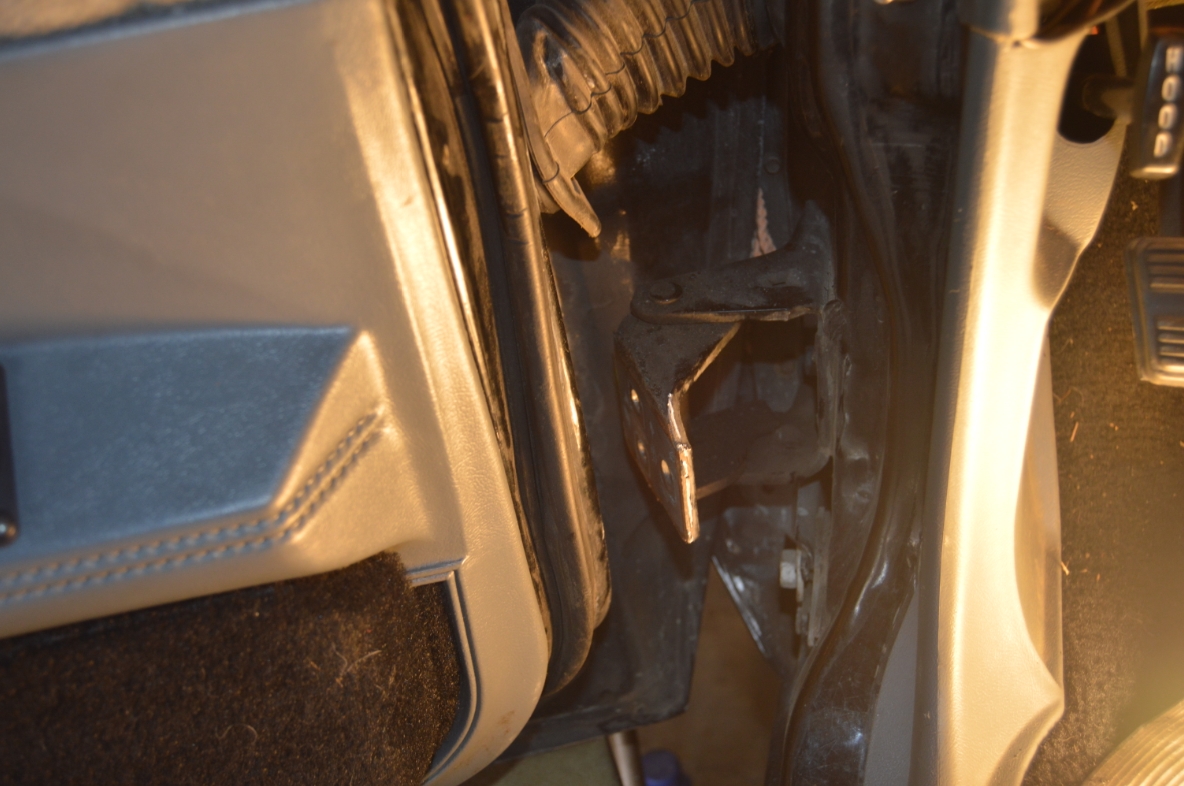
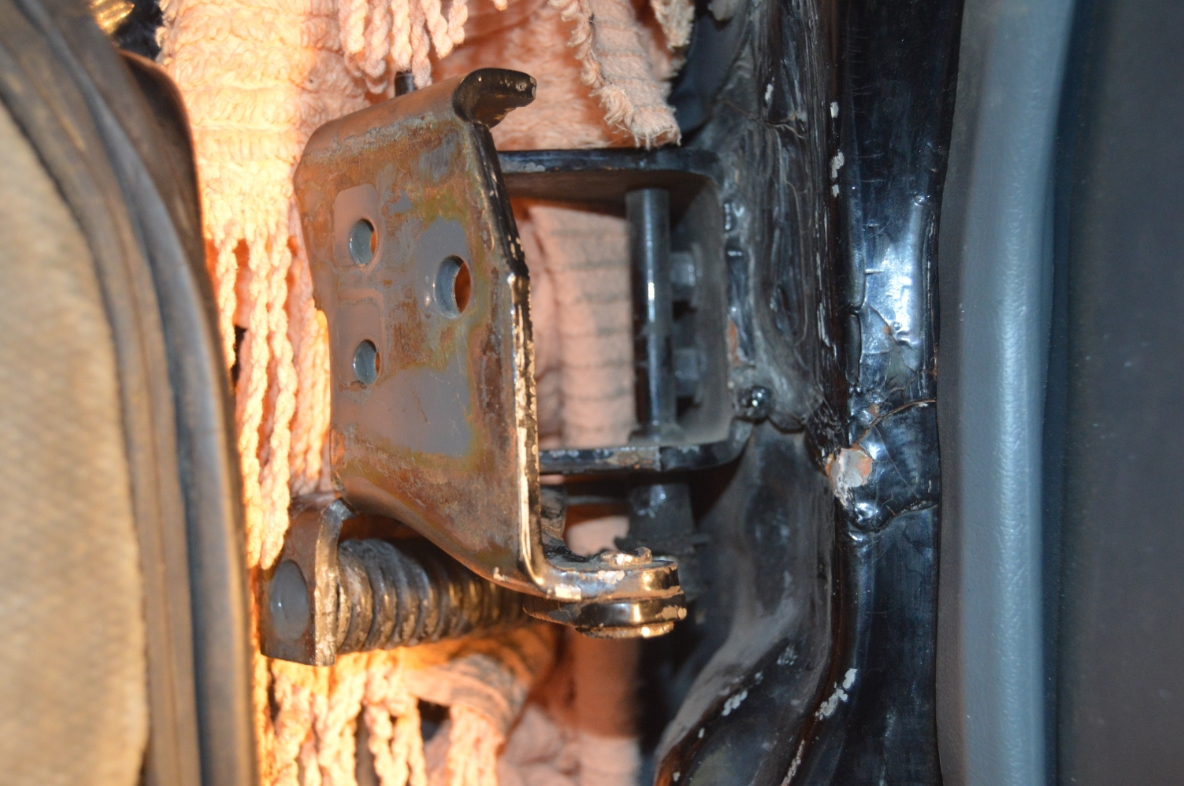
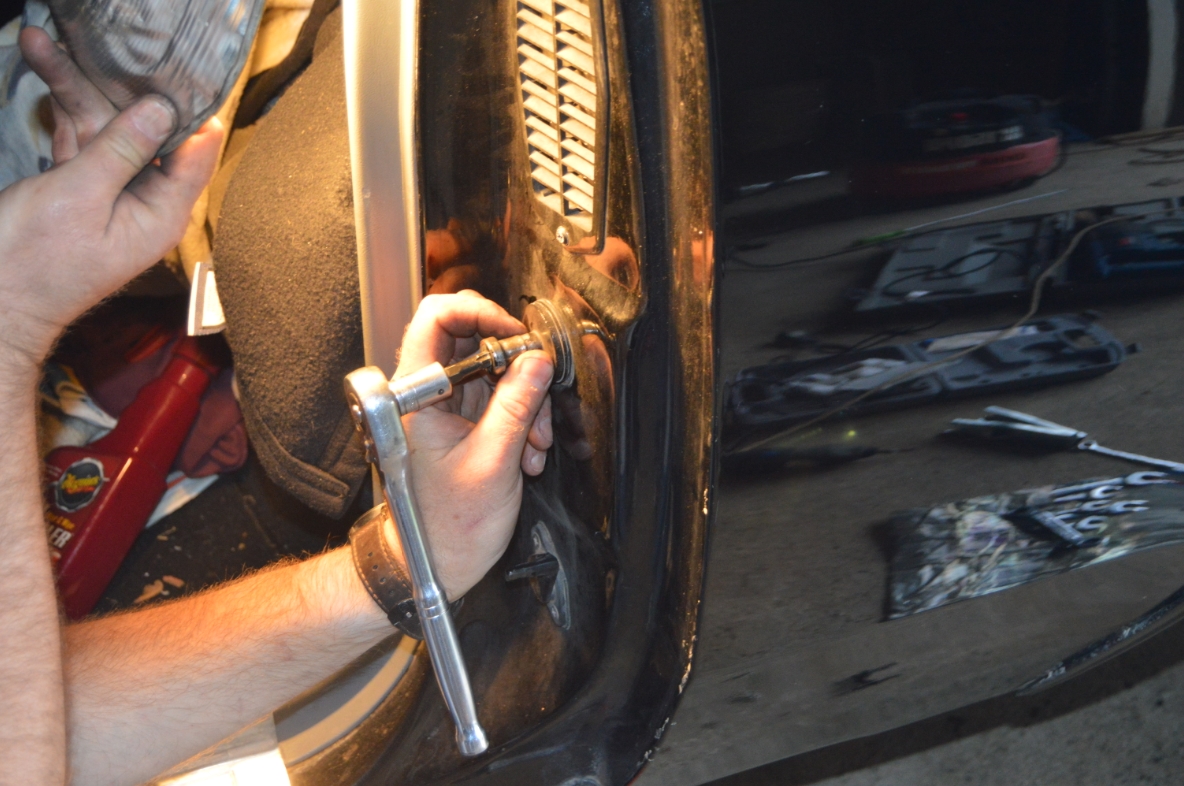
1. Remove the 3- 11mm bolts from the upper, and lower hinges, FROM the door side.
2. Pull the door away from the body and support from the bottom side.
(we put the door perpendicular to the body, opening it very wide to gain access in the door hinge area)
(it’s a good idea to shove some rags between the door and the body so it doesn’t get scratched up)
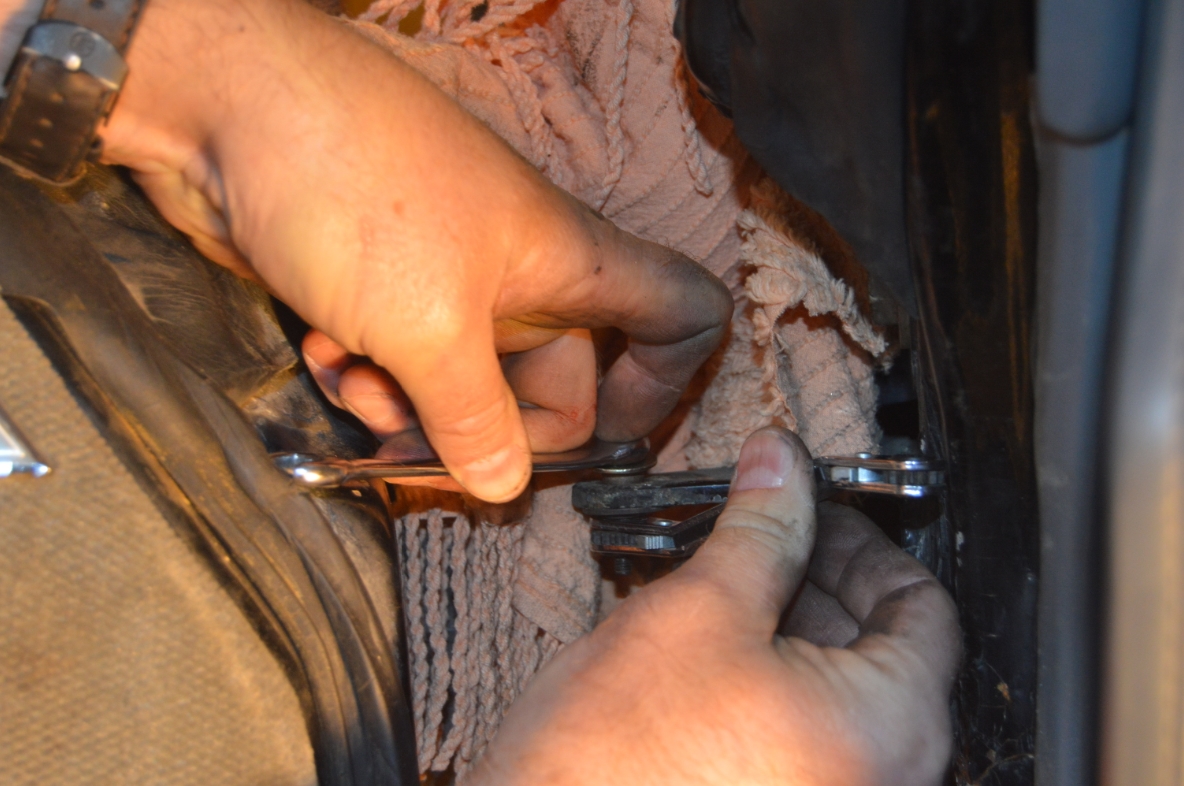
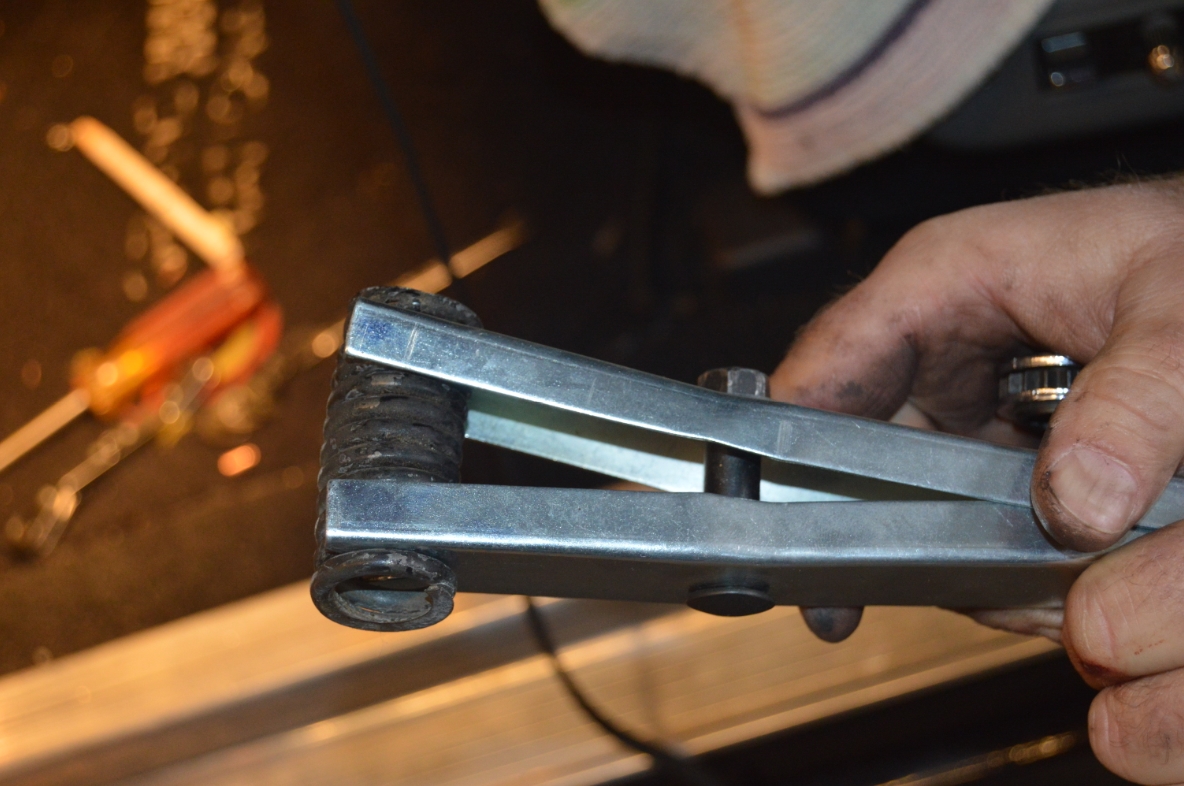
3. use the spring compressor and remove the spring that’s located underneath the hinge.
(try and grab the spring leaving 1 coil on the outside edges, you’ll need to compress it A LOT to remove it from the hinge)
(leave the spring compressed in the tool until you’re ready to put it back in place)
(the spring is under A LOT of pressure, so be careful!)
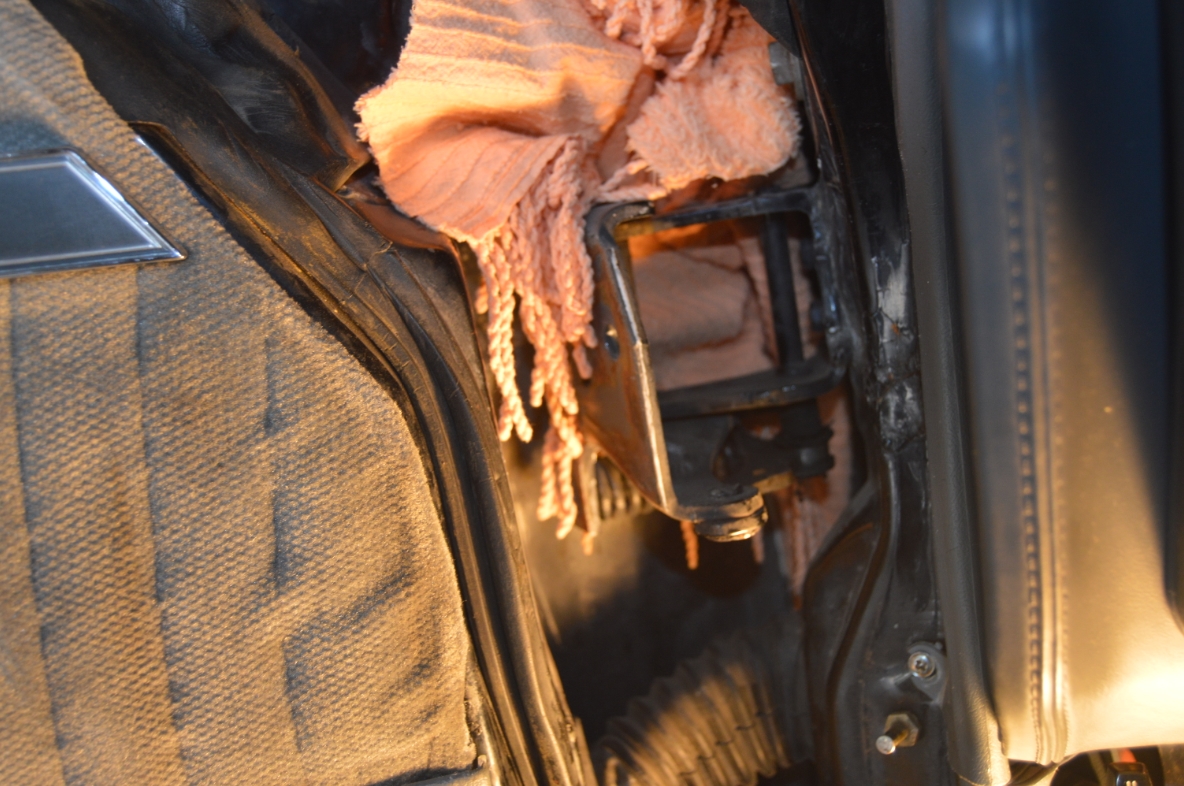
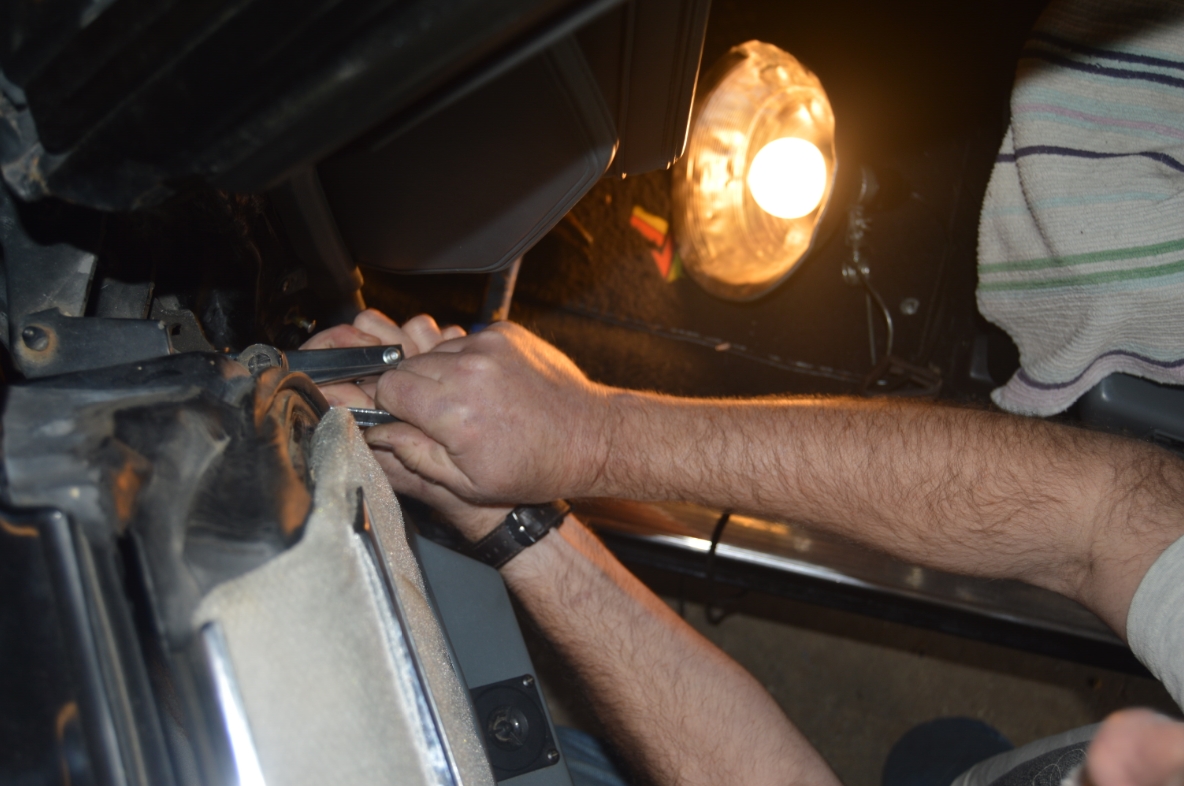
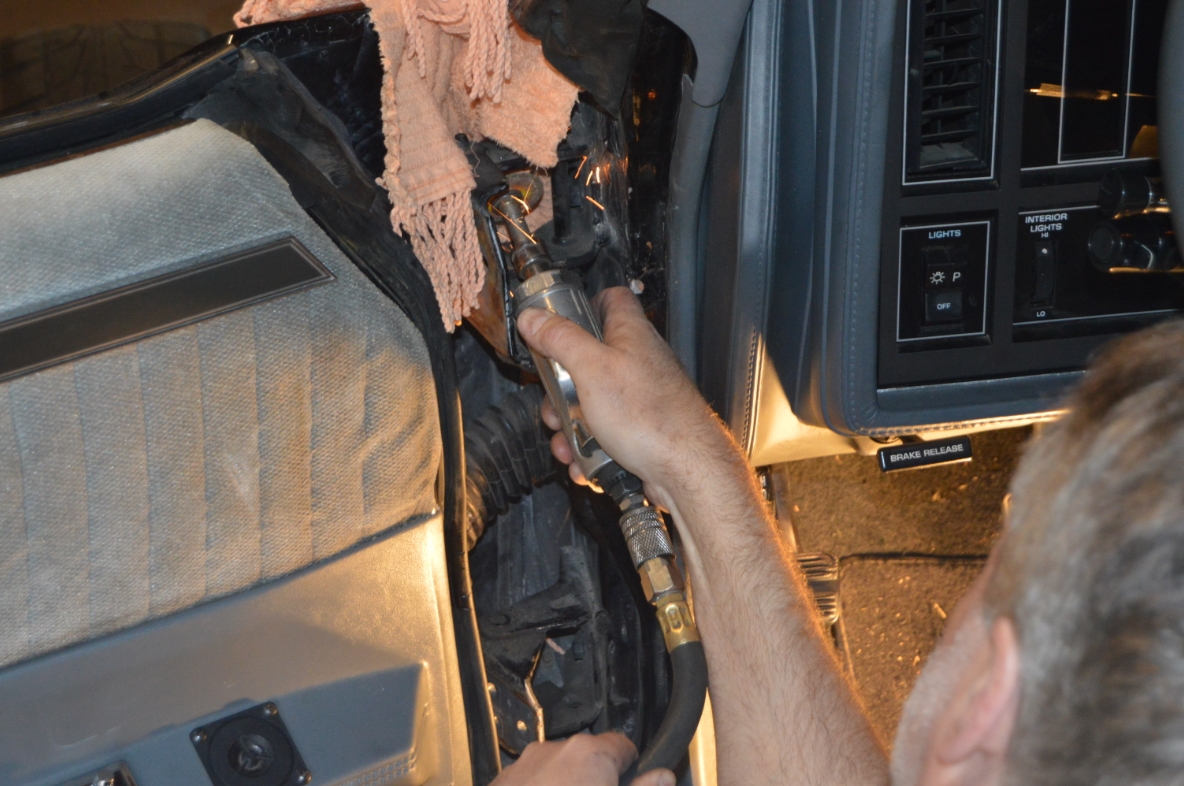
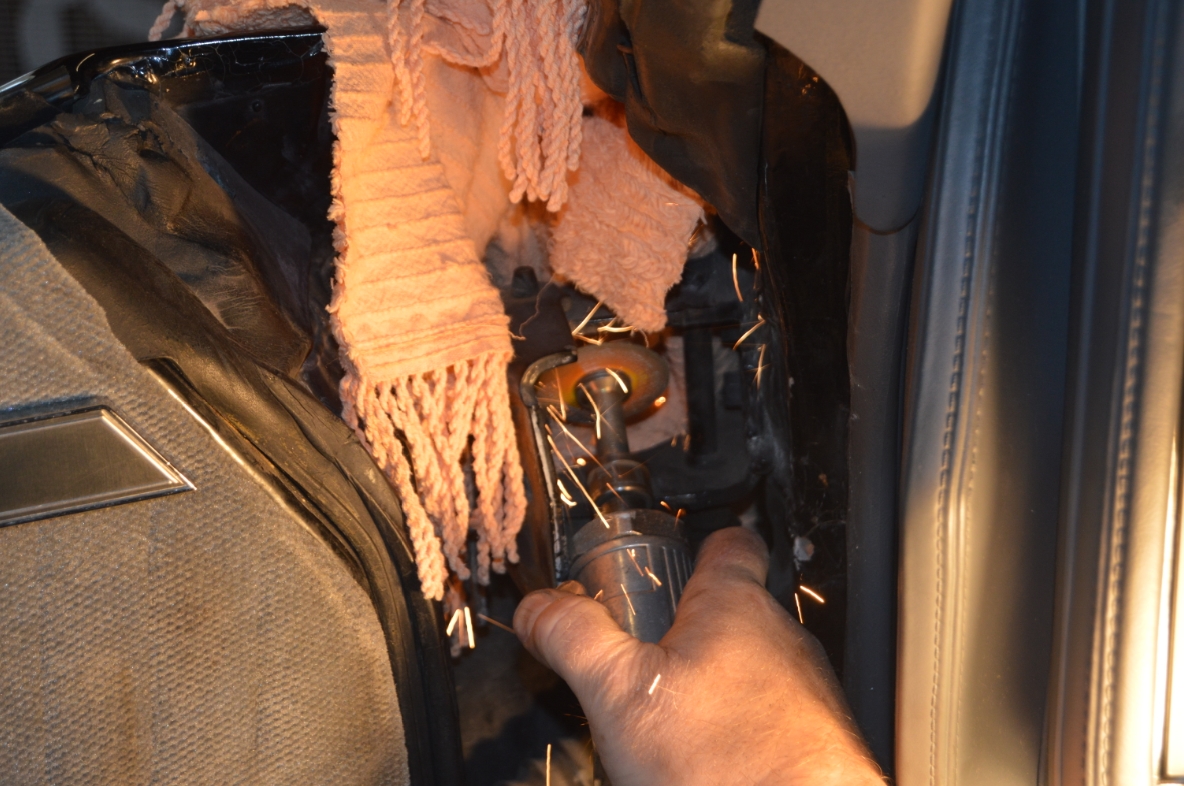
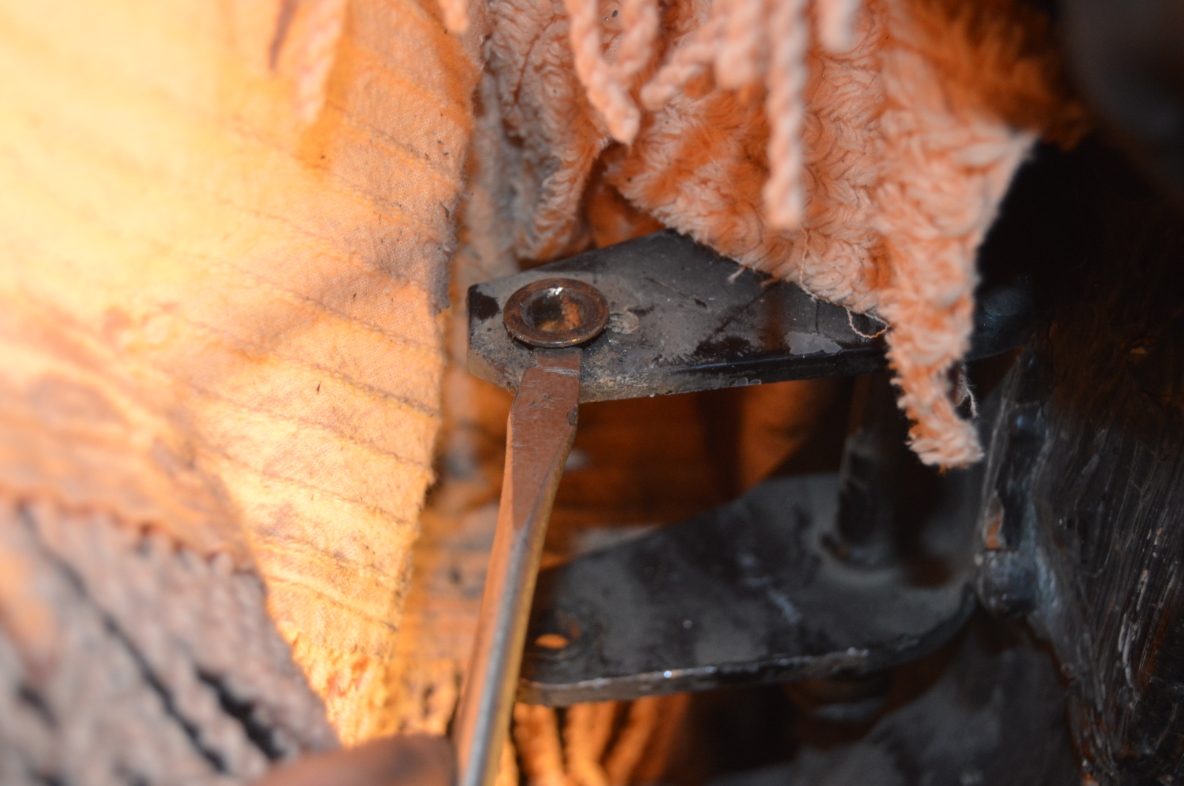
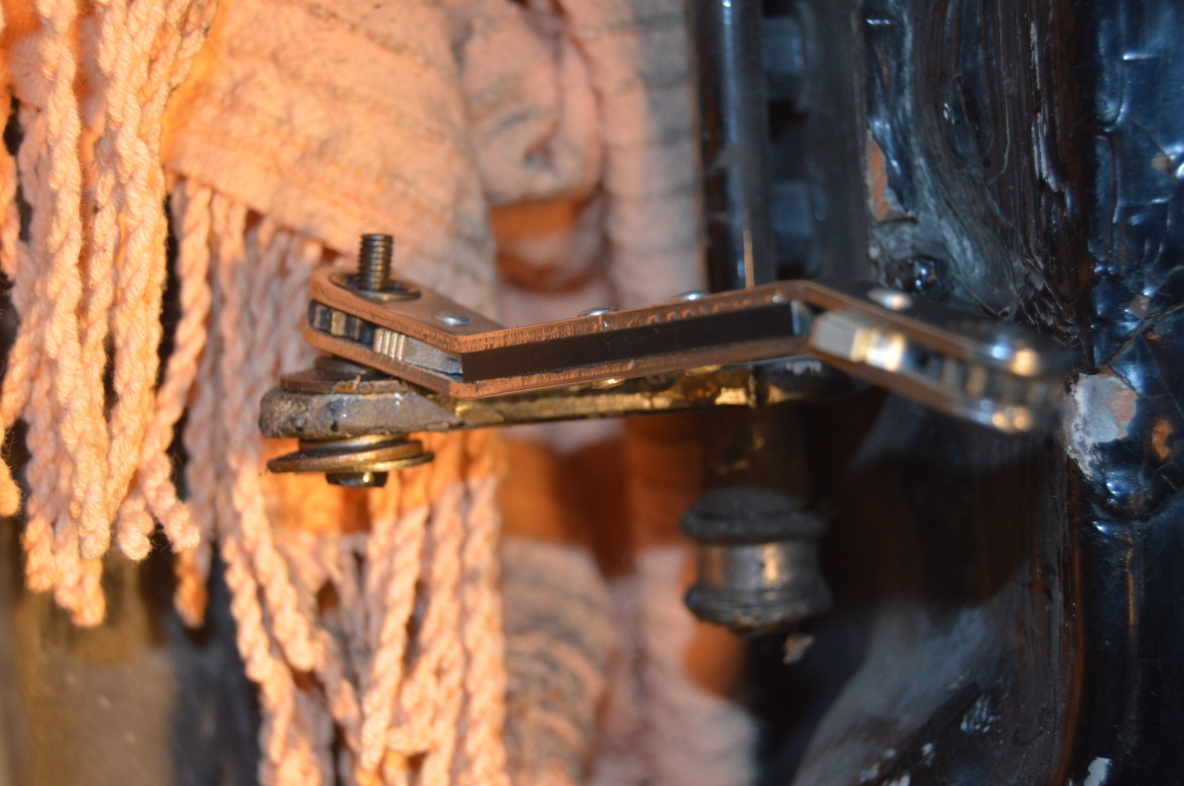
4. cut off / grind off the door pin, in the very center.
(you’ll need a big gap in the middle where you cut so you can do step #4)
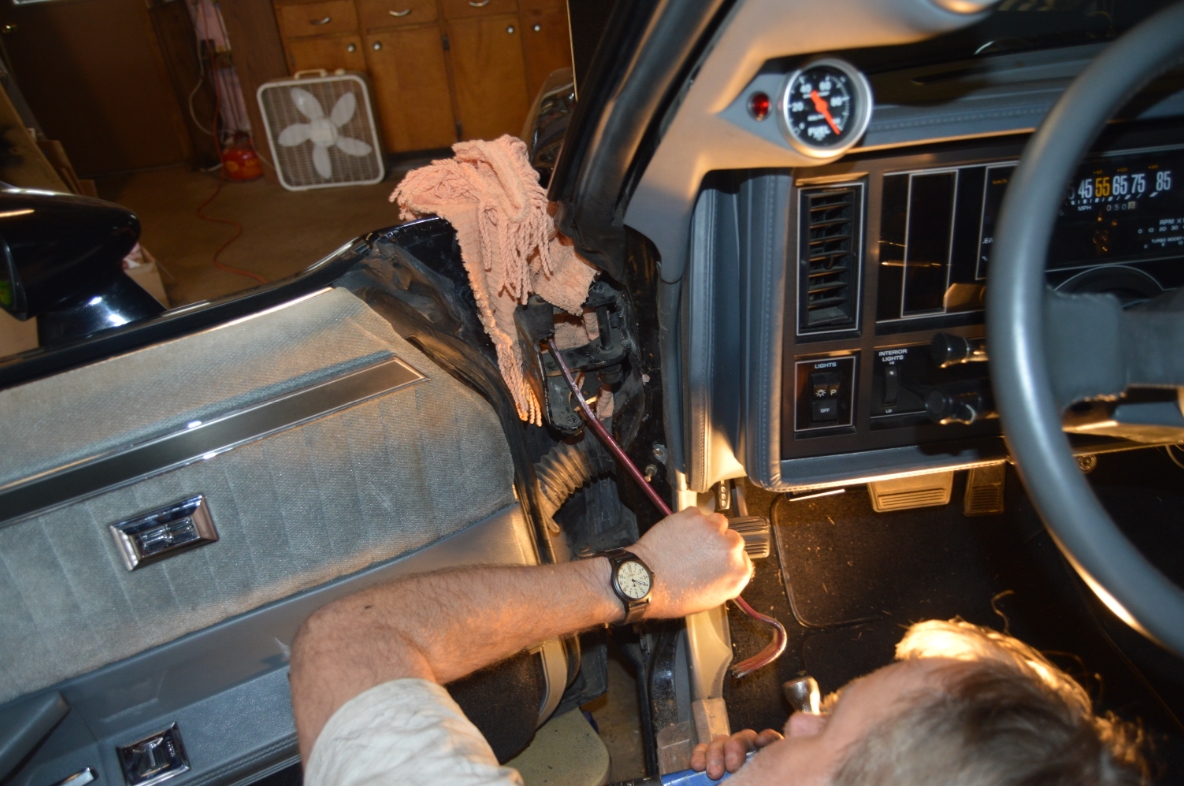
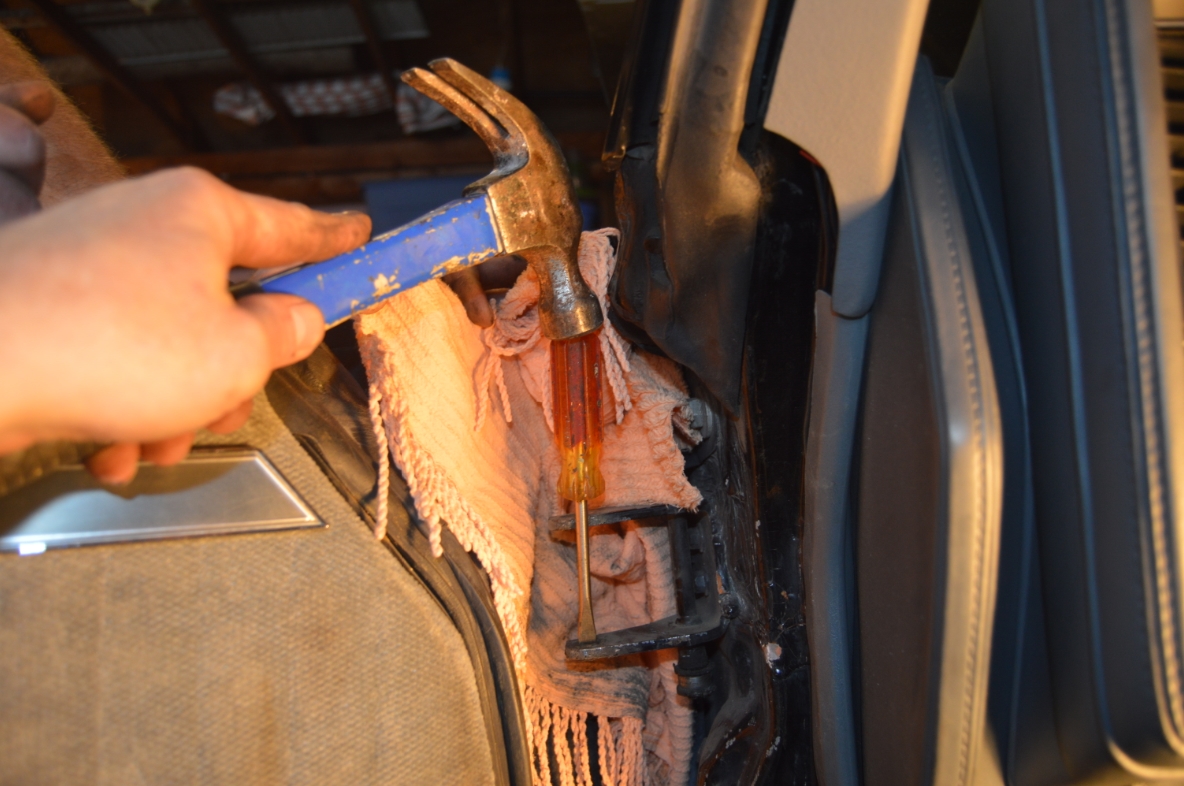
5. pound the top of the pin up & out.
(we used a prybar and hammer)
6. pound the bottom of the pin down & out.
7. stick a flathead screwdriver in the upper hole, from the bottom side, and pound the bushing up & out.
8. stick a flathead screwdriver in the lower hole, from the upper side, and pound the bushing down & out.
.


.
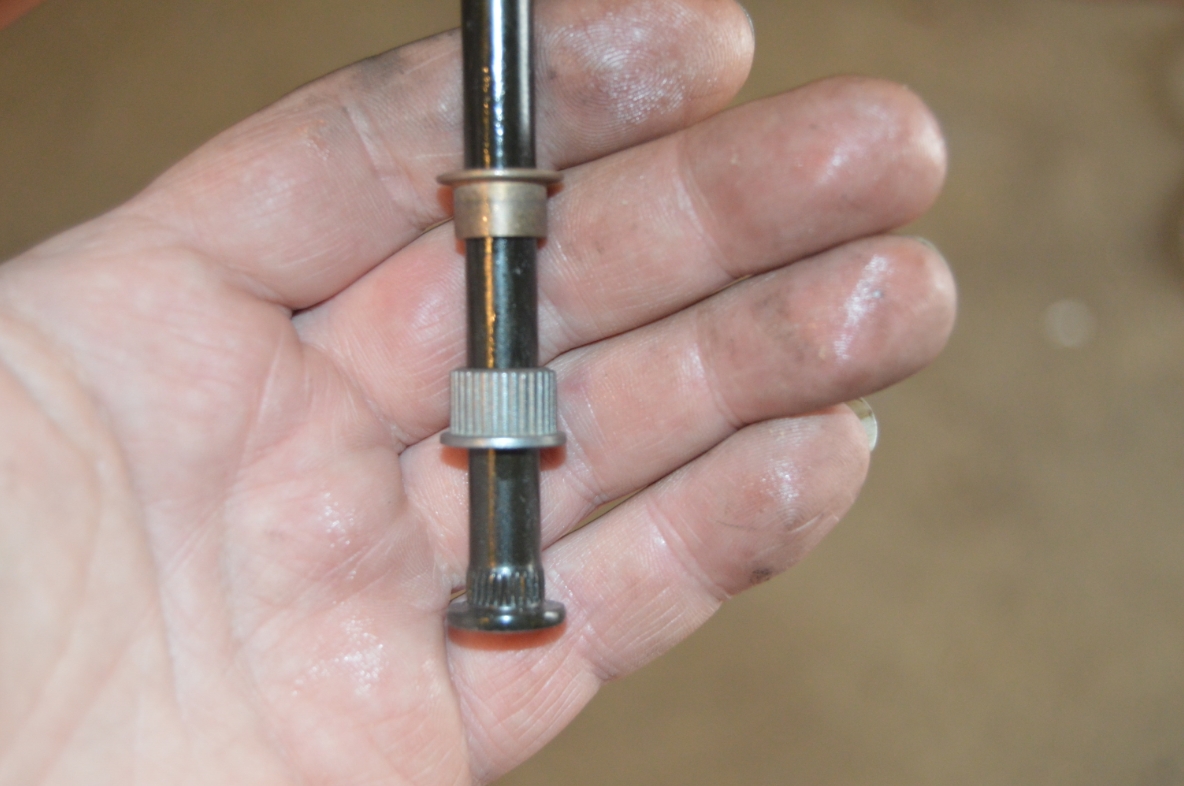
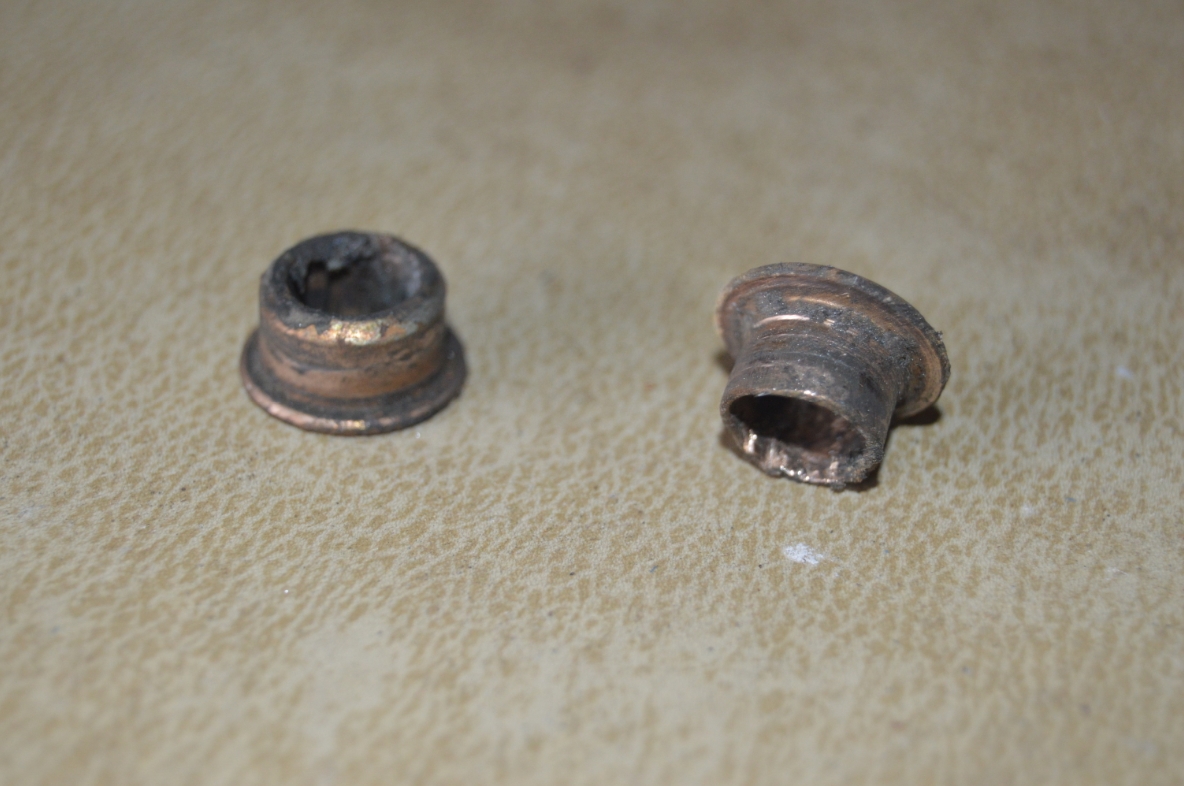
NOTE: the new bushings go on the INNER part of the hinge (the one that is connected to the body). Between the inner and outer parts of the hinge. The flat surfaces of the bushings act as a spacer between the inner/outer hinges.
.
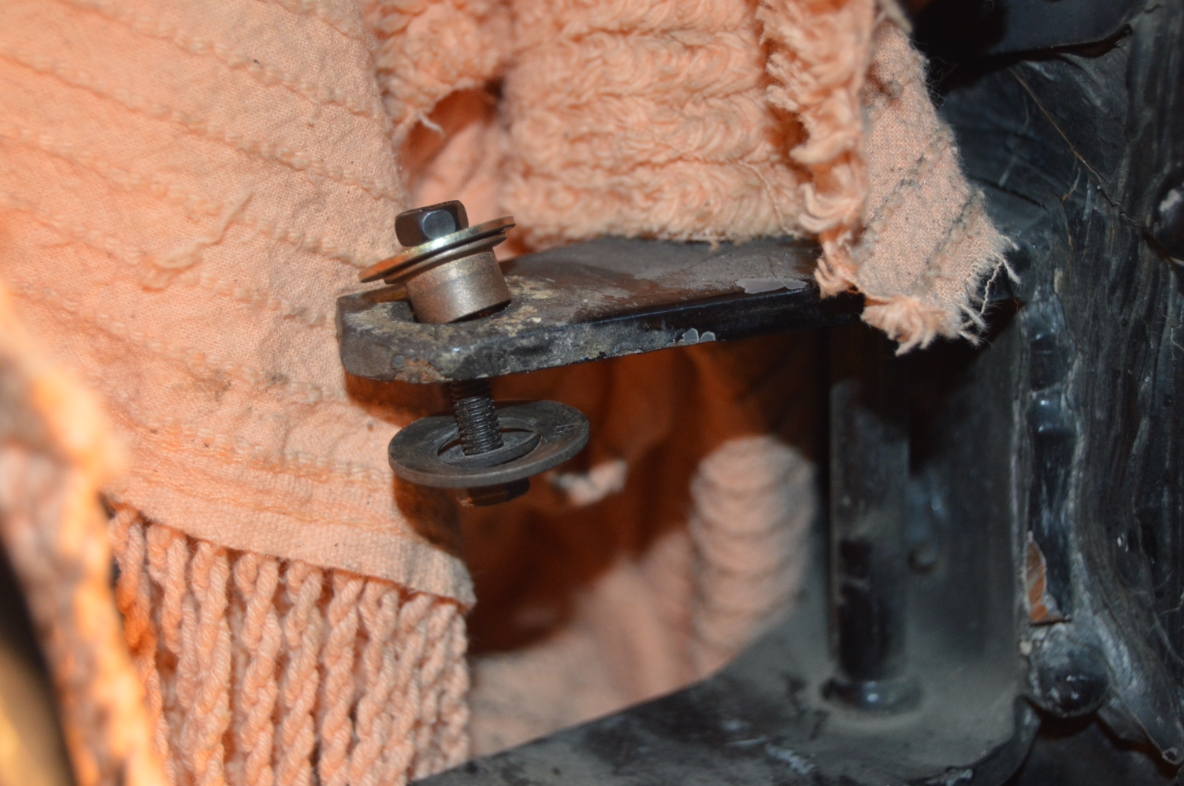
9. The TOP part of the hinge gets the flat (NOT knurled) bushing. You can’t really pound it into place. You need to use a bolt and a couple washers to pull it into place.
Put the snug washer on the bolt, then put the bushing on the bolt (with the flat side of the bushing facing the bolt head), stick it into the hinge hole (from the top side down), then put the (big holed) washer on, then place the nut onto the bolt. Tighten the nut until it pulls the bushing into the hinge.
(the flat surface of the bushing goes on the top side of the hinge)
(the big holed washer is necessary so that the bushing can go into the hinge and also inside this big hole as it is being pulled into the hinge. It’s a clearance issue)
(you might want to put a bit of grease on the bushing to aid it into going into place)
10. The BOTTOM part of the hinge gets the knurled bushing.
Use the same method (with the bolt pulling it into place) as above.
(the flat surface of the bushing goes on the bottom side of the hinge)
11. Put the (door side) hinge onto the (body side) hinge.
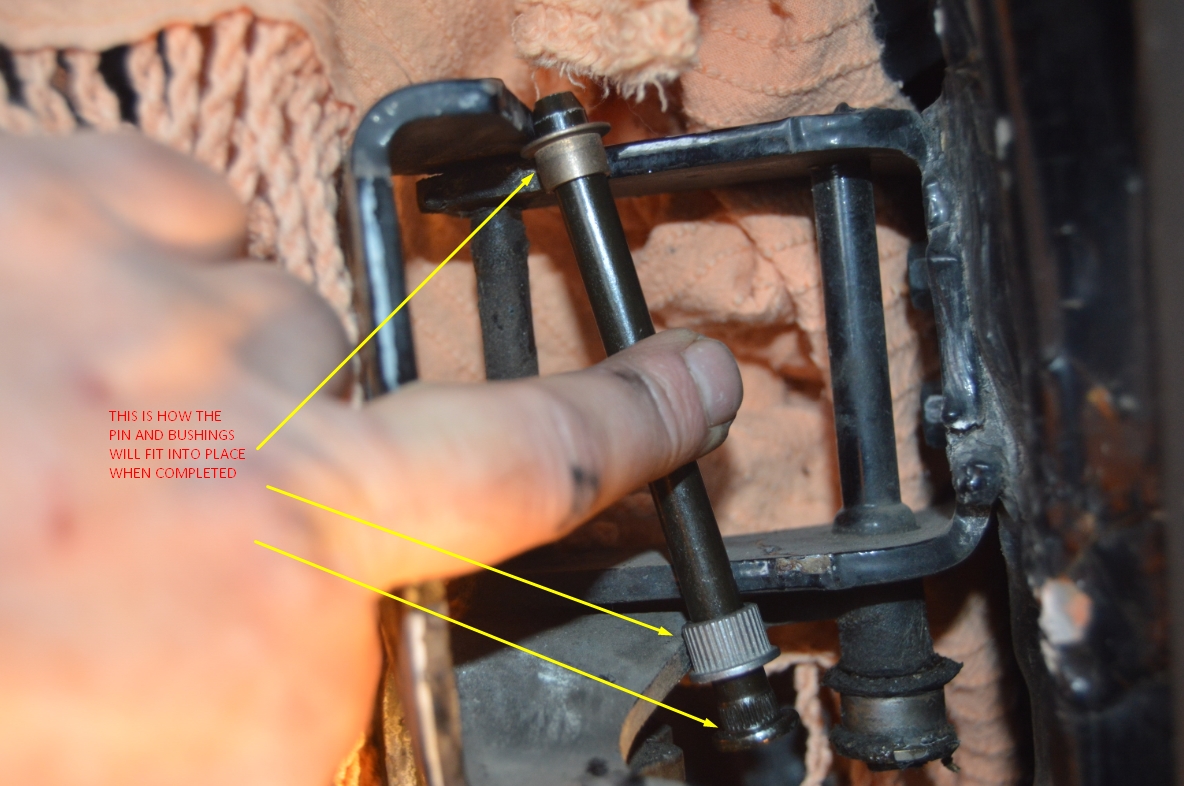
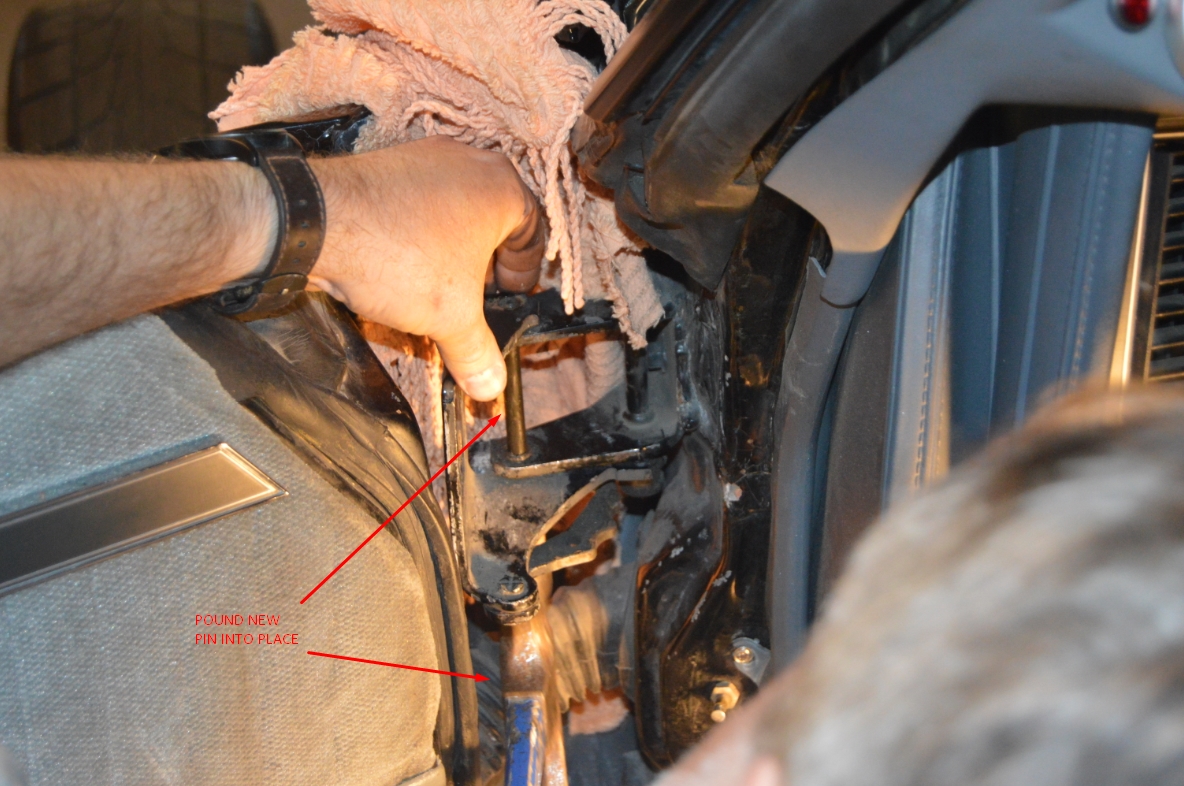
12. From the bottom side of the hinge, shove the door pin into the hole. Tap it into place with a hammer. Pound it in as far as it will go.
(the flat surface of the pin goes on the bottom side of the hinge)
(the knurls hold the pin in place so it will not fall out)
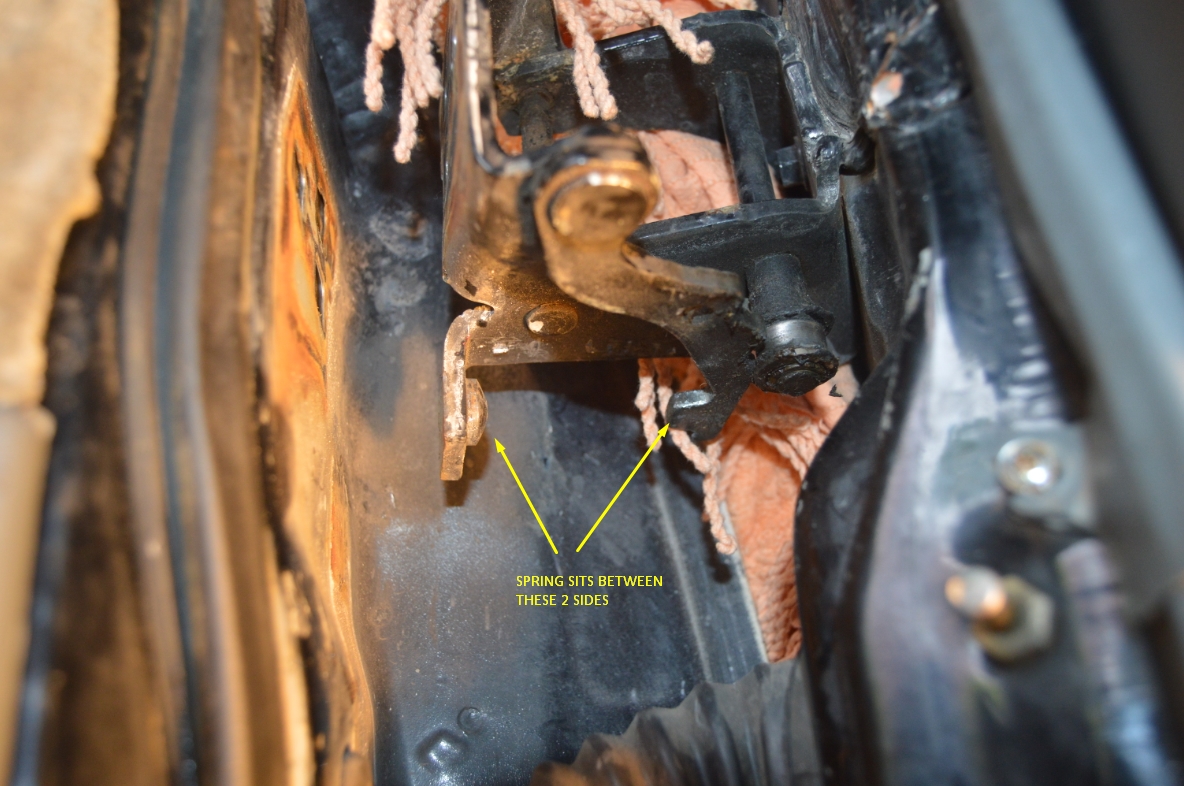
13. Put the spring back into place. Start with the side closest to the body, as there is a tab on the part that rides on the roller bushing that the spring needs to go inside.
The other side of the spring sits around a raised portion on the hinge.
14. Reattach the door with 3 bolts on the upper hinge, and 3 bolts on the lower hinge.
(align it back into place using the outline of the existing dirt, or the faded paint, or the marks you made earlier, in this area)
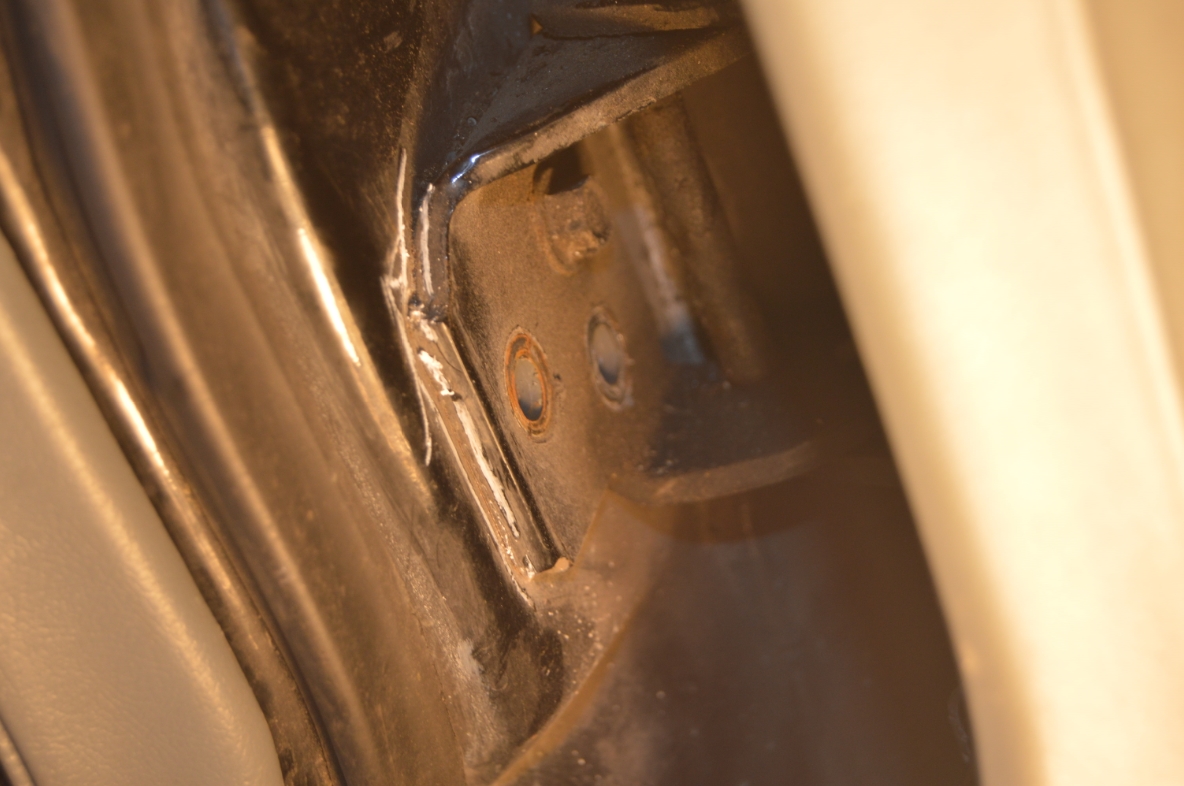
15. Don’t completely shut the door, but close it “one click” into place, and look thru the door gap to see how well the locking mechanism on the door aligns with the striker bolt.
Chances are you will need to move up slightly the door striker bolt, now that the door is raised up into the proper place (where it needs to be) since it has a new pin.
(the striker bolt should be centered within the locking mechanism AT the very outside of the door, meaning the narrowest part of the mechanism)
(it may take you a few tries to get it perfectly aligned)
.


.
16. Once it is aligned, reopen the door and fully close it, several times. Open it from the outside handle and make sure it works correctly. Do the same with the inside handle.
(it’s a good idea to spray some lithium grease or silicone spray on the locking mechanism to keep it functioning properly)
17. congratulate yourself on a job well done!
.

.


