


This is the second part of this story where you will see the full build and installation of this new center console that we are building.
Yesterday, we gave you the details for the Retrofit Custom Center Console.
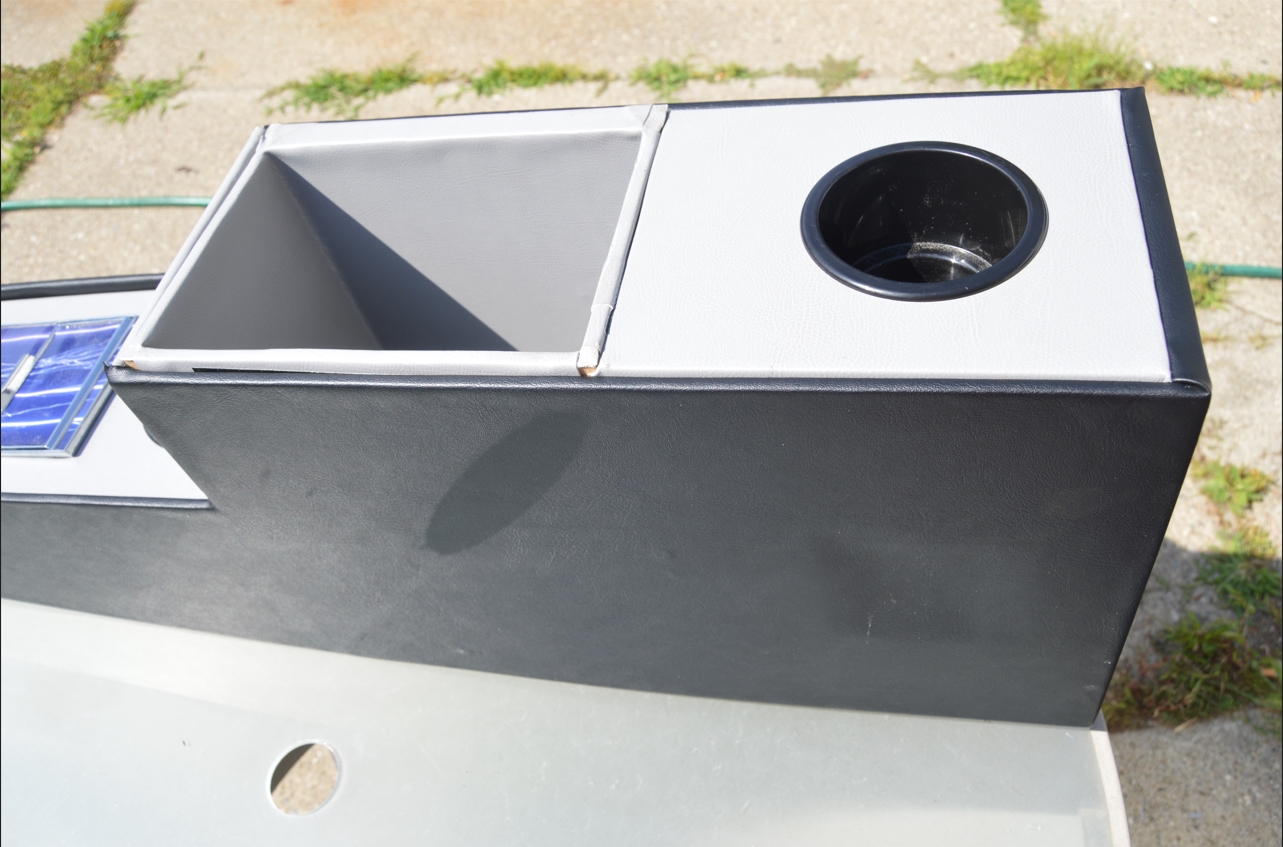
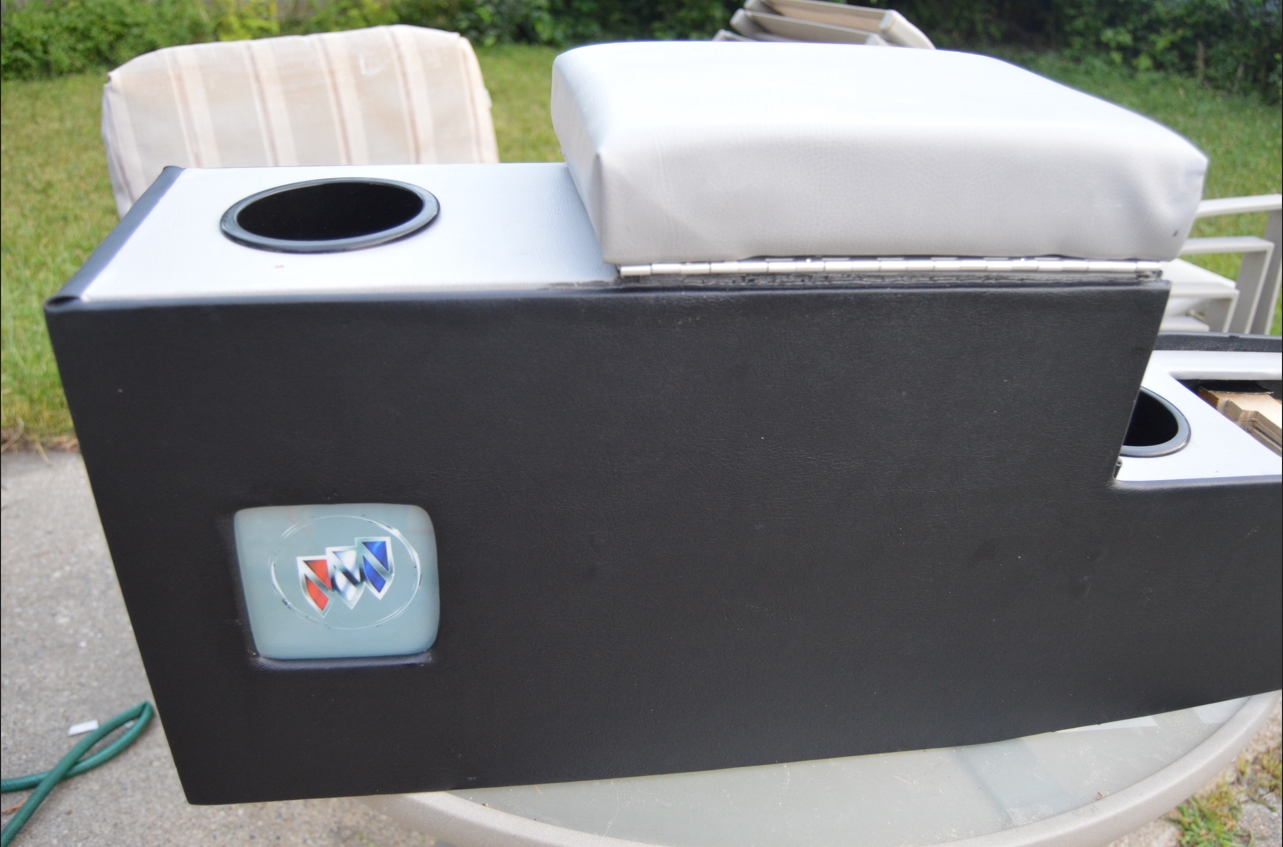
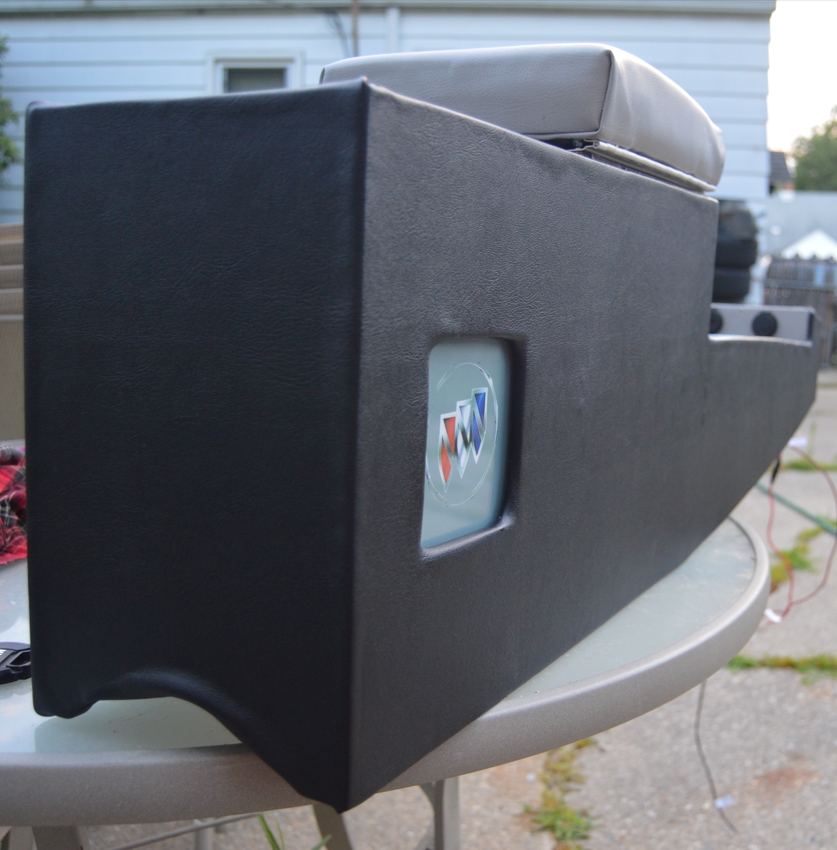
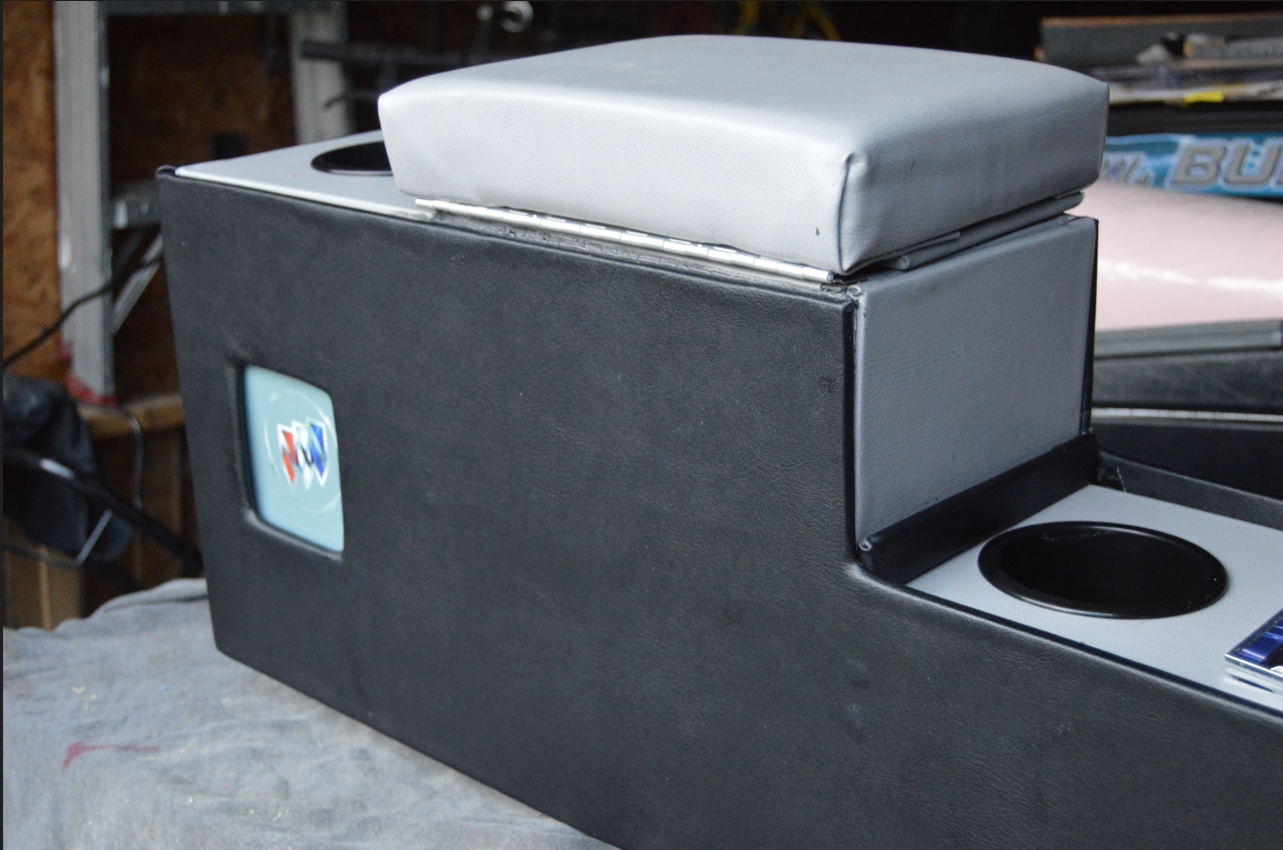
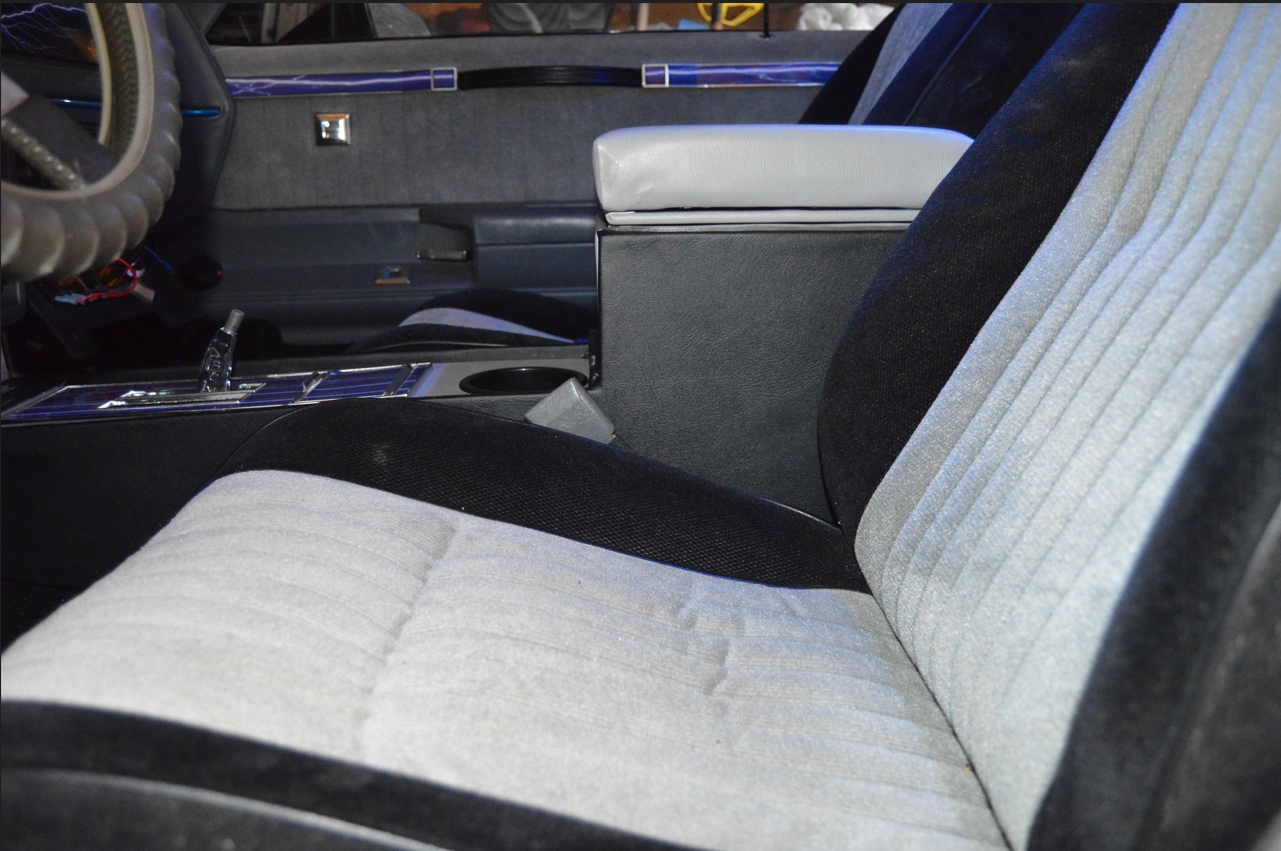
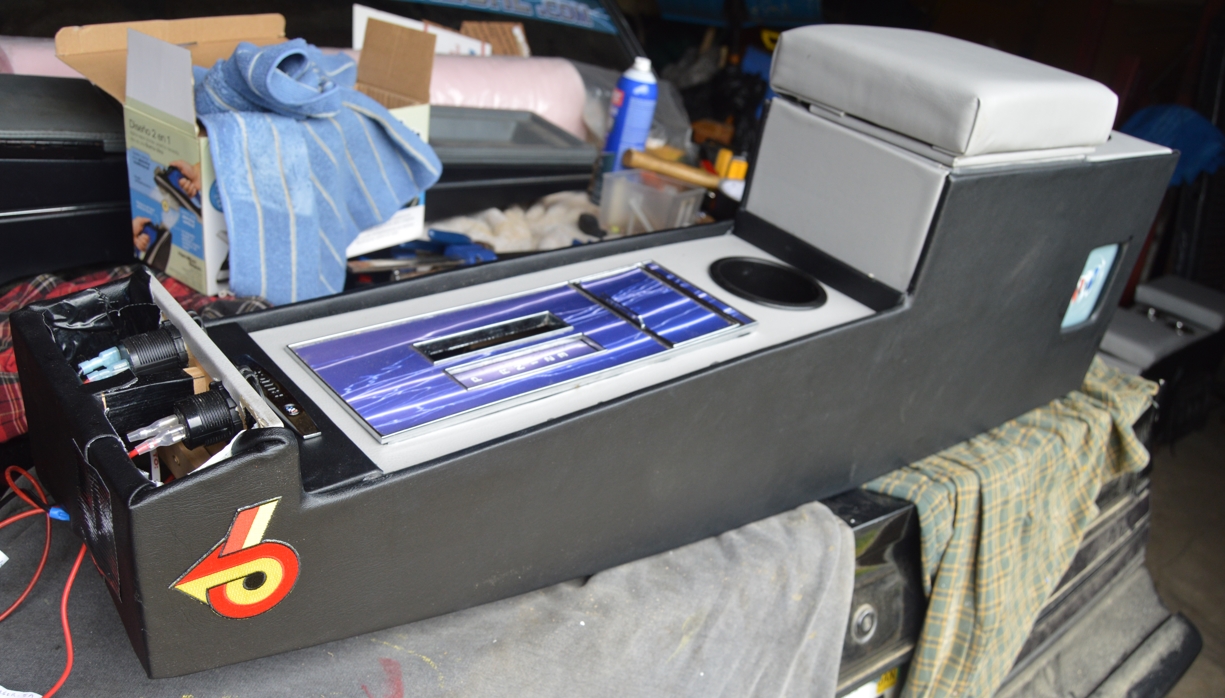
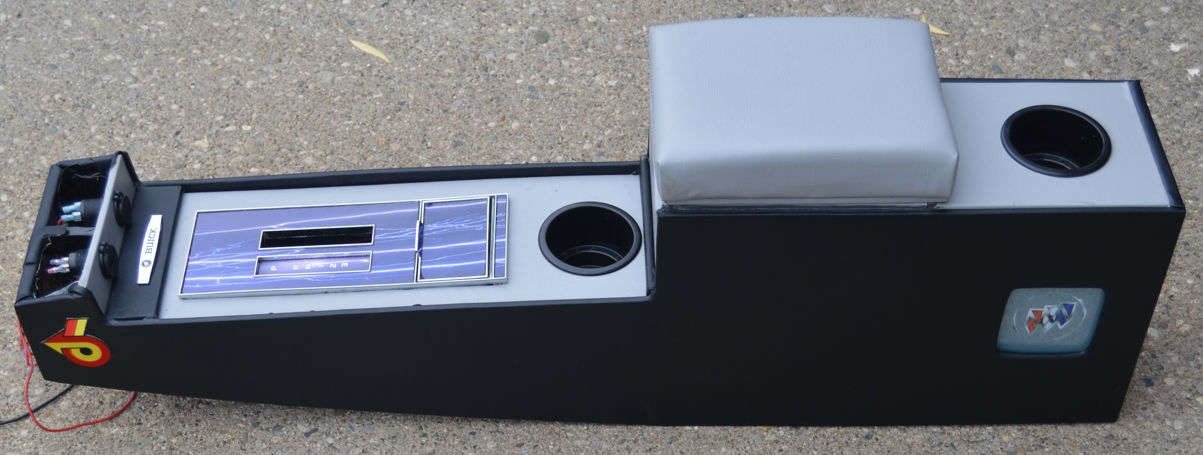
We obviously used a slightly different template for the main sidewalls of the center console, since it’s shorter, and eliminated the rear box (and over the seat) section, but other than that, it’s created using the exact same steps as we showed you for the last fabbed center console (minus the narrowing part between the seats, since this one is 8″ wide for the full length overall).
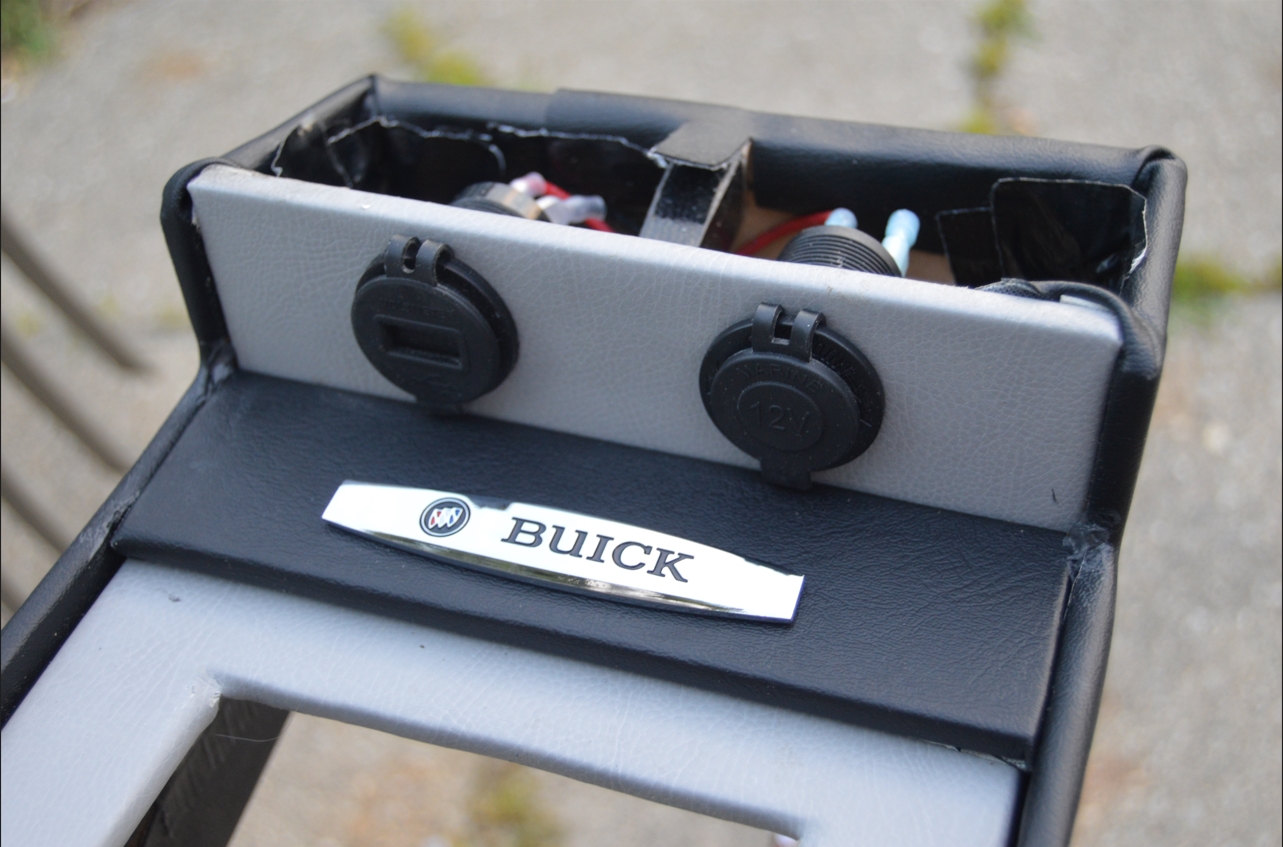
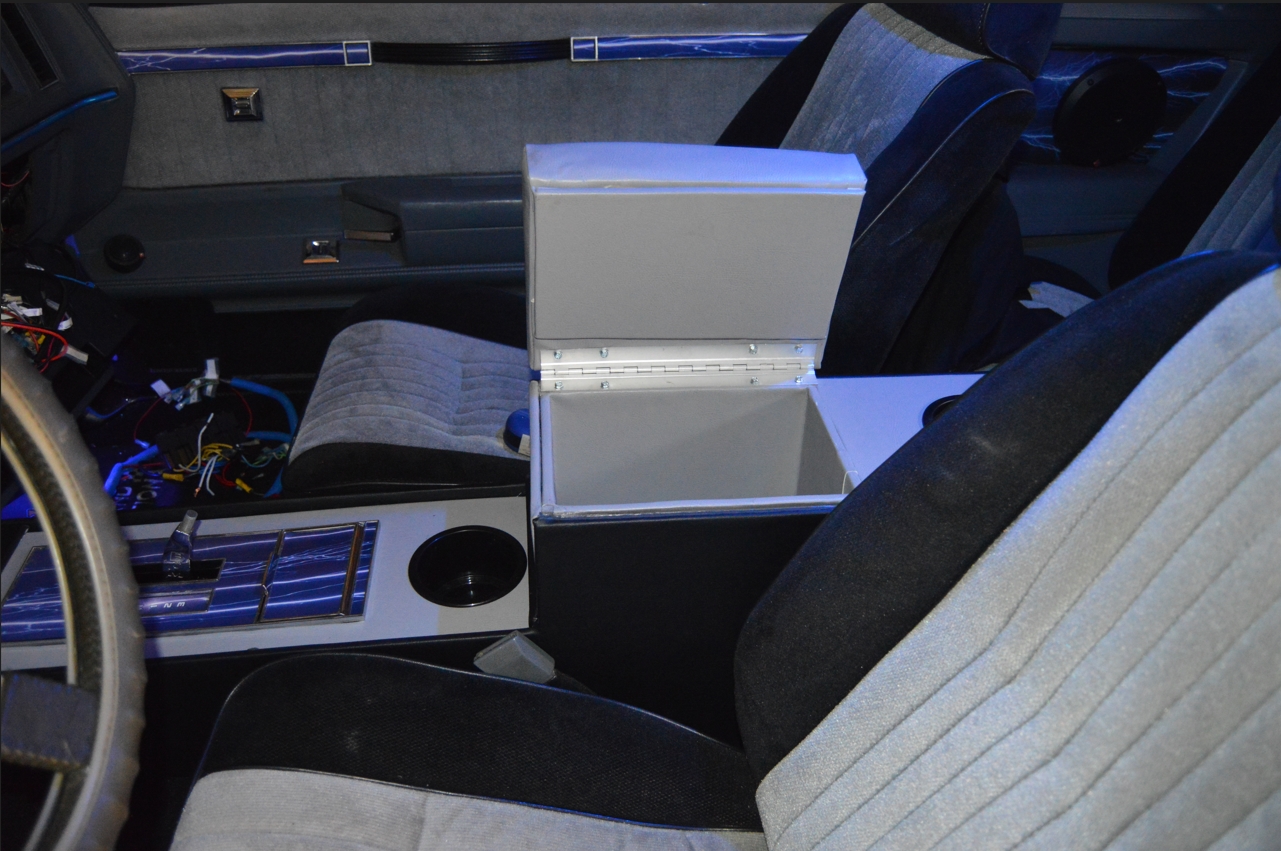
Since we marked ON the cardboard template, and also ON the MDF we used, all of the locations of the components that we wanted to implement, as well as exactly where the OEM parts were at on the original console, it was relatively easy to complete the installation of all the items in the proper spots.
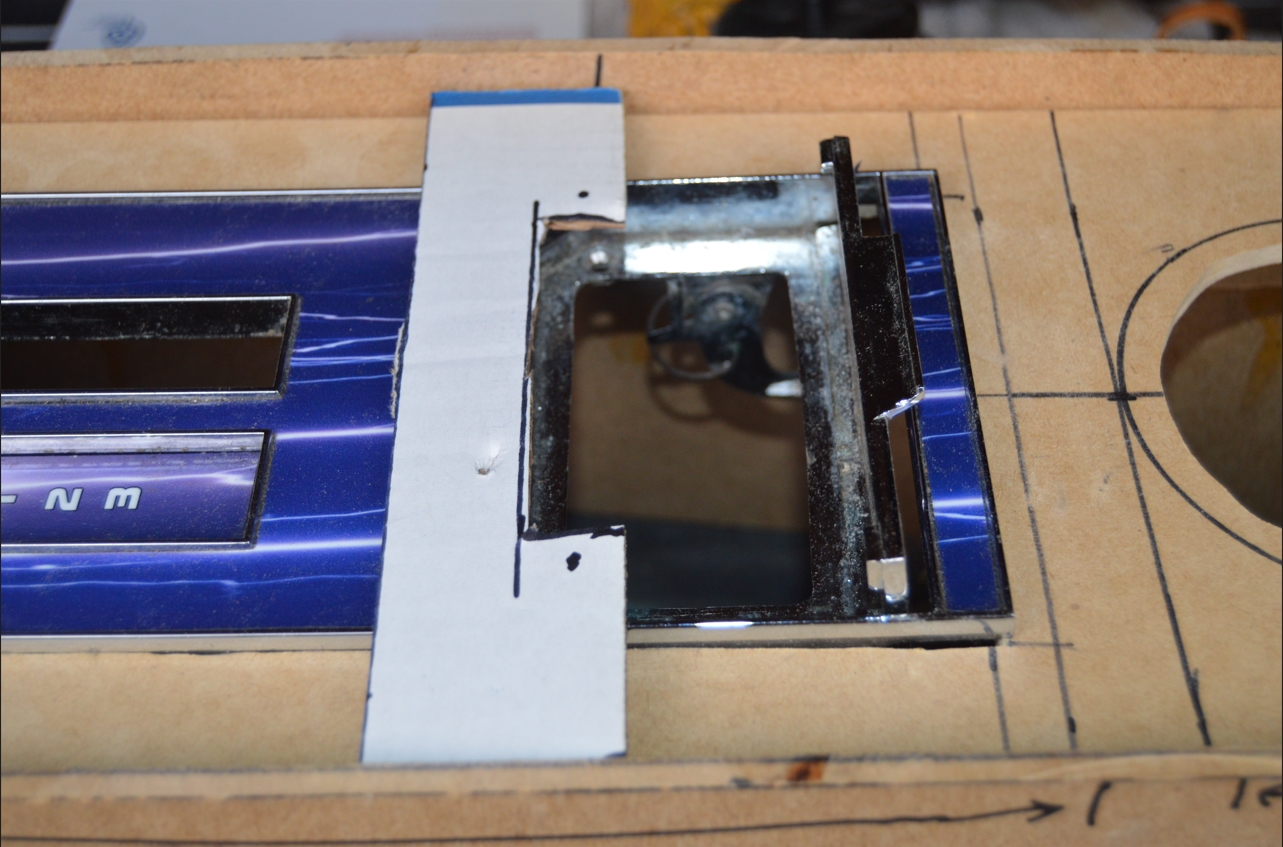
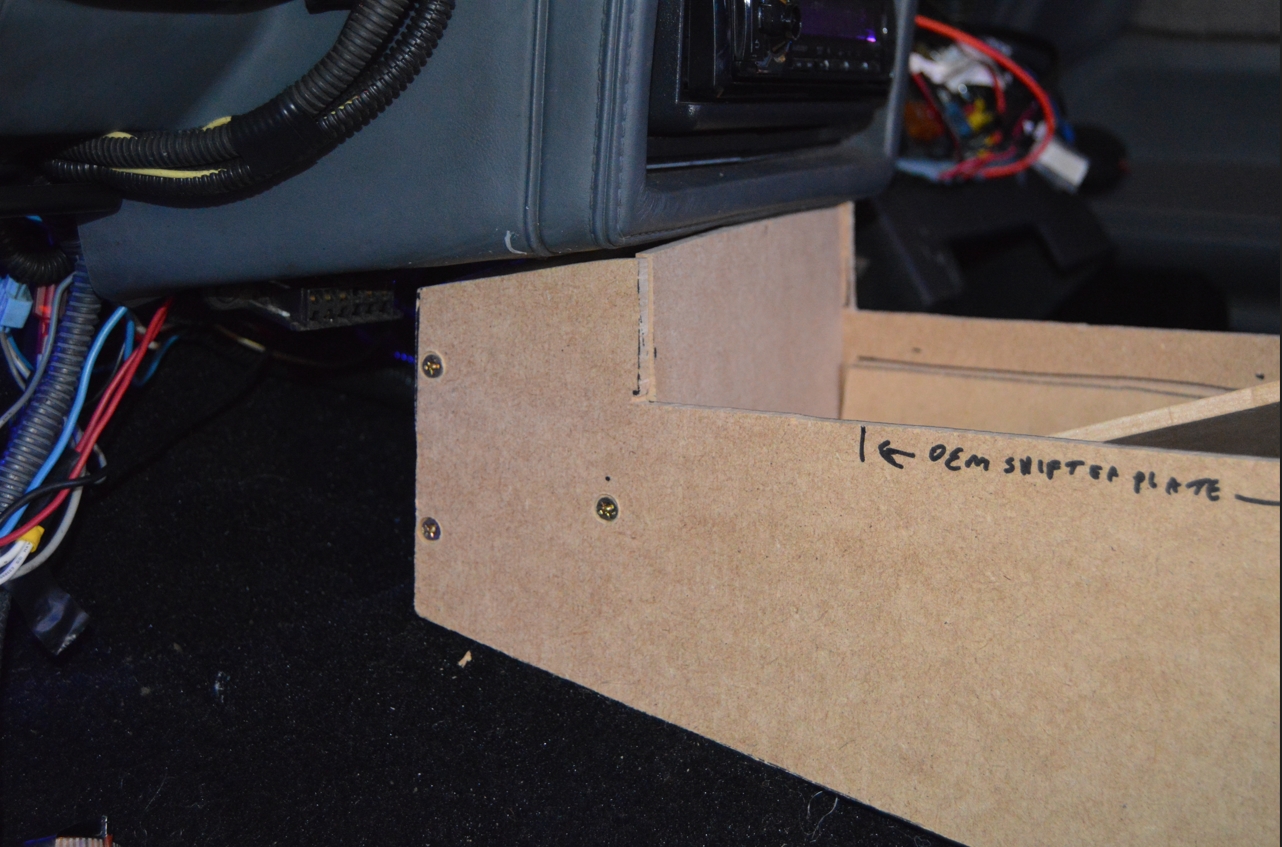
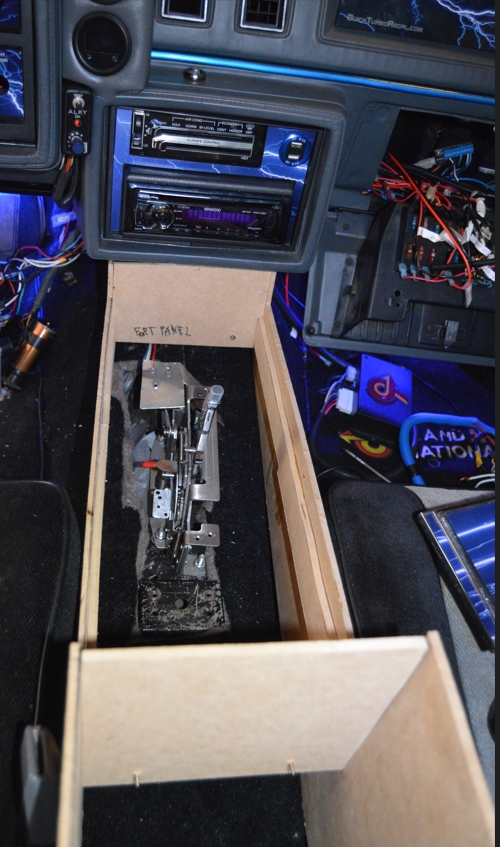
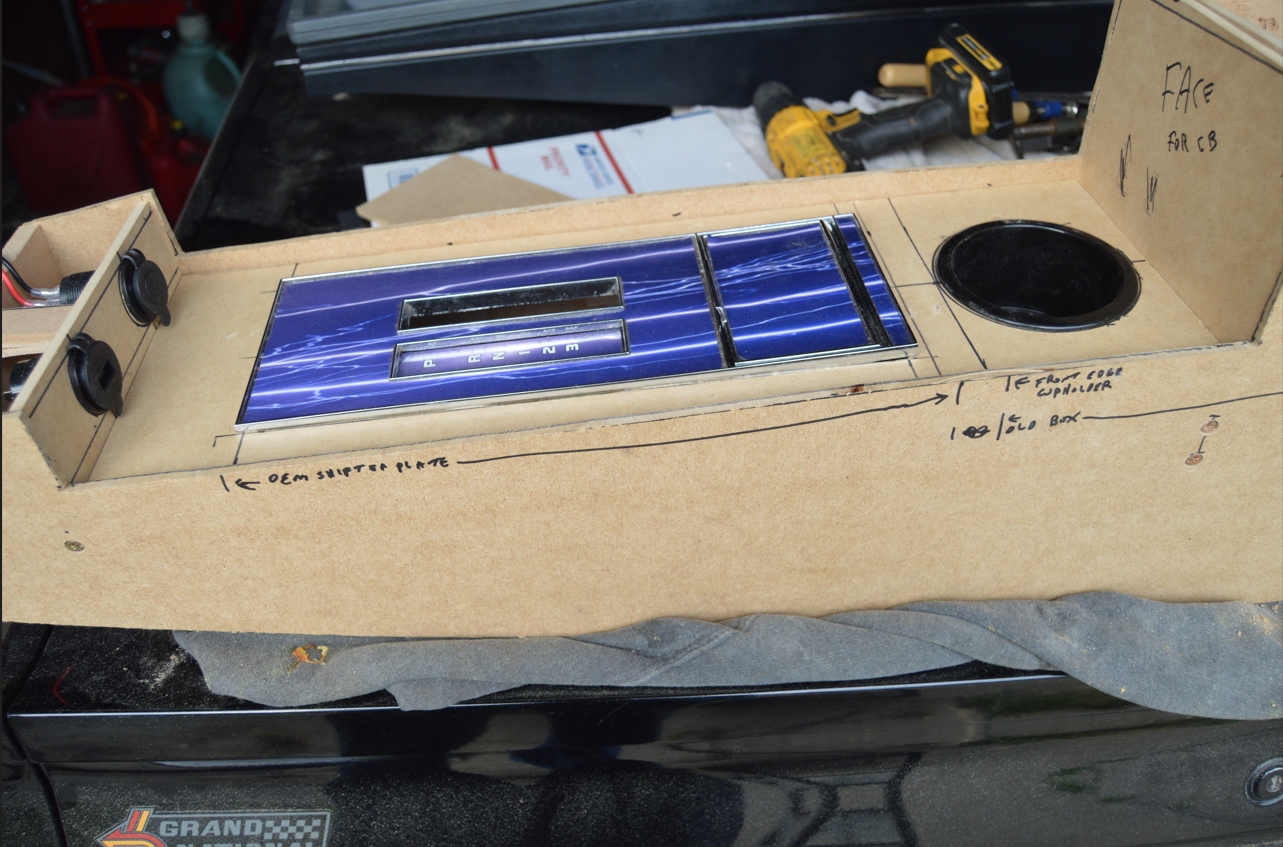
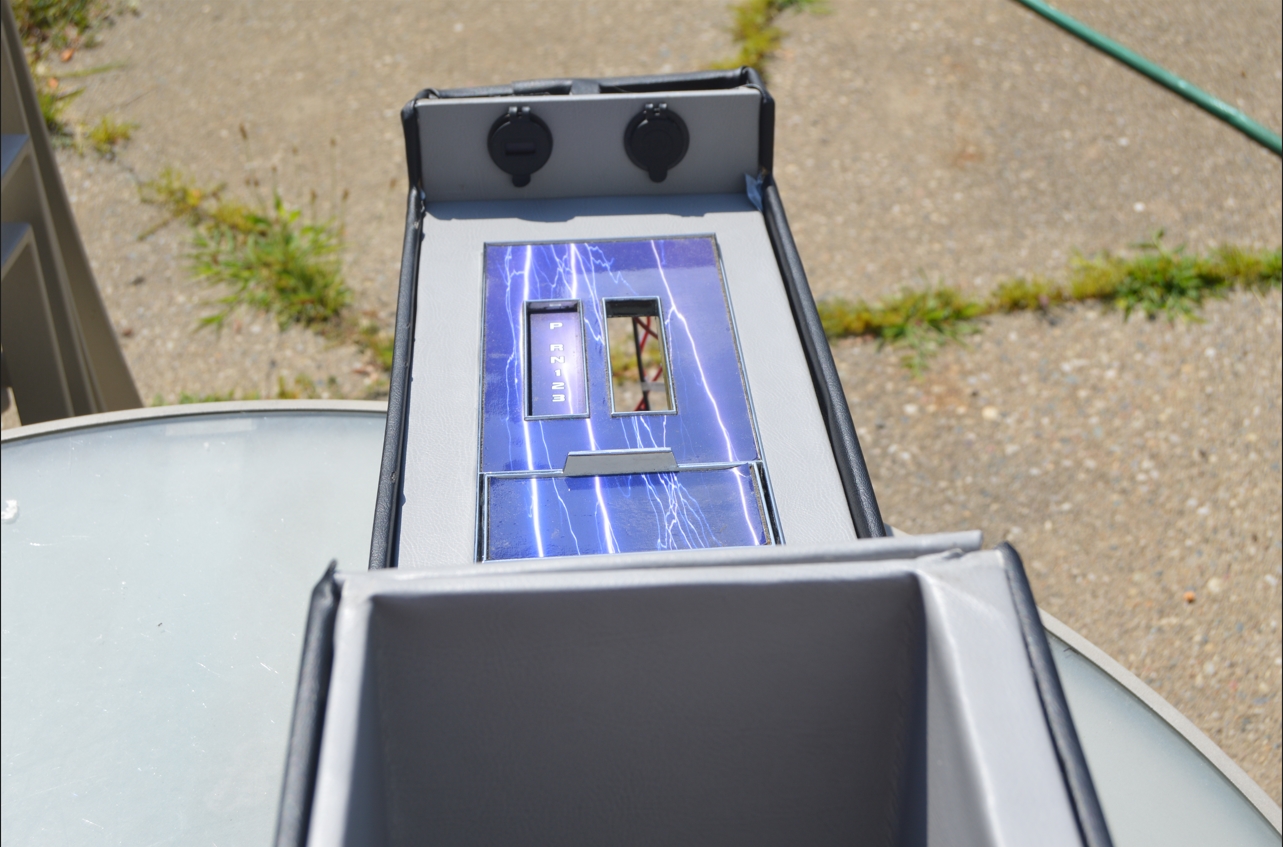
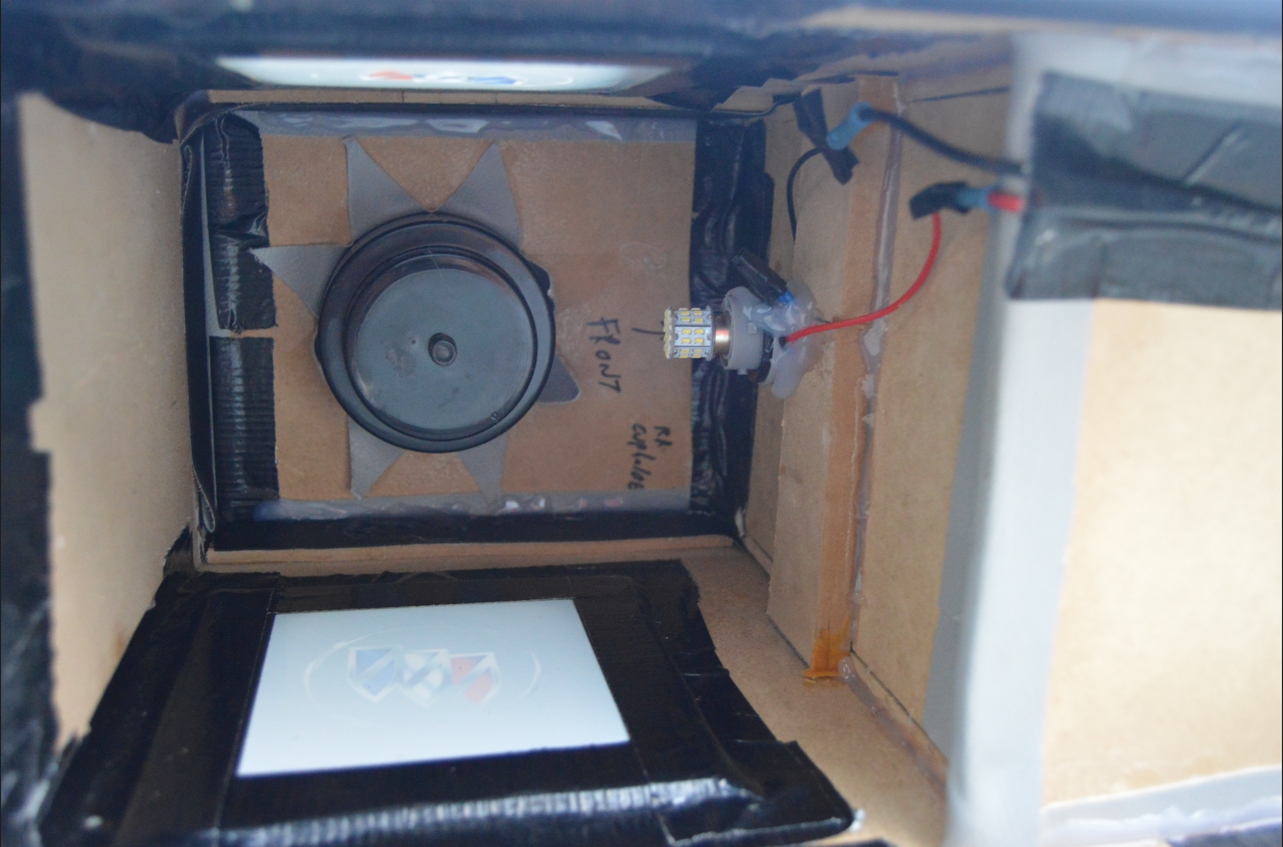
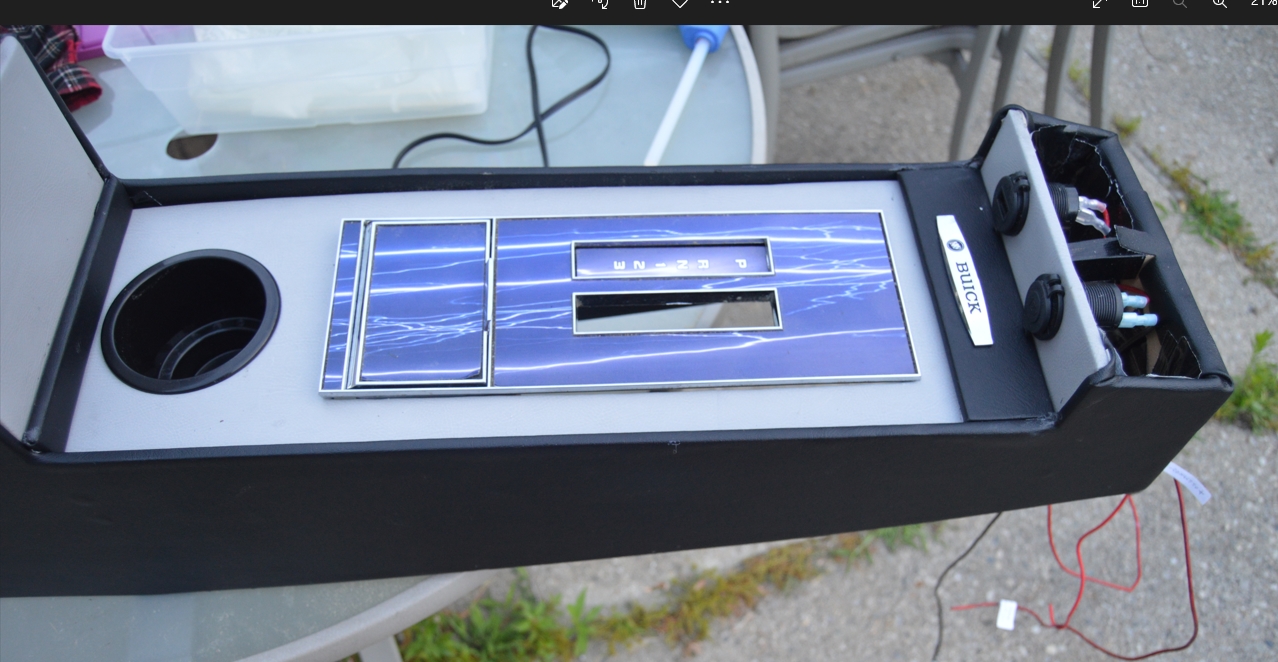
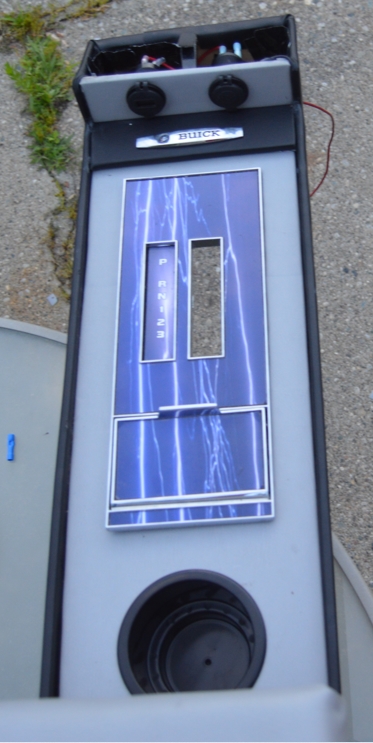
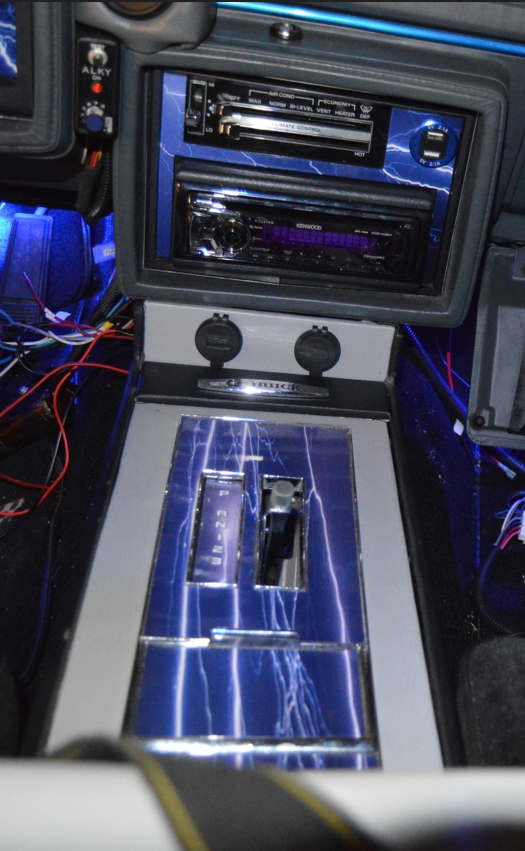
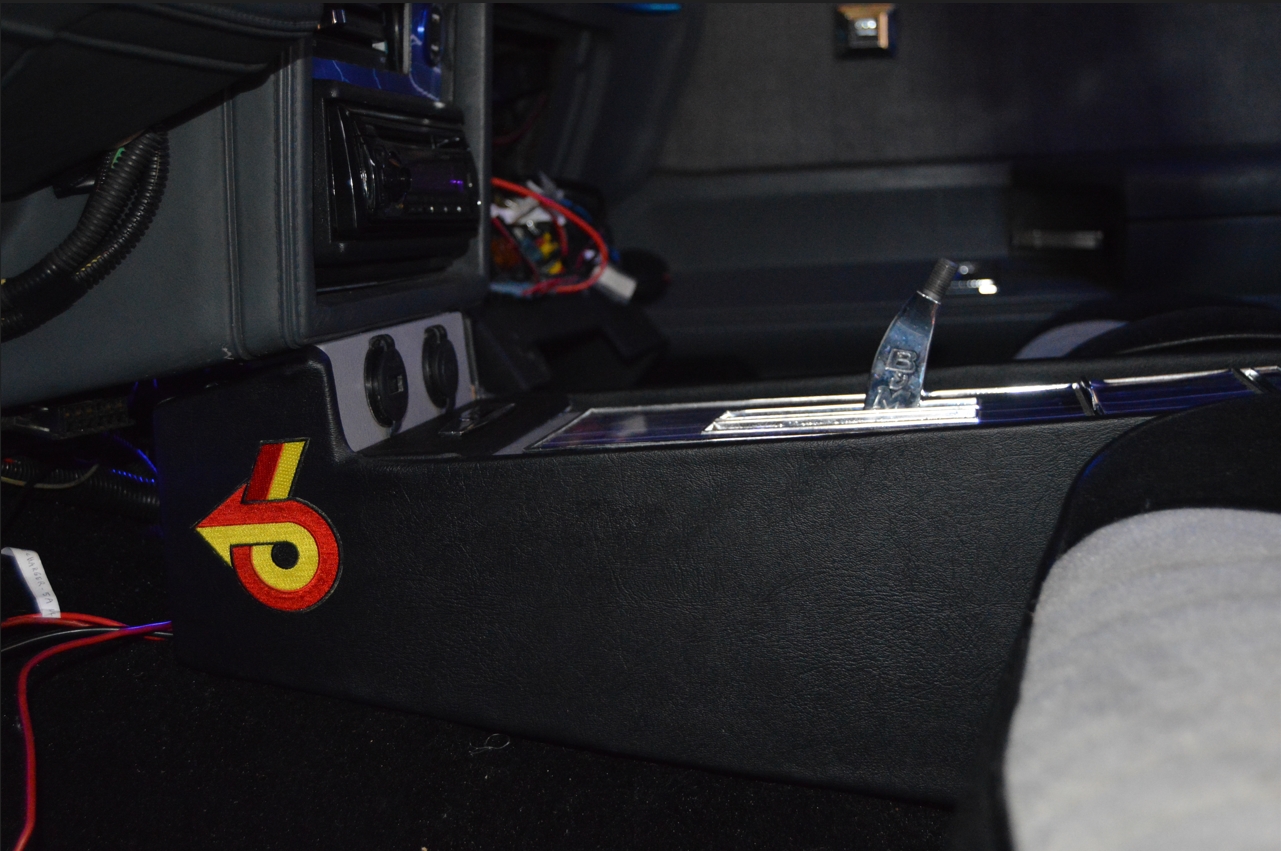
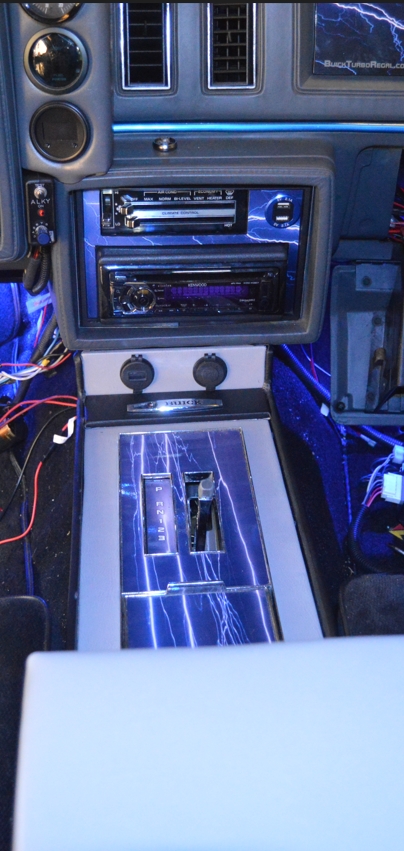
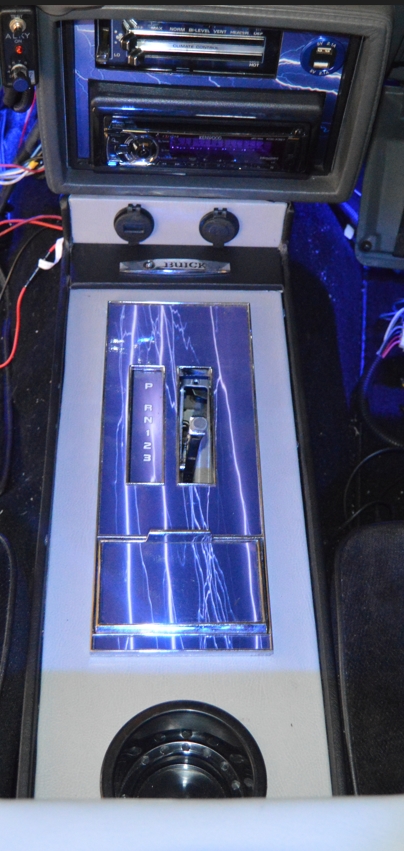
Placing the factory shifter plate into the correct location was accomplished by basically sticking it in the same spot as the OEM version.
(however, as the gear indicator, light, and its related components are actually attached to the stock upper section of the original console, these items are NOT incorporated into the new console [only the actual shifter plate is used on the new unit]. If you are creative and able, you could probably make these items functional, or make a box with a light like we did for the last console we made)
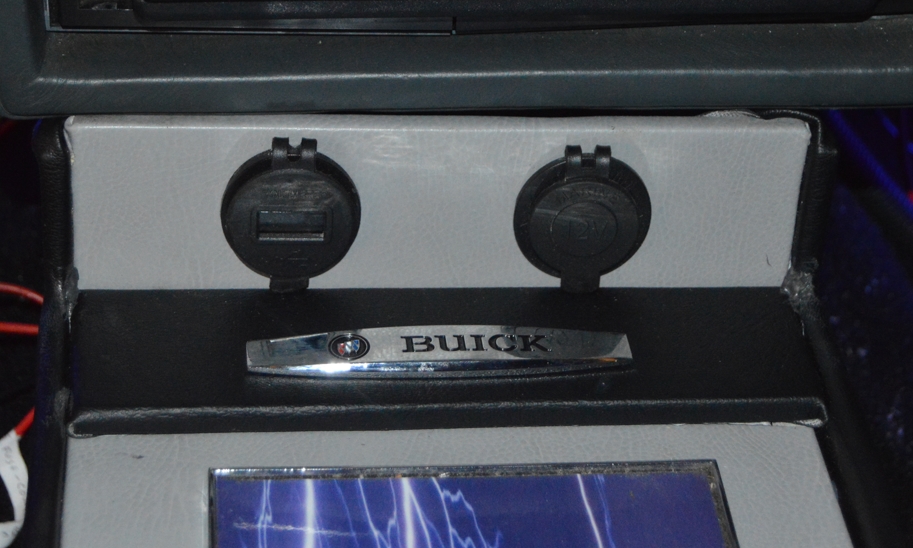
[the above is something you need to be aware of if you would like to purchase THIS console that we built, which is for sale, CONTACT US!]
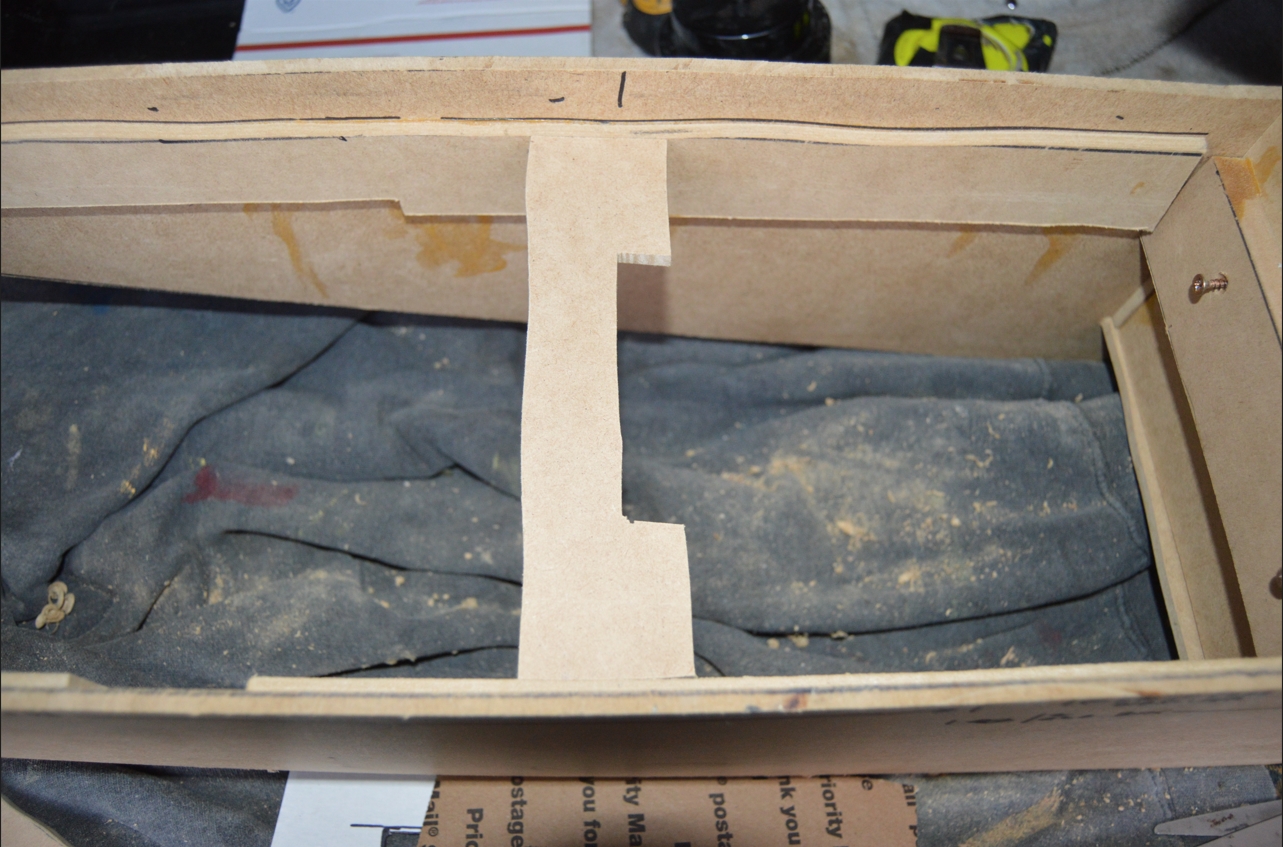
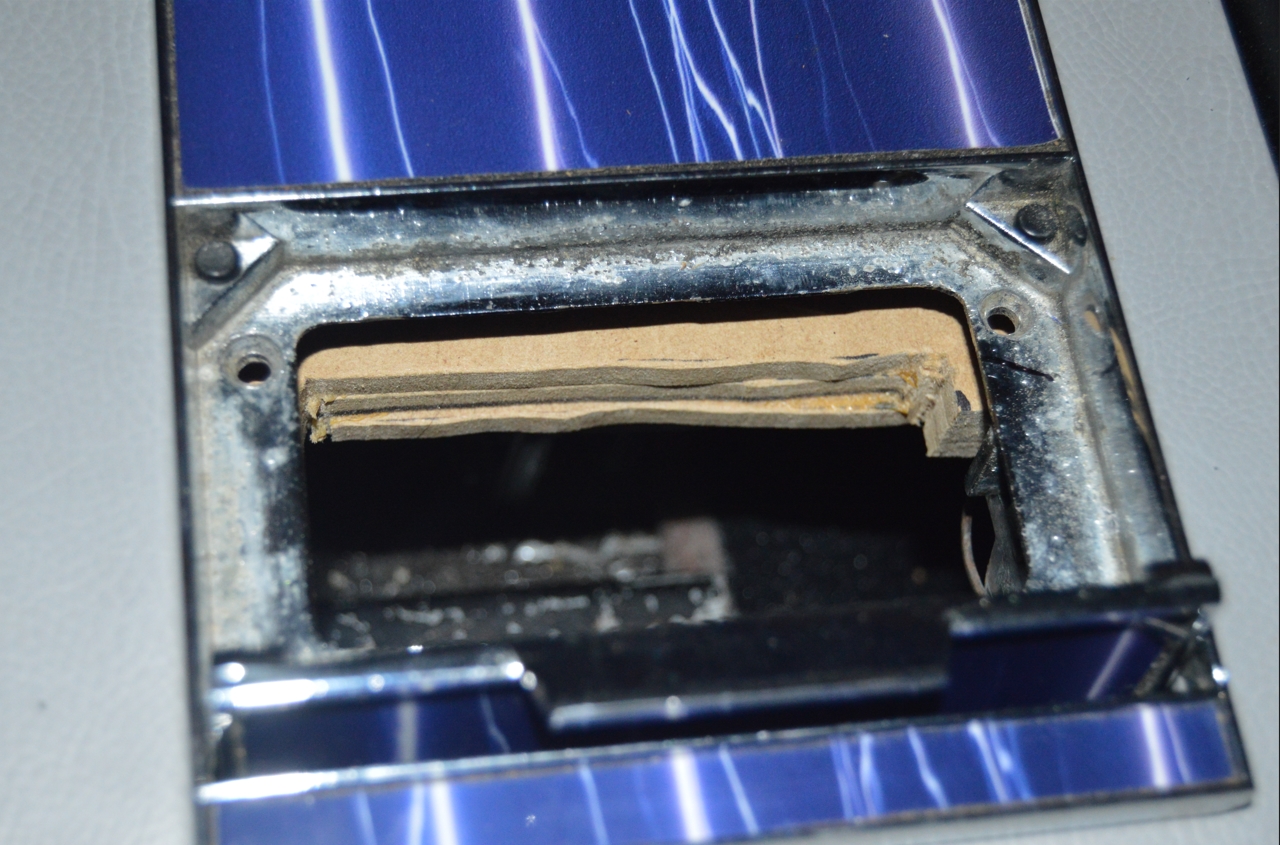
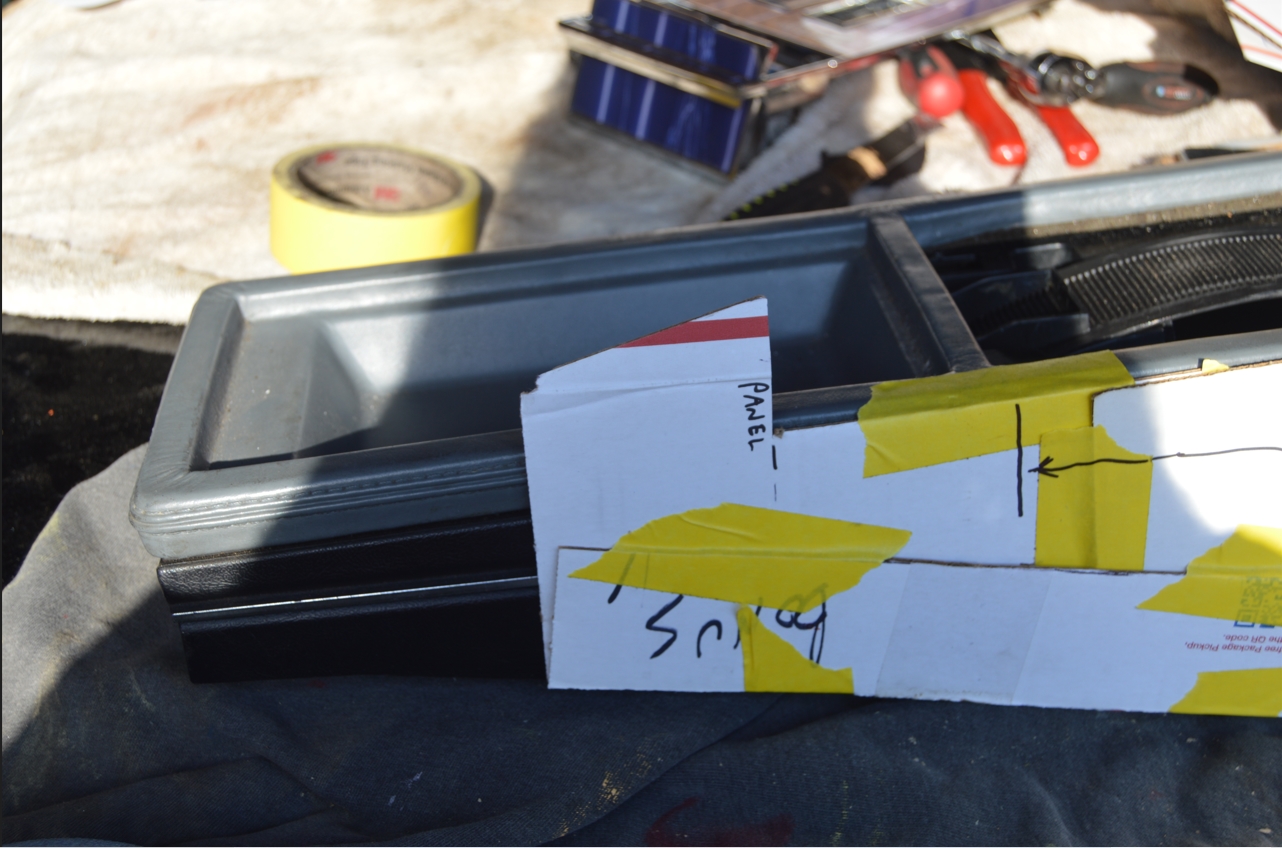
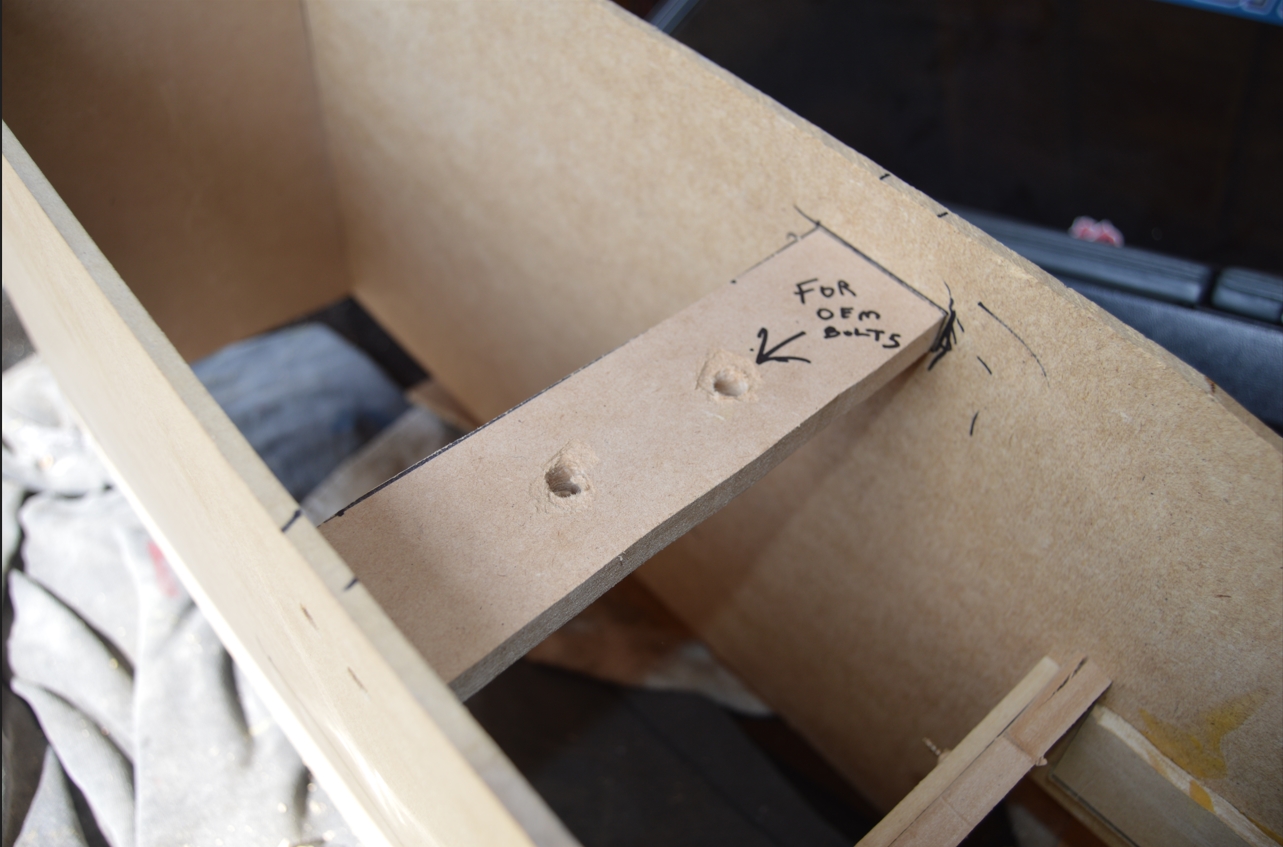
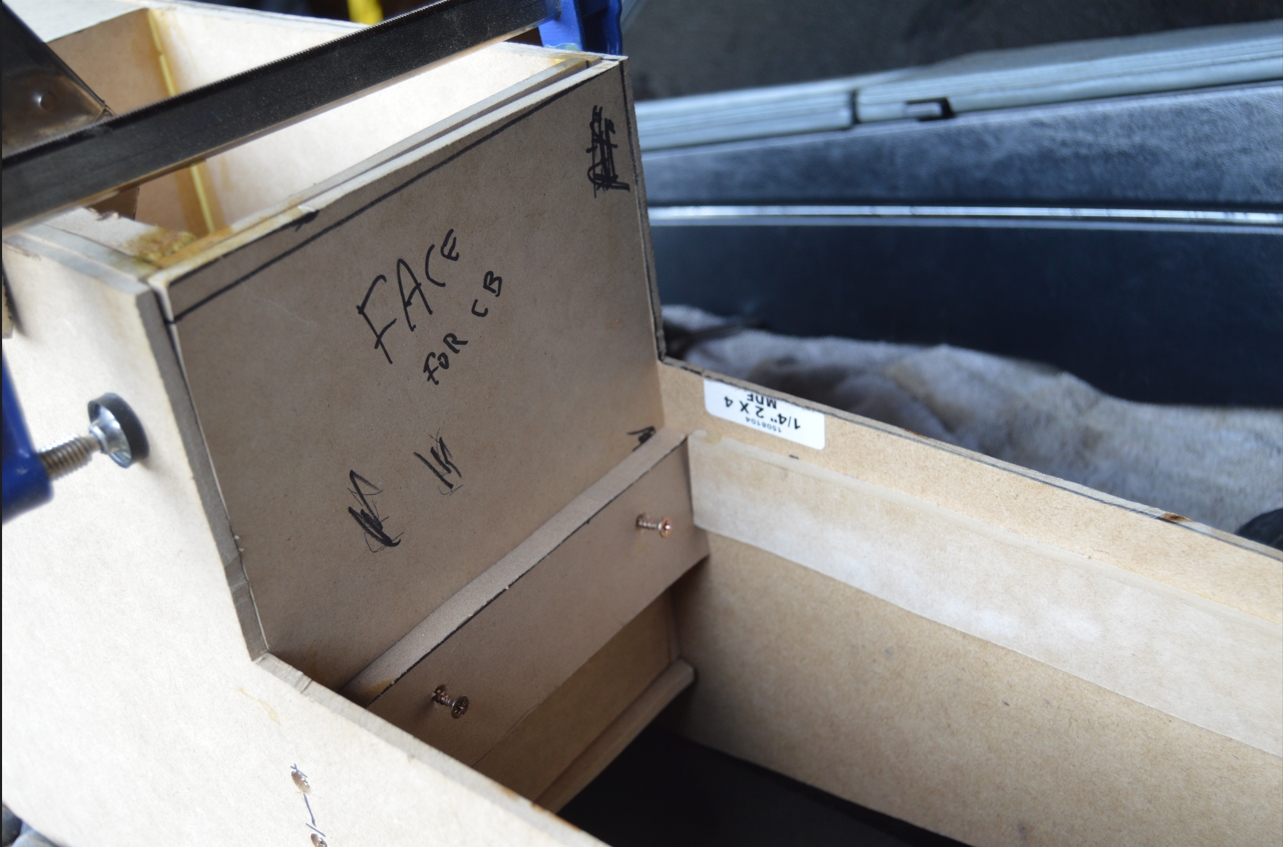
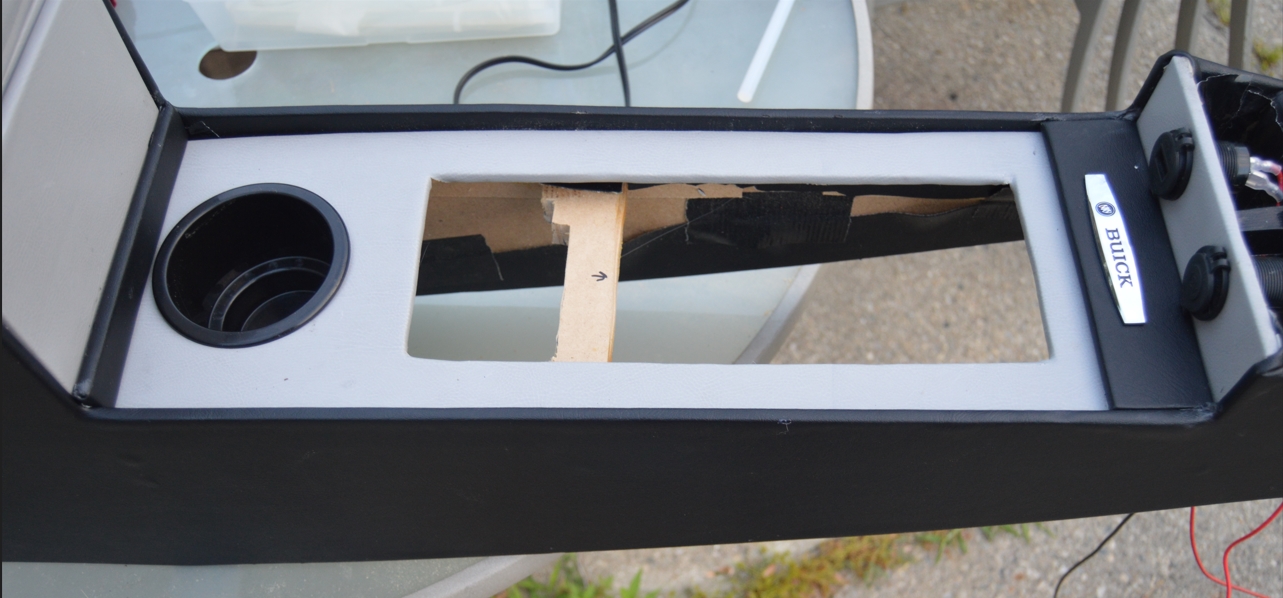
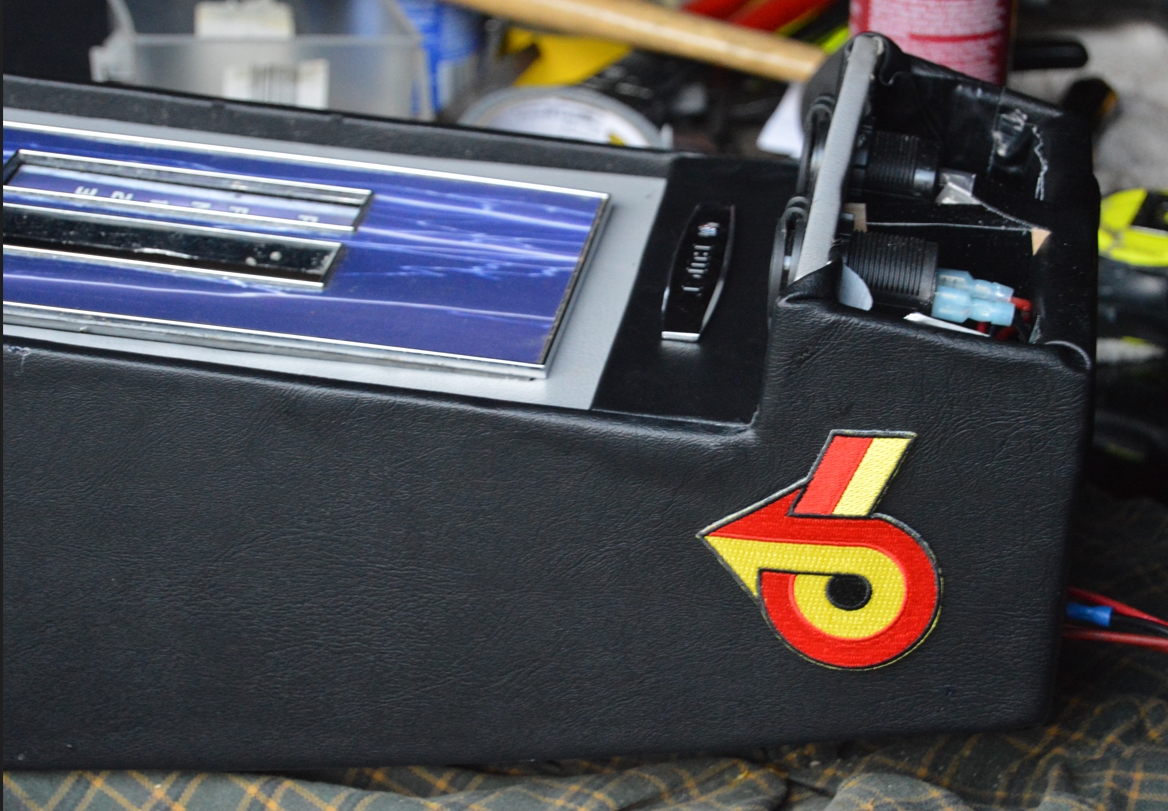
Fitting the OEM shifter plate into this new console did present a bit of a challenge. The rectangular hole must be in just the “right” position, since the stalk needs to be accommodated to be able to downshift. The stock 2 screw holes (in the ashtray) also need to function, somehow. These 2 screws hold the plate down onto the console. That brings up another issue. They originally mounted to 2 holes in the plastic piece (molded into the factory top portion of the console unit). We remedied this problem by creating a “U” shaped piece that goes around the front of where the ashtray would sit, and the 2 screws get secured into this new piece of wood we made. (see pics below)
.
.
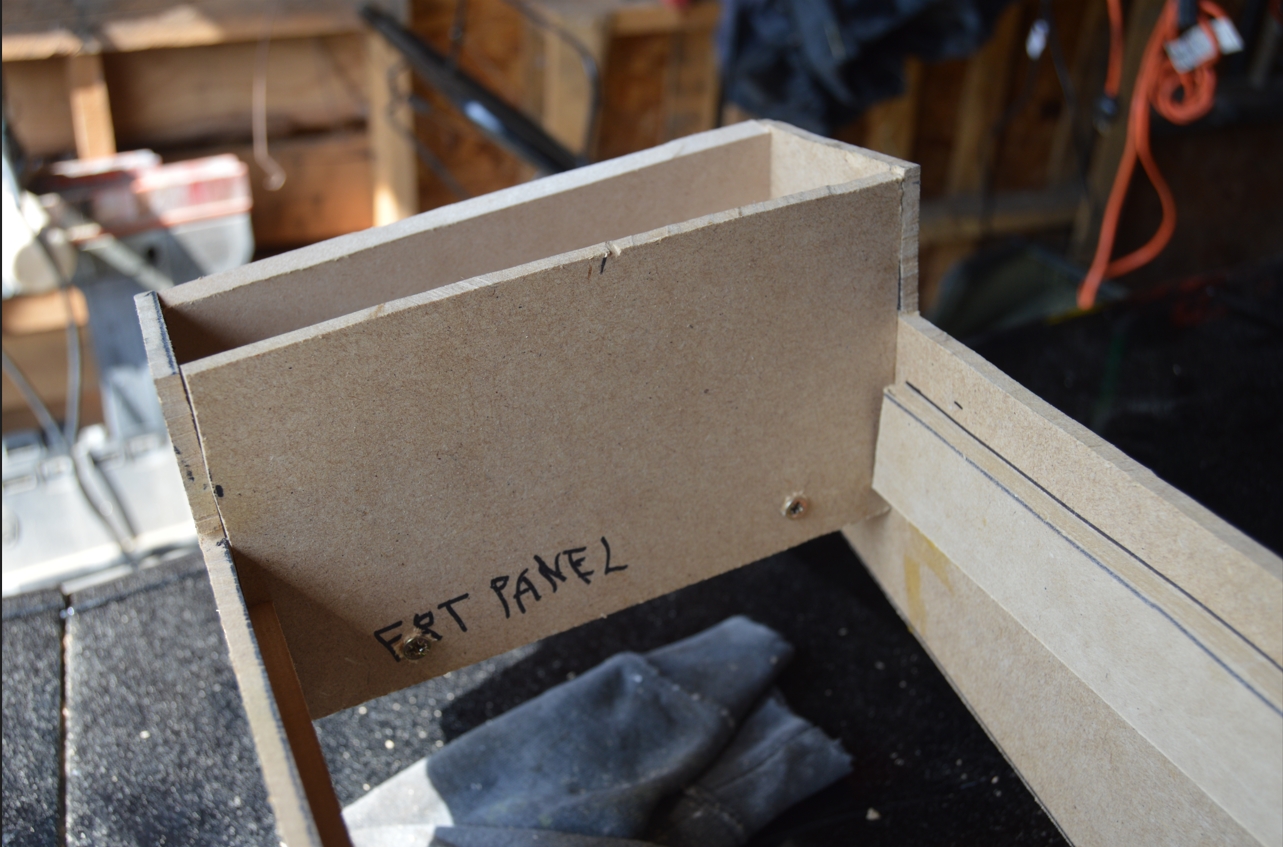
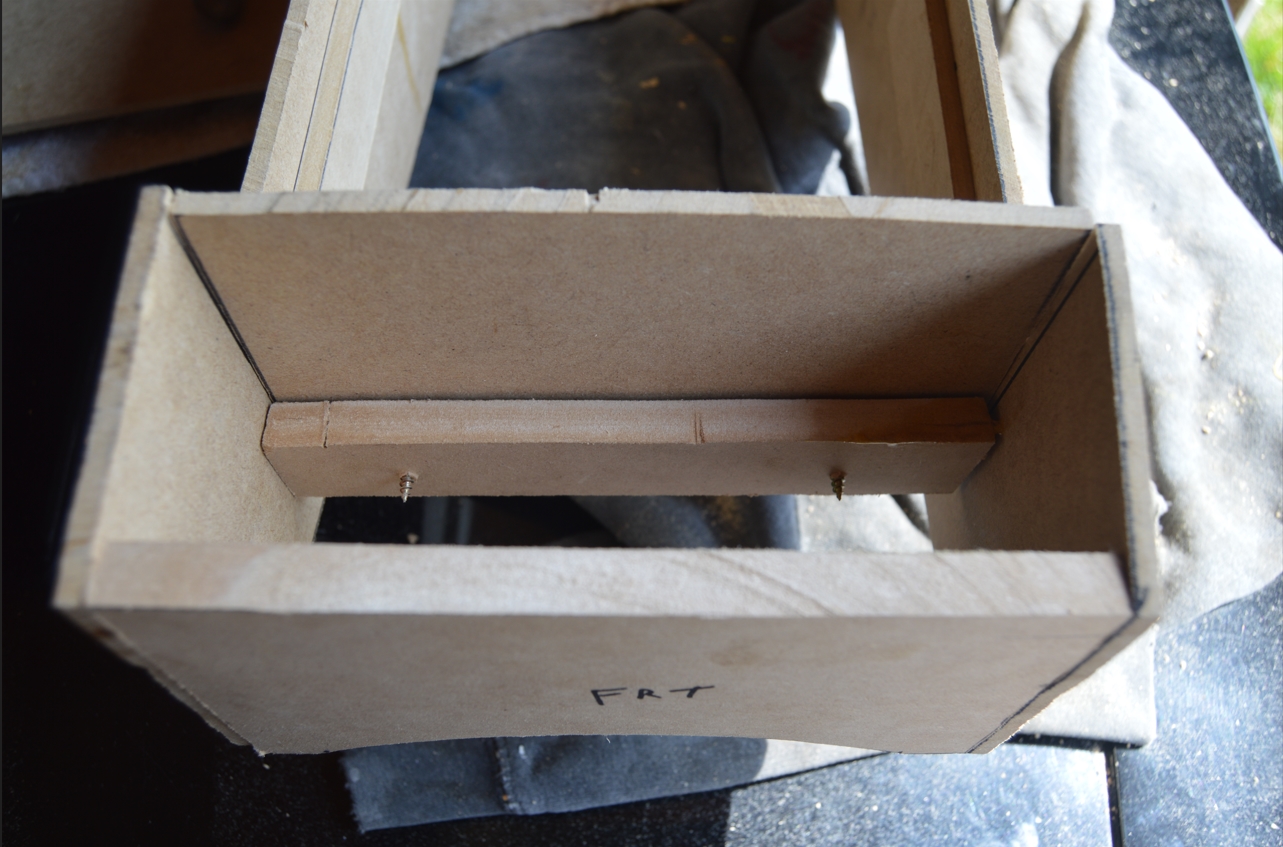
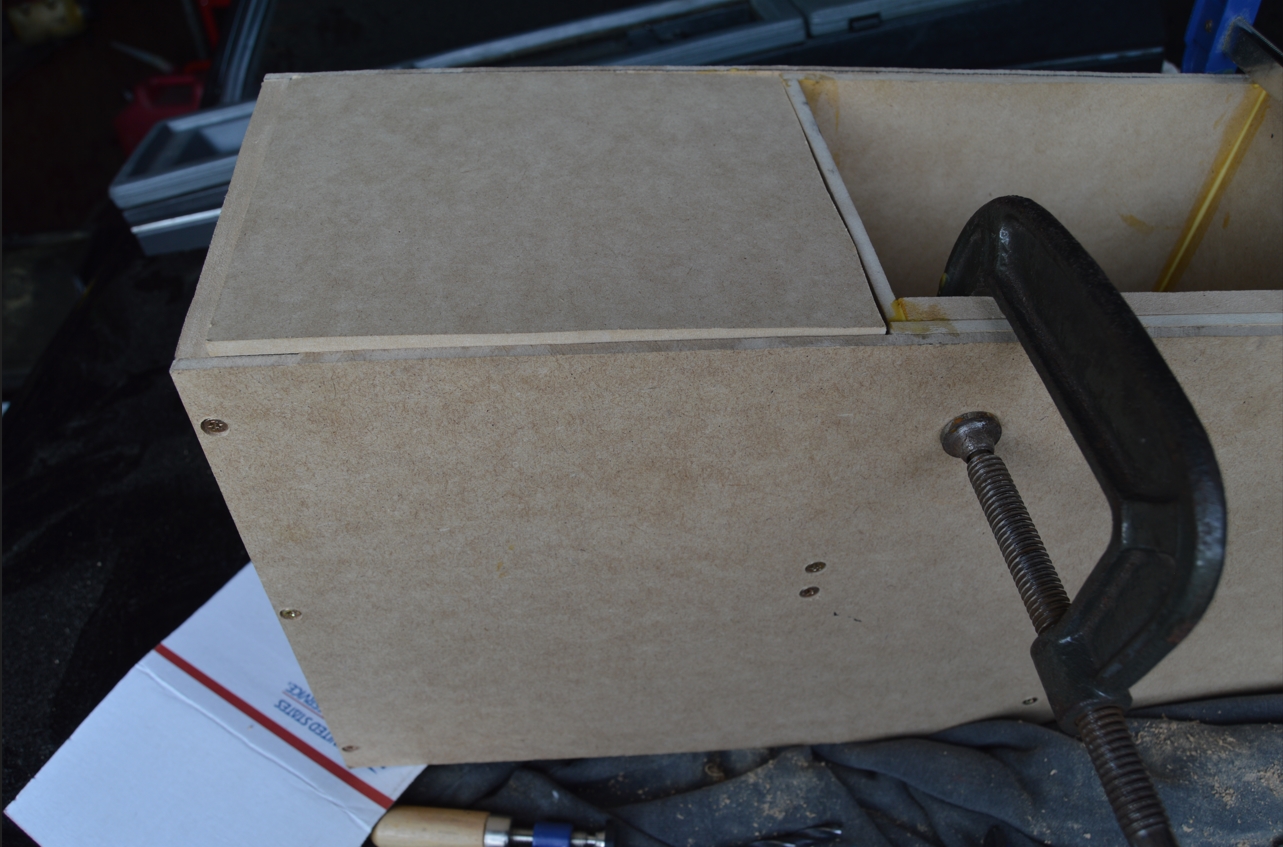
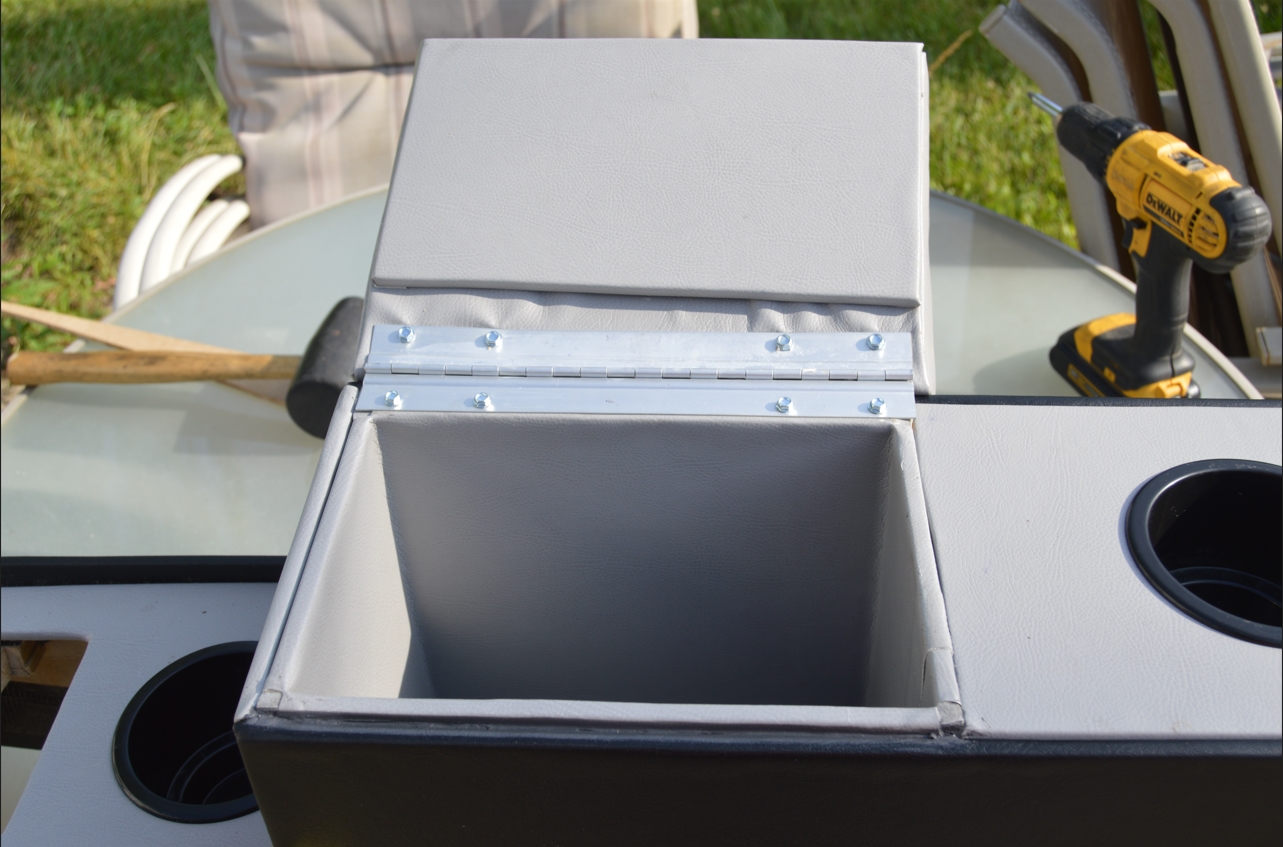
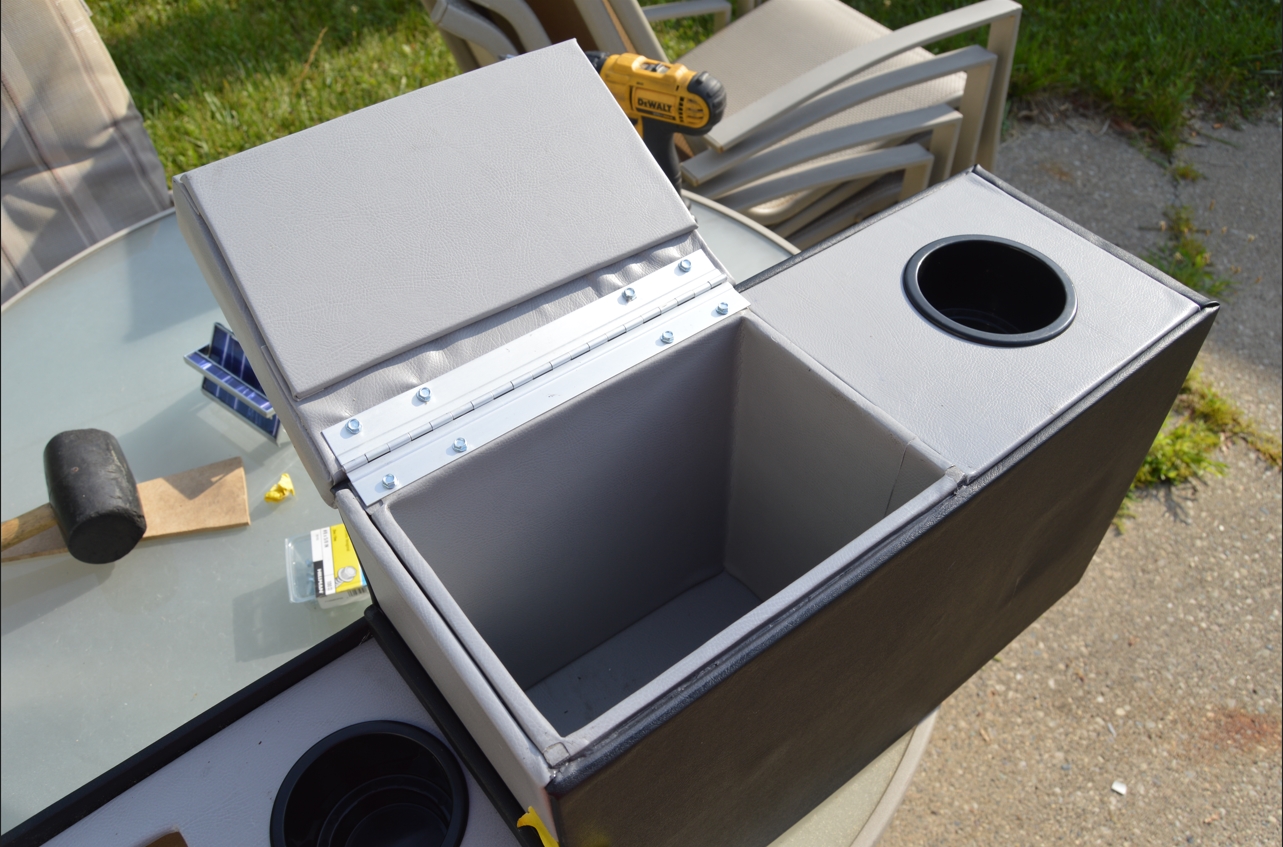
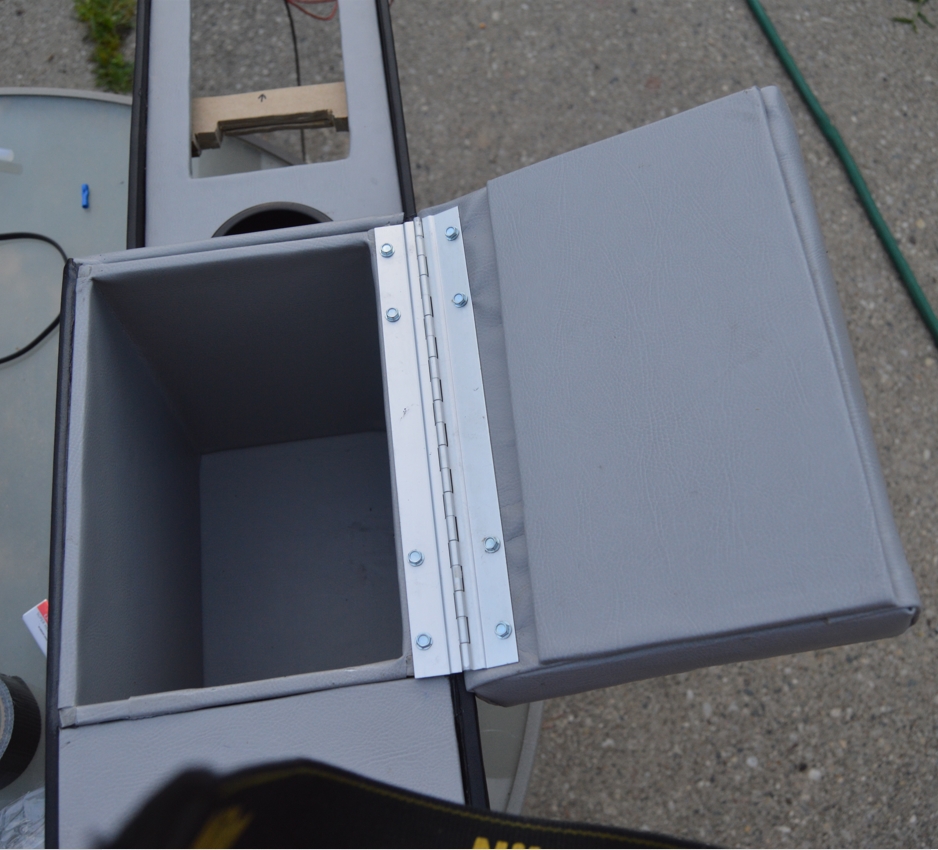
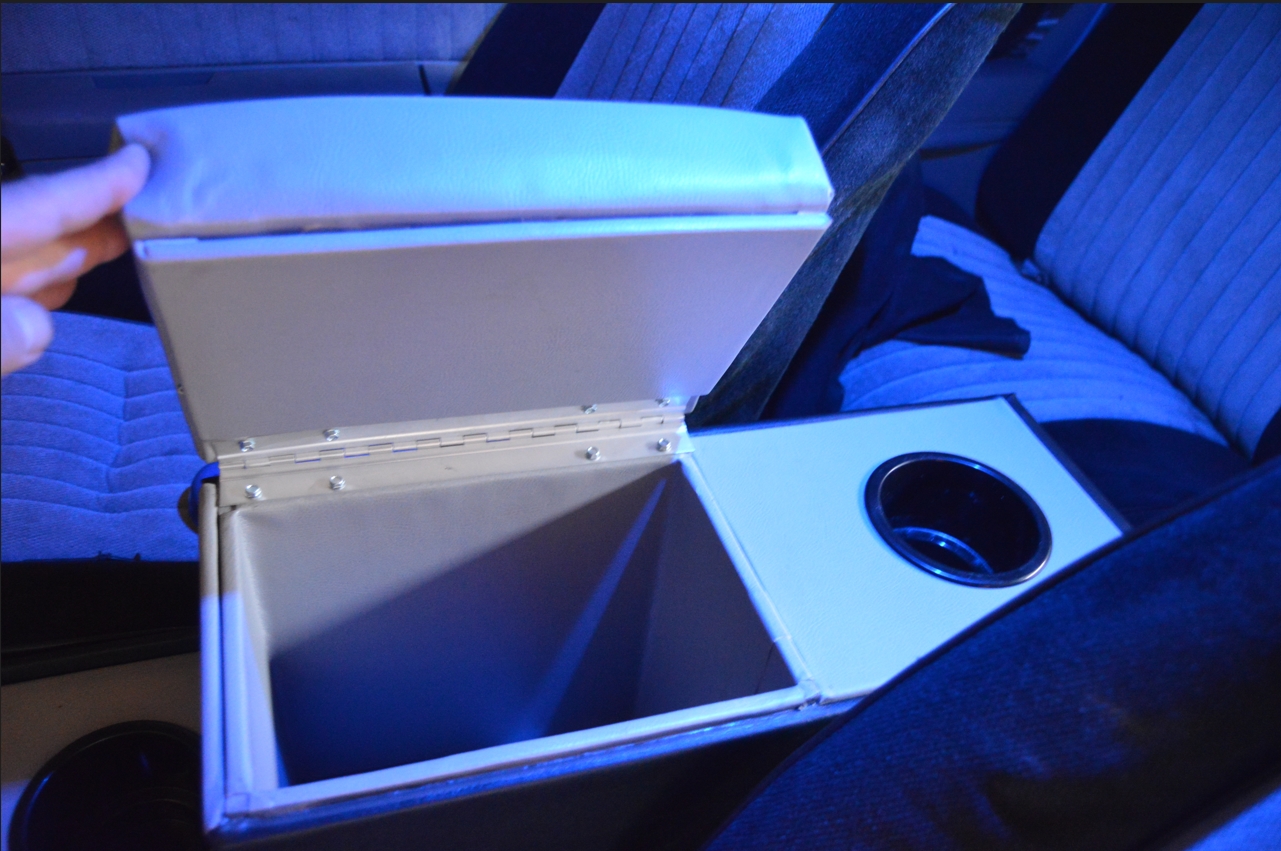
This time around, the console box was glued directly onto the side walls (instead of using the tabs we did before). It also rests against (on the rear side of the box) a vertically mounted support brace (which also gives the sidewalls some additional strength).
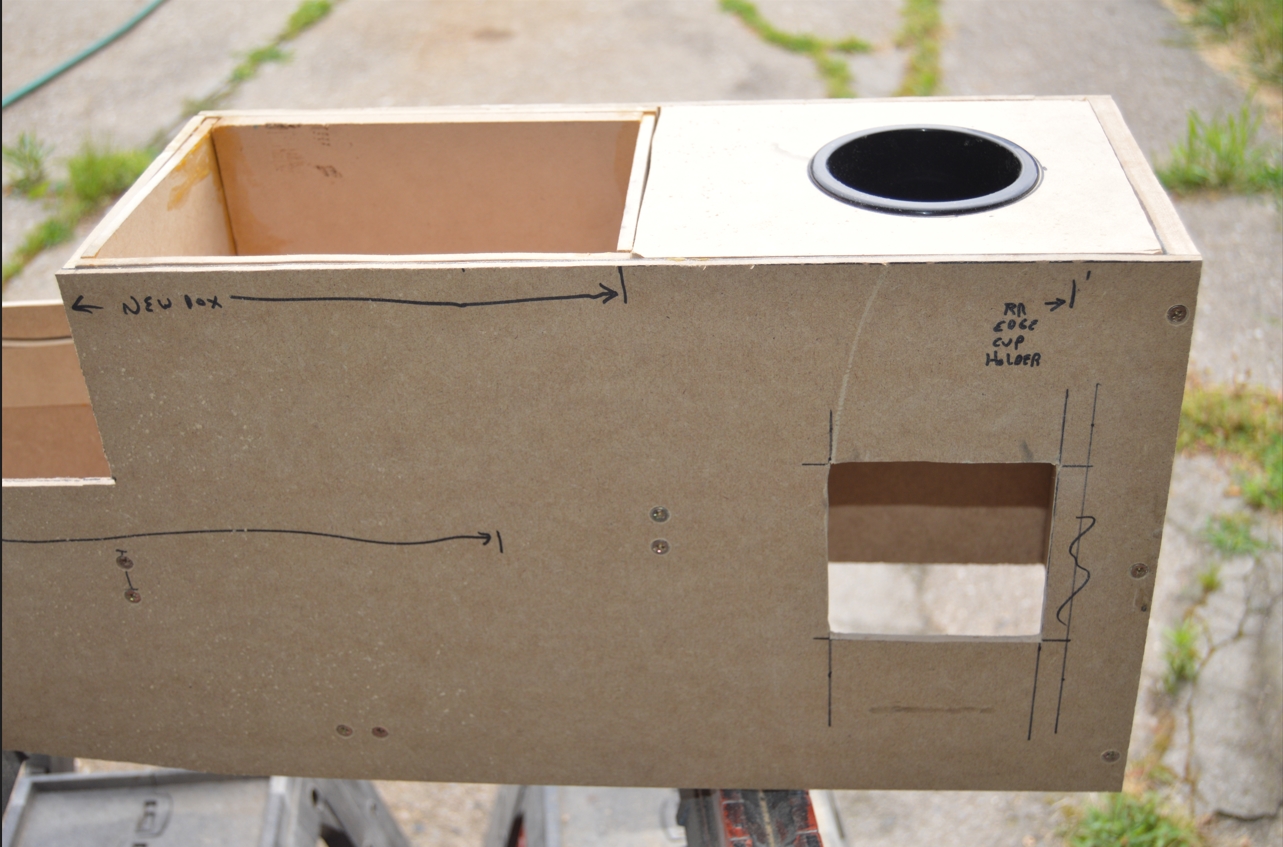
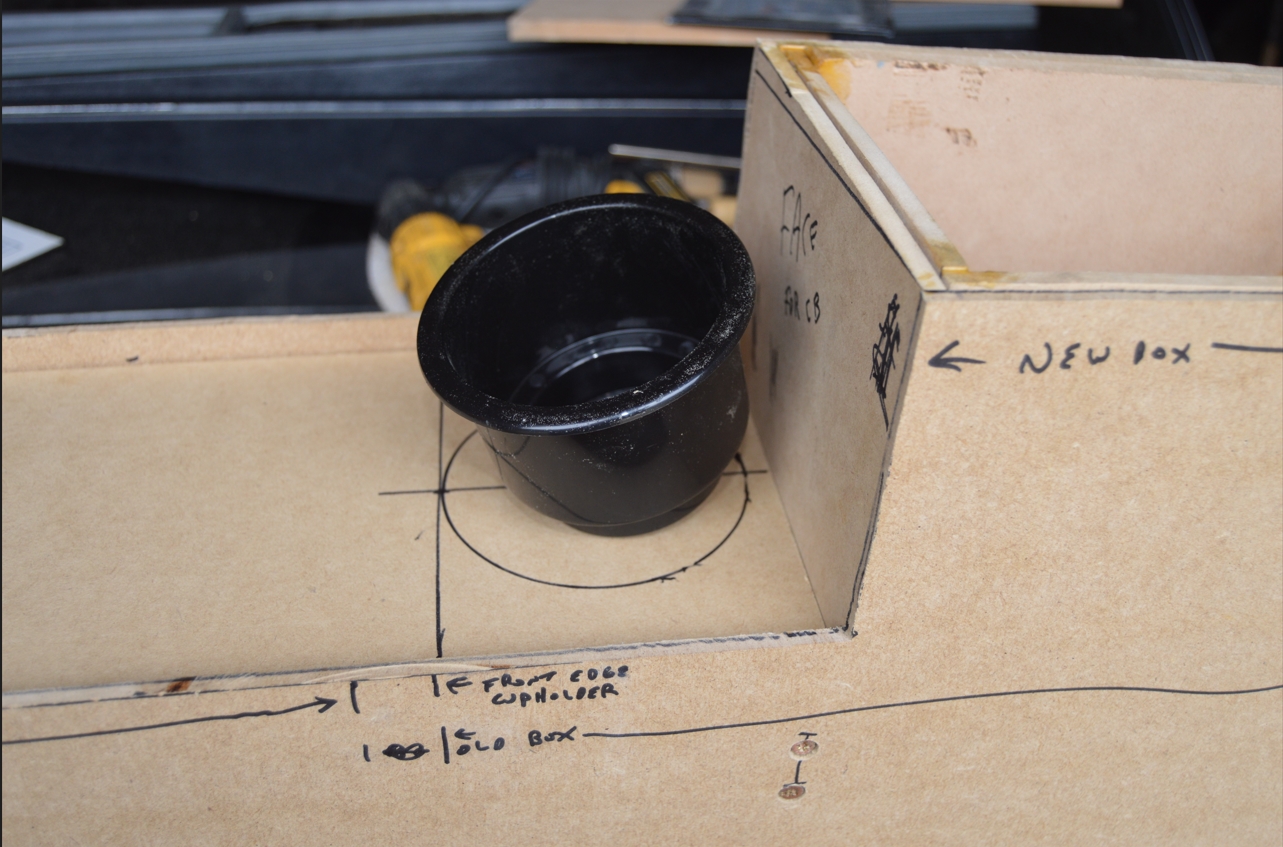
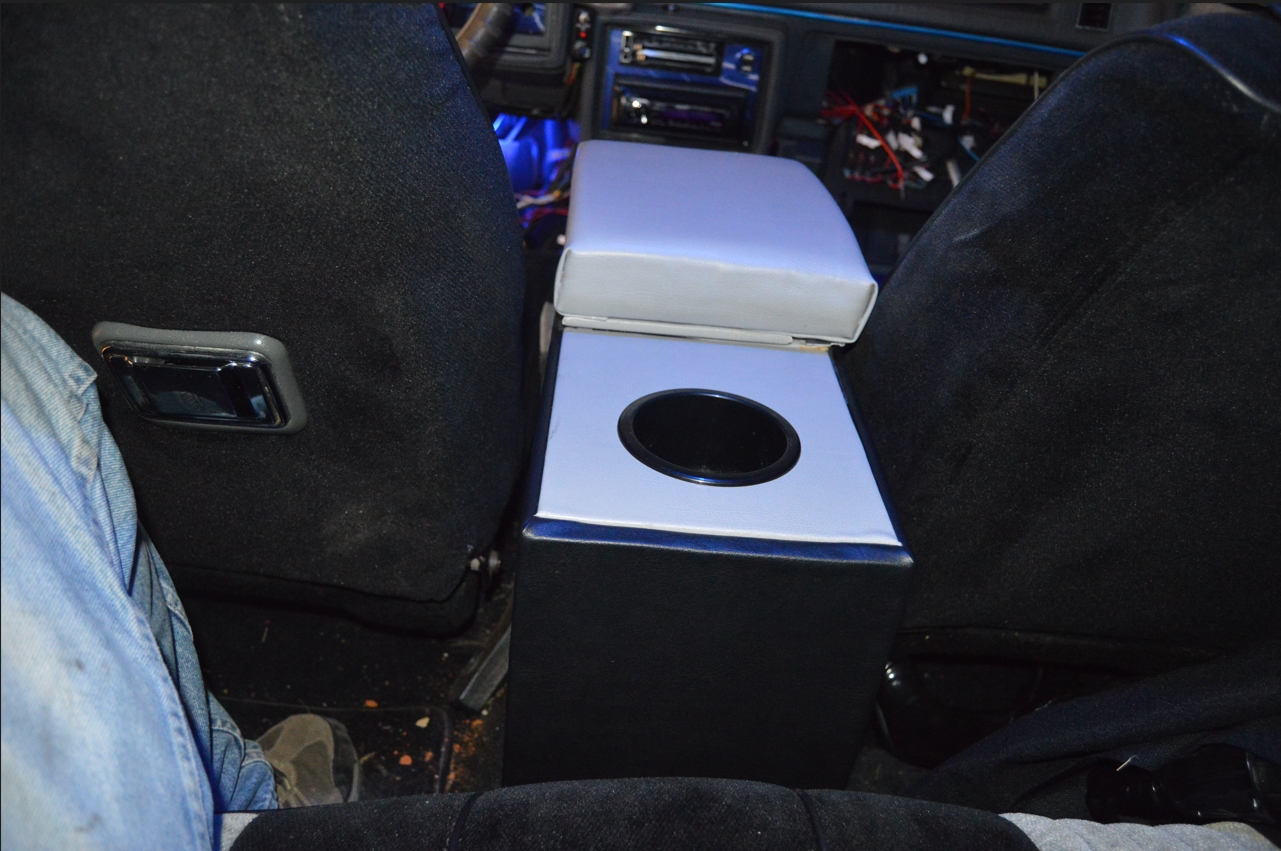
On the bottom of the very front & very rear panels, we traced out the circular humps from the stock center console and mimicked them onto the new unit. This will let the console sit nice and flush onto the trans tunnel.
(and for the front, it gives an outlet area for the new wires to come out of)
.
[as a side note, we discovered the factory console unit has more material (height, nearest the trans tunnel) on the drivers side, than the passenger side does. The overall height (measured at the shifter stalk point with it in the drive position), on the drivers side is 6″ tall, and on the passenger side it’s 5 1/4″ tall]
.
.

.
HERE’S THE STEP BY STEP BUILDING OF THE CONSOLE.
NOTES ARE ADDED WITHIN THE PICS WHERE NEEDED.
.
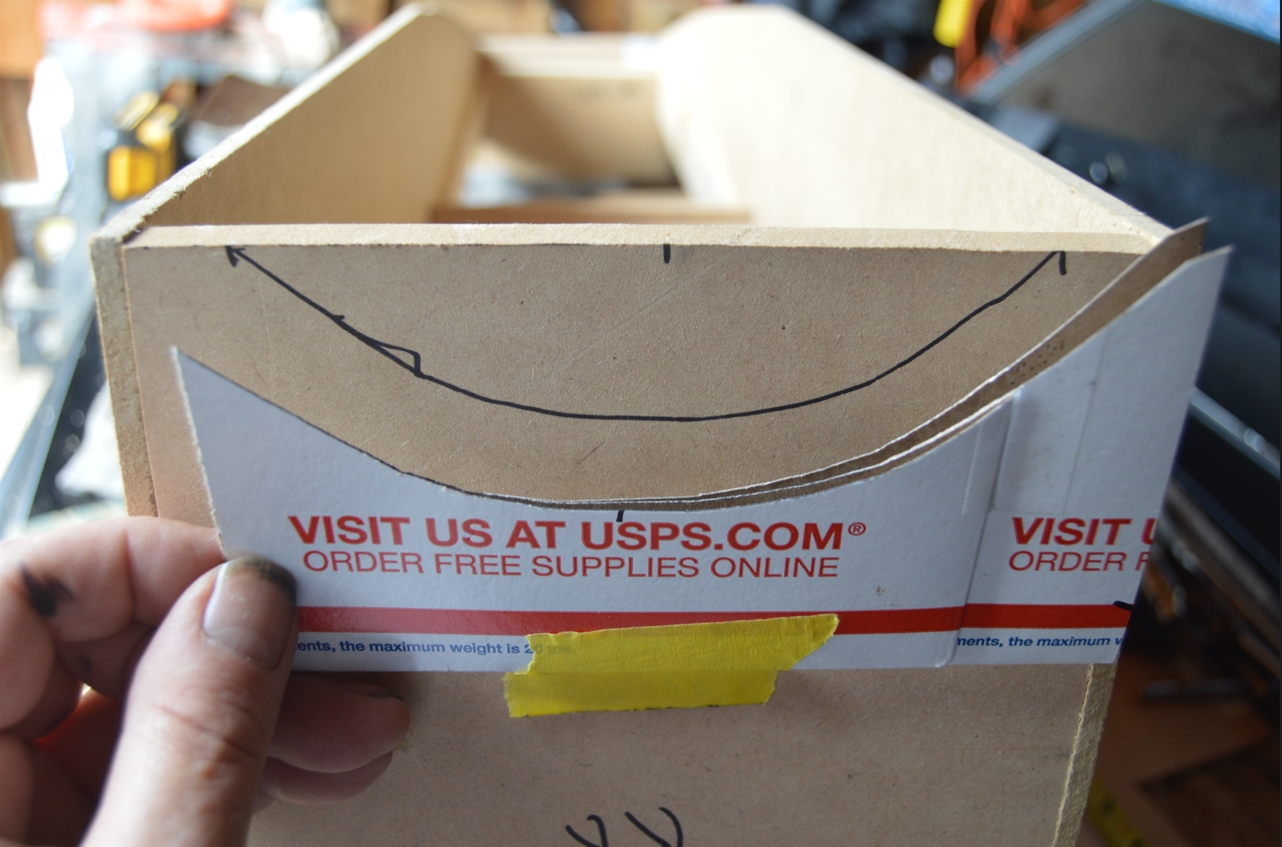
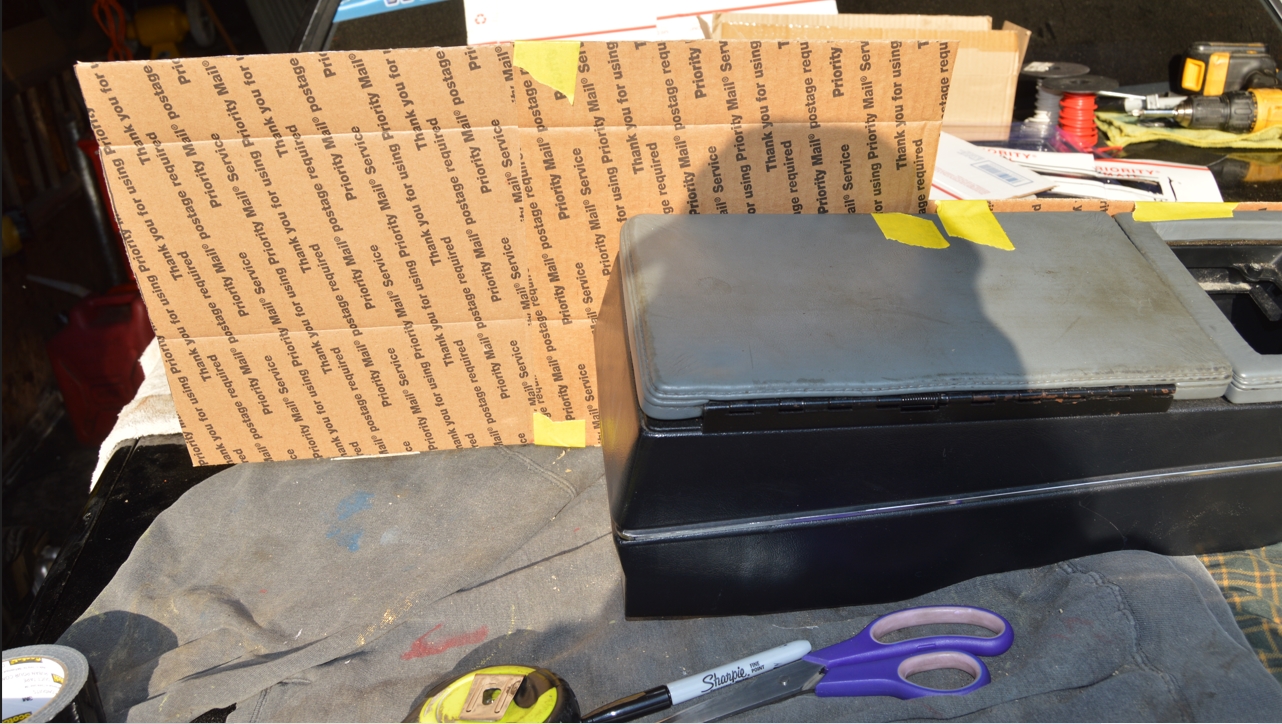
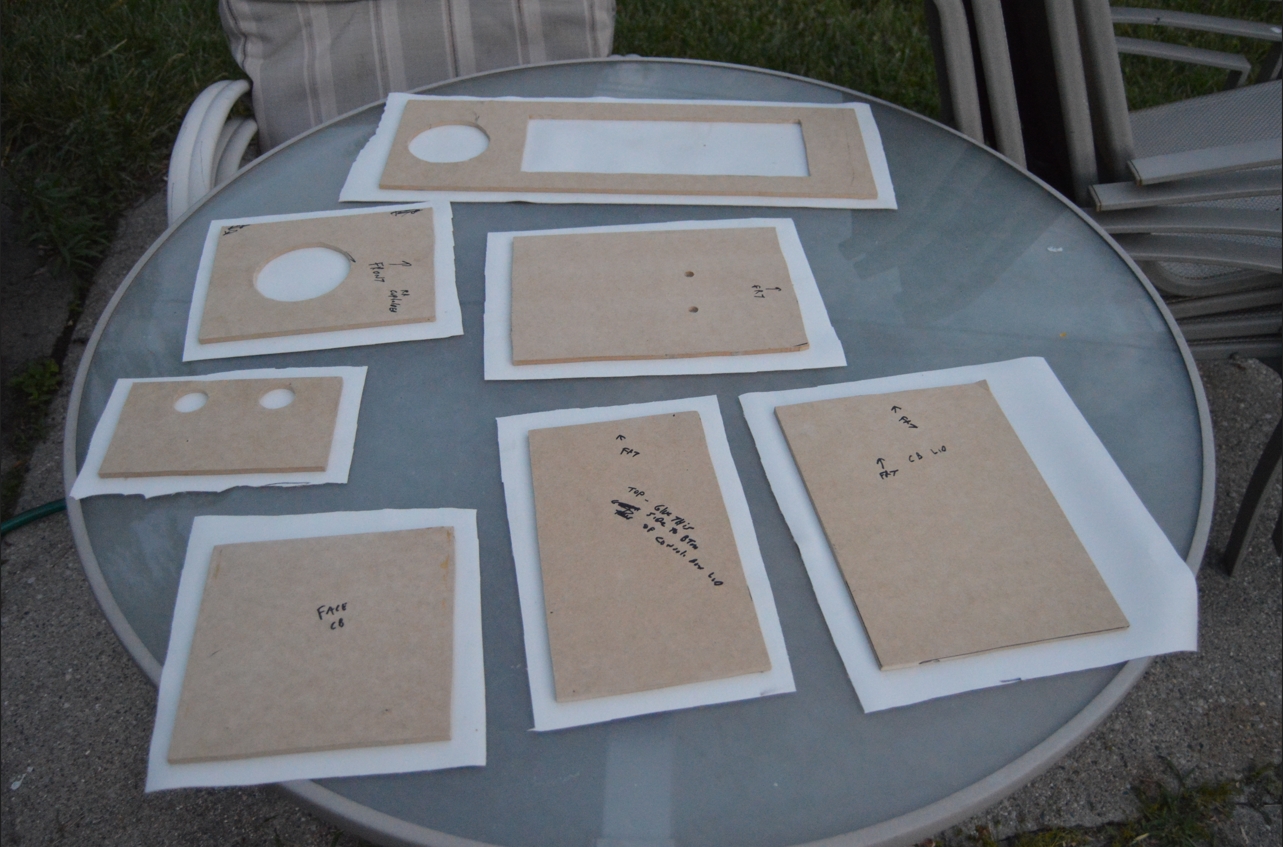
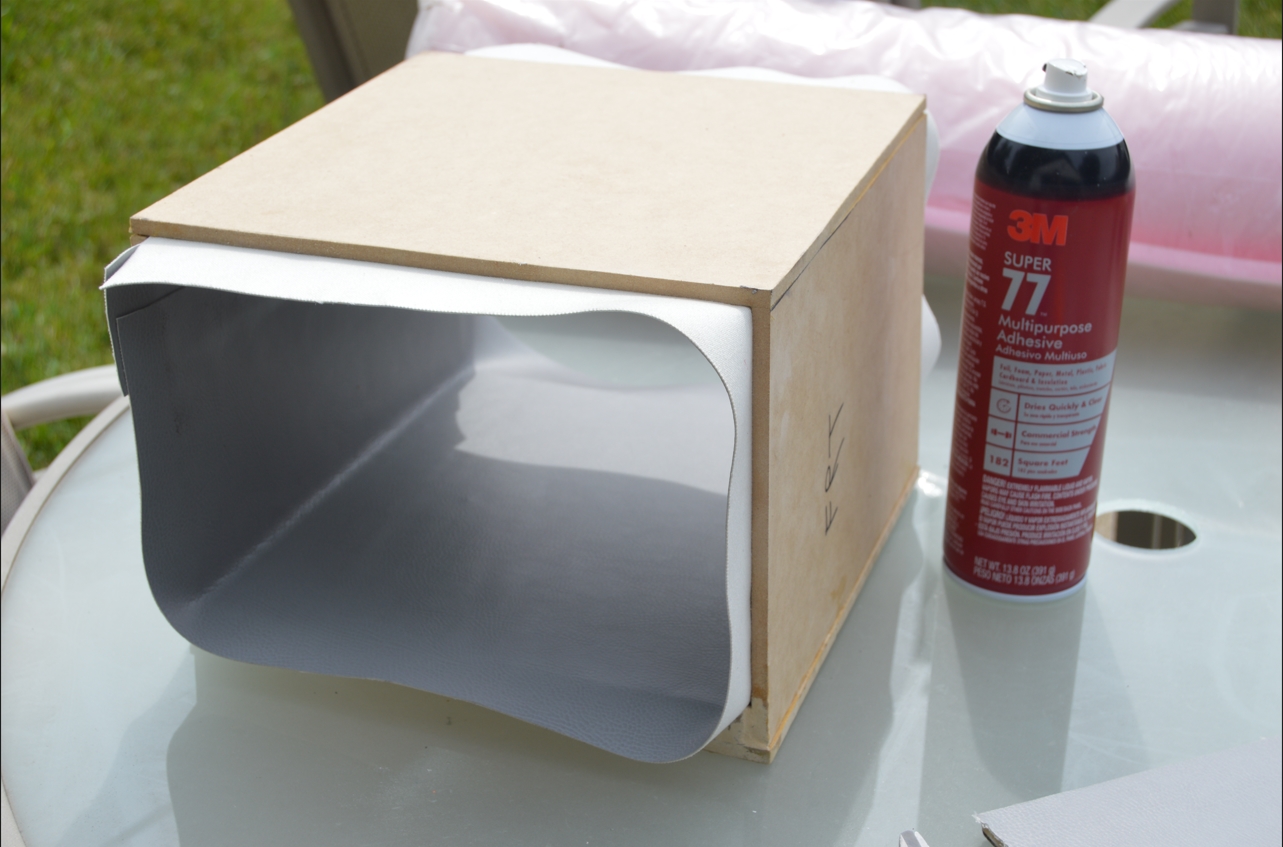
CREATING THE TEMPLATE & BUILDING THE SHELL:
.


.
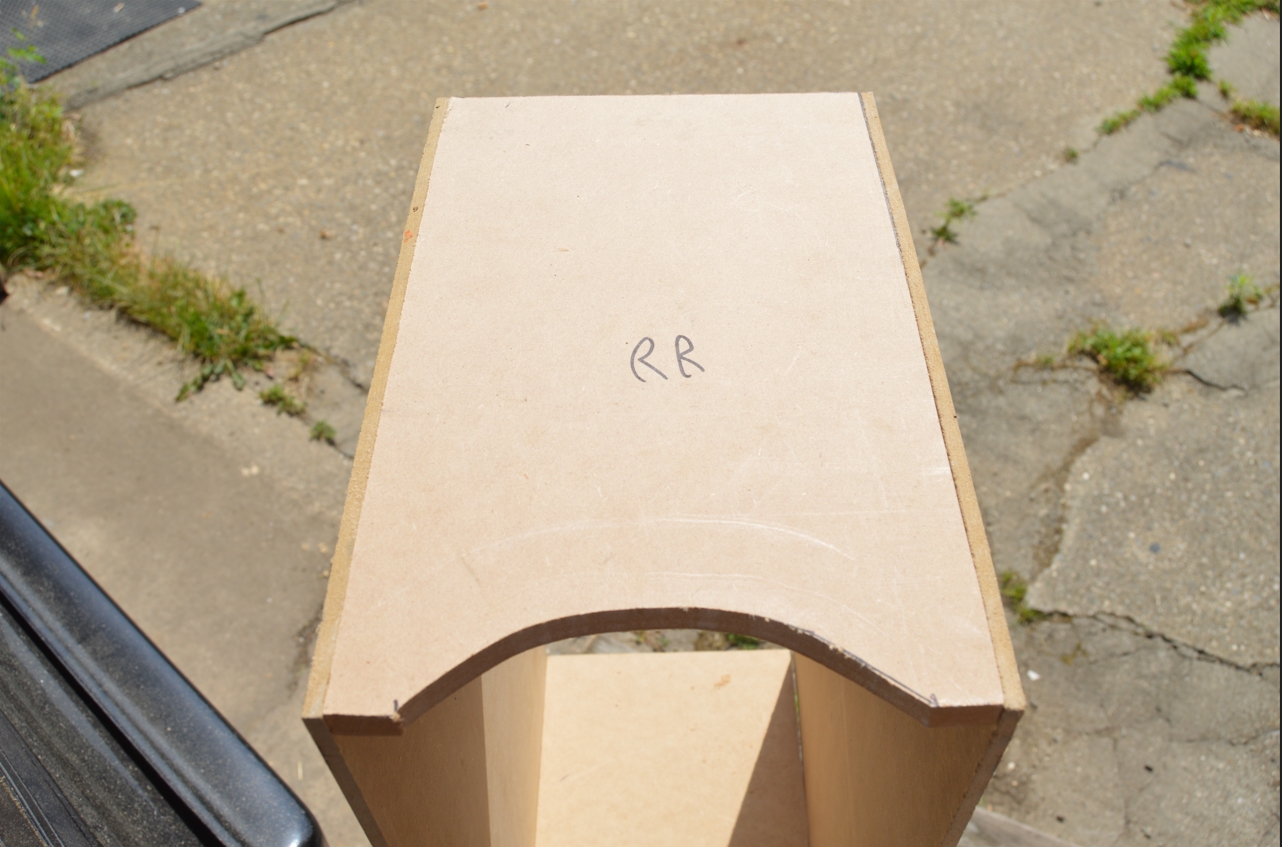
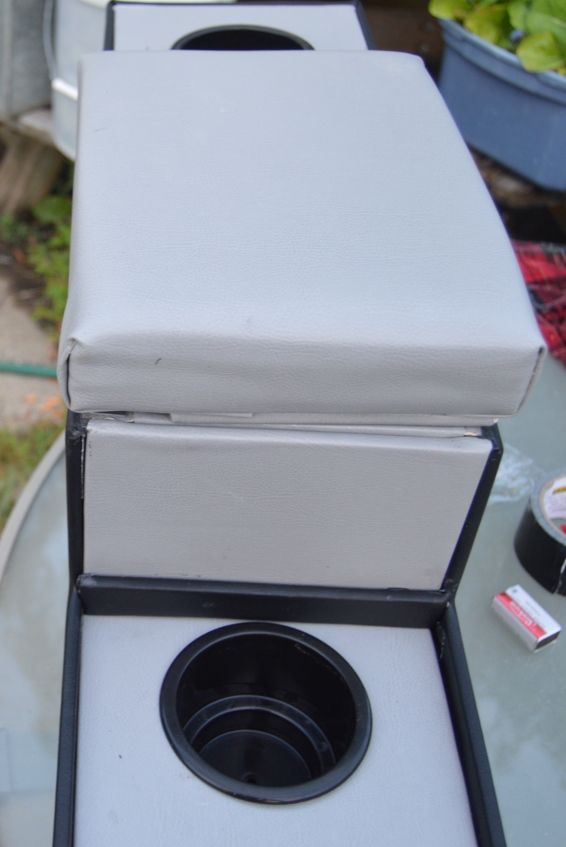
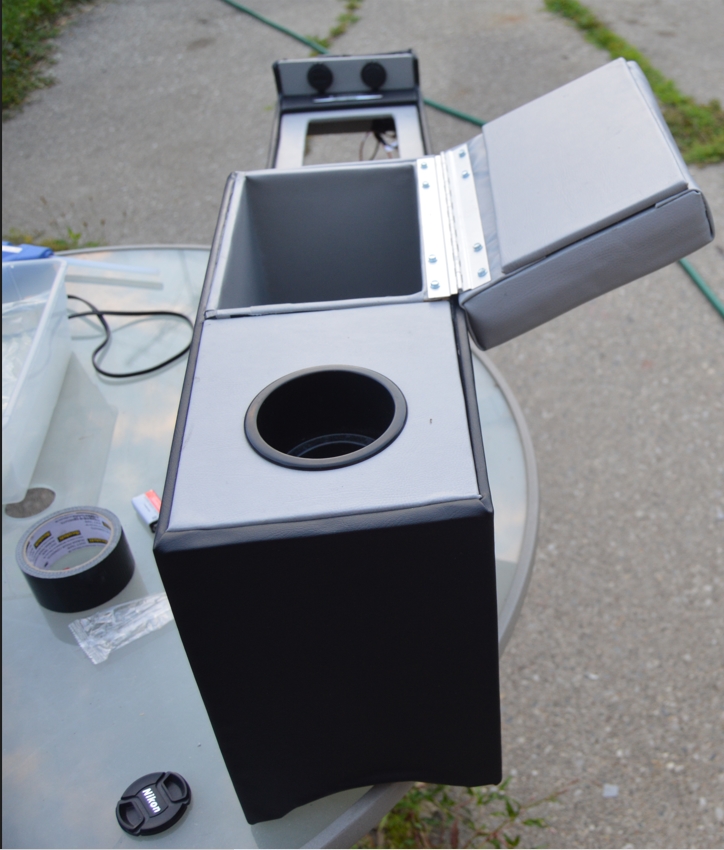
BUILD THE NEW CONSOLE:
.


.
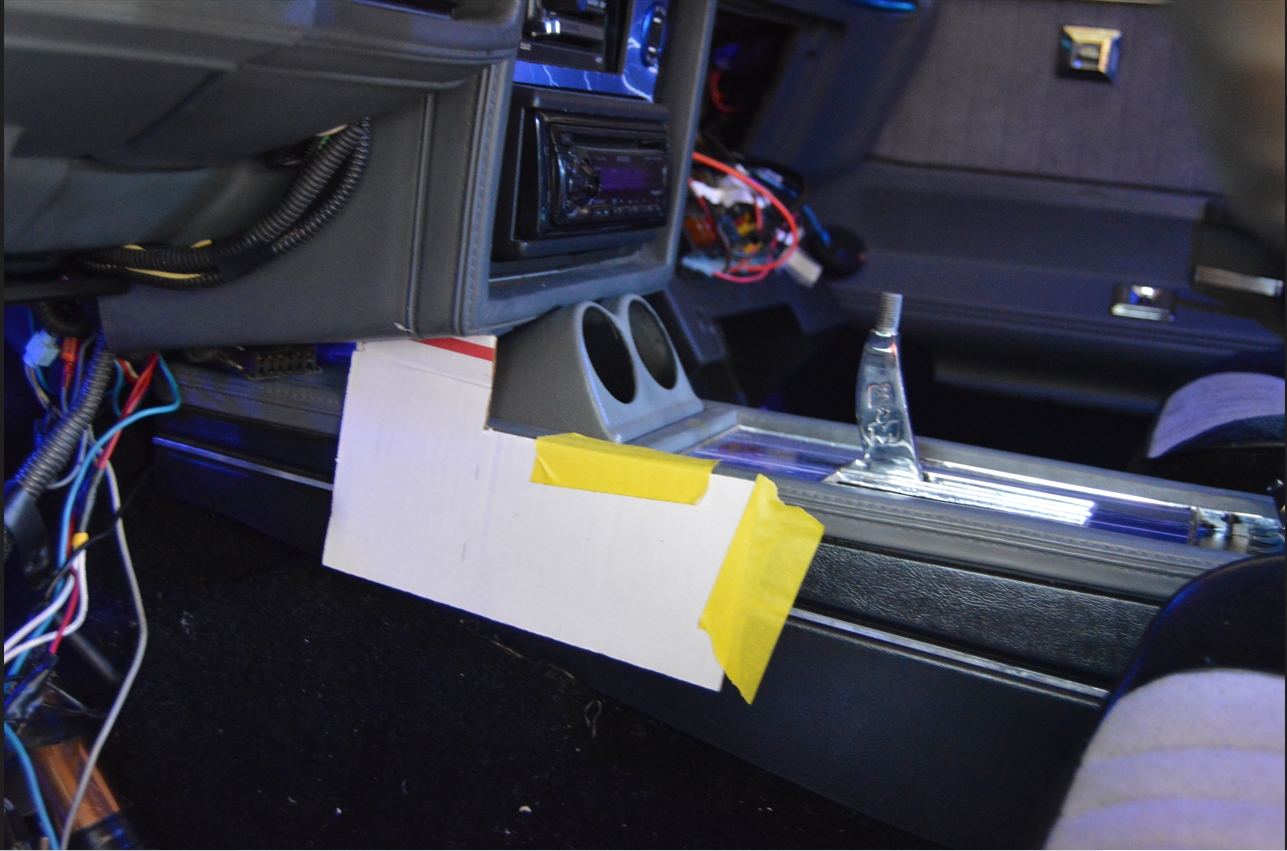
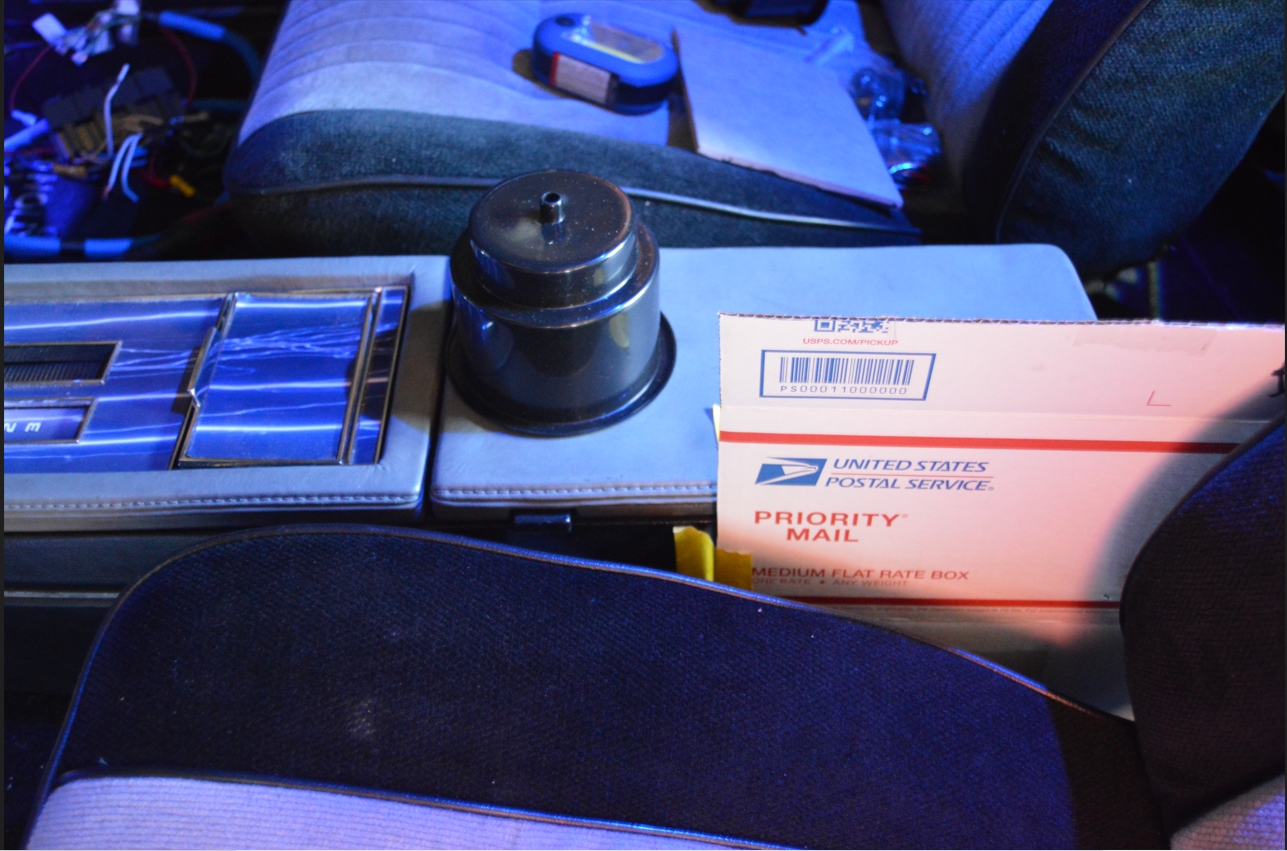
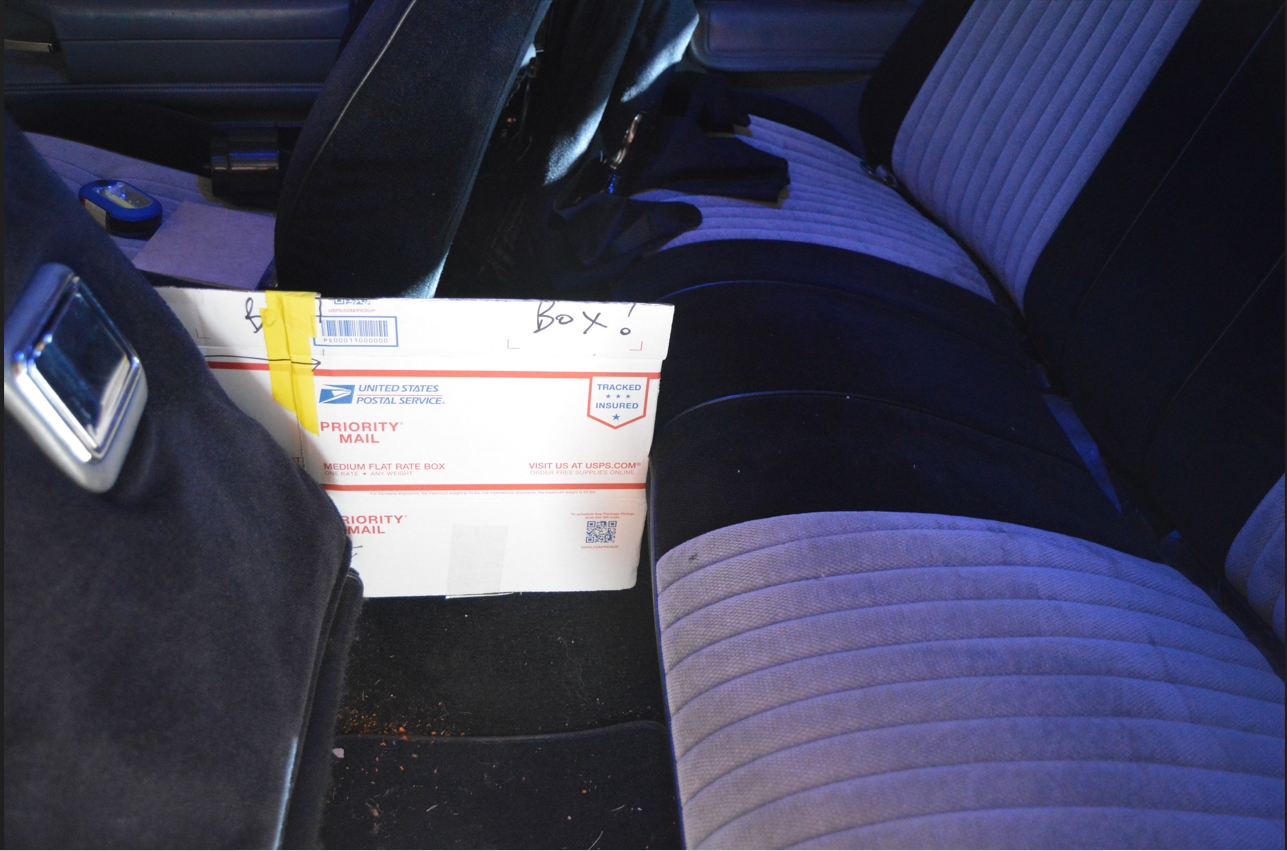
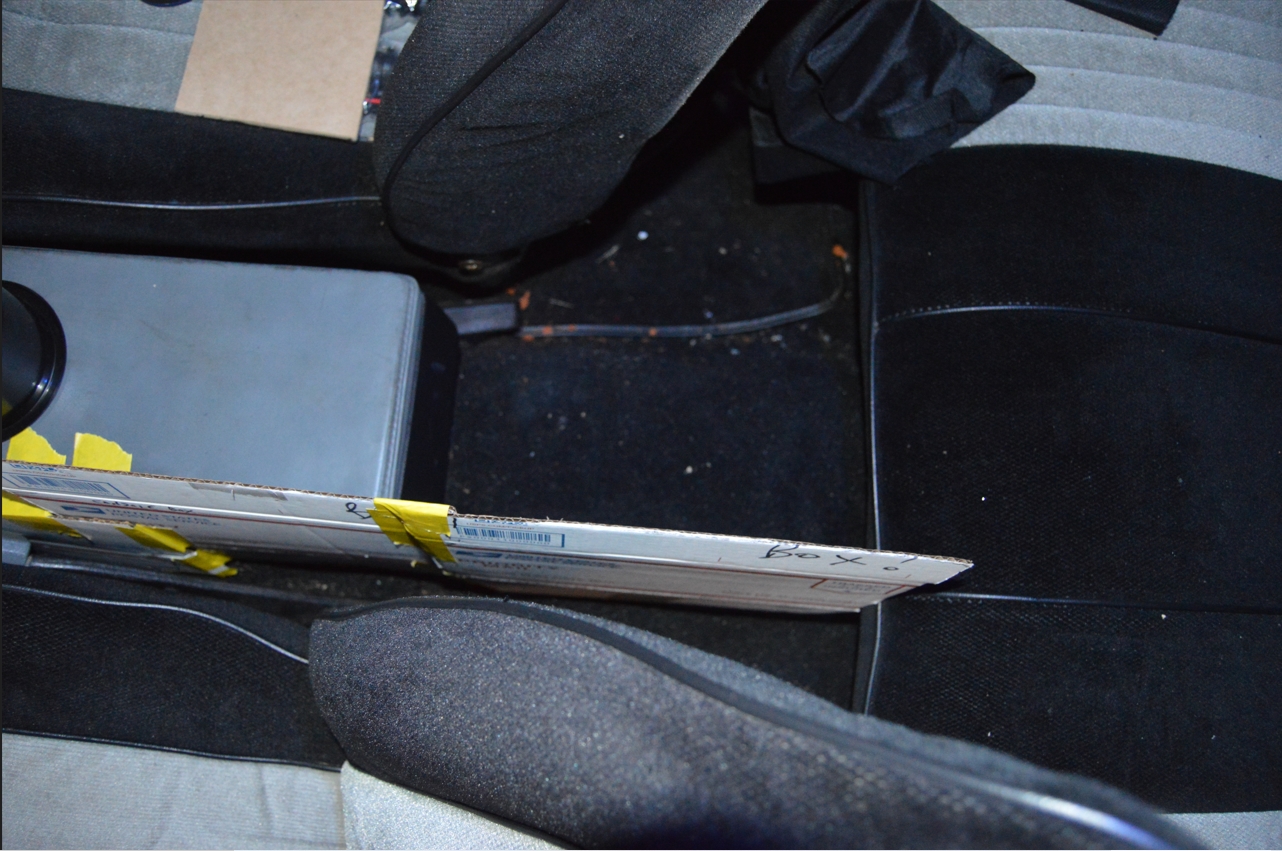
INSTALL NEW RETROFIT CENTER CONSOLE:
.

.
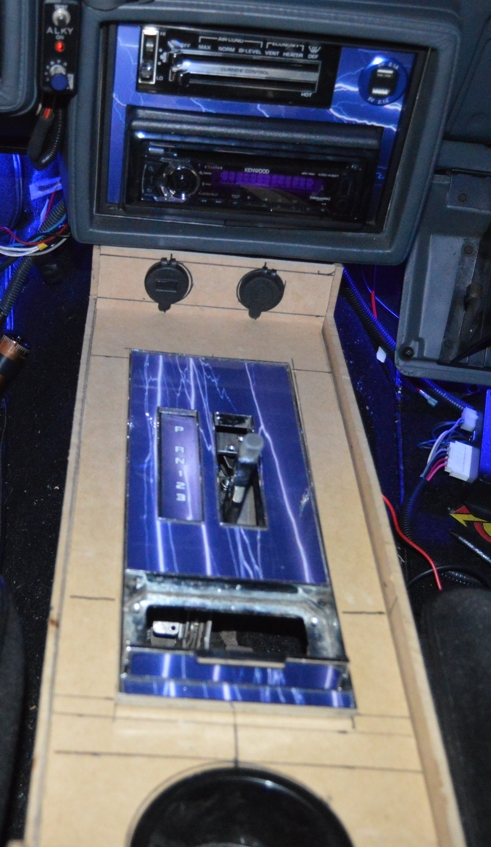
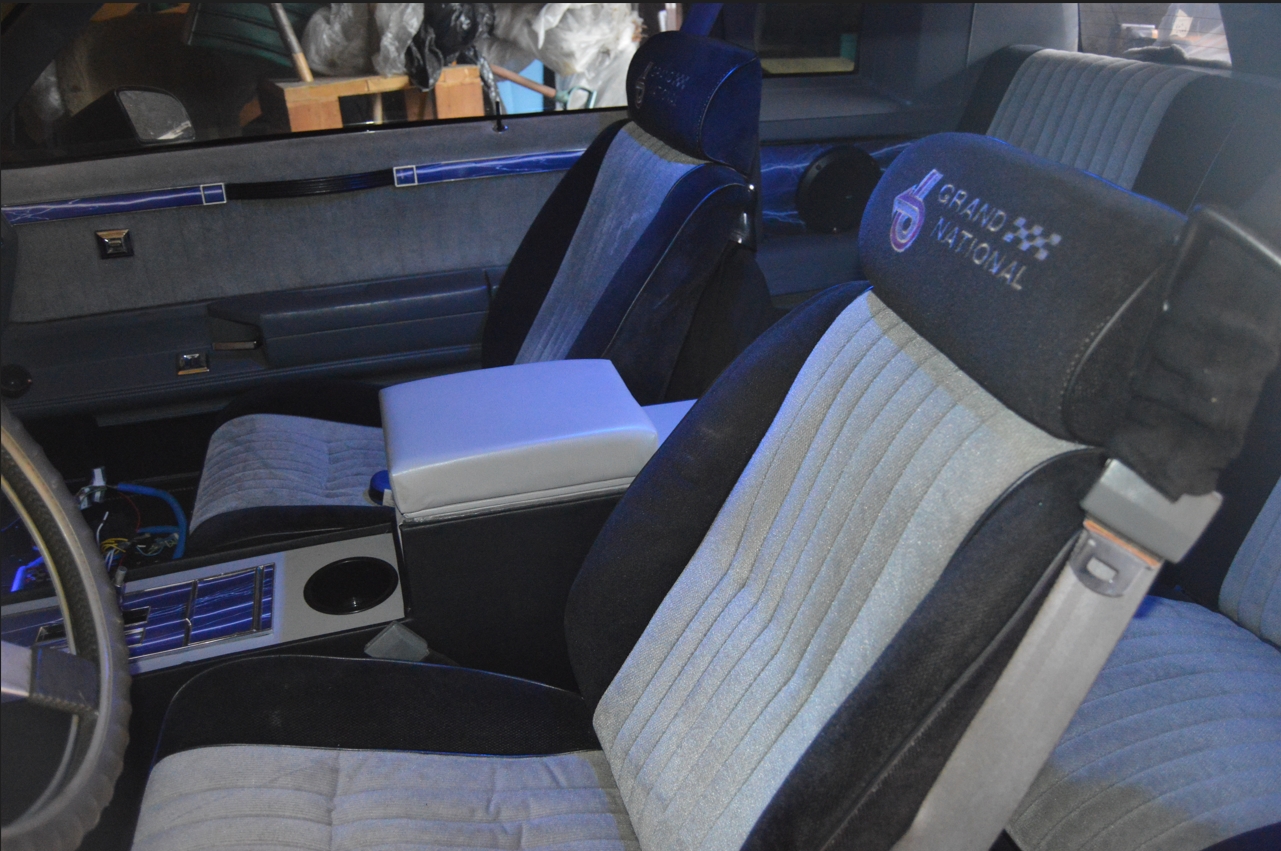
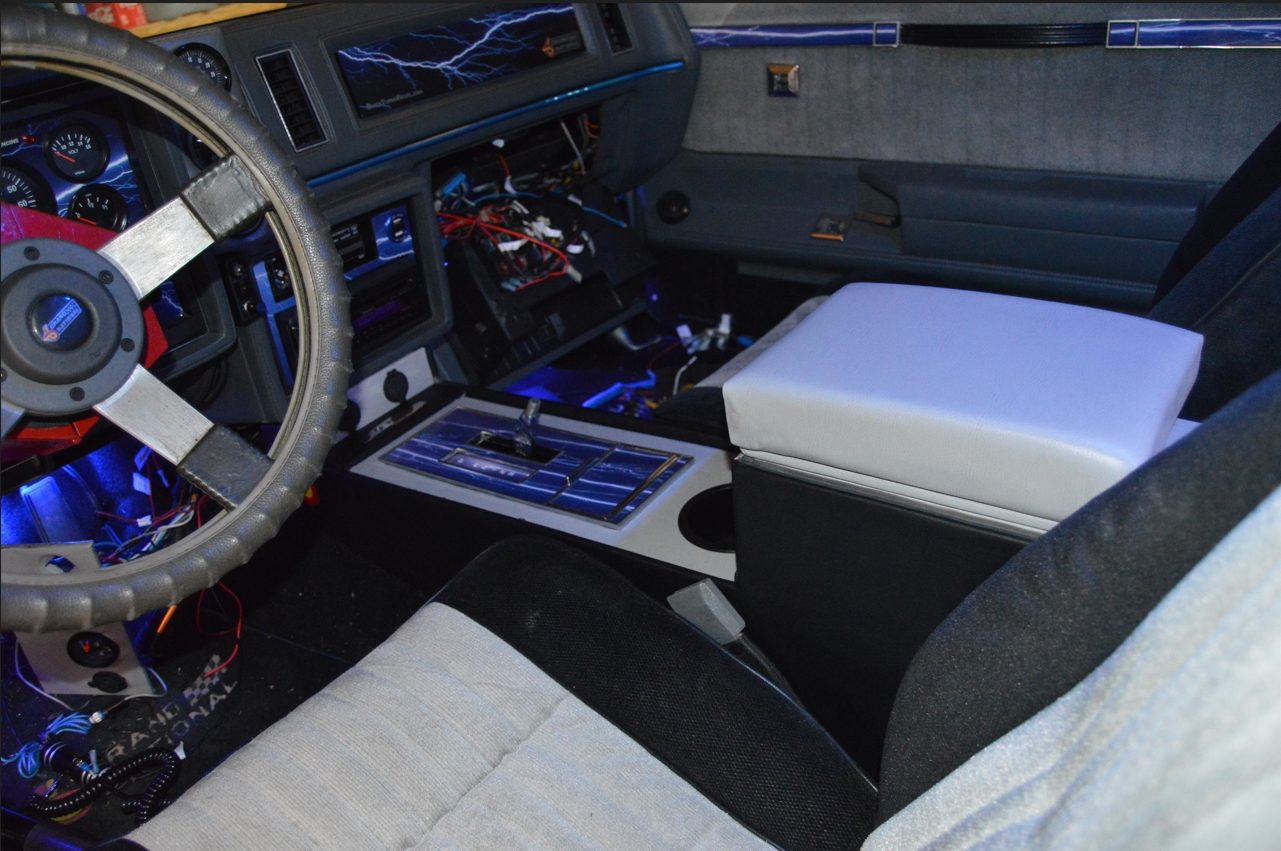
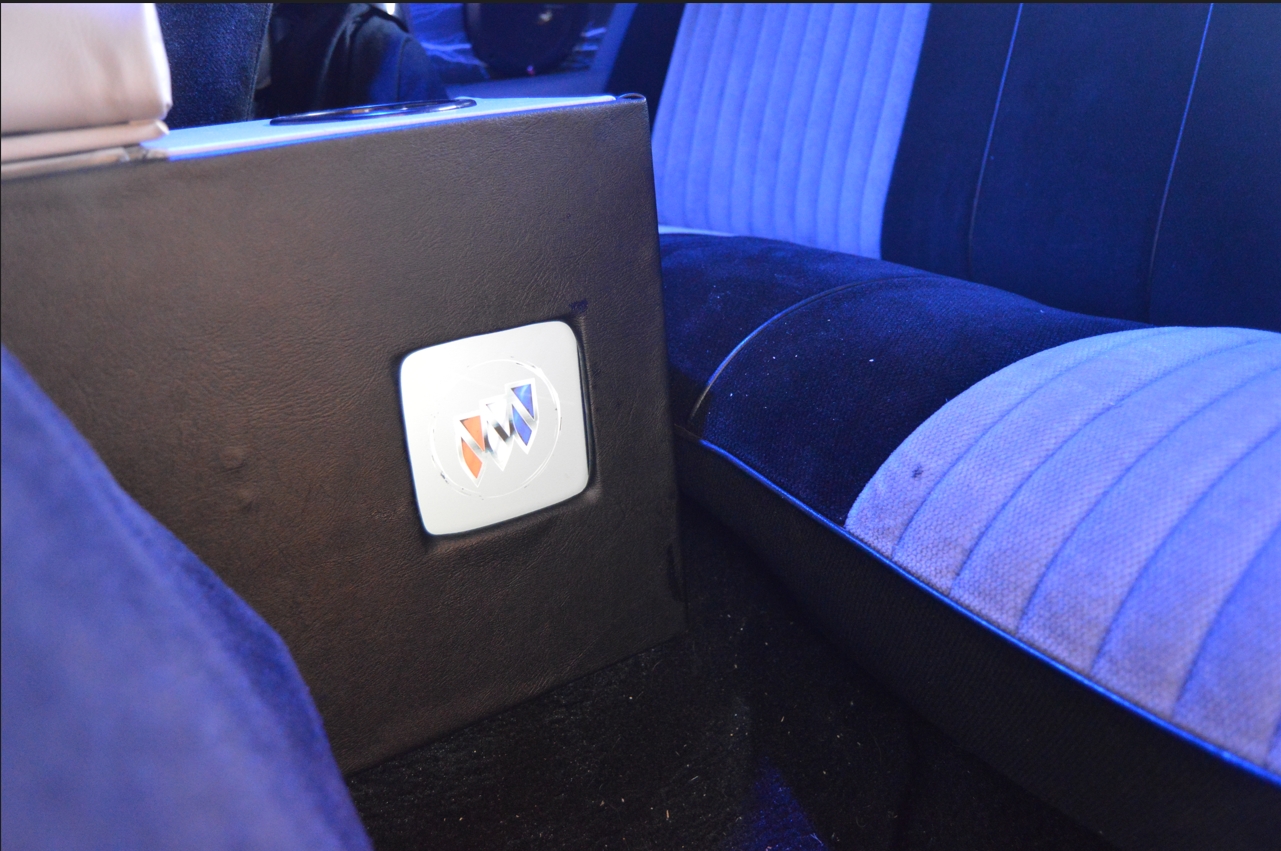
[NOTE: we installed this new center console to make sure it fit right, everything worked as intended, and so you could actually see how it looks inside of a Buick Grand National. Once we took the pics herein, we removed it & installed the special one we built a couple weeks ago for our own Gbody Regal]
.
THANKS for following along with us on another creative venture!
Next week, we are making something else cool!
Another custom item, and (sort of) matching todays project!
(but it’s not as challenging to produce as these latest projects were!)
Don’t miss seeing it!
(there’s a form on the sidebar where you can sign up to our email list to be notified of all new posts that are published on this website! NO spam is sent, ONLY notifications of new posts! Just look for the guy waving at you – the form is under that!)
.
*** ONCE AGAIN, IF YOU WANT TO OWN THIS CONSOLE, CONTACT US! ***
.


