


When we created our custom console unit, we obviously made it to fit our own Buick Grand National needs (which is totally different than the stock version).
However, we were curious to see how difficult it would be to adapt a similar version to basically retrofit the OEM factory center console.
Meaning, we wanted to make another similar unit, but this time utilize the original stock shifter plate assembly piece.
For this style, we are taking a different approach than we did on ours.
Not a full length version, but it is a bit longer than the OEM console.
(it stops about an inch before the bottom portion of the rear seat begins)
It’s also slightly wider than the stock one, but not as wide as ours.
A lot of the custom components we implemented on ours are not going on this one.
The majority of the new console height, follows closely to the OEM console dimensions.
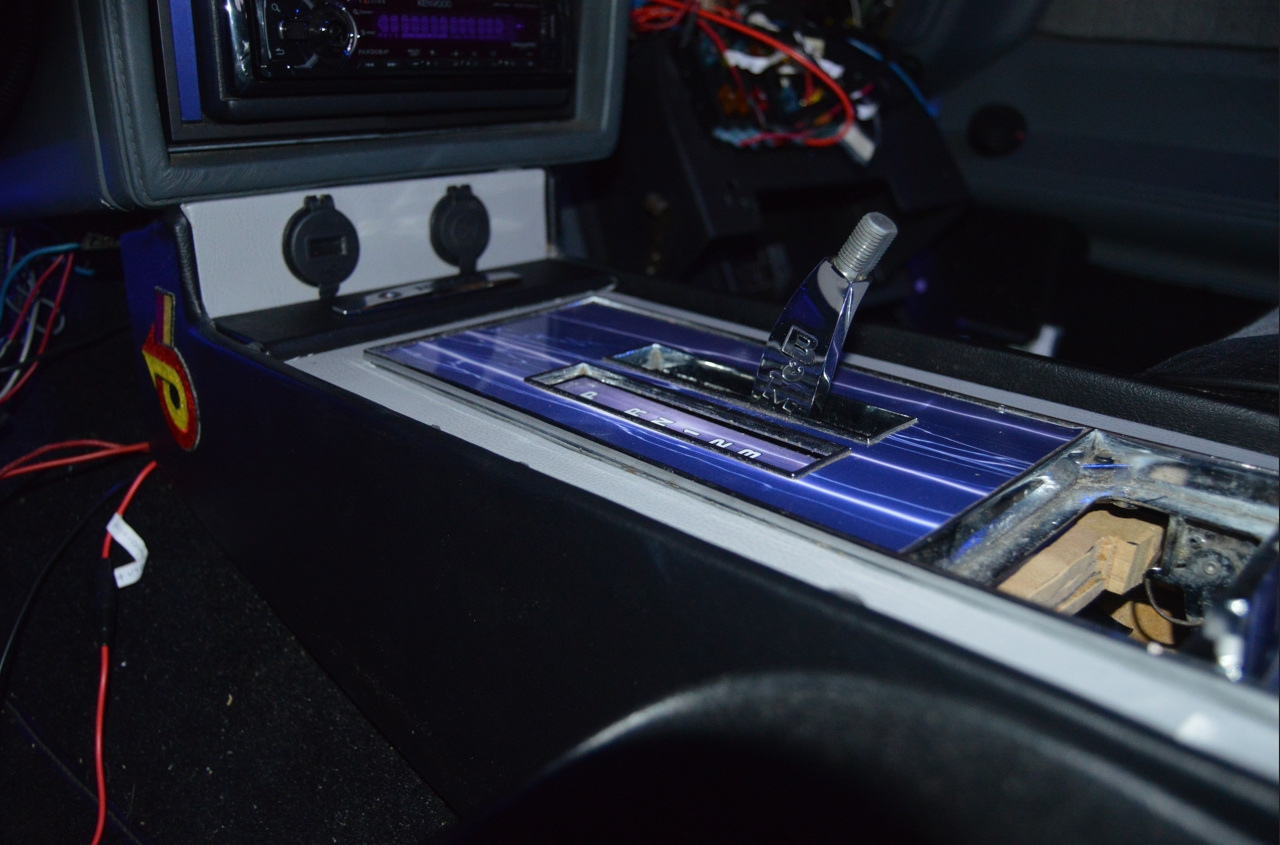
The front does have a slightly raised section (that blends into the stock underdash contour) where a new panel exists (that contains a usb charger and power port plugs).
The rear section, starting at the console box (and ending at the rear of the new center console), is raised 4 1/2″ higher than the factory console. The new lid (with padding) will add another 2″ height on top of that. A nice functional armrest for those long trips.
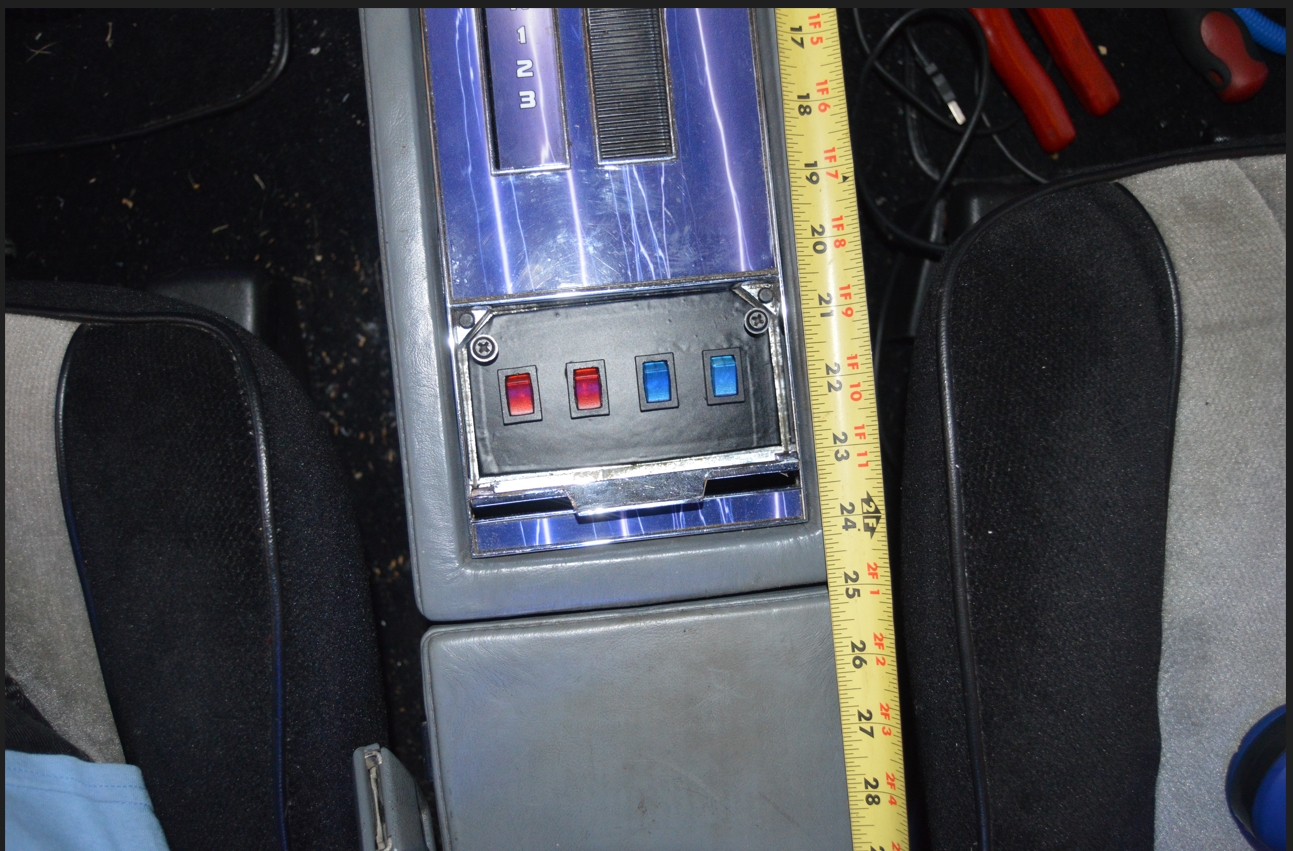
The very front of the new console is 4″ shorter than the original console.
(meaning it starts 4″ further away from the firewall than the OEM one does)
This allows better access to the ALDL plug, and gives the heater more room to blow air out.
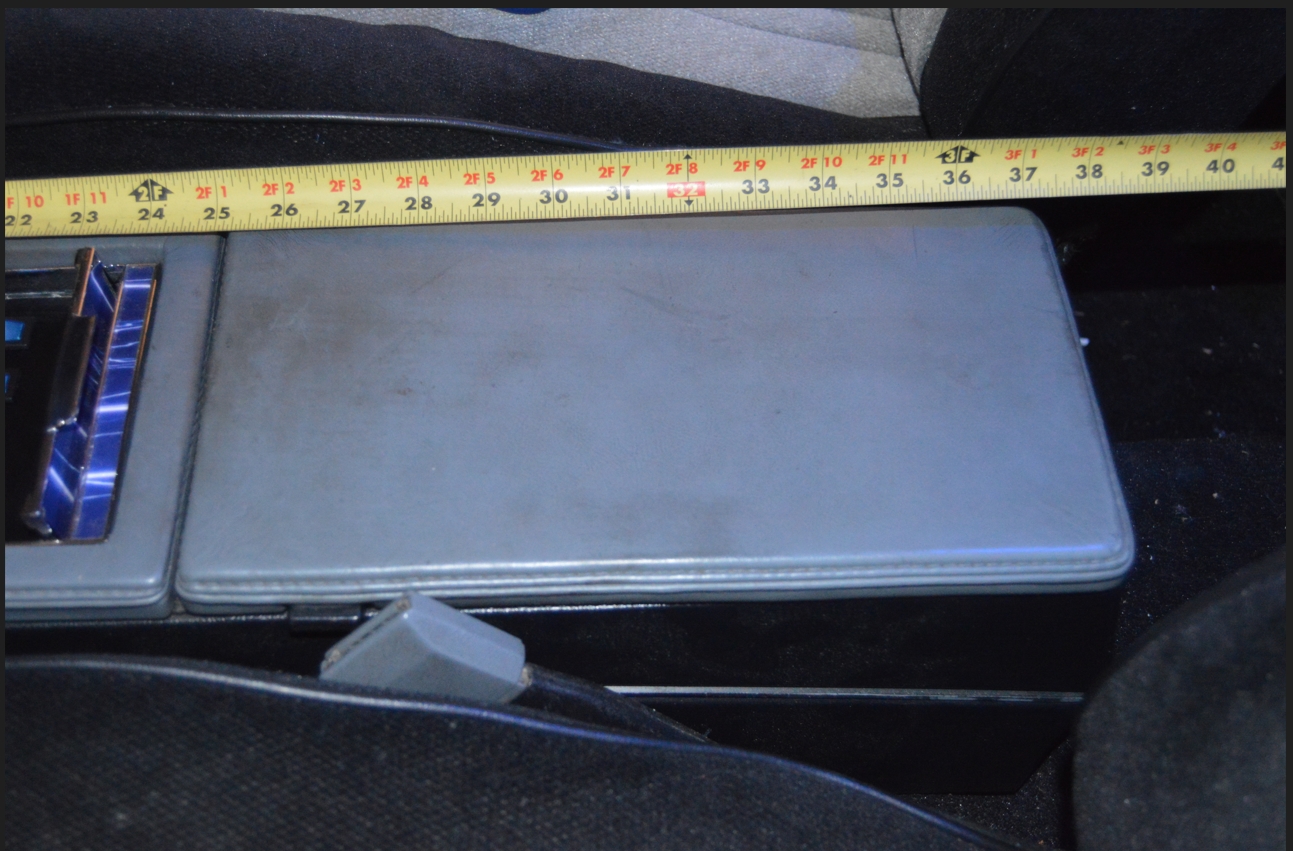
The rear of the new console has 11″ added onto it (from where the factory console ends).
.
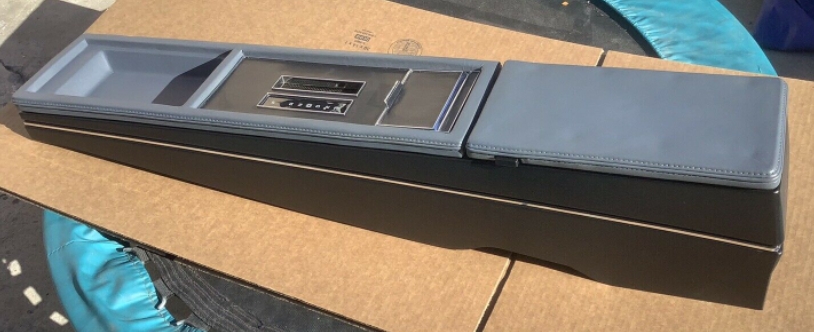
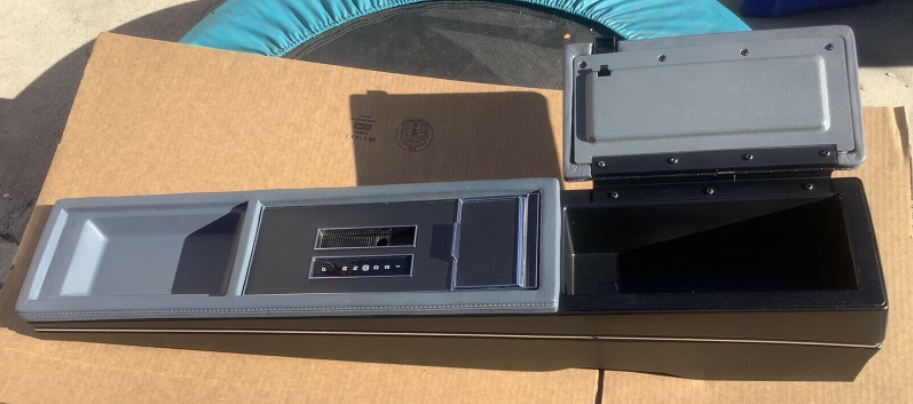
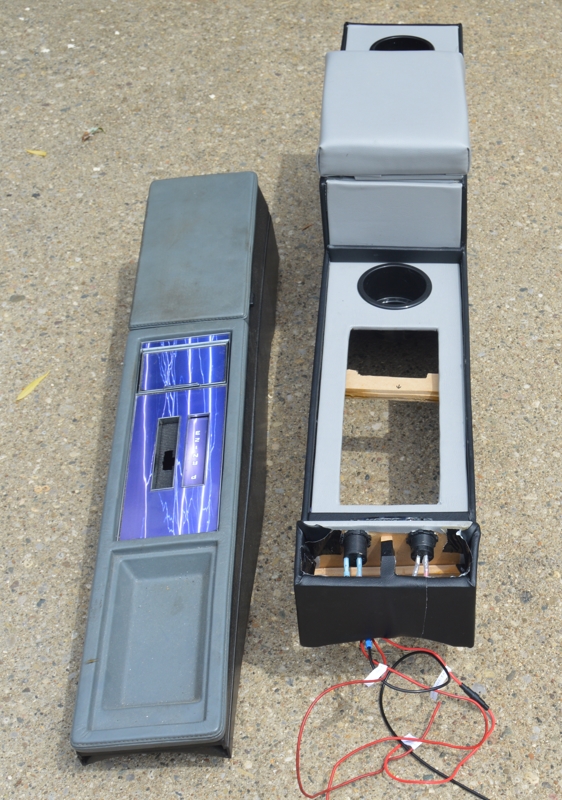
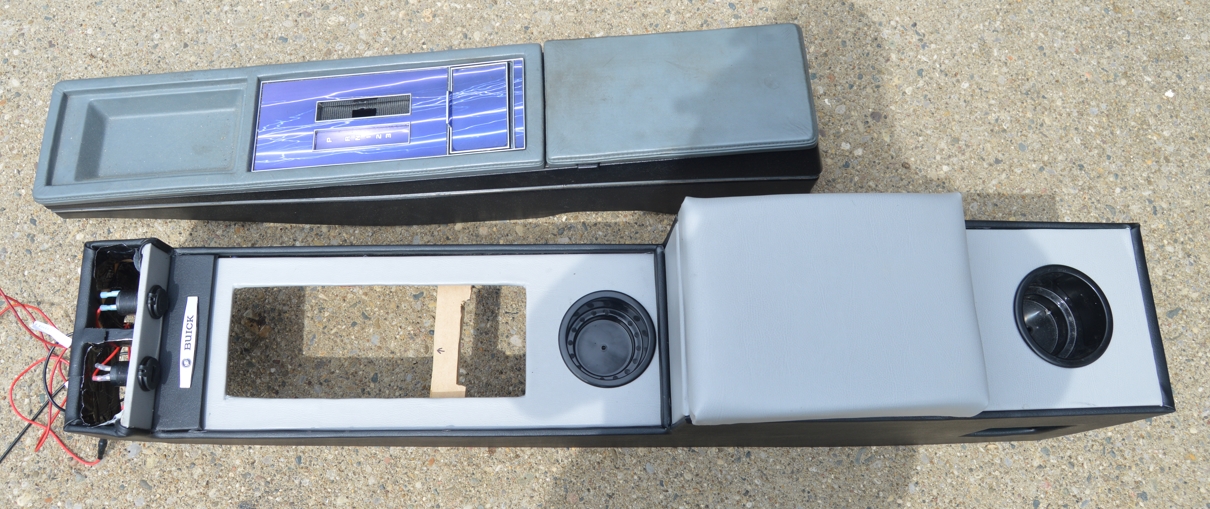
HERE’S AN ORIGINAL FACTORY BUICK GRAND NATIONAL CONSOLE:
.
.
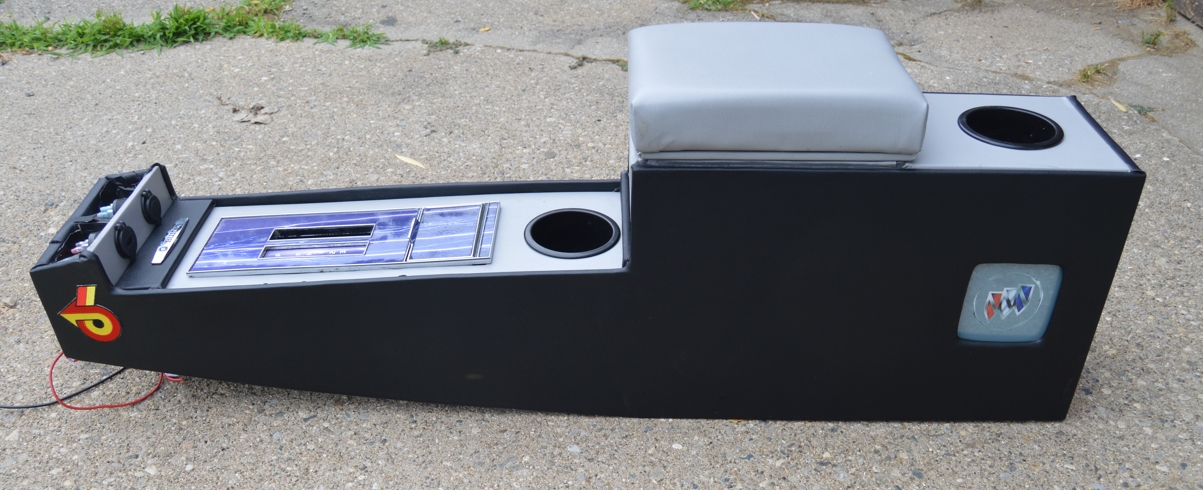
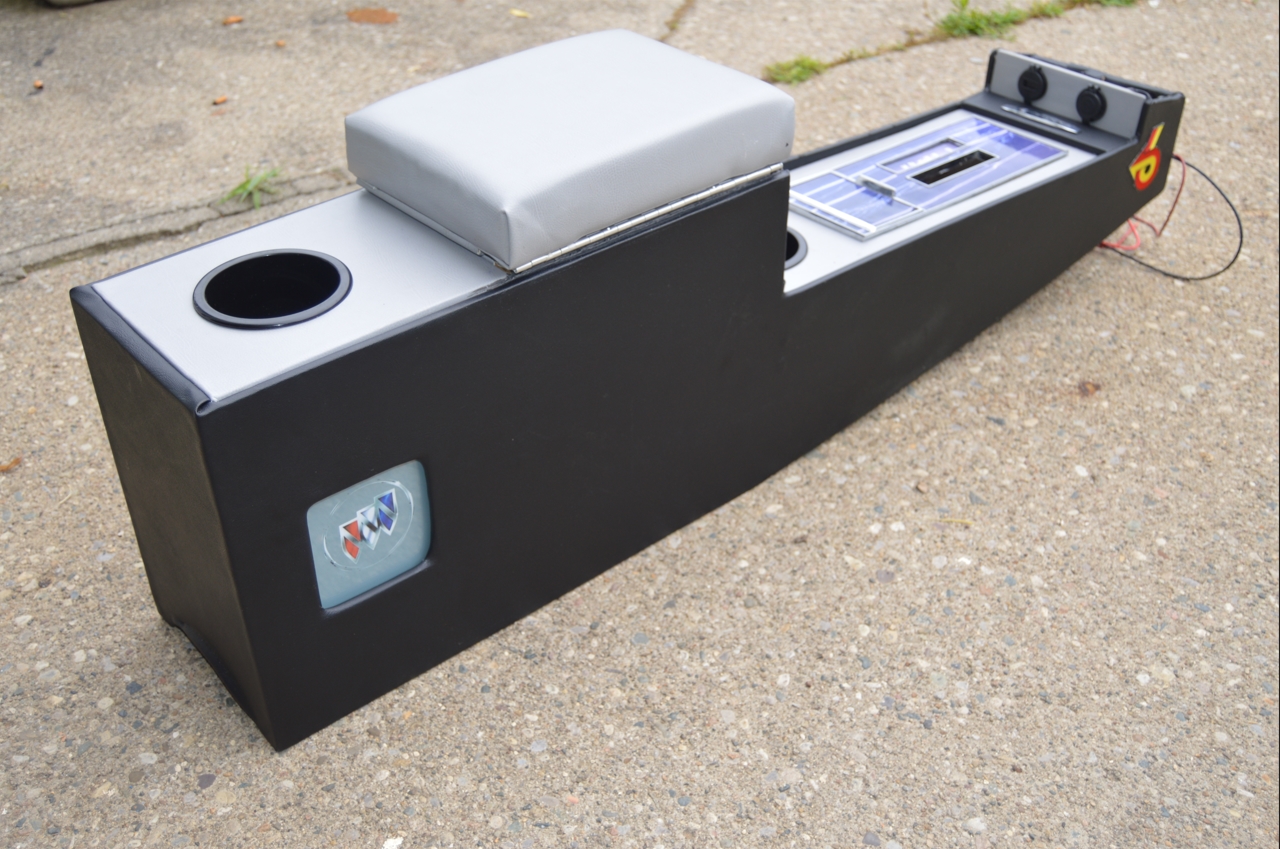
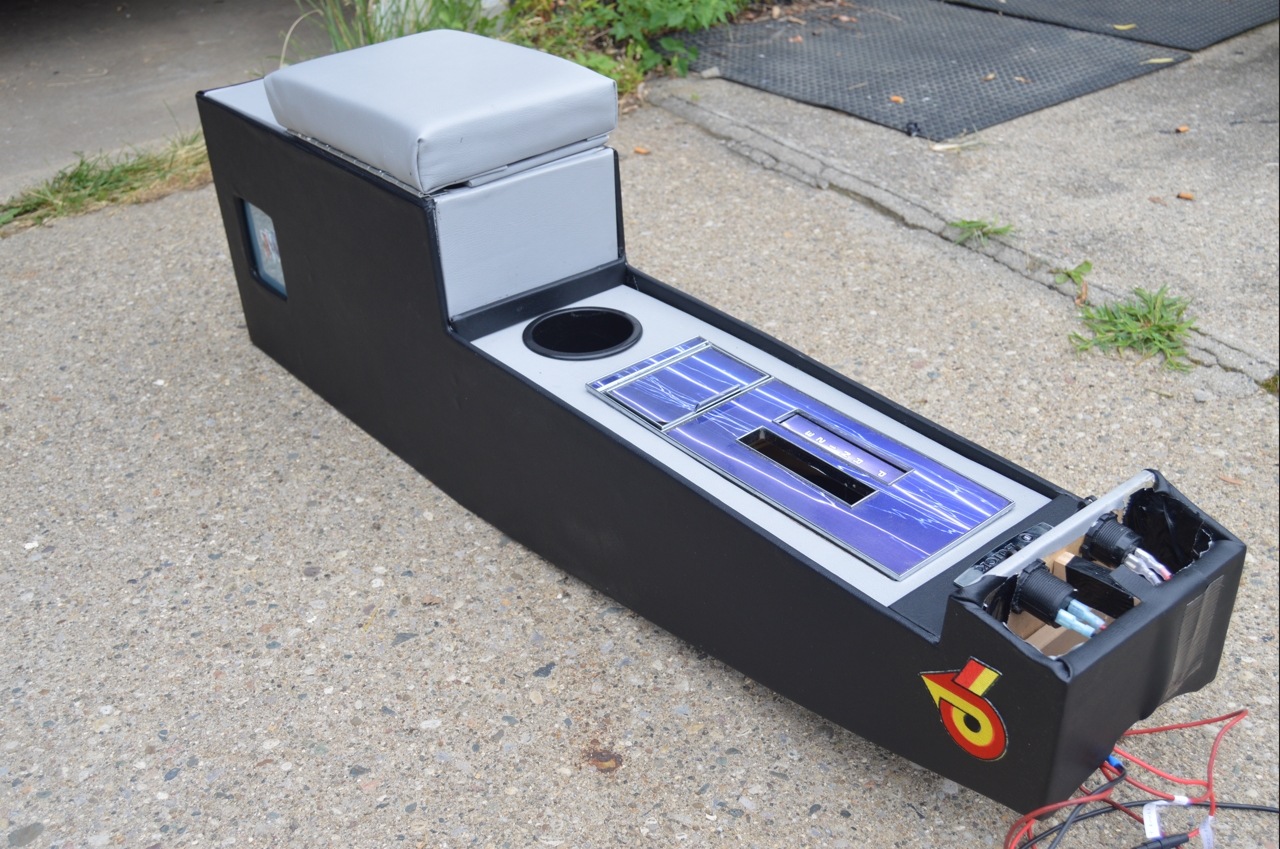
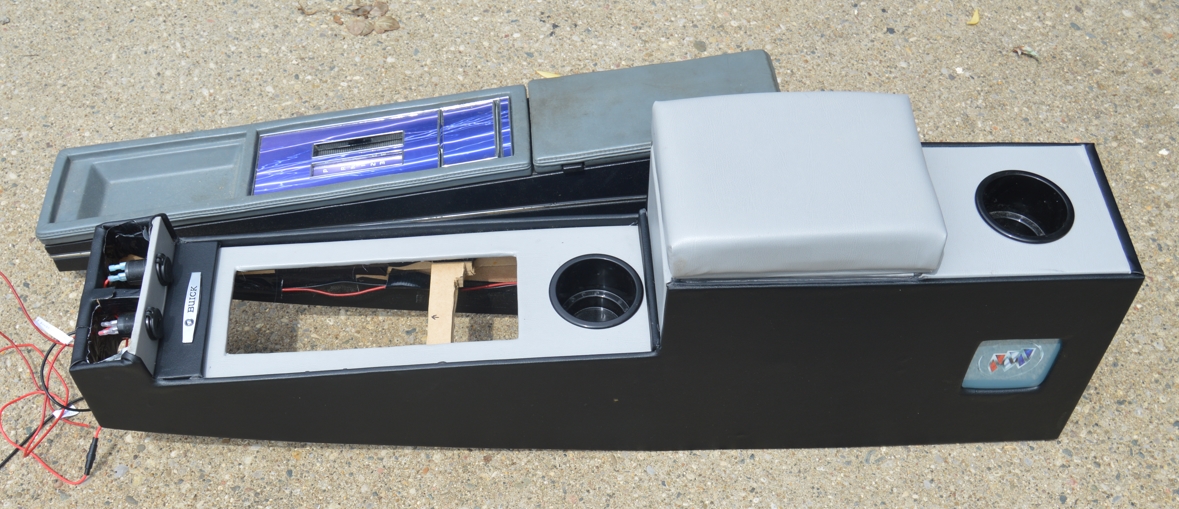
HERE’S THE NEW CUSTOM CONSOLE WE MADE TO RETROFIT A BUICK GRAND NATIONAL (OR OTHER BUICK TURBO REGAL):
.
.
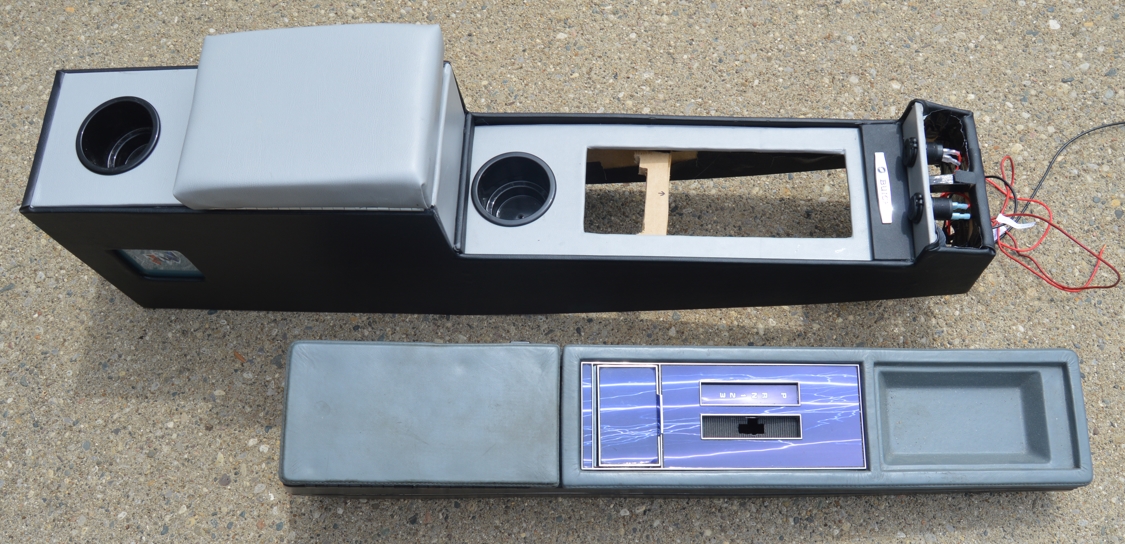
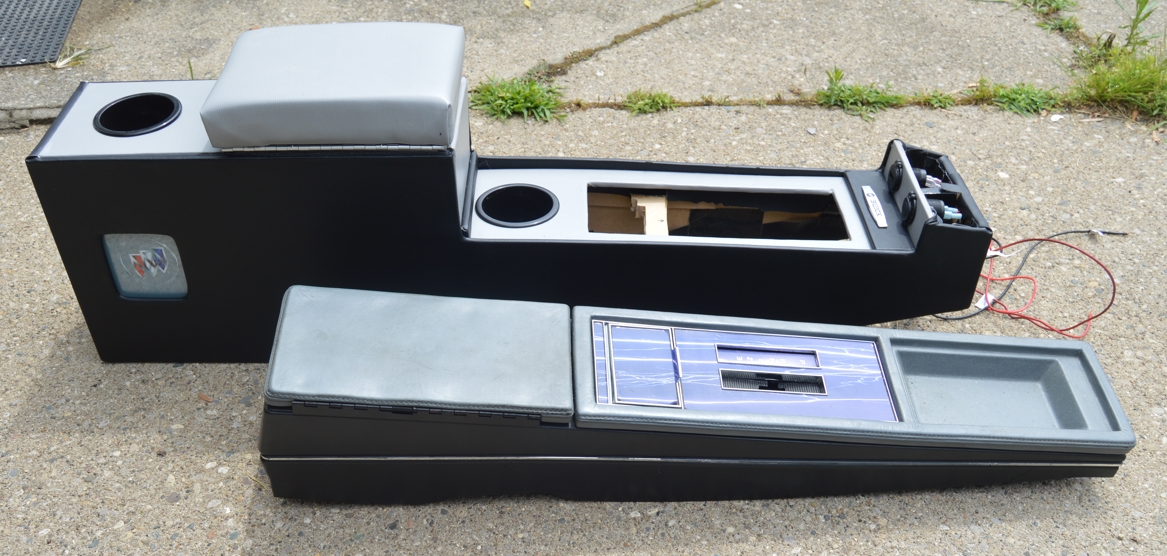
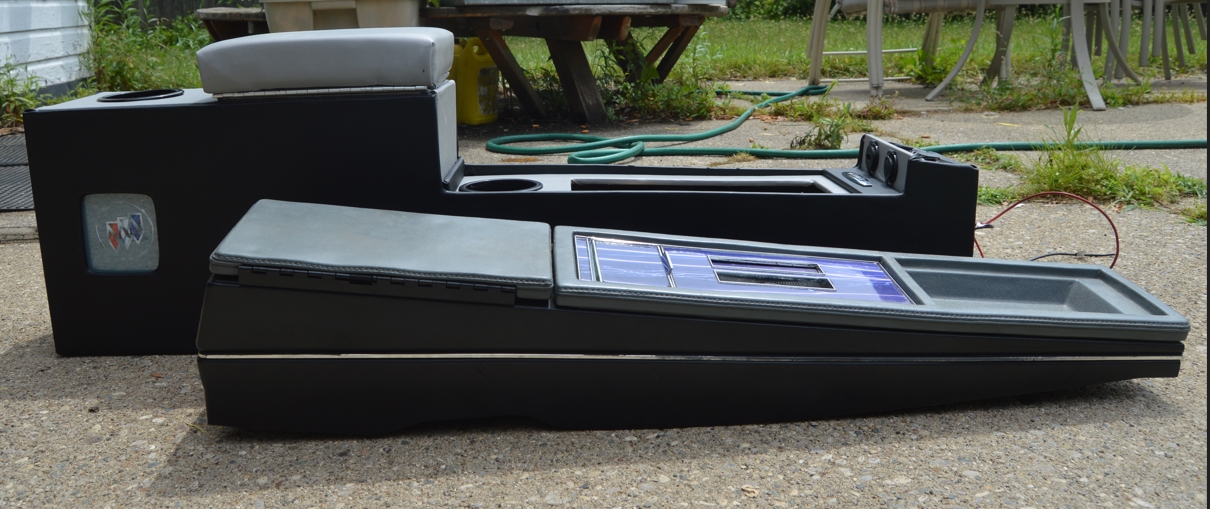
AND HERE THEY BOTH ARE, SIDE BY SIDE (for comparison purposes):
.


.
Comparison specs:
Original center console: 6 5/8″ wide x 38″ long x 2 3/8″ (front) to 7″ (rear) height
console box size: 4.5″ wide x 11.5″ long x 3.5″ deep
weight: about 8 pounds
New center console: 8″ wide x 45″ long x 3″ (front) to 12″ (rear) height
console box size (inside dimensions): 6 1/2″ wide x 9 1/4″ long x 10 1/4″ deep
weight: 18 pounds
[just fyi, the console we built for our Buick GN weighs 32 pounds]
.
Features on new center console:
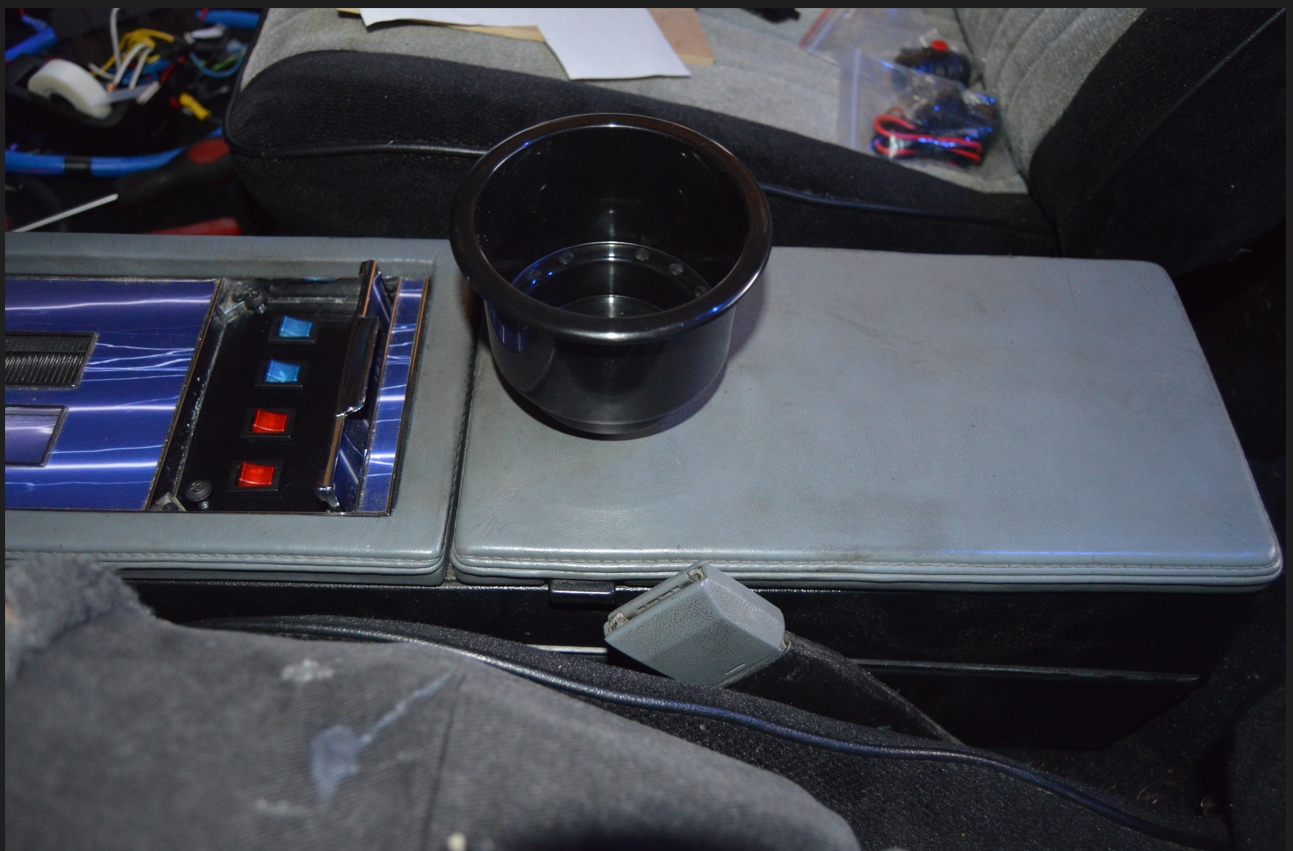
– 1 front black plastic cupholder
– 1 rear black plastic cupholder
– larger console box
– incorporated high-rise padded armrest (console box lid)
– 2 USB plugs (charging ports) with red LED voltmeter (all in 1 gauge)
– 1 power port (cigarette lighter type outlet)
– 1 Buick nameplate emblem, chrome
– 2 turbo 6 arrow embroidered patches (1 on each side)
– 2 tri shield LED backlit images (1 on each side)
– black, and gray, vinyl outer covering
.
The actual construction of this new center console is built pretty much like the last one, so we’re not going to go into too much details about that.
(you can check out all the details starting here for our custom Buick Grand National center console)
Since we had the experience from building the first custom center console, this time around was much easier, and quicker to put it together.
It utilizes all of the same structural components as the last time, and again secures down with the 2 OEM bolts (at the bottom of the console box).
The parts list and tools list are similar as well.
(we knew we were going to build 2 total consoles, so we bought enough materials the first time around to be able to create 2)
.
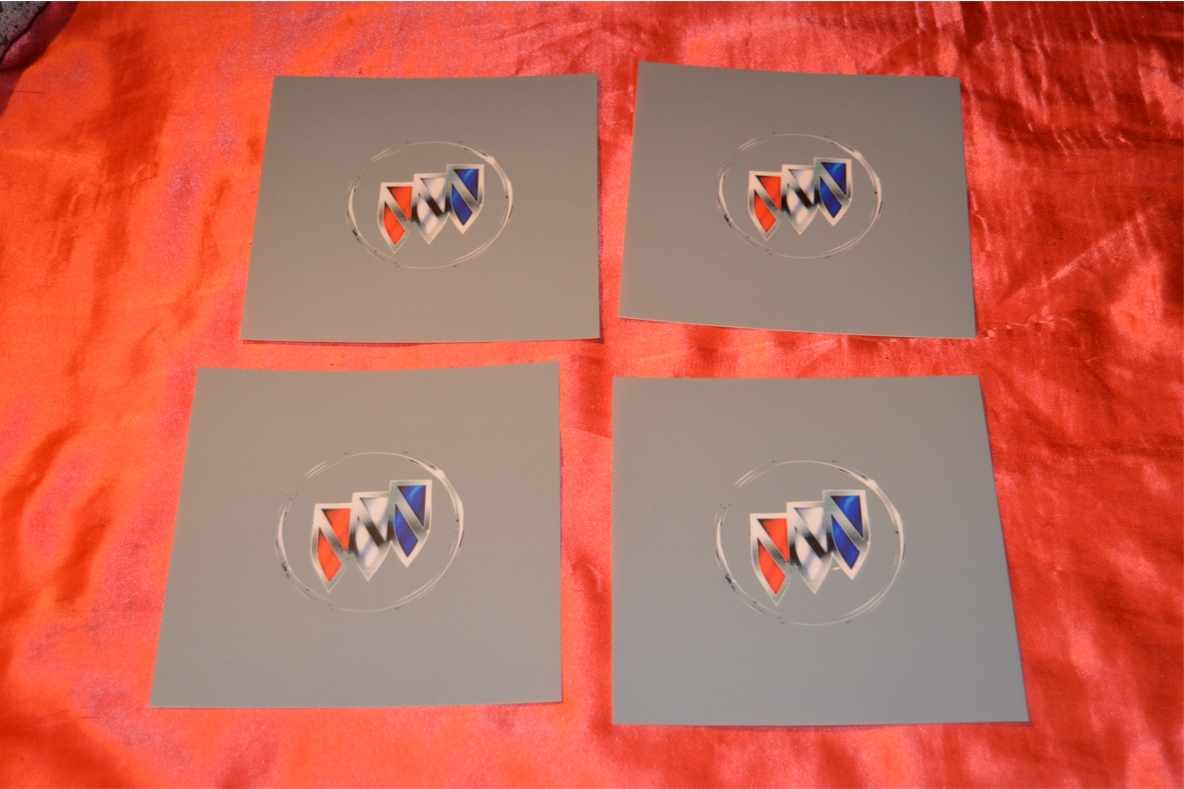 For the custom (in the rear, on each side) Buick Triple Shield logo / lights, this was done the same way as the ones we installed in ours. They were printed on a special backlit film material, 4 images on a 12″ square sheet, which were cut down to individual 6″ squares. They were affixed to matching 6″ square plexiglass panels, which were attached to the inside of the console. The images are backlit by a single white LED bulb that shines onto both of them.
The Tri Shield logo side lights turn on when the headlights are switched on. They are controlled by splicing into the hvac light (the gray power wire). There’s just 1 LED light (for both side images) so this isn’t too much extra added onto the regular lighting system (as far as the fuse & wiring goes for the stock setup).
[all the wires are pre-labelled for easy install into YOUR car should you want to purchase this console!]
.
Since there is an added cupholder (behind the factory shifter plate), the start of the armrest / console box is approximately 5″ more towards the rear of the Gbody Regal than the stock unit is.
.
The start of this journey:
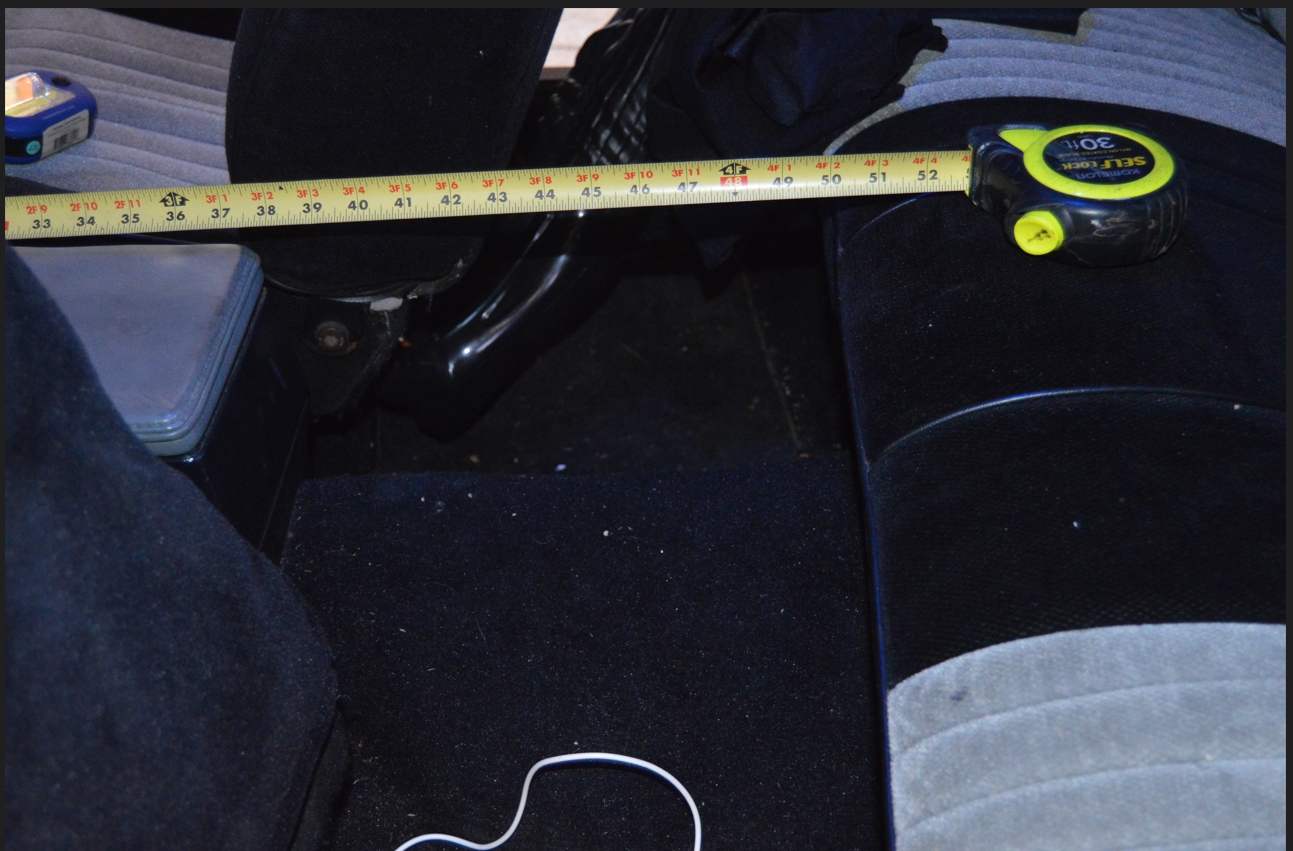
TAKING MEASUREMENTS & LOCATING COMPONENTS:
.


.
*** For those who are interested, not only did we create this unit to see the actual differences in these 2 units, but we made it to sell to someone who can appreciate it for what it is! IF you are interested in purchasing it, CONTACT US HERE.
(the unit you see in the photos is the actual unit you will receive if you are the buyer!) ***
.
.
Be sure to come back tomorrow to see the full build and installation!
[ see it here: OEM Retrofit Custom Center Console ]
.

.


