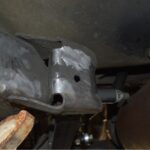
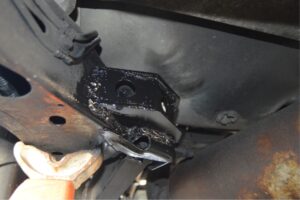
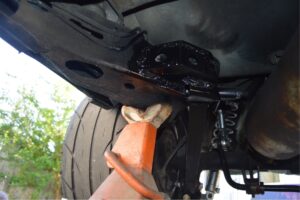
We’re back at it again on this 1987 Buick Grand National.
Once you have all performance rear suspension components, such as trailing arms, shocks and springs, anti-roll bar, plus the other beneficial support braces, like the control arm reinforcement braces, and rear shock tower brace, it’s probably a good idea to add some strength to the OEM parts that hold these items onto your G-body Regal.
The assumption is made, that since you have all of the above stuff, that your Turbo Buick actually needs them.
Since that’s the case, the next logical step is to add control arm reinforcement supports to the factory mounts on the frame.
Today, we are doing the lower support pieces.
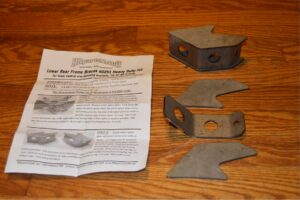
We are using the ones that are made by HR Parts n Stuff, but other race car vendors create and sell similar products.
(the HR parts ones are also sold by many Buick vendors)
These pieces go in front of the existing mounts that are located on the front side of the lower control arms.
The idea behind them is so that the stock mounts don’t get pulled off from the frame (from all that torque that’s being generated by your Turbo Regal engine). It also prevents the mounts from getting pushed forward or upwards upon launching your vehicle.
By adding these lower control arm reinforcement support braces, which are welded to the frame AND to the actual mount, it’s almost impossible for the lower control arm mount to move or become detached from the frame.
.
.
COMPLETION TIME:
– about 2 hours (all in, with cleaning, welding cool down time, and painting included)
.
PARTS:
– HR Parts n Stuff lower control arm reinforcement support (#HR-0251, about $45 + shipping)
– can of black paint ($5)
.
TOOLS:
– welder
– dremel / grinder / wire cup brush on a drill, etc. (to clean off frame)
.
Welding ON the car, while you’re upside down, in tight spaces, is sure fun! 🙁
A lift would be beneficial for this, but since we don’t have one, up on jack stands it is.
Test fit all the parts (on the frame) before you start assembling.
Note where they go, then clean the frame around the brace to get a good weld.
.
.
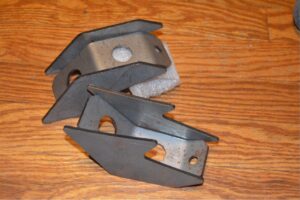
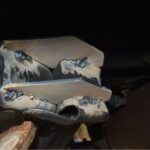
The lower control arm reinforcement supports consist of 3 pieces, the top & bottom are the exact same piece, and the center piece is bent in 3 angles to fit nicely in between them.
Place the lower part into position, tack weld.
place the center piece onto that, then put the top part on, and tack weld the top piece.
Remove center piece.
Stitch weld both the top & lower pieces, on both sides of each piece.
You should alternate working between the top & bottom pieces, and side to side (frame, mount), which helps to not warp anything, and so that no area gets too hot.
Take your time between welds, let things cool down before restarting.
You should also reinsert the center piece every once in a while to make sure it still fits!
(welding the top & bottom pieces tend to shrink the area in between!)
Once the top & bottom pieces are completely welded on, insert the center piece & weld that to the top & bottom parts, as well as to the frame.
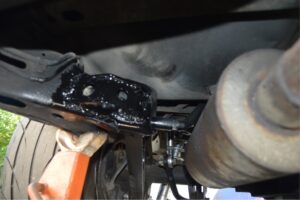
After the new assembly is full attached to the frame, AND cooled down enough, paint it all for rust prevention.
.
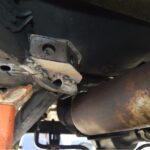
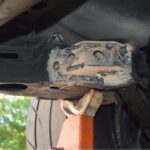
.
The pictures shown here are from the passenger side of the Buick GN.
.
Come back tomorrow, when we install the upper control arm reinforcement supports!
.
.


