


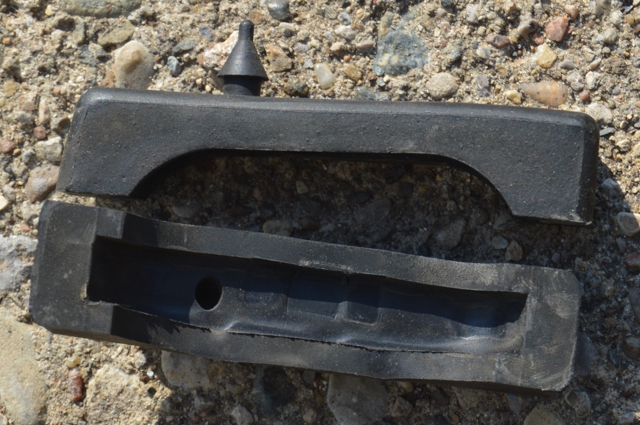
Yesterday we showed you some assorted radiator hold down plates.
Today we’re doing a replacement of the stock OEM upper radiator cover, and switching it to an aftermarket version on our 1987 Buick Grand National.
There really wasn’t anything wrong with the original factory radiator support, but we’ve been prettying up the Gbody Regal for the last few years, and everything else on the car is done.
Now it’s time for the engine compartment.
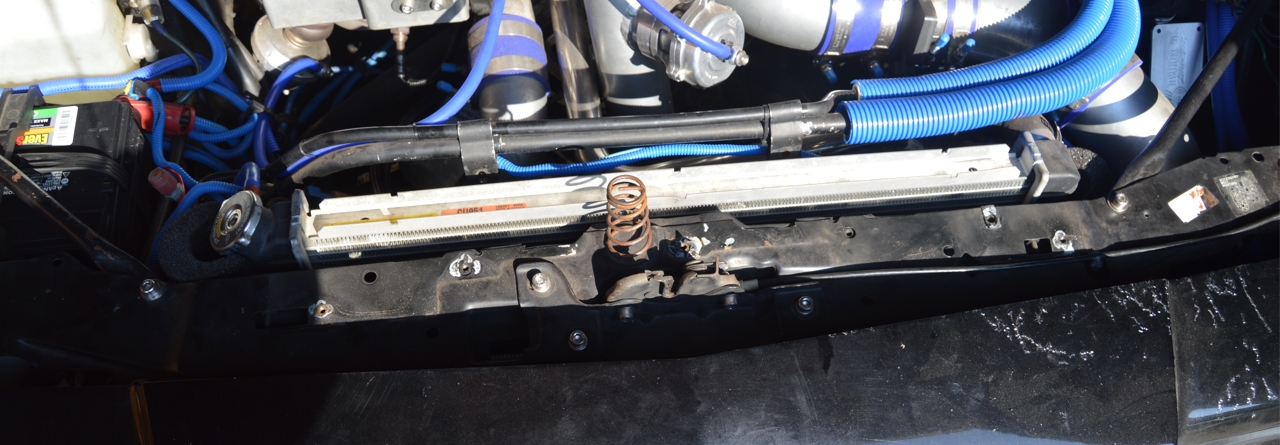
[BTW, if you’re wondering why the hood spring is on the core support instead of the hood, it’s because we have a fiberglass hood, and there isn’t a provision for it on this type, like the factory hood has]
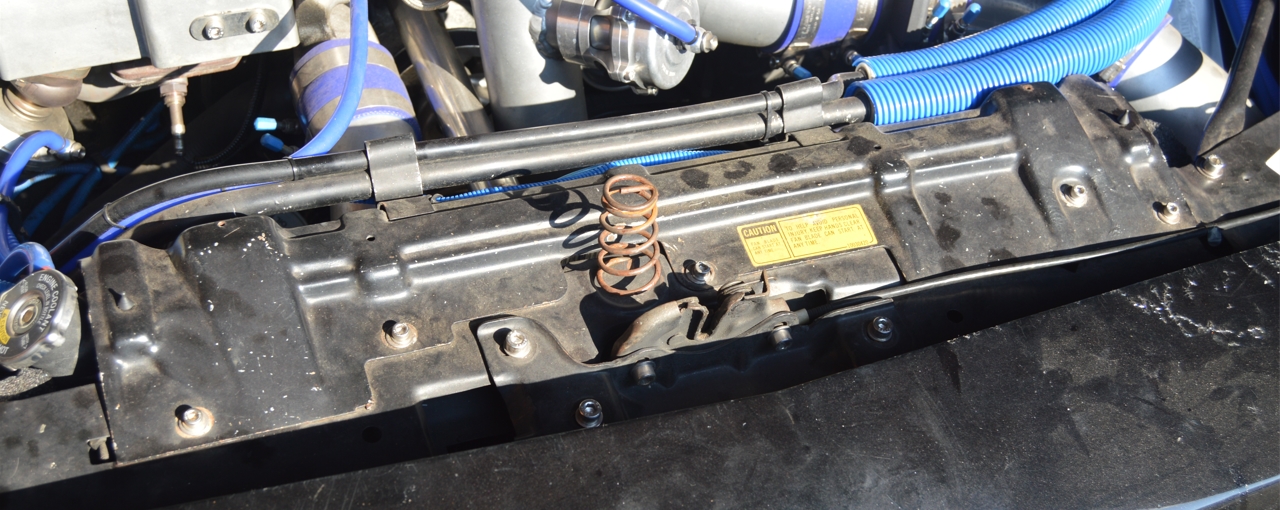
.
We weren’t really looking for something “too” shiney.
That means no chrome, no mirror type finish pieces.
In our minds, Buick GN’s were made (mostly) black for a reason, and it should (for the most part) stay that way, but little splashes of non-black are ok in certain areas.
This is one of them.
We didn’t want to spend a ton of cash on this particular unit, but we wanted something to add a bit of bling to this spot.
(isn’t this usually the case? Cheap but nice?)
Most of the styles like the one we acquired stated “stainless steel” as the description, so we figured they were all pretty much the same item, and made by probably 1 or 2 companies, and then sold by 100s of sellers.
In reality, meaning just literally pick the cheapest one available and call it good.
(AKA: “price shopping”)
Ebay, here we come.
Found one for around $37 shipped, but didn’t immediately buy it, since we were still researching the merchandise. We “watched” it on our account.
The next day, the seller sends a “hey! special offer!” message for it (as some people do to gain additional sales, which obviously works).
[that’s why it’s sometimes advantageous to NOT buy it right away if you can, we’ve had multiple sellers send us a better price the day or 2 after]
So, score! $35 shipped! Bought it. (we saved a couple bucks, woohoo! lol)
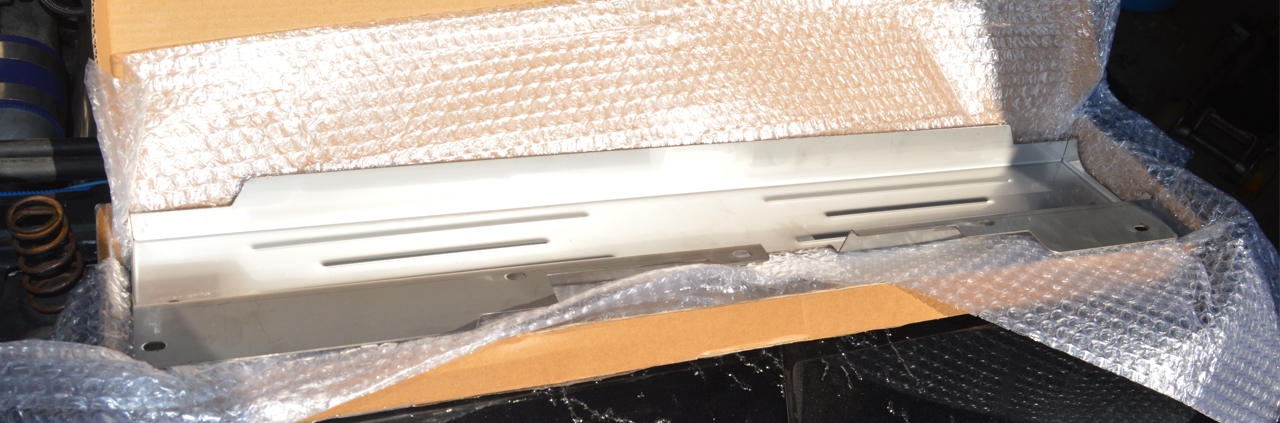
2 days later, it arrived.
OK, so it’s NOT “stainless steel” (raw metal) looking, you know, like a “brushed” (either machined or satin) type finish, as we were imagining it would be.
To be fair, this seller stated it was a “silver color” (not “stainless steel”), but as most ebay sellers do, they often use a variety of similar keywords in their descriptions for maximum exposure (even though “most” of the time, the items are exactly the same regardless of “words” used).
So we just “assumed” (yeah, we know…) that it would be like the other dozens of these things that were being sold online.
But it wasn’t.
Initially we were sort of disappointed.
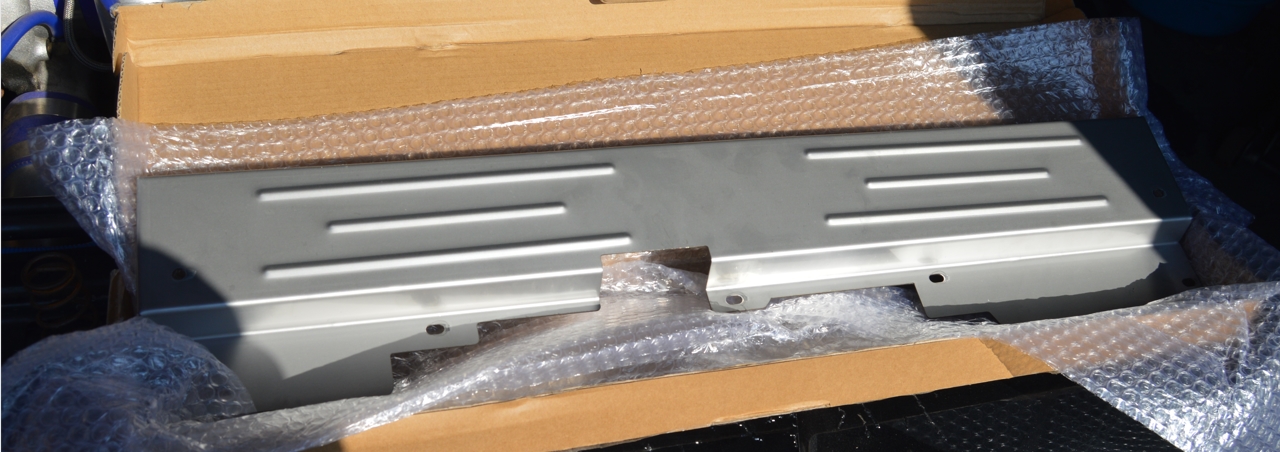
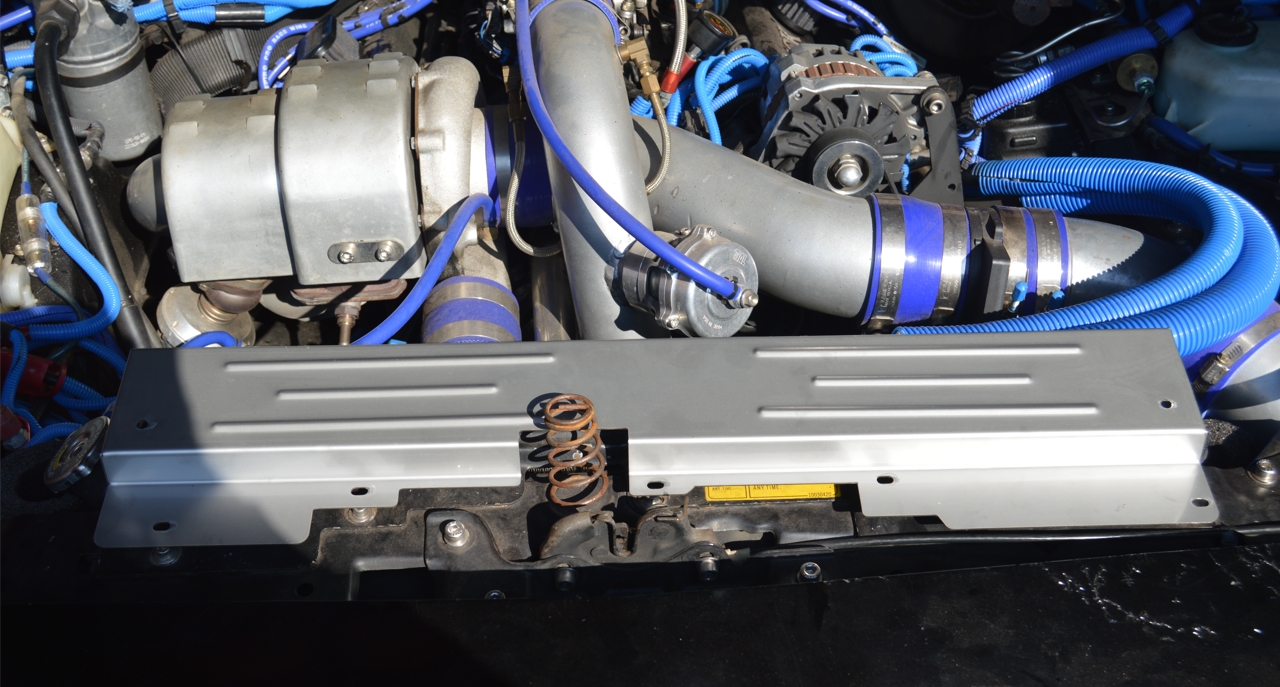
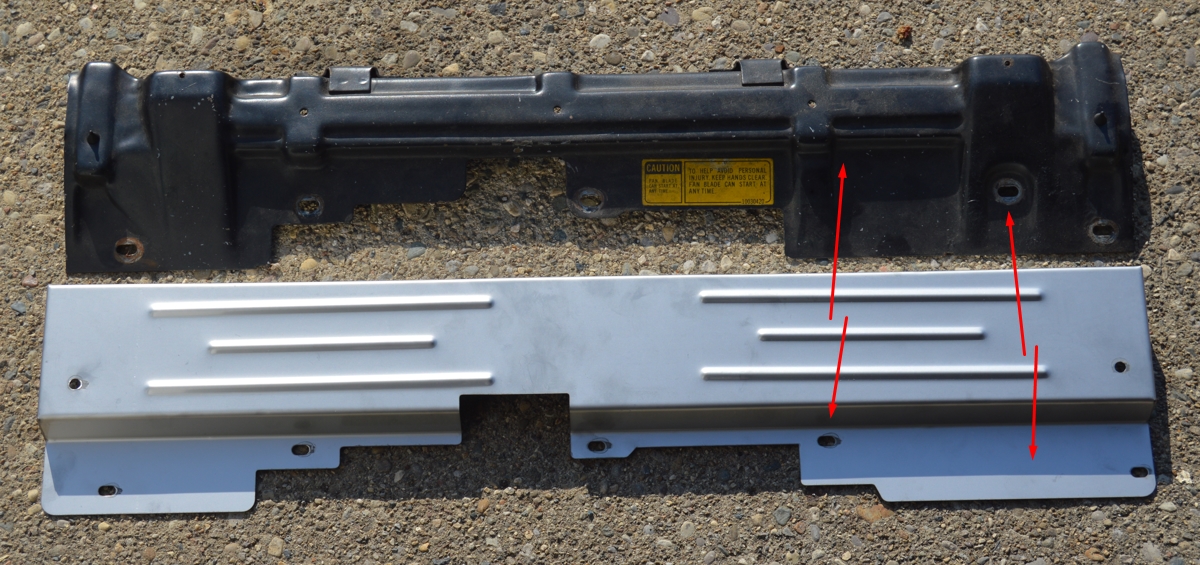
Until we pulled the part out of the box, and placed it on top of the stock upper radiator cover that’s on there now.
WOW! Look at that, the color that it happens to be is (not sure if its painted or powdercoated), actually (pretty closely) matches the silver color we already have on the turbo cover and up pipes (which are done in silver powdercoat)!
Amazing! Our disappointment turned into delight after seeing this!
[and to note, the item IS made from stainless steel, which we can see thru the bolt holes, but then was either painted or powdercoated afterwards. Weird, but ok]
.
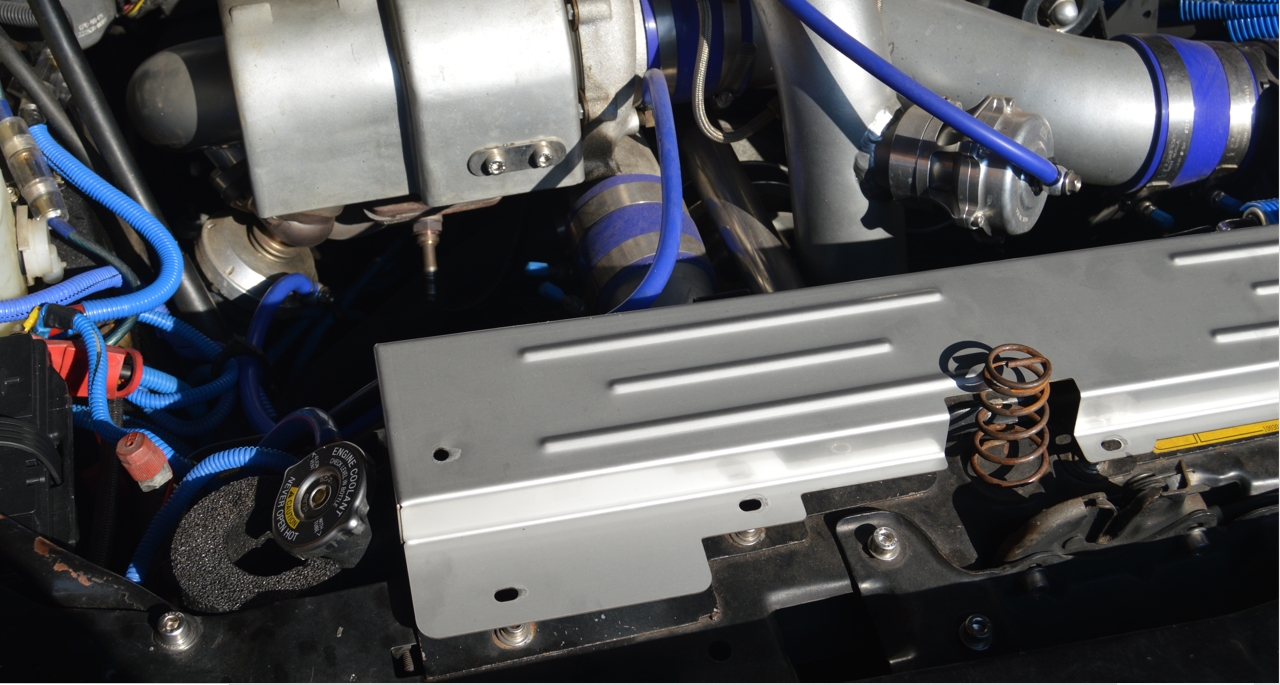
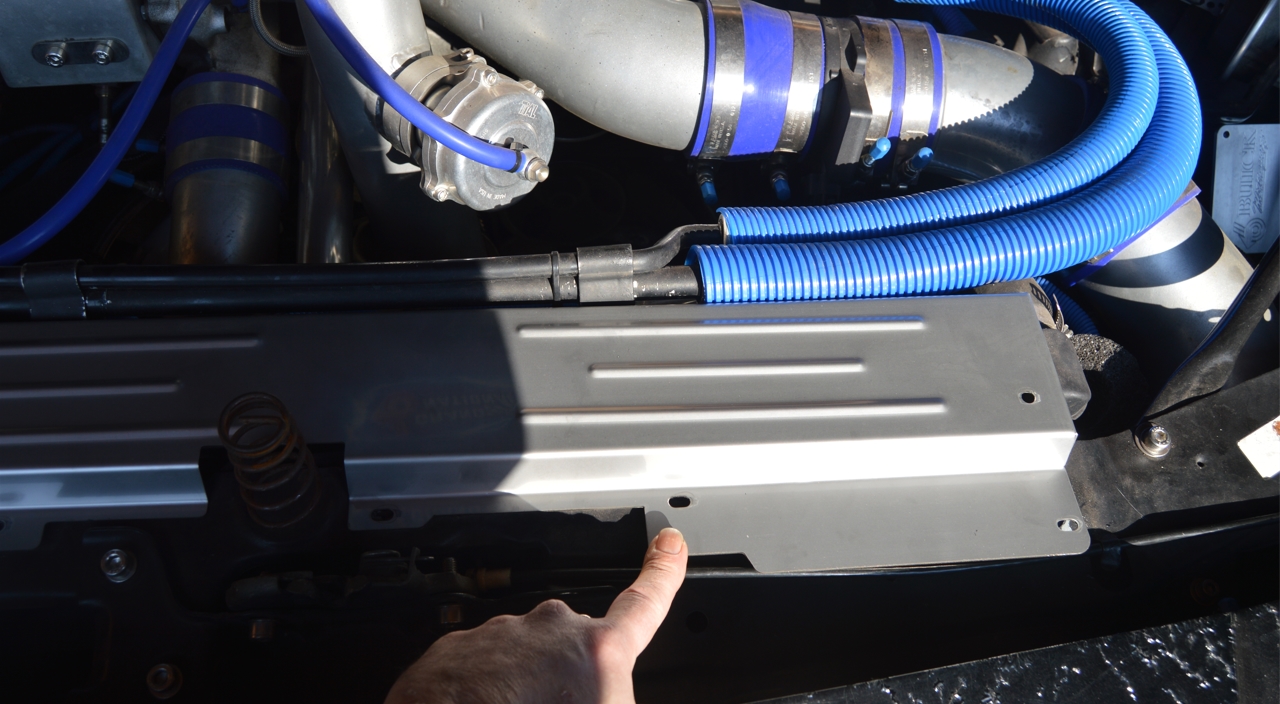
Now that we’re happy with its appearance, the fitment issues are next.
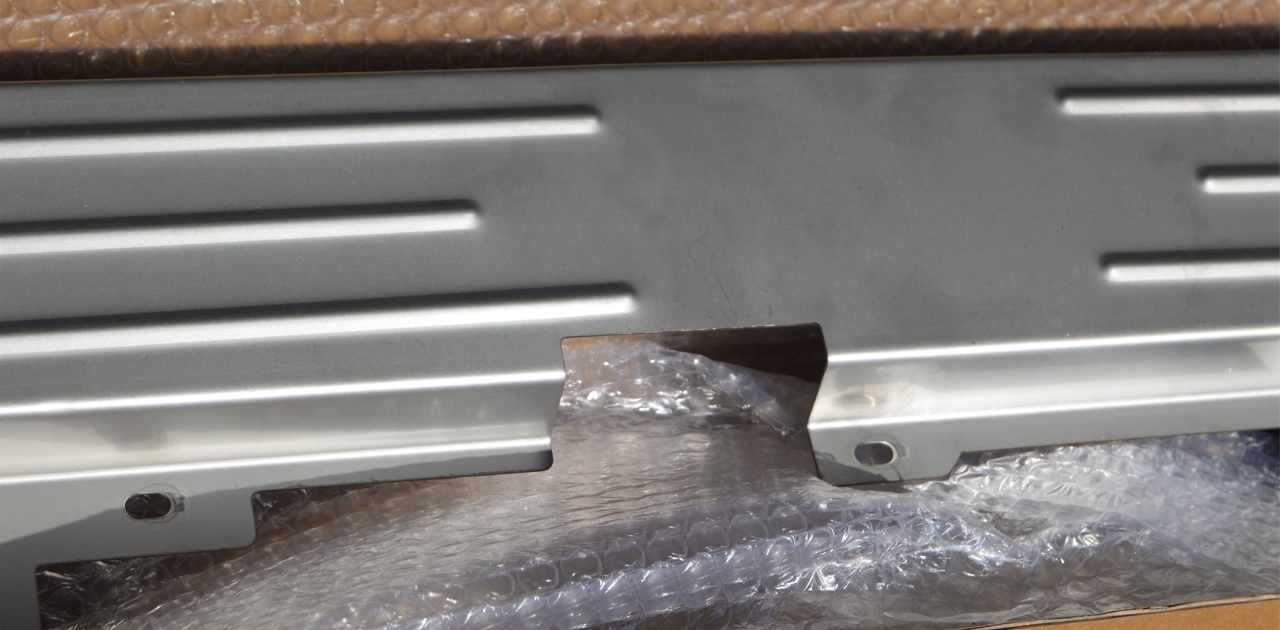
Considering this part is made for “all” GM G-bodies, it’s slightly different than the Buick Regal OEM version. Not much, but some.
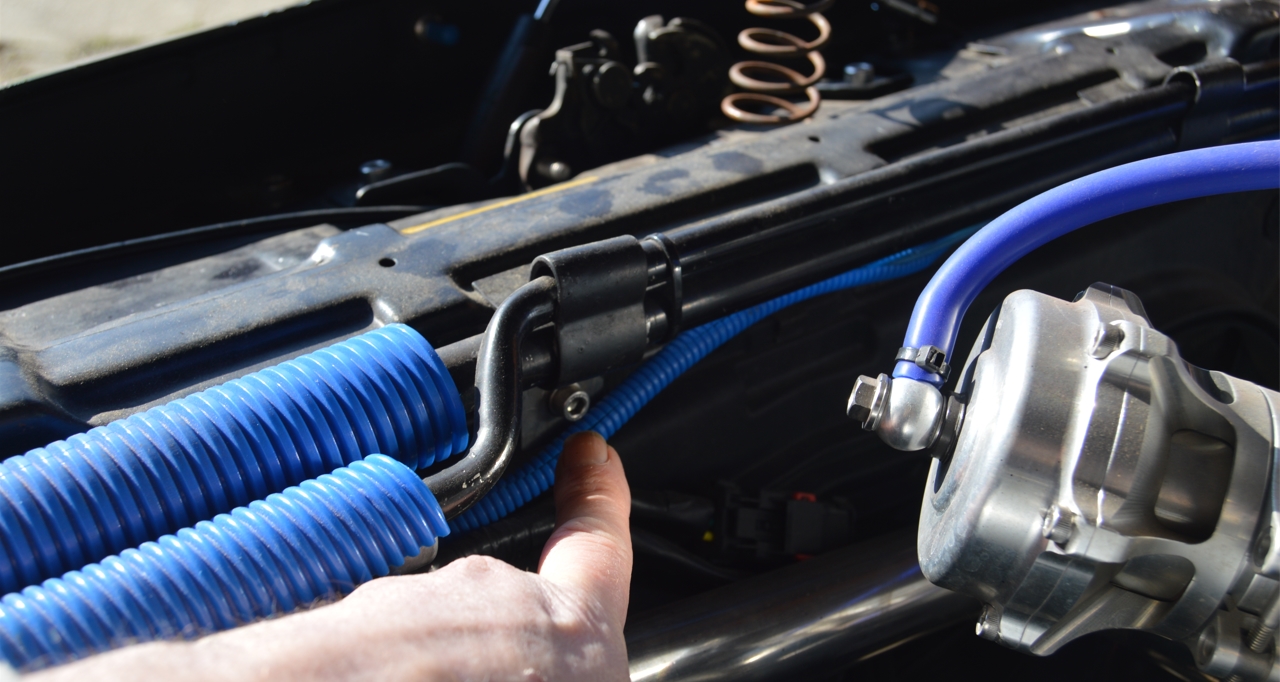
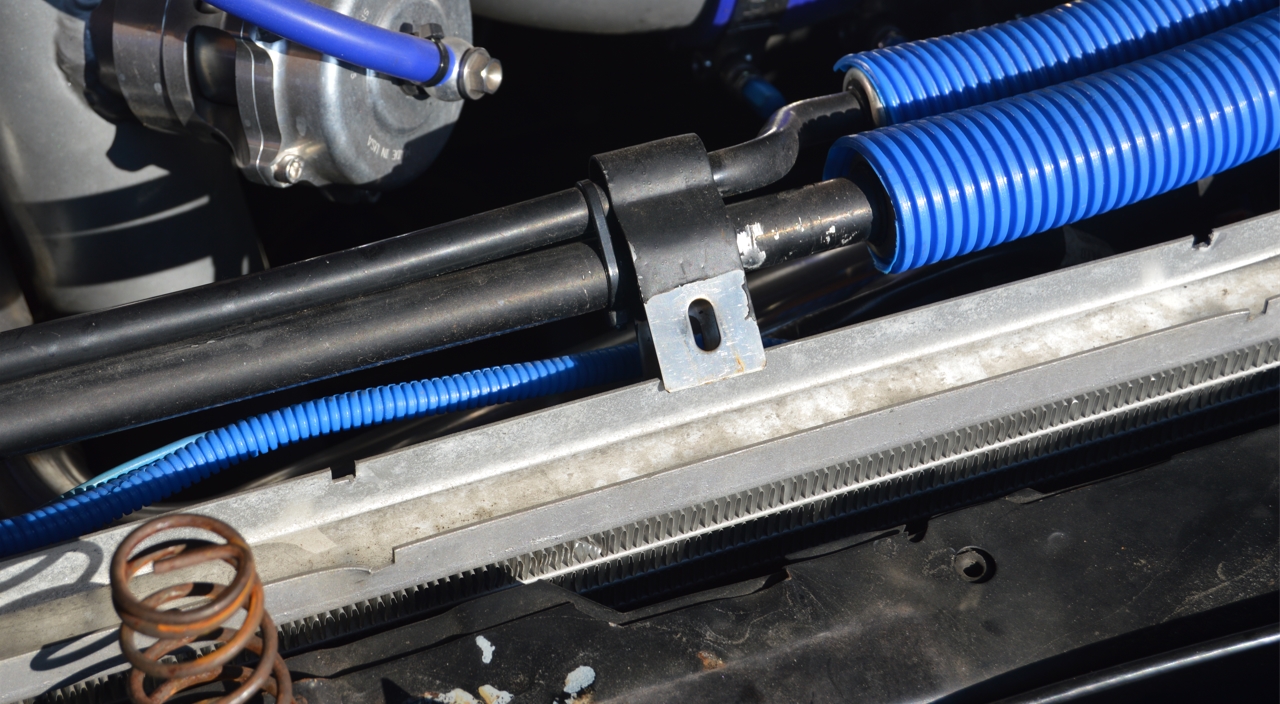
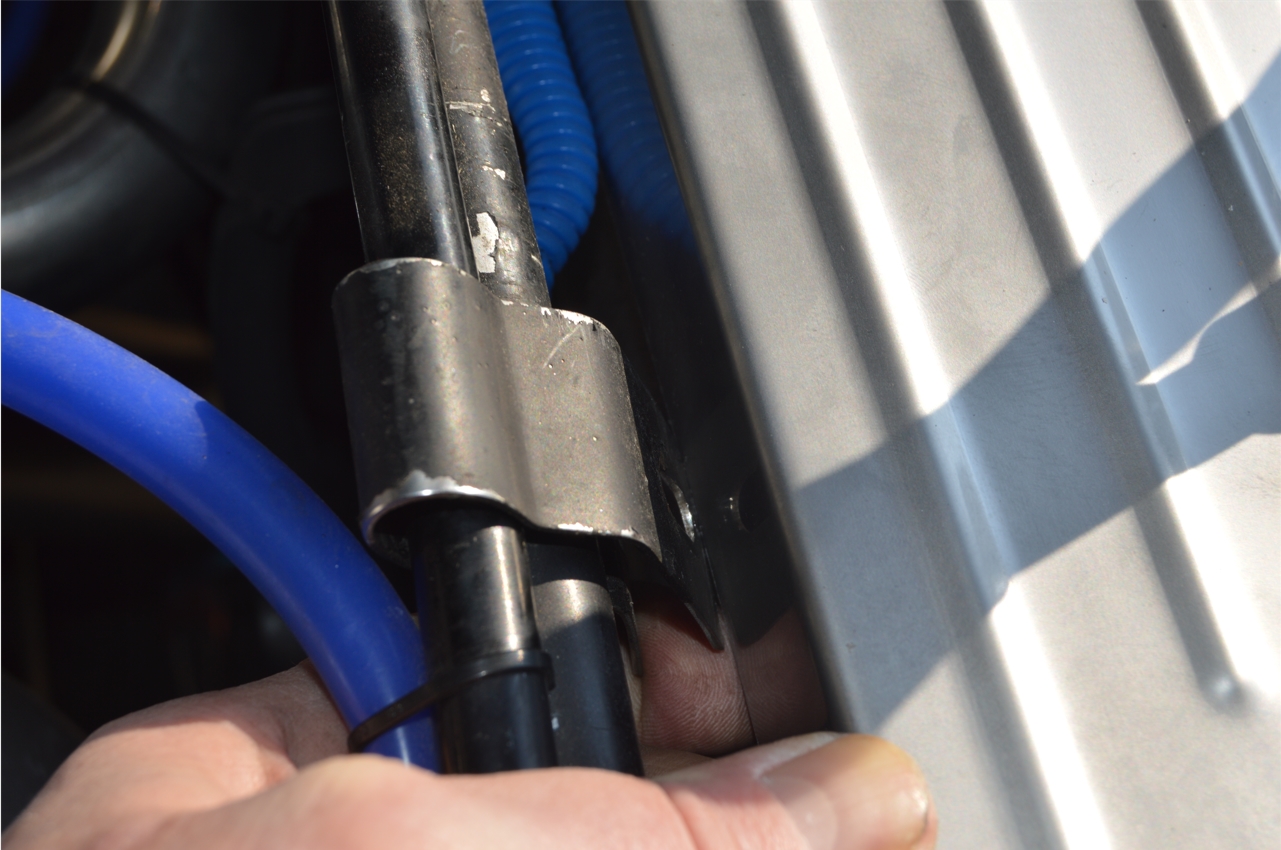
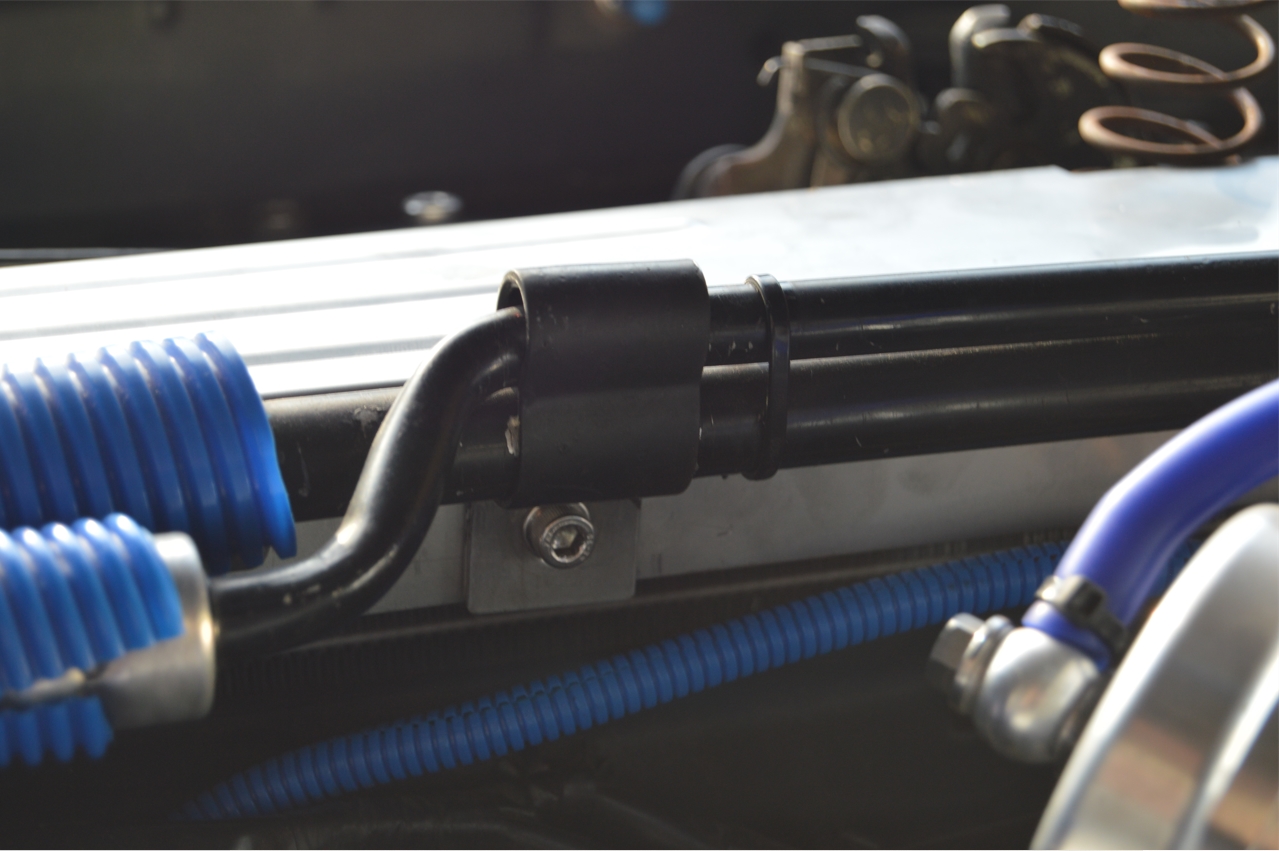
Like the tabs that are on the backside of the Turbo Regal version, to support the A/C lines running across the front of the car, well, they aren’t there.
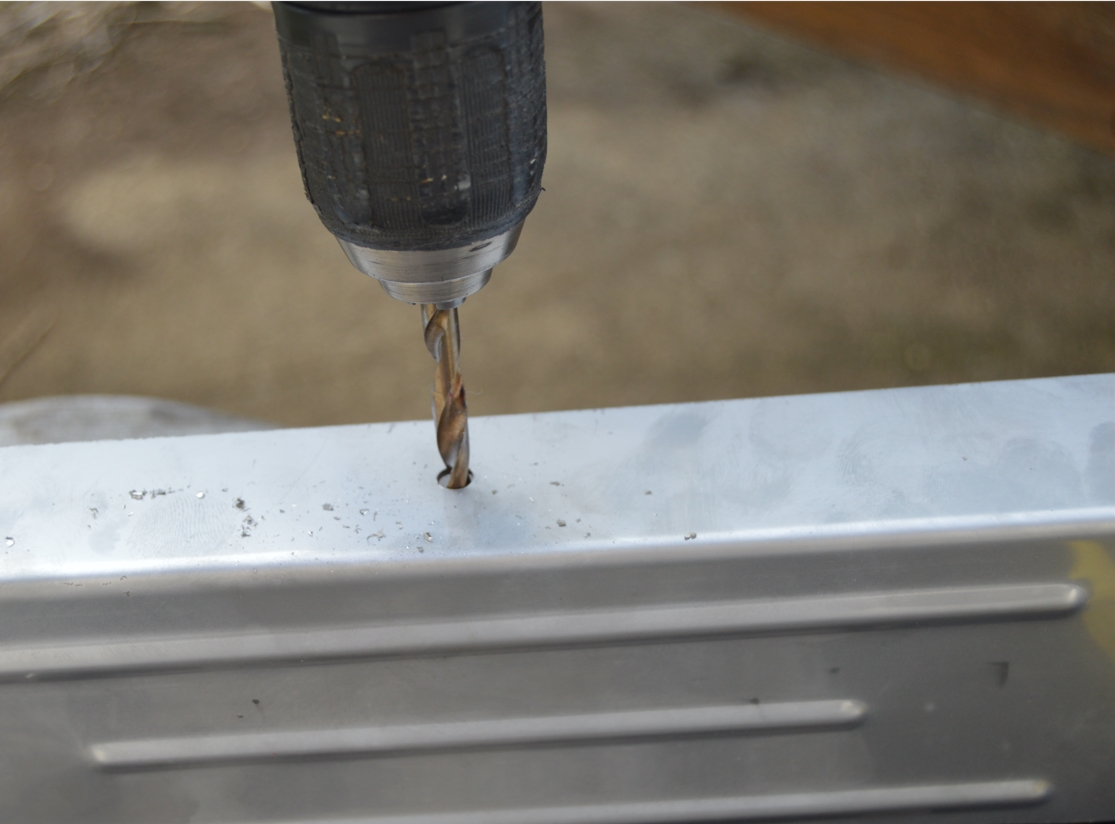
Not that big of an issue, we simply needed to drill 2 new holes for them.
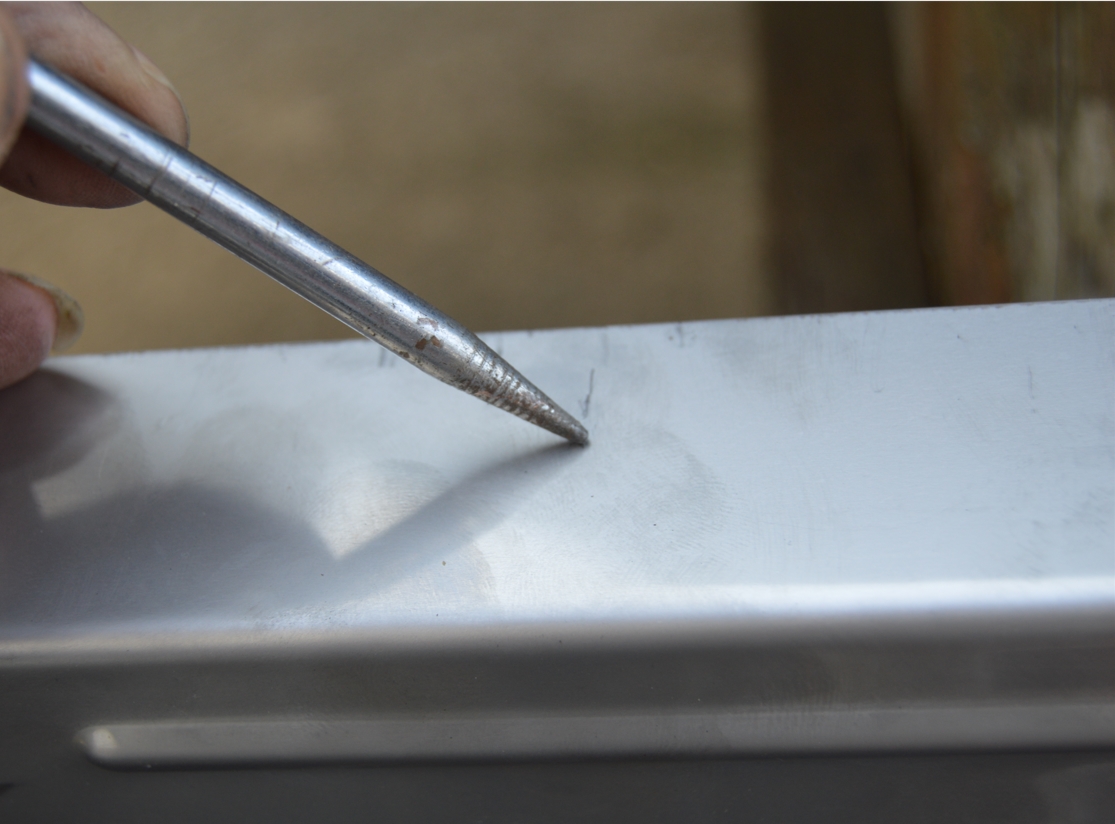
Putting the new part in place (mocked up), and using the OEM a/c line clips as a guide (with them being ON the car & mounted around the air conditioning lines as they were), we marked the position the new holes needed to be at.
Then we removed the top support unit and double checked with a tape measure, as well as using the factory bolt u-clip retainers (which we scavenged from the old radiator support piece).
The new holes needed to be 1/2″ up from bottom. All good. The two 1/4″ holes were drilled out.
.
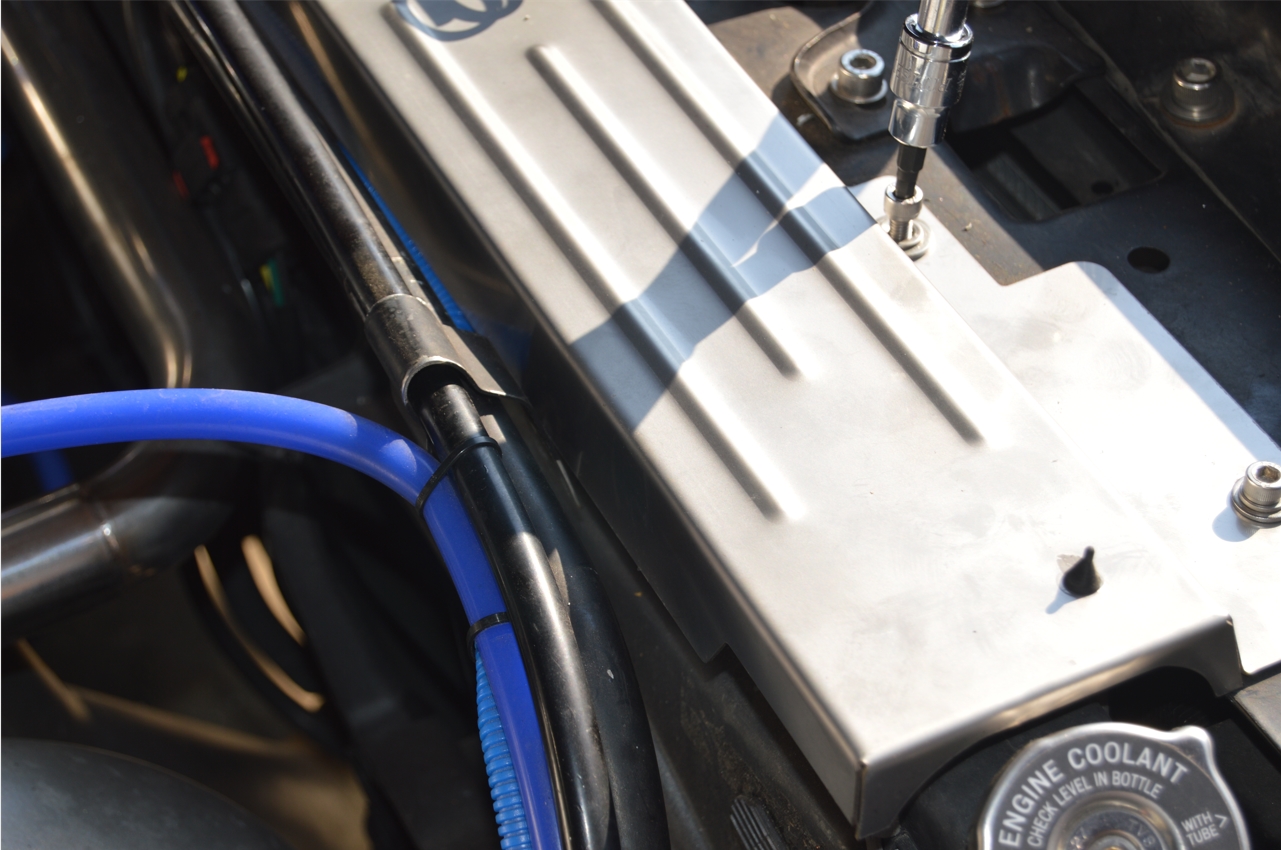
Mounting the new upper radiator support:
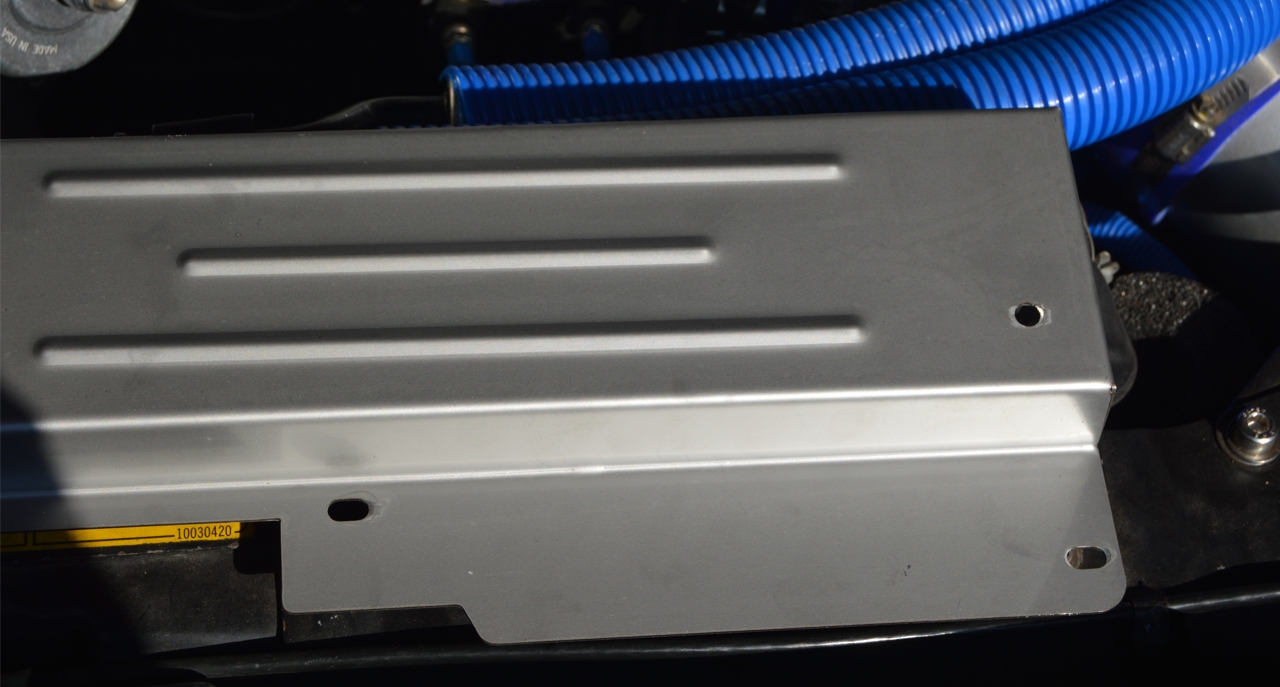
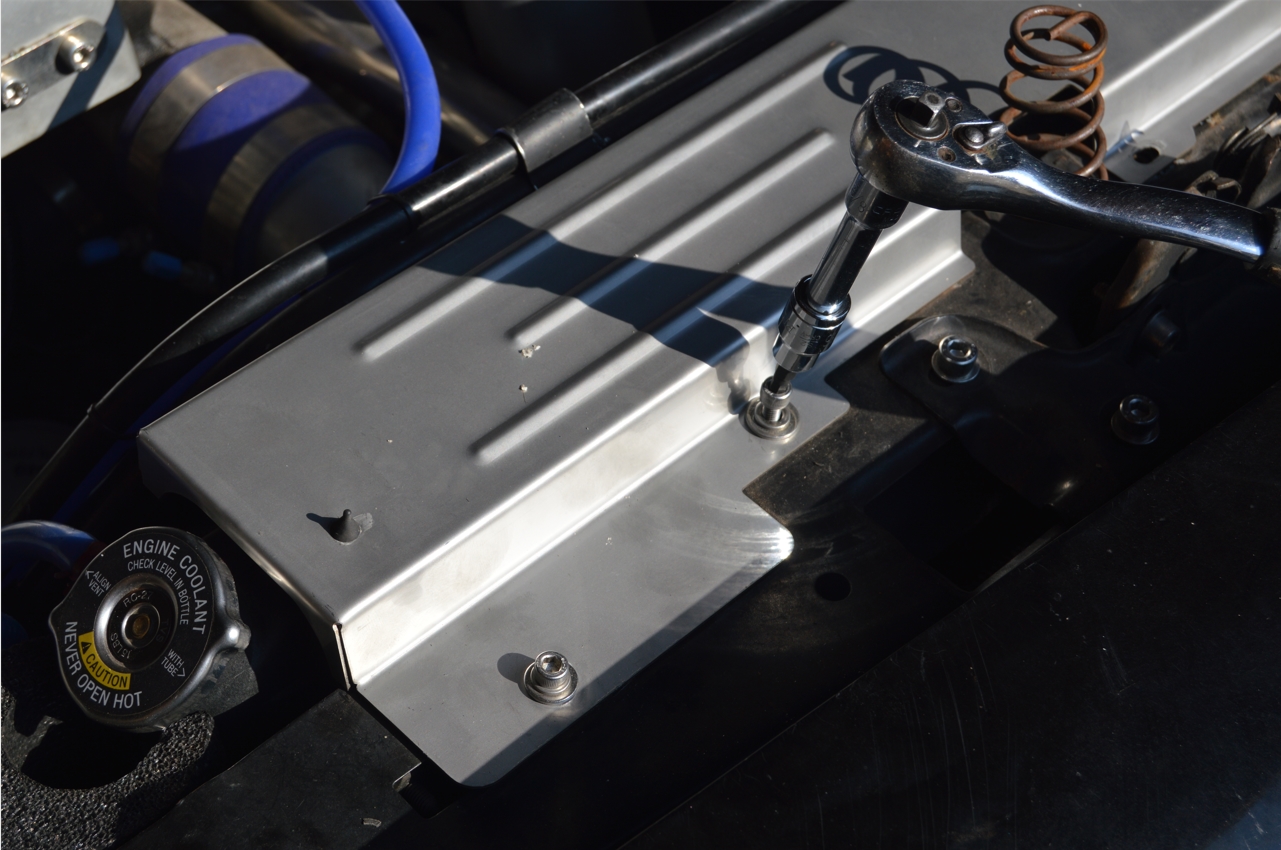
There’s 5 holes (more correctly, “slots,” nearest the nose) on the new part.
The outer 2 are dead on.
The middle 3 bolts however, required a bit of finesse to line them up (not that the actual slot holes were off, but we think the vertical portion of the piece (the front side that goes up from the horizontal flat position in front) wasn’t exactly “straight up,” but more aligned on an angle, which isn’t the proper alignment it needs to fit 100% like it should on the Regal).
But being the troopers we are, we made it work, and it ended up coming out just fine after a little persuasion.
(the key was to install the outer bolts just enough to hold the cover in place, wiggle/move the cover a bit while installing the other 3 bolts all the way, then finish tightening the outer 2 bolts into place)
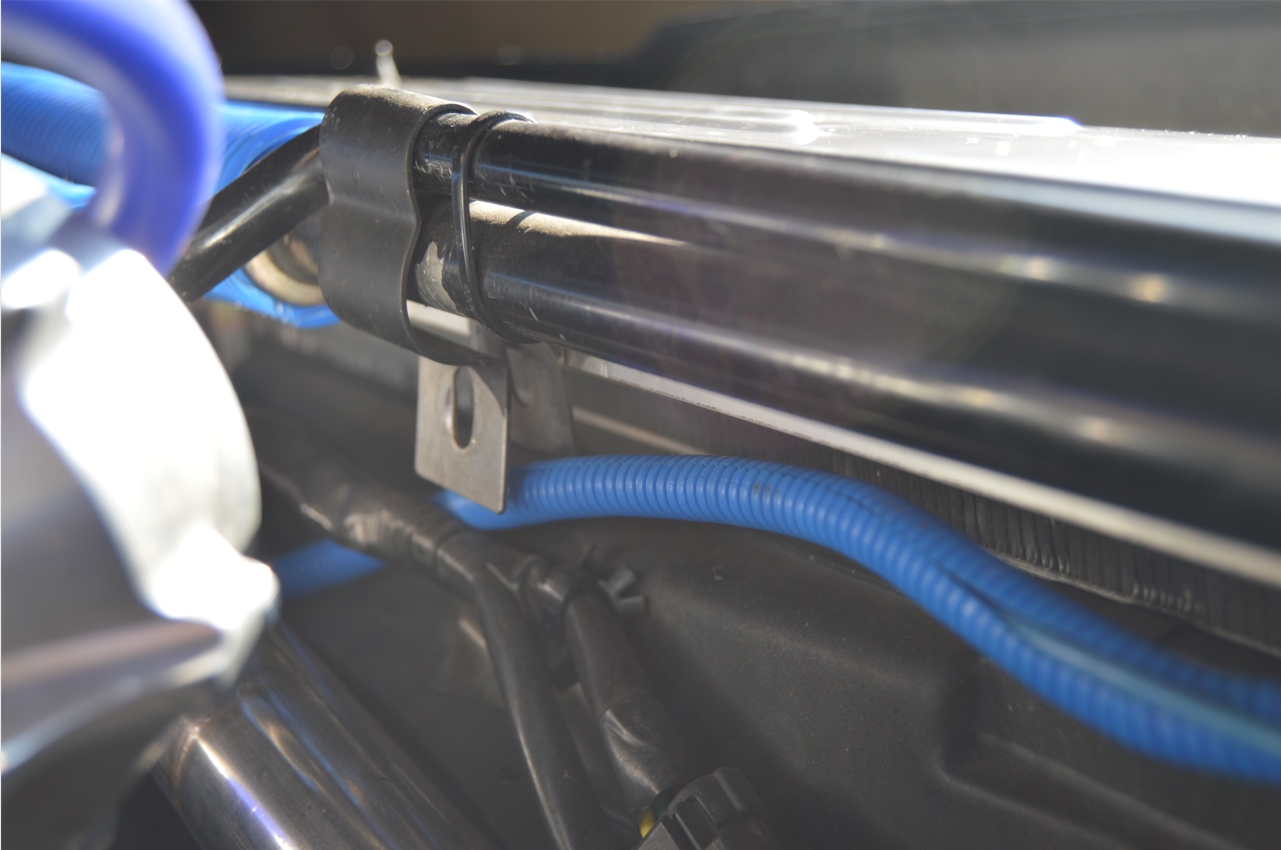
[just fyi, we deemed the old top rubber isolators good enough to simply reuse them. They get secured to the bottom side of the radiator cover, with the tip protruding thru the top of the support plate via the factory made hole, just like the stock version has]


.
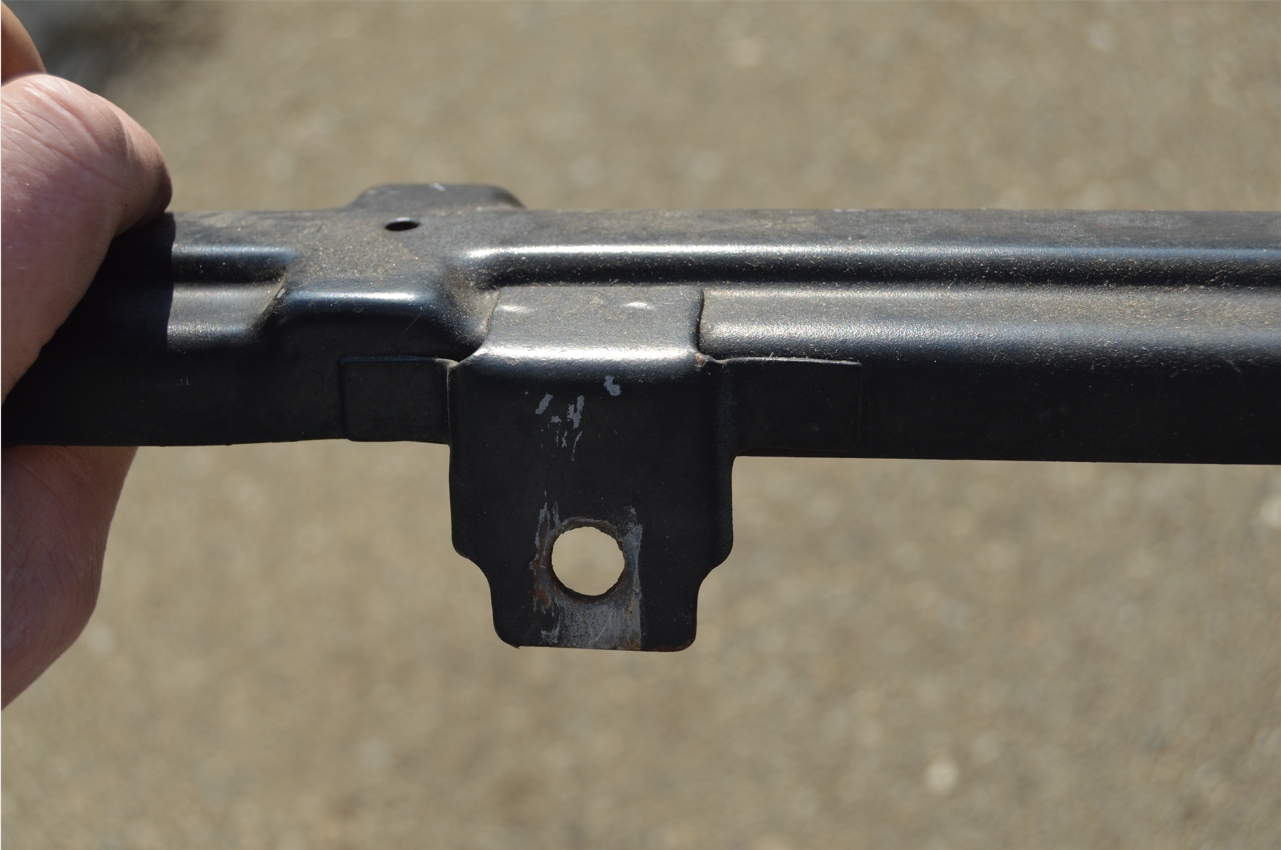
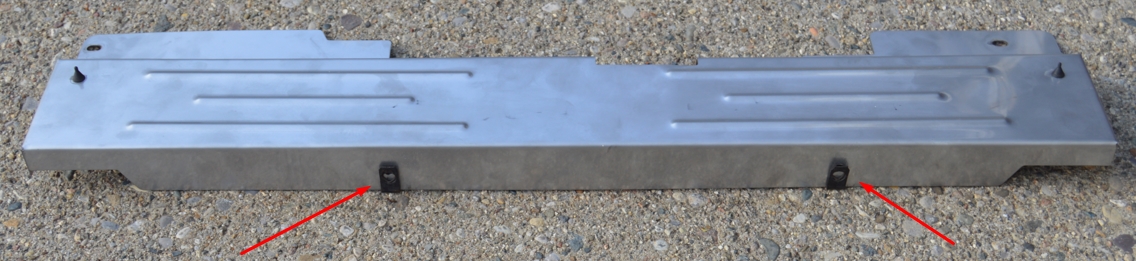
COMPARISON & SLIGHT DIFFERENCE:
as a side note, check out THIS difference. If you look at the comparison photo between the OEM cover and the replacement cover, you will see they both have 5 holes in them. HOWEVER, look at the second bolt hole from the right side on both pieces. They are in different spots! On the core support though, BOTH of these holes are actually there. So you’re actually using a new bolt hole on the Regal that you didn’t with the original top support piece! Not that much of a concern, but interesting and good to know!

.
Total installation time was about 20 minutes.
Unboxing the part, mods and all, including taking the photos for this story.
We’re pretty happy with our $35 purchase.
One under hood item now done, many more to go…


.


