


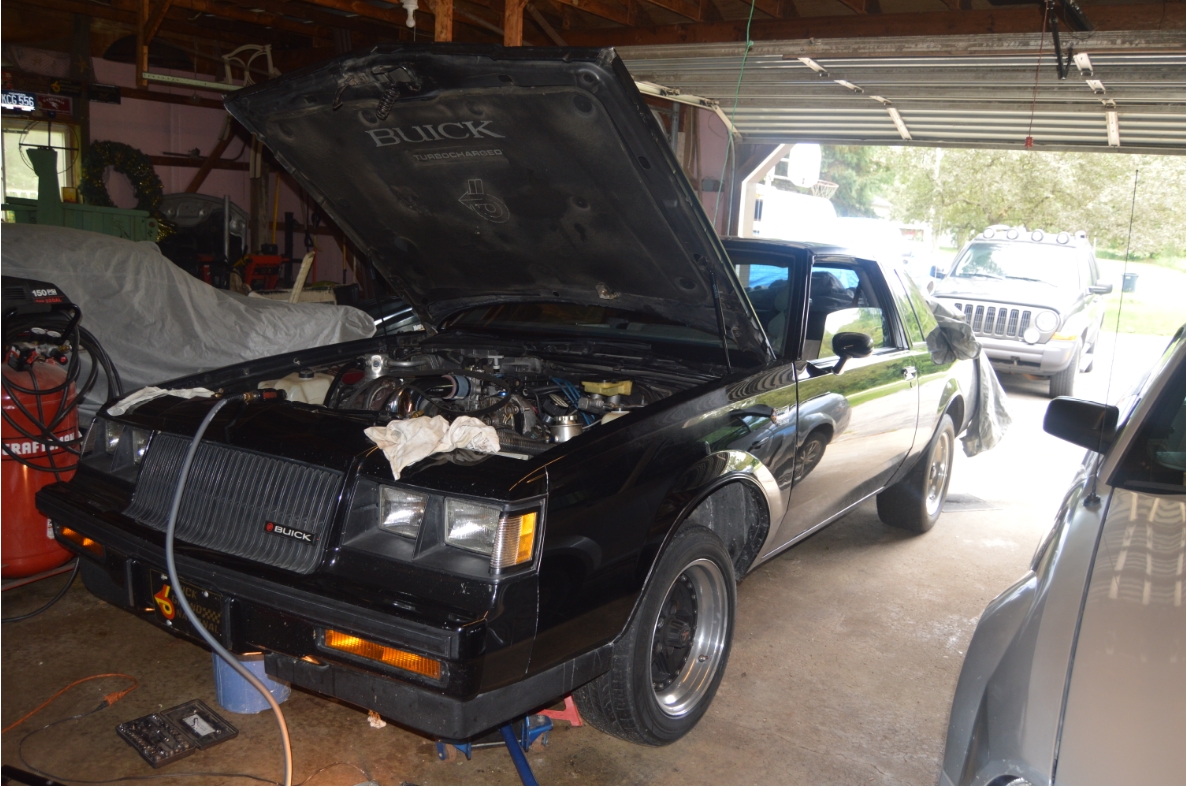
The temps in this 1986 Buick Grand National were getting up to 212 degrees while being stuck in traffic with the air conditioning on.
While that isn’t necessarily a horrible thing, the owner felt it was too hot and wanted the Buick 3.8 Turbocharged engine to run a bit cooler.
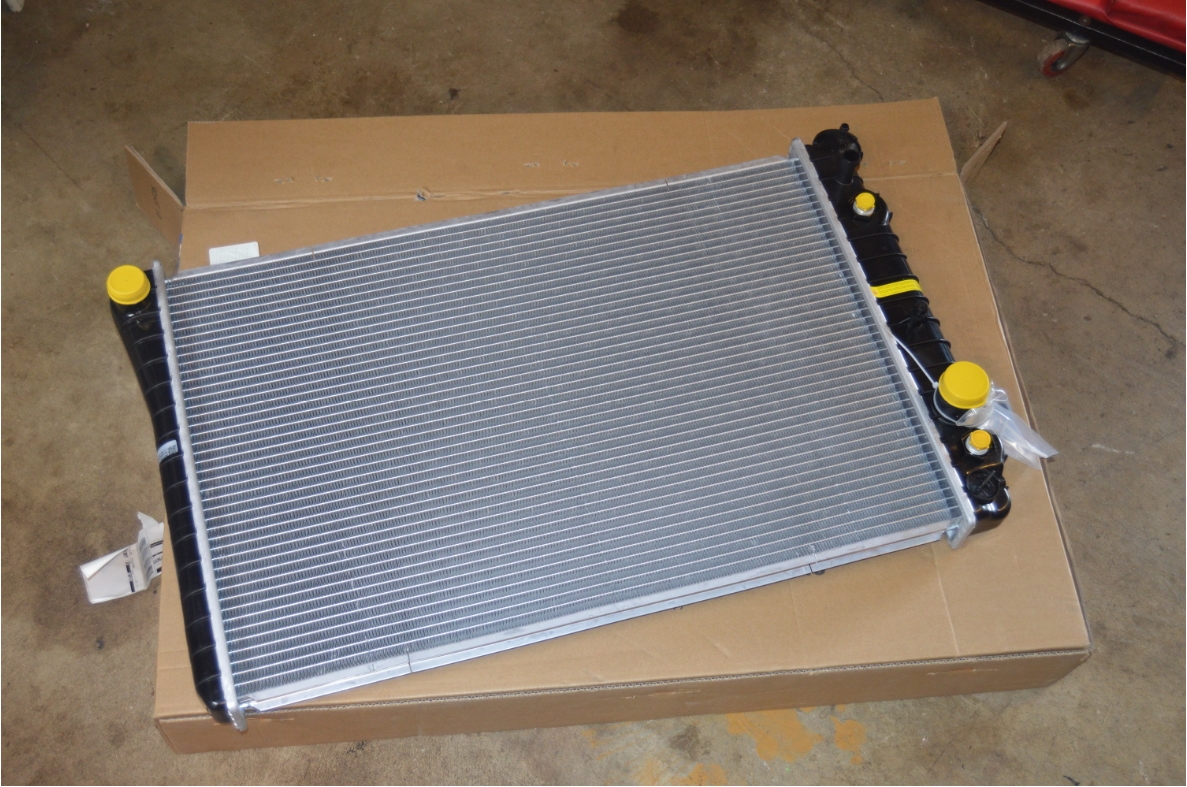
A decision was made that it was time to do a little upgrade and switch out the OEM factory style radiator to a new aluminum radiator designed for an F body car (Third Gen, Firebird / Camaro, 1982-1992).
This is a pretty common and easy swap to do for those looking for better cooling.
There’s plenty of aftermarket radiators on the market to choose from (ColdCase, Griffin, BeCool, to name a few).
The F-body piece is probably the least expensive option to change over to.
.
.
A few things to consider when doing so, however:

.
[there is an external oil cooler on this specific Gbody Regal, so this wasn’t really a concern for this vehicle]
(you will have to decide on whether you want to completely remove the oil cooler lines, or acquire an external cooler like this car has. either option is acceptable.)
The OEM trans line fittings may not fit on the Fbody unit.
(the transmission lines run on the front side of the stock radiator on the Turbo Buicks, the lines are on the backside [nearest the engine] on the F-body radiator)
(this car had a 90 degree fitting attached to the radiator, and then a short piece of 3/8 brake line which utilizes 1/2″ fittings, ran inside the 90 degree fitting, which attaches to a rubber hose for the trans line. we had to remove the 90, but keep the metal brake line, then attach that brake line piece to the new radiator, to which the rubber hose was reconnected)
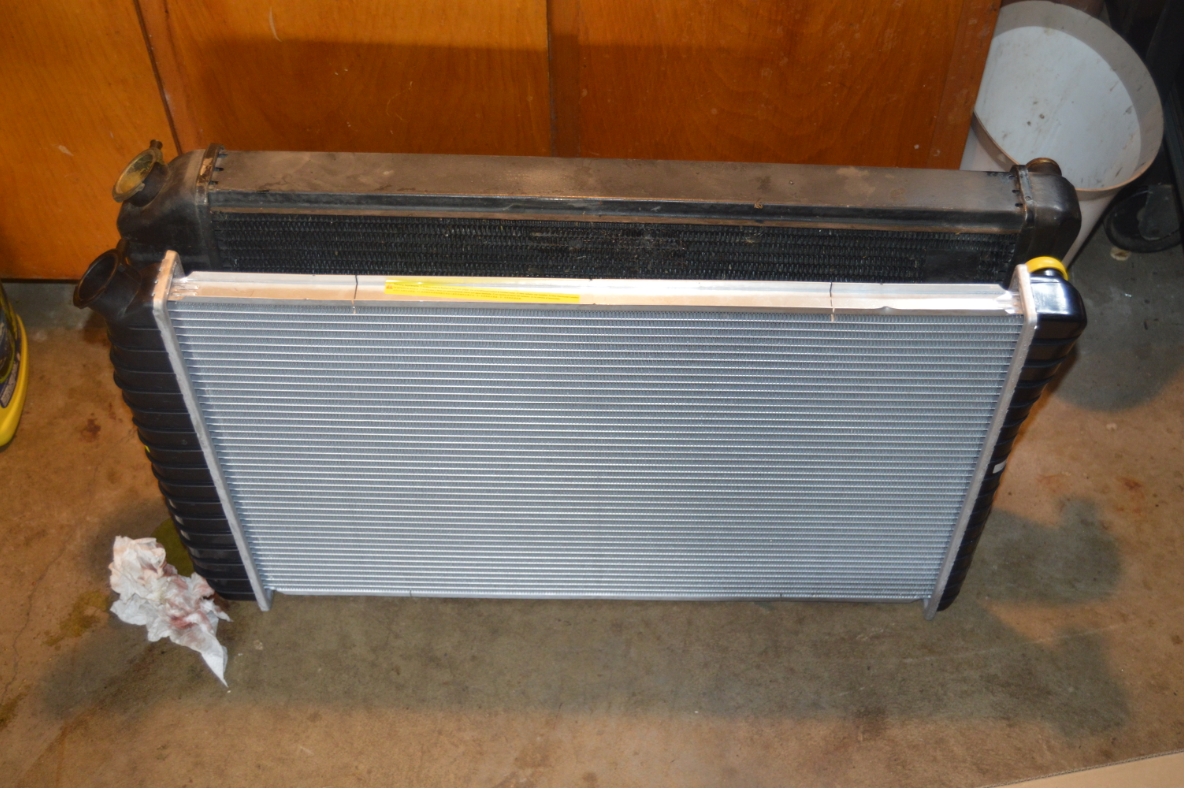
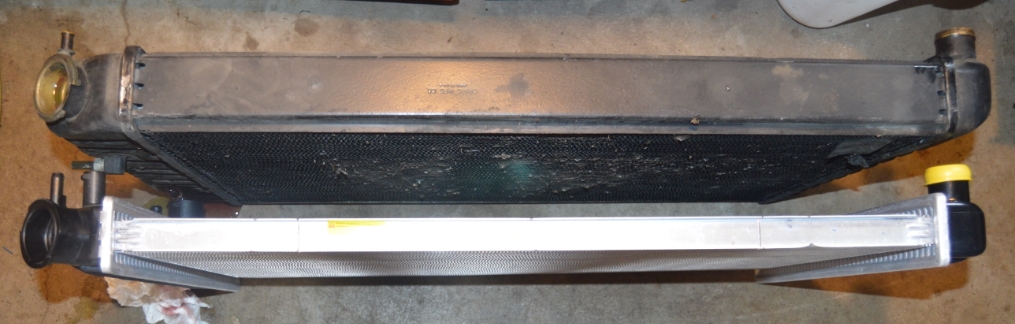
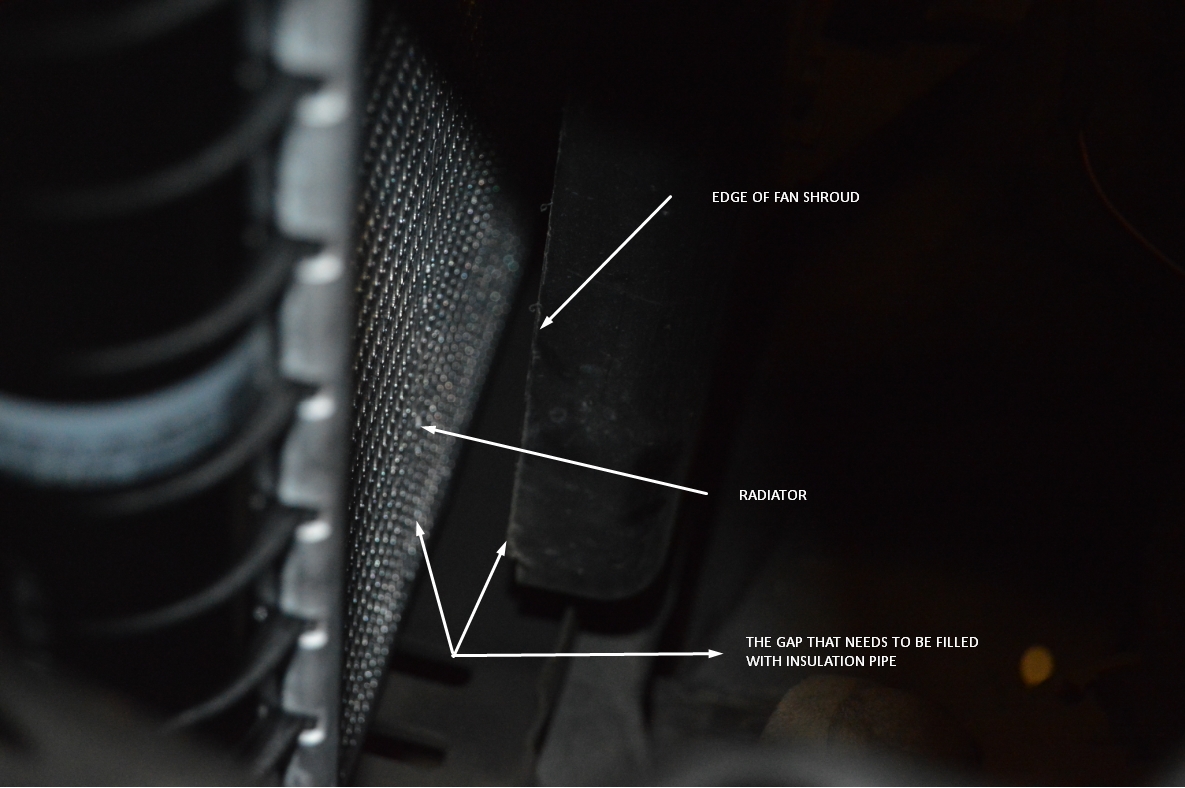
Since the stock radiator is a 4-core unit, and the new one is a 2-core piece, there is about a 3/4″ difference in size (thickness wise, when installed), for where the fan shroud meets the radiator.
Meaning the fan shroud doesn’t meet flush up to the radiator.
That’s not a good thing, since it won’t pull heat out at maximum capacity.
 (what we did to cure this gap, was implement some “noodles” – home pipe insulation, 3/4″ in size. the round pieces have a split in them lengthwise when you buy them, so we placed this split section against the fan shroud edge to take up the gap. they work perfect! cut them to the length of the fan shroud, on all sides. They not only seal up well against the Fbody radiator, they won’t move out of place, and if you can get them in the color of black, they won’t be very noticeable!)
(if you prefer not to use the noodle trick, you will have to fab up something to seal up the gap)
(and if you were curious, AFTER we added the noodles, the temperature dropped 5 more degrees lower than the temps we saw from just doing the swap alone!)
.
The positives of a new radiator offer a few gains:
Weighs MUCH less.
Center core section made from aluminum (end caps are plastic).
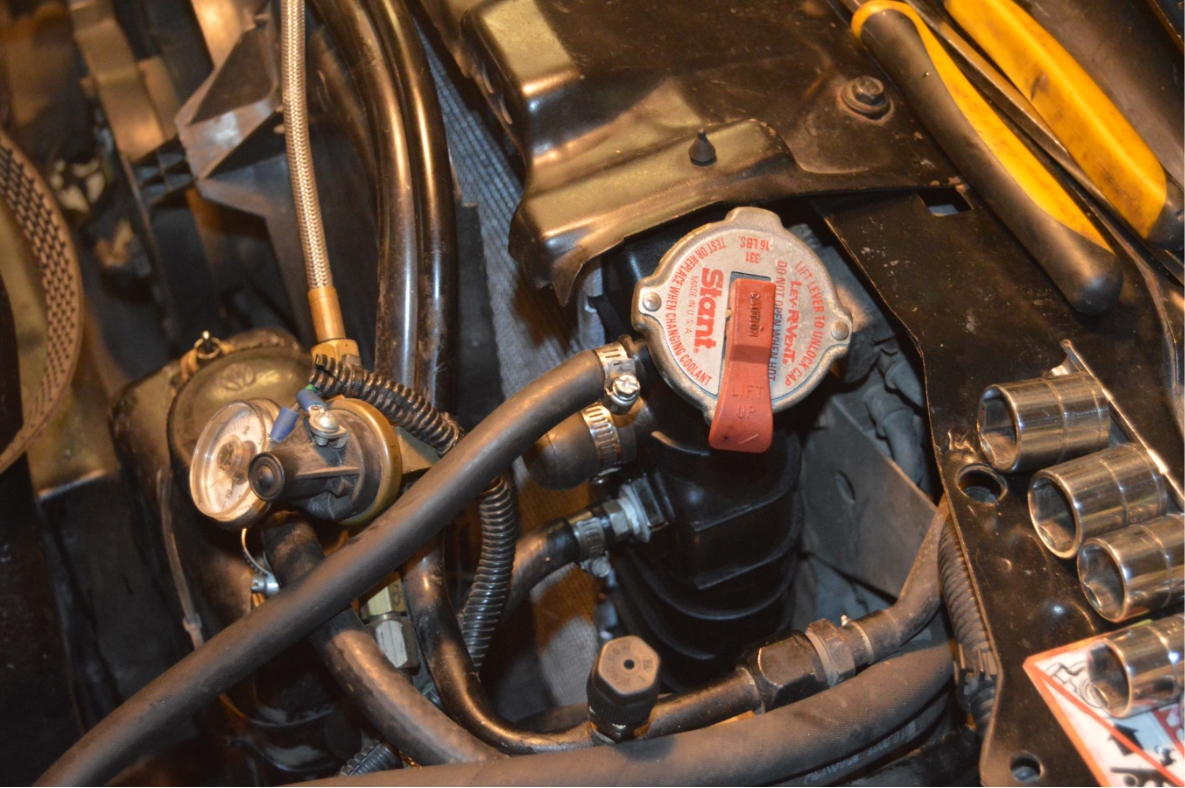
Uses the same radiator cap, so unless your old one is bad, reuse your original.
Better cooling than a 30+ year old factory radiator.
.
.
Another thing to consider while doing this swap, depending on your setup, you may / may not need to replace the factory electric fan with a dual fan setup.
(we kept the OEM fan, figuring based upon the new temps we saw, would determine whether or not a fan upgrade was necessary. it was determined that the stock single fan was adequate enough for now)
(just FYI, if you opt for new fans, you will also need something like caspers relay setup to control the dual fans)
.
RESULTS:
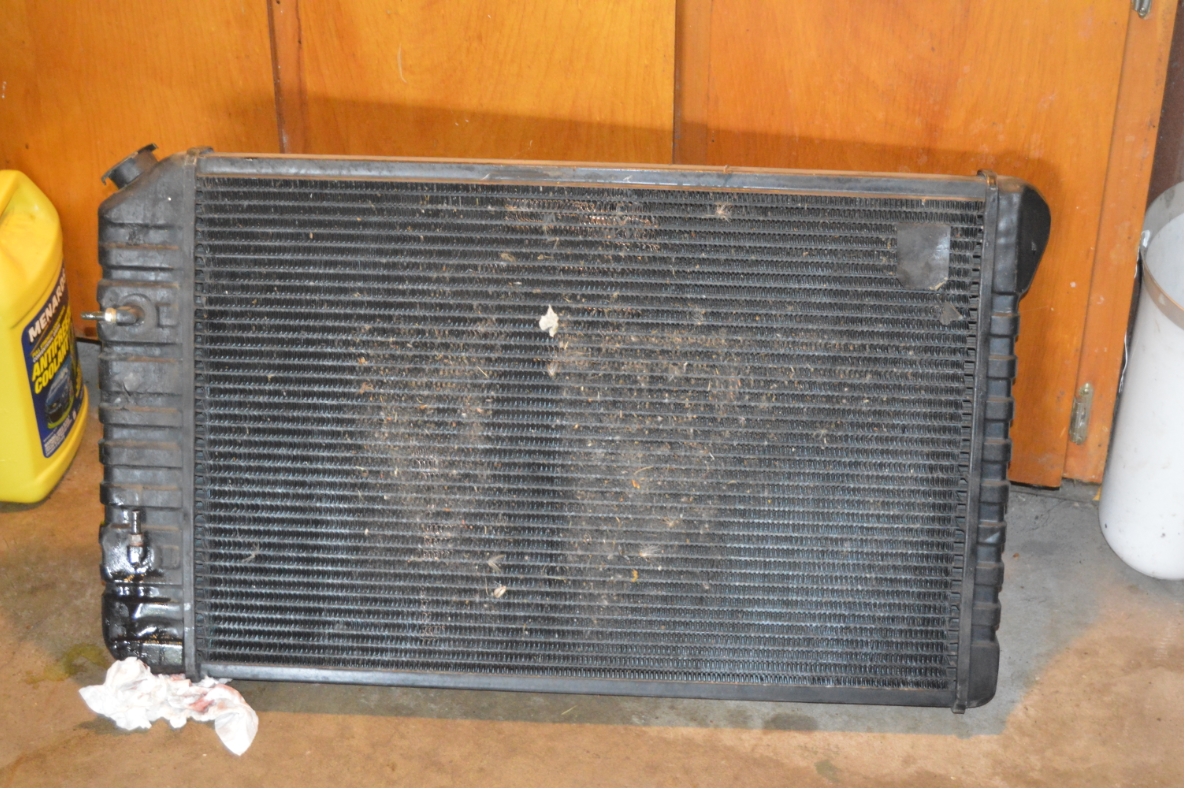
OEM radiator:
189 no air, 212 air on, sitting in traffic.
178 no air, 200 air on, on the freeway.
 FBODY radiator:
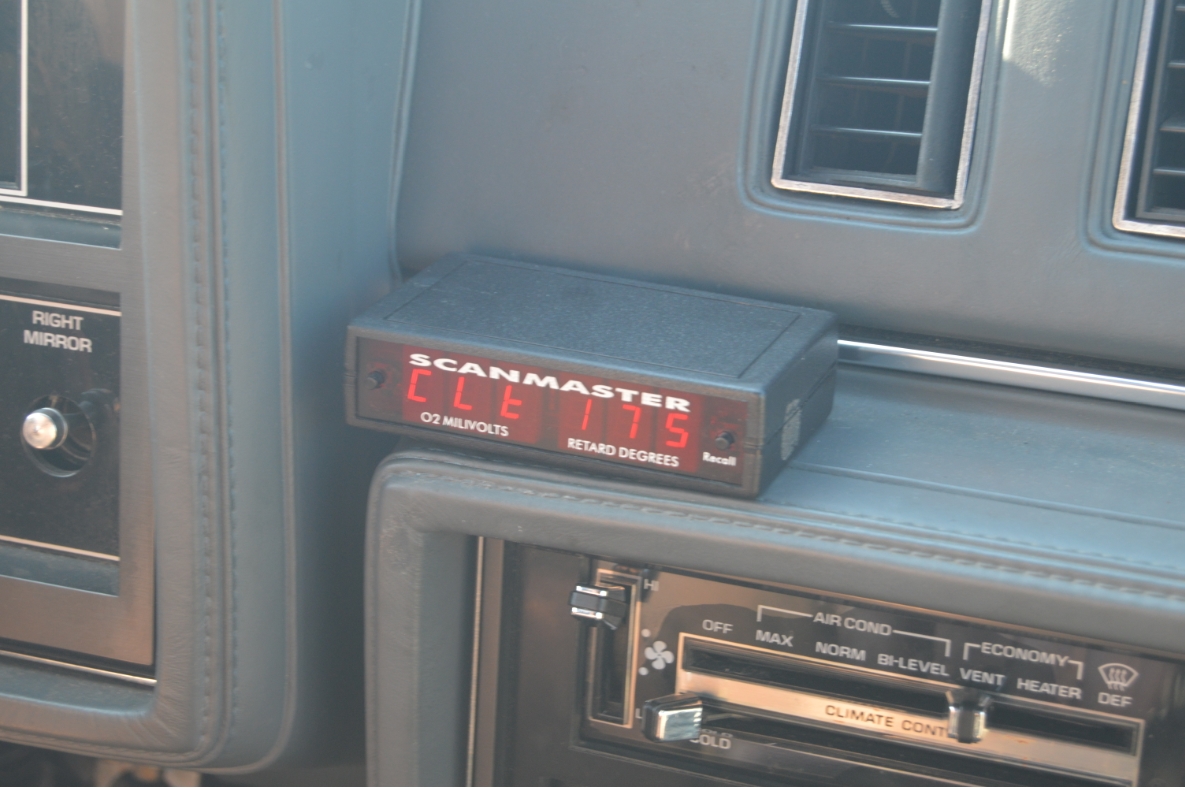
178 no air, 187 air on, sitting in traffic.
175 no air, 186 air on, on the freeway.
FBODY radiator, WITH noodles installed on fan shroud:
172 no air, 182 air on, sitting in traffic.
170 no air, 180 air on, on the freeway.
The results after the Fbody radiator swap were definitely better than they were previously using the factory radiator.
The owner of this Turbo Regal is a happy camper now knowing the temps won’t rise too high during the local car cruises when traffic is at a stand still (namely the Woodward Dream Cruise)! But equally as good on the expressway for long trips.
.
 PARTS:
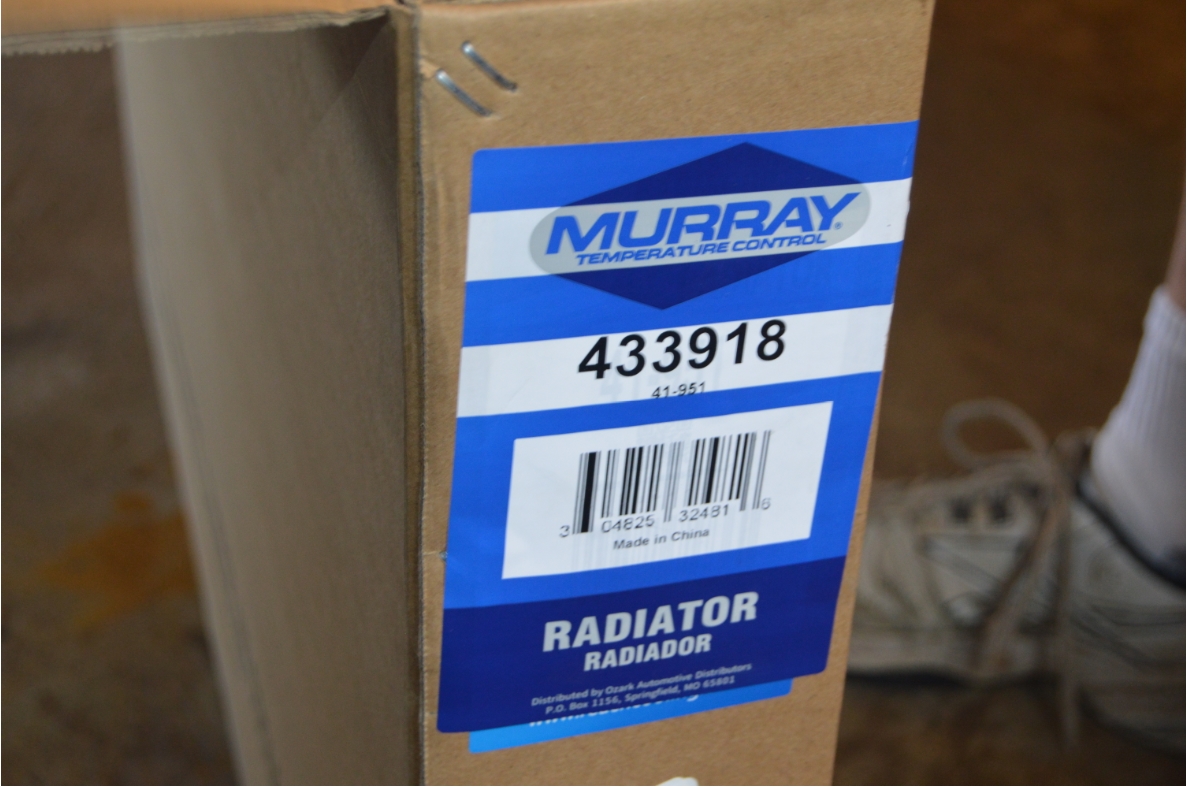
– radiator ($94, o’reilly auto, #433918)
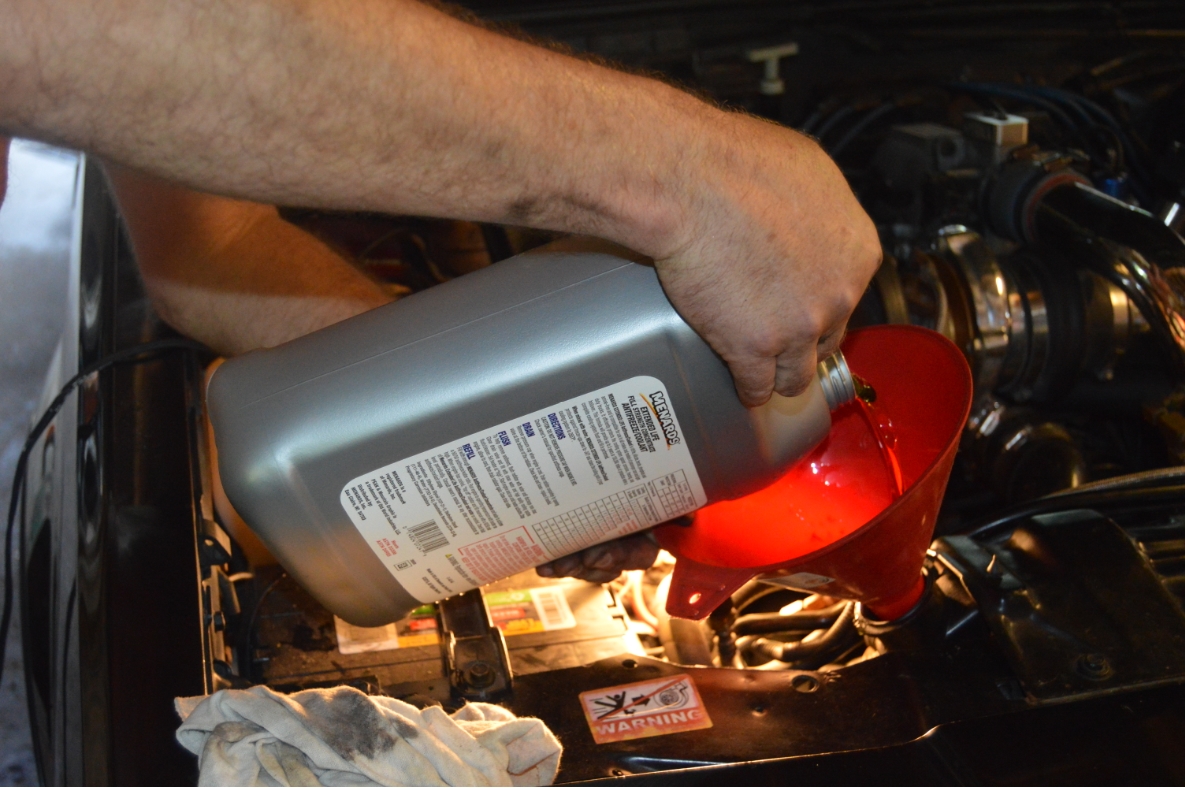
– coolant ($9/gallon, menard’s)
– trans fluid (just a bit, to replace whatever was in radiator)
.
TOOLS:
– 10mm (radiator cover)
– 1/2″ wrench (trans lines)
– 1/4″ or 5/16″ or flathead screwdriver (worm drive hose clamps, removal/installation)
– pliers (spring type factory hose clamps, removal/installation)
– drain pan (old coolant)
.
HOW TO:
ALL OF THE CONNECTIONS FOR THE FIRST 5 STEPS BELOW WILL LEAK FLUID UPON REMOVAL!
SO BE PREPARED WITH DRIP PANS OR RAGS, ETC.
1. drain the stock radiator of the coolant.
(the petcock valve is on the passenger side at the bottom)
2. remove the coolant overflow hose. (1/4″ socket for clamp)

.
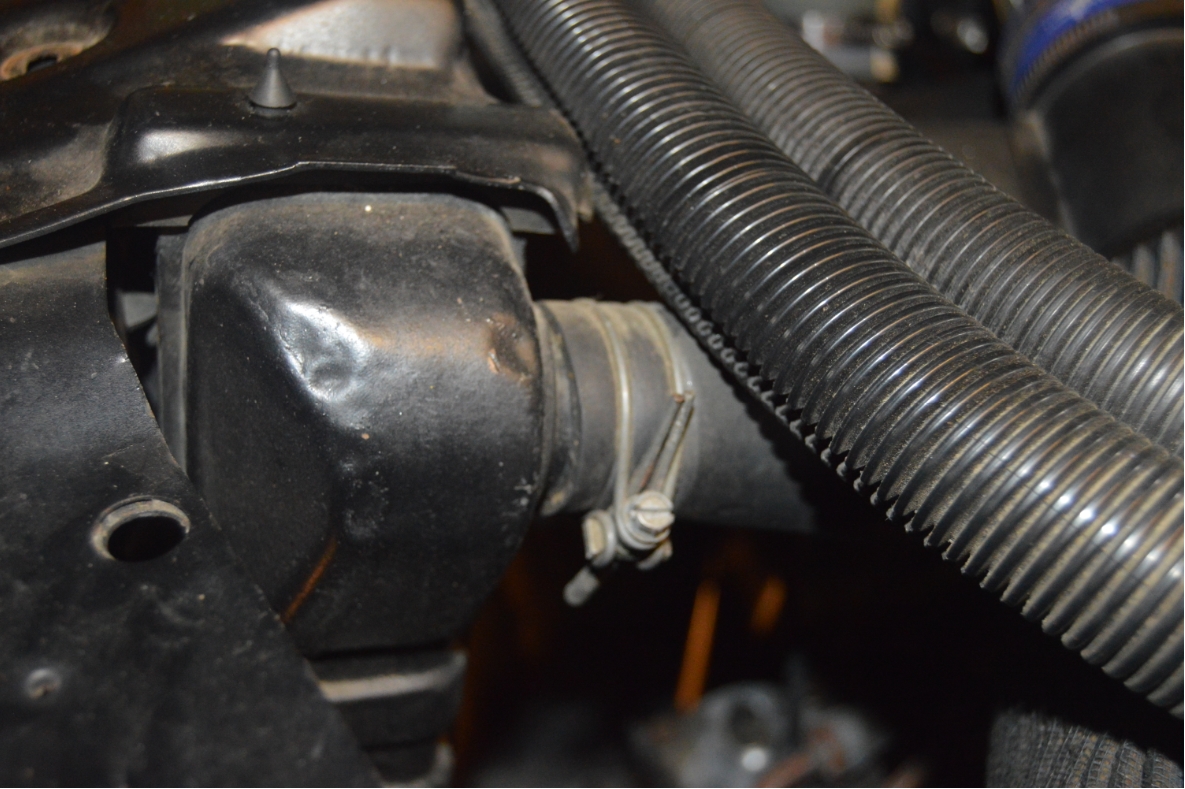
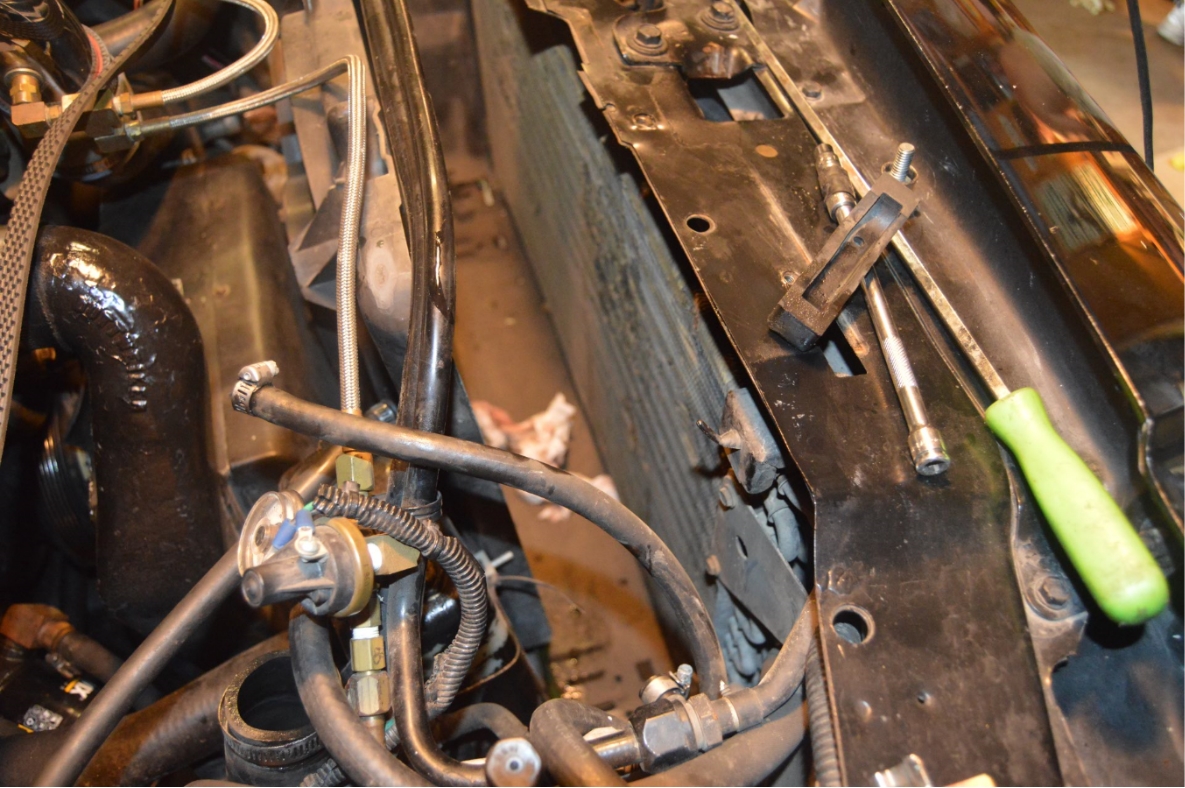
3. remove the upper and lower radiator hoses, from the radiator.
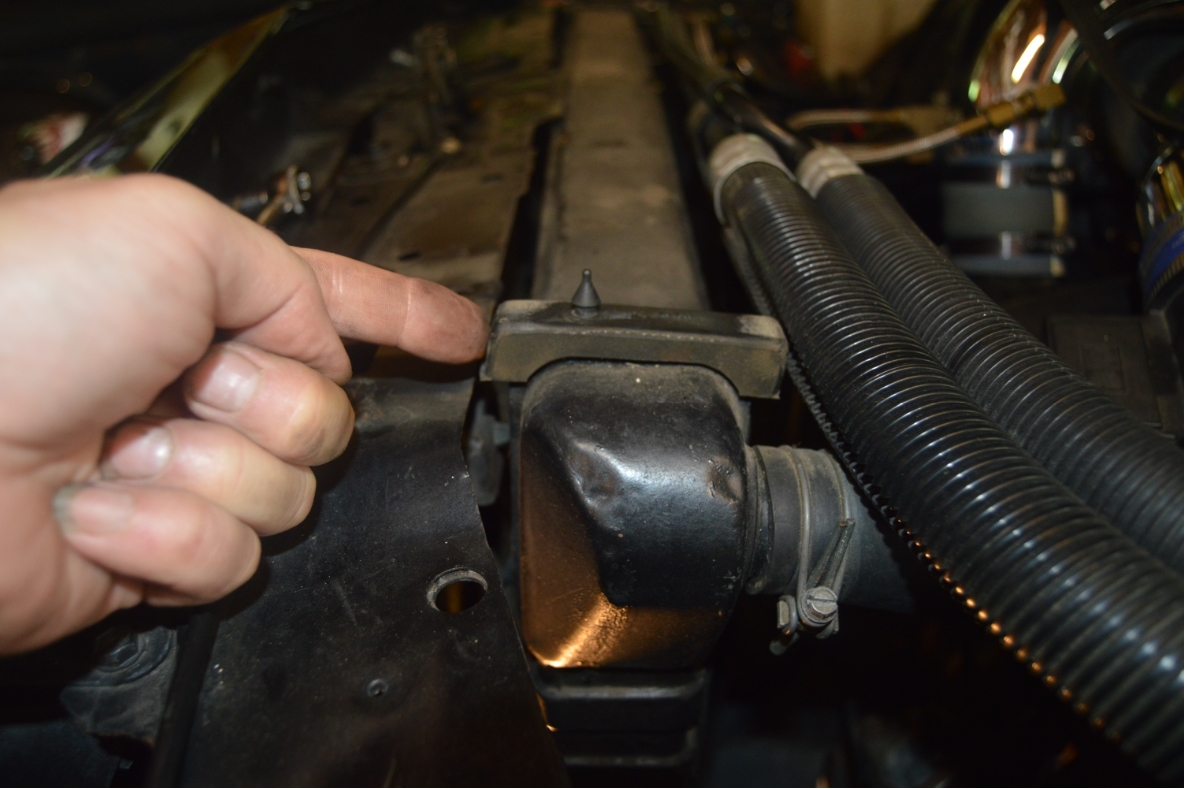
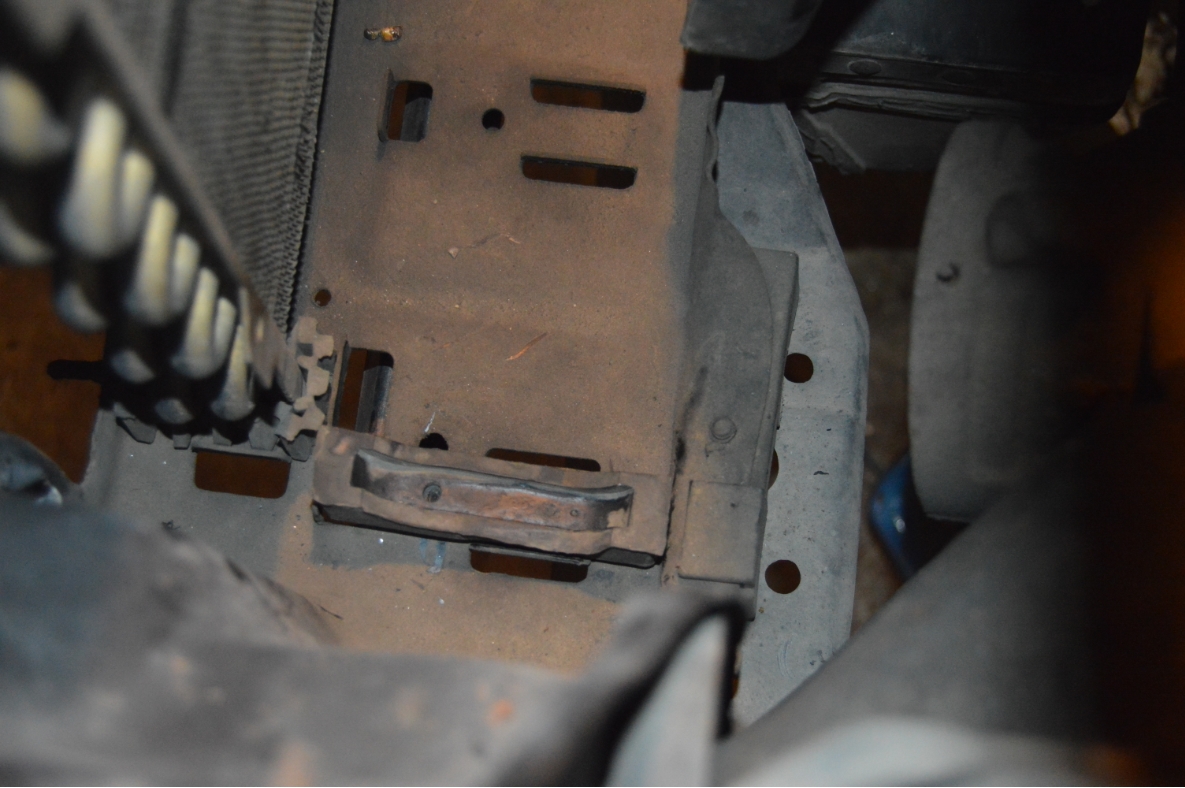
4. remove the upper and lower transmission lines, from the radiator.
(the trans lines are on the front side of the radiator, nearest the front bumper)
(the pics show you the setup that was on this Buick GN, yours may be different)
![]()
![]()
.
5. remove the upper and lower oil cooler lines, from the radiator.
(the oil cooler lines are on the back side of the radiator, nearest the engine)
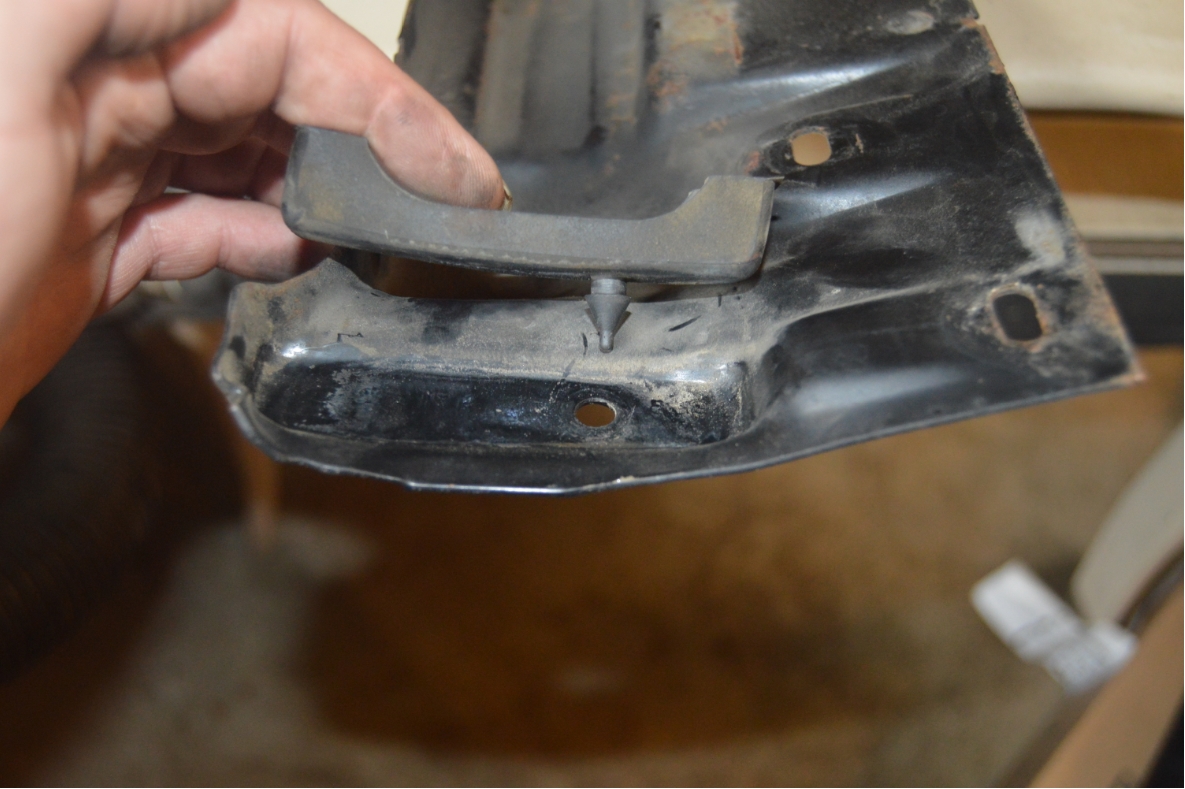
6. remove the radiator cover (10mm).
7. there are 2 rubber cushions (that sit on the radiator end caps) that mount onto the radiator cover. make sure these are still in place (there are tabs on the rubber cushion that fit into the radiator cover)!
.
8. remove the fan shroud bolts – TOP 2 BOLTS ONLY! (10mm).
(note that on the driver side, the A/C hose has a bracket on it which connects onto the same bolt that holds the fan onto the radiator)
(the bottom of fan is connected to the core support via 2 bolts, so no need to remove them)

.
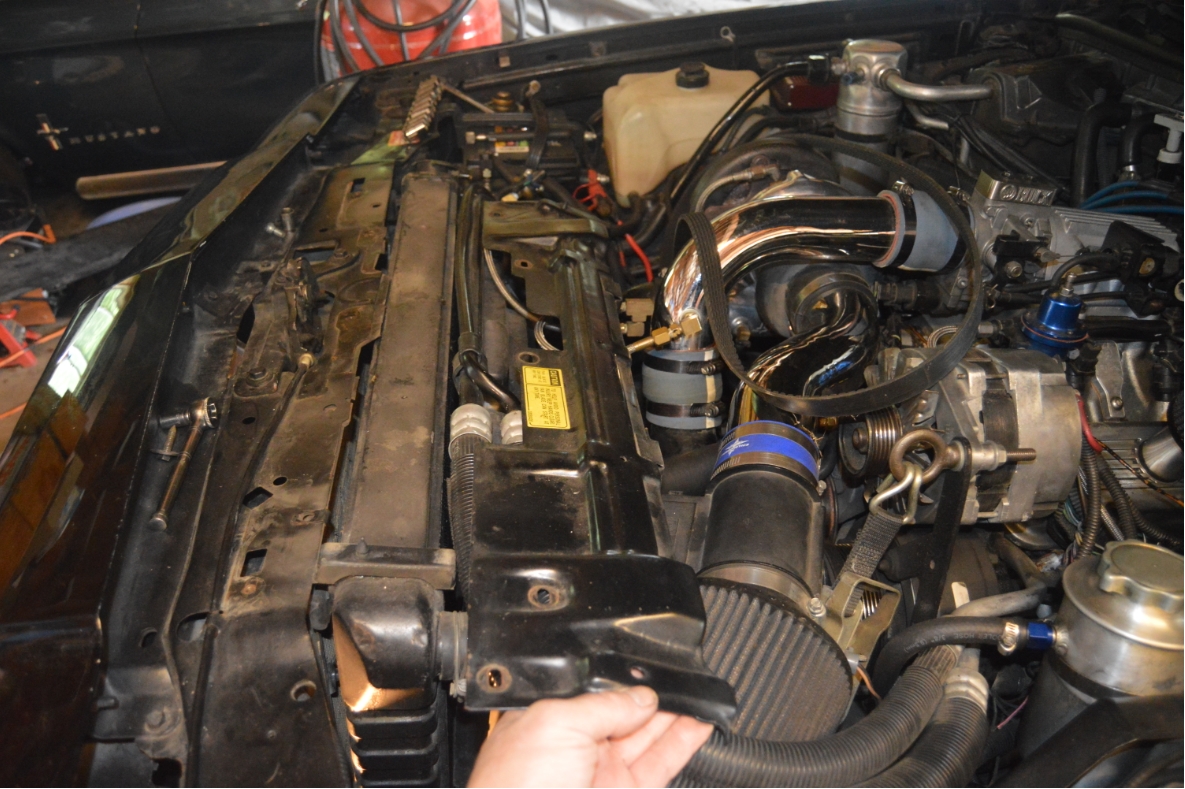
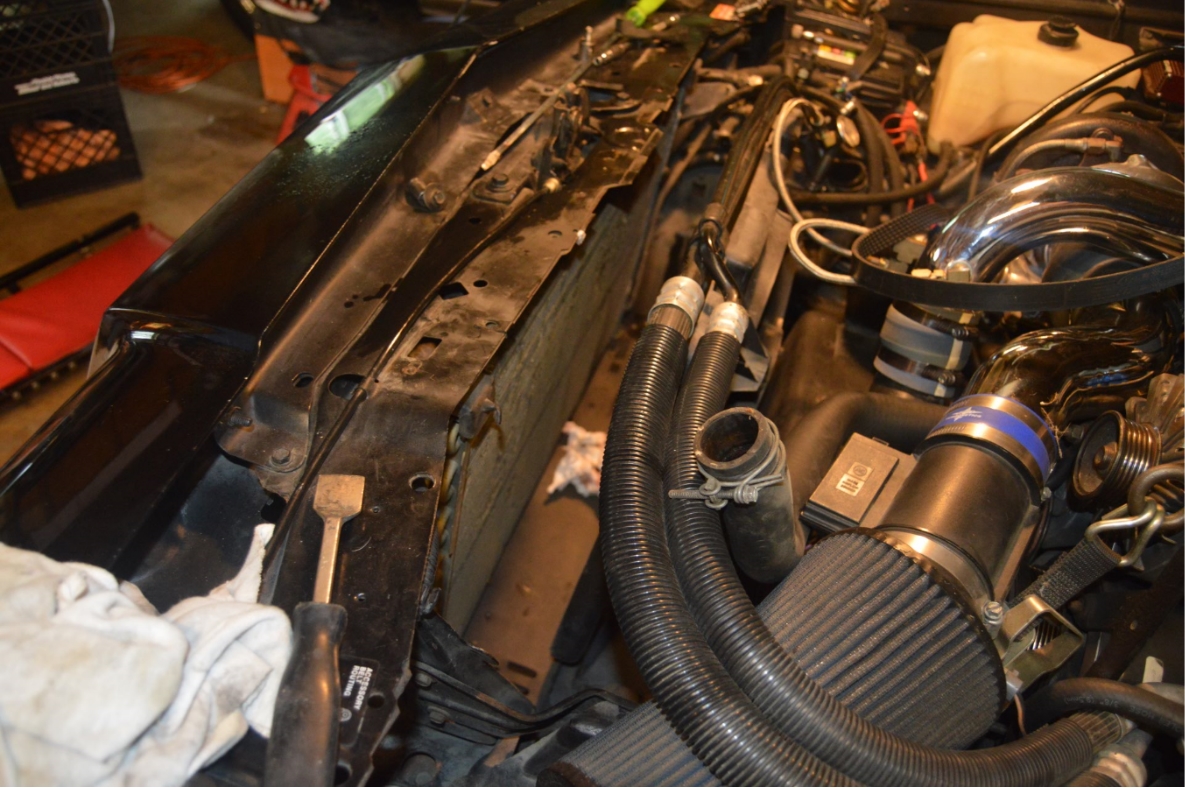
9. pull the fan back towards the engine, and pull the stock radiator out.
(be careful of the top of the core support, it sticks out pretty far!)
(be careful as some remaining fluid will pour out of the radiator!)
.
10. there are 2 rubber cushions (that sit on the radiator end caps) that mount onto the bottom of the core support. make sure these are still in place (there are tabs on the rubber cushion that fit into the lower core support holes)!
.
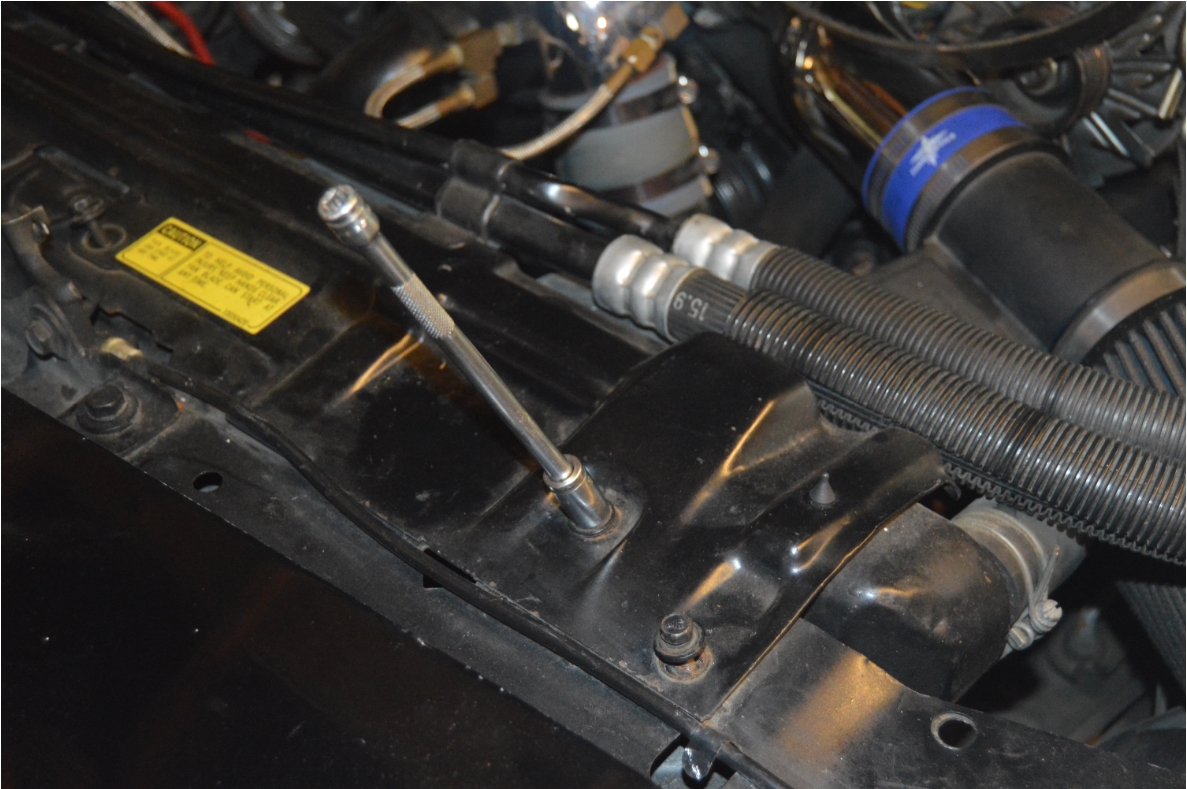
11. remove the trans lines dust caps from the new radiator.
![]()
12. replace / transfer old trans line fittings to new Fbody radiator.
(we put some teflon tape on the thread ends)
![]()
![]()
![]()
![]()
.
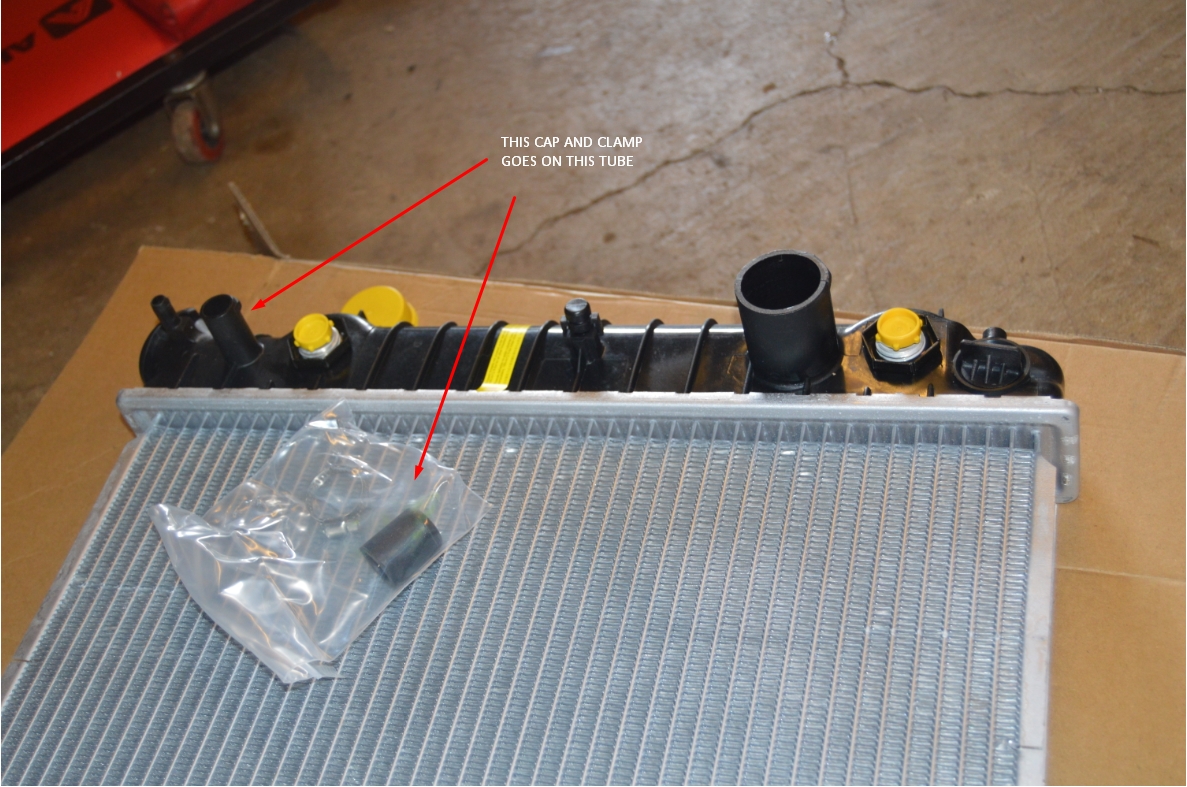
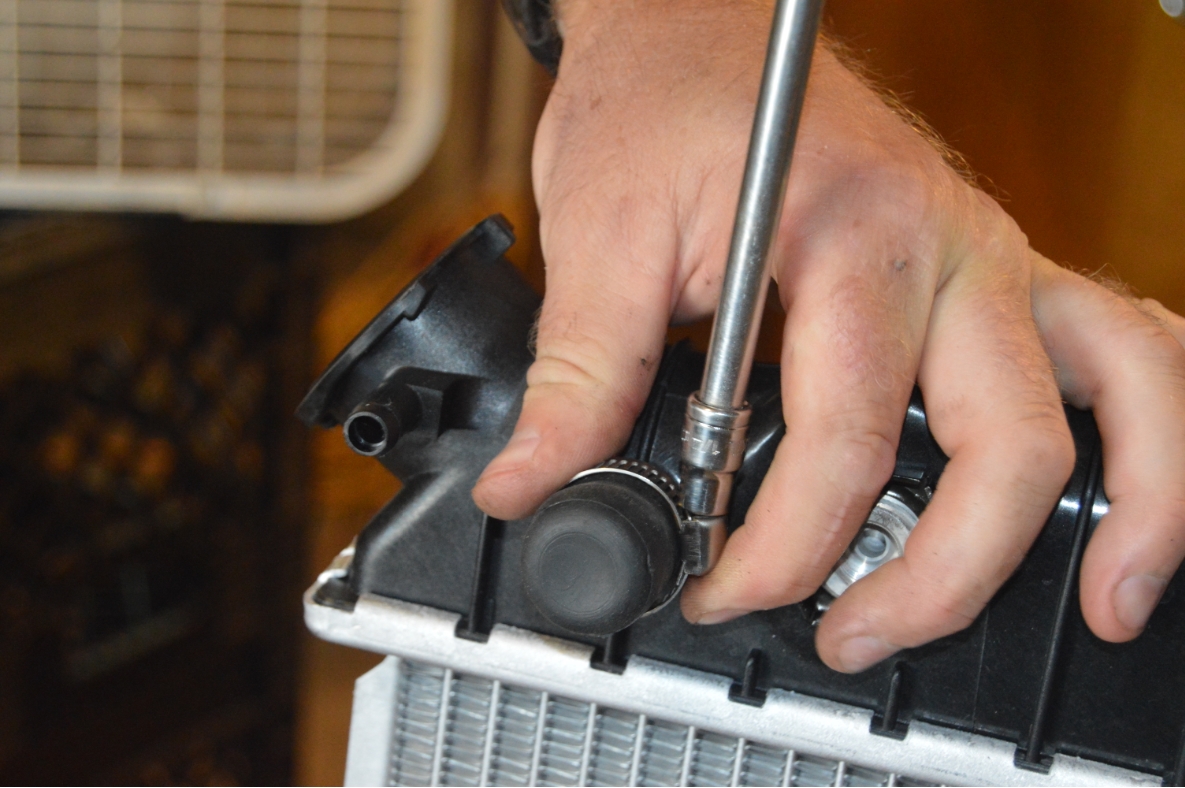
13. the new radiator includes a cap and a clamp.
this goes onto the big outlet located underneath the overflow tube.
push the cap on, and secure it with the clamp.
(this port is not needed in the G-body Regal)
(you should check the drain plug now to make sure it is in the closed position!)
.
14. Figure out what you are going to do about your oil cooler lines.

.
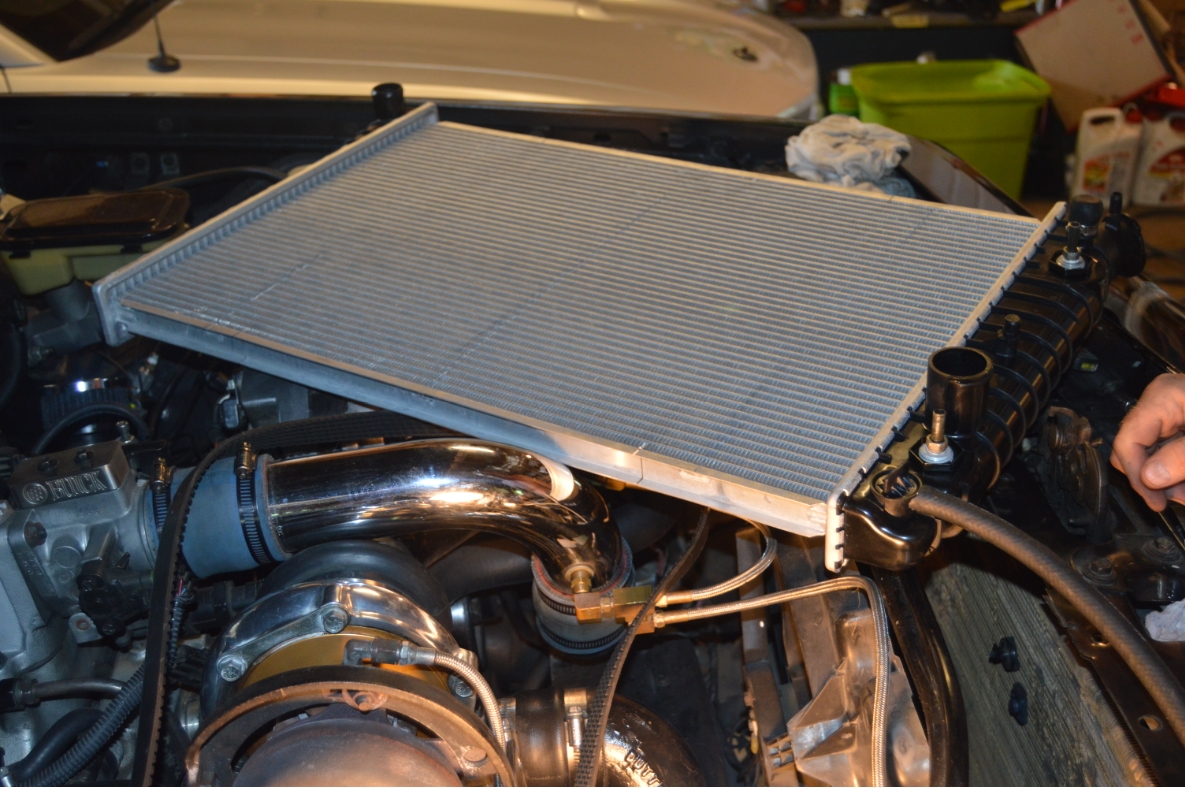
15. set the new F-body radiator into place in the engine compartment.
(make sure the end caps sit onto the rubber cushions)
16. reconnect the trans lines.
(for the lower one, it might be easier to lift up the radiator some to access it’s location)
17. reconnect the upper and lower radiator hoses.
18. reconnect the overflow hose.
19. reinstall the radiator top cover.
(make sure the end caps sit onto the rubber cushions)
20. reinstall the upper 2 fan shroud bolts.
(make sure the A/C clip is in the correct place!)
21. Fill up the radiator with coolant. put the radiator cap on.
(this is a good time to consider replacing your old coolant with brand new stuff!)
(you should check for any leaks after filling it up!)
22. start up the engine, let run until it warms up. (the fan should turn on), then shut off, and let it cool down.
(you should check for any leaks while it’s running!)

.
23. recheck coolant level. you should have to add more coolant.
24. again, start up the engine, let run until it warms up. (cap on)
25. recheck coolant level. you should have to add a little more coolant.
26. check transmission fluid level. add as needed.
27. one final time of running the engine, with cap off, should reveal if any more coolant is needed.
(if the level doesn’t go down AFTER the thermostat opens, it’s full)
 26. install the pipe insulation around the fan shroud to take up the existing gap.
28. take the Turbo Regal for a spin and watch your temperature (gauge, scanmaster, etc.)
29. your new temperatures should be less than they were before you started this upgrade.
(if not, you may need a dual fan setup)
(check your temps with and without air conditioning on, as well as on the highway and driving in regular traffic on the street)
.
All good? Cool! 😉
.
.


