


Today is the day for installation of the new custom console for the Buick Grand National.
We’re excited to see this console finally getting put into the car!
(there were plenty of “test fits” – but now it’s really done and we can actually use it!)
.
This is an ongoing series about creating a new custom center console unit for a Buick Grand National.
See the steps taken below to create.
.
Find the first part (thoughts, plans) here:
Custom Center Console for Buick Grand National (1 of 7)
Find the second part (specs, parts, building template mockup) here:
Custom Center Console for Buick Grand National (2 of 7)
Find the third part (wood size choices & the weight differences) here:
Custom Center Console Buick Grand National (3 of 7)
Find the fourth part (prep work, cut out parts) here:
Custom Center Console Buick Grand National (4 of 7)
Find the fifth part (building the console) here:
Custom Center Console for Buick Grand National (5 of 7)
Find the sixth part (wiring up all the lights) here:
Custom Center Console for Buick Grand National (6 of 7)
Find the seventh part (installing the console) here:
Custom Center Console for Buick Grand National (7 of 7)
.
The actual mounting procedure for this new center console utilizes the exact same 2 bolts that the stock factory console uses (which are found inside the front console box, at the very bottom) to secure it to the floor.
[not that it really needs them, since the front part of the console is wedged under the radio area, and the rear section of the console has that hook section that wraps under the rear seat, not to mention that the portion between the seats is pretty tight. It isn’t likely to be moving around at all]
.

.
HOW TO:
.
1. Make sure the shifter handle is removed so the console can slide down into place.
(it should have been off already when you removed the OEM unit)
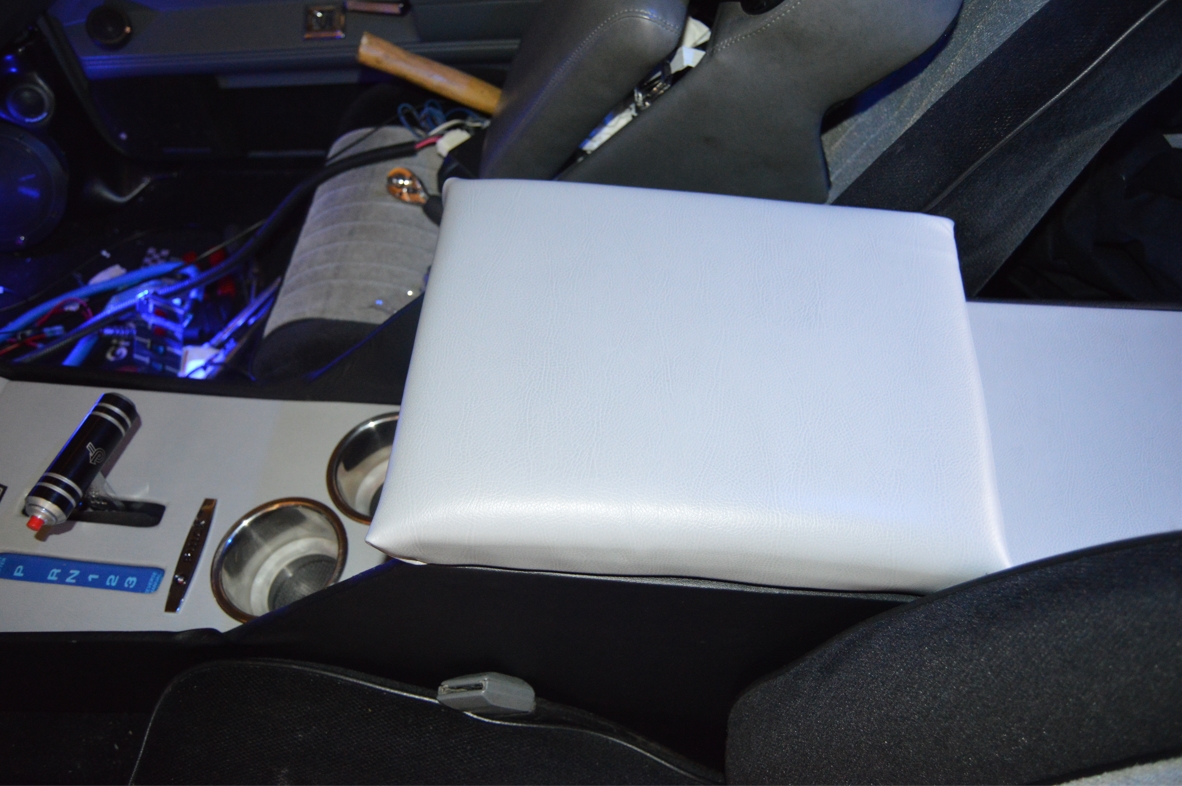
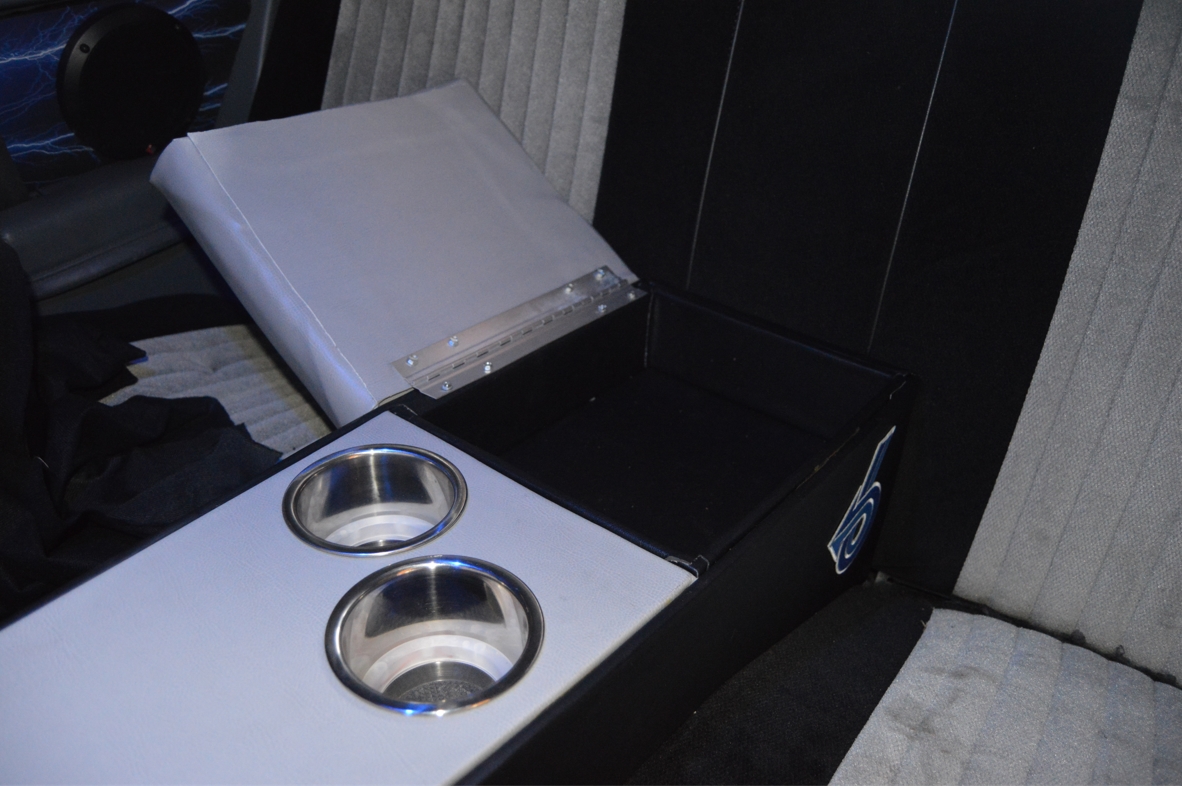
2. With the new console angled up on the back, and the front end lowered, wiggle it down into place.
Make sure the shifter slides thru the hole.
Make sure the seat belts are away from the console (meaning accessible after install).
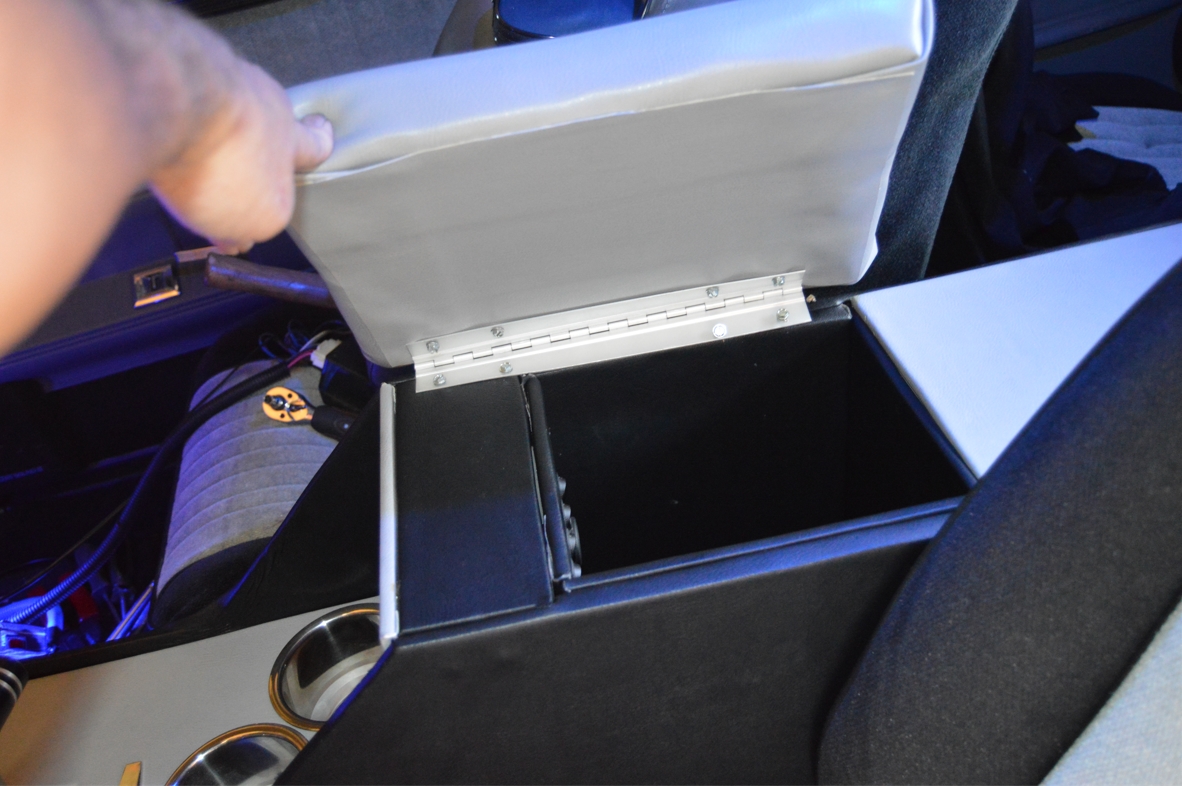
You will need to push the rear seat bottom in slightly (towards the back of the car) to allow access to the cutout portion on the bottom side of the console to slide into place.
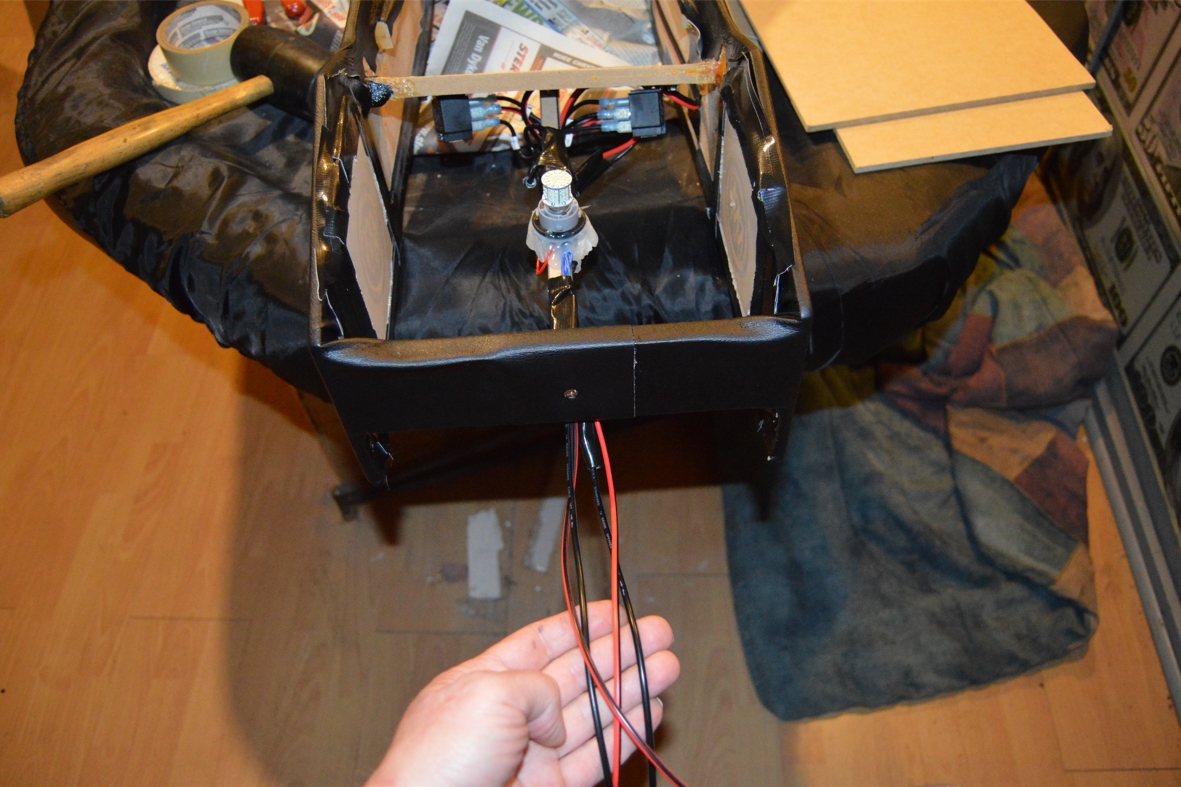
3. make sure all electrical wires are all pulled out from the front side of the console, so you are able to wire them up as needed.
(the wires for the side lights, as well as the ones for the switch panel)
.
.
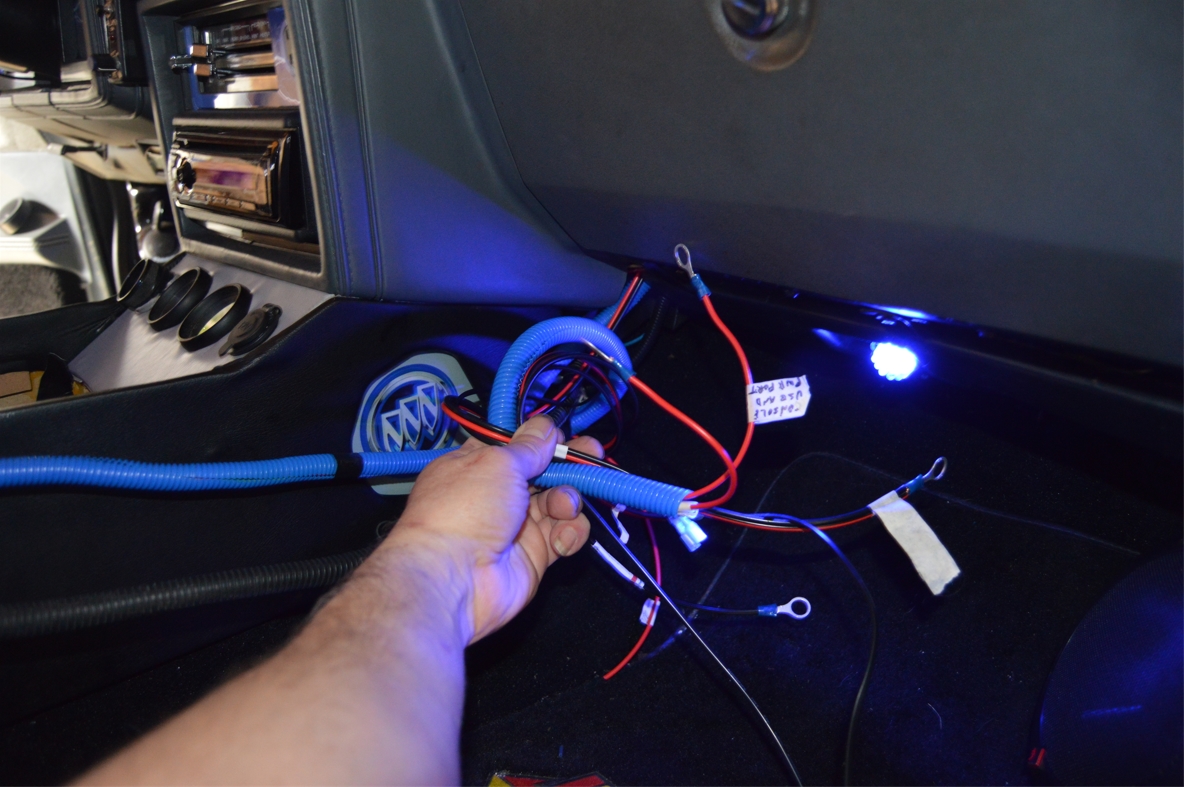
4. Finish all of the electrical connections that need to be made (from above).
Also connect the gauges, power port, shift light, and anything else needed.
Don’t forget to reconnect the gear indicator light.
(we actually used a brand new bulb socket for this, and not wanting to ruin the original OEM socket, we just tapped the new wires into the factory wires for this light. We did remove the stock light from the socket however)
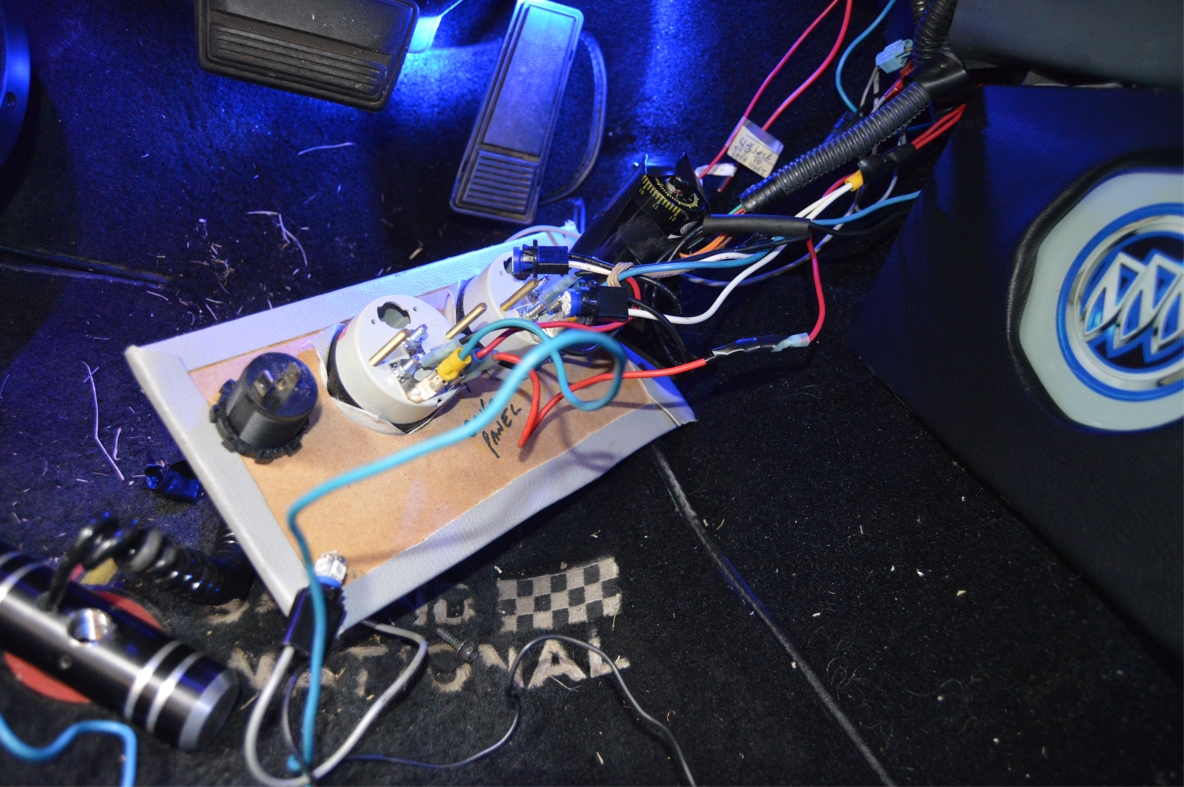
(We already had gauges and the shift light on the stock console previous to making the new console, so we just needed to reconnect what we disconnected before)
(there were switches in the ashtray as well, so these are simply rewired to the new switches)
(the new power port in the gauge panel is wired into our extra fuse box)
All of the new lights are also wired into our extra fuse box that we installed a long time ago.
(to make wiring the front gauge panel easier, what we did was wire up everything on it first, then attach that panel to the console. Since it’s secured underneath the shifter plate, you obviously have to attach that panel before the shifter plate!)
.
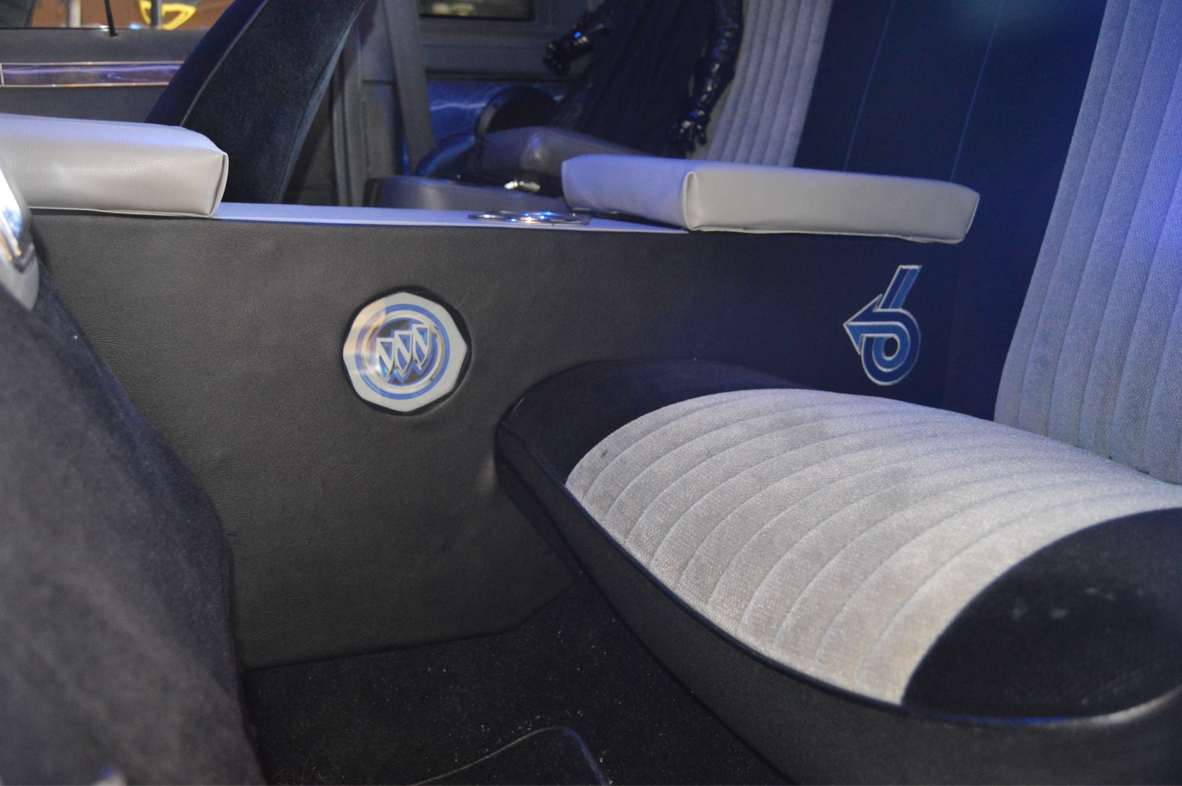
5. CHECK to make sure all the side lights work as intended!
(they come on when the doors are opened, as well as turn on when you turn your headlights on)
6. Install your original 2 bolts that secure the console down, and tighten.
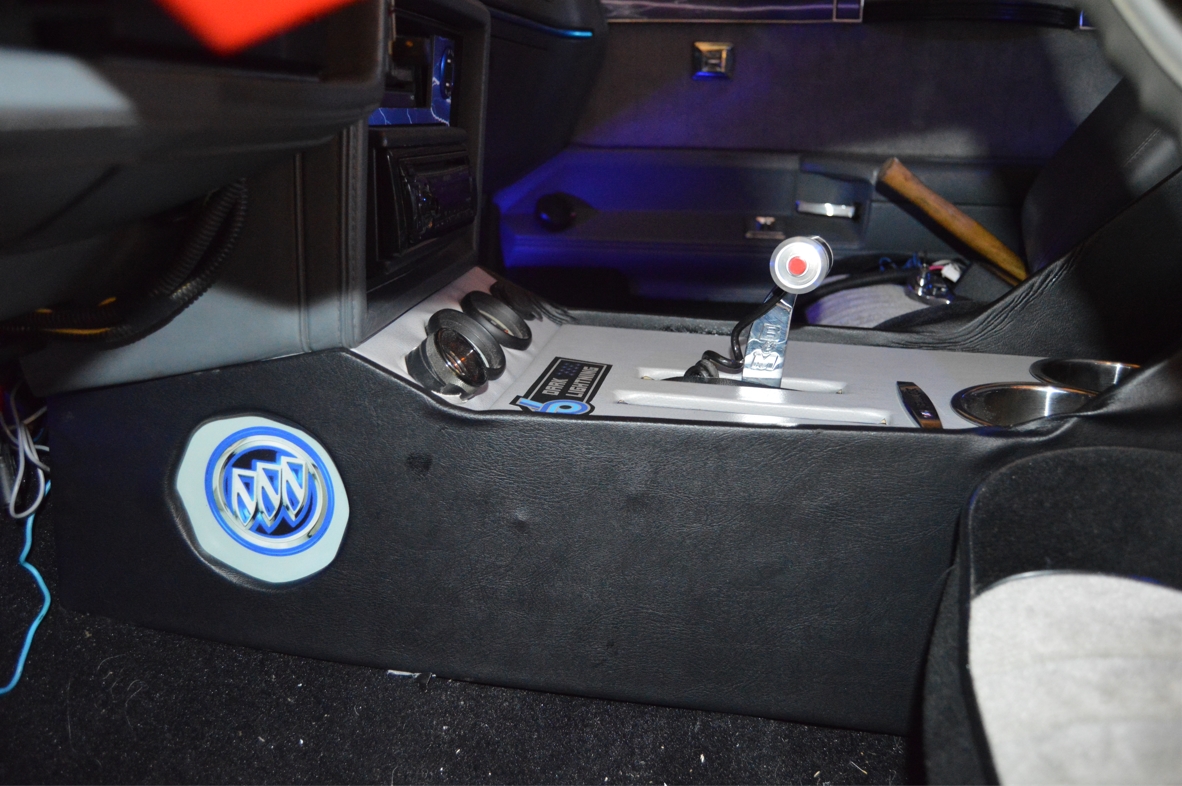
7. Reinstall shifter handle, and reconnect the line lock button wires that we previously disconnected.
.

.
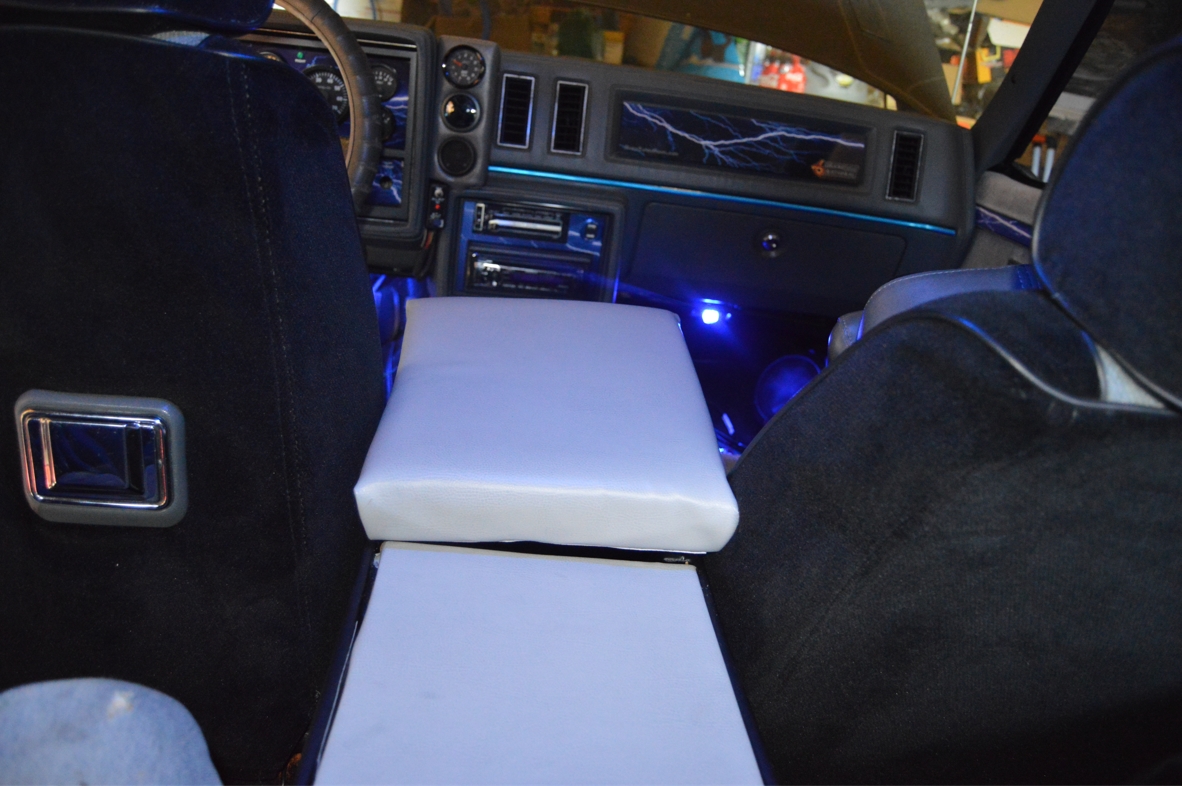
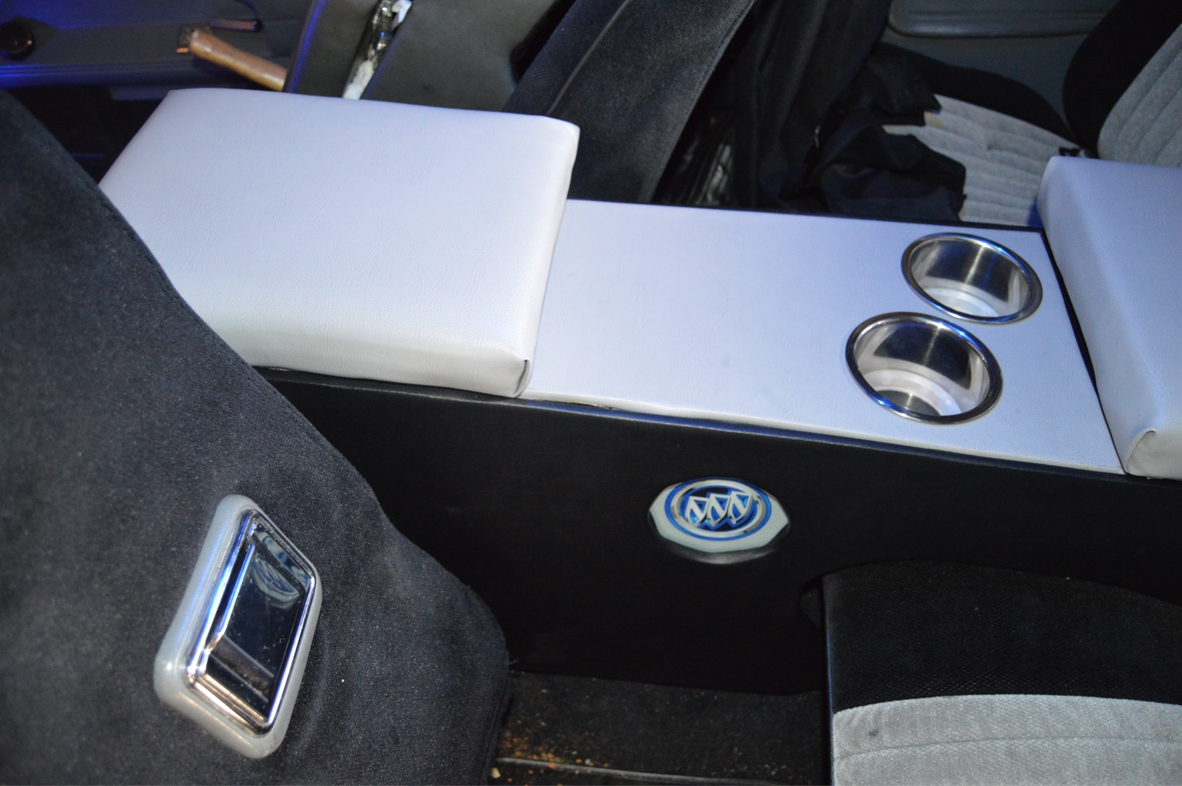
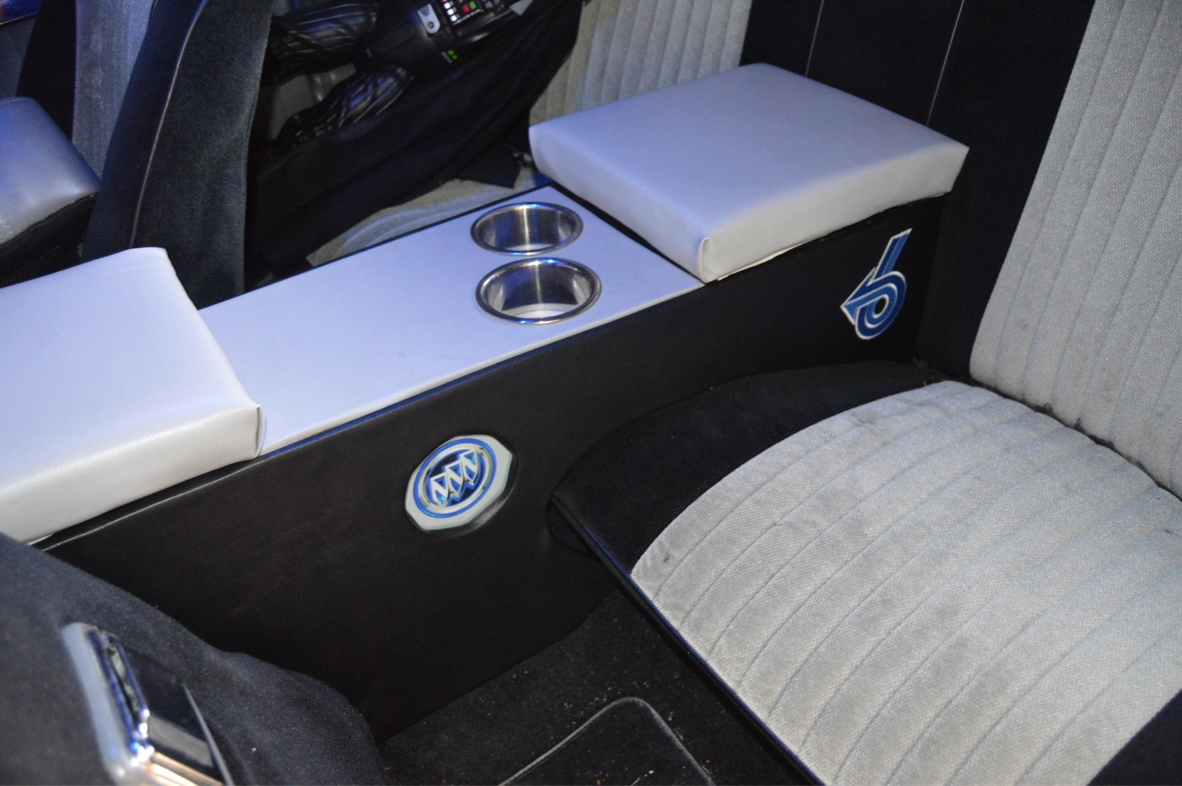
8. That’s it! Time to enjoy the new console unit!
.


.
Today was the last day in this new series!
We hope you enjoyed it and learned from it.
Thanks for following along with us on our journey!
Be sure to check back on this website (in a week or 2) to see the other center console we made that utilizes the OEM stock shifter plate!
.


