


Considering the doors are pretty heavy on the Buick Regal G-bodies, these door lock pillar striker supports (made by Rick Hunt, former ASC employee) are a great idea to implement on your buick grand national or regal t-type to make sure everything stays lined up the way it’s suppose to.
These supports will prevent cracking (or further cracking if that’s your issue) in the striker area by supporting the spot welds that hold the cage nut and the door striker.
And these are relatively inexpensive too! (about 30 bucks shipped).
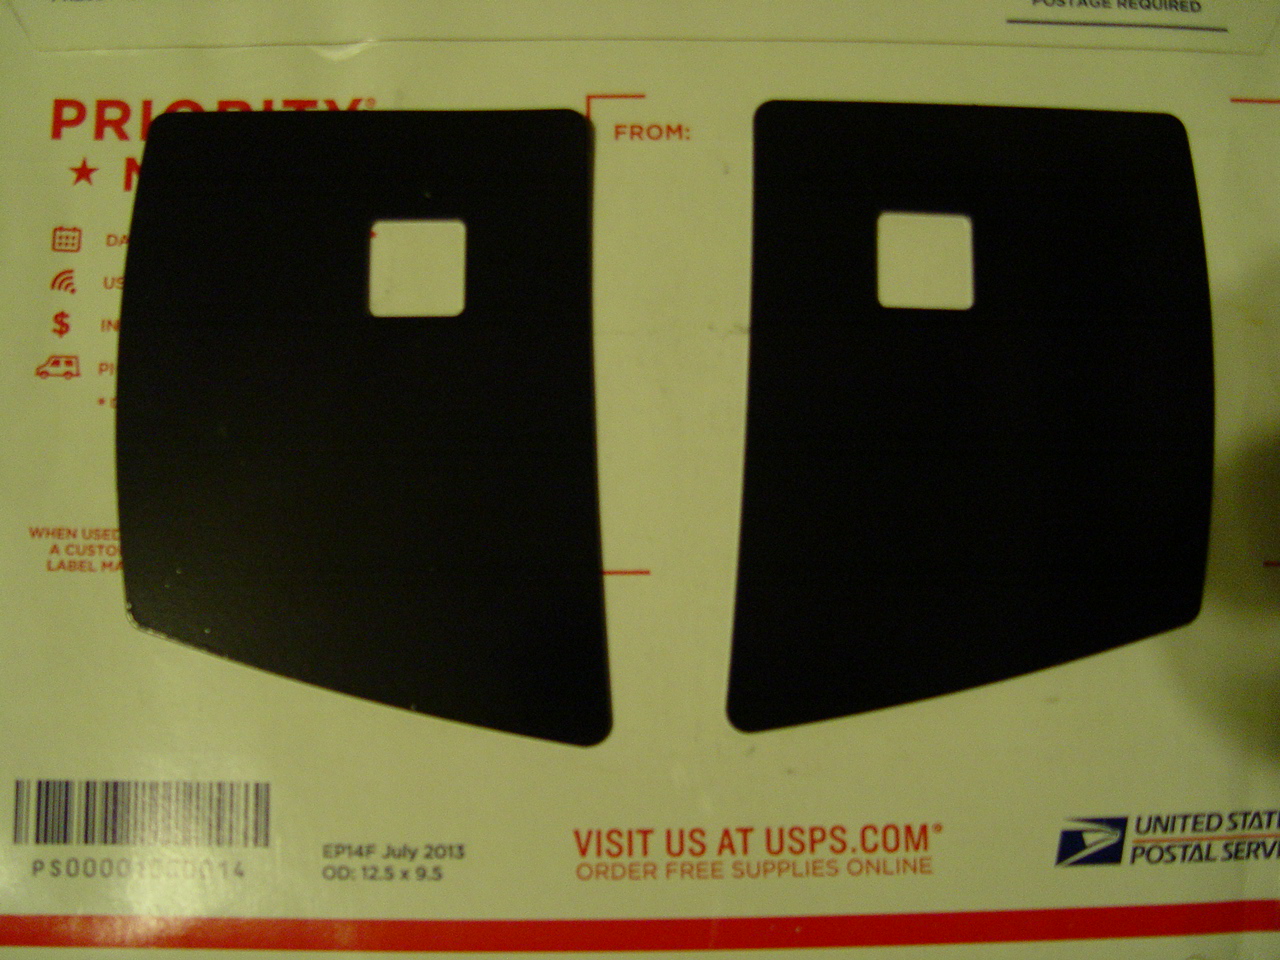
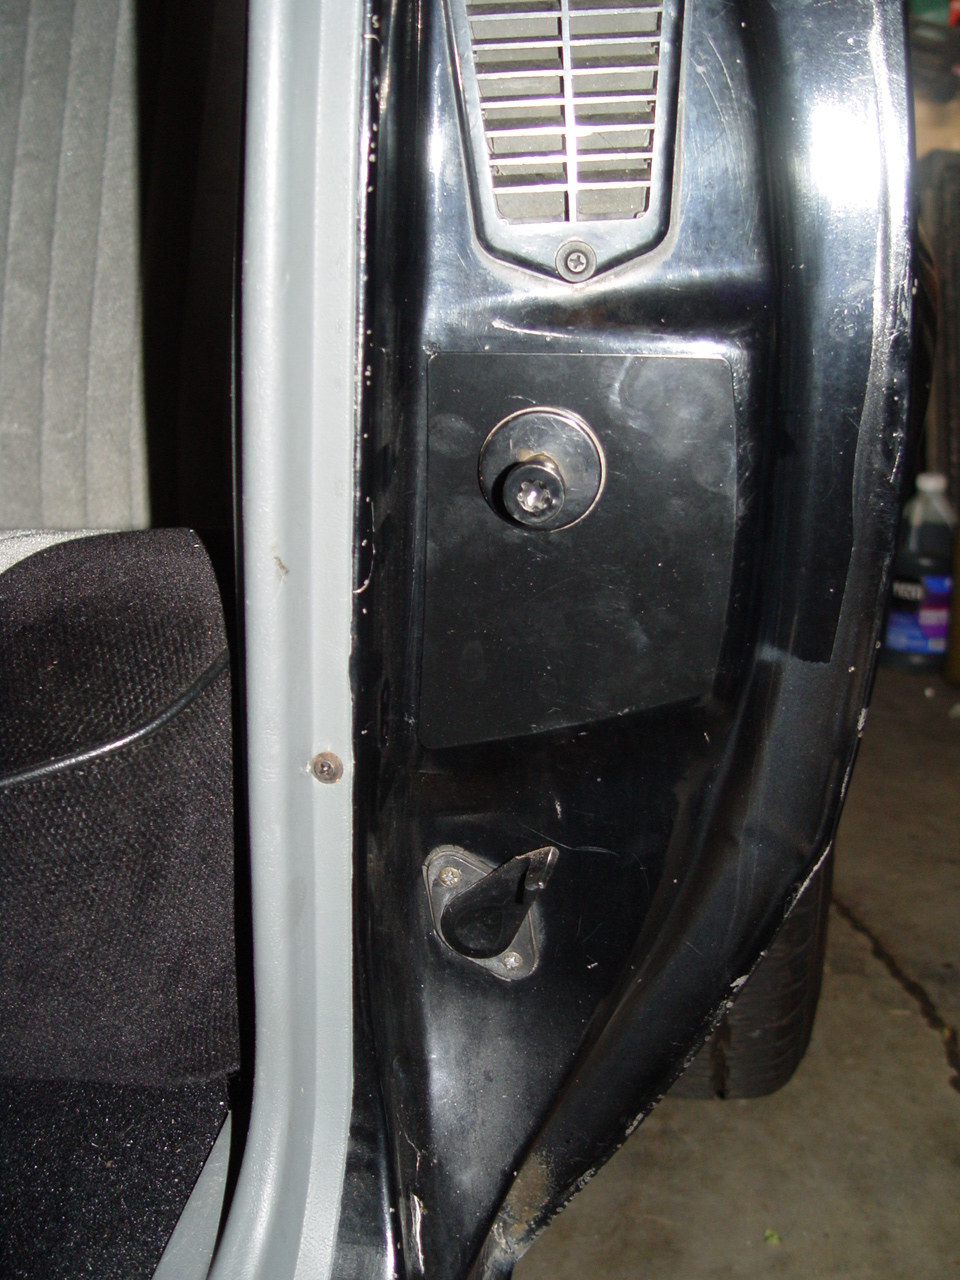
The 2 mm thick reinforcement pieces measure around 4″ wide by 5″ tall, and sit behind the post that’s in the door jam.
They are powdercoated in black & shaped appropriately which makes them look like they came from the factory! (or at least look like they belong there!)
Buick had a recall back in the day on another car (1985 Somerset) & utilized this same method as the “fix” to the problem, so this seems like a good idea to perform on your vehicle NOW, BEFORE you have any problems!
This is another simple & easy upgrade to perform on your turbo regal.
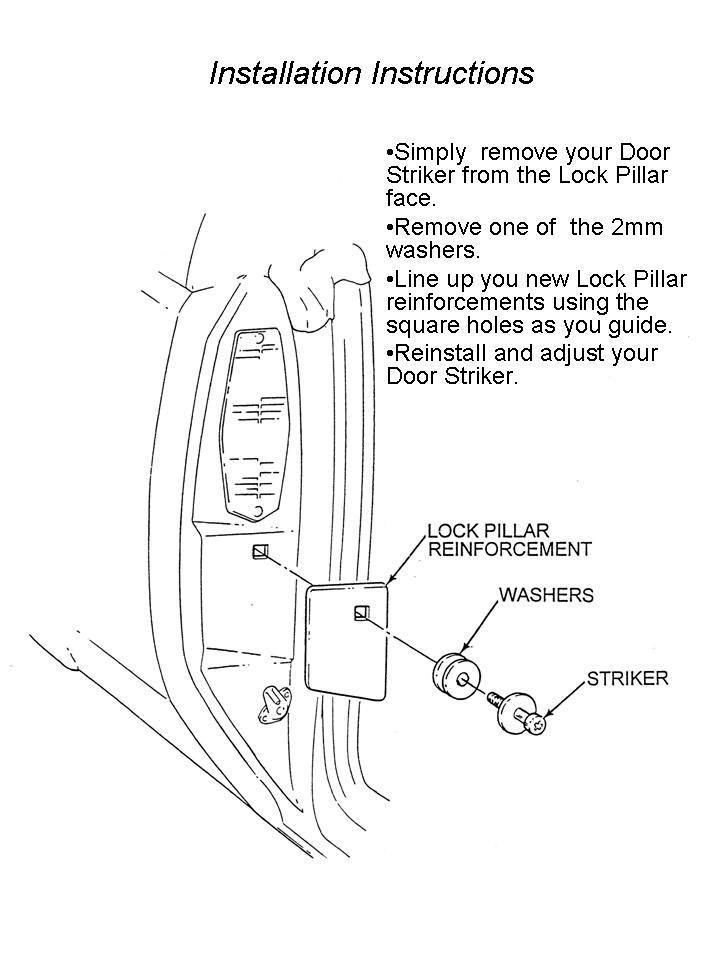
How to:
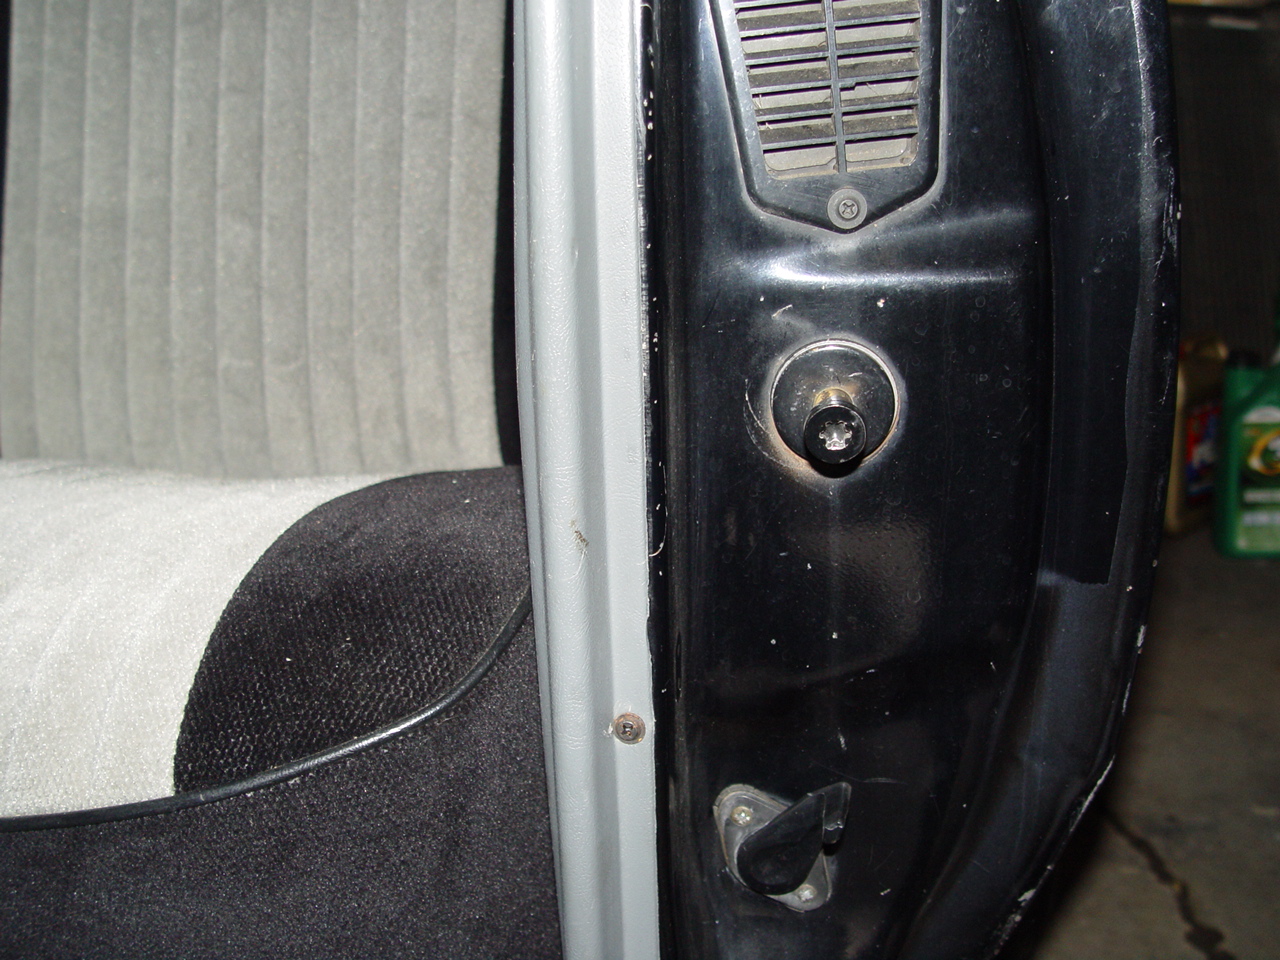
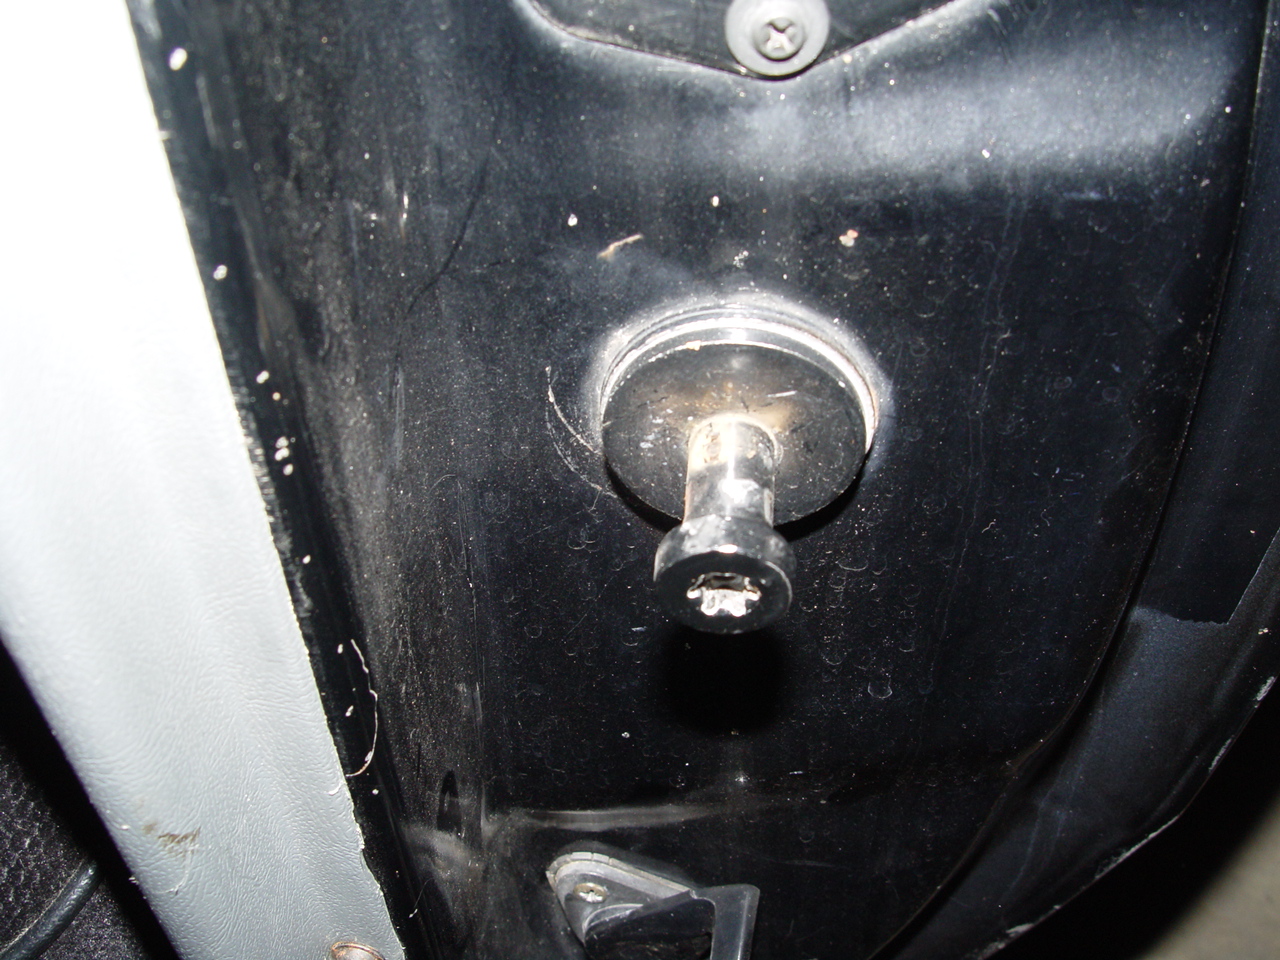
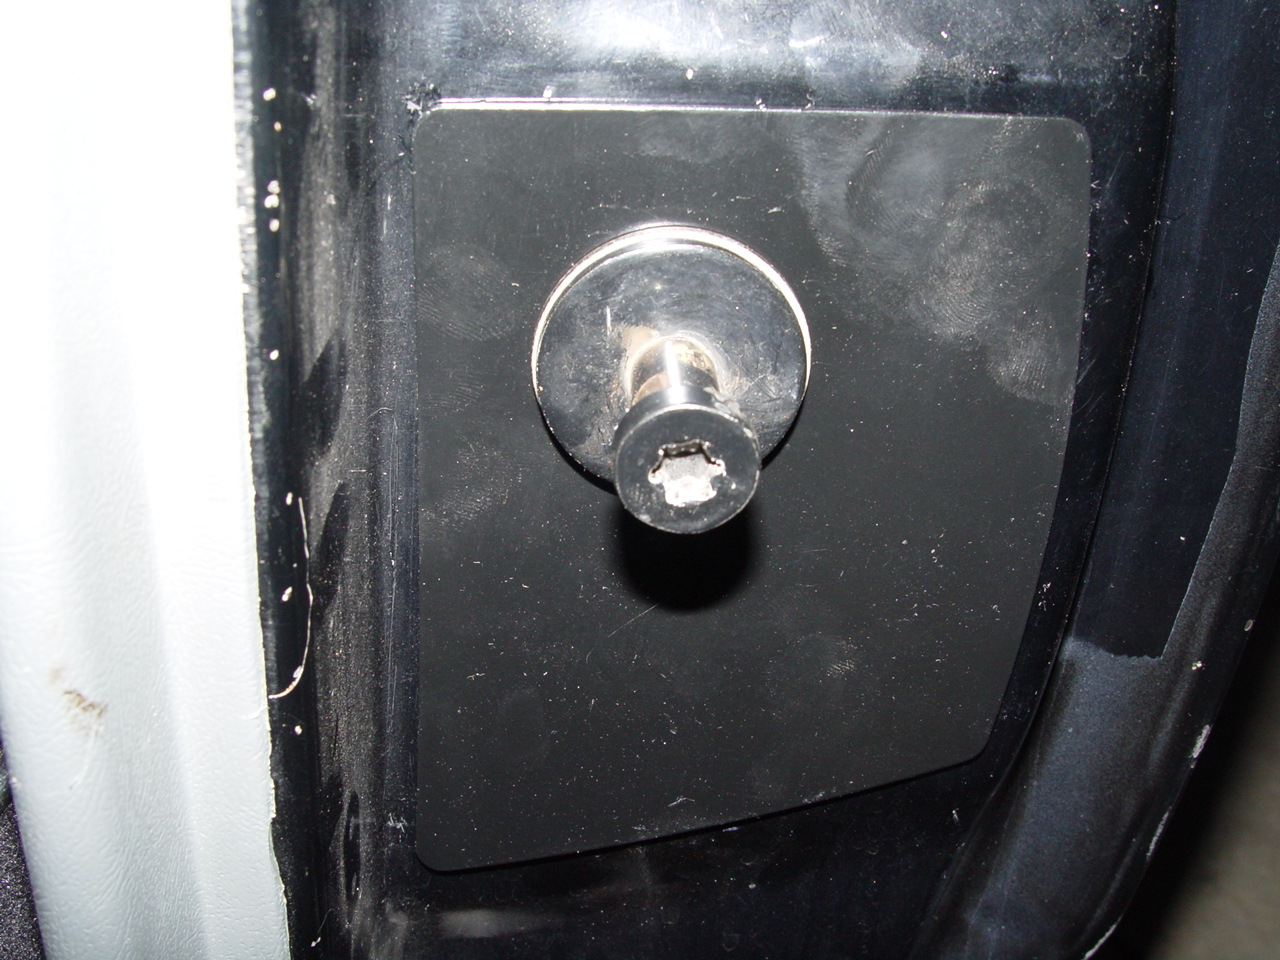
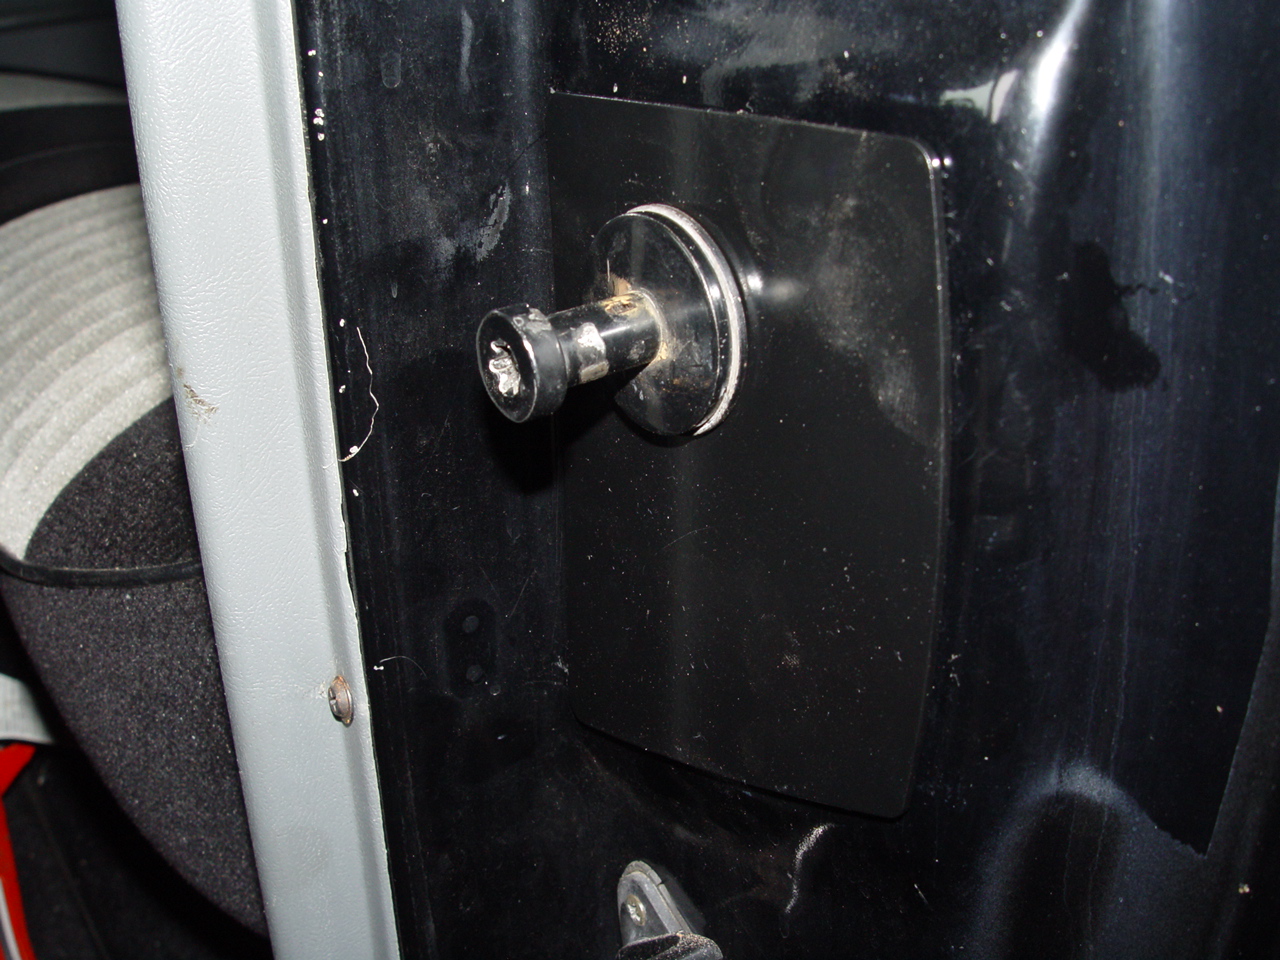
1). Remove the door striker using a T-50 star socket.
[ NOTE: the piece that the striker screws into may be loose behind the jamb, so it may slide down a bit, however, the piece is big enough so that it will not fall down completely to the bottom of the jamb ]
{ you might want to take measurements of where exactly your striker is positioned at now, BEFORE removing it. (1 5/8″ from left, 4 7/8″ from top of seat belt retractor, etc.) as there is about 1/4″ play each way when you loosen the door striker }
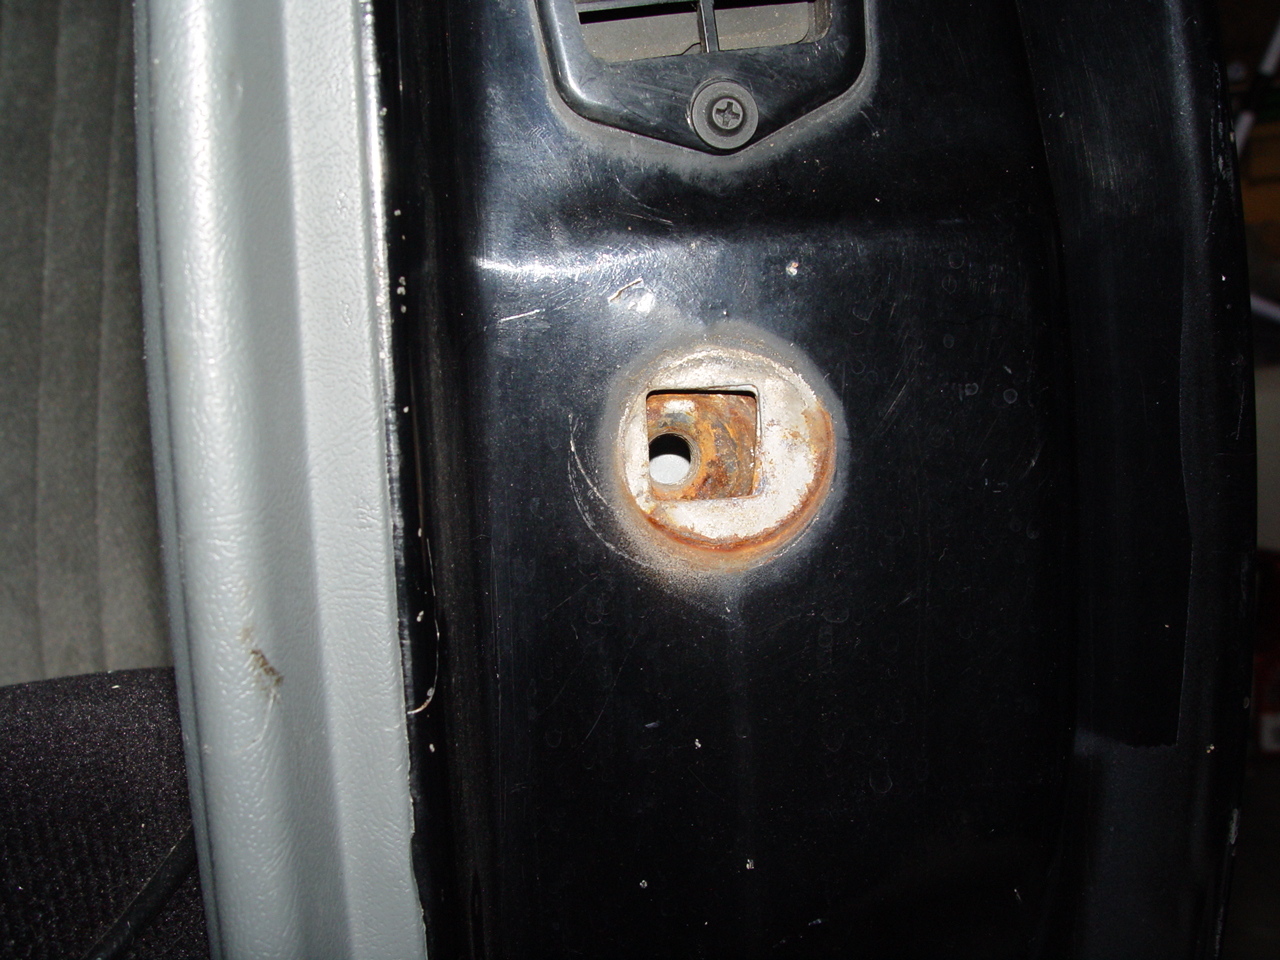
2). Now would be a good time to clean this area if applicable.
3). Remove one of the (thinner) washers that are behind it (this car has 3 total; 1 thick one & 2 thinner ones).
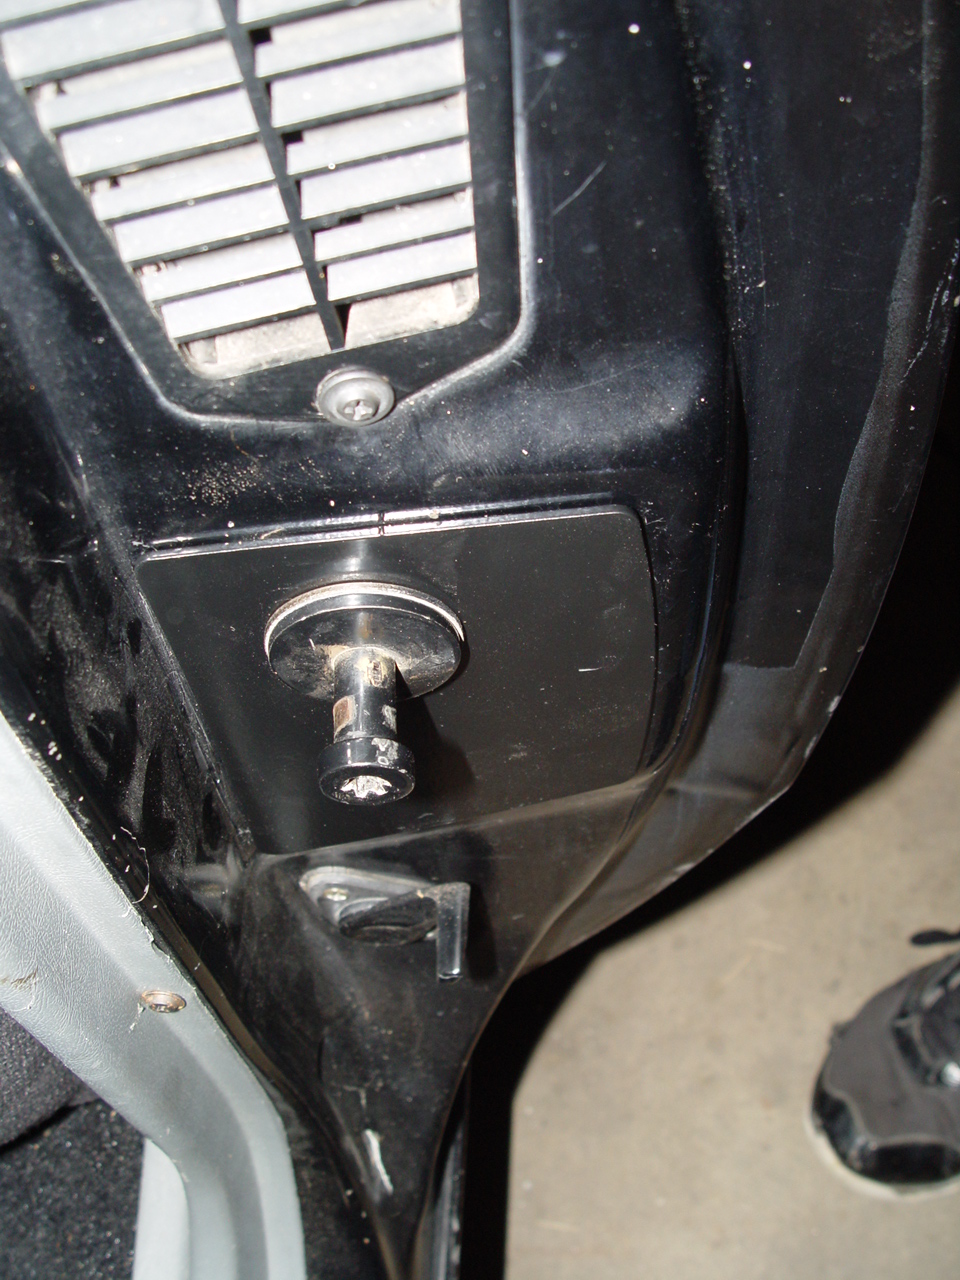
4). Place 1 of the new door lock pillar supports on the door jam, lining up the square hole in the support with the square hole in the body.

5). Reinstall the door striker with the washers behind it into the hole & fasten down.
Use your measurements you took earlier to make sure it’s reinstalled in the same position before you started.
6). Repeat for the other side.
You’re done!
A nice 10 minute job!
Interested in a set of these door pillar reinforcements? Get them HERE:
Lock Pillar Reinforcement
(nothing listed there? check back in a few days!)
.


