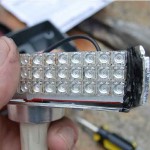
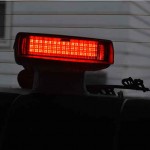
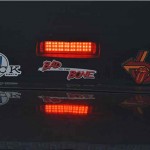
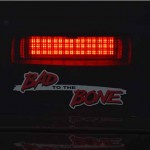
Next up on our list of LED Bulb upgrades to perform on the Buick Grand National, was to do the third brake light.
We bought the version that Kirban Performance sells (Third Brake Light LED Panel #7660, $49.95).
{you can also find similar kits thru other Buick vendors as well}
It’s an easy install as it takes almost no time at all to do.
These LED units will last a long time & generate much less heat than the factory bulb.
TIME TO INSTALL: about 5 minutes.
TOOLS REQUIRED: phillips screwdriver
HOW-TO:
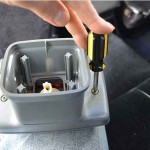
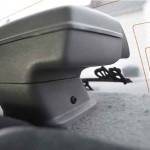
1. unscrew the 2 screws (1 on each side of the base) that are holding it down to the package shelf.
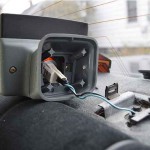
2. unplug the connection that’s under the housing. Be careful not to break the retaining clip.
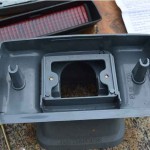
3. flip the housing upside down & unscrew the 2 screws (1 on each side of the base) that is holding it together.
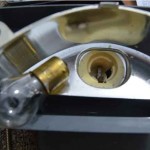
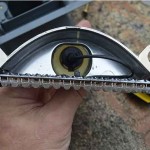
4. twist the old bulb out.
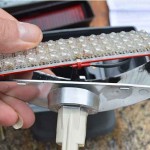
5. the new LED light has an attached socket that simply plugs in (instead of the bulb), just push it in & twist.
6. there’s a red stripe on one end, make sure this faces down.
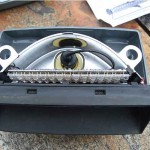
7. there’s butyl tape included, to which you need to cut it in half & place a bit on each end to secure the LED panel to the chrome reflective base. make sure you center the light panel & push it back as far as it will go within he housing.
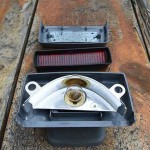
8. set the chrome part back on top of the bottom of the third brake light housing.
9. place the red reflector (with the gray rubber surround) in place. (there’s a notch in the housing where it is suppose to sit).
10. put the top of the housing onto the bottom part of the housing.
11. grab both top & bottom at the same time, flip it over, then reassemble using the 2 phillips screws.
12. plug the electrical connector back in.
13. TEST the light before you secure it back down! it works? good!
14. reattach the housing to the rear shelf.
15. celebrate! you’re done with this very difficult job (lol)!
(unless of course, you have more buick projects to tackle…)
My thoughts about this item:
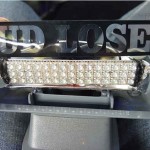
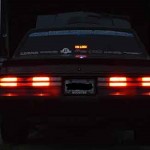
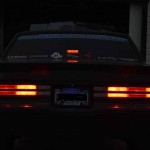
A. I’m not exactly sure it’s “brighter” than the original bulb. The “glow” looks about the same to me. However, the area coverage is definitely wider (within the housing), since the led panel is over 3″ wide vs the factory bulbs 3/4″ size.
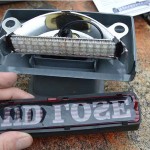
B. There use to be one of those cool “UD LOSE” inserts installed within the housing, to which, can’t be used now, because the ends are cut off (not illuminated) due to the LED panels ‘forward-only’ light bulbs (meaning the lights only shine straight ahead – NOT to the sides). I would have thought since the LED is contained within the shiny chrome housing, that light would have reflected off of that, but it doesn’t. The (you’d lose) insert is longer than the new LED Panel (by about 2 rows of lights – or approx 1/2″ on each side) so only 1/2 of the letters ‘U’ (at the front) & ‘E’ (at the end) get lit up, making the insert unreadable now. Oh well, I suppose this isn’t a huge loss.
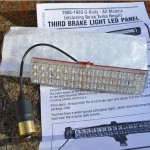
.
The “UD LOSE” insert:
.
Side by Side Comparison, original bulb on left, new LED Light Panel on right:
.


