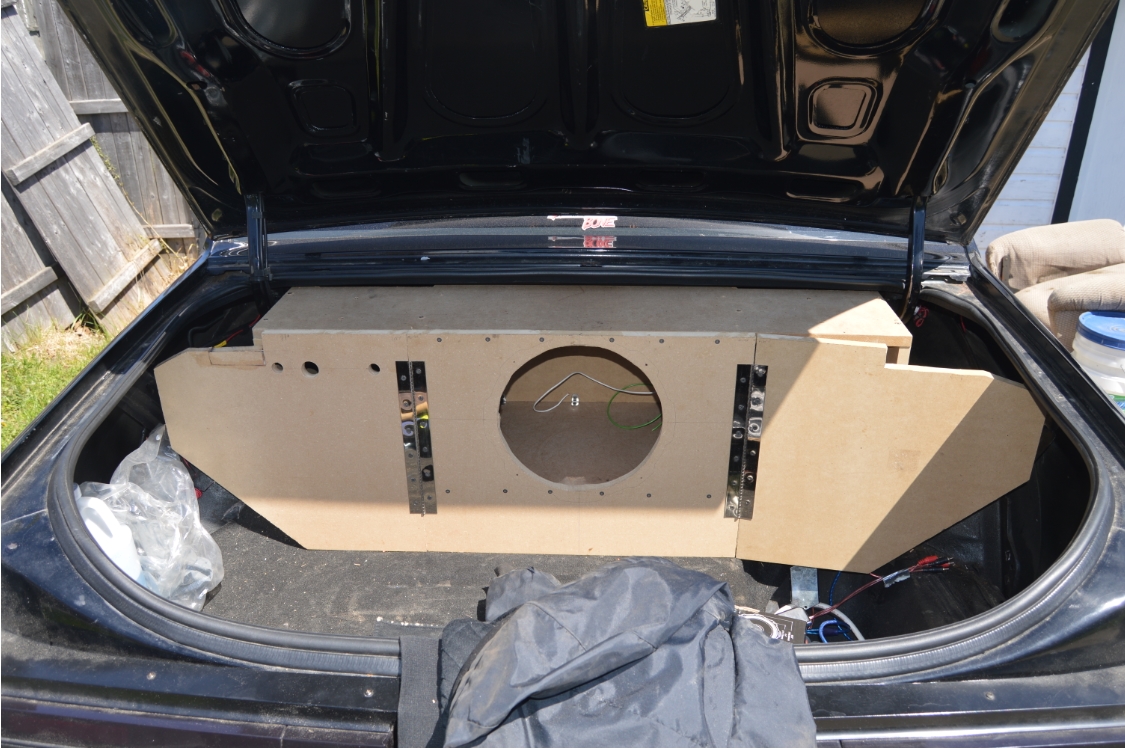
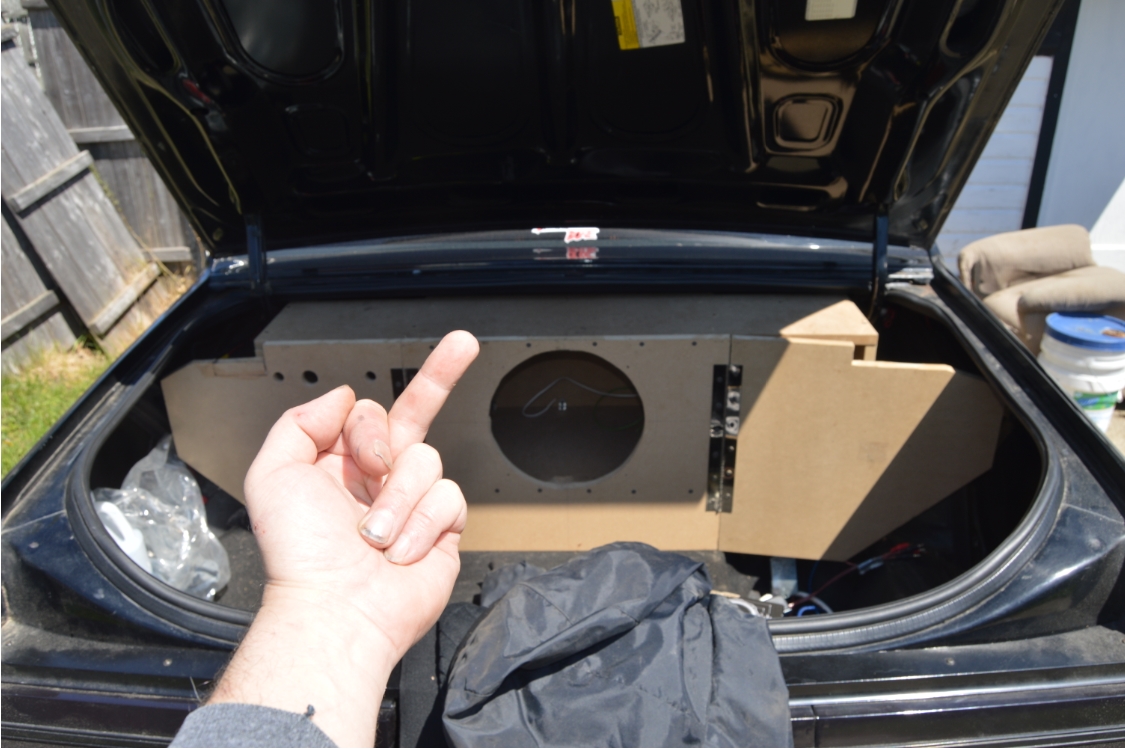
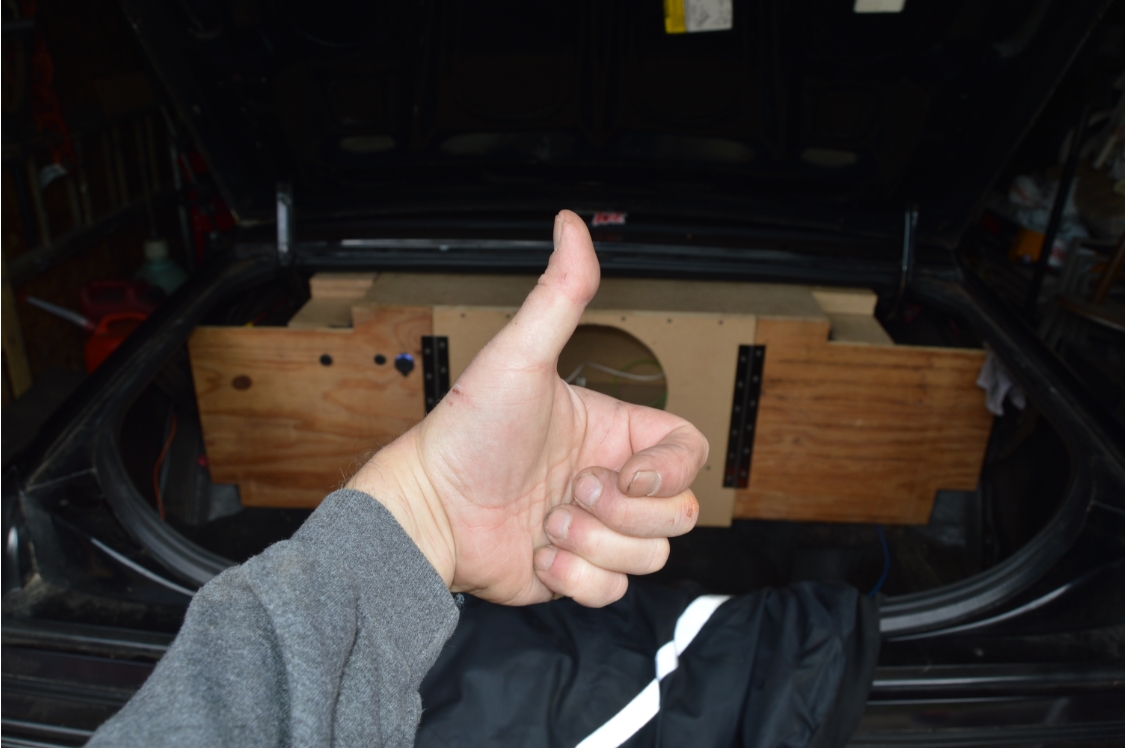
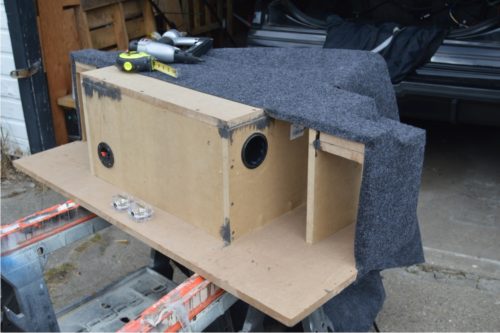
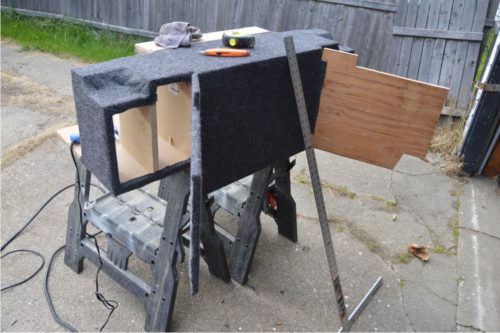
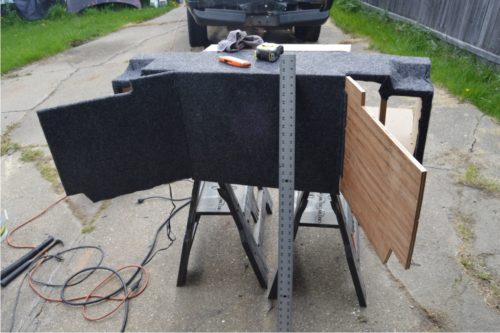
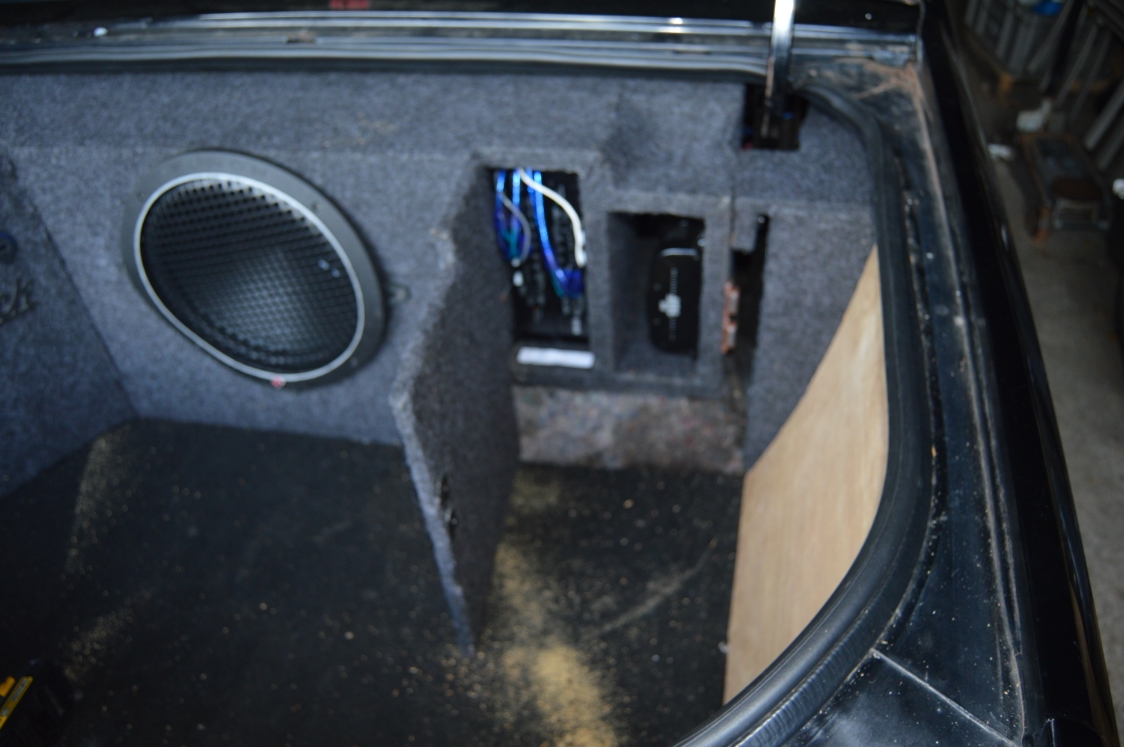
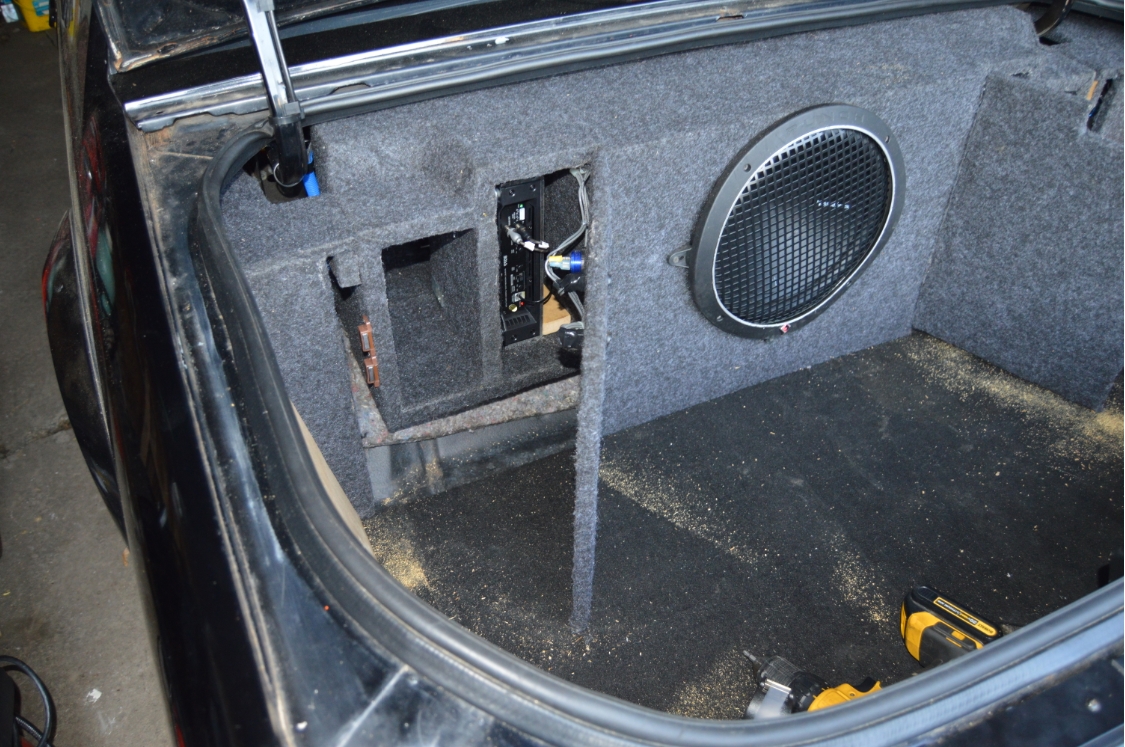
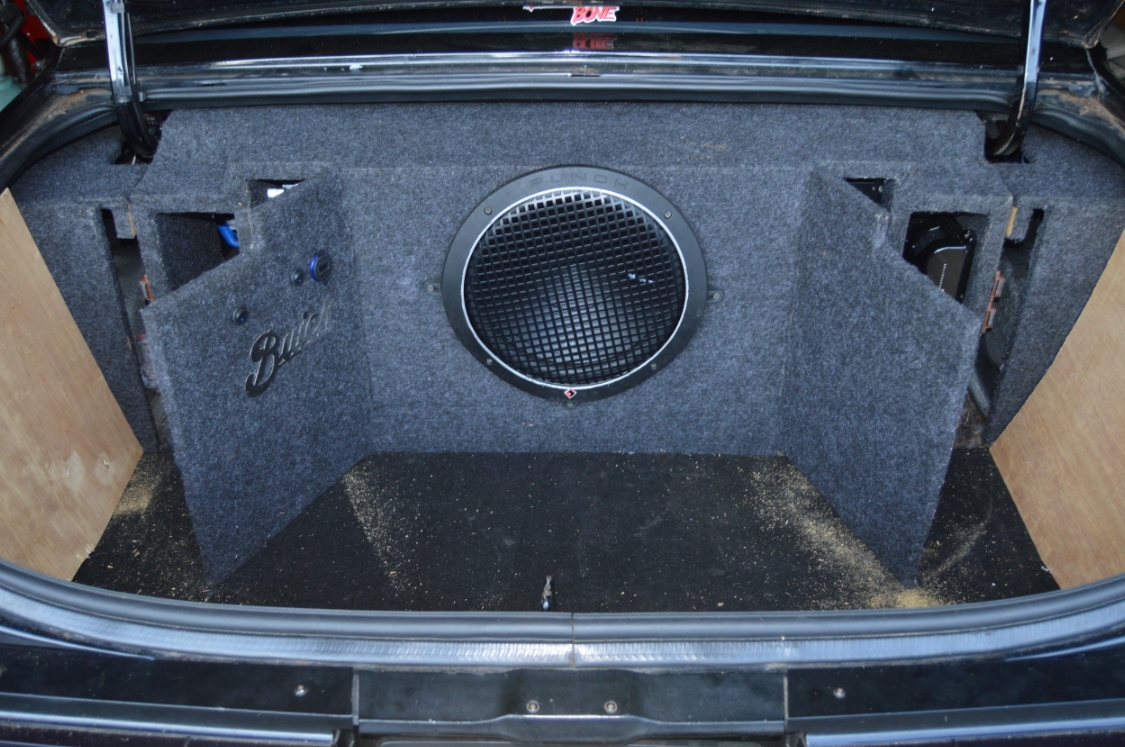
This is dual purpose project. We are going to install a subwoofer, but we also want to pretty up the trunk area of this Turbo Regal at the same time. So this time around, (let’s call it Part 1), we are making and installing a custom subwoofer box. It will be covered in a black/gray 2-tone carpet. At a future date, (part 2), we will be creating the rest of the components for the trunk clean up. Meaning the matching side panels and the rear section.
[ see carpeted trunk kit Part 2 here ]
[ also see the trunk lid liner we made, as a part 3 to this story ]
.
There’s lot of choices when you’re in the market for a subwoofer for your Turbo Buick.
Numerous brands, many sizes, & a wide array of power levels.
We chose to install a single Rockford Fosgate 12″ subwoofer with 500 watts of peak power since it gives the widest tones for this 1987 Buick Grand National.
[NOTE: most people opt for 1 or 2 – 10″ subs, which would make things much easier to install, but we wanted a bigger single unit for a better sounding hit – rock on \m/ !]
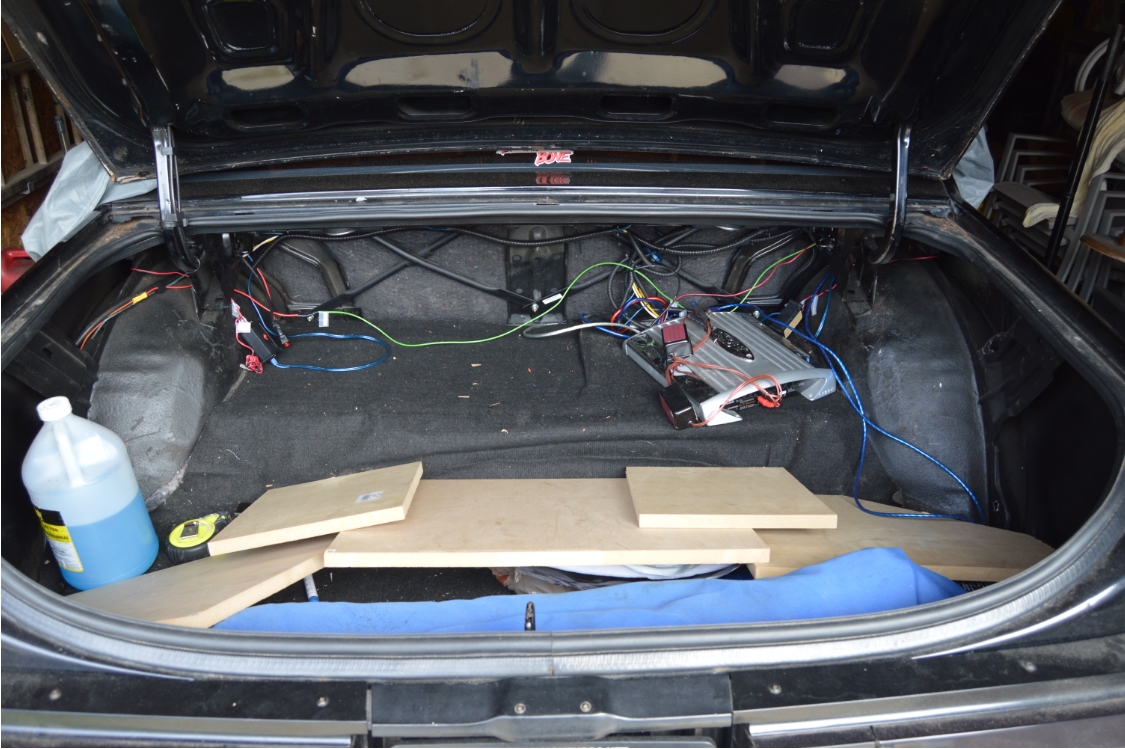
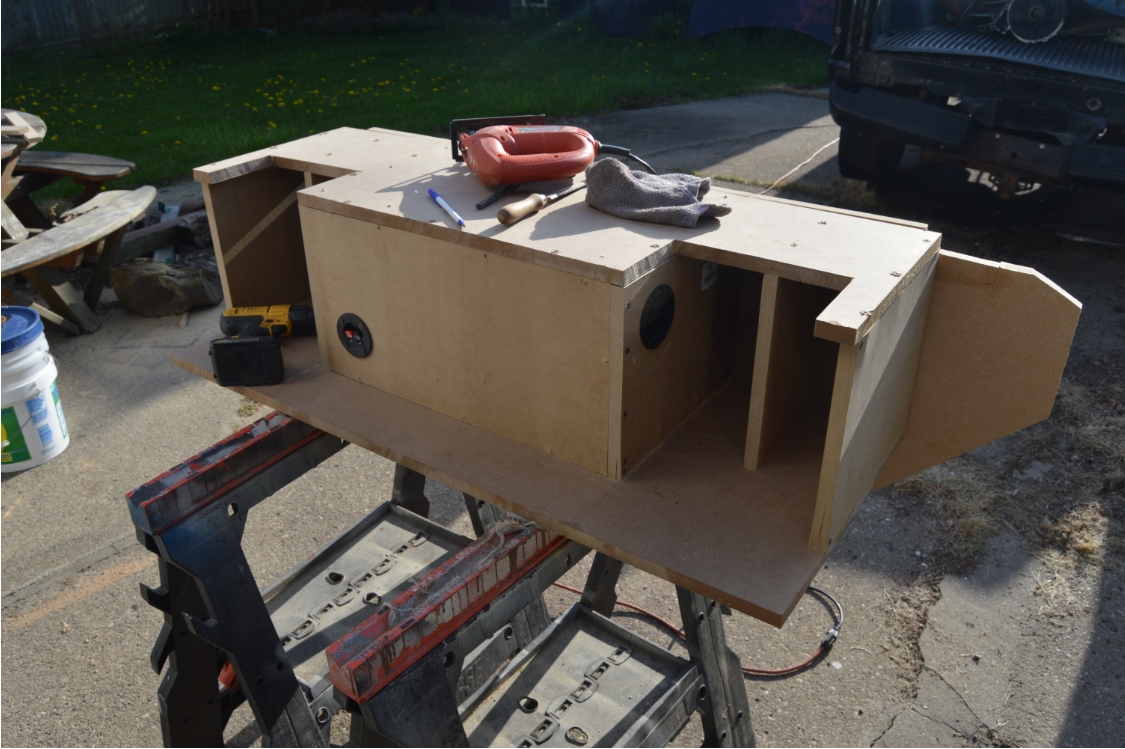
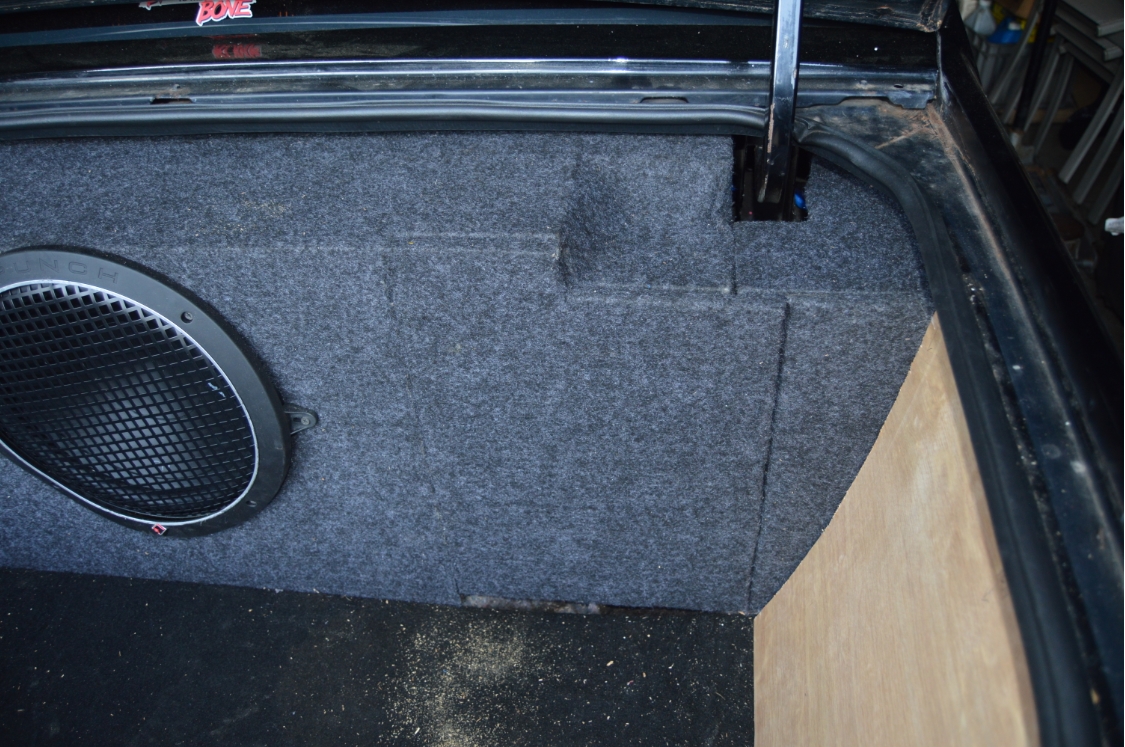
We could have purchased the sub in an already made box, or just a box to fit a separately purchased sub, but because of the dimensions on the trunk shelf in the Buick GN, not to mention the slope of the back seat, coupled with the fact we wanted a 12″ subwoofer (which if the face is mounted totally vertically straight up doesn’t even fit on the shelf {the height of the area we want to put it in only measures a little over 12″ – and the trim ring of the 12″ sub is 13.5″ !} ), none of the regular available boxes really fit well, &/or they are mostly too tall! That or they look just like any old box just sort of thrown in the trunk shelf area, which isn’t very visually appealing.
So the only solution available, is to build our own custom subwoofer box!
Big task, yes. Cool looking when completed though, definite yes!
When you make your own subwoofer box, there’s a bit of math and brain thinking skills involved. You need to make it to a certain physical size, as well as cubic feet, to utilize the full effect that the subwoofer requires (the specs needed are specified within the sub instruction sheet).
Good thing there’s an easy way to figure most of this out, instead of having to do the math yourself.
Go here: http://www.the12volt.com/caraudio/boxcalcs.asp
It has a subwoofer box volume calculator to figure out exactly what size you need to make it (customizable to whatever the dimensions you want/need to make it to).
For instance, the sub we bought requires 1.25 cubic feet for optimum output.
The calculator says: 21x12x12 = 1.24414. So we made the box just a tad bigger to get the 1.25 we needed.
Close enough should be good enough for our purposes.
You will need to decide if you want your sub box to be vented/ported or a sealed unit.
(we chose ported)
The instructions will tell you the difference of doing each, along with size requirements for the port, should you opt for that route.
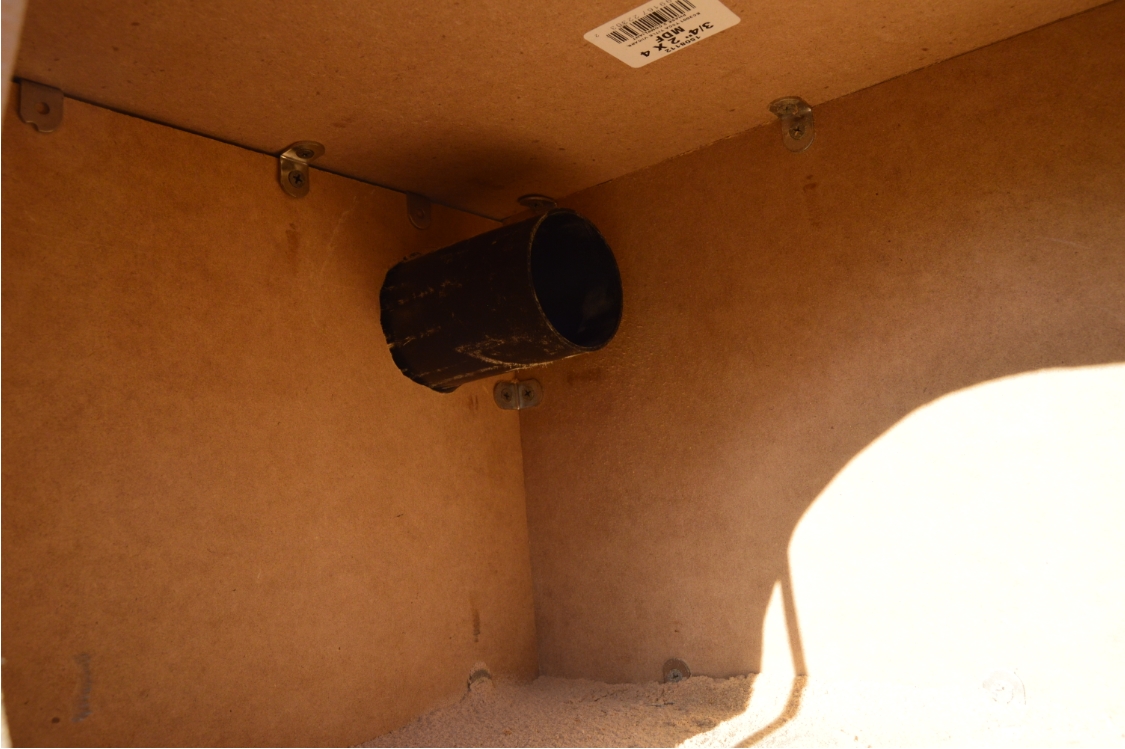
The venting style can be a rectangular outlet (using dividers), or by using a round port tube (that’s what we did).
If you choose the divider method, that effects the box volume, so beware.
(that calculator has options for figuring this out)
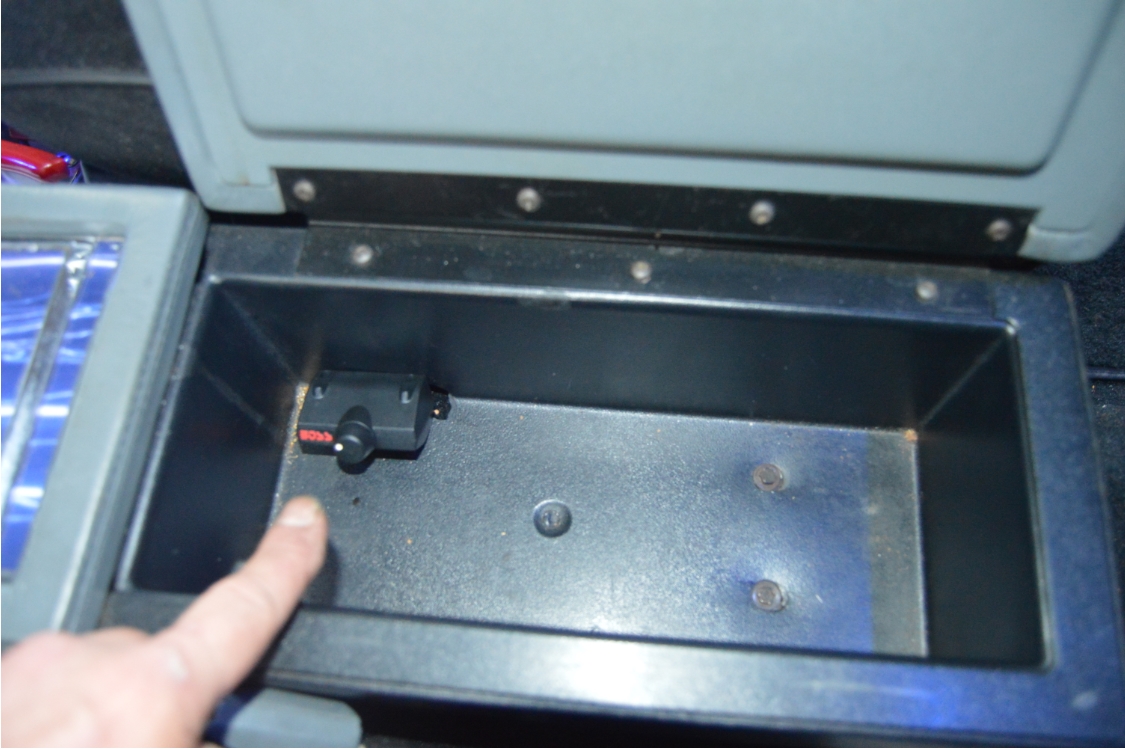
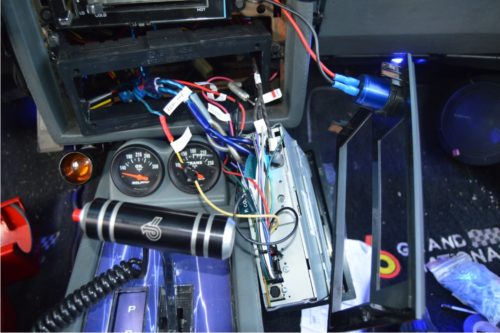
Another thing to consider with having a subwoofer, is where to mount the remote control for volume input.
(we put it in the center console compartment)
There’s quite a few speakers (14 including 4 separate tweeters) in this Buick Turbo Regal besides the sub, so there’s 3 separate amps to run them all!
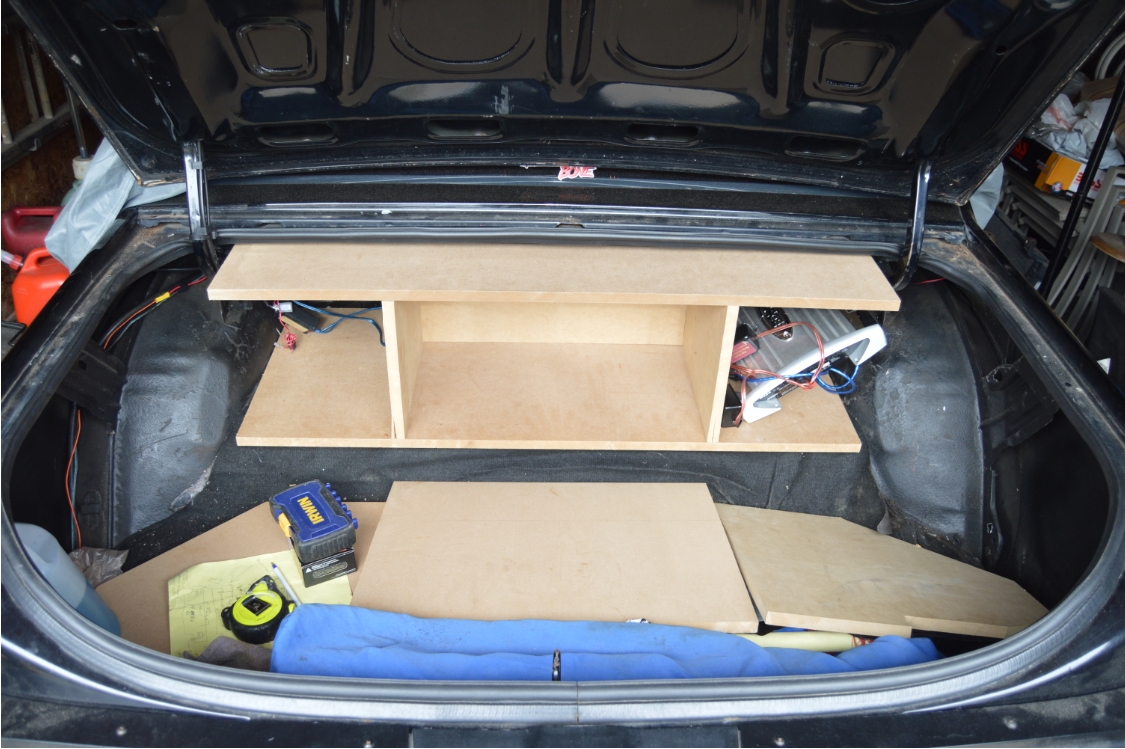
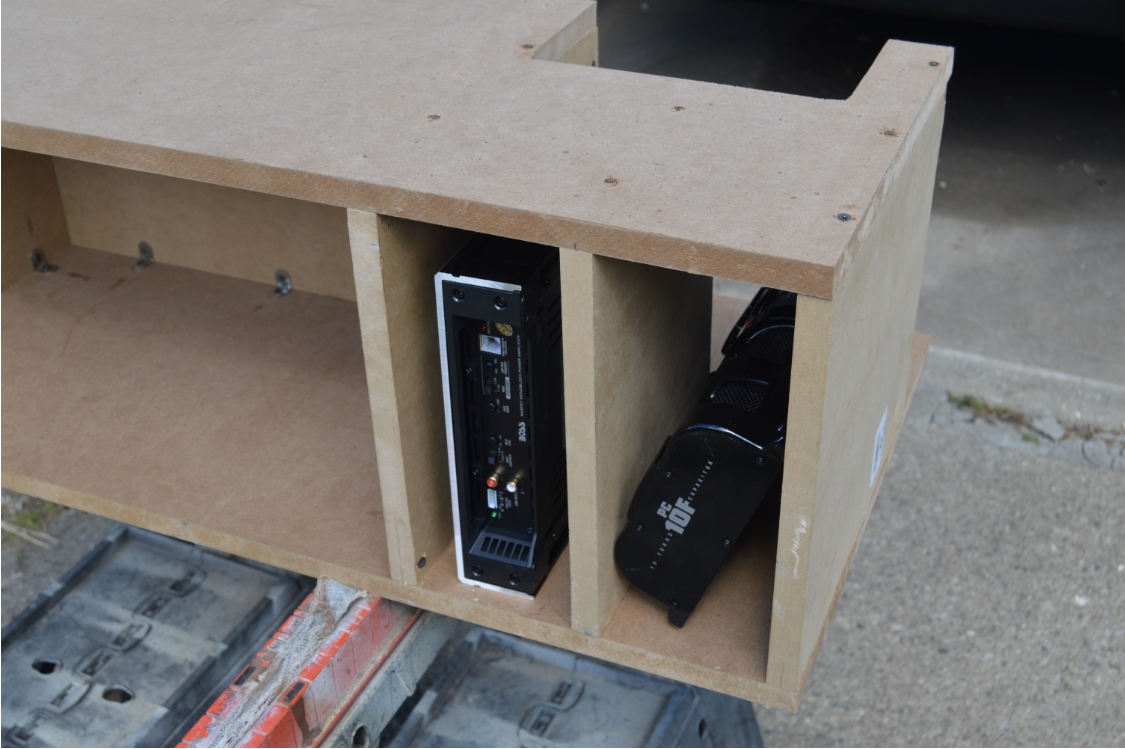
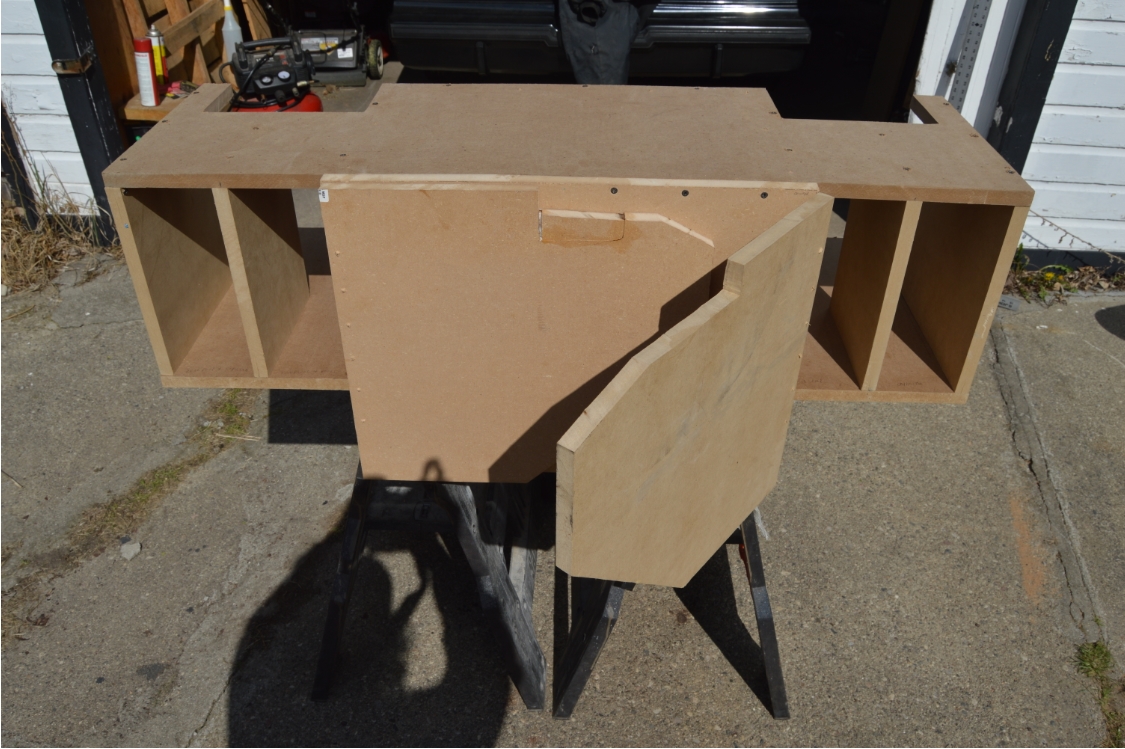
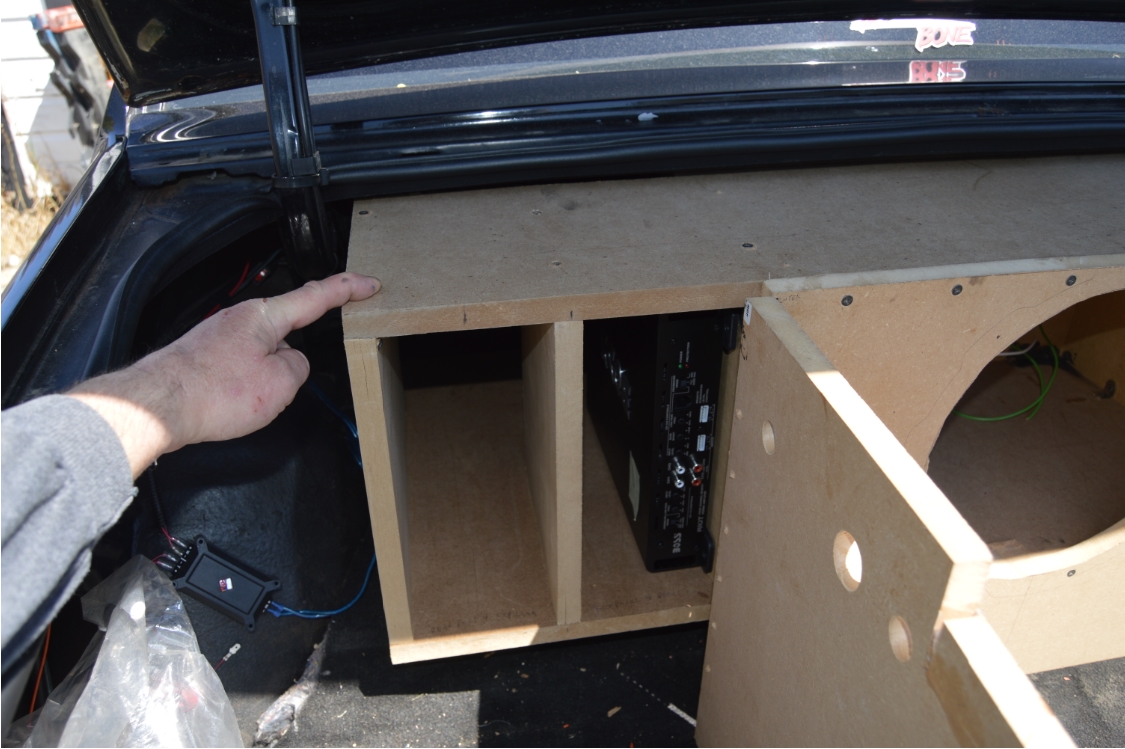
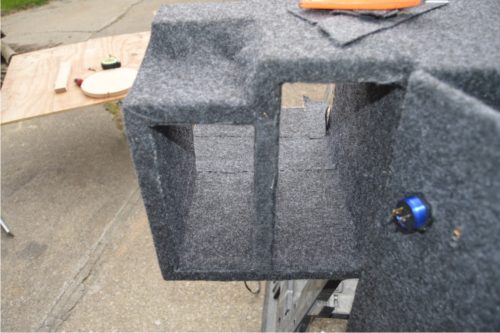
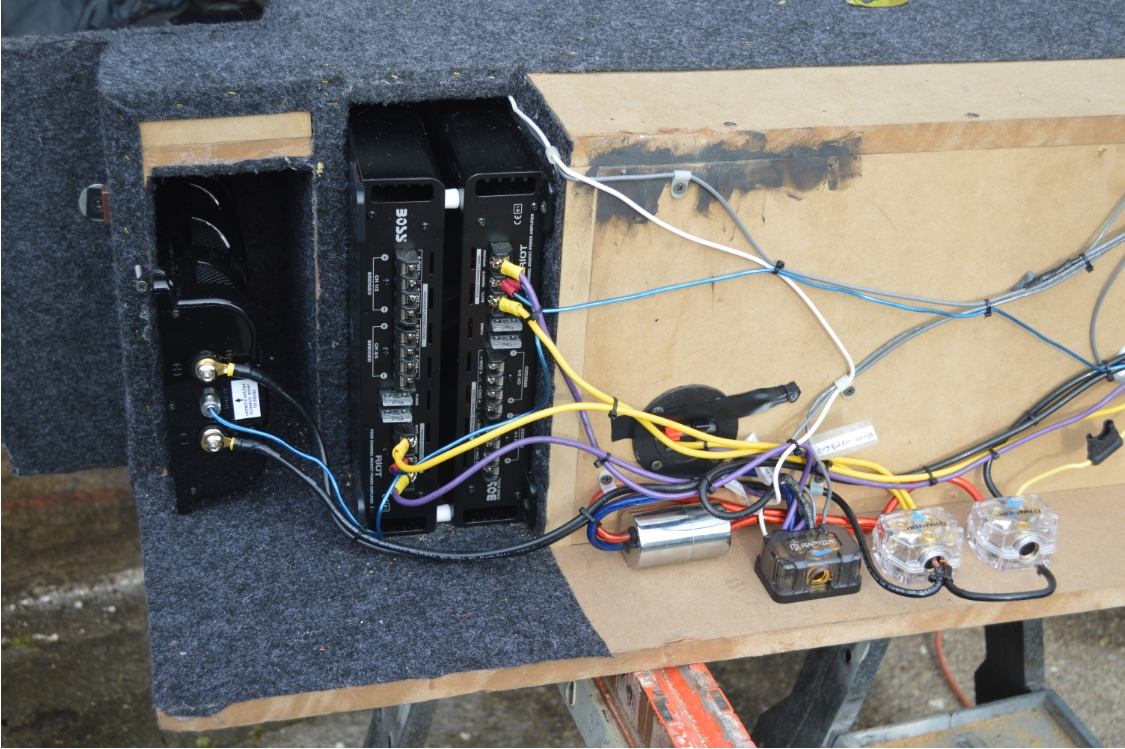
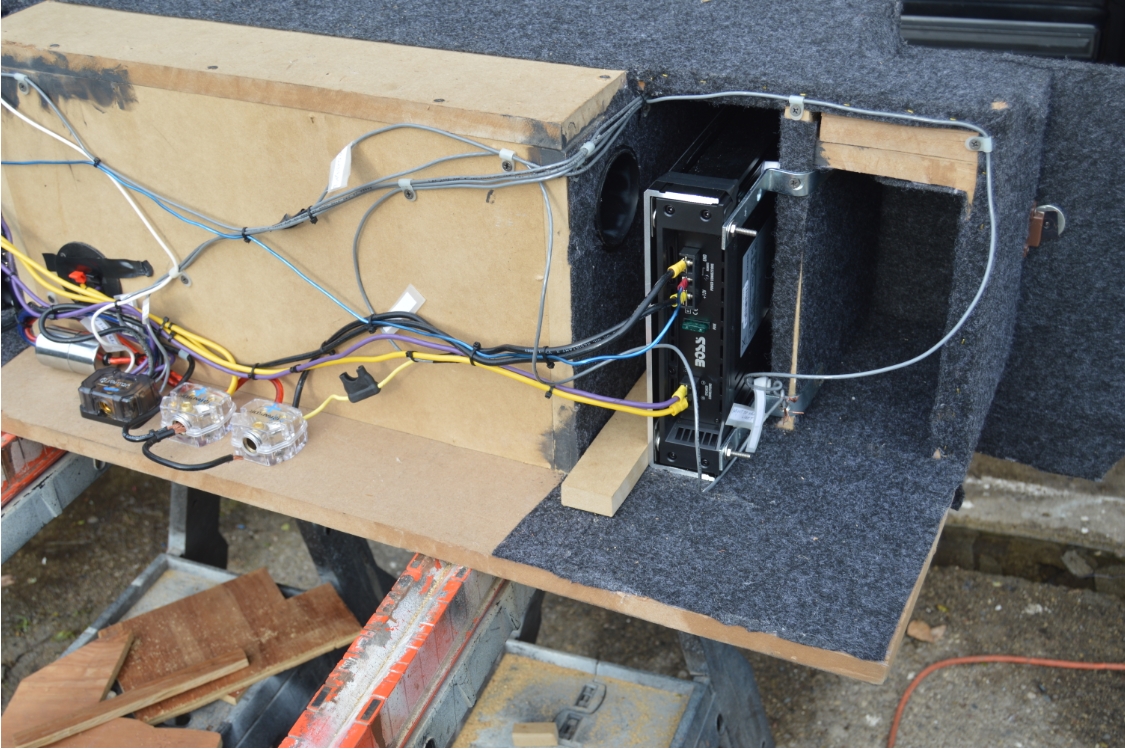
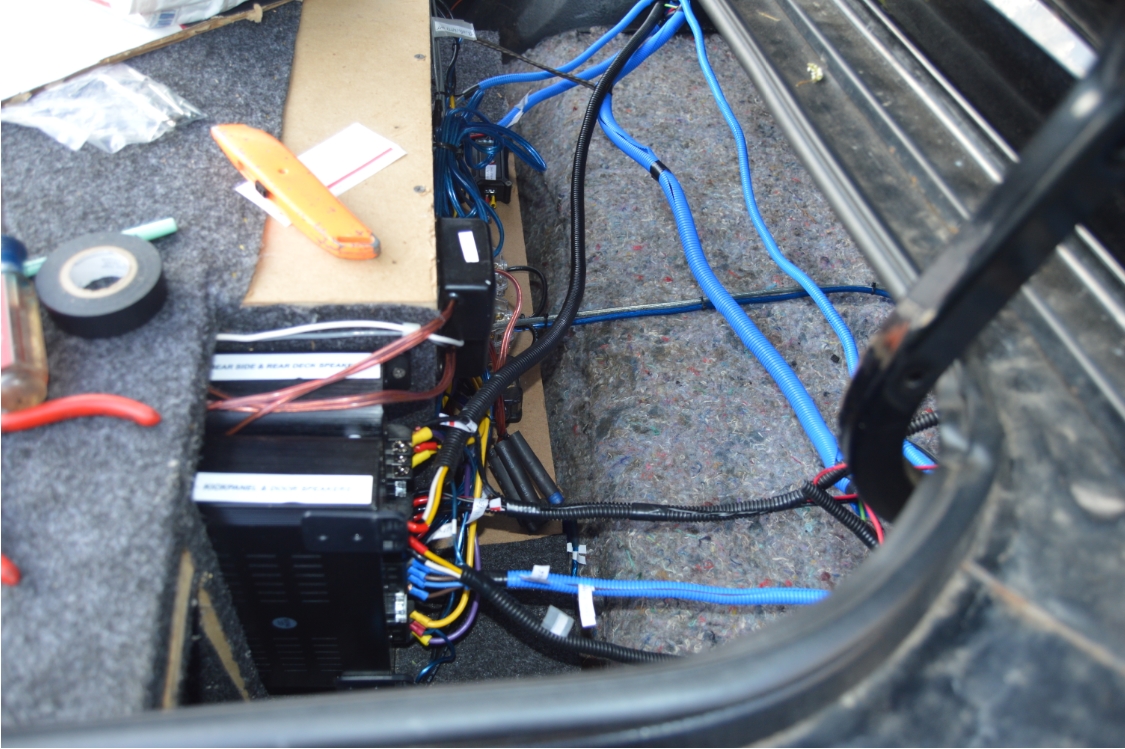
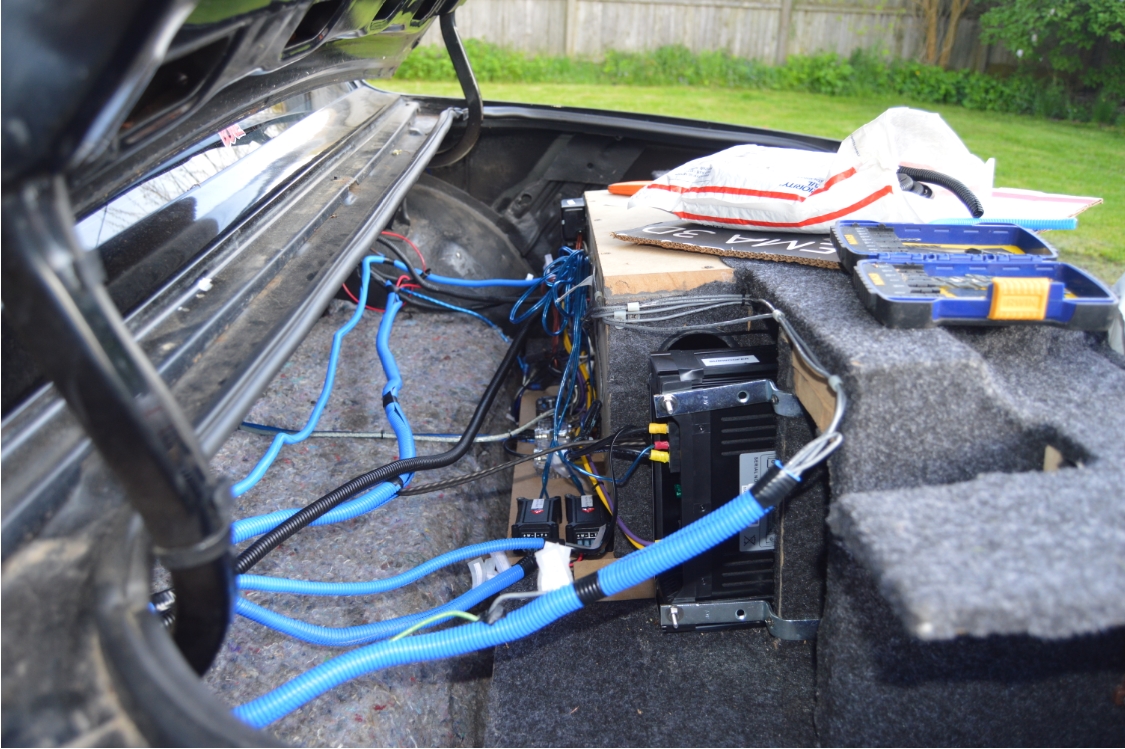
We hid them on the sides, next to the actual sub box (with the sub woofer container located in the center), behind the main front panel (the one you actually see when you open the trunk).
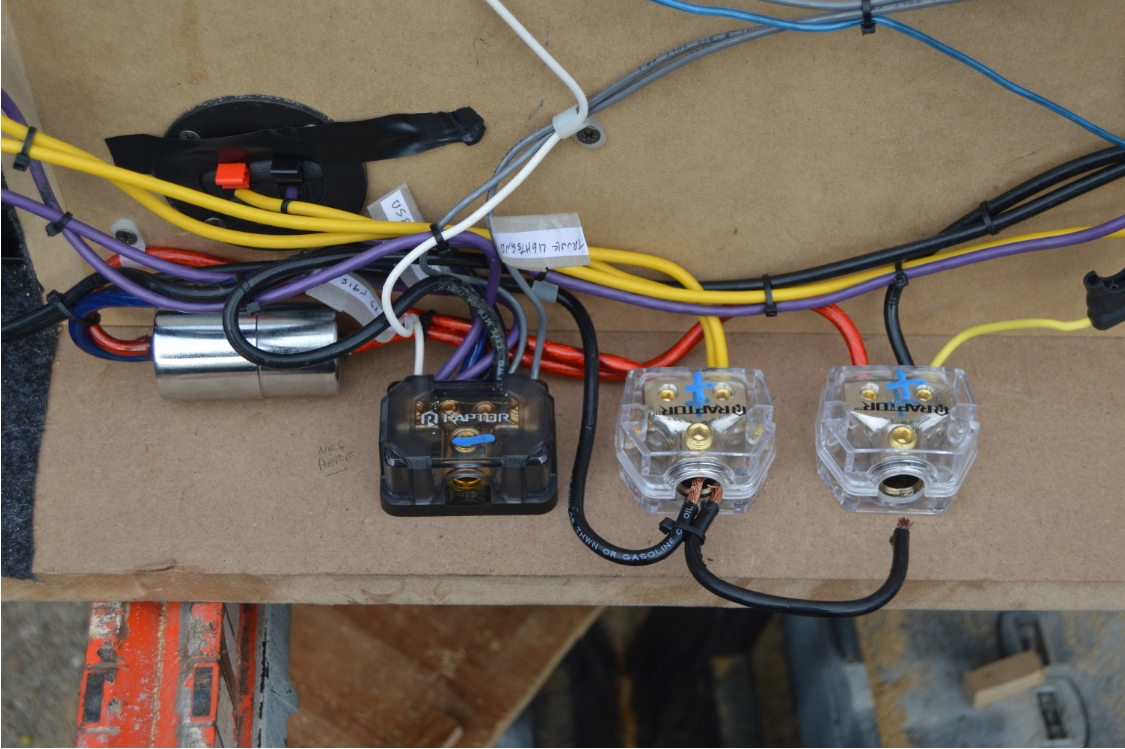
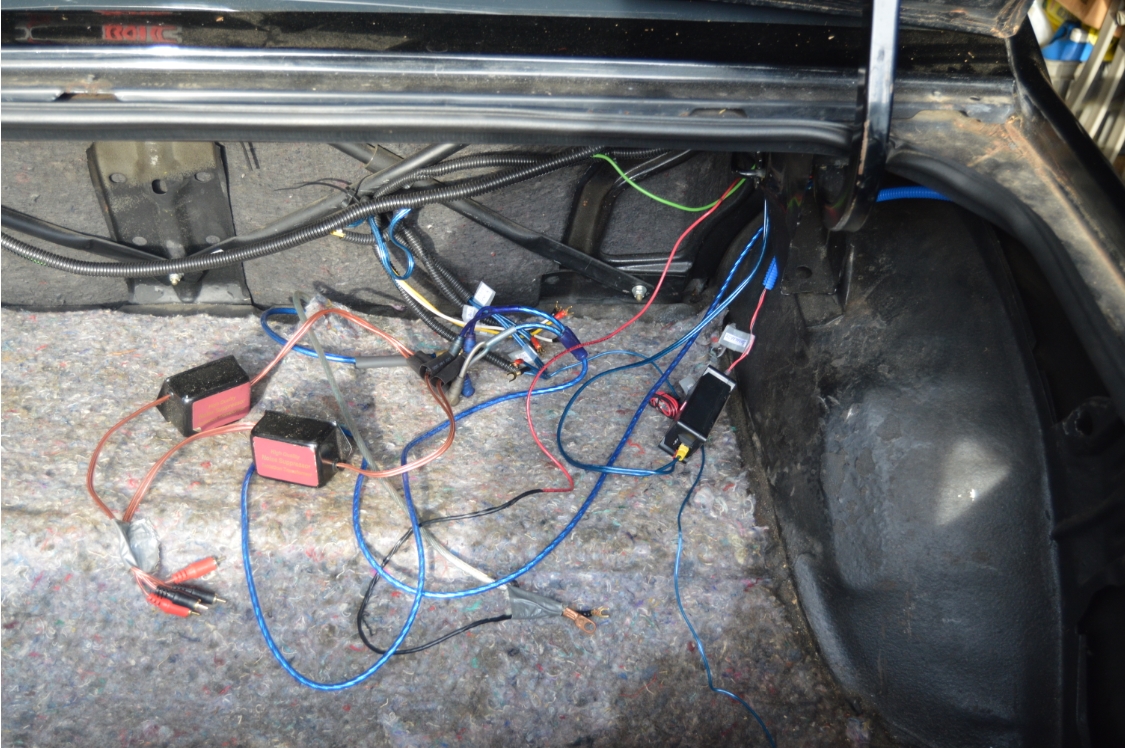
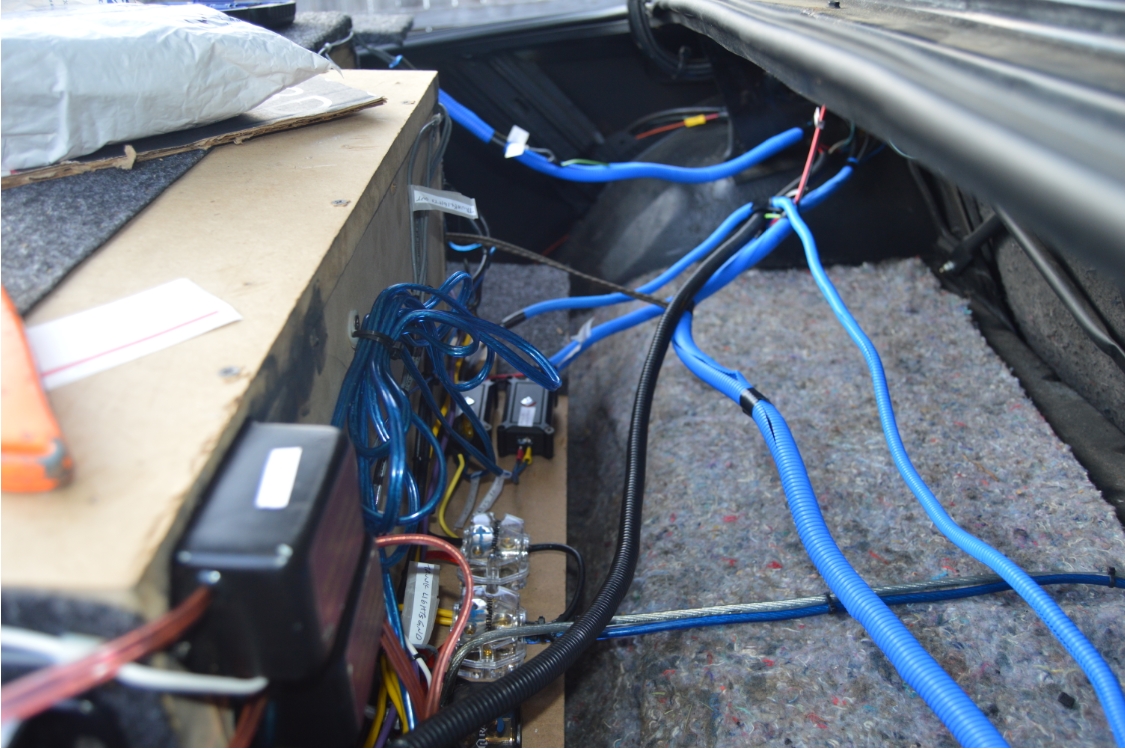
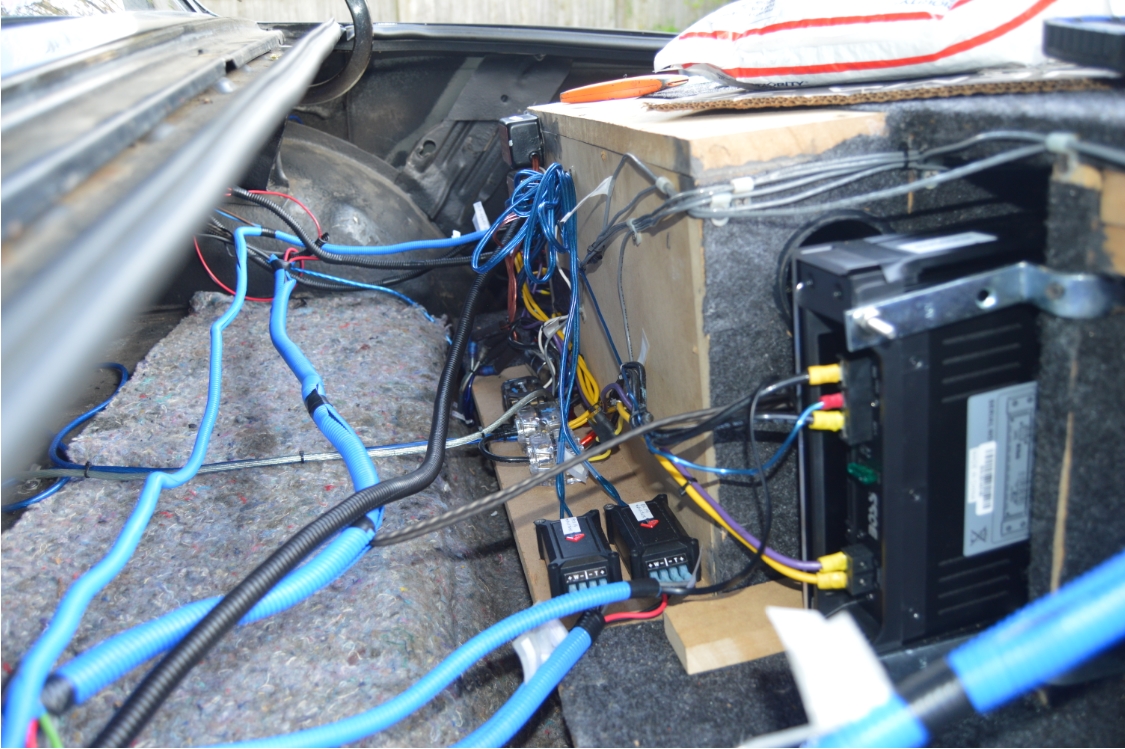
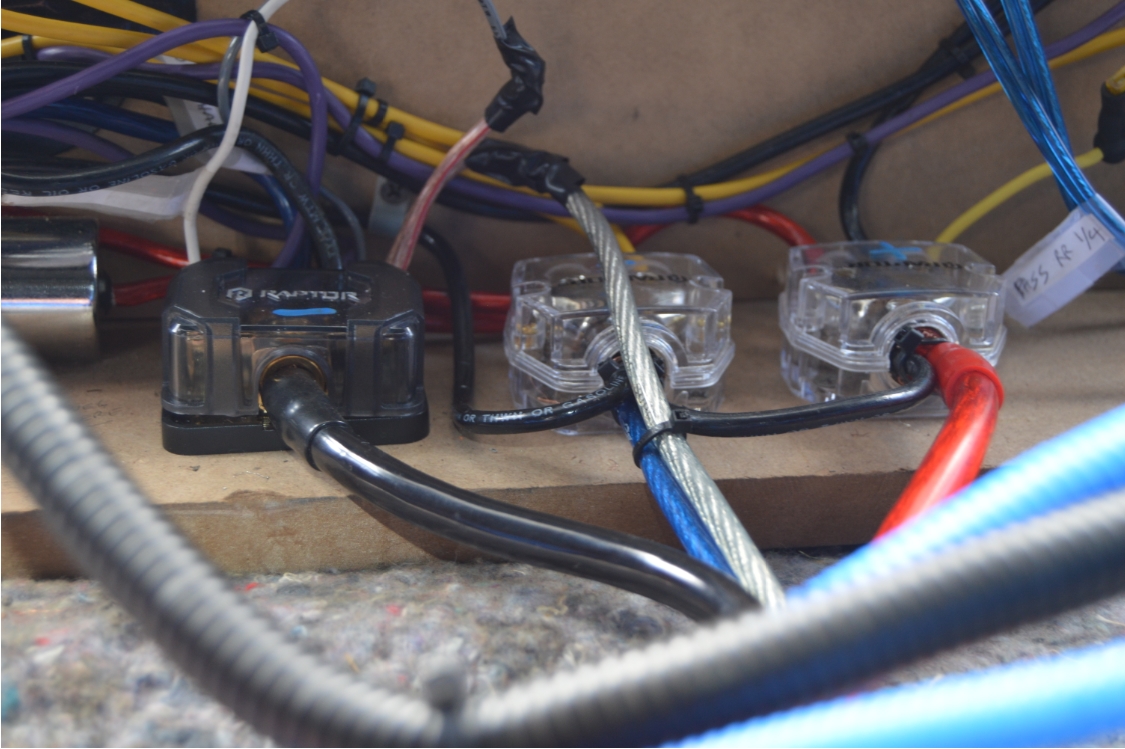
There’s also a capacitor, distribution box, oversized 4 gauge power & ground wiring, noise suppression filter boxes, speaker wires, splitters, etc., in there.
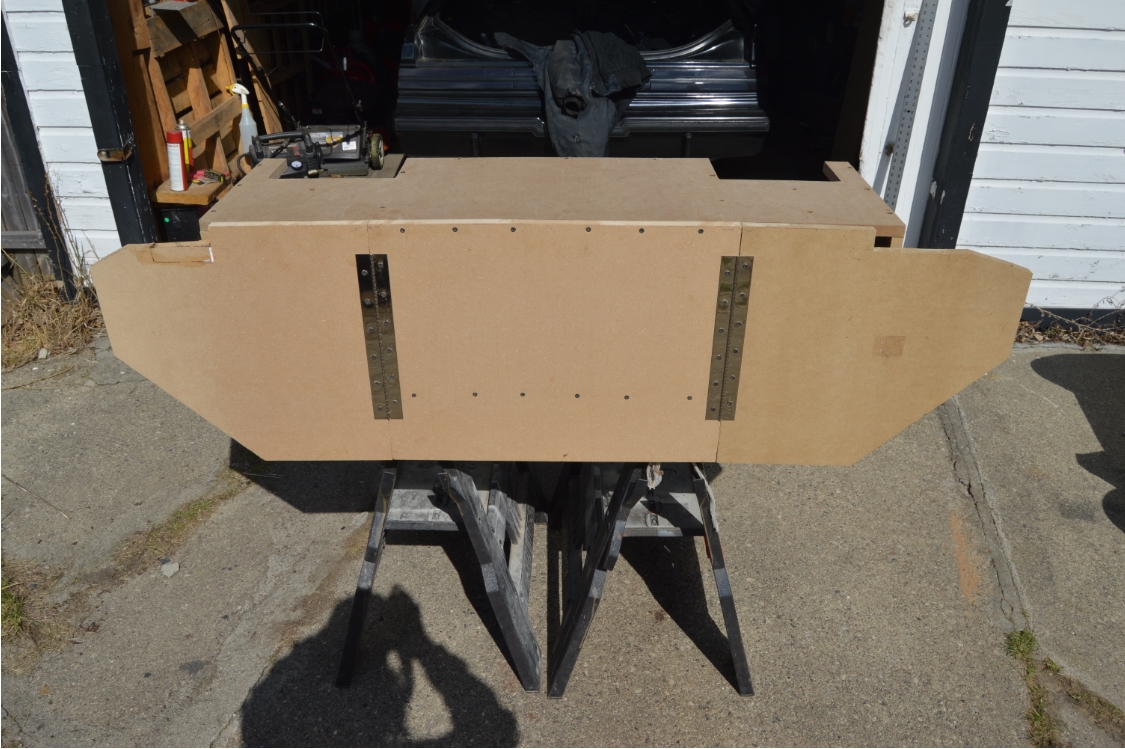
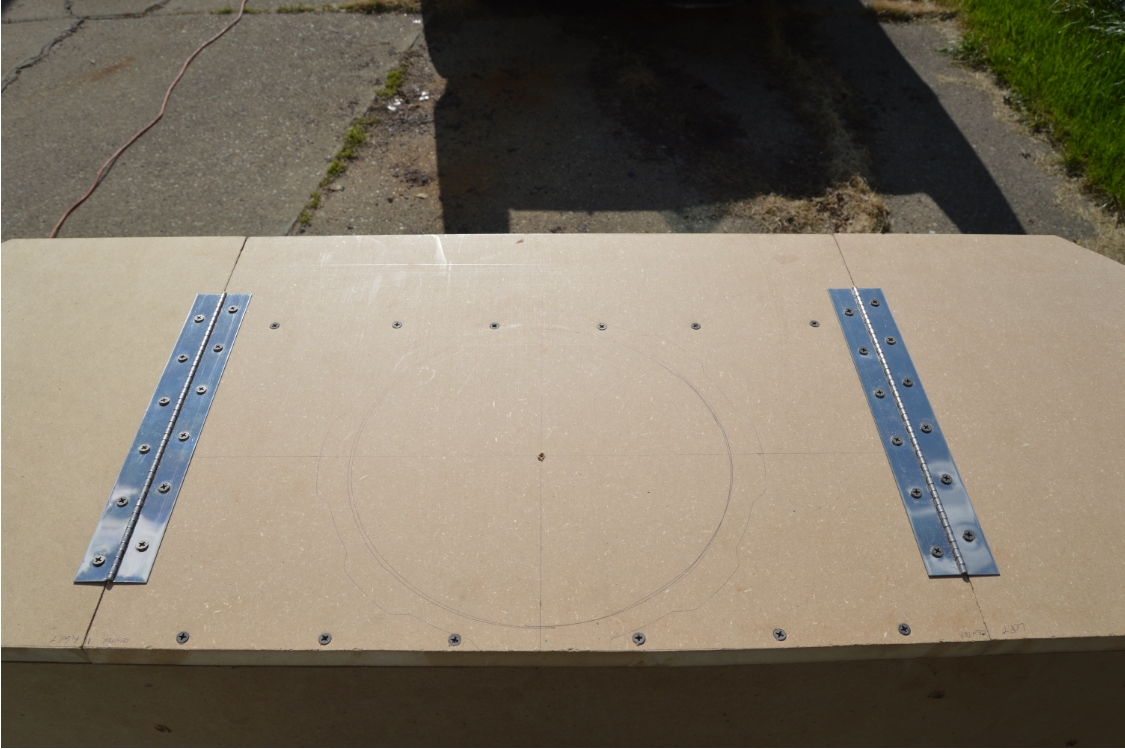
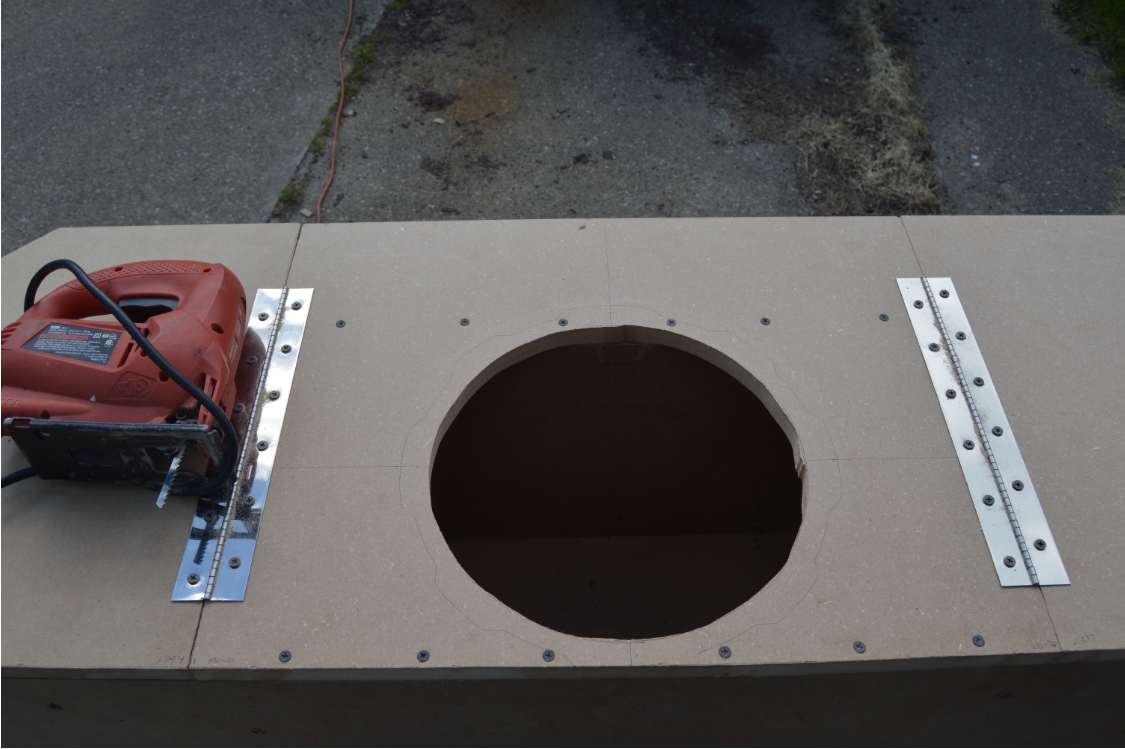
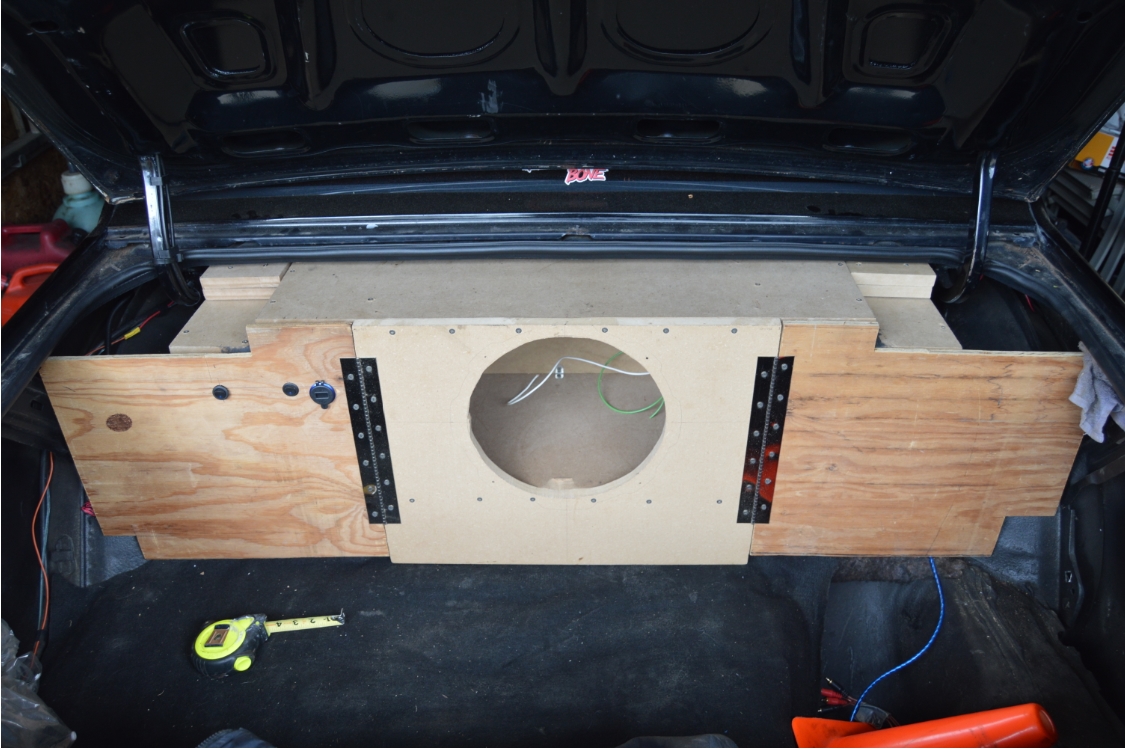
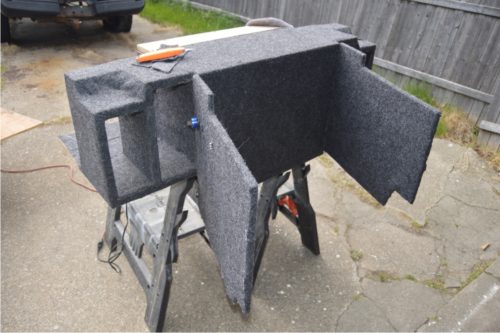
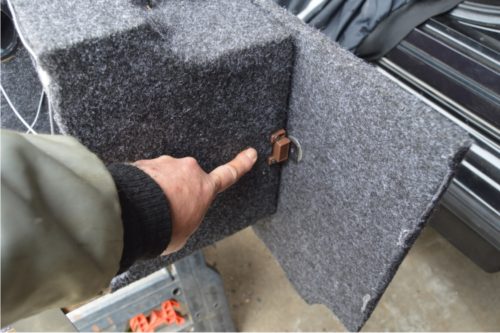
To be able to access these amps, in case we need to in the future, the (left & right) sides of the front panel are hinged. (pretty cool making them doors, huh?)
The amps we used are relatively small (in physical size), but not that small, so keep that in mind, as the compartments where they are mounted within are not that big! It was a tight fit!
[for those curious to know why there’s 3 (all Boss) amps on this setup, 1 (1500 watt) amp runs the (Rockford Fosgate) subwoofer; 1 (1000 watt) amp runs the 2 (Pioneer 3-way 5.25″) door speakers & 2 (Rockford Fosgate 6″) kickpanel speakers (along with 2 separate tweeters) plus the 2 (pioneer) dash speakers; and the other (1000 watt) amp runs the (Rockford Fosgate 6.5″) rear deck & (6.5″) c-pillar speakers (along with 2 separate tweeters on the door). A Kenwood radio pumps out the jams.]
We wired up and mounted most everything on the back side of the box, and neatly secured the wires down. The power & ground distribution blocks are mounted (behind the actual sub box) on the bottom deck panel. Same goes for the noise reduction filters, and (speaker/tweeter) splitters.
Cost for the sub box build (to just build the actual box NOT including amps, woofer or wiring, etc): around $125.
Time required to figure it all out, build box & install (and run some new wiring): pretty much an entire weekend job of 3 full days.
(but we were spec-ing it all out, and taking pics for this post, so your time varies – it’s a big job though!)
However, future musical enjoyment: priceless!
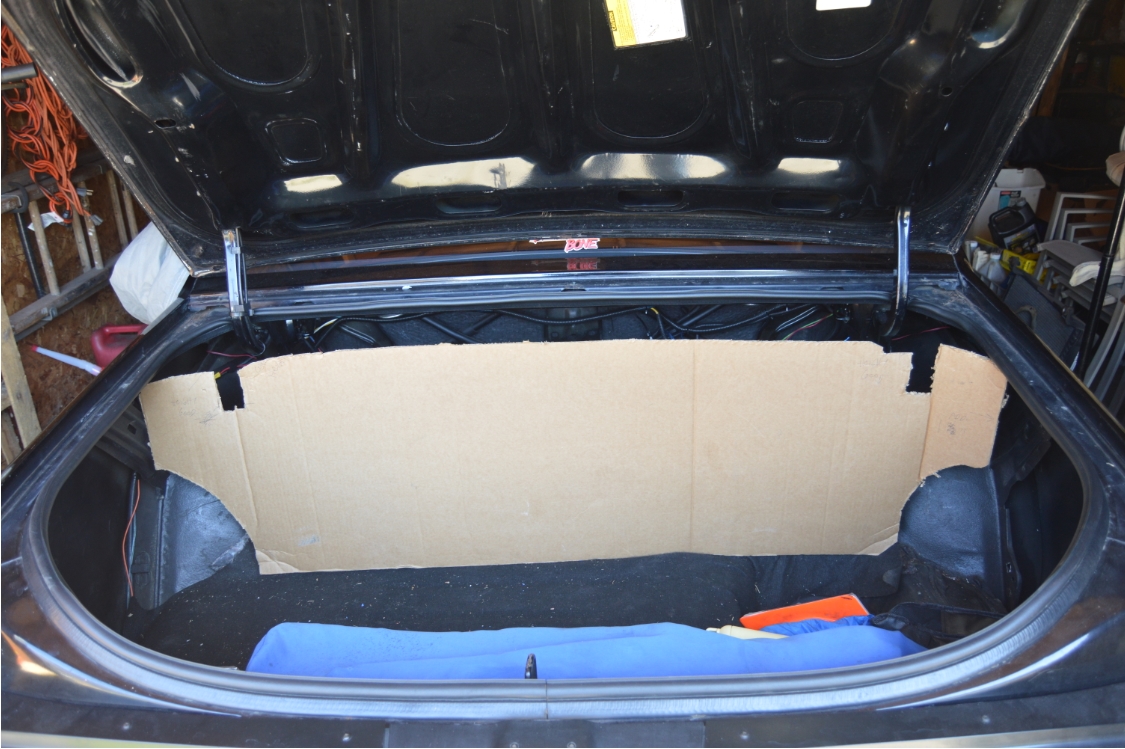
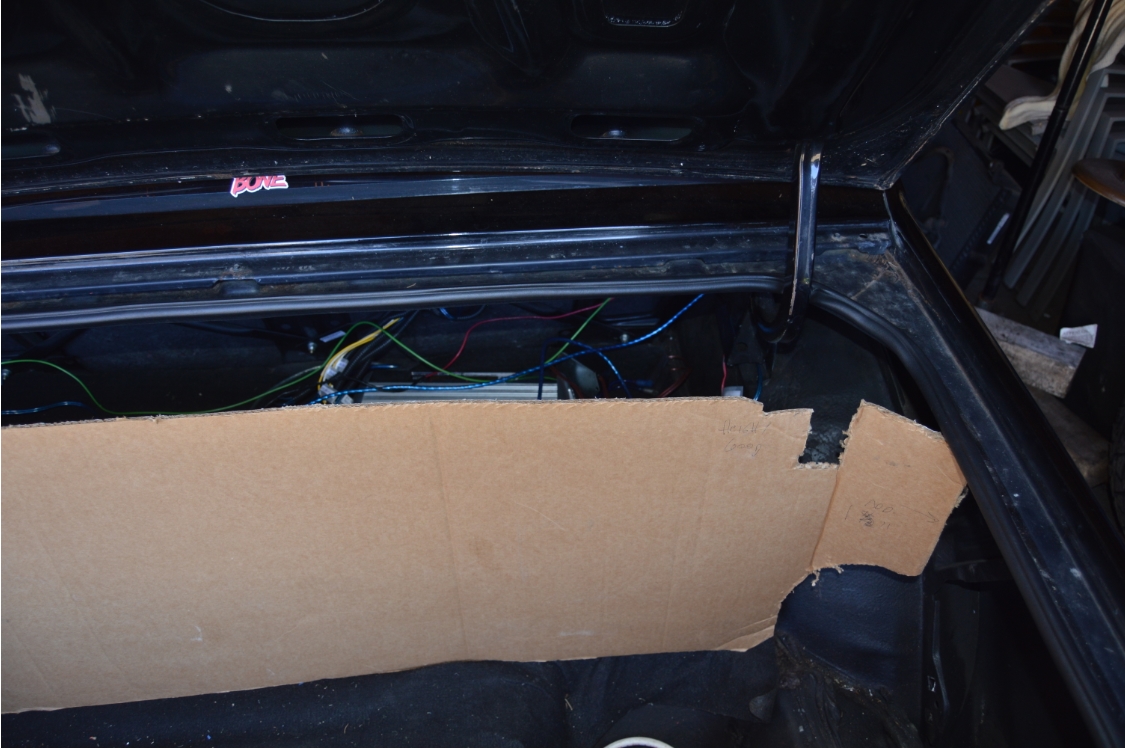
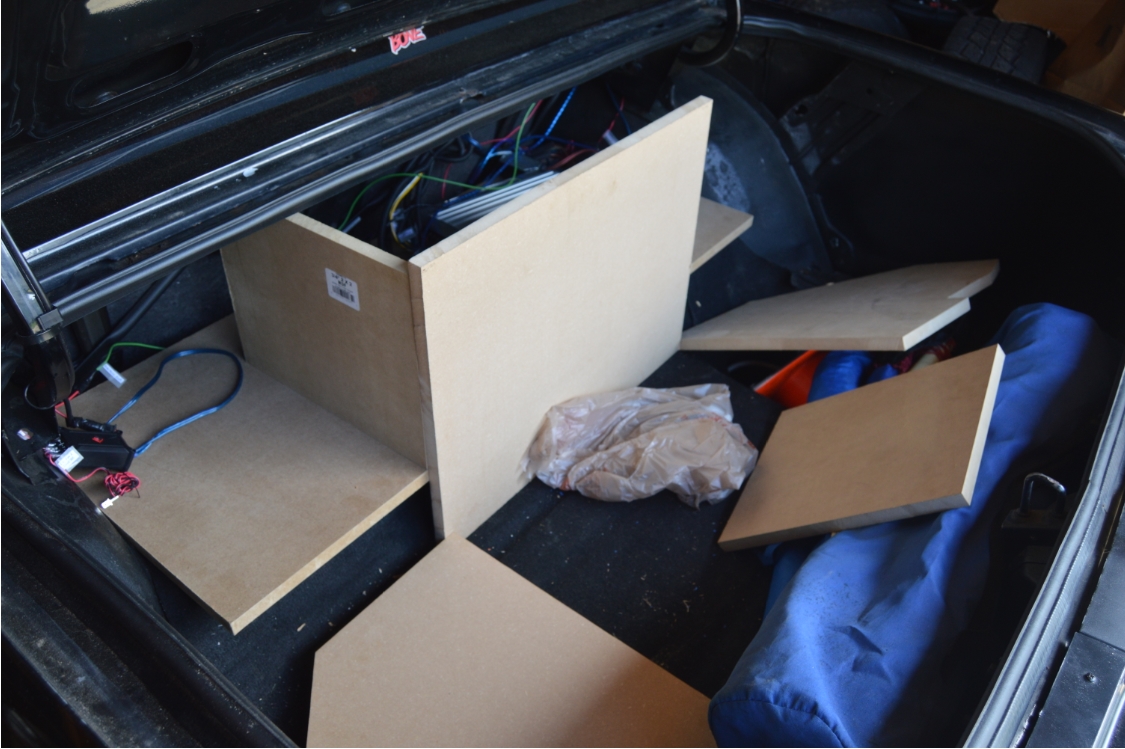
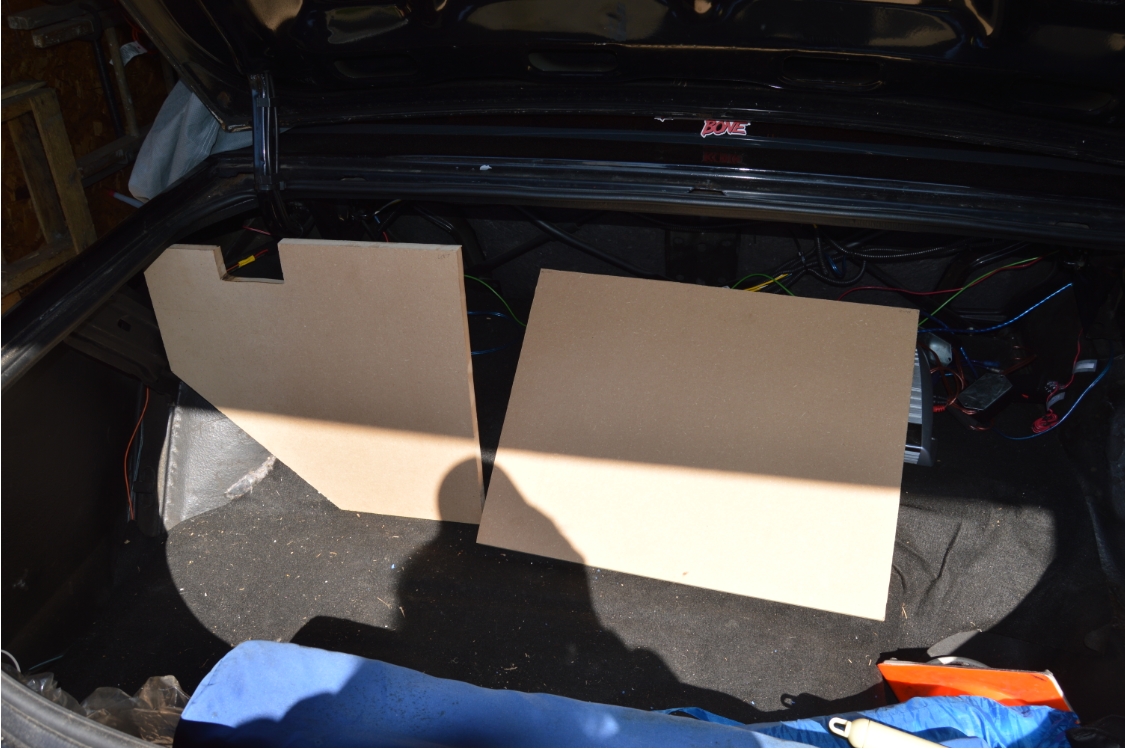
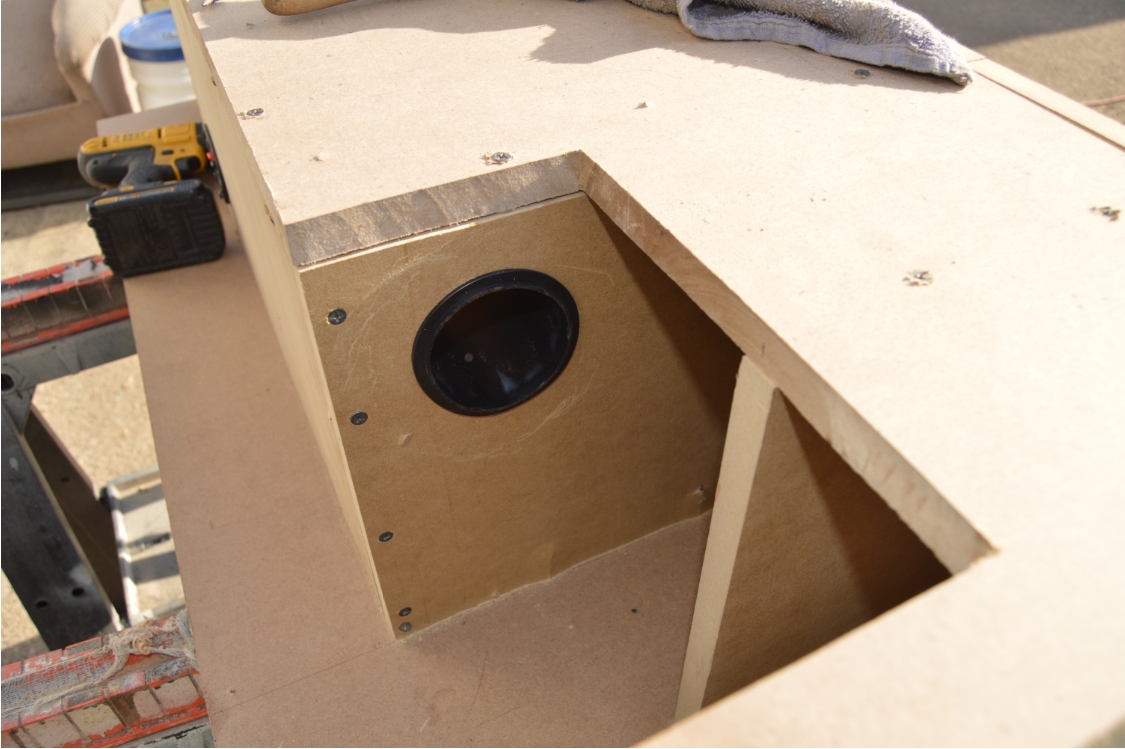
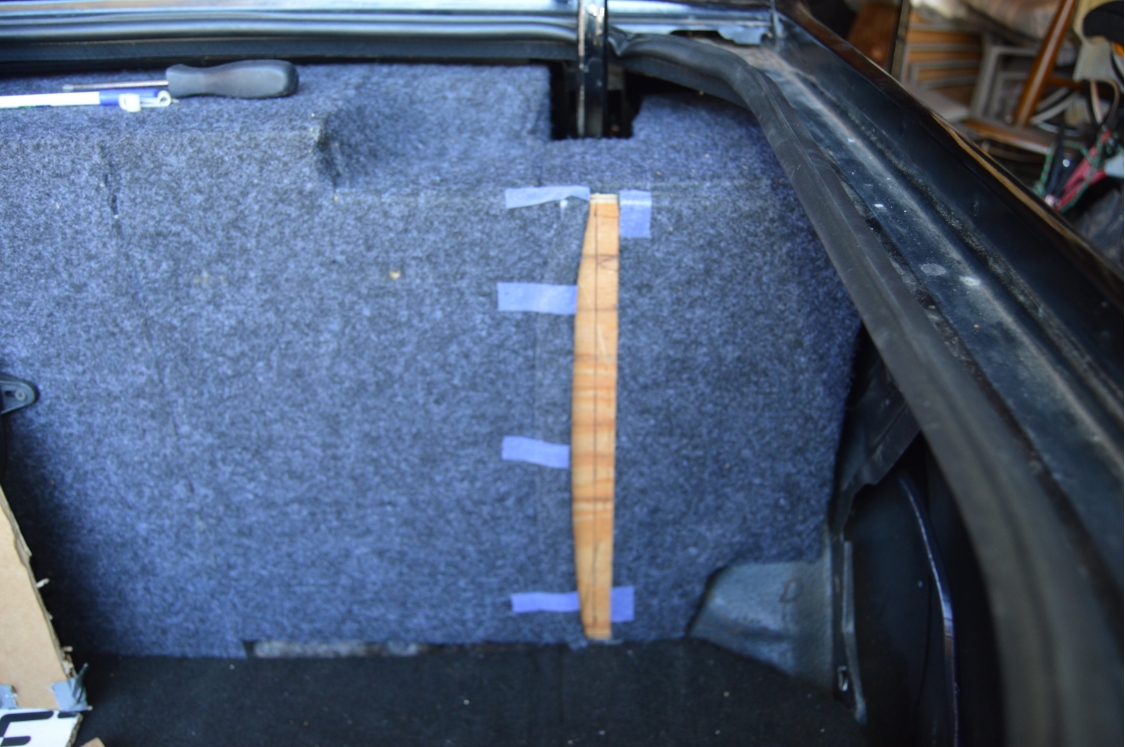
Just keep in mind, when you’re starting from scratch, with using no existing pattern or templates, you have to make sure everything clears all of the restrictions and obstructions in the trunk. Like the trunk spring bars and hinges, the rear deck speakers, the wheel wells, the back seat & braces, and the trunk lid structural supports (which ended up hitting our box on the first design on the left & right sides of the top of the box near the front, see the pic).
We started with cardboard templates to check the initial fit & all looked good (at first, until after we actually built the box & realized we missed measuring a few things).
We didn’t carpet the entire box, only the portions you actually see once it’s fully installed. We wanted leftover material as we plan to add side panels (to cover the rear quarters), and the back section (where the tail lights are) at some future date (which will be Part 2 in this story). This will give the entire trunk area a finished appearance.
[be sure to watch for the – Part 2 “Carpeted Trunk” – post that we will be doing soon so you can see how it all looks when completed! Not to mention see how instead of spending $400 on a “kit” – you can DIY for about $150 or less!]
.
PARTS USED:
- 12″ Rockford Fosgate 500W sub ($100).
- 12″ grill cover (about $10).
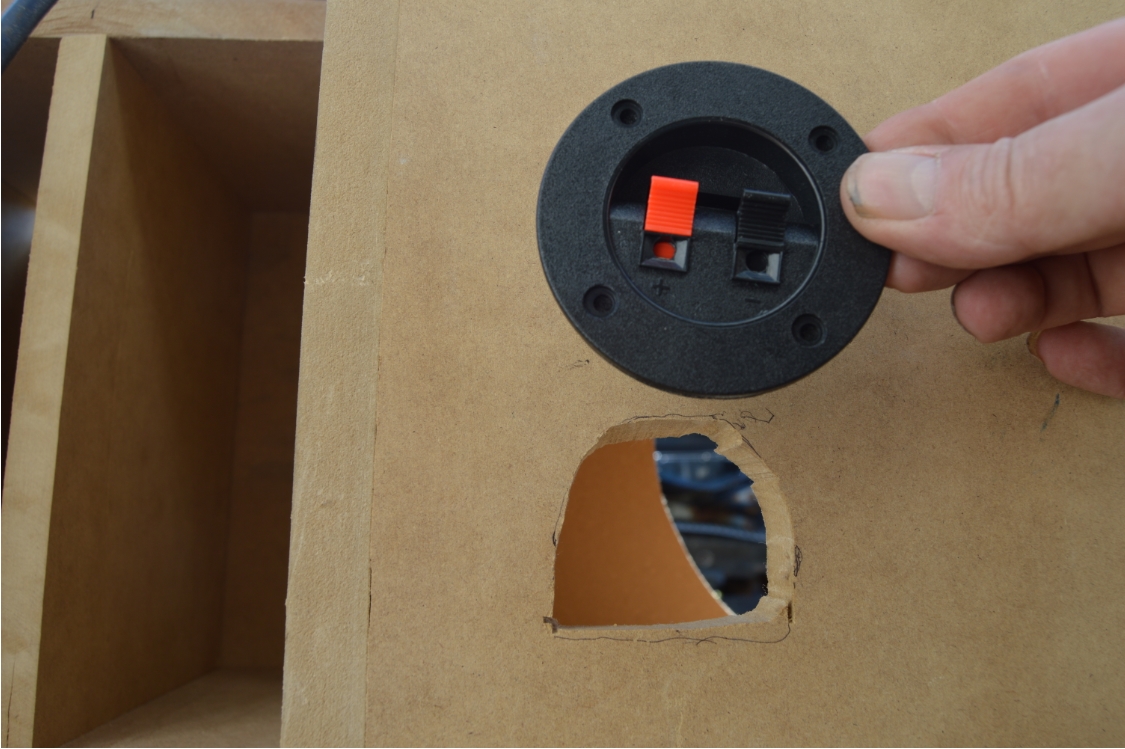
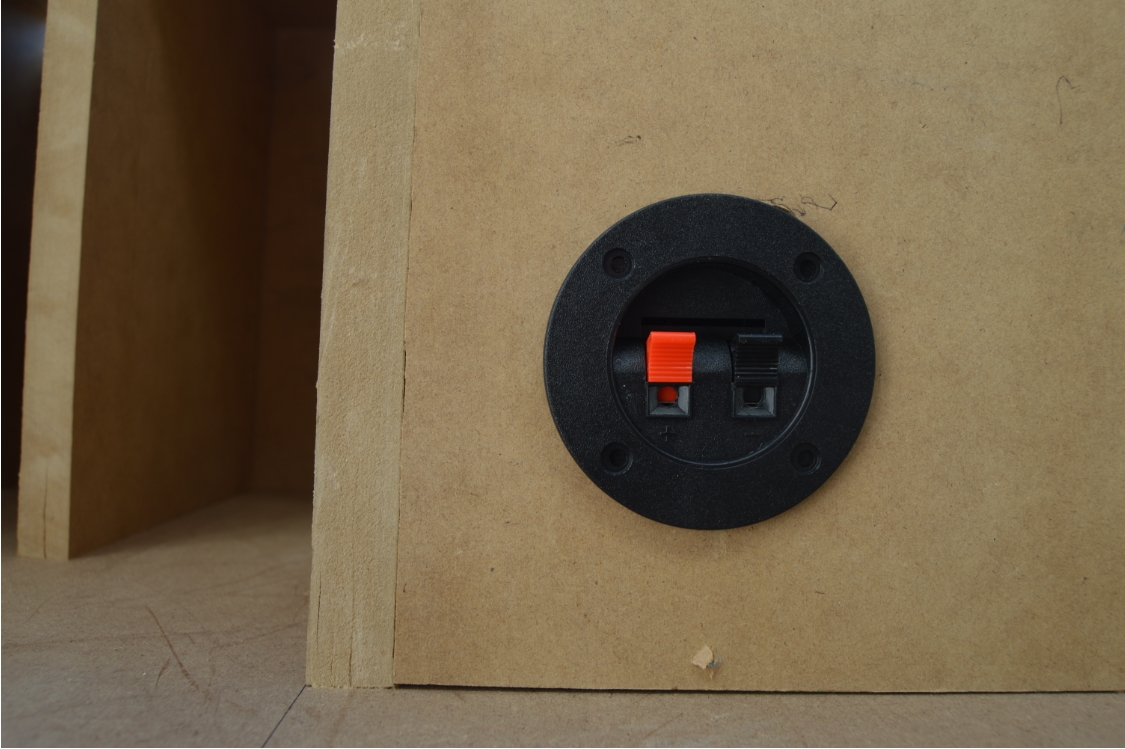
- terminal connector plug ($5, to connect sub on the inside to the outside of box).
- 14 gauge wire (2 pieces 14″ each) {from speaker to terminal connector, inside box}
- 4 sheets of 3/4″ MDF 2′ x 4′ ($16/sheet, home depot)
- carpet material for box (size: 6’x6′, about $30, with some leftover material for another project)
- power/ground wires (4ga kit $40)
- 1500 w mono amp ($75)
- capacitor (planet audio pc10f 10 farad, $70)
- port tube (about $8)
- 2 distribution boxes (1 power, 1 ground, about $12 each)
- 2″ course drywall screws ($5 box, Home Depot)
- 1″ course drywall screws ($5 box, Home Depot)
- 1″ angle brackets ($5/pkg, goes inside of center box for support)
- 2 – 12″ piano hinges ($10/pkg, Home Depot)
- magnetic catch ($3, to hold doors closed)
- wire tie downs ($3/pkg)
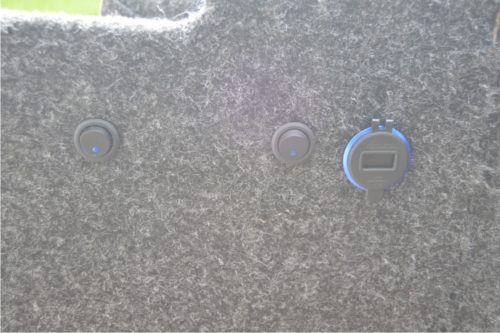
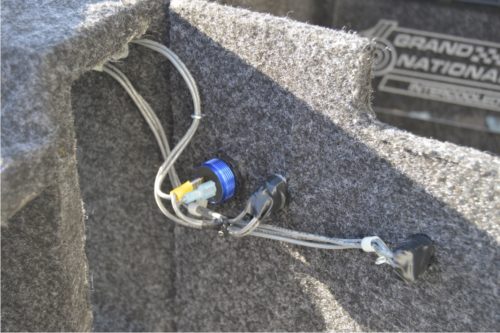
Not listed above in parts list: we added a switch to turn the dual trunk lights & that cool Grand National sign on. Plus a switch to turn on the usb charger (with volt meter) that’s next to it (as well as an inline fuse). Nor the metal Buick script logo. Additionally, the other 2 amps & related wiring.
.
TOOLS NEEDED:
- tape measure
- circular saw
- jig saw
- cordless drill with phillips bit
- assorted drill bits (to make pilot holes, drill holes thru trunk bottom for pos/neg cables)
- staple gun (to secure carpet to box)
- glue gun (to secure carpet to box)
.
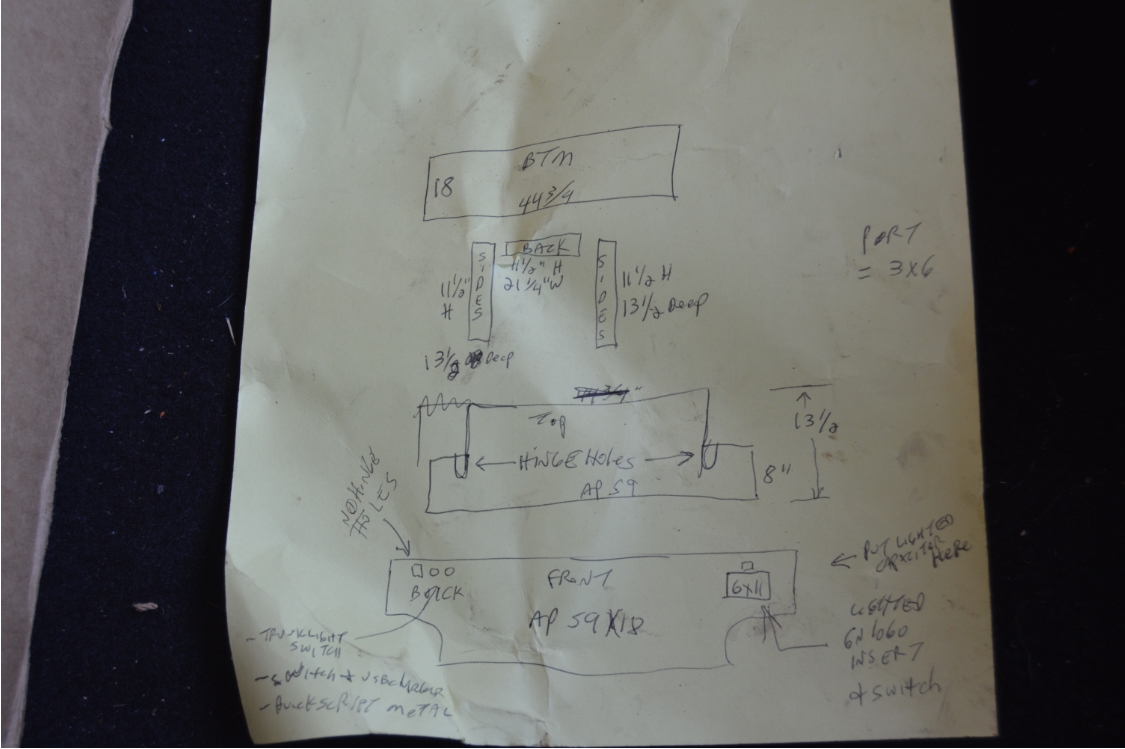
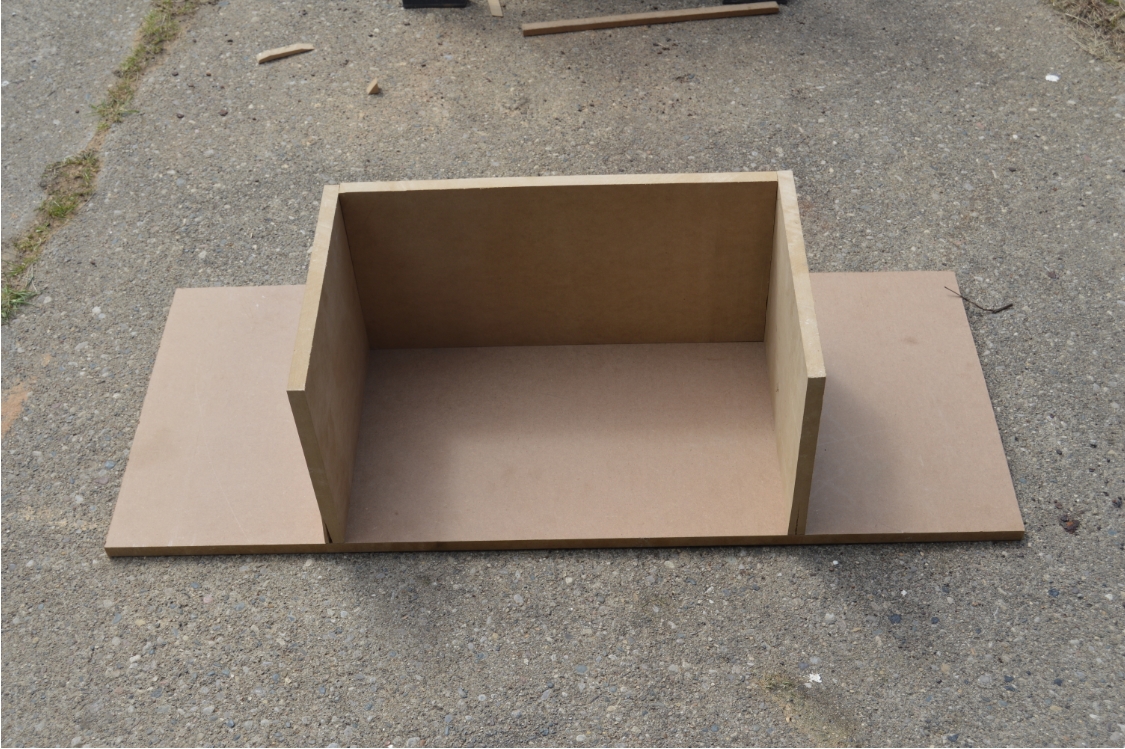
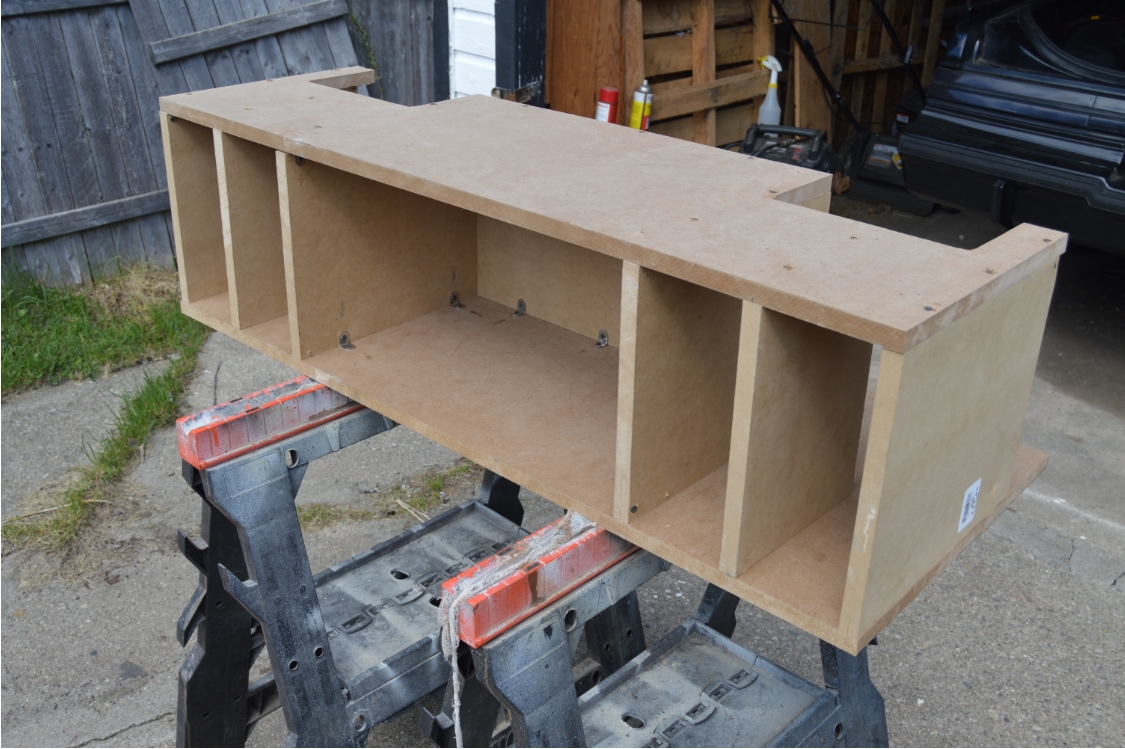
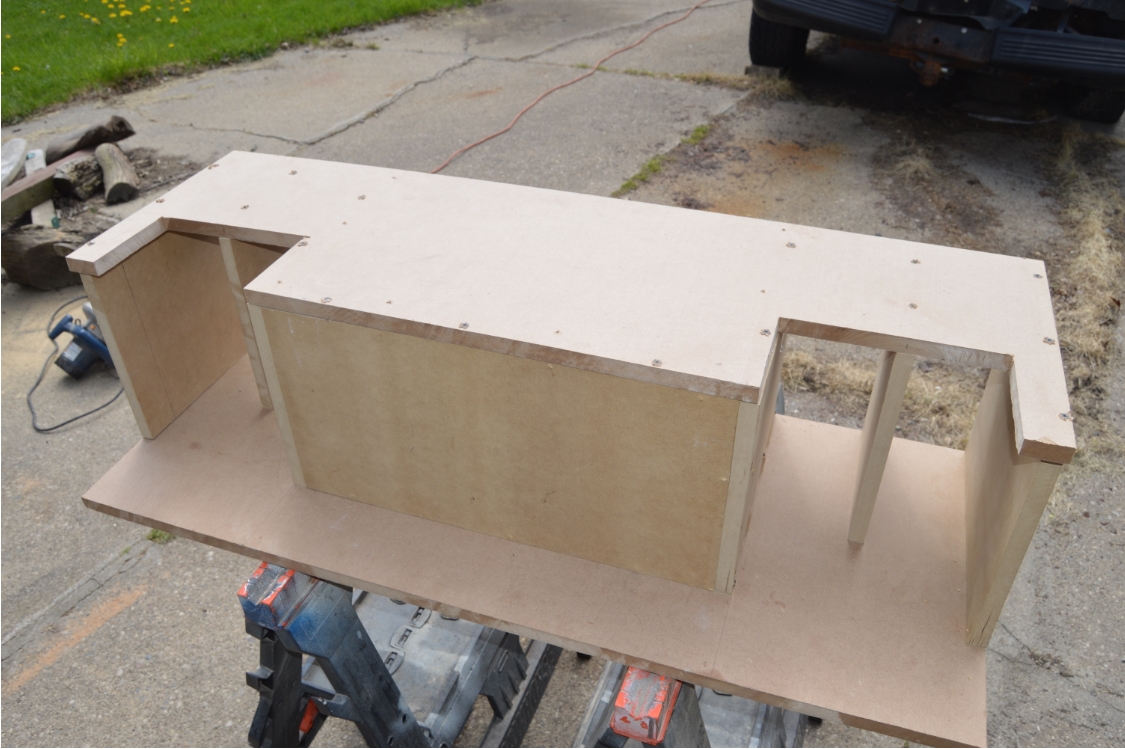
There’s no how to for this one, but here’s the specs on the custom box to give you ideas for your own, should you wish to tackle this job. Look at the pics, between those & the specs below, you should be able to figure out how to create one yourself.
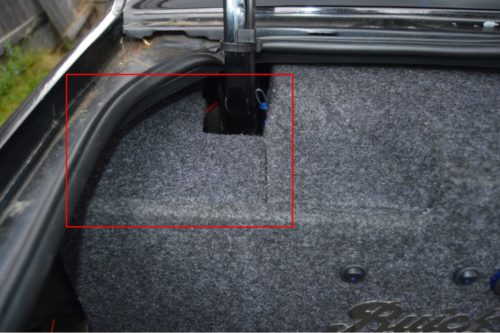
After the sub box unit was totally completed, we decided to add some corner pieces that go on the outside of the trunk hinges and extend towards the quarter panels, to sort of finish off this little area. (see the pic towards the end of the photos)
[NOTE: if we had to do this all over again, we would have made the doors smaller, ending them where the box ends (instead of the doors being extended past the actual box) and then made these corner pieces part of the quarter panel pieces that we will make in the next post- “Part 2”]
.
DIMENSIONS:
.
bottom: 44″ x 13.50″
top: 44″ x 13.50″
2 side pieces: 11″ H x 13.50″ W
back: 21.25″ W x 11″ H
front panel: 59.50″ x 17.75″ (including doors)
center box front: 22.75″ W x 17.75″ H
left side door: 18″ W X 17.25″ H
right side door: 18.75″ W x 17″ H
.
[NOTE: the doors are not equal because the center box needed to fit between the rear deck speakers, and the wheel wells, and this is the way it worked out to make the doors fit closely to the braces on the quarter panels, which aren’t equal on both sides either]
.
Some cool add-ons we did:
The switches on left door:
A). 1 (blue lighted) switch turns on the dual LED trunk lights and the cool Grand National blue LED lit sign on the right door.
[switches cost about $1 in bulk (10 pcs). The GN sign was about $20 off ebay, and was actually meant to be installed in a home bar area, as it had a 110v plug on it, which we cut off (since it was a transformer type converter) and then simply wired it into the cars 12v electrical system!]
B). the other switch turns on the combo volt meter / usb charger – the same kind we put in the interior in place of the cigarette lighter.
(make sure you put an inline fuse here if you’re doing the same).
[the usb chargers are less than $10]
C). A neat old time looking polished metal Buick Script Logo.
[this was like $6 shipped off ebay!]
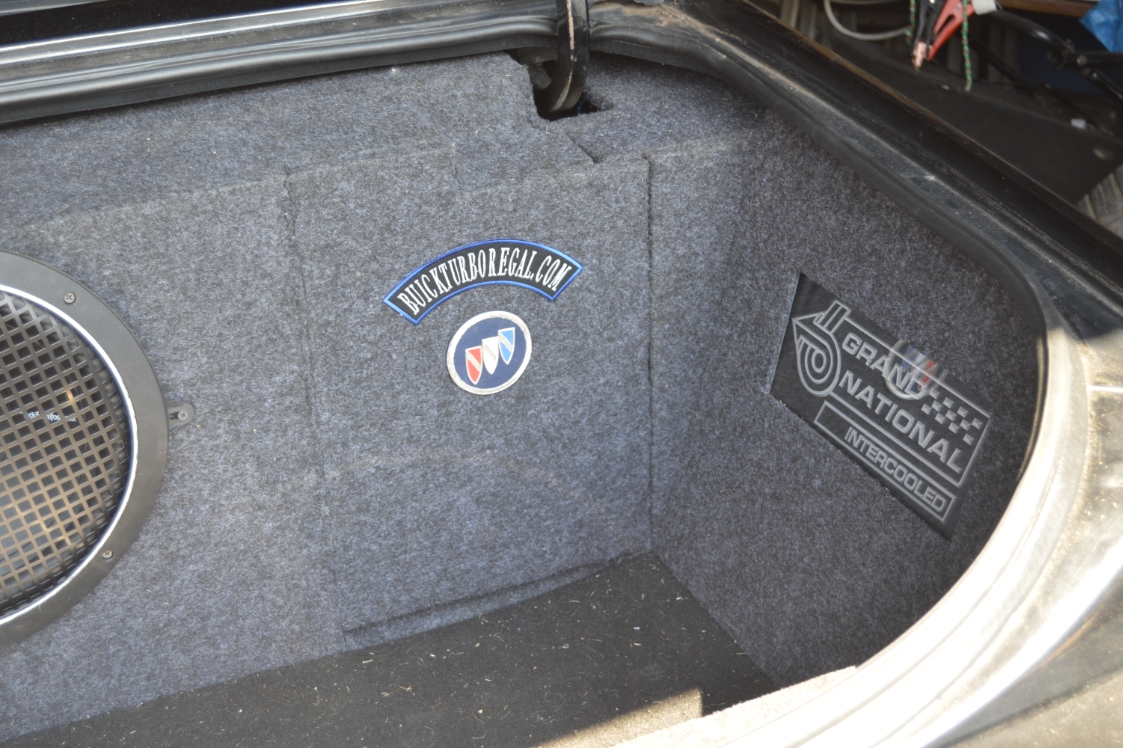
D). A high quality Buick Tri Shield logo patch that we glued on the right hand door, as well as a neat custom “BuickTurboRegal.com” patch that’s above it.
[$20 for both]
.
Helpful Hints:
We left the entire (built) sub box unit on the trunk floor while we wired up all the speaker & power wires, before pushing it up onto the trunk shelf space. This means your wiring needs to be a bit longer to reach everything, but makes connecting the amps, etc., A LOT easier! (than trying to wire it up from the back seat!)
This entire unit is not bolted down anywhere (to the car). We believe because of its weight (somewhere north of 80 lbs!), that it isn’t likely to be moving around anywhere. Not to mention that it’s a tight fit once it’s on the trunk shelf (to put it up into that space, we had to literally shove/stuff it in there!).
Besides, once (Part 2) is completed, it won’t be able to move (the quarter panel pieces will mostly hold it in place).
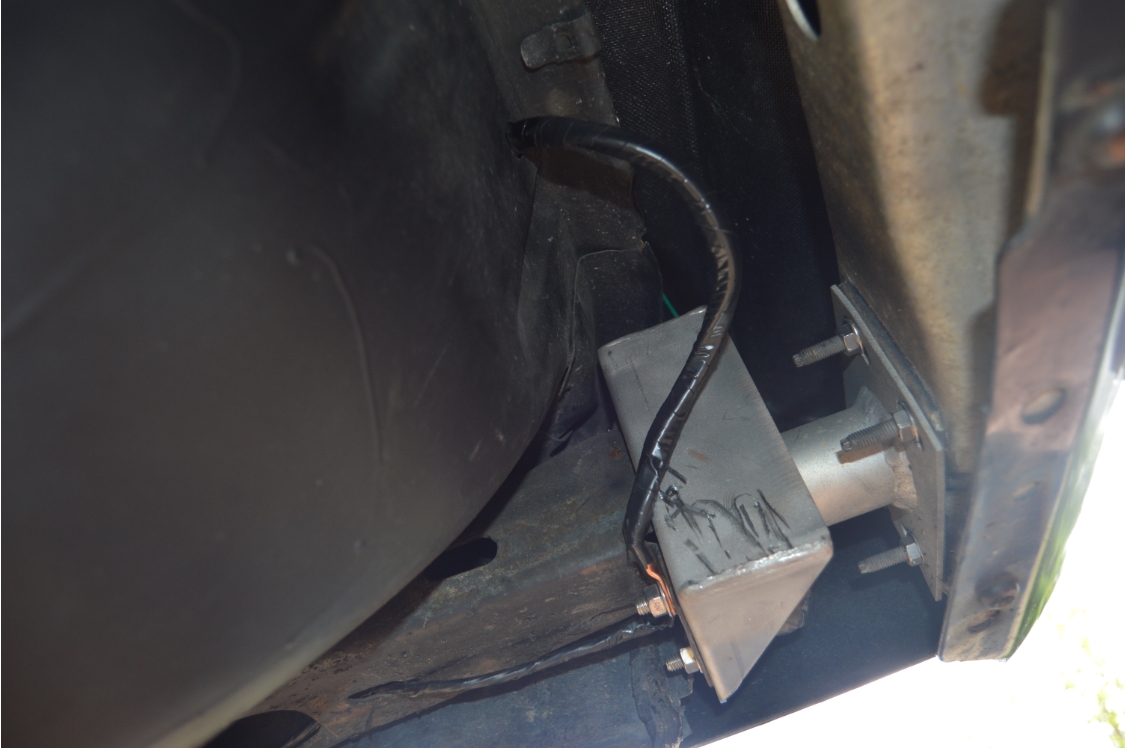
We ran the (4ga.) ground wire from the ground distribution block over to the passenger side quarter panel, then back towards the rear of the car. We put a hole at the top of the spare tire wheel well, nearest the tail light side. From under the car, we ran it down a bit then bolted it to the rear bumper mount (on the frame).
[to which this also has a redundant ground wire that runs from that spot to a bolt in the middle of the trunk shelf (from under the car) then inside the trunk another wire connects back to the ground distribution block]
[we removed the rear seat to accomplish the below]
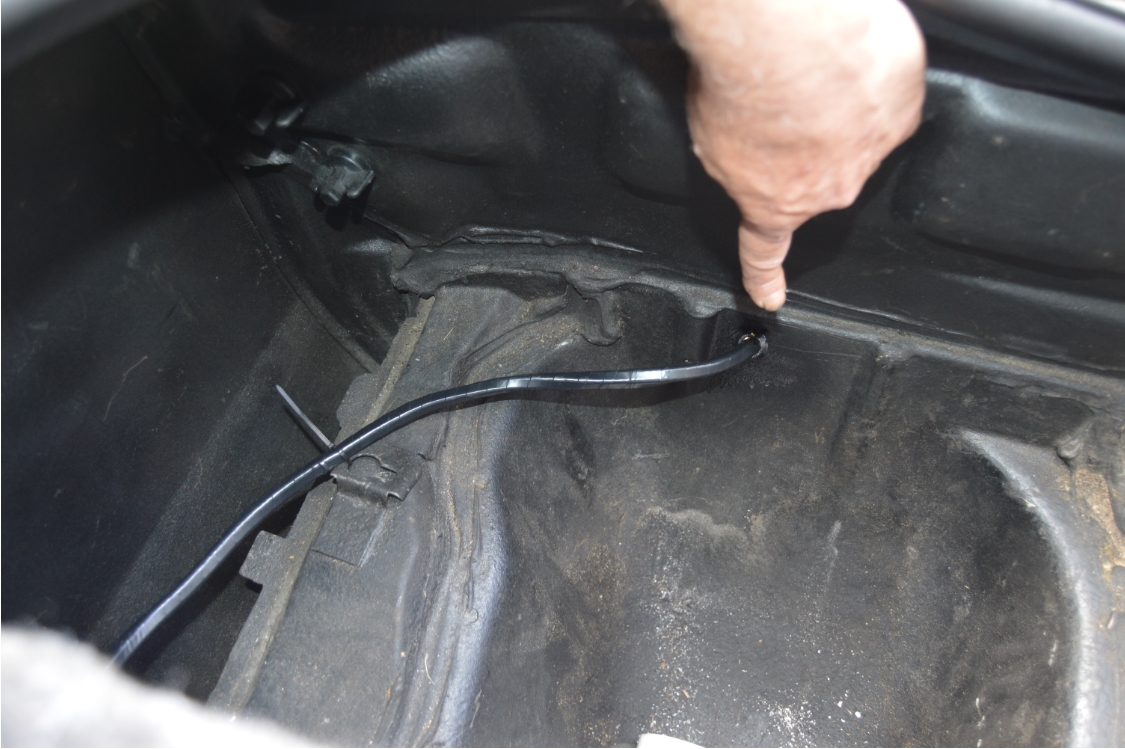
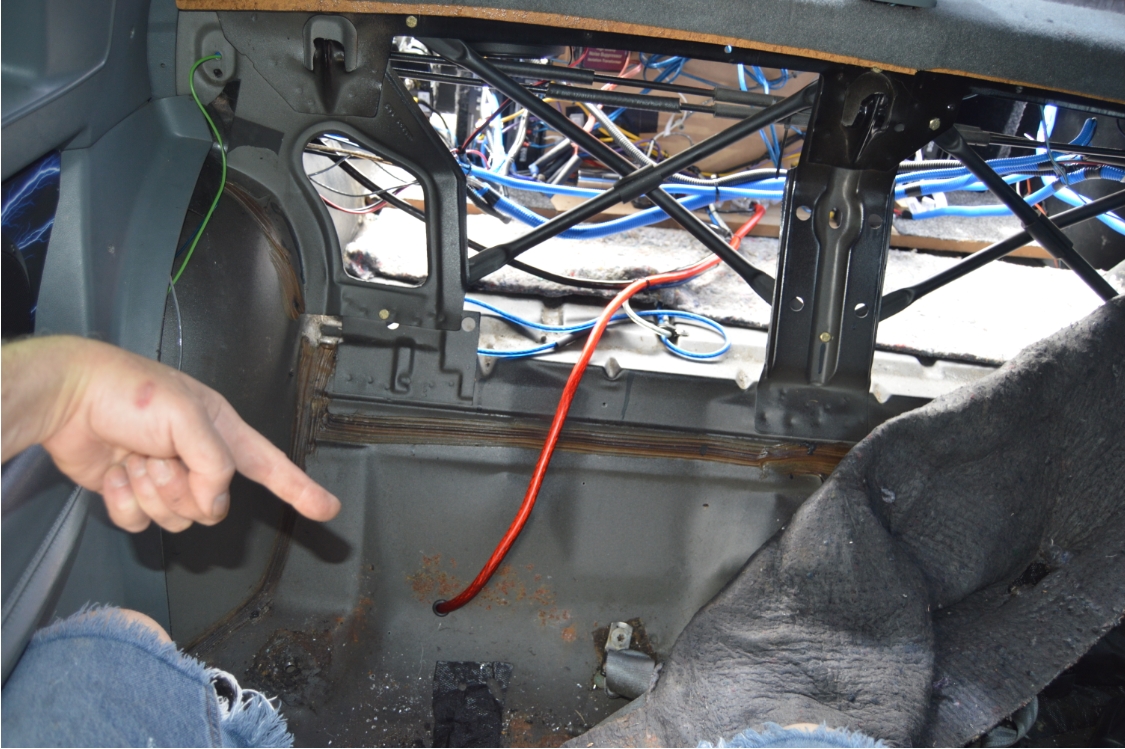
For the (oversized 4ga.) power wire, it goes from the power distribution block towards the front of the car, thru the (back seat/trunk) divider, then down. The hole was drilled at approximately where the top of the bottom seat would be (see pic).
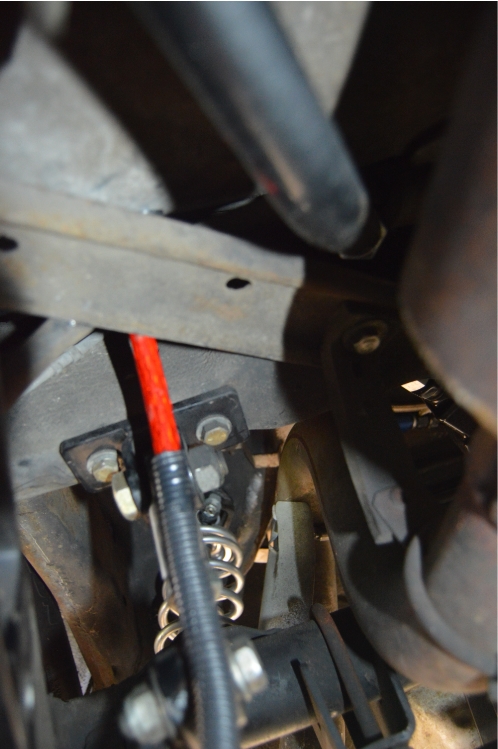
This puts it in a good spot (under the car) where you can easily run this wire thru the frame to the front of the car. (be sure to ziptie or secure the wire in place, in several spots!)
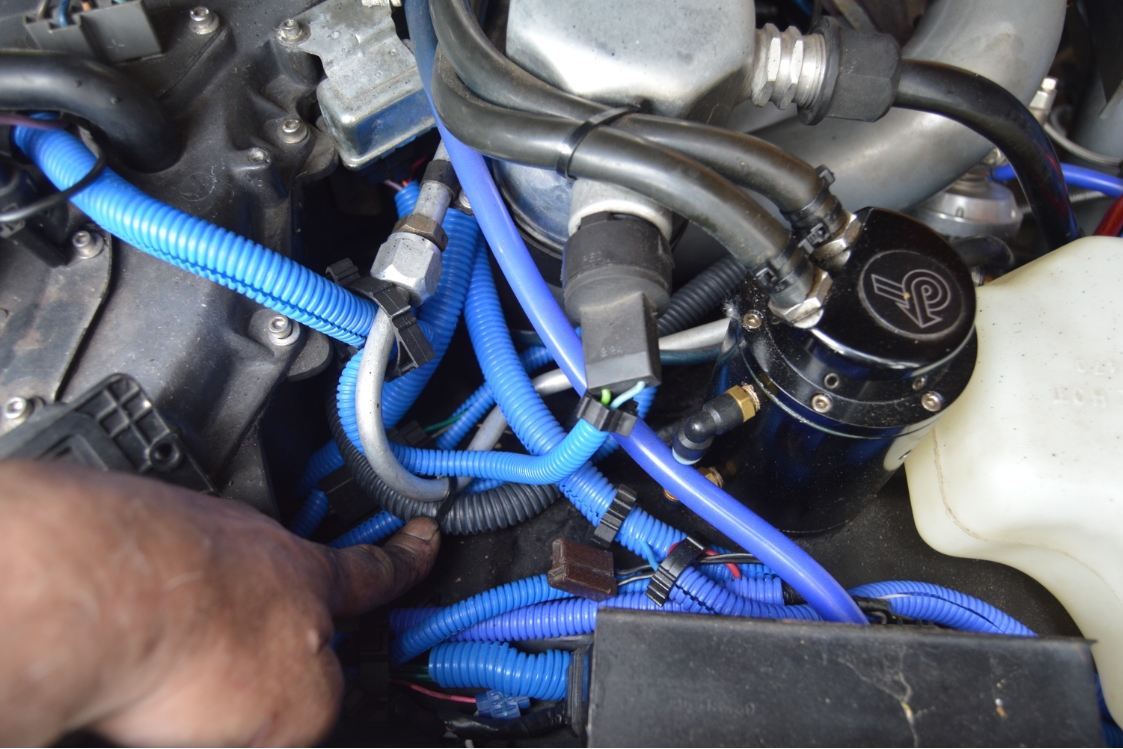
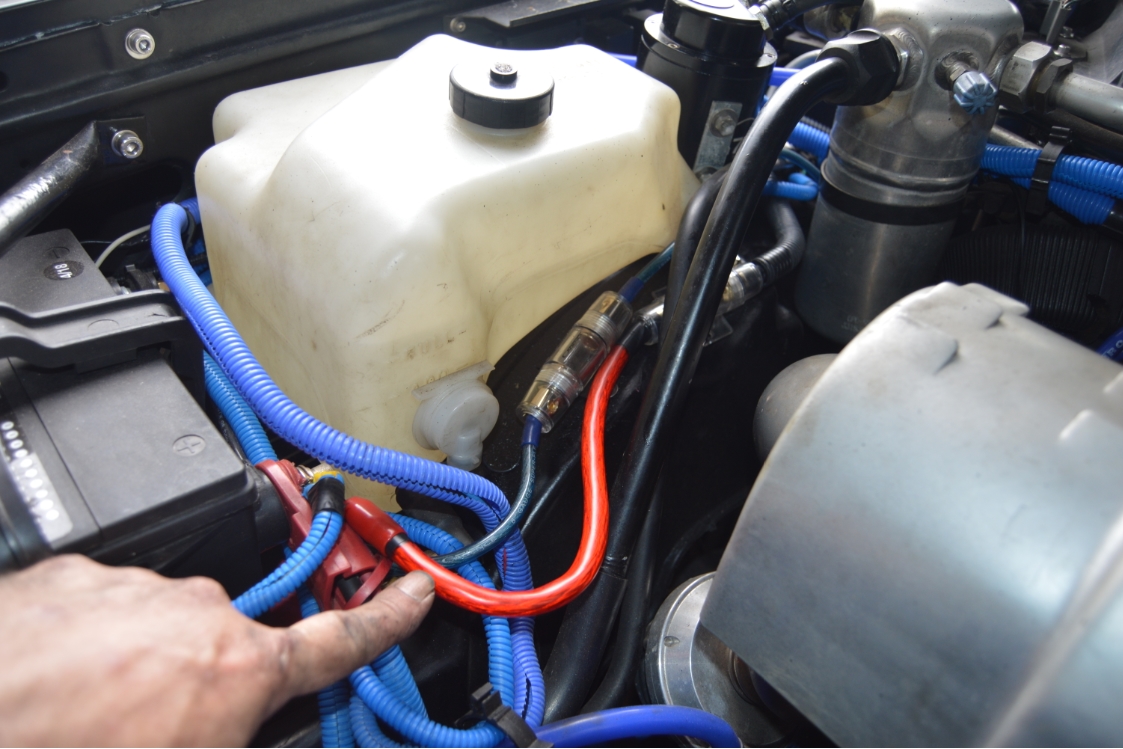
It comes out of the frame in the front (about under the heater/ac box) and runs up the engine compartment on the passenger wheel well and snakes on top to the (100amp) inline fuse, then over to the battery.
.
STARTING WITH A TEMPLATE, SPEC-ING AND TEST FITTING PARTS:
.
.
BUILDING THE BOX:
.
.
TEST FIT BUILT BOX (VERSION 1)
.
.
CARPETING, SWITCHES & CATCHES:
,
.
WIRING UP THE AMPS & CONNECTIONS:
.
.
REMOTE CONTROL AND RADIO:
,
.
POWER AND GROUND WIRES:
.
.
this is the corner piece created afterwards:
.
.
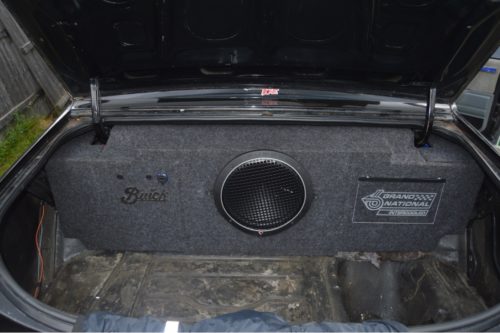
And the grand finale, the finished unit!
.
.

.
Rock on Turbo Buick peeps! \m/
.
UPDATE (2 days later…):
OK, so sometimes you want to change things. Sometimes it’s during the thinking process, other times it’s while you’re making the actual item, and more often than not, it’s after the build is totally completed.
Which is this time.
That’s what happens when you create stuff from scratch.
This mod shouldn’t be too hard to change though.
[ever heard someone say after a project is done, “man, I wish I would have changed ‘X’ when I did that”? Well, that’s the story here, except that we took the time & actually went back & changed X!]
I have those cool hinged doors on the sub box, to which I planned it like the original story above, thinking I’d have to remove the quarter panel pieces if I wanted to open them. No big deal I thought, since realistically, how often do you really need to open the doors?
But then I got to thinking, it’s kind of wasted, what good is having them if it’s a pain to open them?
(not really a pain, just inconvenient)
Besides, I have 1 of those slots empty (behind the front panel) where I can “stash” stuff, if need be.
Revision time (which will be #3 if you’re keeping track).
I’m cutting the doors down. Now they will be 12″ wide.
[the ends of the doors are roughly where the outside of the trunk hinges are]
I’m doing this while the doors are still attached (as the hinges are hidden underneath the carpet).
So, cut the carpet, cut the door, reglue the carpet down. Then take the outer pieces (that were part of the old door) & screw them to those upper outer corner pieces I made.
I will have to move that cool GN sign from the right door, but I’ll put it on the passenger side quarter panel piece. This time around however, I can even mount it flush from the backside so you can’t really tell that it’s a sign [that’s what I wanted to do originally but the sign extended past the width of the box (on the inside) and I couldn’t. Now it will look like a lighted plexiglass insert when done]. You’ll see all that in “Part 2.”
Speaking of Part 2, by redoing the doors this way, will actually make creating the quarter panel pieces a lot easier. But that’s for next time…
.
HERE’S WHAT IT LOOKS LIKE NOW:
.
.
The custom patches we ordered for the right side door finally came in (took a week). Adding these now gives the 2 doors a nice balanced look overall.
.
.


