


Your 1980s Gbody Regal steering components may be 30-something years old, assuming you (or previous owners) haven’t replaced any of the individual parts yet.
If you have sloppy steering, it’s probably time to replace or upgrade them.
While you’re there, don’t just swap them out with standard run of the mill OEM replacement parts, when for a few dollars more, you can get high quality, crazy strong heavy duty awesome looking pieces.
Not only will you regain the proper tight steering again, but it’ll clean up the underside of the front end, since the finish features a nice black e-coated surface.
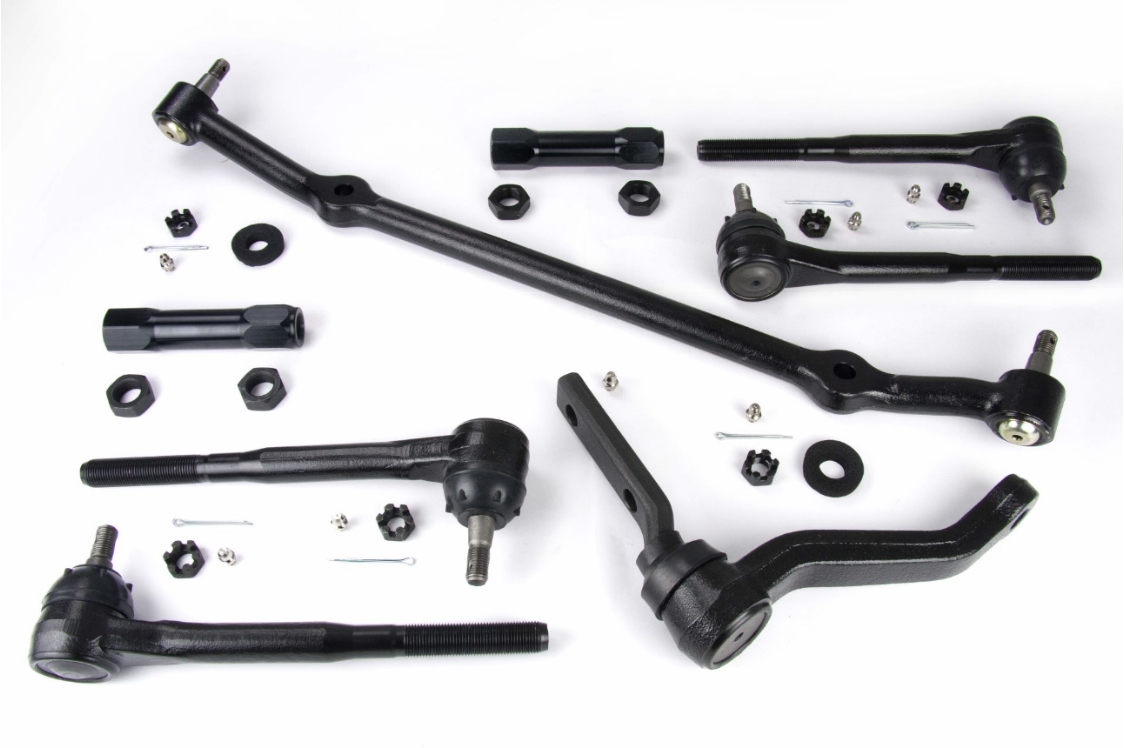
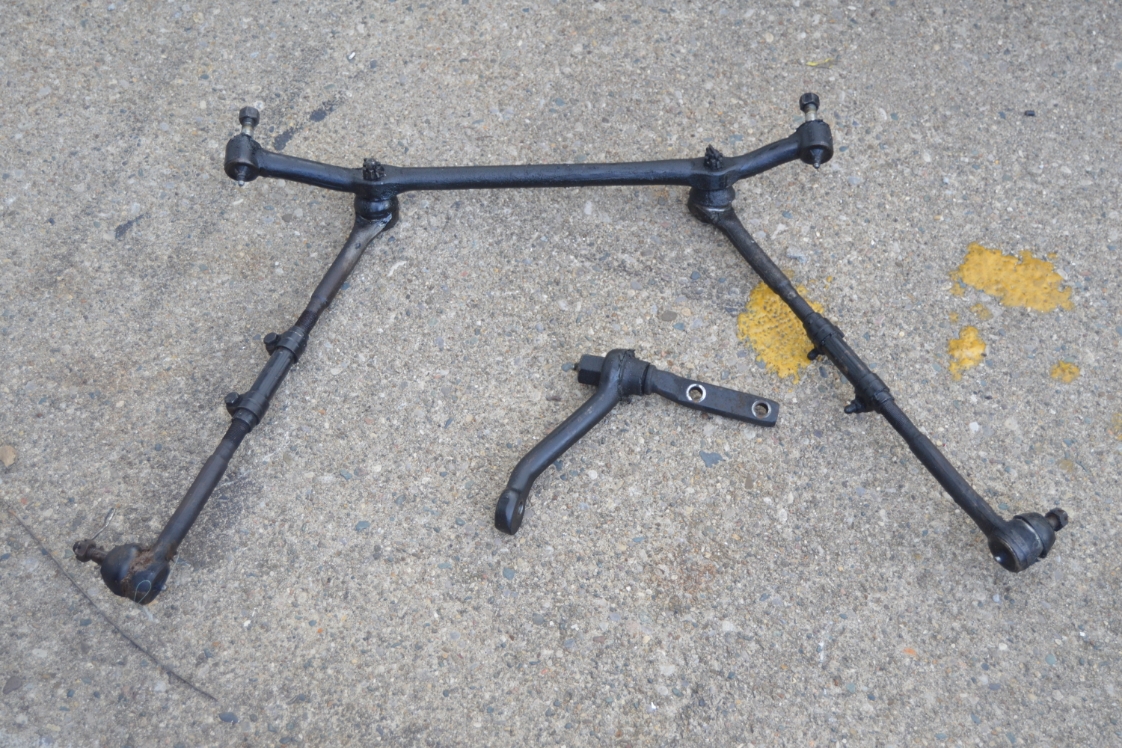
The Proforged 8-piece kit includes center drag link, 2 inner tie rods, 2 outer tie rods, 2 tie rod end adjusting sleeves (heavy duty billet aluminum), and an idler arm.
The only piece to fully finish this complete rebuild would be a pitman arm (which is available separately for about $75 shipped).
[but that part is often not needed unless it’s badly worn]
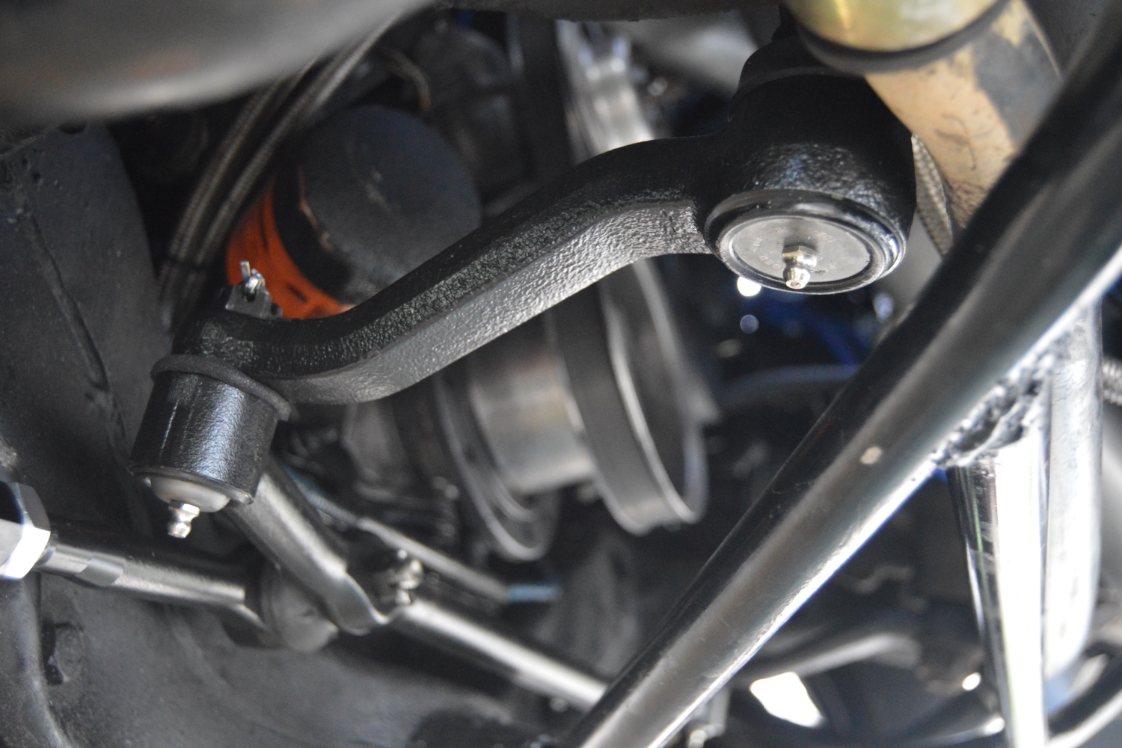
All of these parts feature a greasable design with rustproof black e-coated housing, so not only are they strong, but they look pretty too!
This kit will fit most 1978-1987 GM G-body cars
(Regal / Malibu / Cutlass / Monte Carlo / Grand Prix).
.
.
After doing the steering shaft upgrade, we decided it was time to update the rest of the steering components as well on this 1987 Buick Grand National.
This is just another thing that will make your steering system more responsive and give you a good “feel” when you’re driving your TR.
With unknown parts age on the stuff that was on this car, and some of the pieces being a bit rusty and oily, we figured we should just go ahead and swap them out.
They provide piece of mind, as well as a pretty appearance too.
(even though no one really sees them under the vehicle! lol)
.
COMPLETION TIME:
- about an hour
.
TOOLS:
- grease gun
- 5/16, 11/16, 17mm, 18mm, sockets / wrenches
- pliers (for cotter pins)
- flathead screwdriver (for cotter pins)
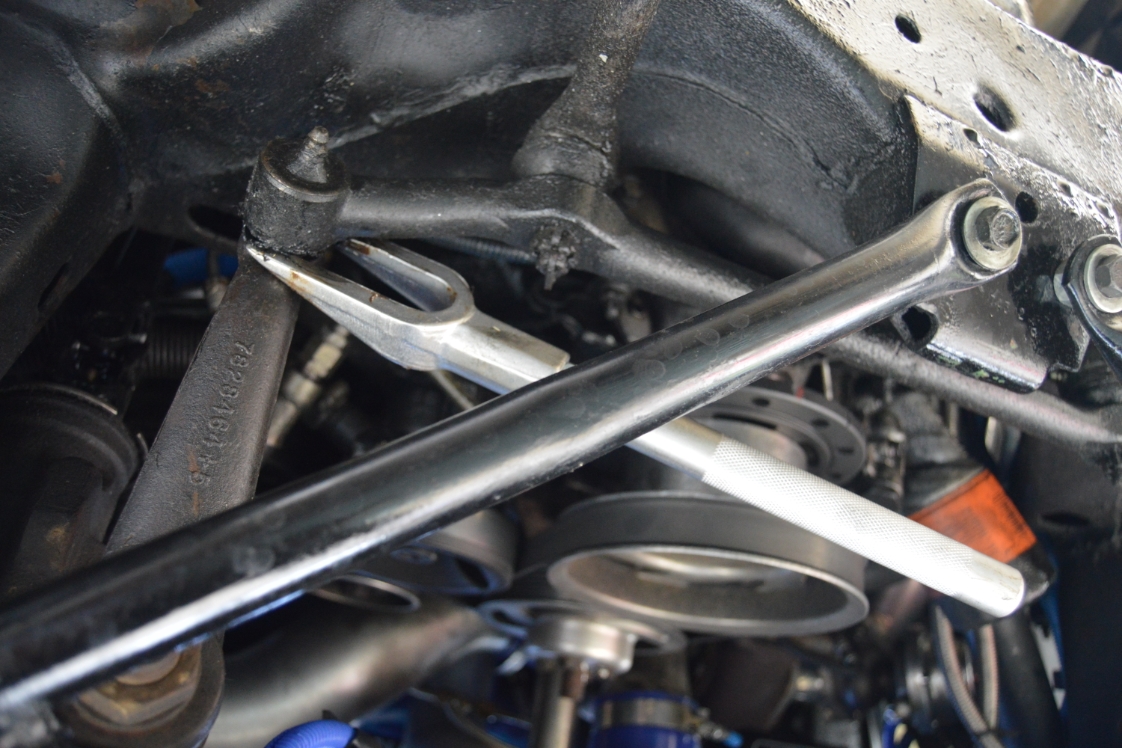
- pickle fork (AKA “ball joint remover” for removing tough joints)
- hammer (for hitting the fork)
- pipe wrench (for turning parts if needed)
.
PARTS:
- Proforged # 116-1011 Kit (retail about $230)
.
You can see more specs and details about the kit (or separate parts) by clicking on the Proforged banner.
Grab the correct part number(s) you need for your specific vehicle, then head over to your favorite online retailer (summit, jegs, etc.) and purchase what you need, at the best price you can find.
[ProForged does not sell direct to consumers]
.

.
HOW-TO:
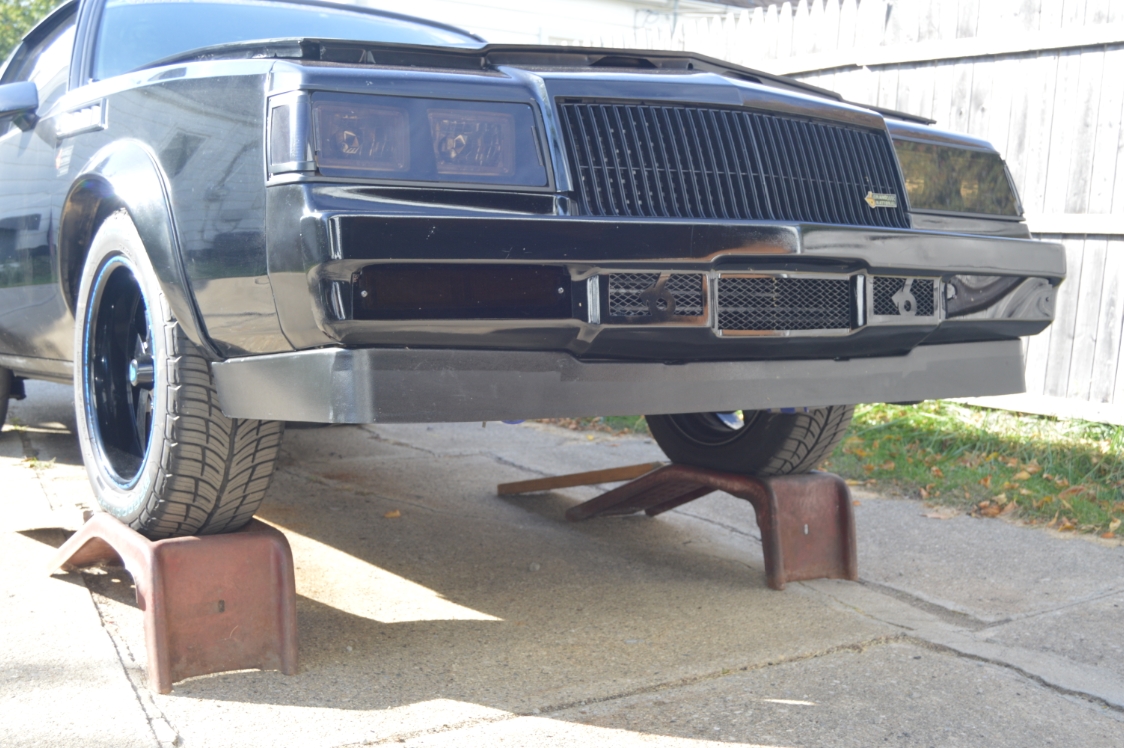
Theoretically, you should, assuming you put your Buick Regal G-Body on ramps, where you can keep the wheels totally straight during the R&R, just be able to remove all of the old stuff, then replace it with all of the new stuff.
The wheel alignment “should” remain the same, although having it checked afterwards isn’t a bad idea.
If you feel confident in your abilities, you could do a front end alignment yourself.
.
REFER here for proper Suspension Torque Specs
.
- Put the car on ramps.
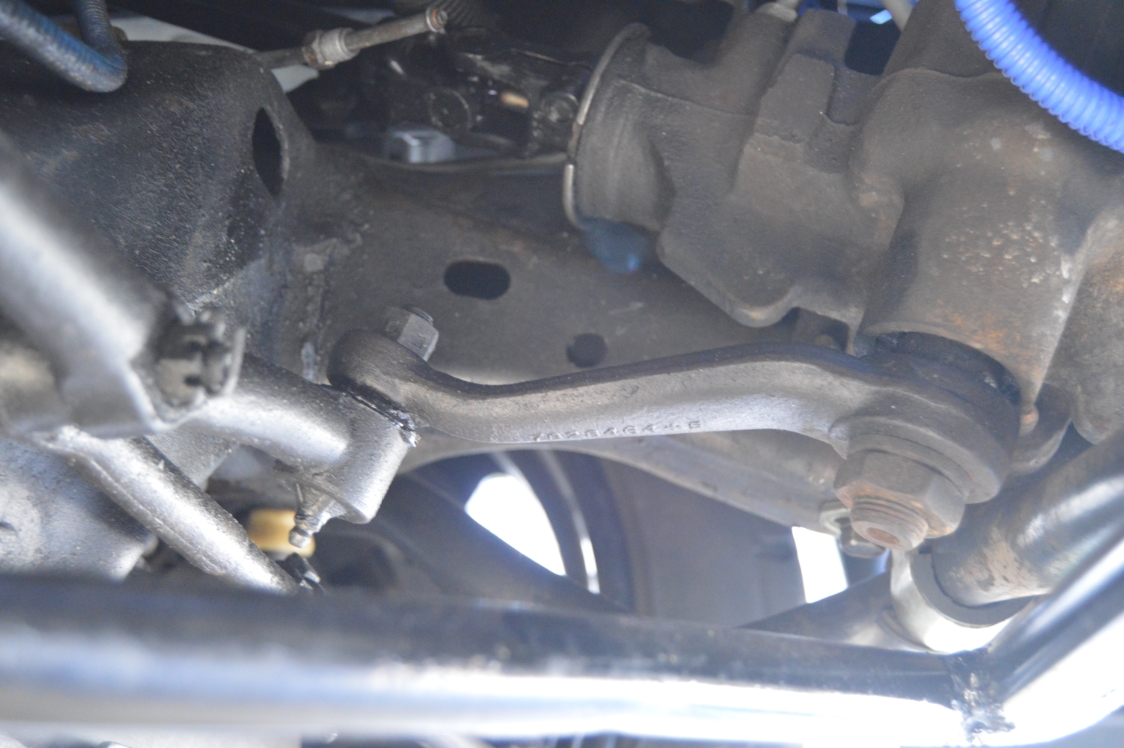
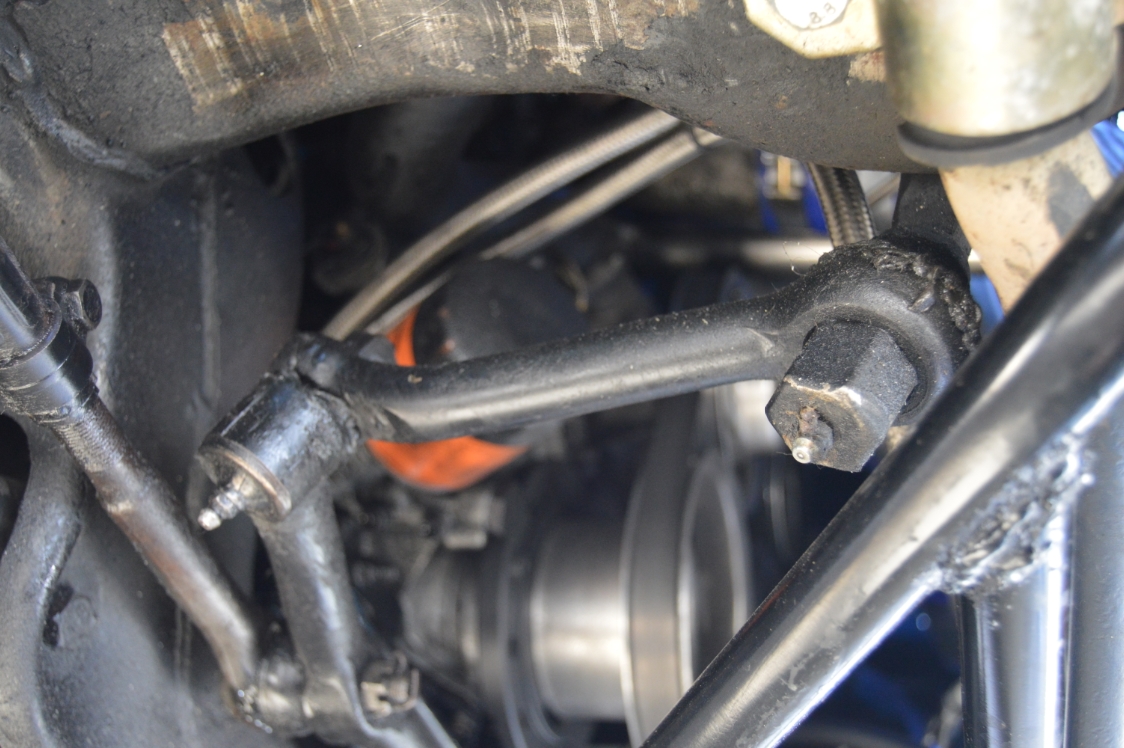
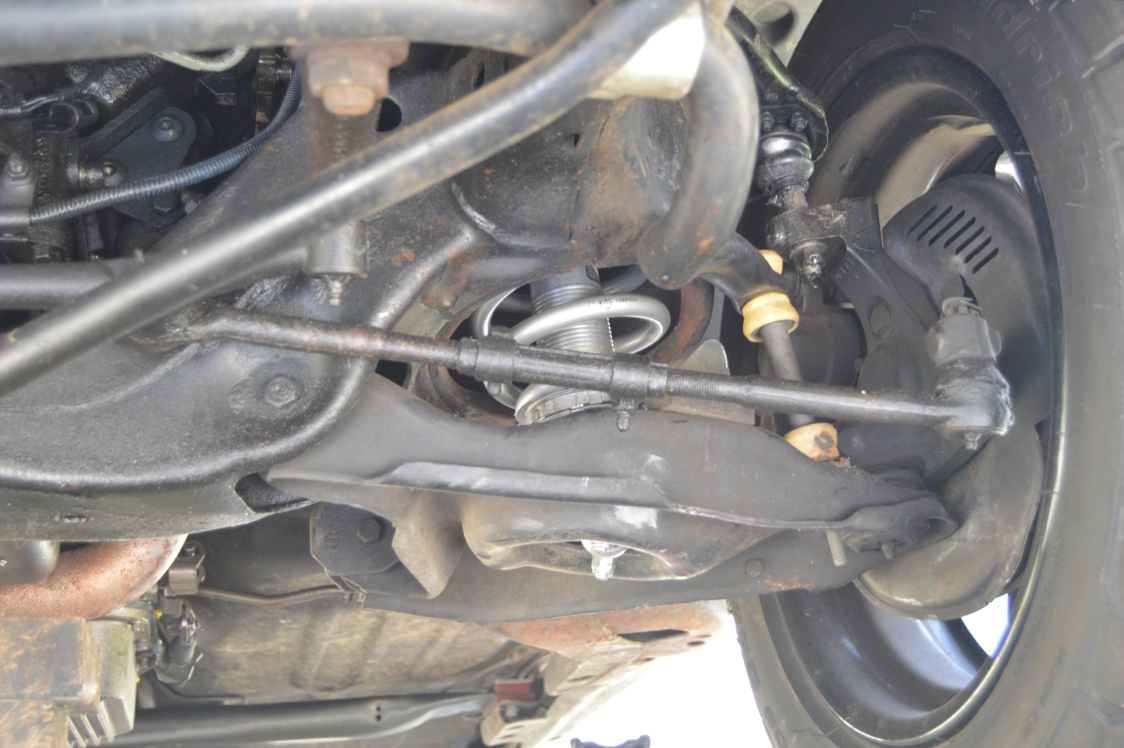
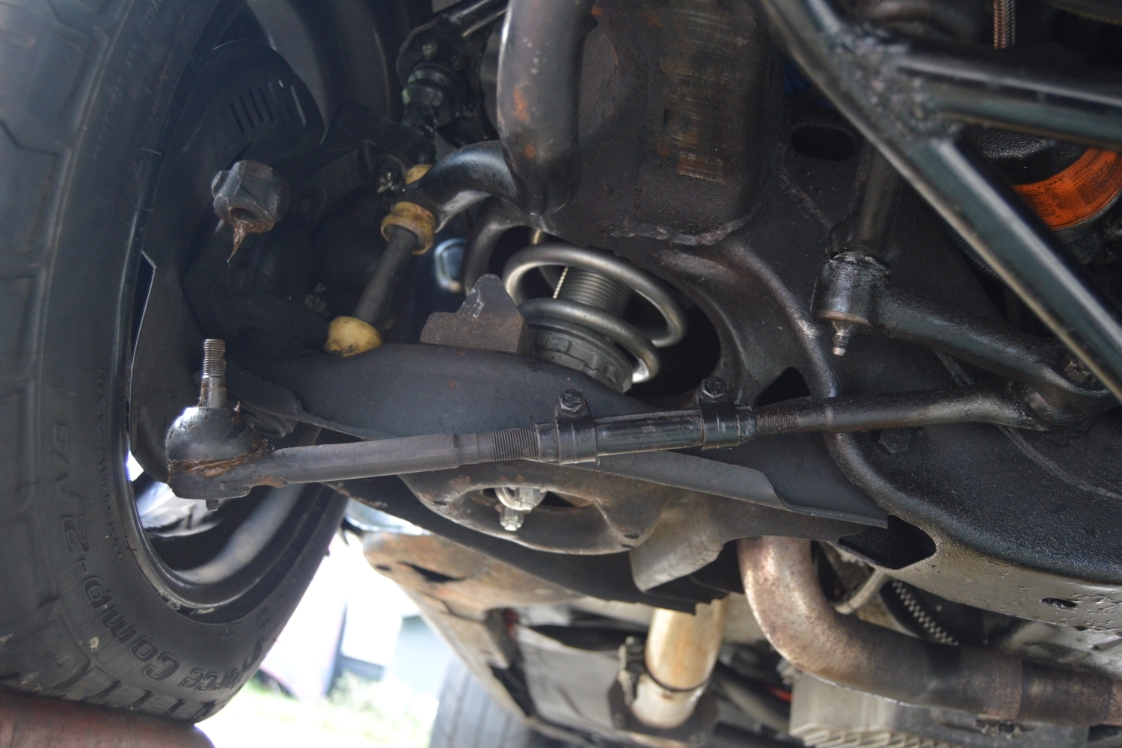
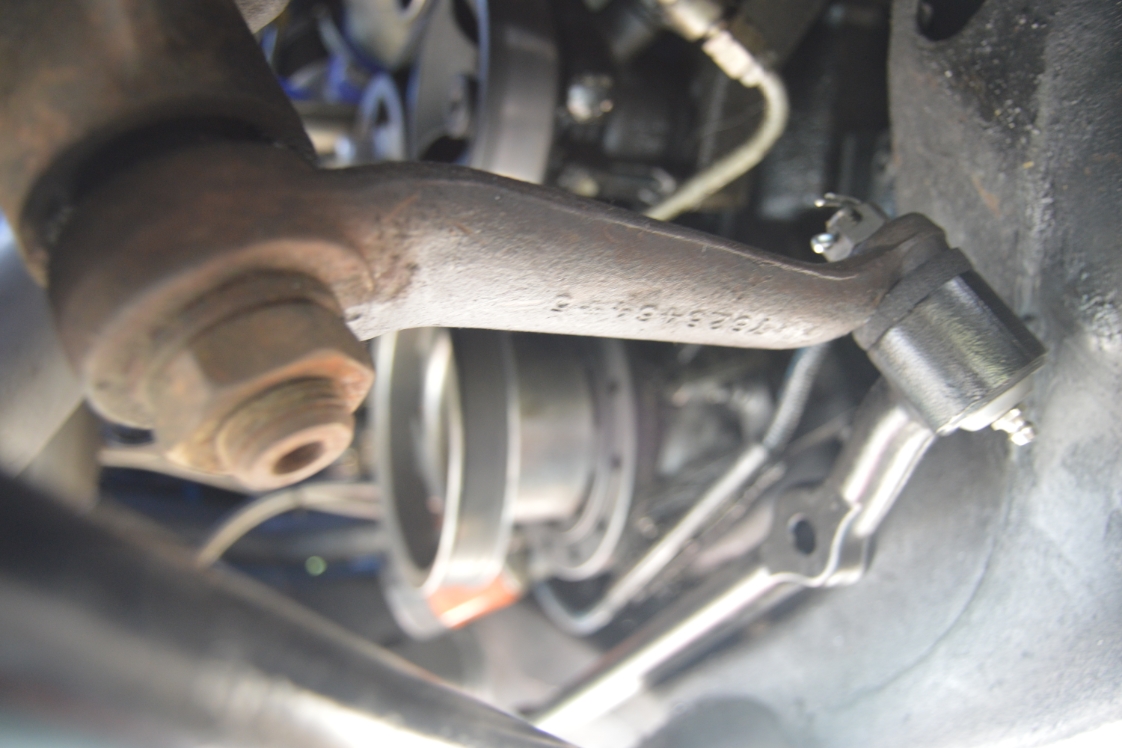
- Remove the old steering components.
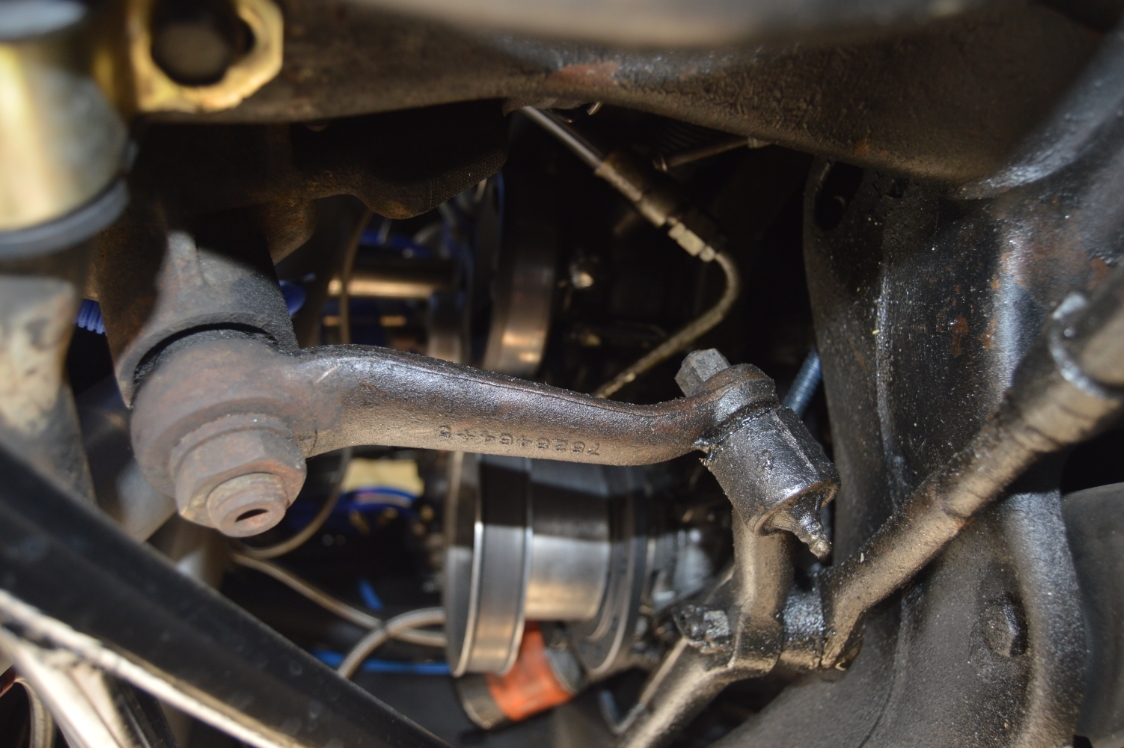
Center link, inner and outer tie rod ends, idler arm.
Disconnect the pitman arm from the center link side (you will reuse this, as it’s not in the kit).
When you remove the old idler arm, leave the bolts in the frame!
(otherwise you’re going to have a hard time putting them back in!)
It’s easier to just unbolt the 2 outer tie rod ends from the spindles, the entire idler arm (from the frame), and disconnect it from the pitman arm (leave the pitman arm attached to the gearbox).
Then you can just pull everything out in basically one entire piece.
The OEM parts take a 17mm to remove the nuts, except for the pitman arm and idler arm which uses an 18mm.
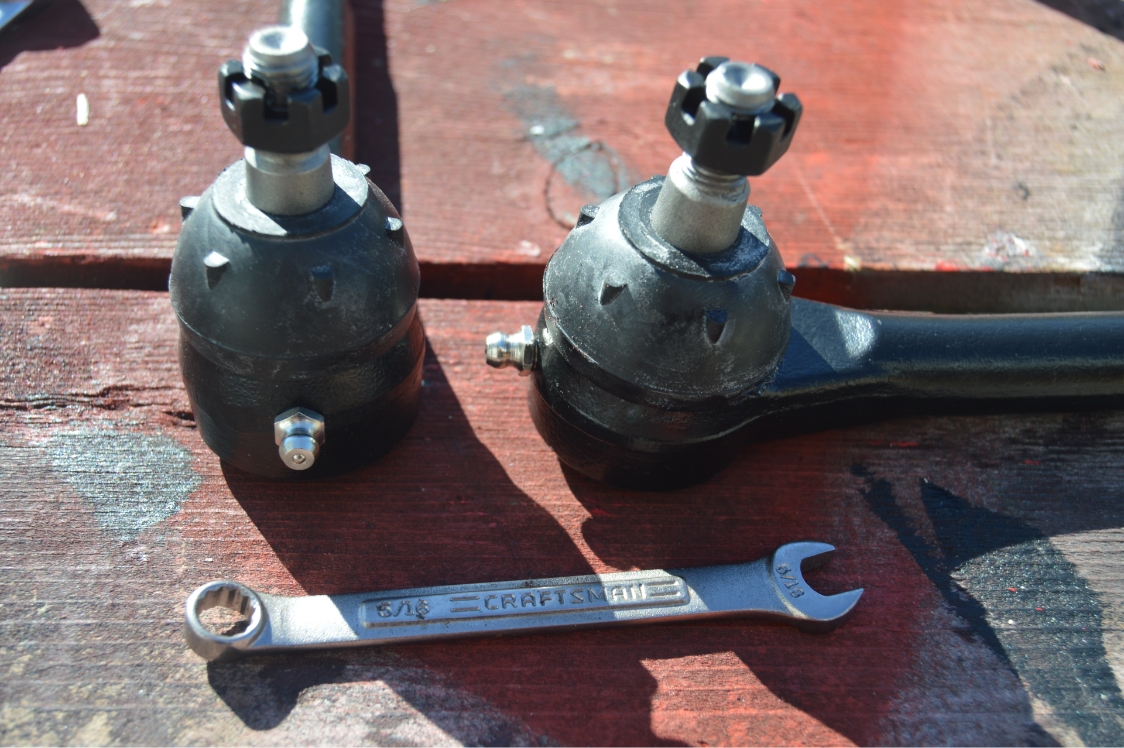
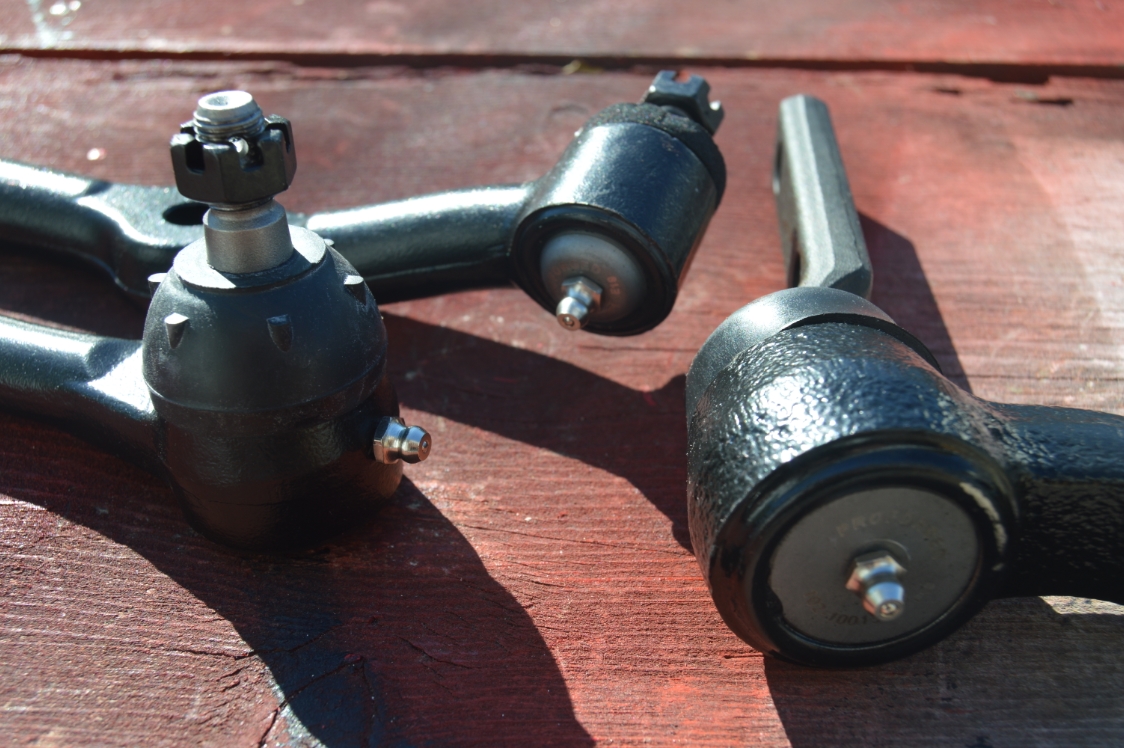
- prep all the new parts by installing the grease fittings.
(don’t grease them yet, there’s some already in there).
They all use a 5/16″ wrench to install.
The outer tie rod ends have it on the bottom.
The inner tie rod ends have it on the sides.
The 2 center link fittings are on the bottom.
The idler arm has it on the bottom.
HAND TIGHTEN ALL PARTS UNTIL THE END.
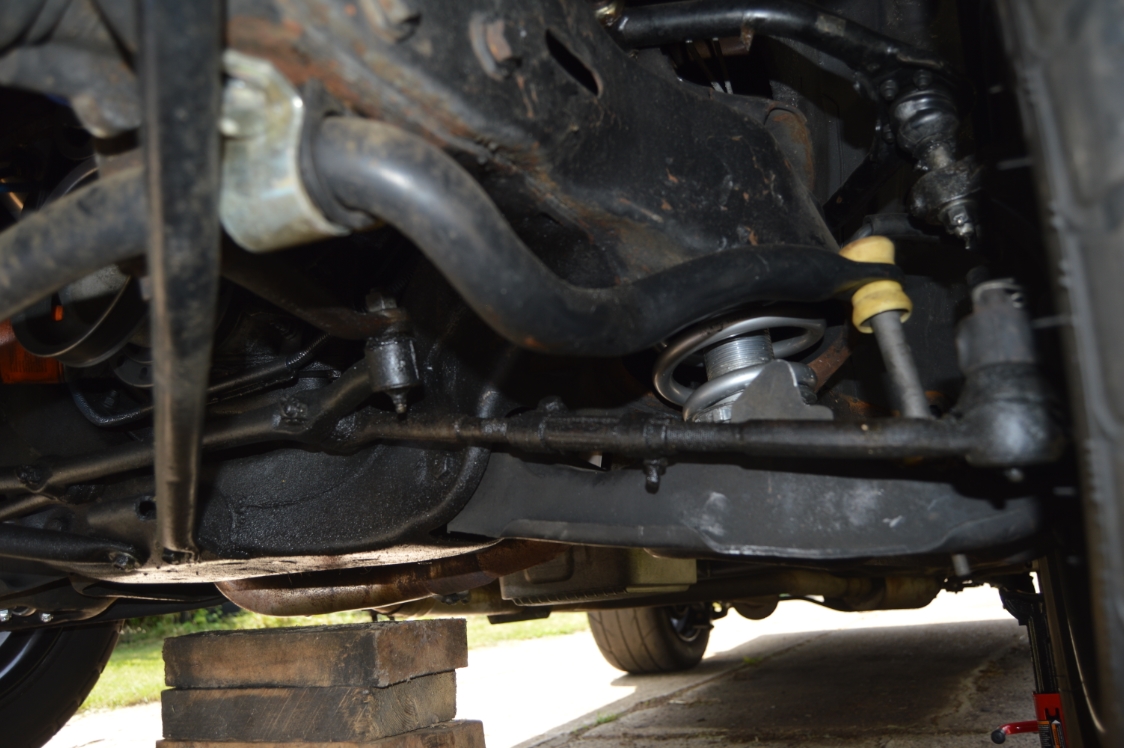
- Assemble the new outer tie rod ends, the adjuster sleeves, and the inner tie rod ends.
You can “get it close” to the proper lengths by comparing versus your old parts lengths.
Attach this assembly to the spindles.
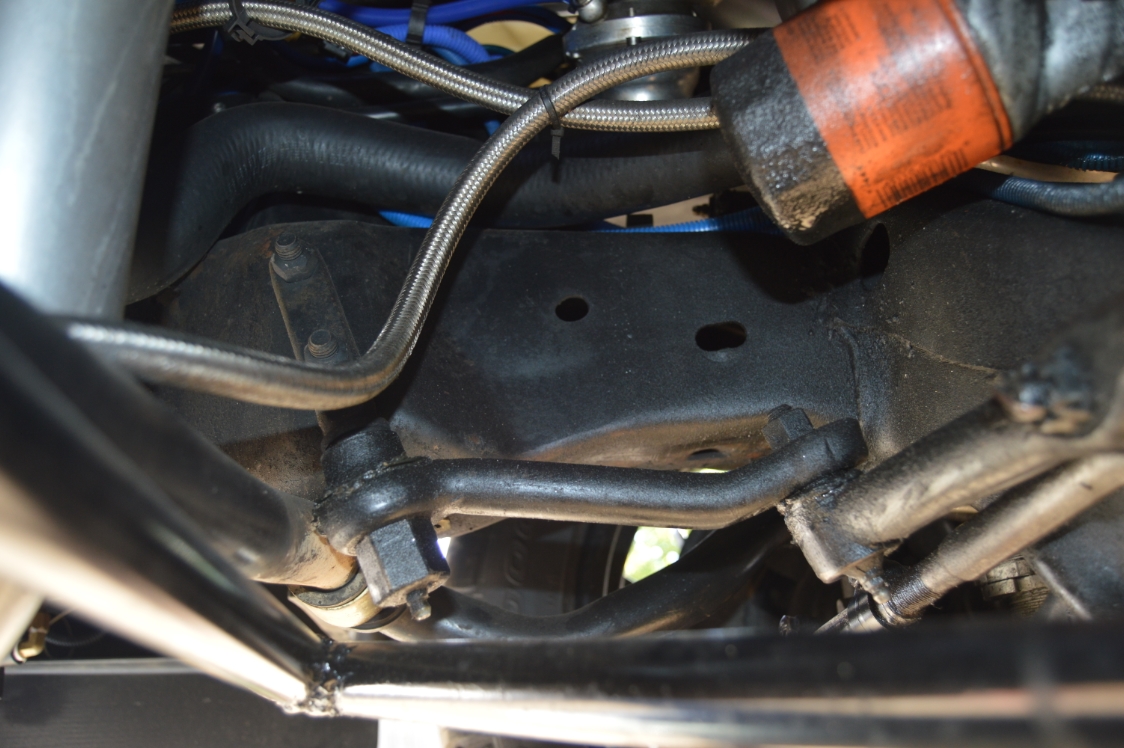
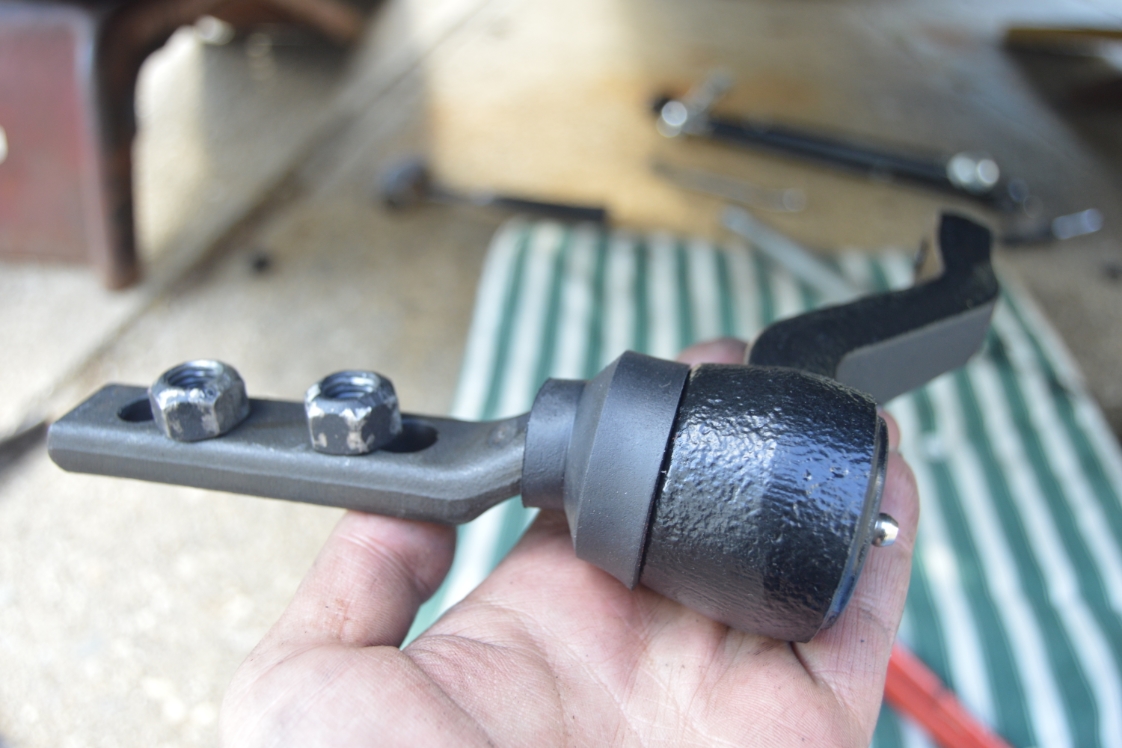
5. FOR THE IDLER ARM: IMPORTANT!
The new idler arm arrives in a straight position, meaning you have to turn it 90* to get it to line up with the center drag link.
MAKE SURE you have it facing the correct position when mounting it to the frame!
The bottom part of the side that attaches to the frame, should be bent towards the center of the car.
If you don’t have it in the correct position, you’ll know it, as the center link joint will not go straight up into it!
(ask us how we found this out, lol!)
You should LOOK at how your OEM unit is mounted before you remove it.
Installing the new parts uses an 11/16″ (vs OEM 17mm). Except for the pitman arm which takes the 18mm (you reuse your old nut & pitman arm, unless you bought a new one), and the idler arm which also uses an 18mm (you will reuse your old nuts & bolts on the new idler arm).
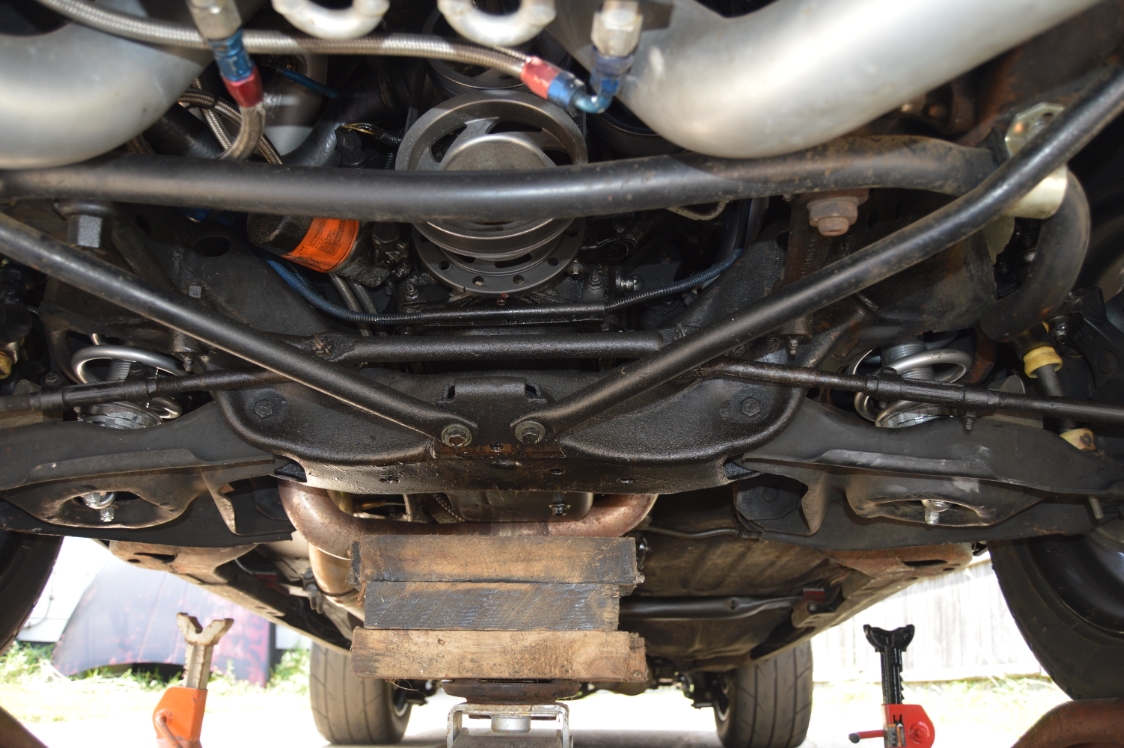
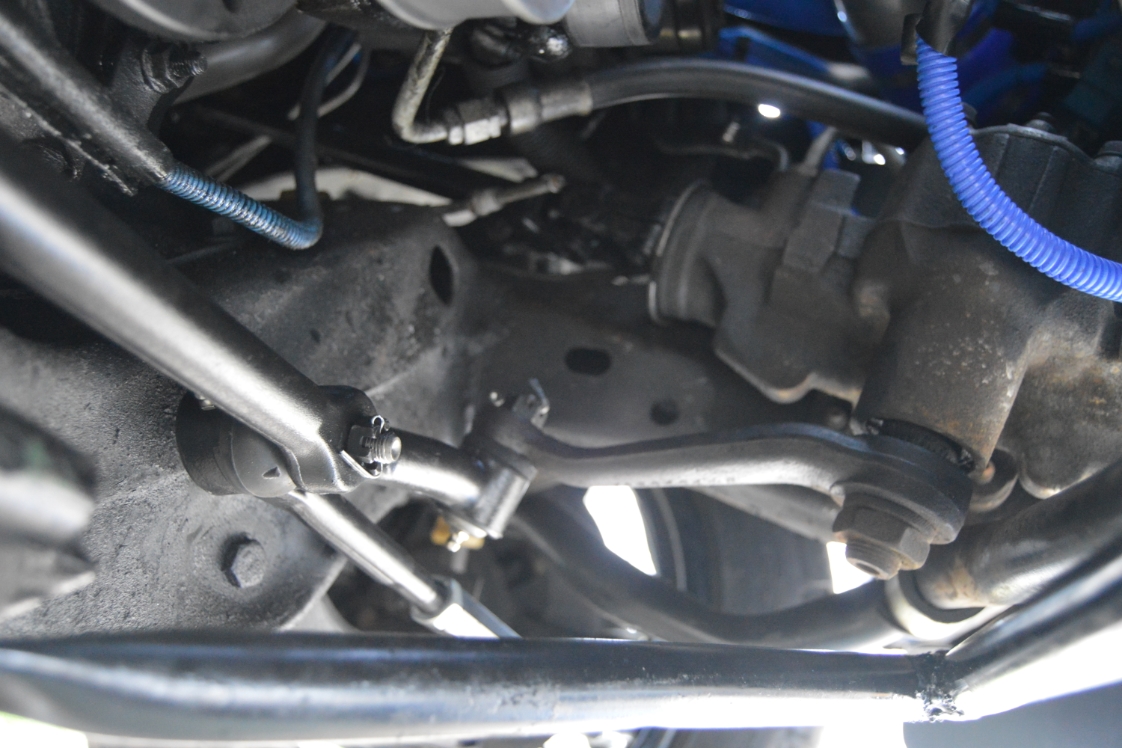
- Attach the center link to the idler arm on the passenger side.
- Attach both inner tie rods onto the center link.
- Attach the center link to the pitman arm on the drivers side.
(turn the middle adjusters on tie rods as needed to fit) - Visually inspect all steering parts on your G-body Regal.
Make sure all looks like it should.
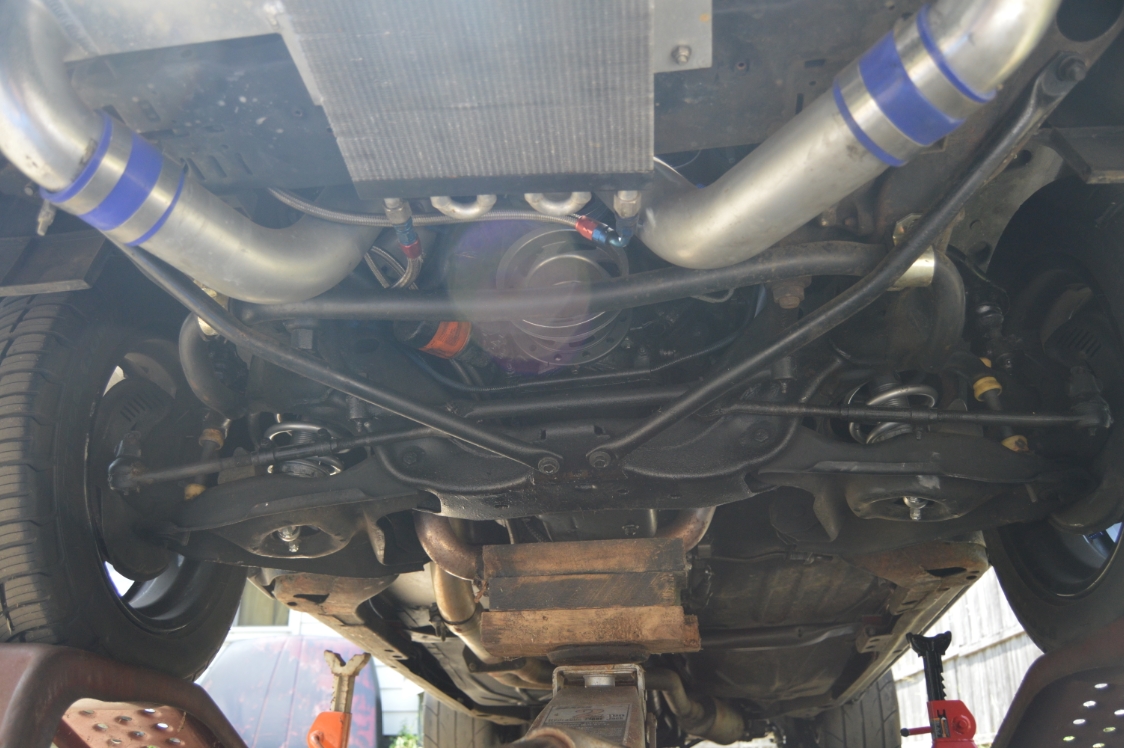
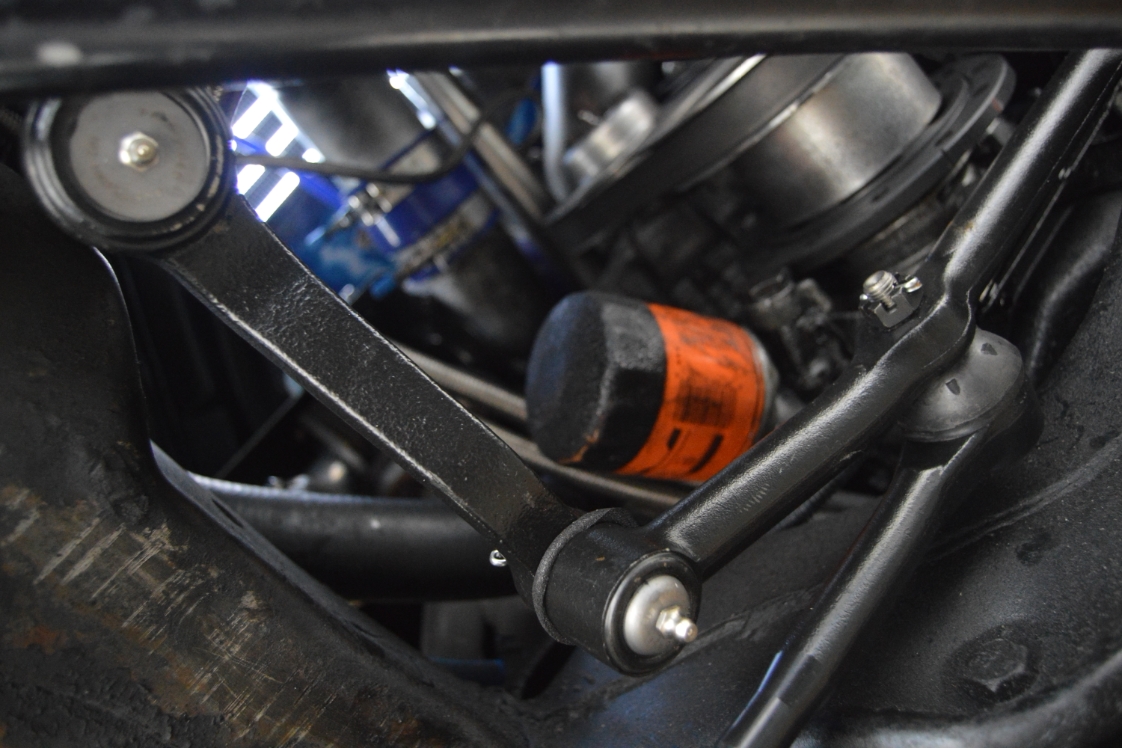
Make sure it looks like all parts will clear when the Turbo Buick is turned fully locked both ways. - Tighten down all nuts to spec. insert cotter pins.
- grease all 7 fittings.
- Take your Buick Regal off the ramps.
(your wheels should “look” pointing straight) - Turn your steering wheel all the way to the left, then right, make sure all seems well.
(listen for unusual noises or rubbing, make sure it doesn’t feel like anything is hitting, etc.) - Look underneath the vehicle at the travel path of the steering components, check to see nothing is indeed hitting anything anywhere.
- take a small test drive in your driveway turning the steering wheel both ways.
All good?
Then done.
(except for a front end alignment should you choose to get it done)
.
.
It’s amazing the difference it makes in tightness, handling, and responsiveness in your steering when you install these new parts!
(but of course, it should be much better with new parts!)
.
.
.
.
The vendor shown above has supplied us with the parts we used in this project, per our request. If you are looking for similar parts, don’t hesitate to inquire with this specific vendor!
.
.


