


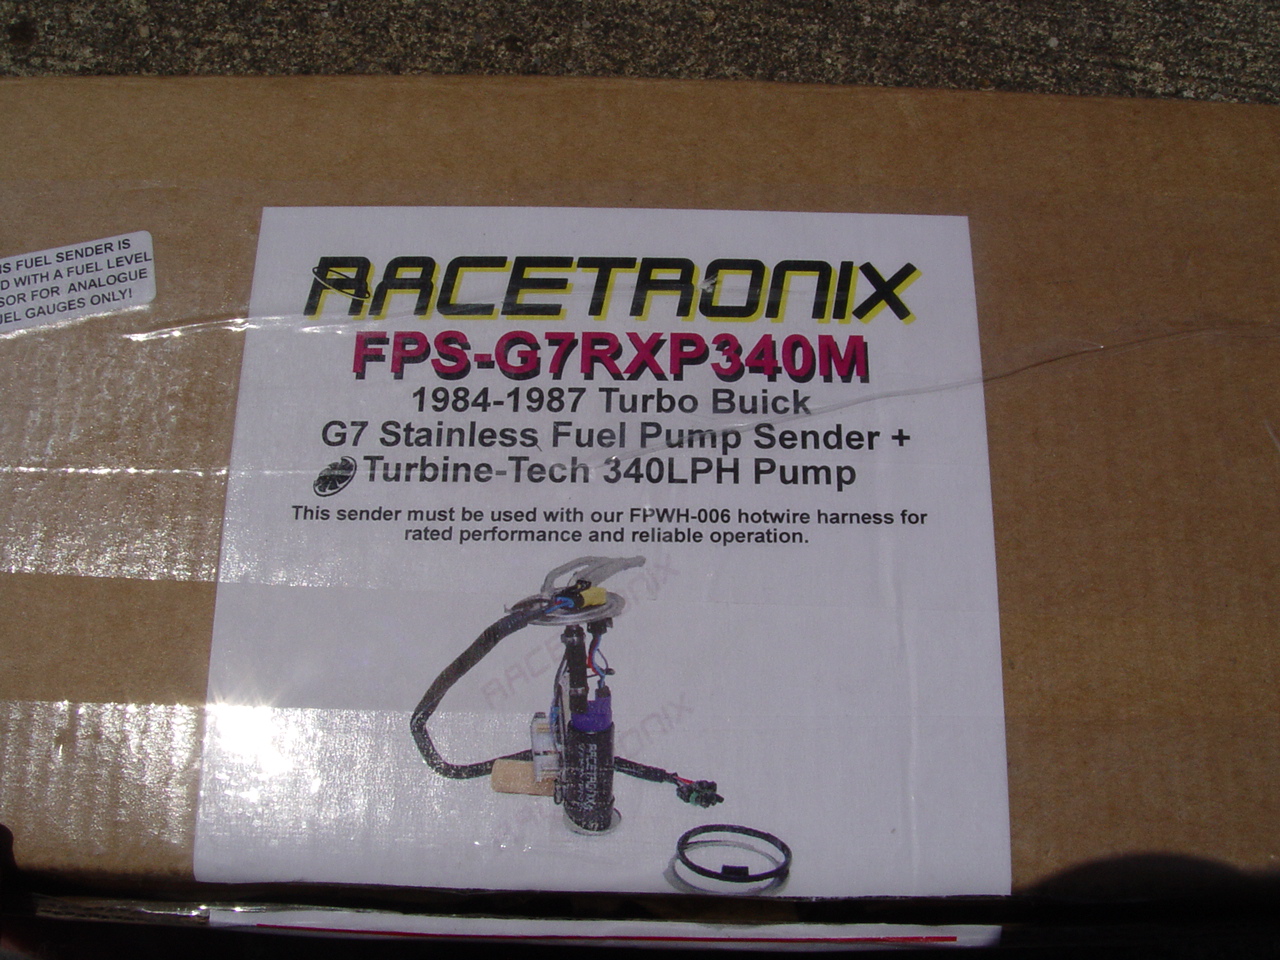
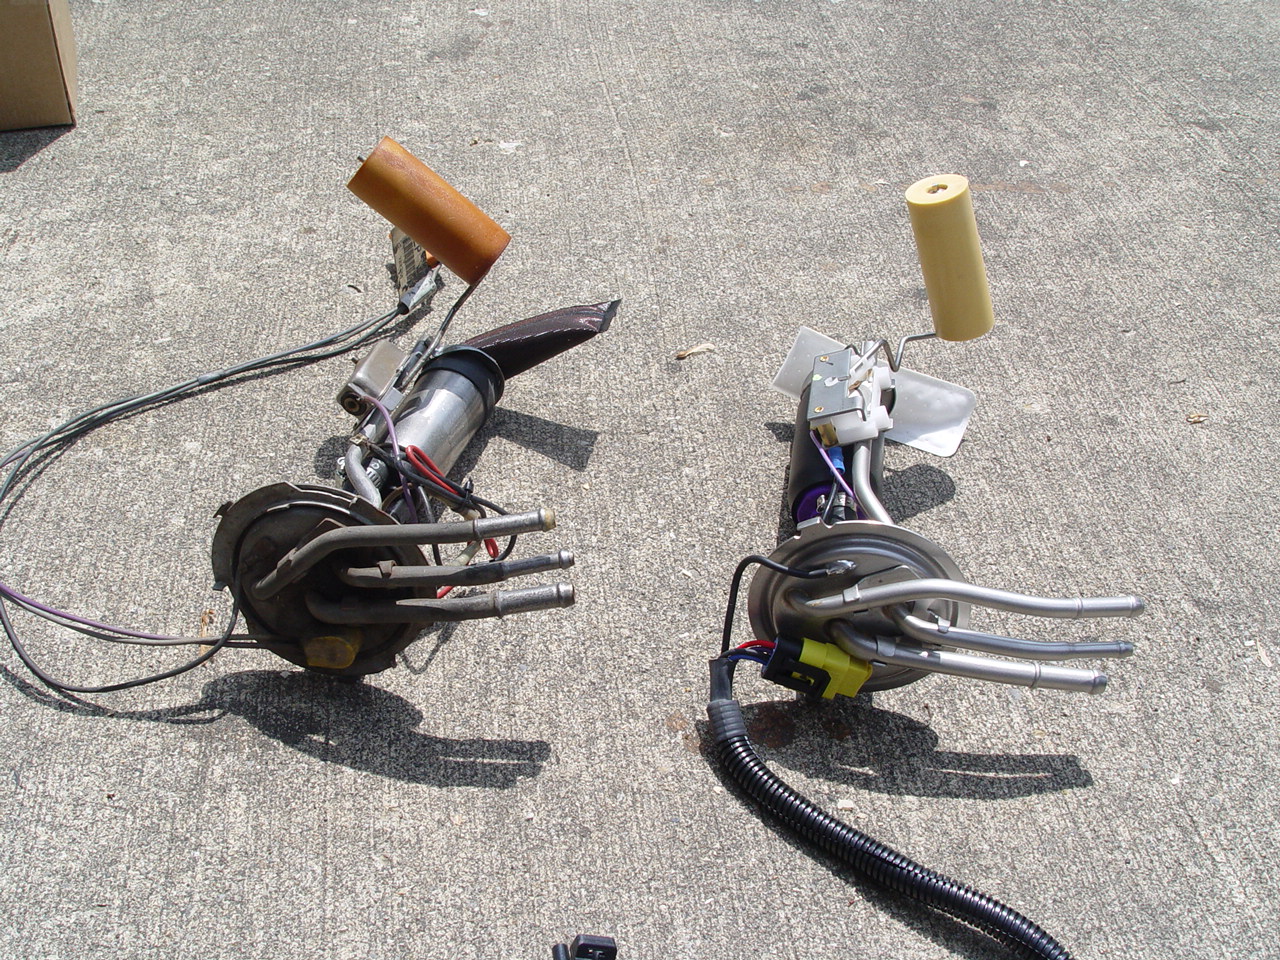
When your fuel pump finally goes out, or you decide its time to do an upgrade on your Buick Grand National or Regal T-type, the stainless steel fuel sender / 340LPH fuel pump combo made by Racetronix is a great choice!
Easy to install, bigger & reliable pump, upgraded wiring & the tubes have smoother radius bends for maximum flow & performance, amongst other good upgraded things that were incorporated into this model!
Short of going the double pumper route, this is probably the best choice you can make for your Buick Turbo Regal! (assuming of course, that you’re NOT running E85, which then, you should opt for the 416LPH pump).
It’s a big enough fuel pump to support mid 10 second cars if you have the proper other goodies, according to Racetronix.
This is also big enough to grow into, if your G body isn’t quite at that level, yet.
Racetronix also recommends using their hotwire kit for proper support of the new pump, but pretty much any buick fuel pump hotwire kit will do.
.
Replacement Procedure:
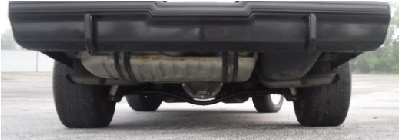
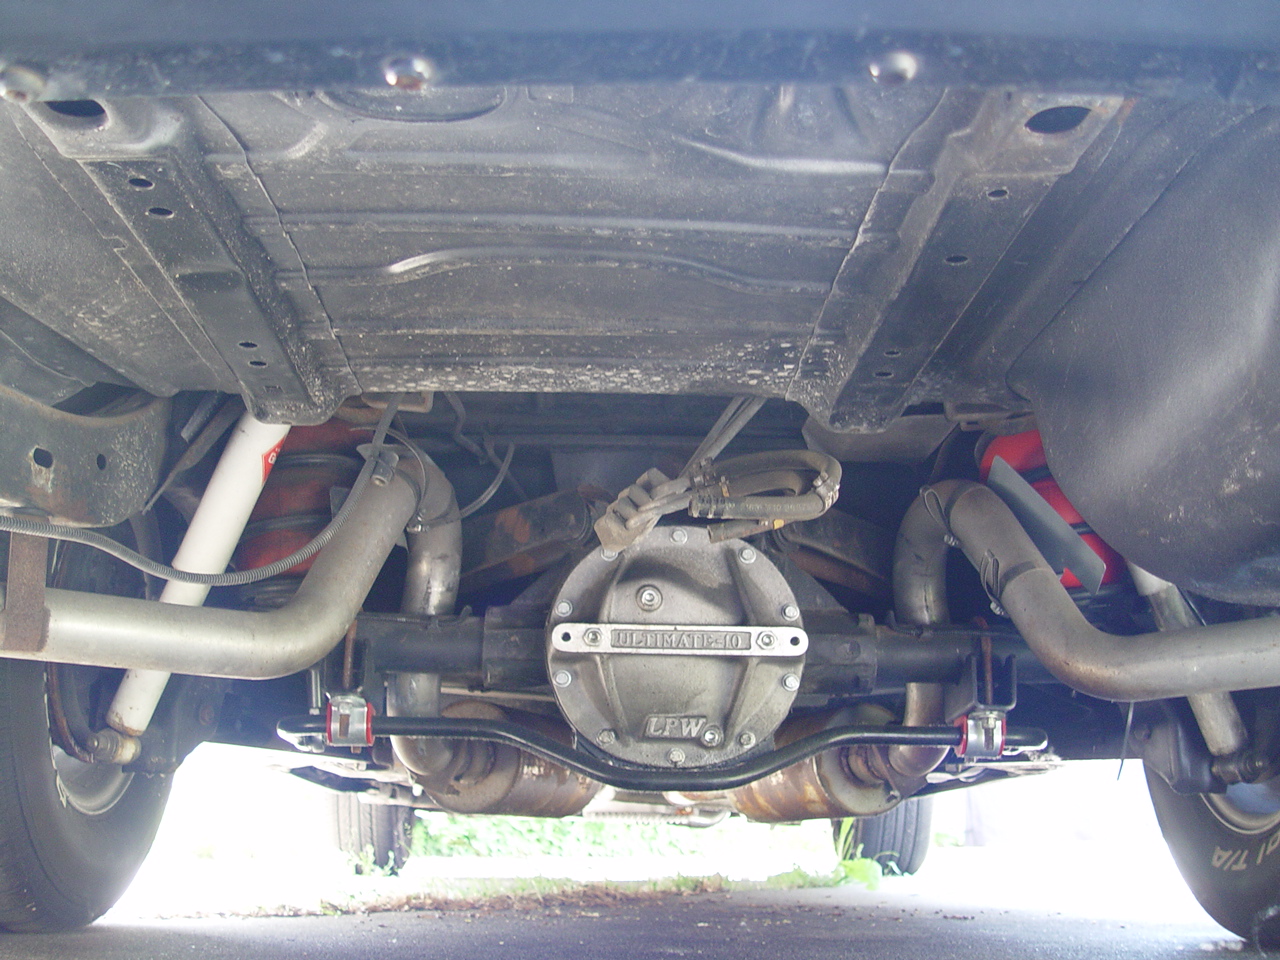
You can drop the gas tank without the car being in the air, there’s enough room for it to drop down & be able to pull it out from under the car (assuming there’s not much gas in the tank).
The 3 metal lines that connect to the gas tank will drop down enough for you to do this, without unconnecting them from the car, since there’s rubber connecting sections on them that give you the clearance you need.
Start by either emptying the gas tank (removing the schrader valve & attaching a long hose stuck into a gas can would work good for this purpose, use the electrical connector behind the alternator to keep the pump running) or support the buick gas tank with a hydraulic jack (but you won’t be able to pull it out from under the car unless you put the car on jack stands or a ramp if you have the tank on a jack).
1. disconnect the battery for safety.
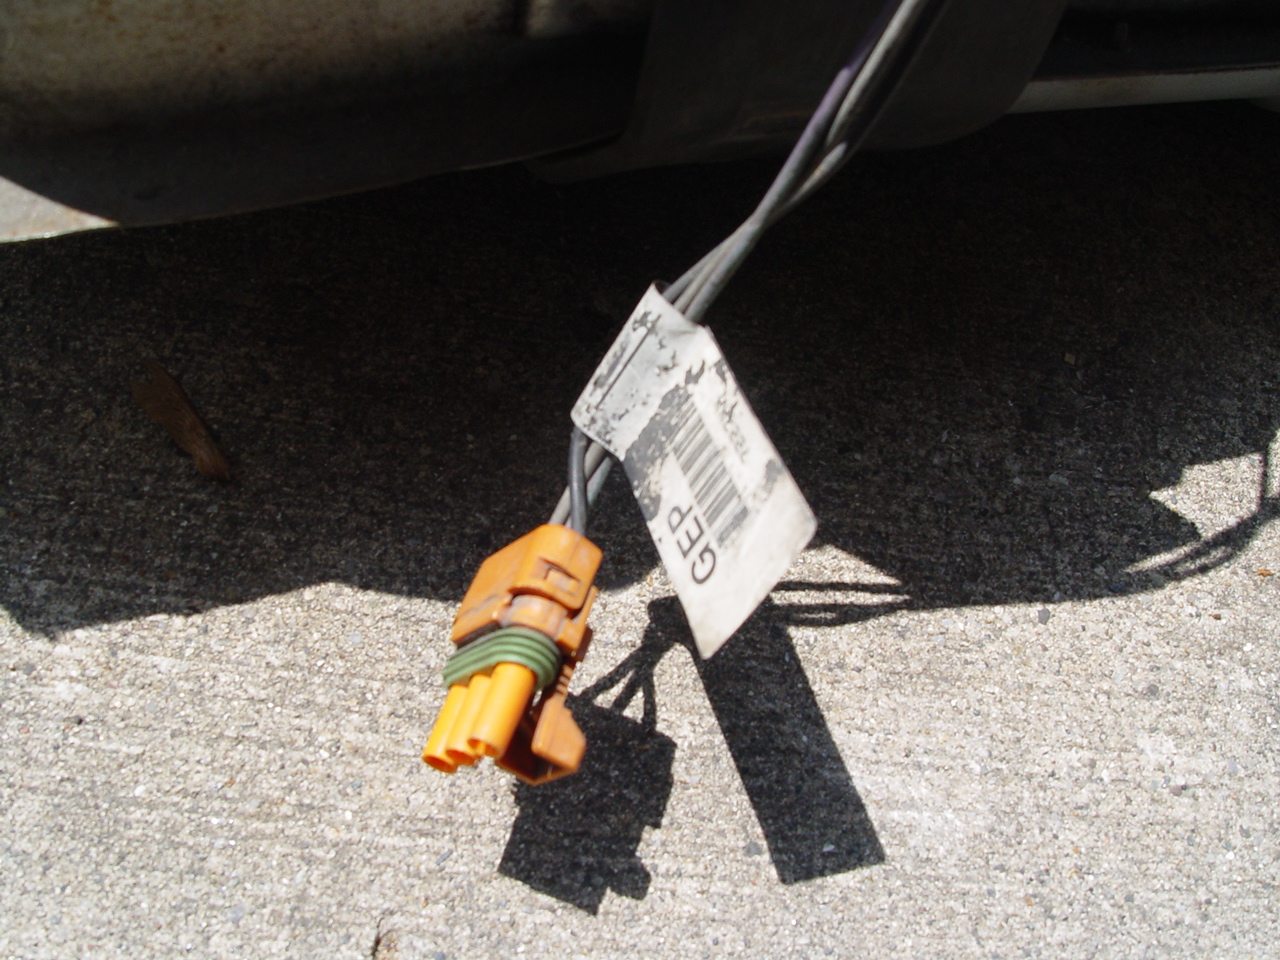
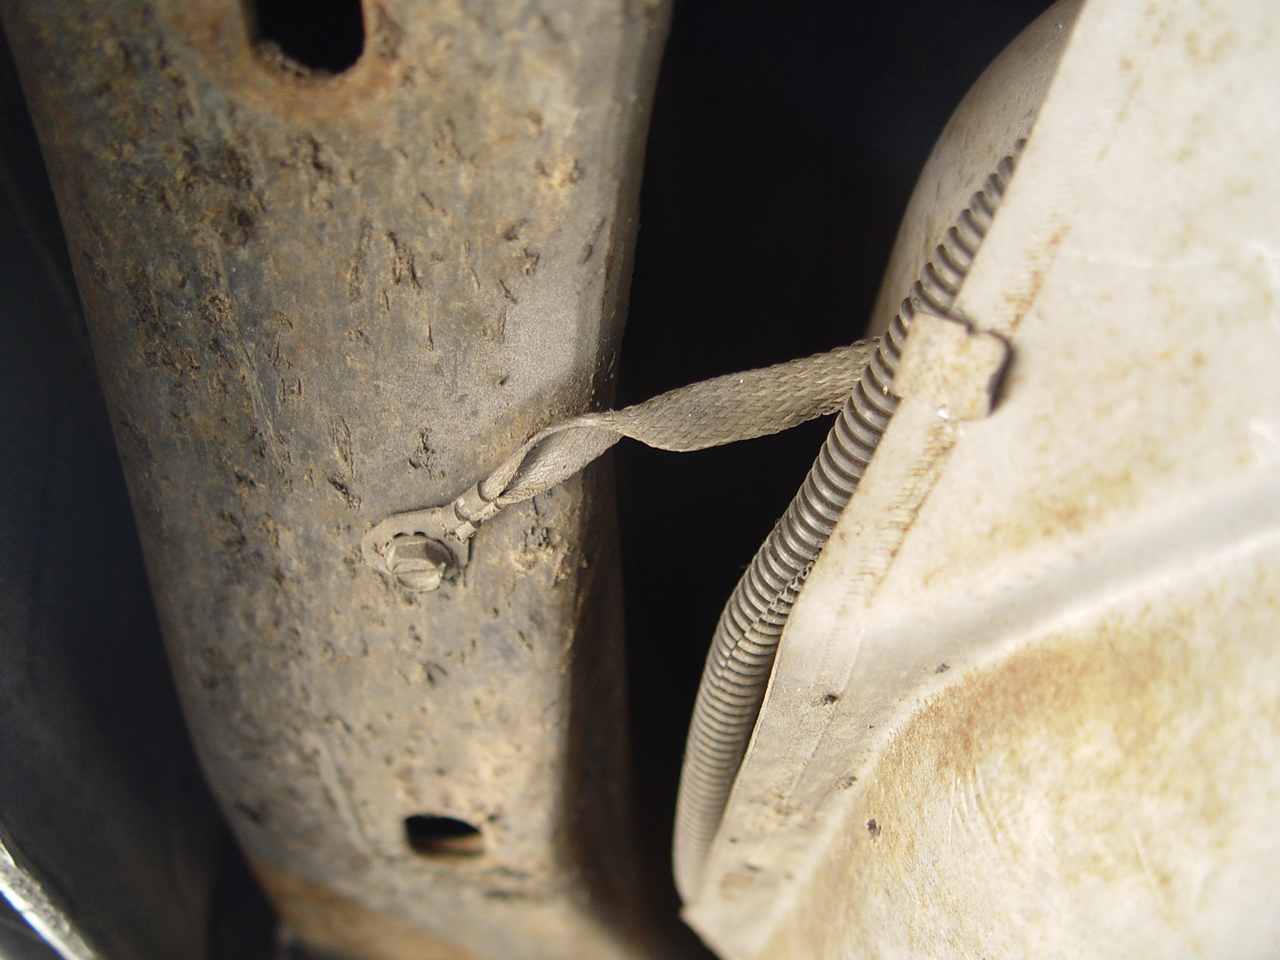
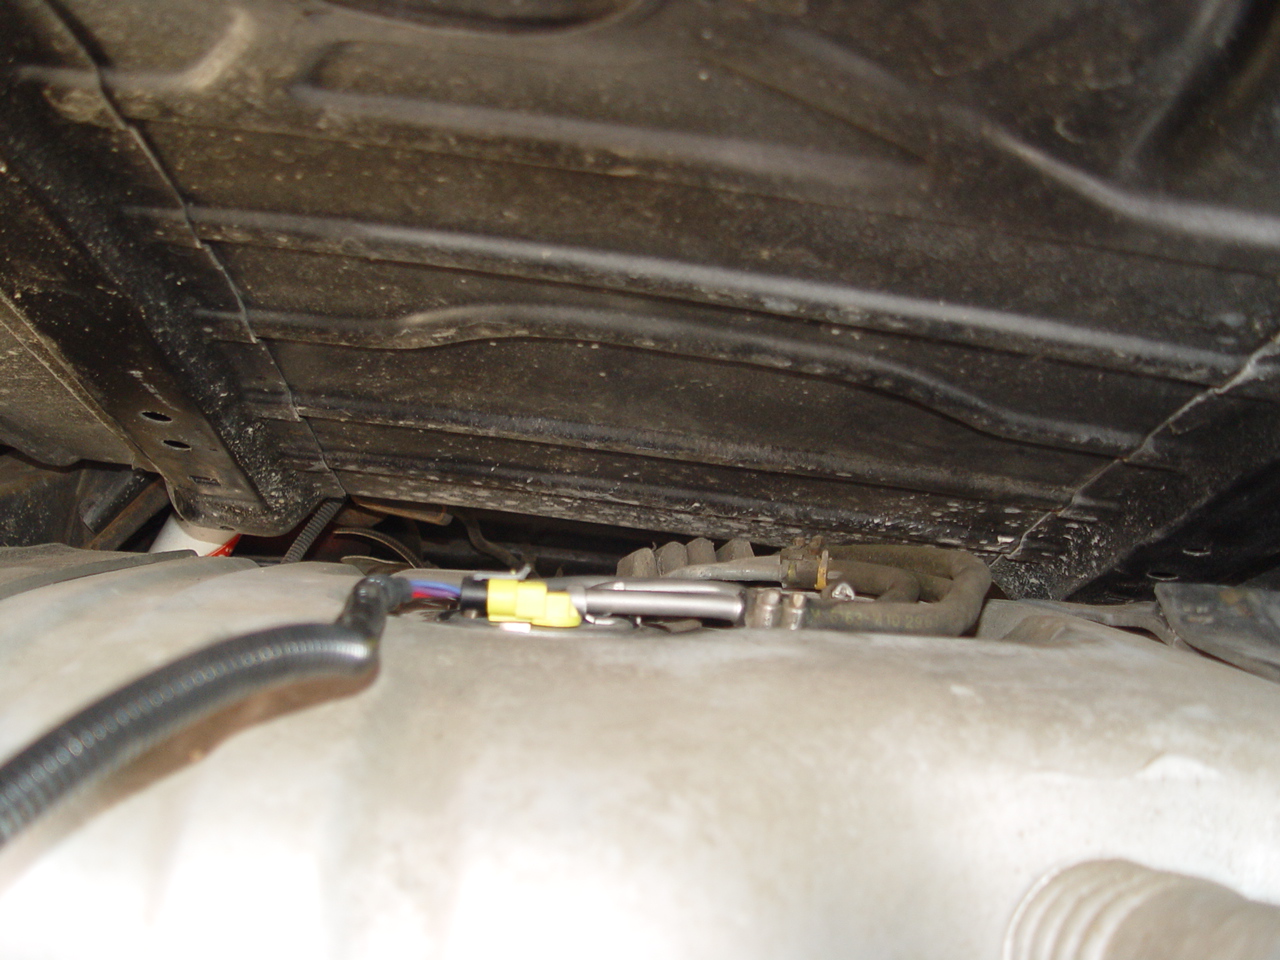
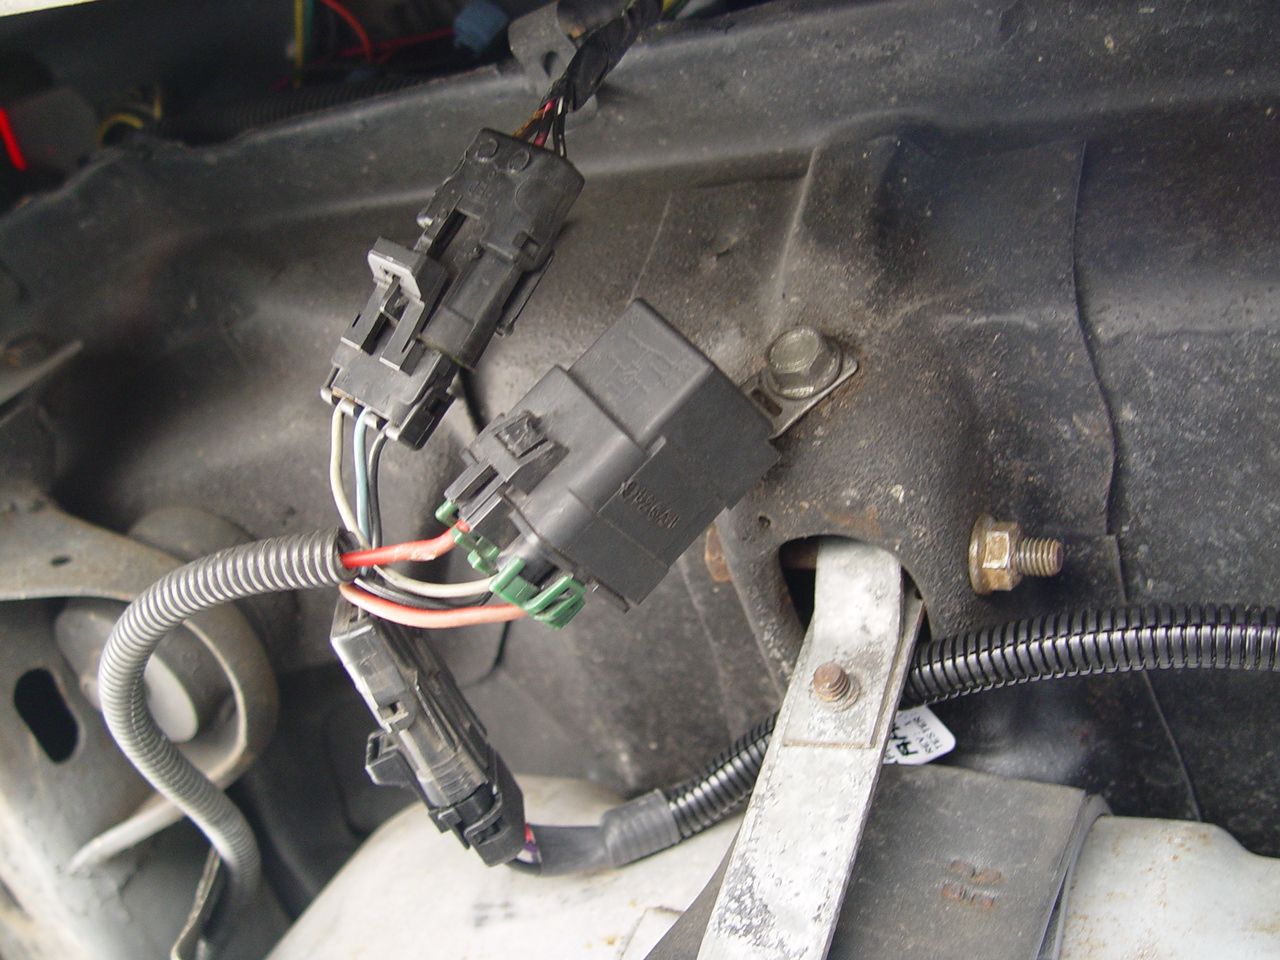
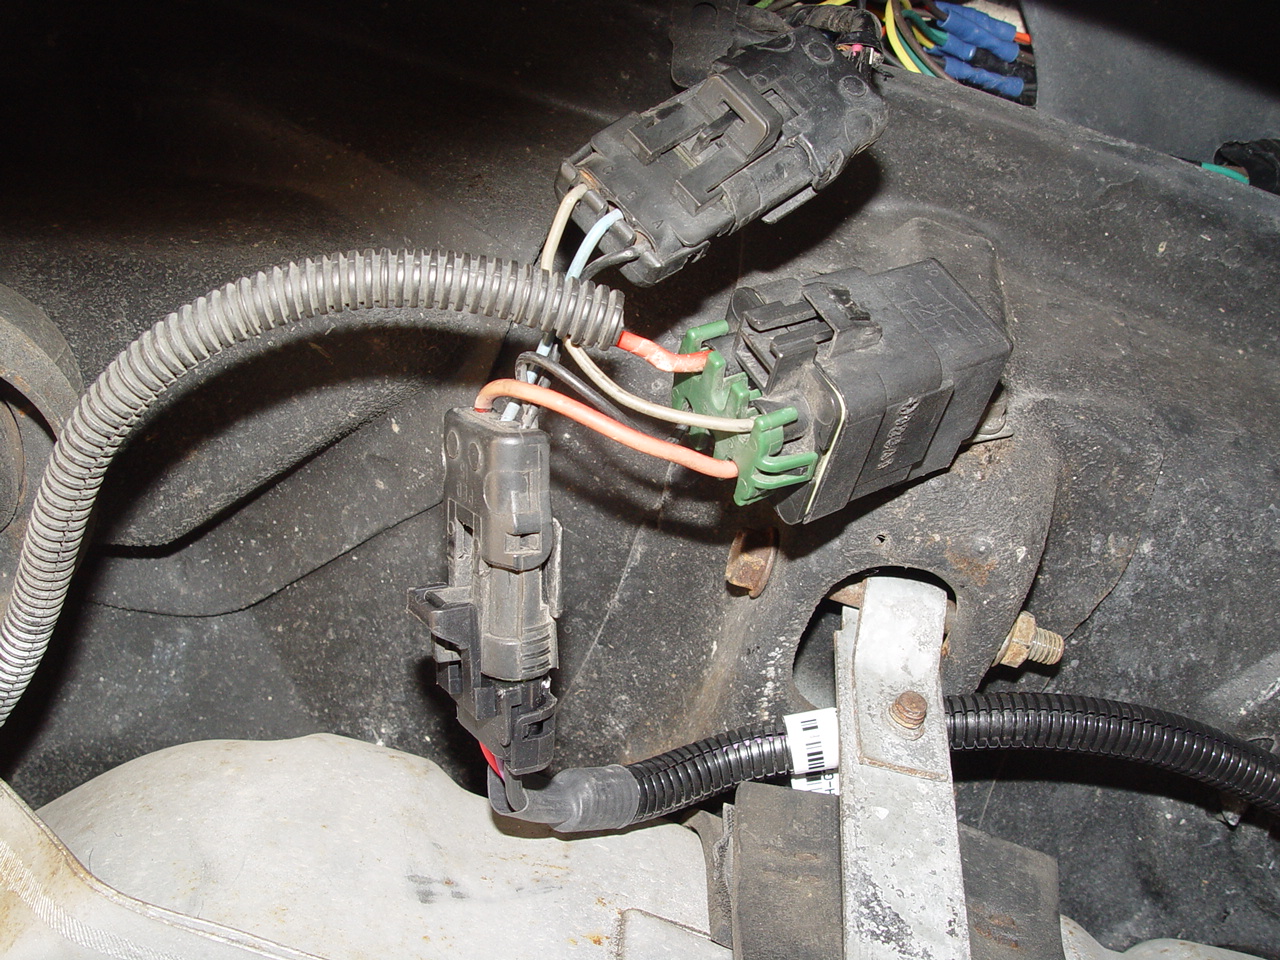
2. unplug the 3 wire electrical connector thats on the drivers side coming out from above the gas tank. (also unclip the extra ground strap if you’re using a hotwire kit, which is usually located on the drivers side, it simply unclips from the tank).
Only disconnect the wiring that goes TO the tank if you have a fuel pump hotwire kit on your Turbo Regal.
(but now WOULD be a good time to inspect all this wiring & the relay).

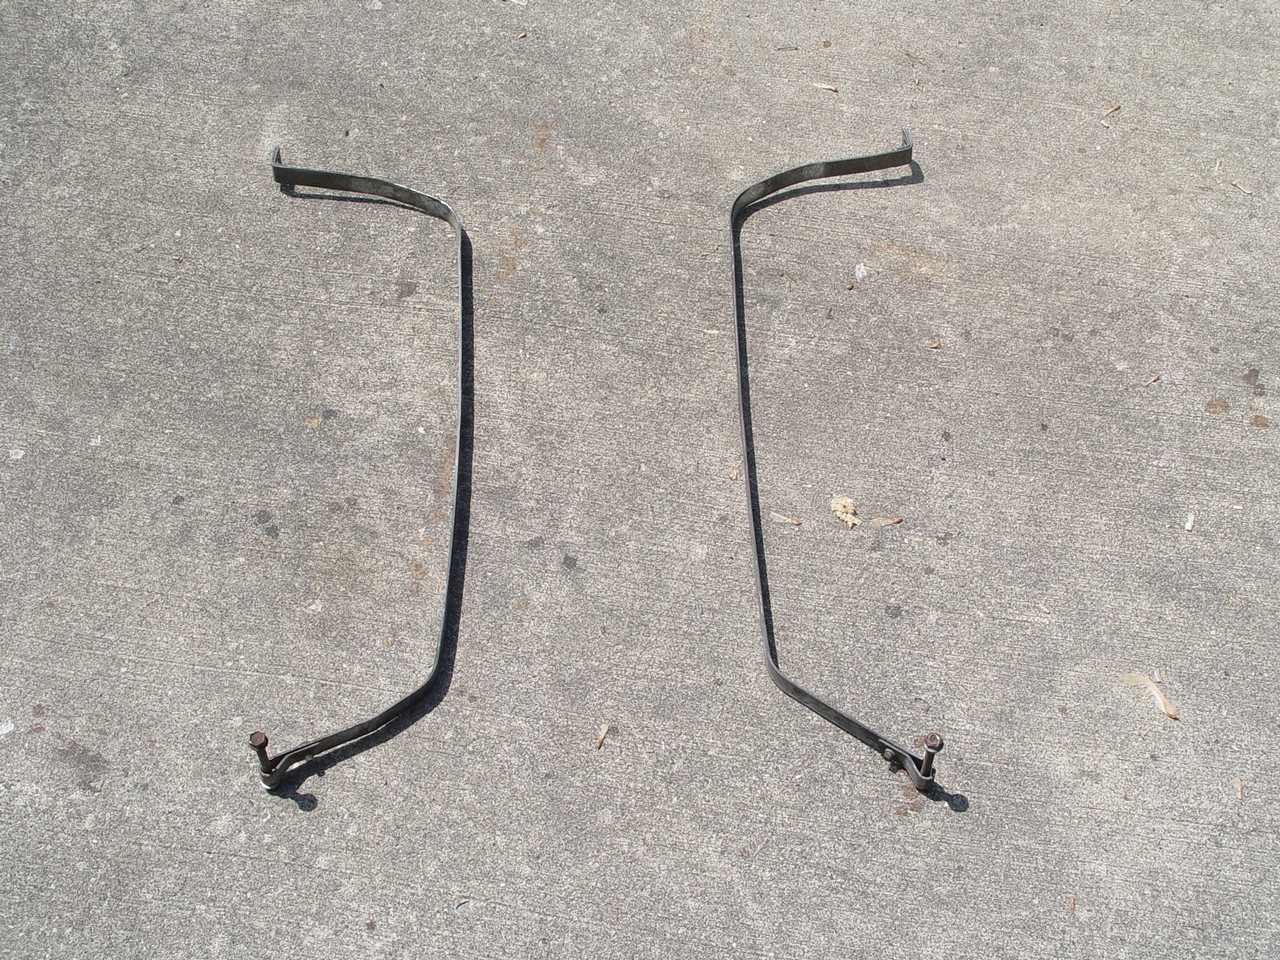
3. use a 13mm socket & wrench & remove gas tank strap bolts closest to rear of car. (reattach the bolt & nut to the end of the strap so you don’t lose them while you’re doing this process!)
4. use a 15mm socket & remove the front side gas tank strap bolts.
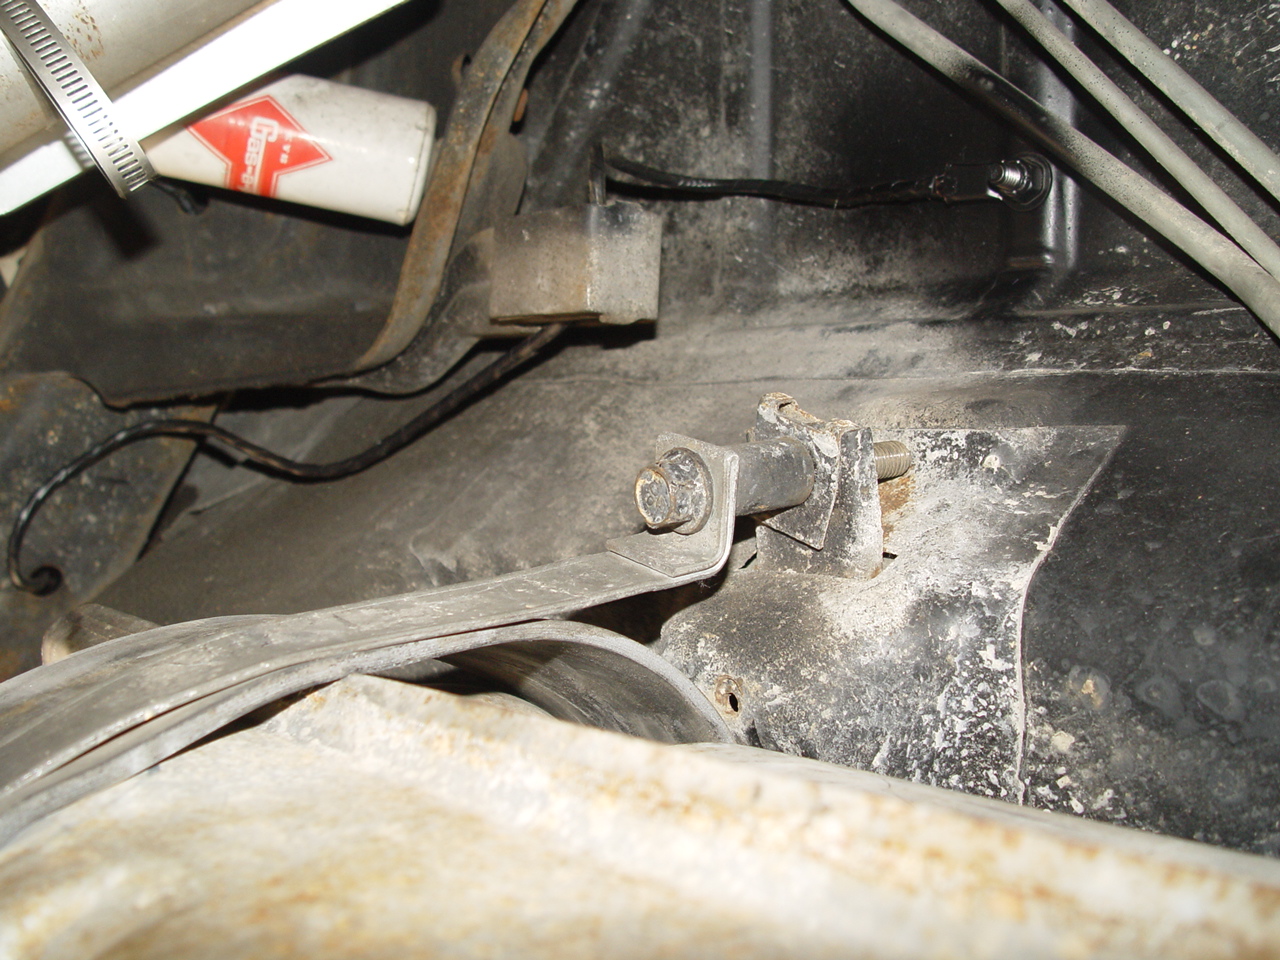
5. set aside the bolts & straps for now.
5. drop the gas tank down.
6. loosen the clamps on the 3 rubber lines using a screwdriver (or 1/4″ – 5/16″ socket) &/or pliers (depending on what type of clamps you have on your car).
Remember which order they go in (you’ll need it for reconnection)!
Remove the rubber lines from the tubes.
Speaking of the rubber lines, NOW would be a good time to replace them if need be!
Check the clamps as well!

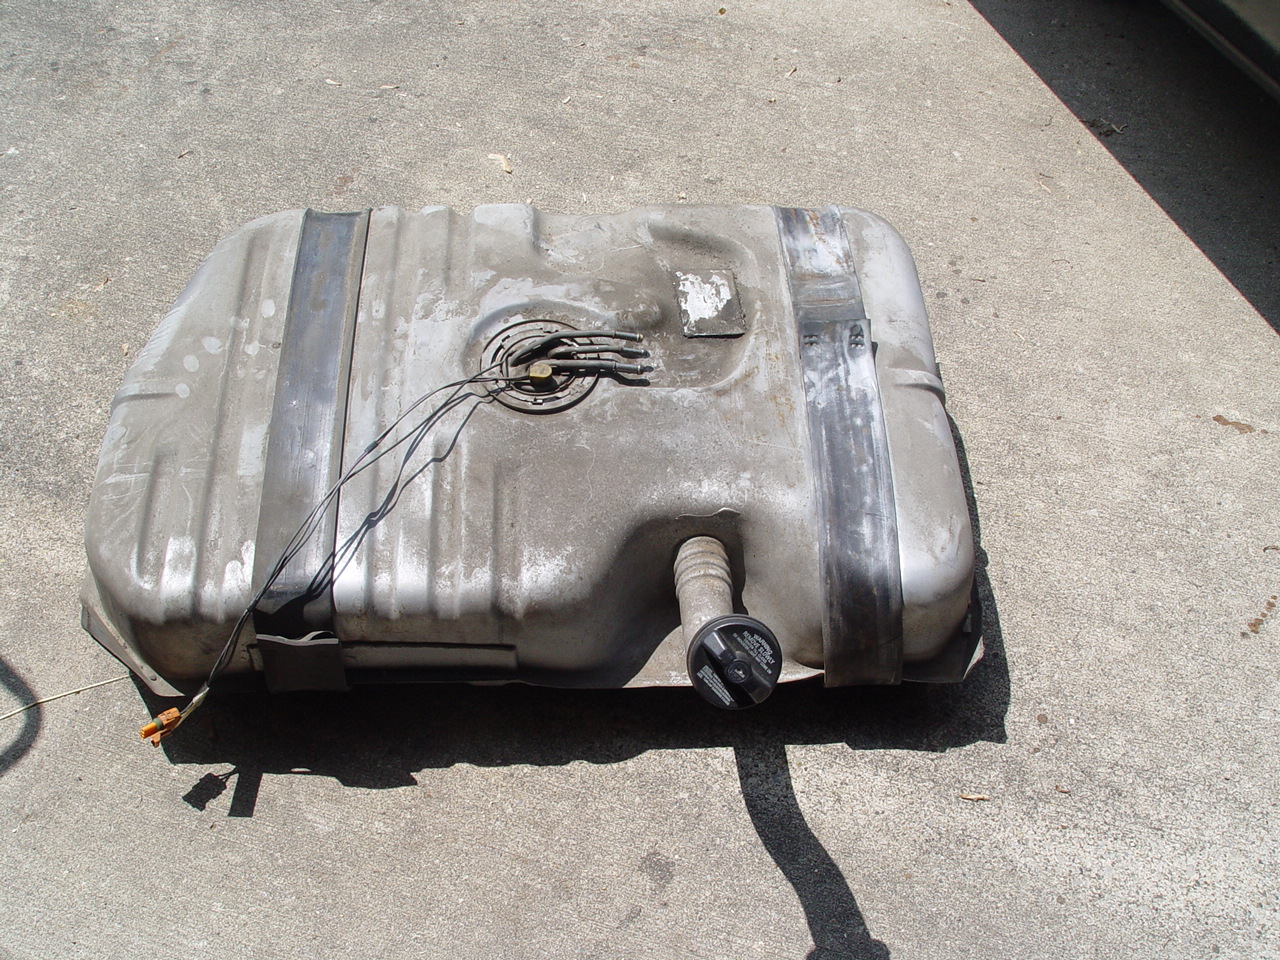
7. pull the gas tank out from under the car so you have room to work. you will have to push the gas tank towards the front of the car to remove, since the filler neck is above the bumper fillers. A combination of pushing forward & tilting is needed to get it out.
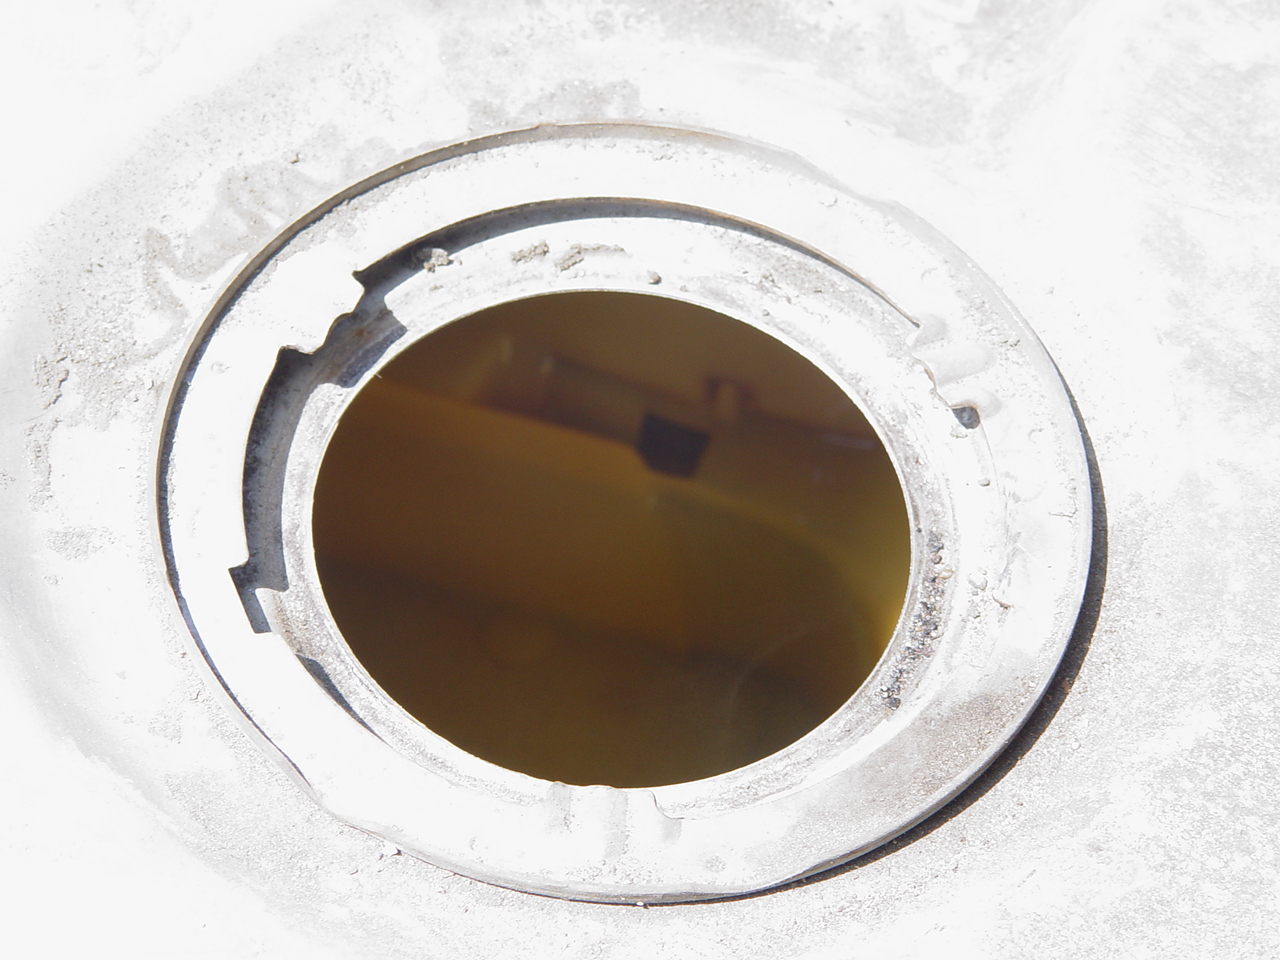
8. use a hammer & screwdriver & tap the tabs to unlock the retaining ring. turn it counter-clockwise to remove. Tap until it comes out of the slots.


9. pull out the old sender/pump combo. (be sure to tilt it & shake it, while its still IN the tank! or carefully in a bucket, etc., as a LOT of gas will come out of the pump/sock!)

10. clean off the top of the gas tank where the hole is. (optionally, but recommended, clean out the inside of the gas tank if you drained it).
Don’t let the built-up junk that’s on there inside the tank!
A clean pump is a healthy pump!
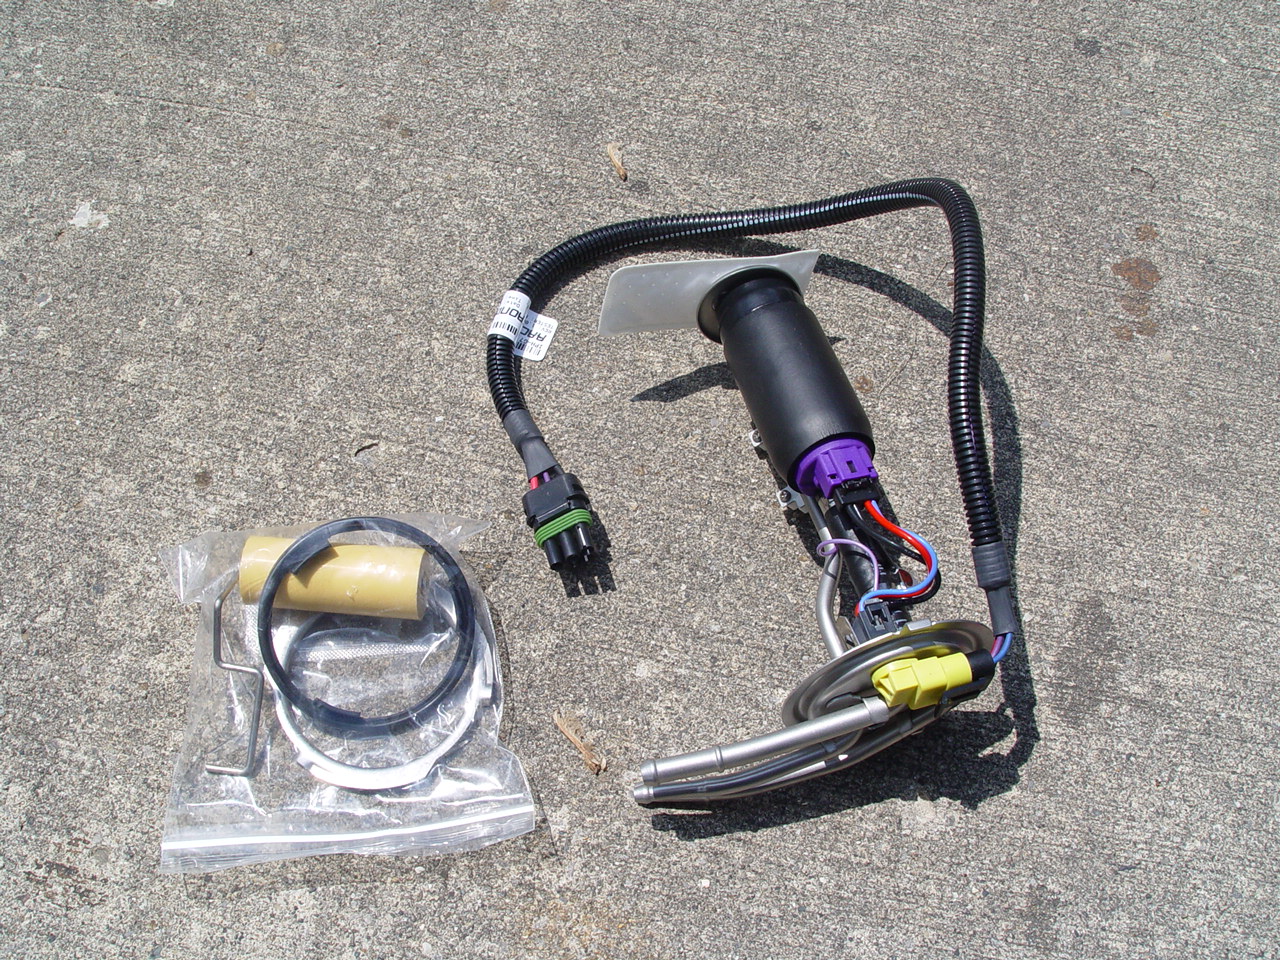
11. put the new fuel level sender float onto the assembly by inserting it into place. (the rod just snaps into the proper place, the metal rod end goes INTO the assembly).
12. use the included lube & grease the rubber ring.
13. place the ring onto the gas tank (the tabs go down, to hold it into place while you’re installing the unit, that’s a neat feature they incorporated into it!).
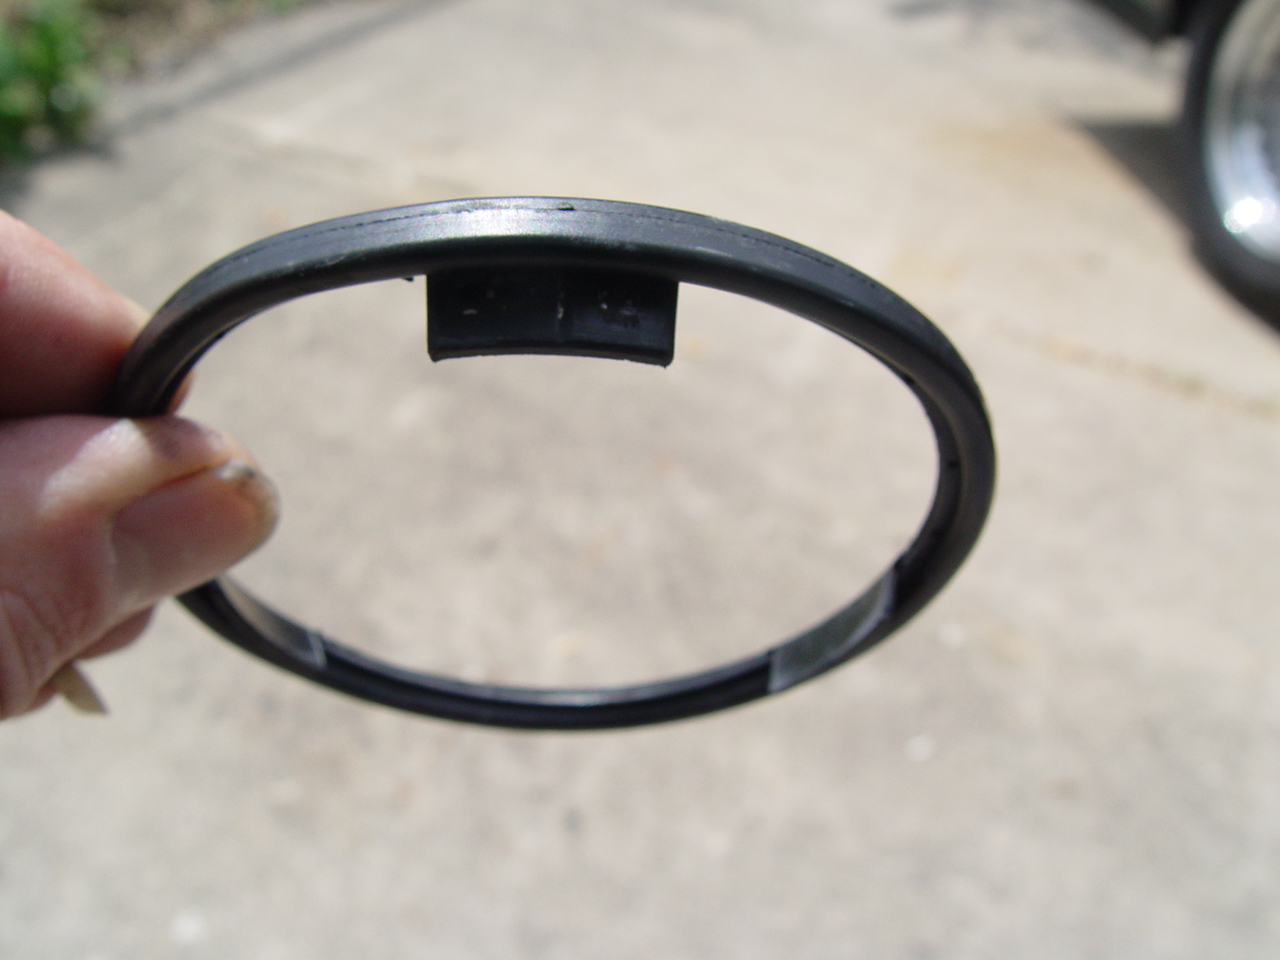
14. place the metal retaining ring around the top of the unit (disconnecting the electrical connector makes it easier to do this). The tabs face up!
15. insert assembly into hole. (tilting & twisting to get it in).
Be sure to line up the tubes within the dip/indent of the gas tank, facing towards the passenger side of the car.
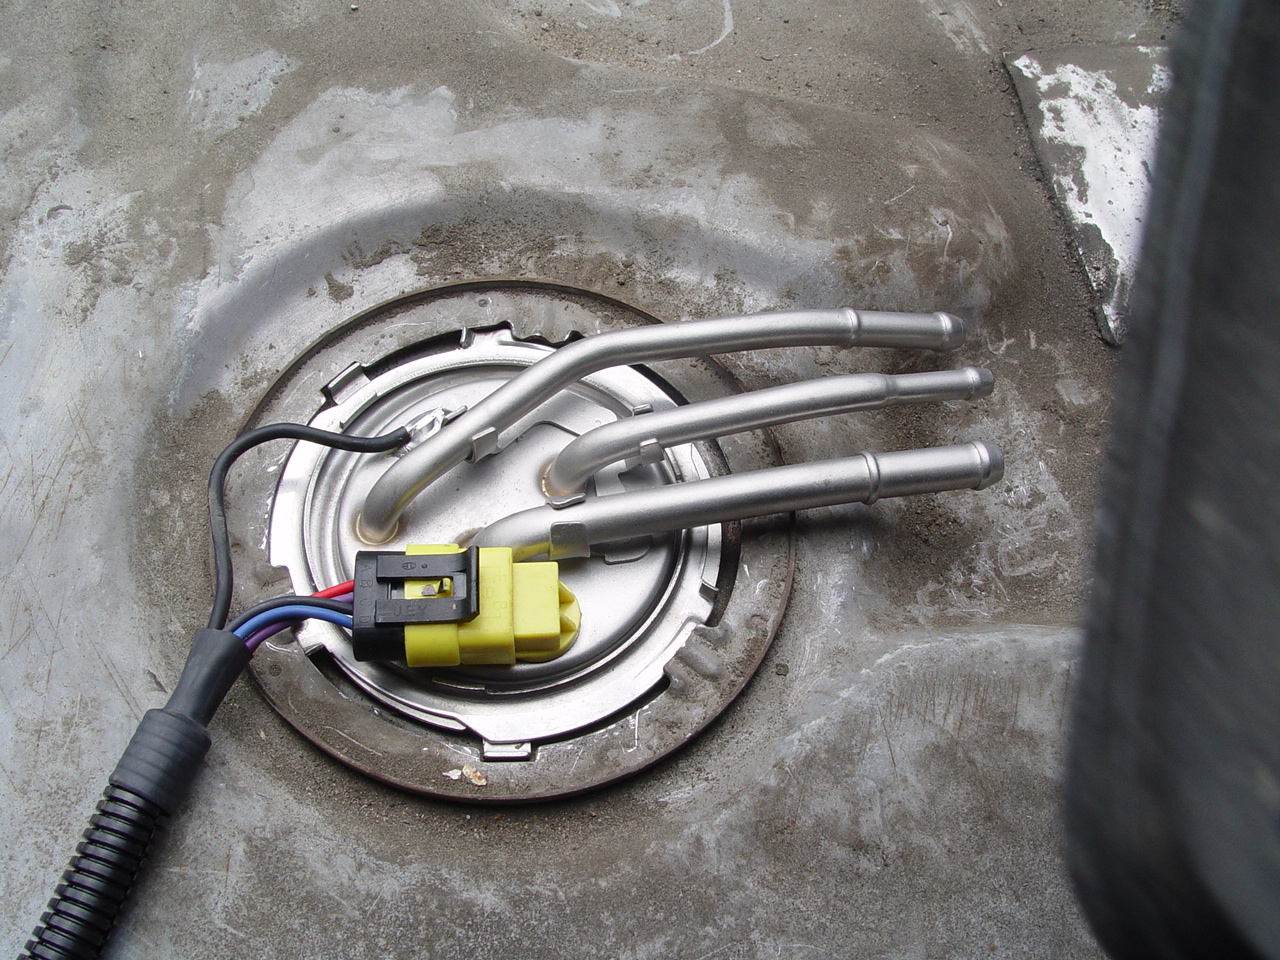
16. tap the retaining ring clockwise to lock it in. (spin it until it won’t go any further).
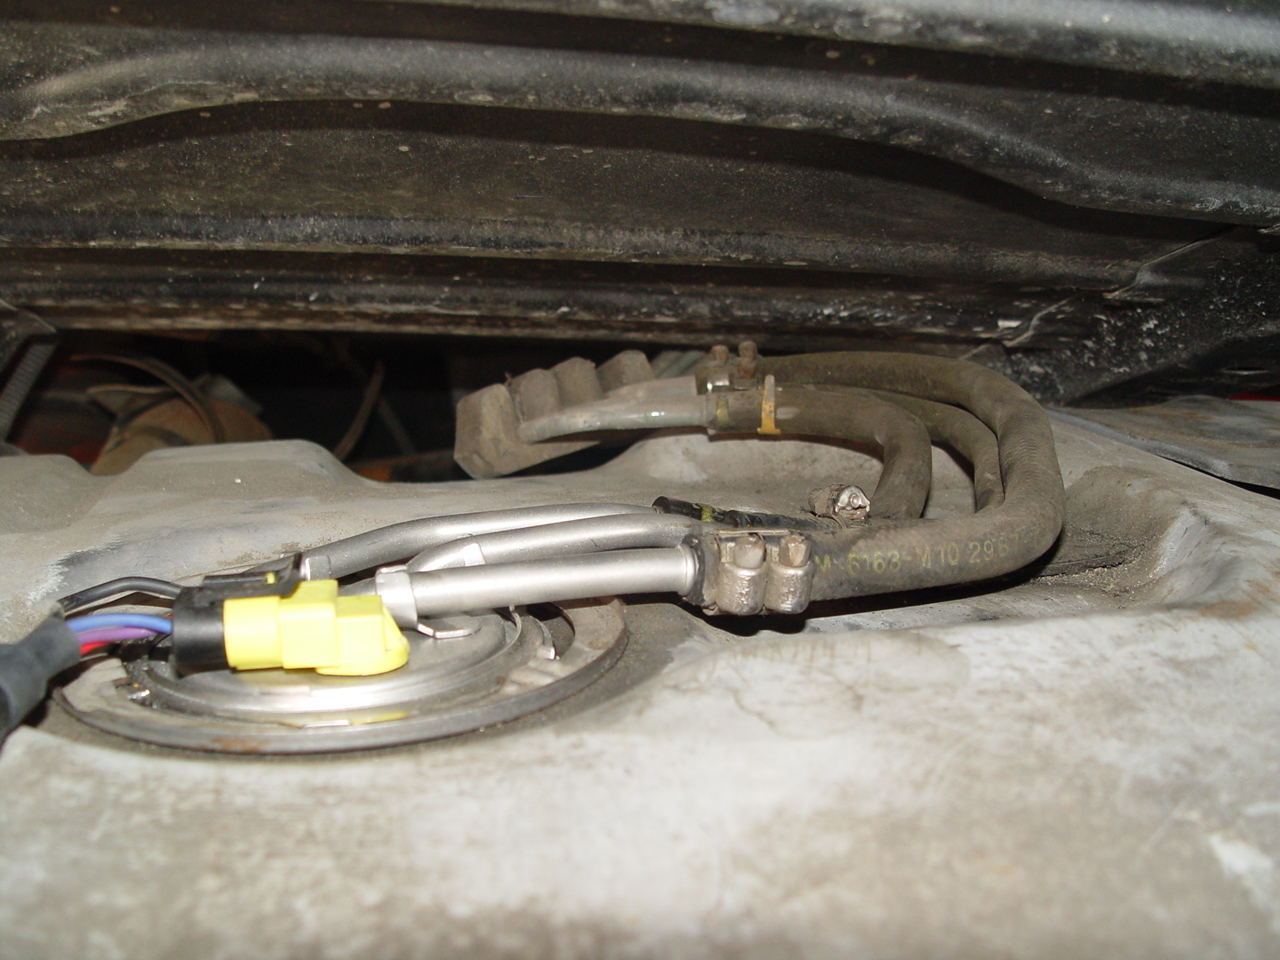
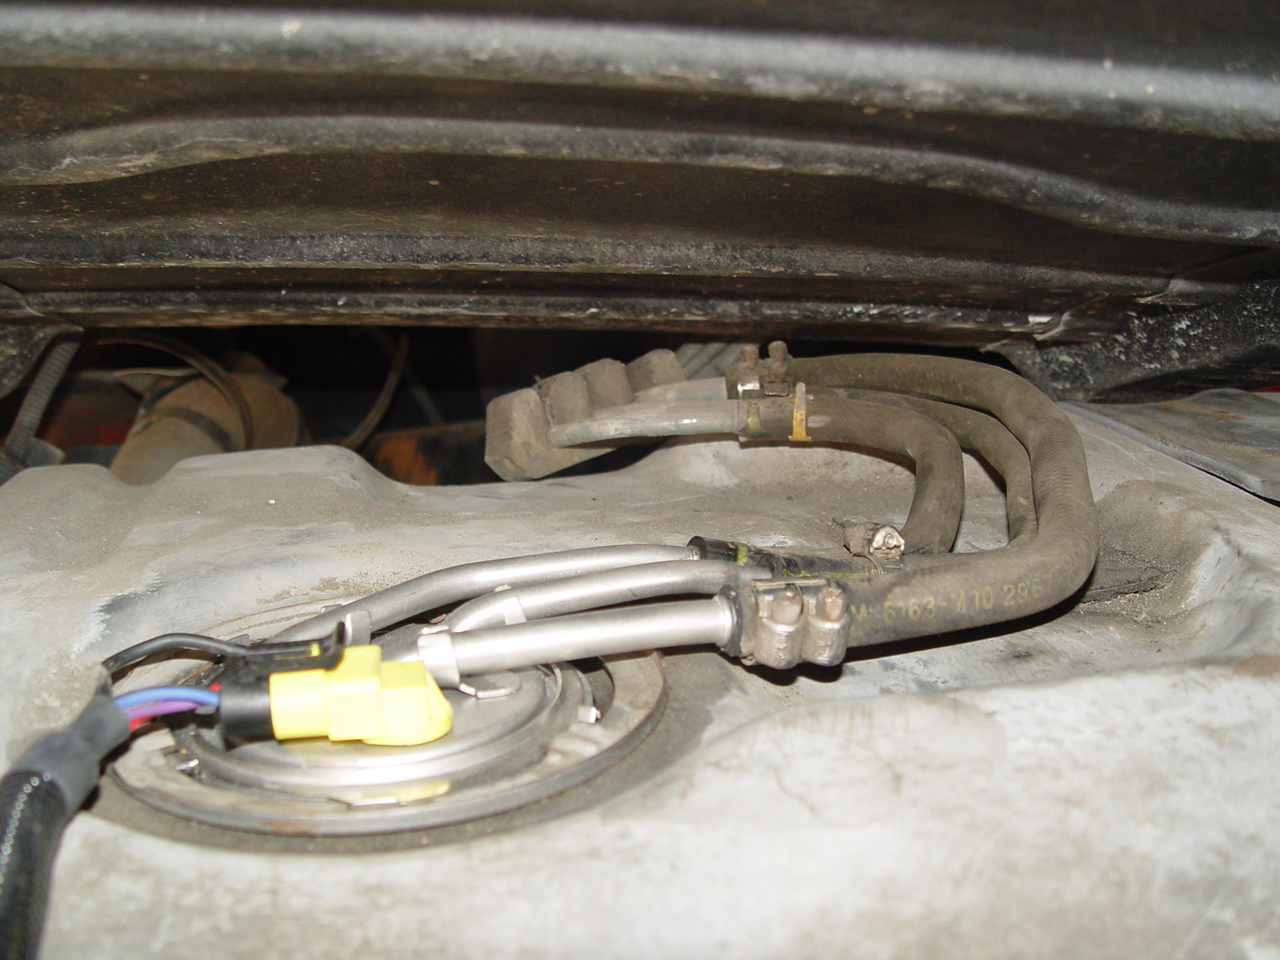
17. put the gas tank back under the car & reconnect the 3 rubber lines in the correct order.
On the Buick Regal gas tank:
The tube closest to the front of the car is the vent (a 5/16″ sized tube).
The middle tube is the return line (a 5/16″ sized tube, but the connecting end for the rubber hose is the smallest of these 3!).
The tube closest to the back of the car is the feed line (a 3/8″ sized tube).
On the car:
left to right looking from back of car: return, vent, feed.
18. jack the tank up & bolt the straps back into place. Make sure the rubber isolators surrounding the gas tank are located properly before securing straps!
19. reconnect the 3 wire electrical plug (& extra groundstrap from the hotwire kit if so equipped).
20. refill the gas tank.
21. reconnect the battery.
22. fire it up! check the fuel pressure gauge, readjust if necessary & then smile if it all works! Good job if it does!
23. now go for a spin & test it out! (then smile some more!)
The first thing you will notice is that this new pump is VERY quiet!
So don’t freak out if when you turn the key to hear the pump “prime” – that you don’t hear it prime at all!
I attribute this to the sound dampening sleeve that is encasing the pump. Nice!
Secondly, check out your fuel level gauge inside the car.
This specific car had about 5-6 gallons in it (it wasn’t drained out when it was dropped) and the fuel gauge in the car registered about 3/8 of a tank before this procedure was started.
After the new install, looking at the fuel level gauge, it was now 1/4 of a tank!
Nothing like “E” being not “E”, huh?
Good thing most TR owners don’t drive around with little gas in the tank! (Right?)
You can get the pump & a more detailed description about it here at Full Throttle’s website:
Racetronix SS Sender 340 Fuel Pump Combo
Helpful tip:
It might be easier to put the rubber hoses on first, before you secure down the sender, especially if you are using new &/or bigger hoses, as it is a tight fit between the metal lines and the top of the gas tank!
.
UPDATE!
Shortly after installing this new pump, we discovered that we couldn’t adjust the fuel pressure down far enough! That’s good in one way, since we know we’ve got good fuel pressure that’s going to be feeding our engine, but for now, not such a good thing, since it won’t idle correctly!
SOLUTION:
install #6 an braided return line on a buick grand national
.


