


The final step of correcting our bouncing issue we were experiencing on our 1987 Buick Grand National, is replacing the current 150 pound springs that came with the rear coilover kit with some new 250 lb springs.
(we acquired the “new” springs from ebay, for $80 shipped)
This Coil Spring story is the last part in a 3-part series.
1. introduction to figuring coil spring rate. (the day before yesterday)
2. how to on changing the front springs. (yesterday)
3. how to on changing the rear springs. (THIS article)
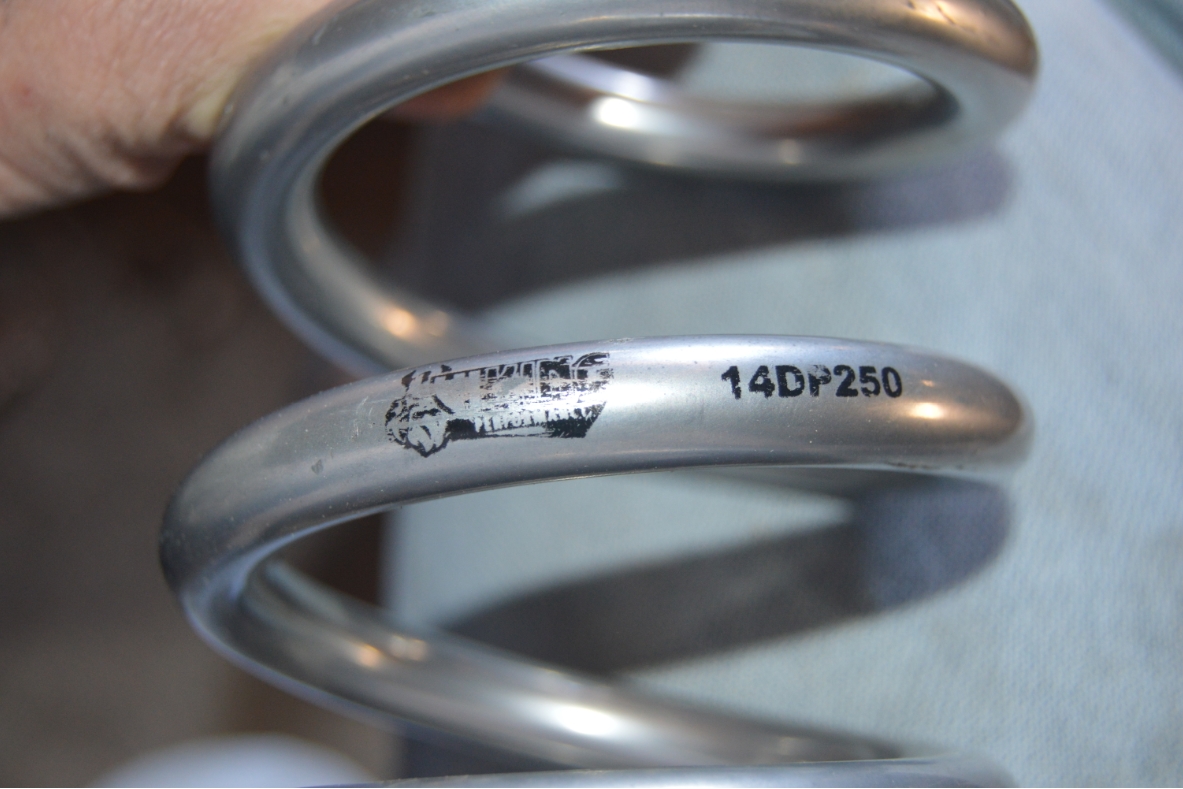
We already figured out that the 250 pound springs are just about right for this particular G-body Regal, based on the info we learned when we were researching Proper Coilover Spring Selection.
Just like yesterday when we swapped out the front coilover springs, this isn’t a hard job, it’s only a few steps to perform.
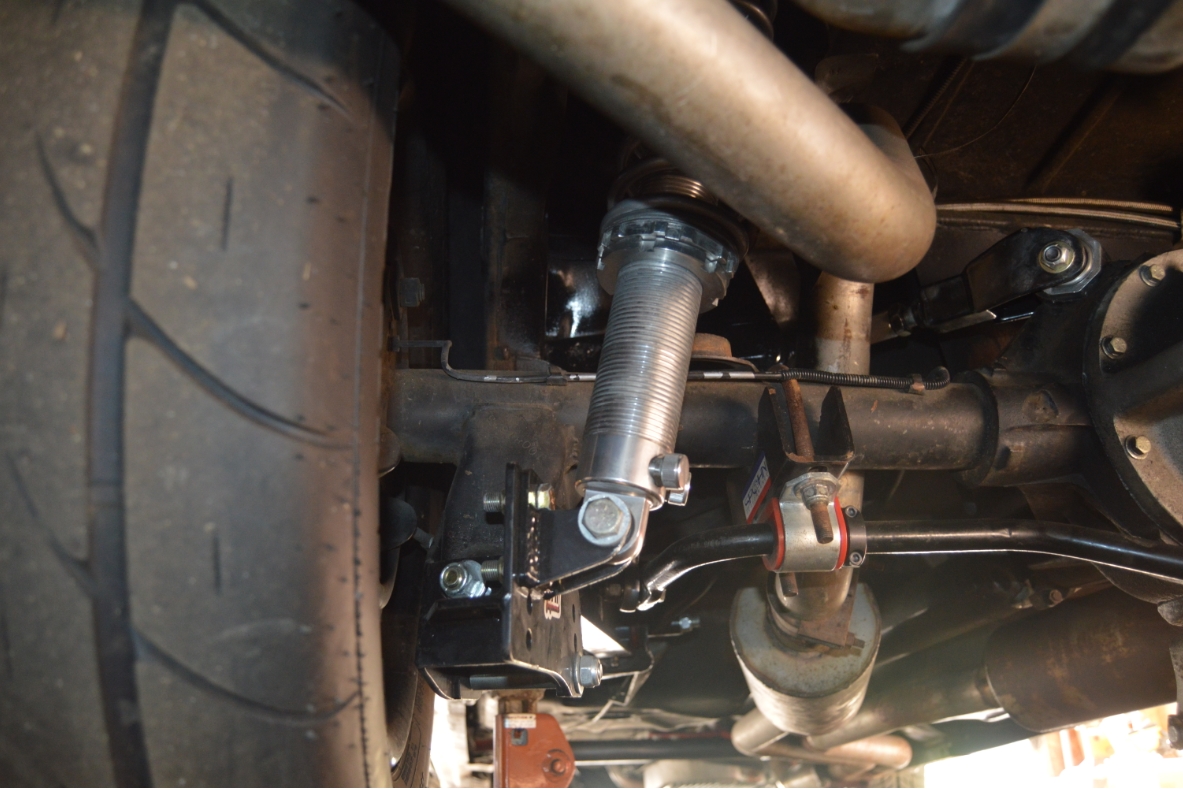
You could probably do this without even raising the car up, but we wanted some extra room to work with (& to be able to get pics for this post), so we put the Turbo Buick up on ramps.
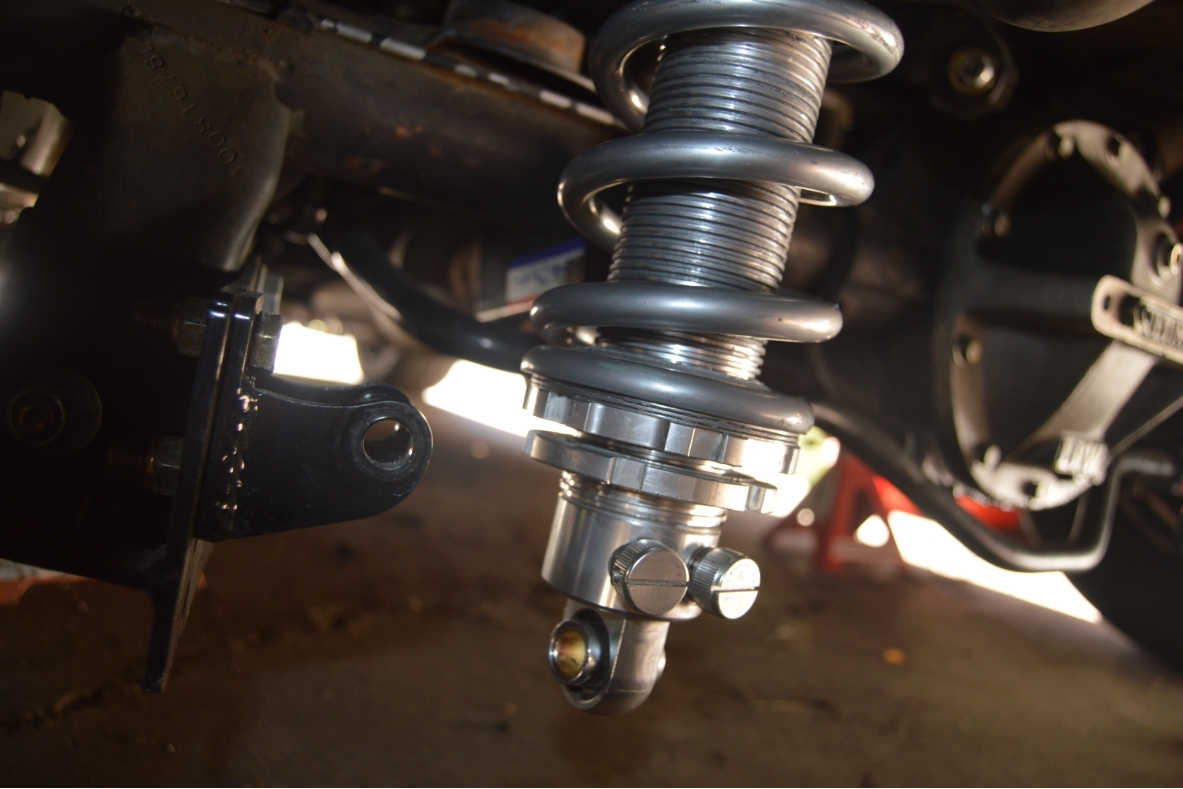
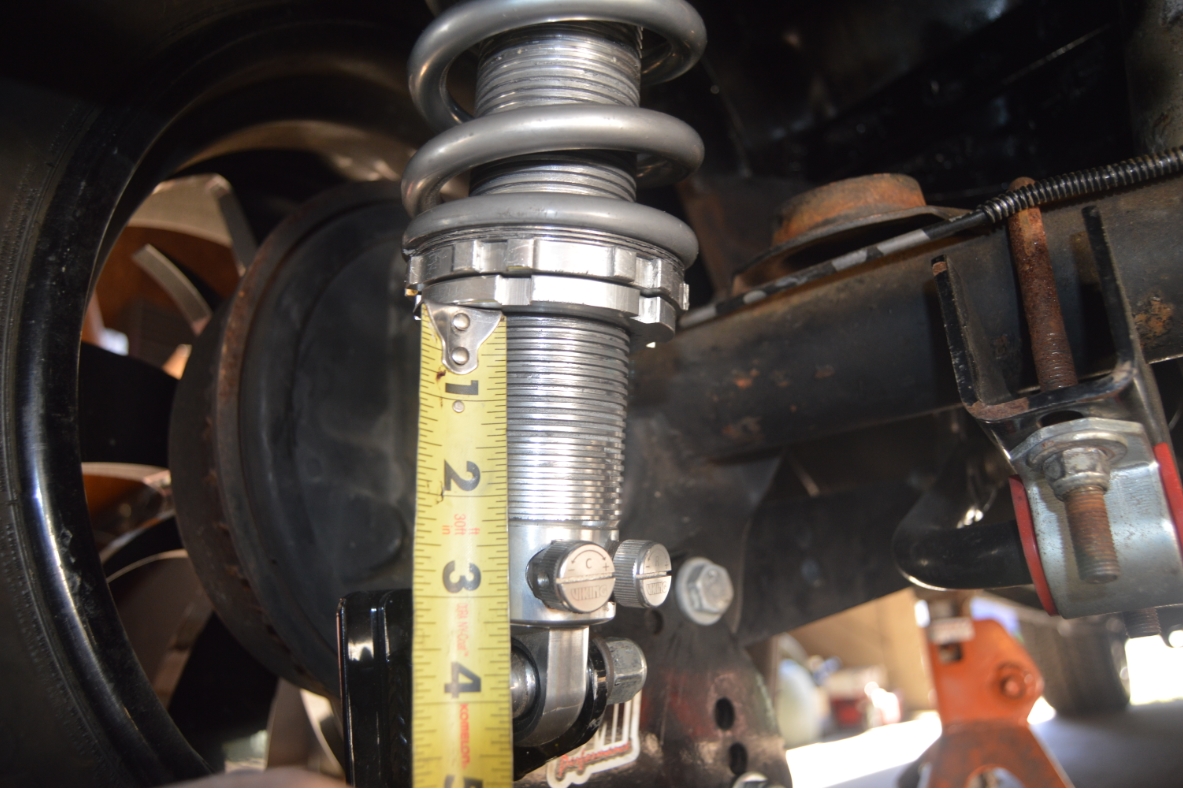
If you are only changing spring rate (poundage, like 150 to 250 in our case), and not size (like current 12″ springs to new 12″ springs), then the final position of your lower shock nut should remain approximately in the same position as it is now (or relatively close).
Mark where your nut is currently at (or count the number of threads below the nut).
After you finish the spring change out, put the nut back where it was before this swapout.
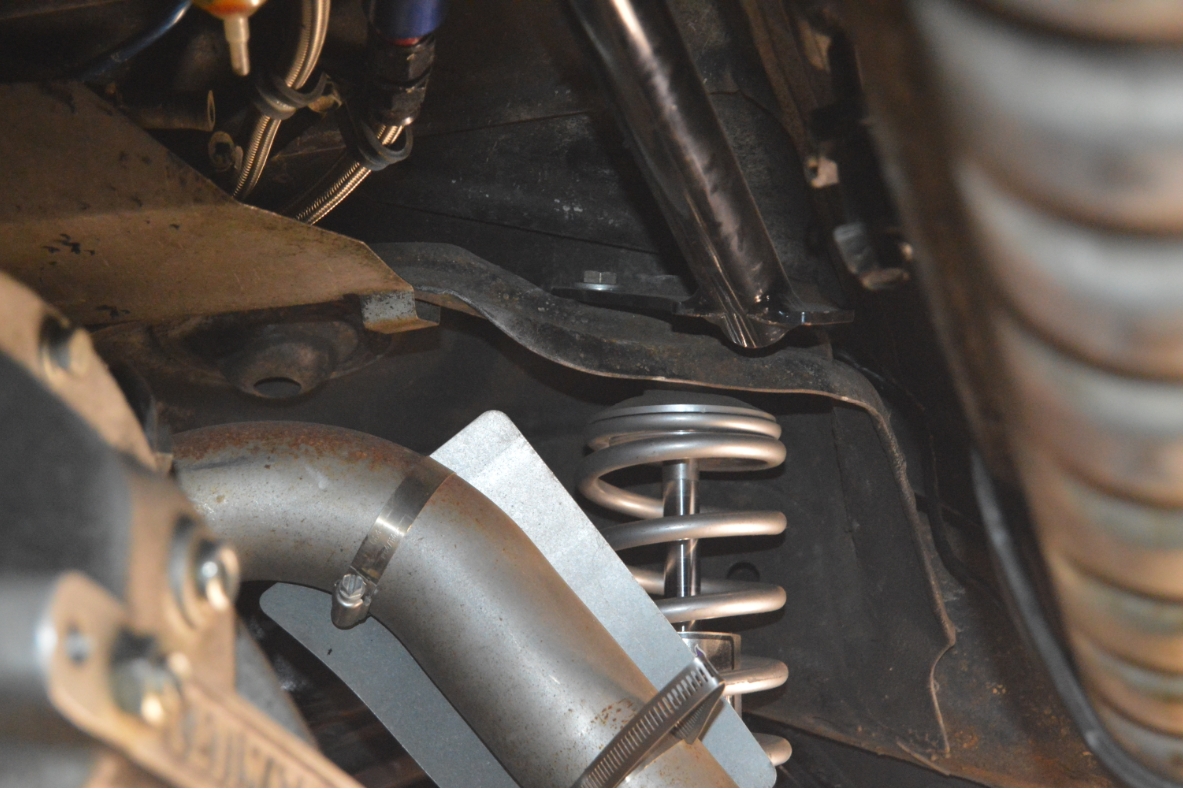
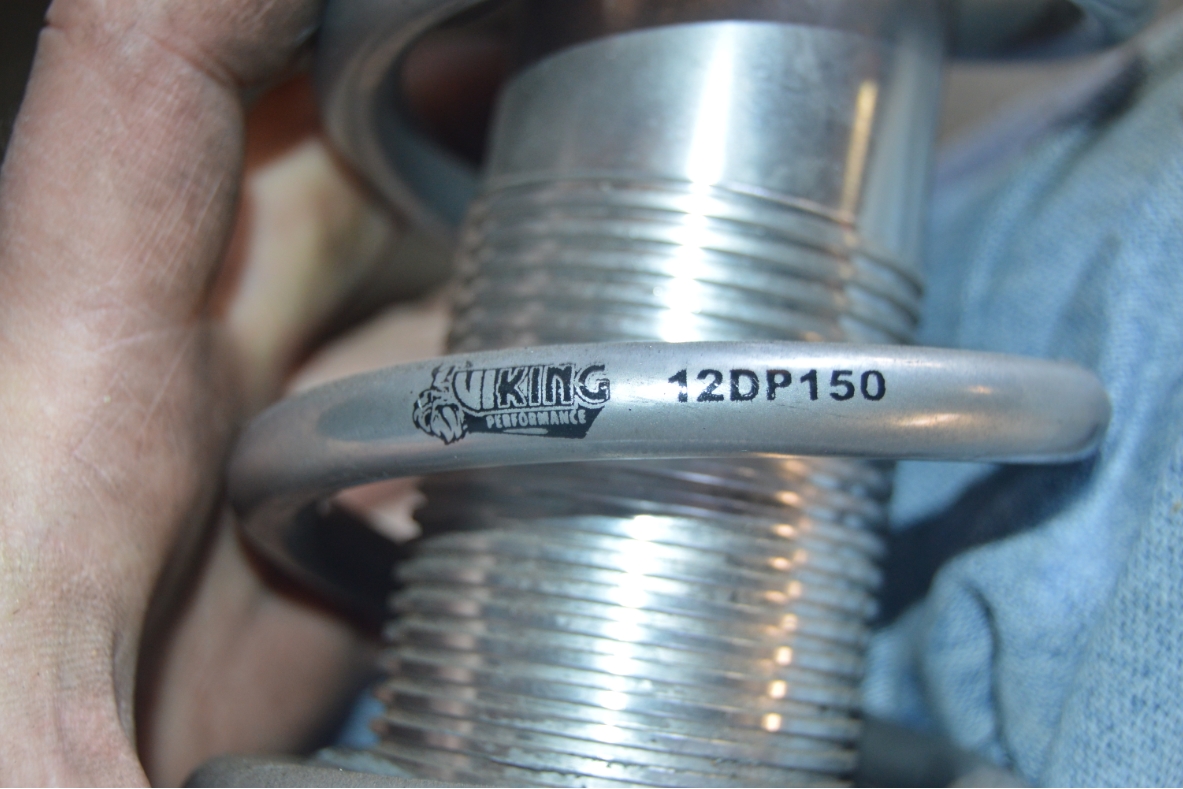
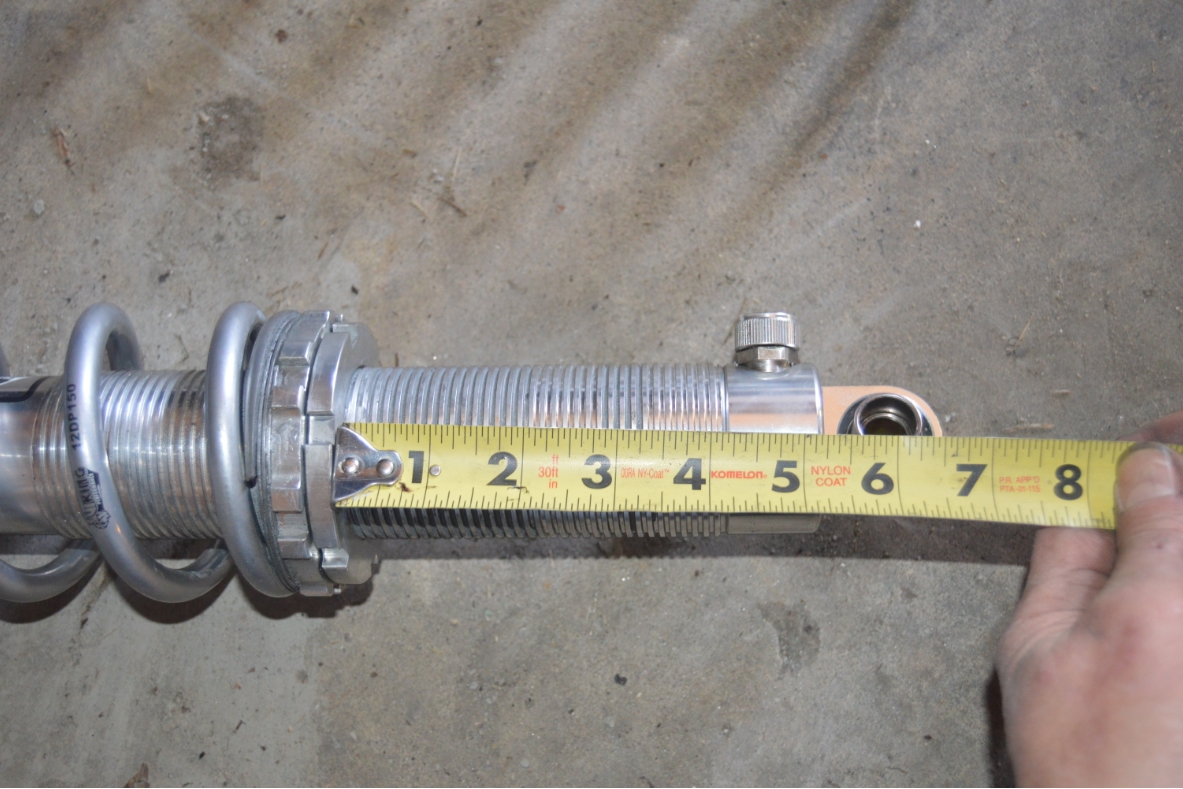
(note, we are swapping out both spring rate AND spring size. current = 12″ – 150 lb, new ones are 14″ – 250 lb, so we are lowering the nut 2″ to make up the difference)
.
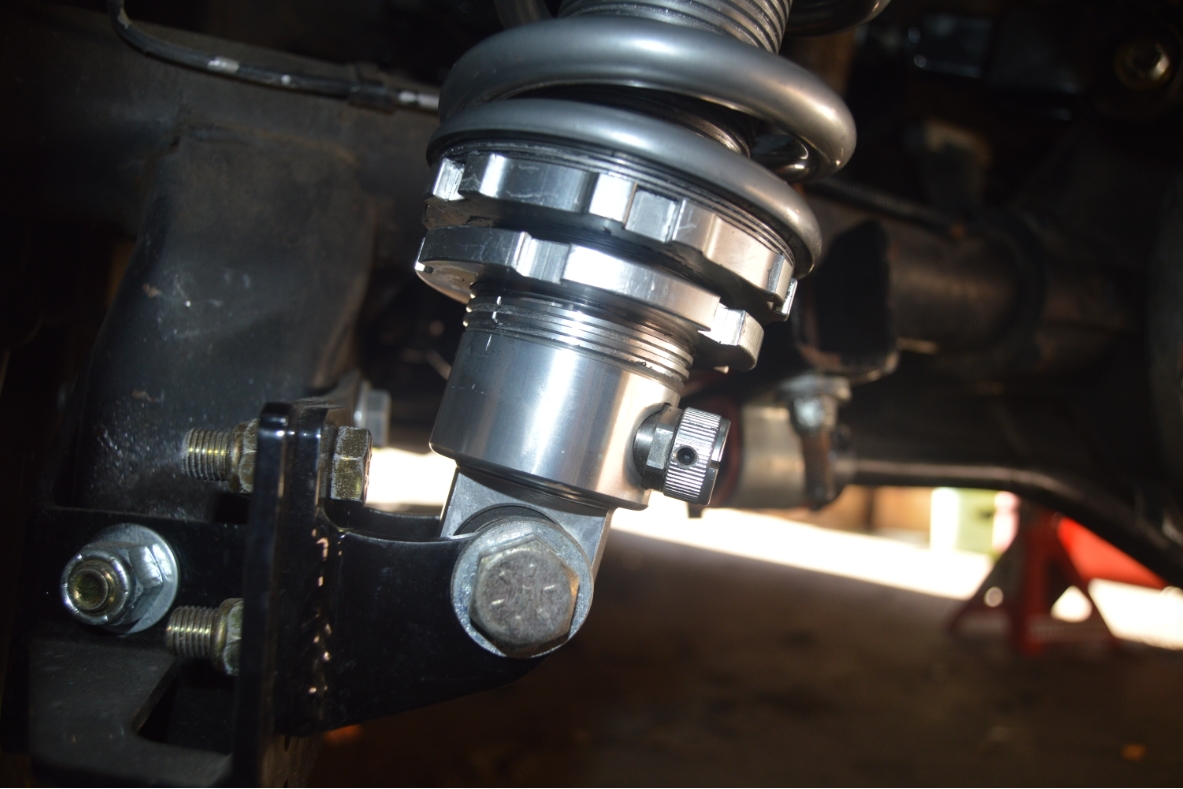
You should adjust the lower shock nut to the very lowest position on the shock, and put a floor jack under the shock, so that when you remove the bolts, the coilover doesn’t spring down!
.


.
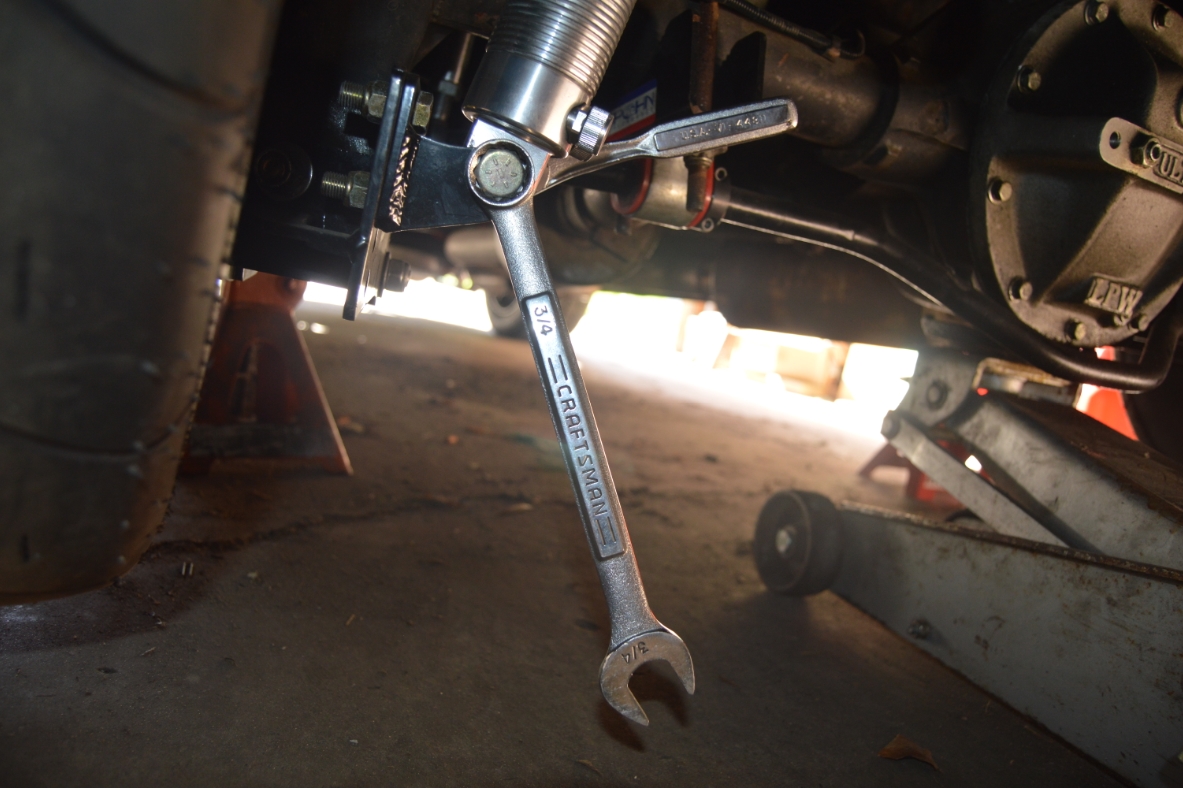
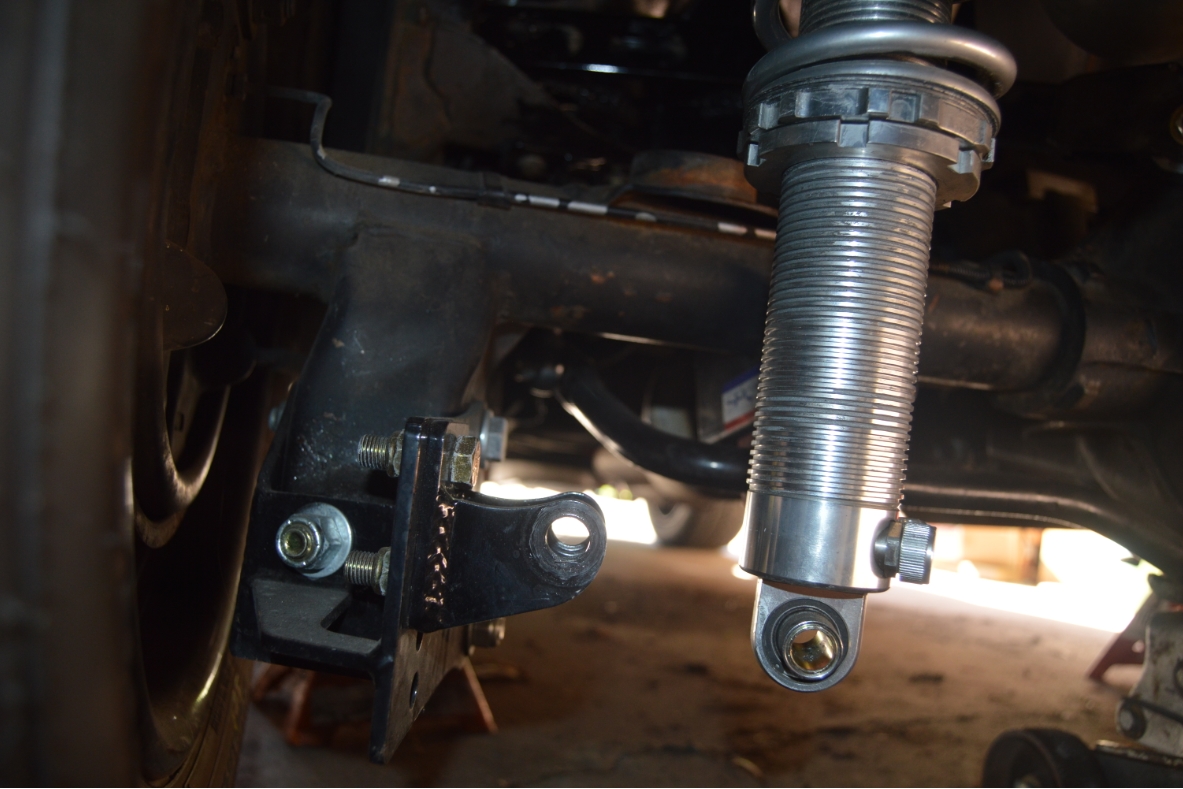
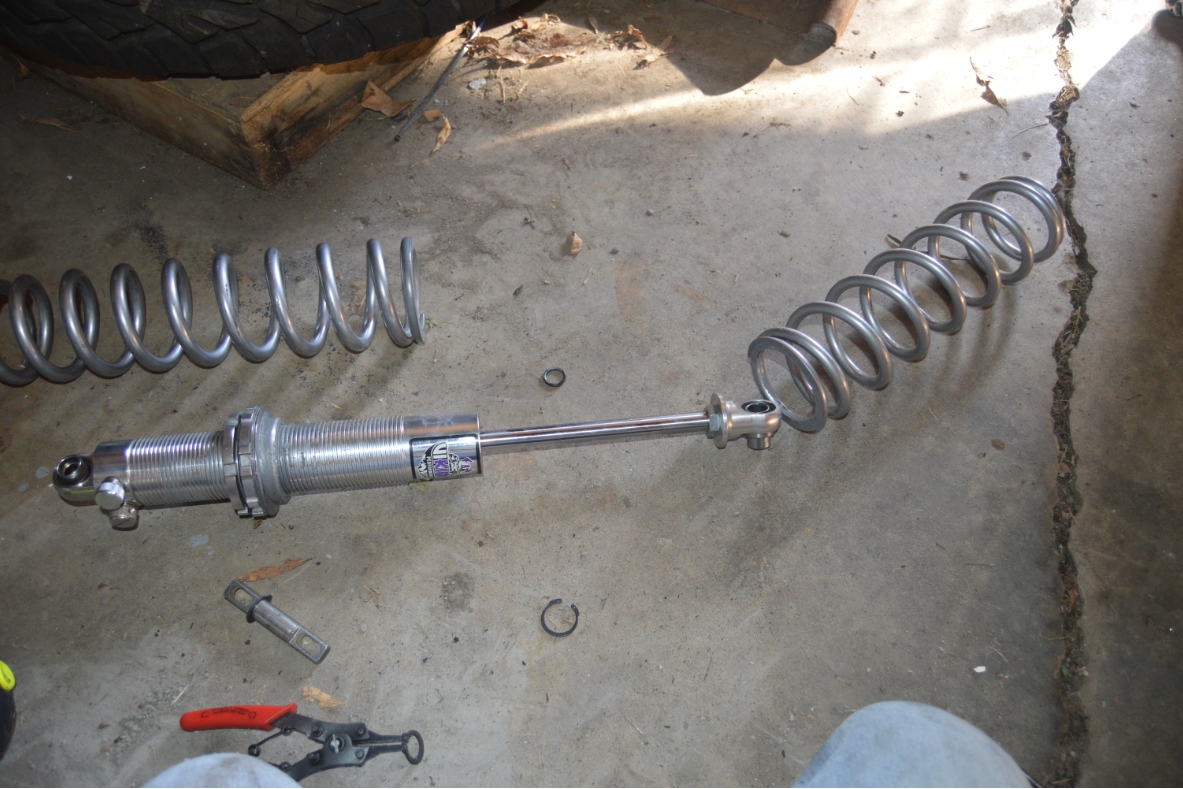
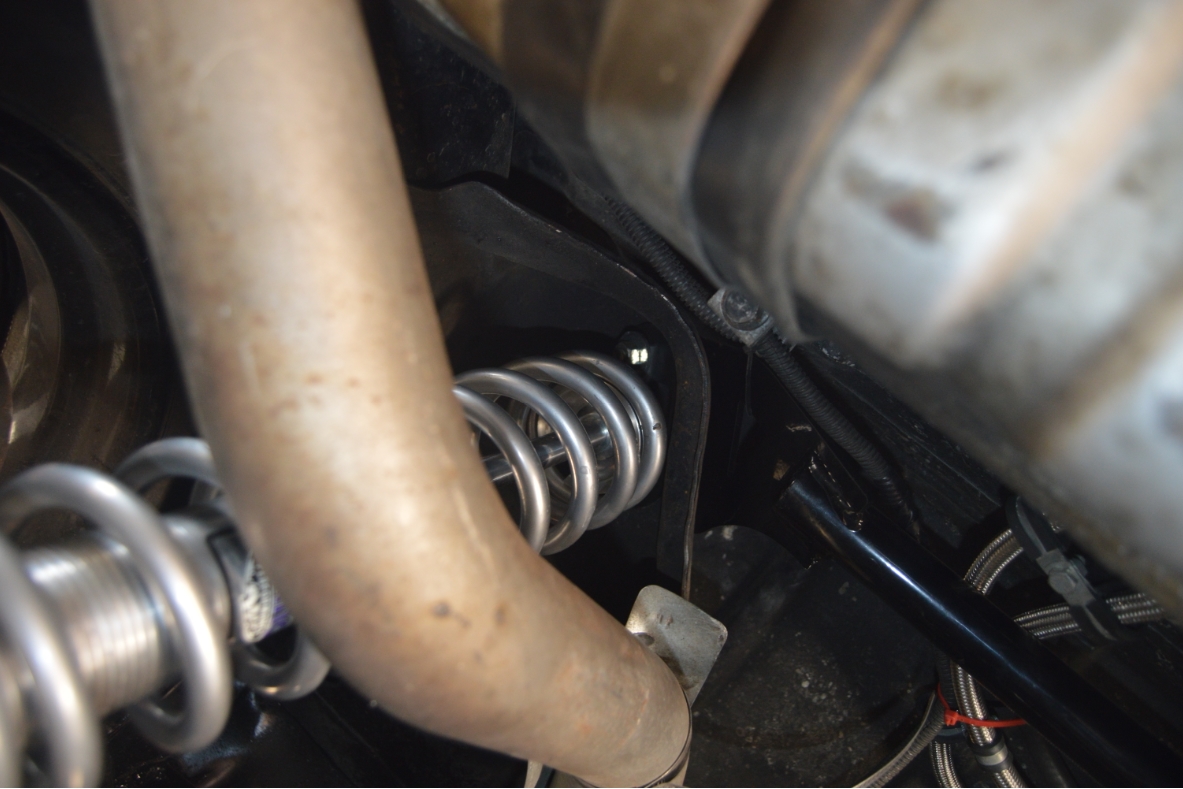
1. remove the lower shock bolt.
2. remove the 2 upper shock bolts.
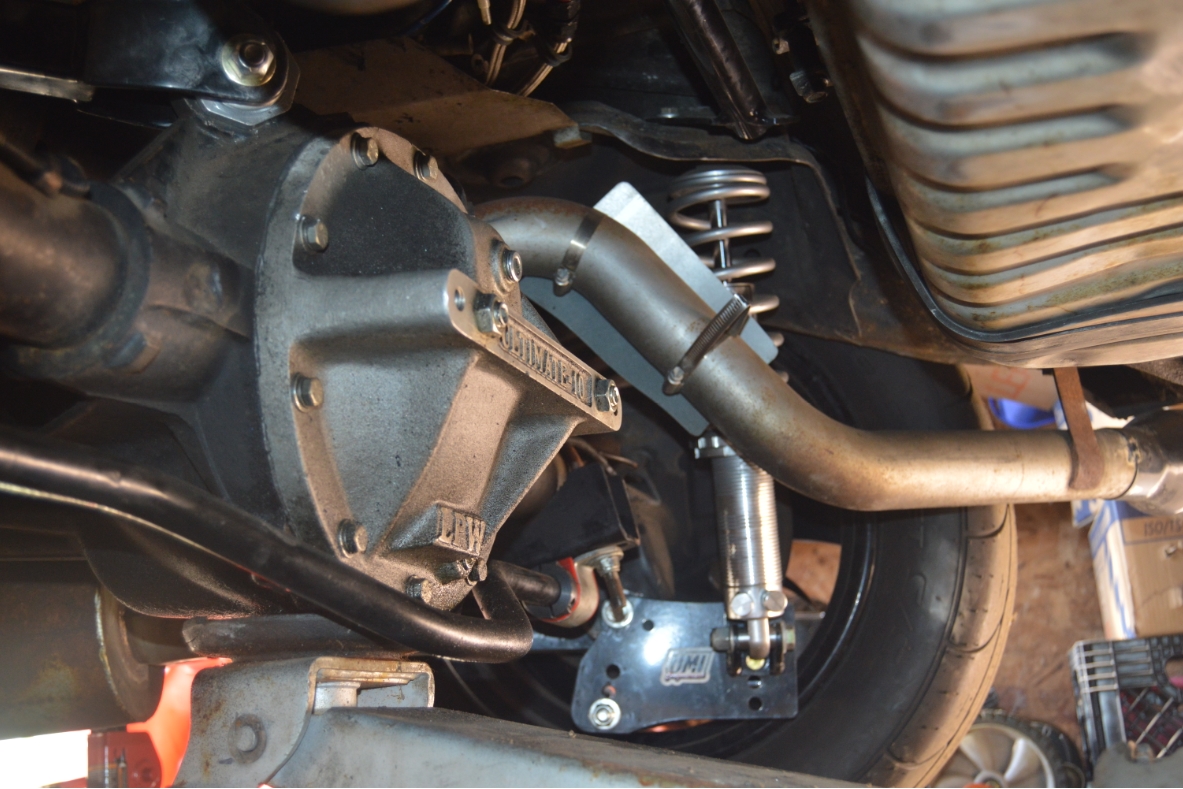
(we have a shock tower brace on this Buick GN, and it can stay in place where it’s at, with the shock bolts dangling down. The coilover kits come with a thick metal reinforcement insert that goes between the shock t-bar and the chassis, to add support in this area. Be careful, as it will come down when you remove the coilover shocks!)
3. pull the coilover out of the car.
4. lower the shock nut if you haven’t already so you have enough room to remove the cap.
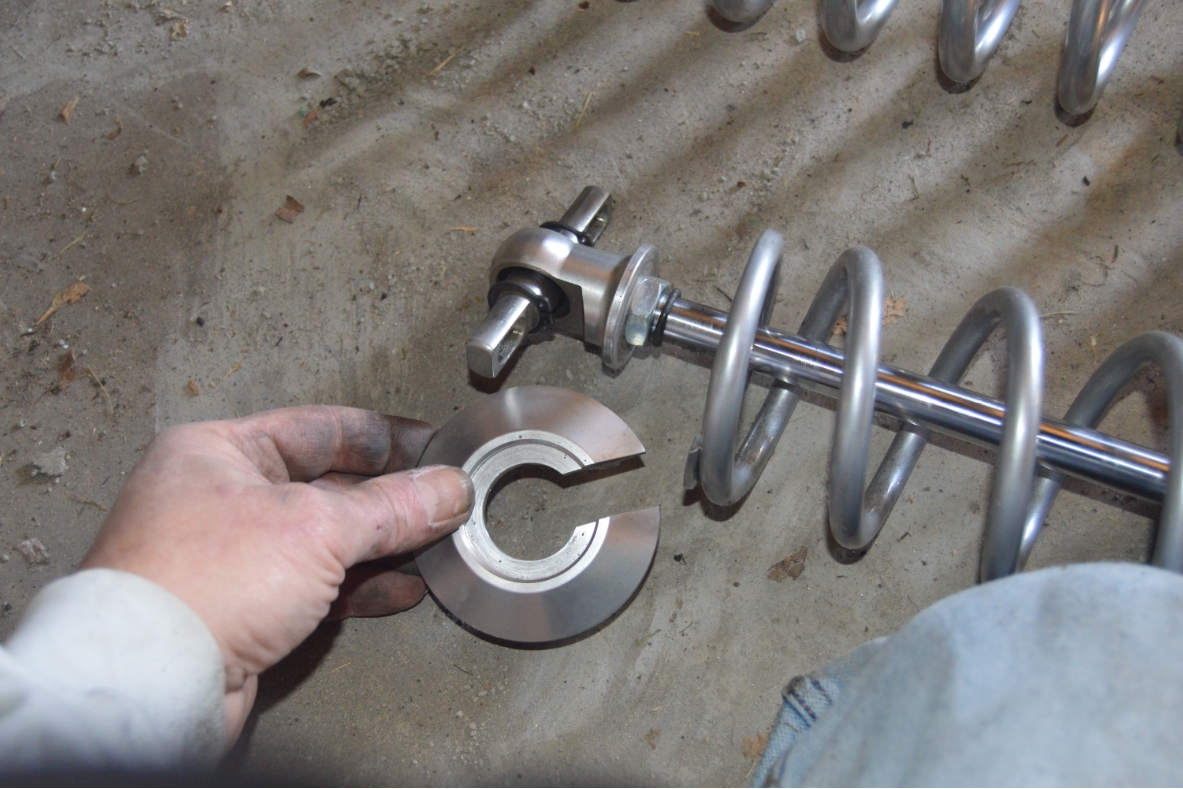
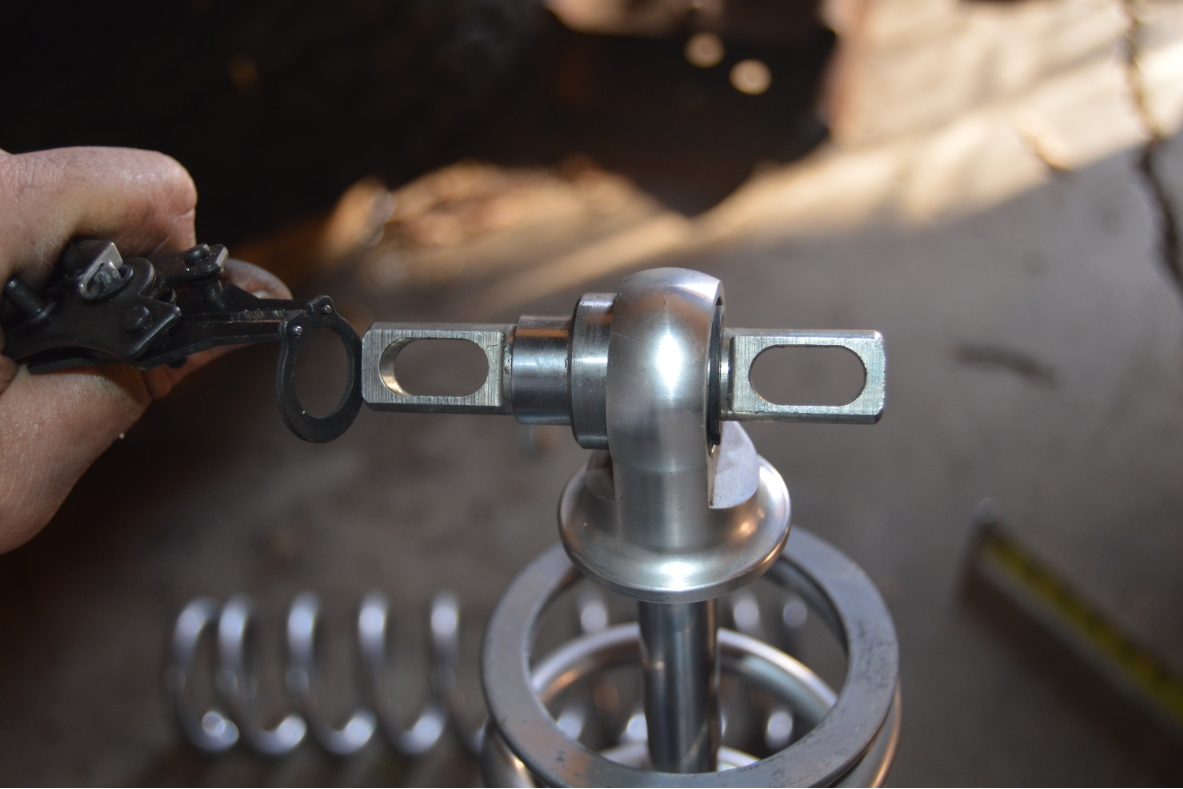
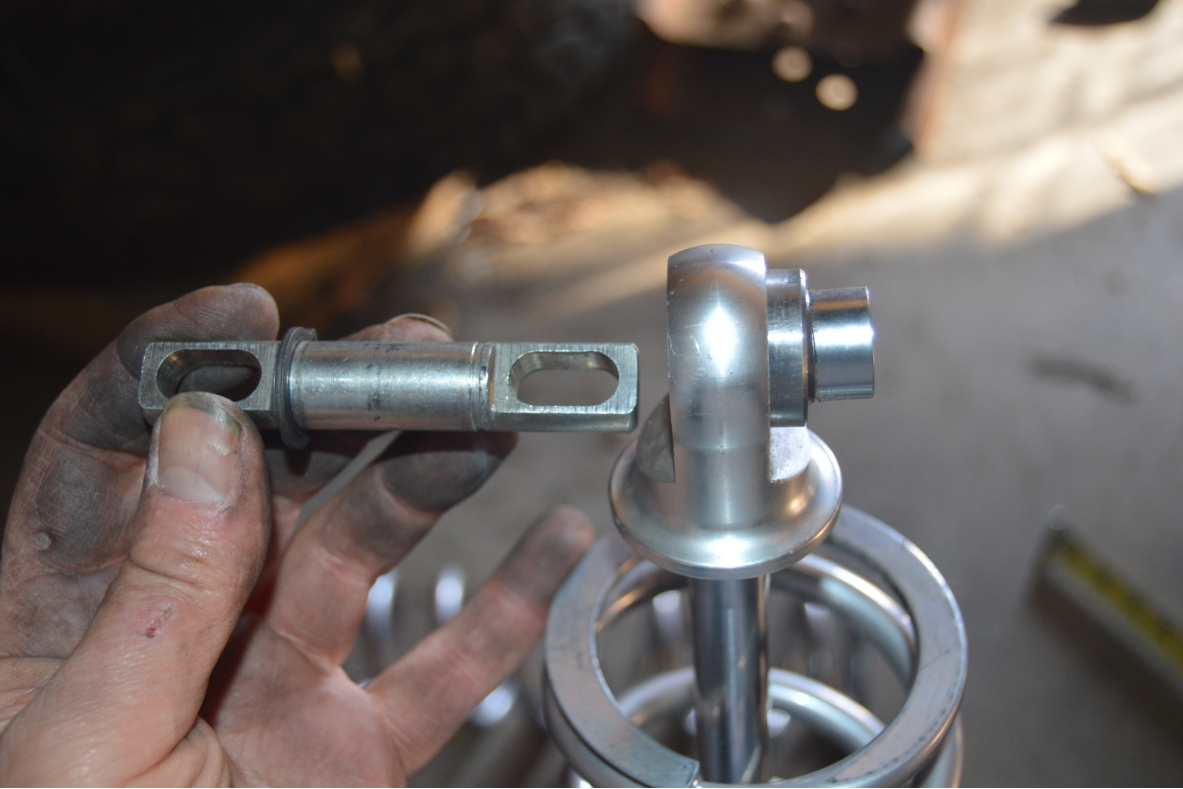
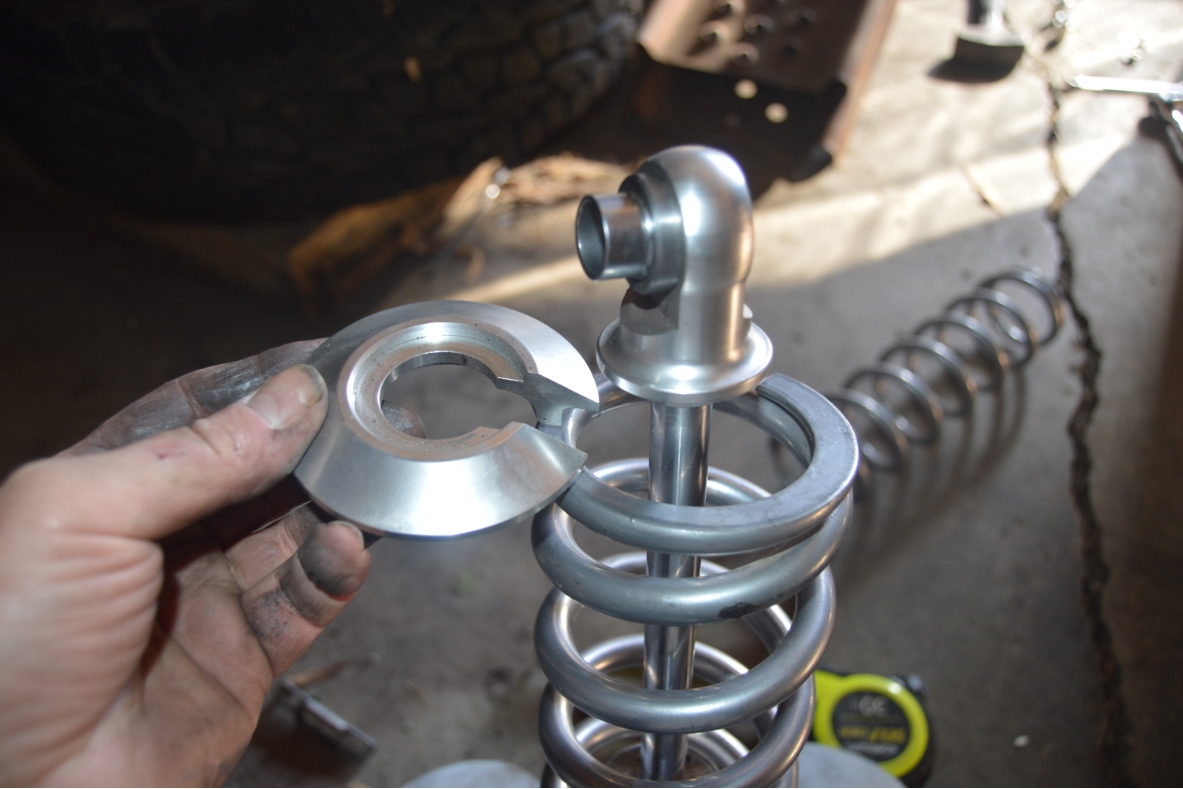
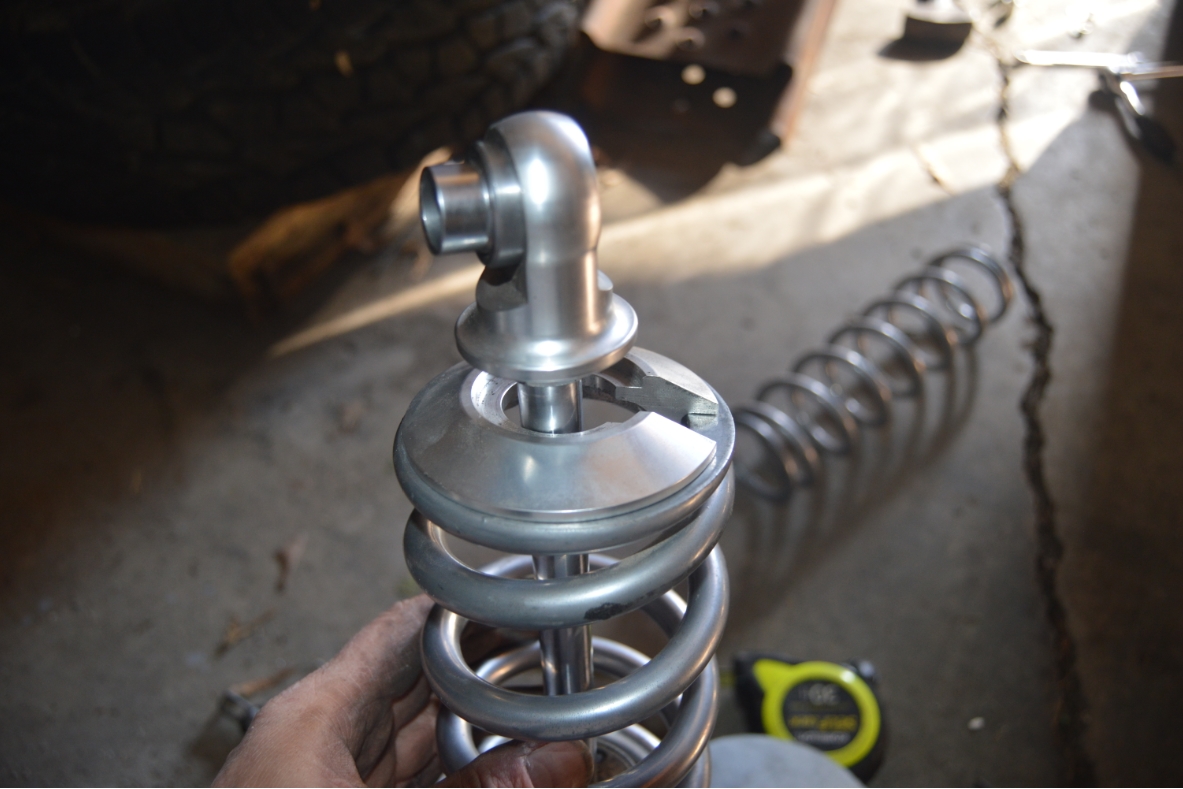
5. remove the t-bar at the top. (held in by c-clips)
6. remove the spring cap.
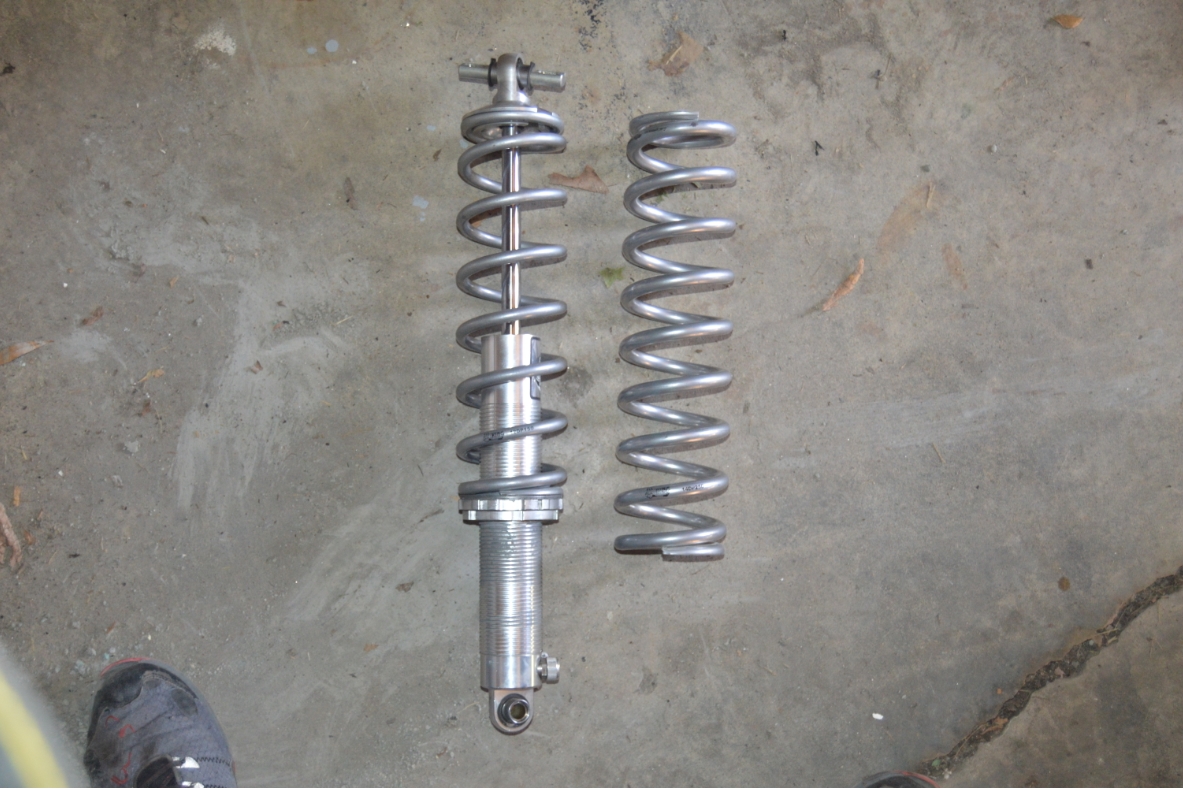
7. remove the spring.
8. attach new spring.
9. reattach the spring cap.
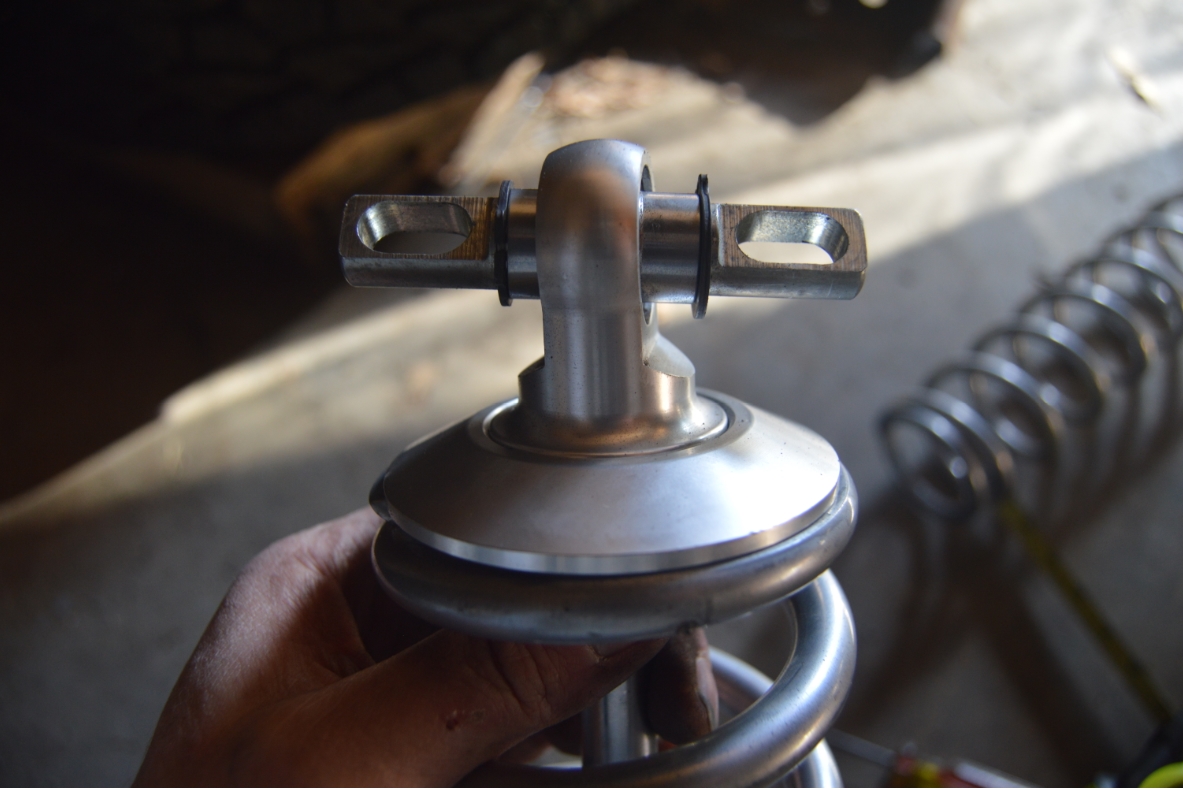
10. reattach the t-bar at the top.
11. guide the coilover up and reattach the 2 upper shock bolts.
(if it isn’t already, you should adjust the coil spring lock nuts to the lowest position, as it makes it easier to push the shock up in place so you can reattach the lower shock bolt)
12. reattach the lower shock bolt.
.

.
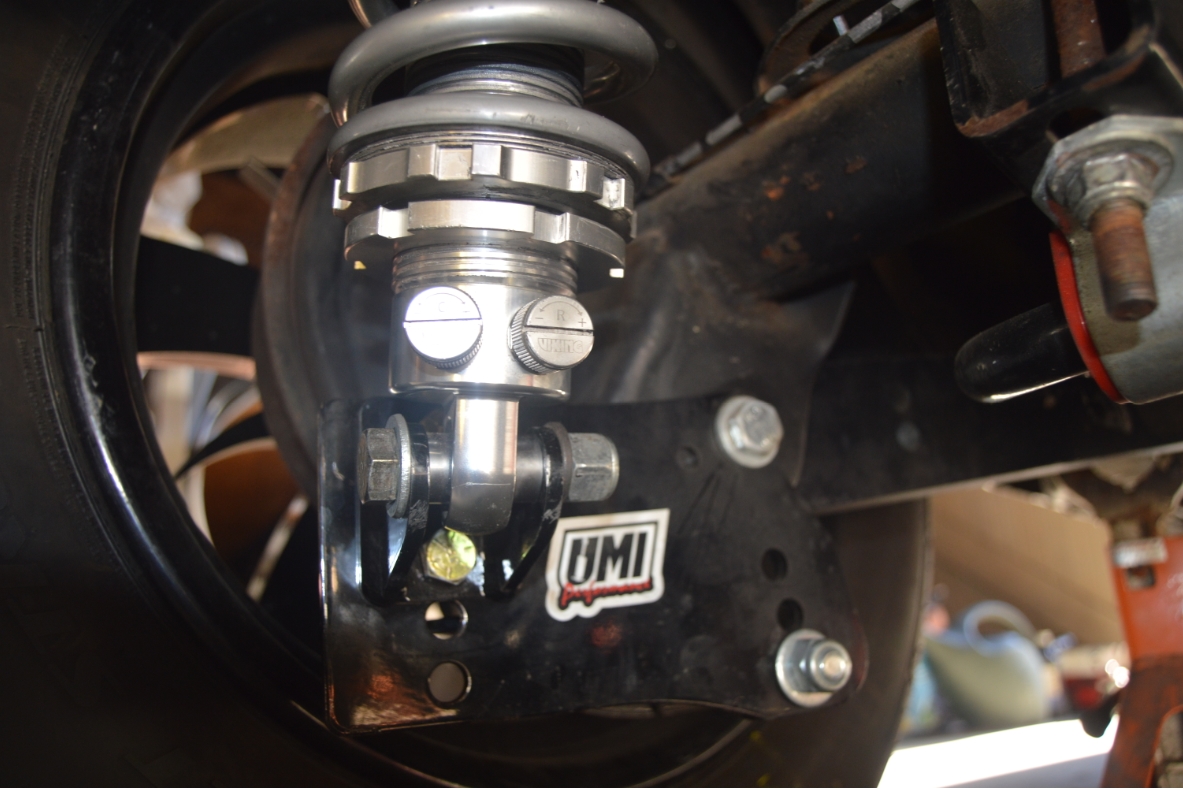
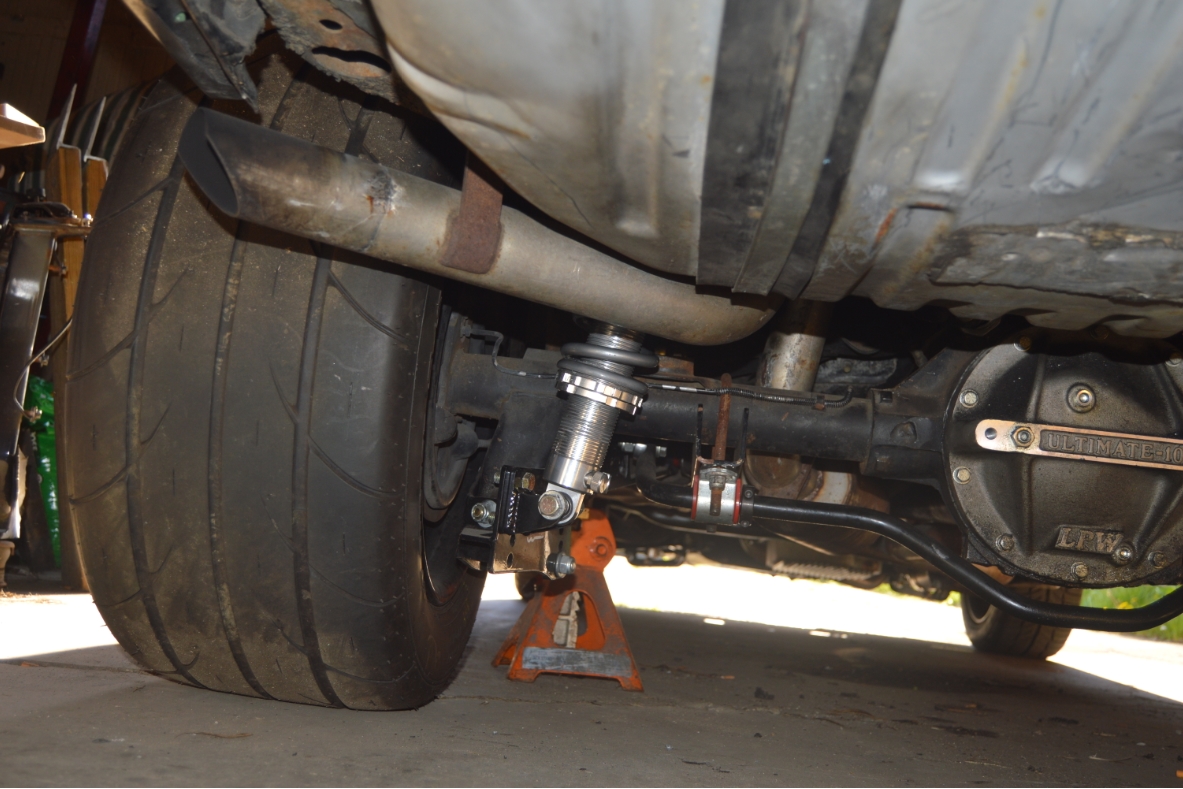
Put the Turbo Regal back on the ground & check height.
You may need to adjust the lower shock nut to get your preferred ride height.
You may also need to adjust your shock settings now with these new springs.
(we put the nut 2″ lower than it’s original position, since we changed from 12″ to 14″ springs. This in effect, mimicks the original position. The benefit is that these new springs provide more strength in holding up the frame without moving where the body sits)
(also, the tire to fender clearance is a bit high after installing the new springs, however, it may take a few days for the springs to “settle” so we’re going to leave it as is for now. After driving it for a couple days, we will recheck & reset the height if needed)
Now that the spring change is completed, this Buick Grand National rides like we think it should!
Our bounce issue is totally gone! 80 bucks and less than an hour, thumbs up!
.

.


