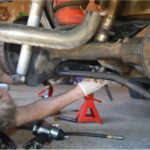
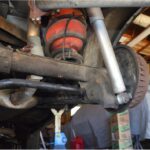
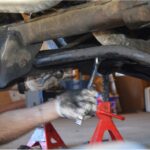
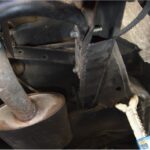
Traction control issues, like wheel hop, can usually be cured by a better/stronger set of rear lower trailing arms.
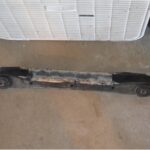
Either buy a brand new aftermarket performance set (many manufacturers make these in all shapes, sizes and materials), or modify your OEM versions by adding on a piece of flat steel to the stock arms.
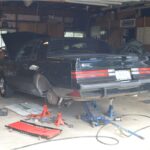
We decided to do the latter on this 1986 Buick Grand National that was having minor wheel hop issues, and wasn’t producing the desired traction control at launch.
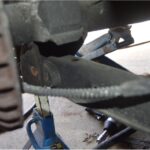
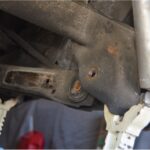
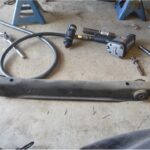
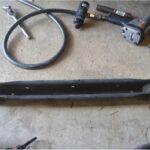
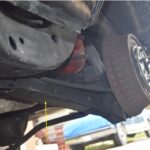
The factory stock rear lower trailing arms on these Gbody Regals are basically a U-shaped stamped piece of metal.
When you’ve upgraded the power level on your turbocharged Buick v6 engine, these OEM units aren’t strong enough for your suspension to keep up.
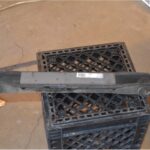
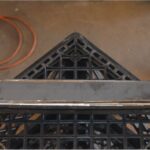
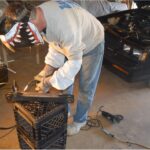
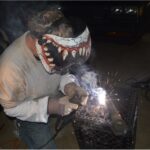
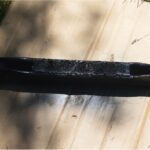
Strengthening them is as easy as welding on a flat piece of steel to the bottoms on both arms.
.
While you are going to have the trailing arms off the car, now would be a good time to check out the bushings. Replace them if needed. Maybe even plan on installing some new stiffer (like poly) bushings, which should give your Turbo Buick even better traction control.
.
Inspect the hardware used to mount the arms, too. New bolts/nuts from the local hardware store are relatively inexpensive, and should you need to remove them anytime in the future, will make the job easier. Not to mention that adding new parts always makes that section of the car prettier.
.
COMPLETION TIME:
about 1.5 hours
.
PARTS:
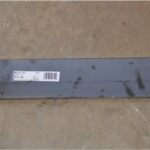
* 1/8″ steel plate, 3″ x 3′ (Home Depot, $11)
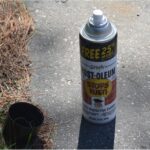
* can of black paint ($5)
.
TOOLS:
* welder
* 14mm socket/wrench (for removing stock sway bar)
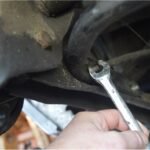
* 18mm socket/wrench (for removing arms)
* tape measure
* floor jack
* jack stands
* grinder or cutoff wheel
.
HOW-TO:
.
.
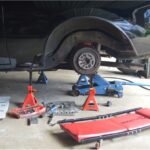
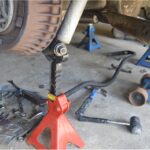
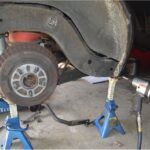
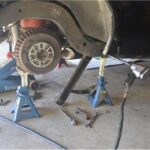
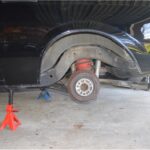
1. Put the Turbo Buick up on jackstands.
(place the stands on the frame, behind the rear doors)
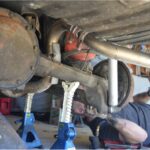
2. Put the floor jack under the rear differential (closer to the front near the driveshaft).
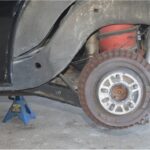
2. Remove wheels.
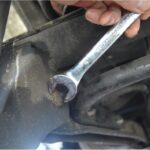
3. Remove the rear sway bar (4- 14mm bolts/nuts).
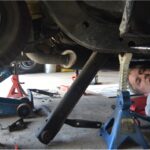
IMPORTANT! you should only do one side of the Gbody Regal at a time! This prevents the rear end from moving out of place too much!
(the rear end WILL move somewhat when you remove the first bolt from the arm! so use caution!)
.
.
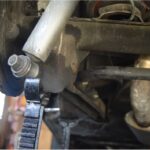
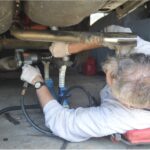
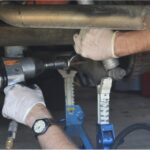
4. Remove the lower trailing arm (4- 18mm bolts/nuts)
(the front bolts are ran thru a hole in the frame)
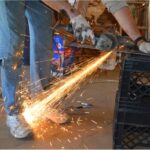
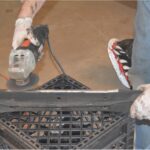
5. Wire wheel or grind off the dirt & grime from the bottom (curved over) lip.
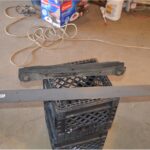
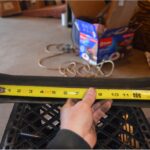
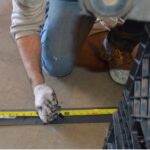
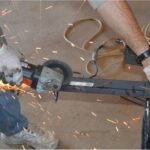
6. Cut 2 pieces of 2″ wide x 11.50″ long sections from the steel plate you bought.
(11.50″ long is the perfect size, as the factory trailing arm has a curved up section towards the ends, and you want this newly added section to be flat up against the arm)
7. Place the new metal onto the arm in the correct position.
8. clamp it in place.
9. spot weld it in (both sides of front, both sides of back, both sides of center).
(make sure the arms aren’t heating up too much! watch the bushings as you weld to make sure they don’t burn or overheat!)
.
.
10. Finish welding up the entire length of the new piece.
11. Let it cool down for 15 minutes.
12. Clean off the new section.
13. Give it a coat of paint to prevent rusting.
14. Reinstall arm.
(note: a trick to line up the hole in arm to hole in rear end: since the floor jack is near the front of the differential, this alters pinion angle, swinging the rear end forward/backward depending on if you jack up or down, so this aids in lining up the hole so you can put the bolt back in)
.
.
15. Do the other rear lower trailing arm, using the same steps above.
16. Reinstall sway bar.
17. Put wheels back on.
18. Remove jack stands.
19. Lower Turbo Regal back on the ground.
.
.
20. Go blast off, your traction issues should be a thing of the past!
.


