


 The aftermarket VDO water temperature gauge in our 1987 Buick Grand National has been acting wonky the last year or so.
It first started reading a bit low (10 less, then 15, then 20 degrees lower) compared to the scanmaster reading (which we heard from other Turbo Regal owners this is kind of the norm on a comparative basis of the 2 – but ours use to be close to dead on, within about 2-3 degrees of each other).
Finally, it just stopped working altogether.
We checked all the electrical connections on the back of the gauge,
all the way to the other ends of the wires (to the sensor).
All seems well for those items.
The remaining item seems to be the sender (sending unit), so we’re going to acquire a new one and just go ahead and replace it.
The previous owner (or the 1 before him) must have installed it (we’re guessing) at least 15 years ago (perhaps even longer), along with the VDO gauge (to which we assume that part is still ok).
.
.
We’ve never had a sending unit (or sensor or relay, for that matter) go bad on this Turbo Buick before, although we HAVE replaced various ones thinking they were the problem at the time (but they really weren’t).
Also because of their age and since most parts were just sitting here on a shelf, we figured why not swap them out, being confident the new ones will probably go for another 30 years!
(and they look prettier too, since they’re new)
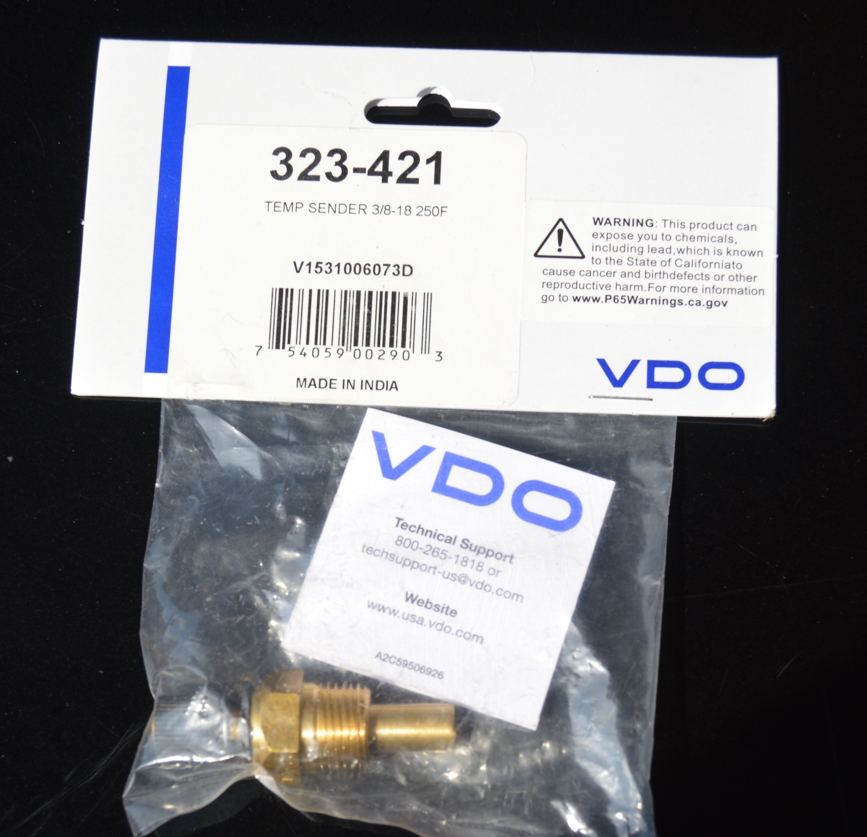
(if you use the 1/8″ you’ll need an adapter – we got the direct screw in 3/8-18 NPT version).
.
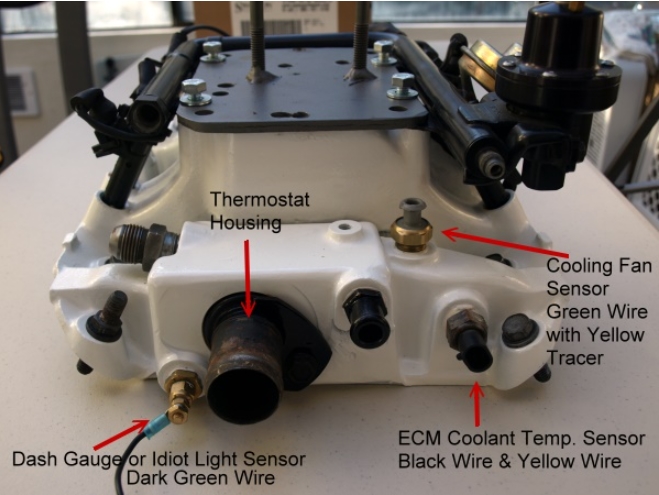
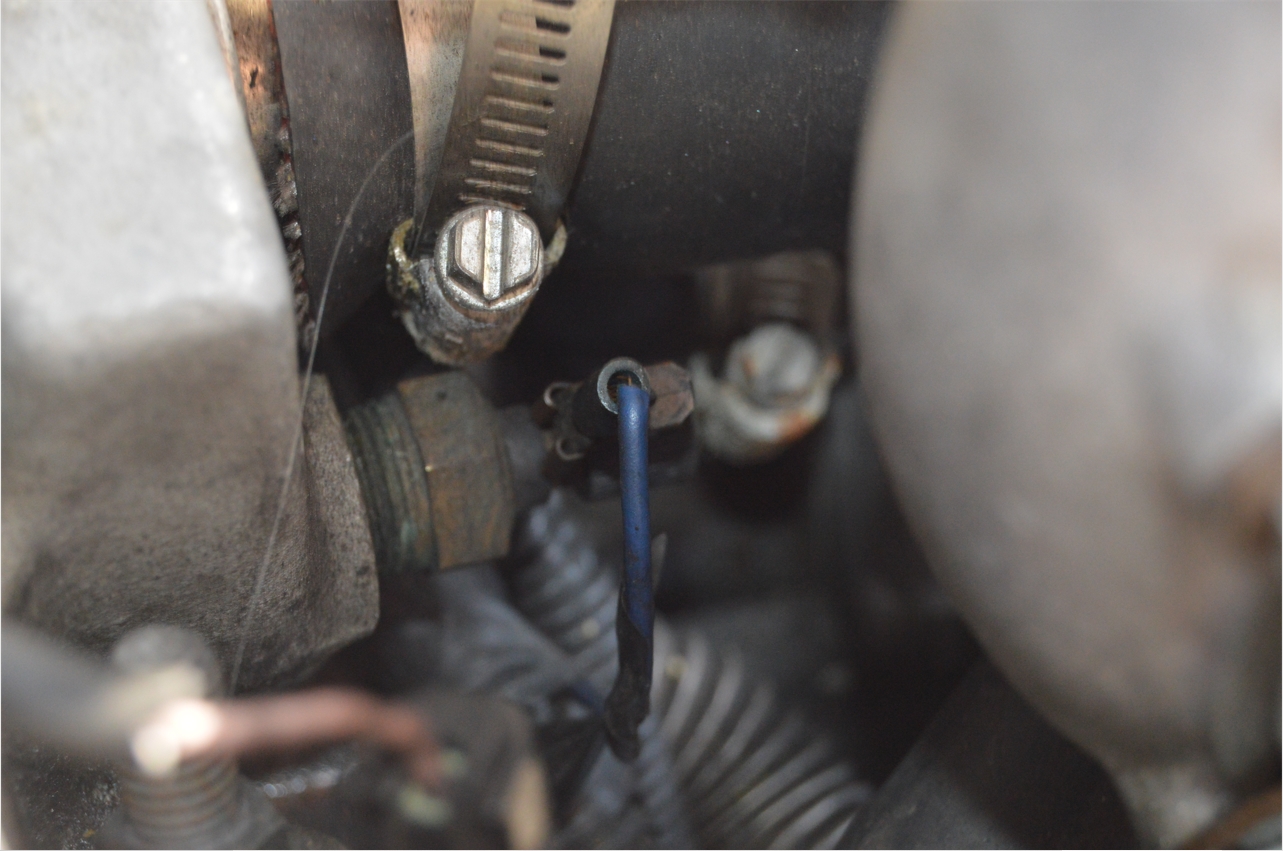
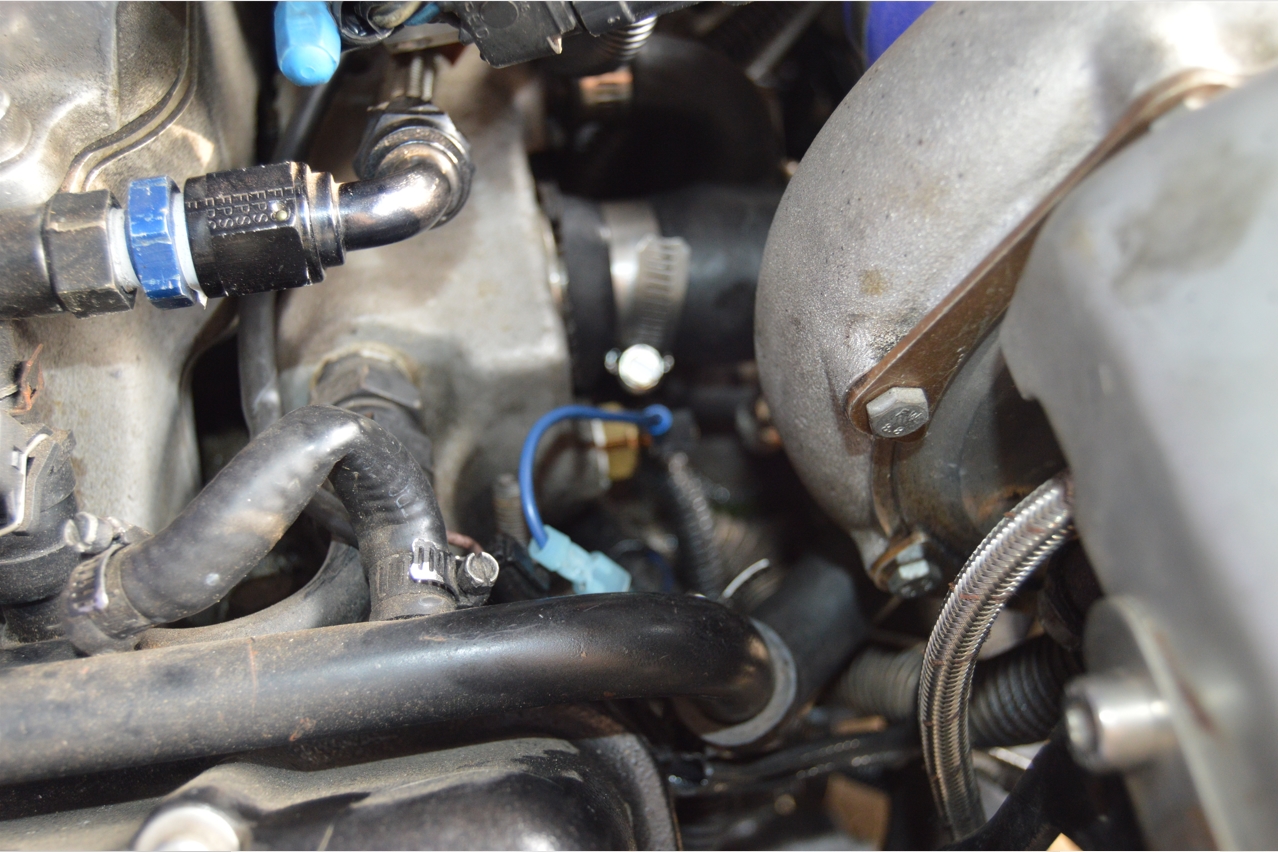
It gets mounted on the (front of the) intake, passenger side, (to the left of the thermostat housing when you’re in front of the car looking into the engine bay) where the factory idiot light switch was.
.
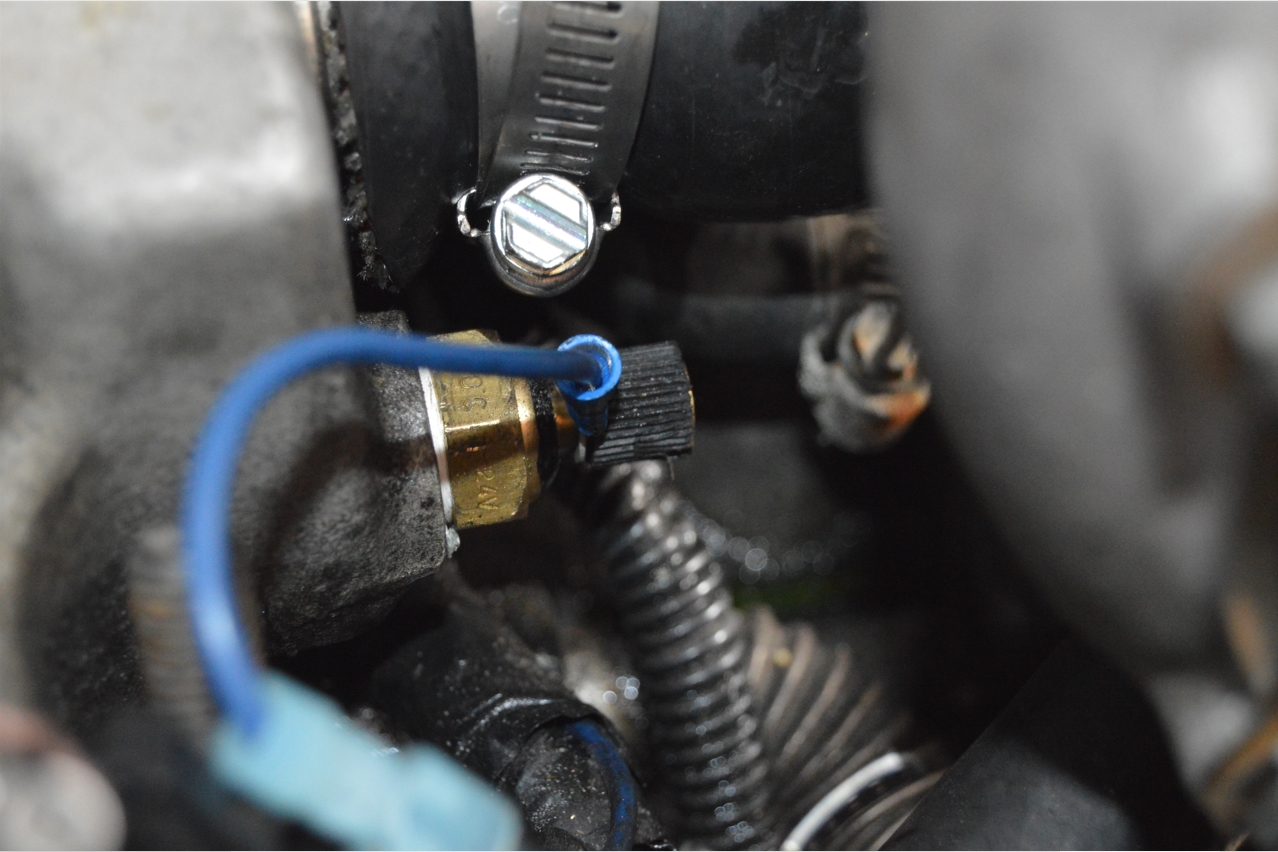
This photo below shows you the proper installation location (for this new sender), which has an aftermarket sensor installed in there already (as the sending unit in this pic shows it’s not the OEM version, which should be a clip-on connector, not a ring terminal).
[but this is a very common mod, and THE place to connect an aftermarket temp gauge sender to]
[just fyi, the stock piece that’s normally here in this spot is actually just a switch, not a sending unit or sensor]
.
.
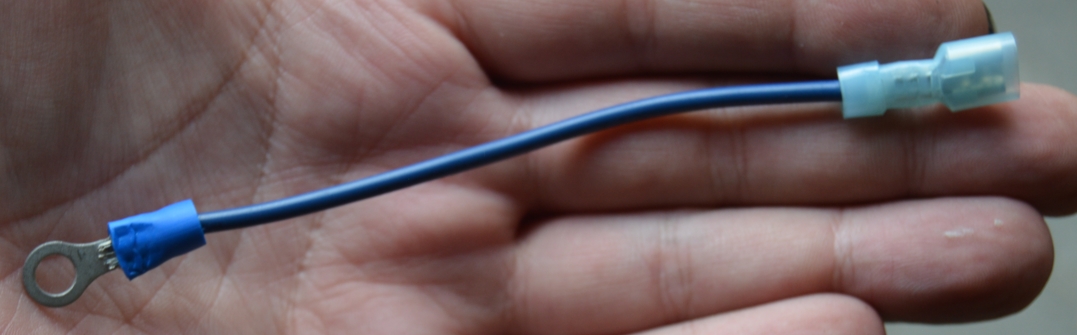
(note, the wire color on THIS Turbo Buick were working on, is dark blue, which is different than the OEM dark green wire that’s suppose to be there, according to our previous post on here: coolant temperature idiot light switch – meaning when the previous owner swapped out the factory switch for the VDO sending unit, they also installed new wire for this gauge as well. no issues, just mentioning this.)
(also, the existing wire was kind of short, so we made a small 5″ extension [in a matching dark blue wire color], which made attaching it to the new sending unit MUCH easier!)
.
.
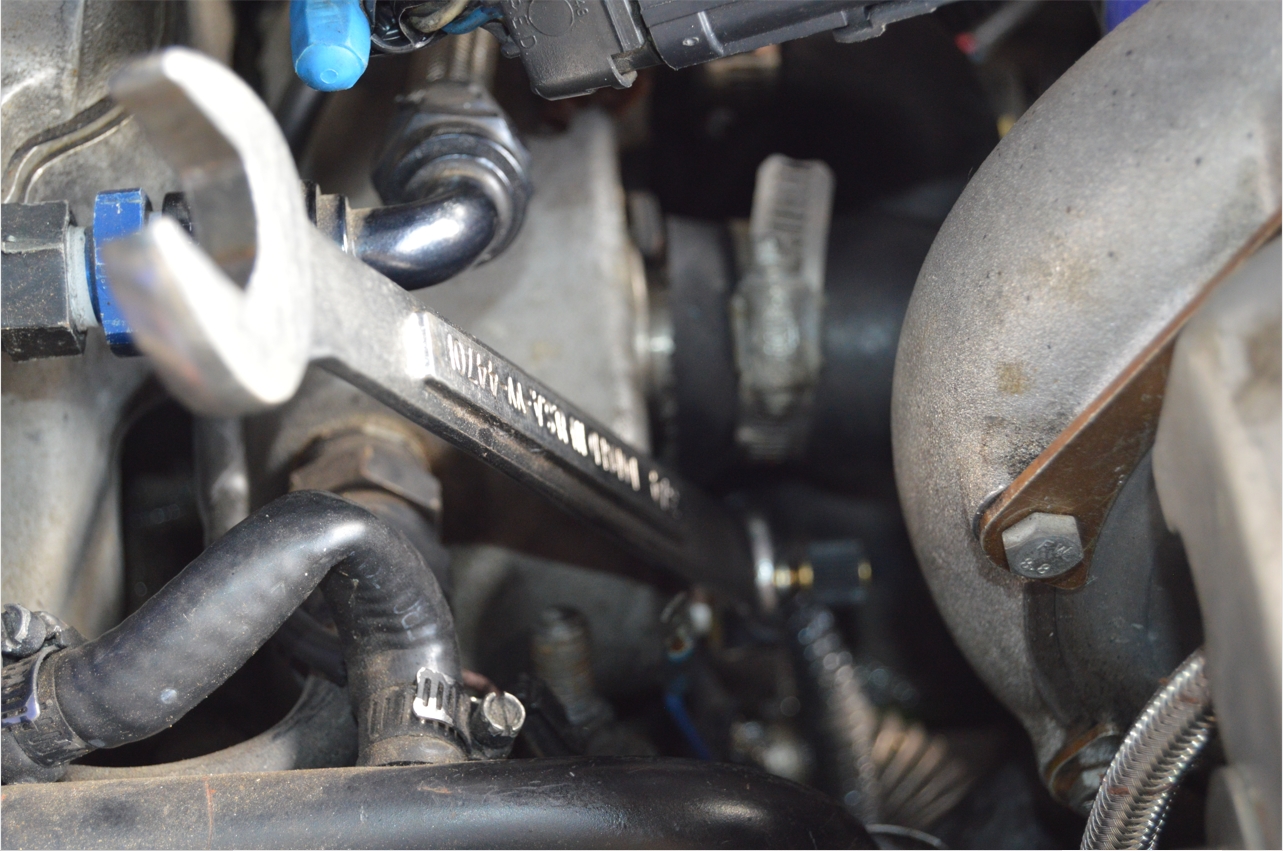
Replacing the sending unit is simply a matter of removing the old one (use the boxed end of a 3/4″ wrench, making small turns until it’s off), and installing the new one.
[it’s kind of a tight fit area, hoses, the metal water lines, turbo, and whatnot are located right around there, but it’s not too bad of a job]
[we did have to unloosen the upper radiator hose clamp and swing it over, as the lockscrew was right in the way. once we installed the new sender, we put it right back where it was, as that’s the easiest spot to clamp it down!]
We wrapped the (brass) sender with teflon tape to ensure a leak free seal.
Overall, the task takes about 15 minutes to do.
Be prepared for a gush of coolant to come out of the intake manifold hole!
(when we pulled out the old sender, we temporarily plugged it with our finger, until we were able to shove the new sender in. Minimal loss of coolant, but there is some)
.
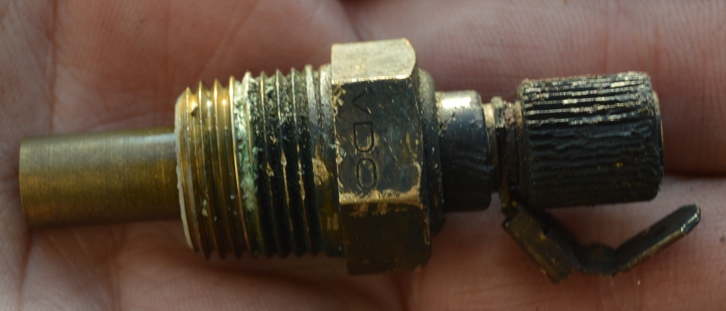
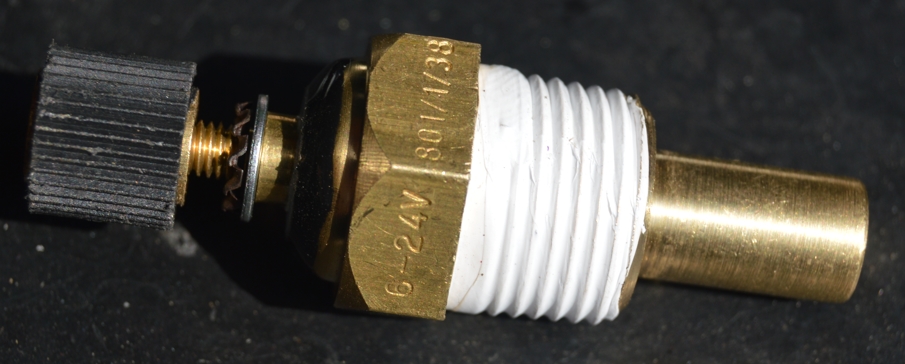
On our Gbody Regal, the old sensor has only a 1 wire connection (use to be a spade, but now ending in a ring terminal) with a screw on cap to secure it (the new one has the same type of connection).
[some VDO senders have 2 terminals, so make sure you get the right one for your own Turbo Buick application!]
[the sending unit we bought is VDO part # 323-421, and reads up to 250 degrees F – matching our gauge readout]
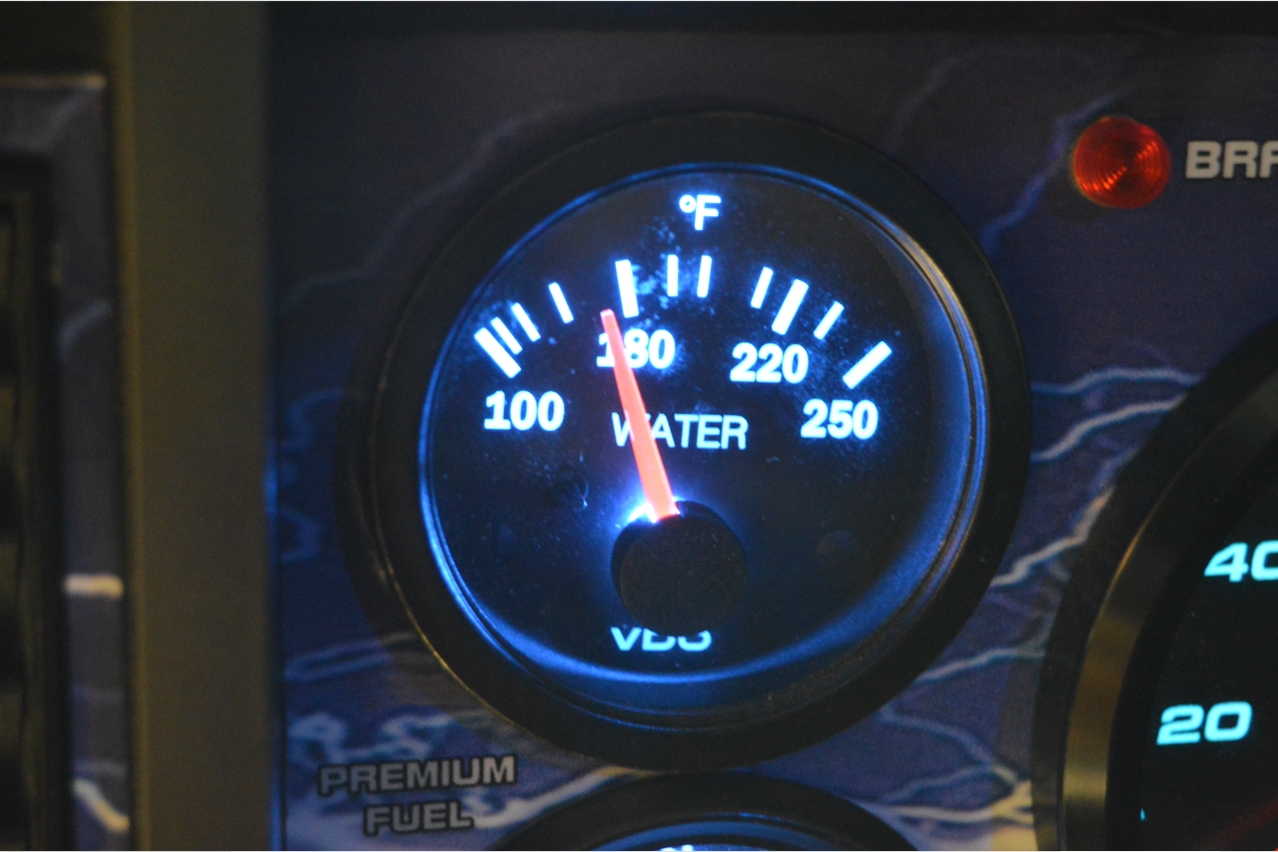
Once the new sensor was installed, we started the Buick GN up, let it get to operating temperature, and checked the gauge.
Our diagnosis of the issue was correct! Bad sending unit.
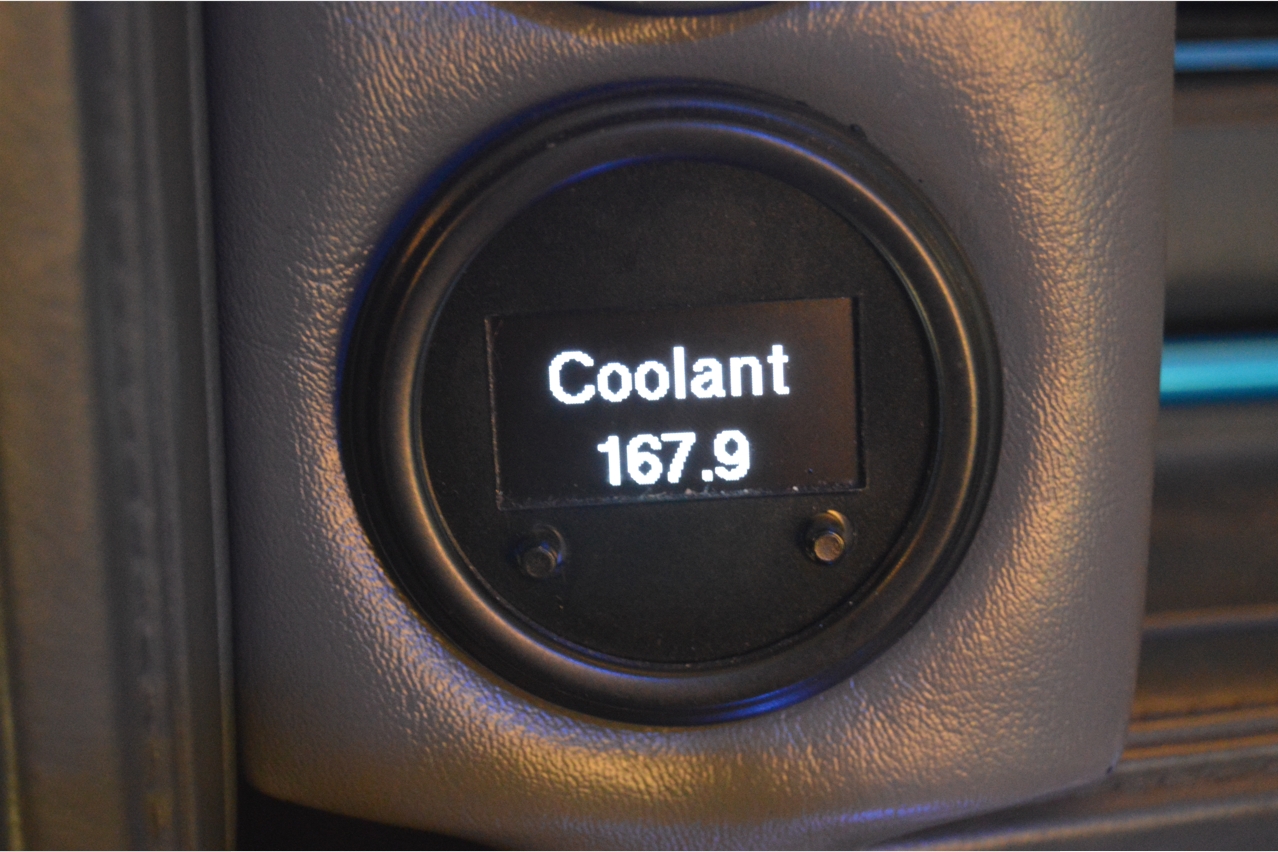
It read a little over 170 degrees at full warm-up, while our scanmaster G says the temperature is (about) 168.
[just fyi, we have a 160* thermostat in this Buick Regal Grand National]
.
.
Close enough is good enough!
Especially when before we changed out the sending unit, the gauge was reading literally nothing (zero, the needle didn’t even move)!
.
[to note, possible difference in the 2 readings: the gauge uses the sender on the passenger side of the engine (nearest the radiator hose – with HOT coolant), while the ECM (which is what the scanmaster reads) gets its reading from the coolant sensor on the drivers side, which is further away from the hot coolant, although not THAT much further away]
.
REPLACING THE SENDING UNIT:
.
.

.


