 So after completing the Front Bumper Filler Installation for Buick Grand National using SpoolFools products, and seeing how truly awesome these units are, well, temptation took us over and we acquired one of the 1-piece rear fillers.
This very slick one-piece filler (made in the USA) might be a bit pricey, but install is easy & excellent, not to mention it doesn’t need painting. And did I mention that it’s 1 piece??!! 🙂
 There’s other fiberglass options out there (in both the 2-piece factory type design as well as some 1-piece products), but none of them come painted (or properly prepped for that matter), and if you factor that into the purchase price of the cheaper units, you’re just about at the cost of the SpoolFool Rear Bumper Filler.
It was a no brainer for us (we like the fast & easy cool projects & upgrades).

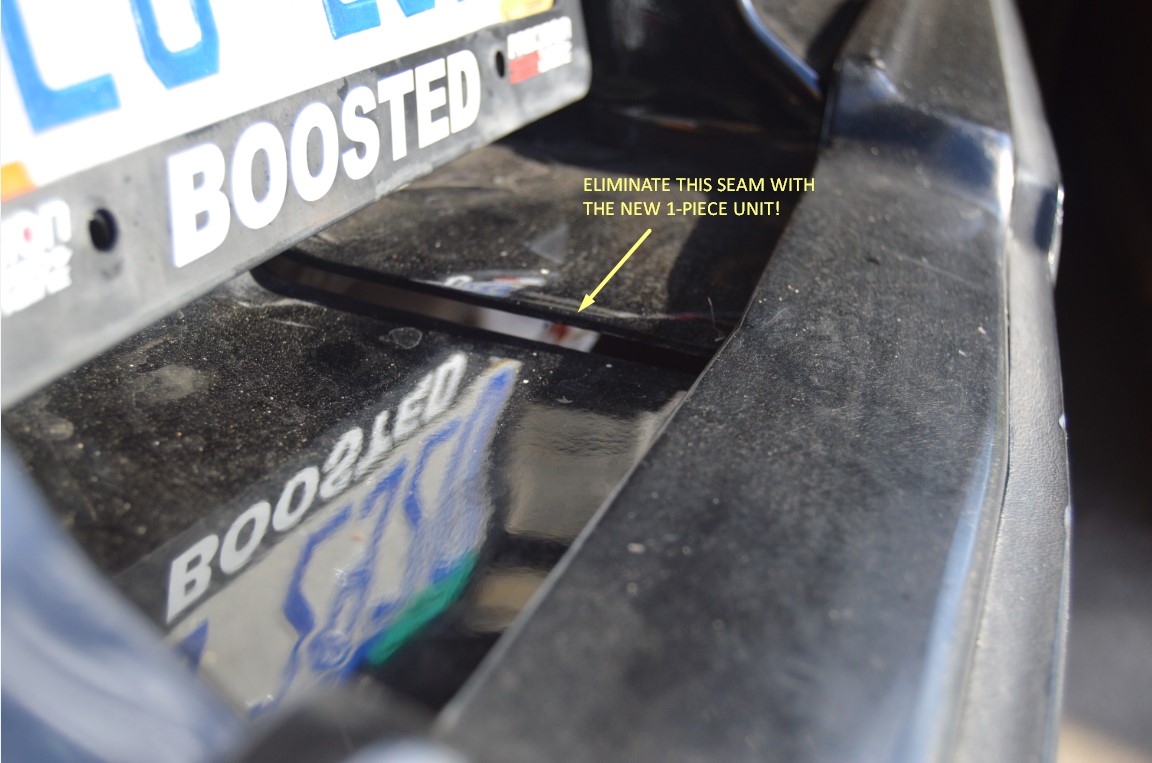
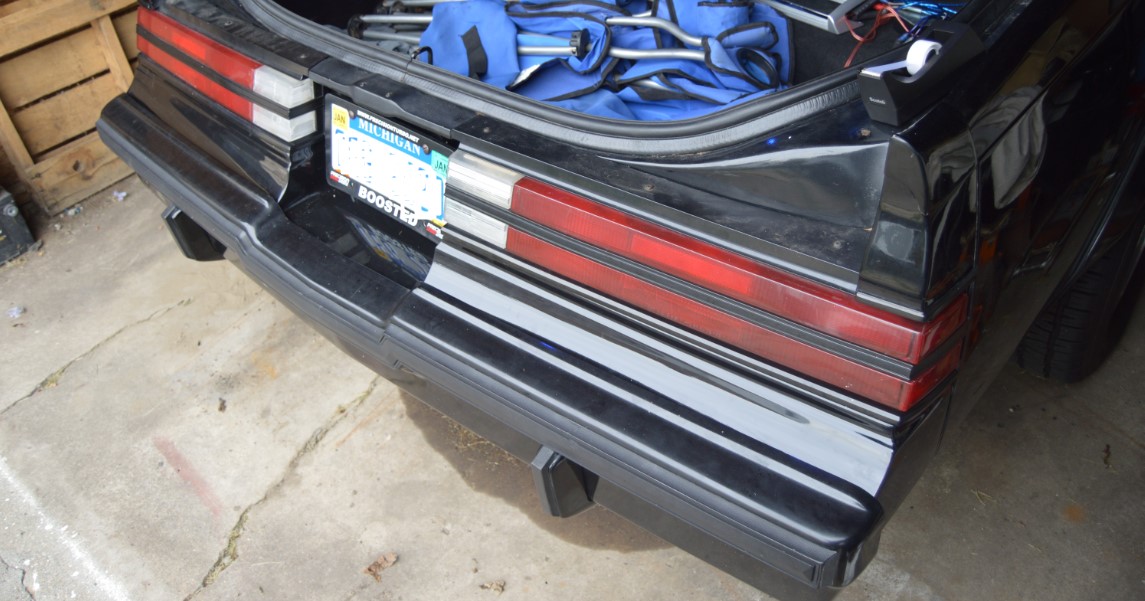
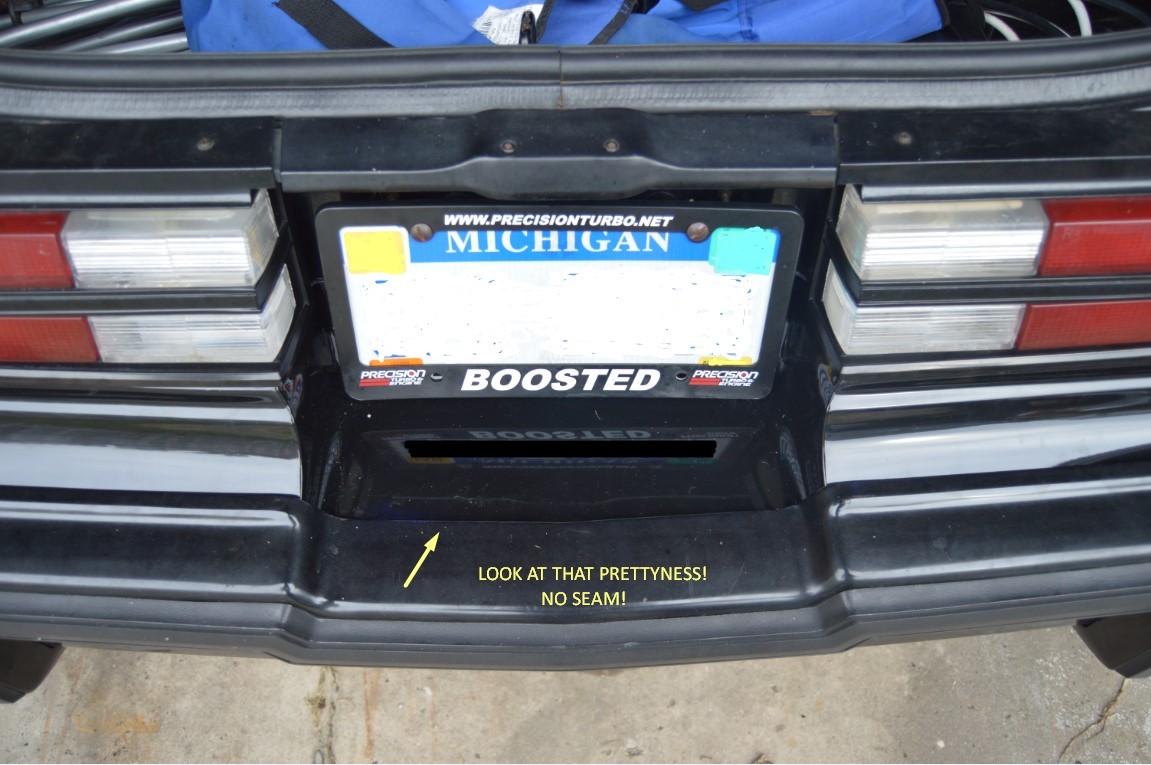
It visually cleans up the back end of your Buick Grand National, Turbo T, or Regal T-type considerably, and just simply looks cool since it eliminates that ugly seam in the middle. It’s also lightweight being made completely out of fiberglass.
.
Below is SpoolFool’s own install video, but basic instructions are listed here too.
.
.
Tools required:
1. 1/2″ socket (bumper removal).
2. 7/16″ socket (license plate & filler removal).
3. flat head screwdriver (to pry/nudge the old filler out)
.
How to:
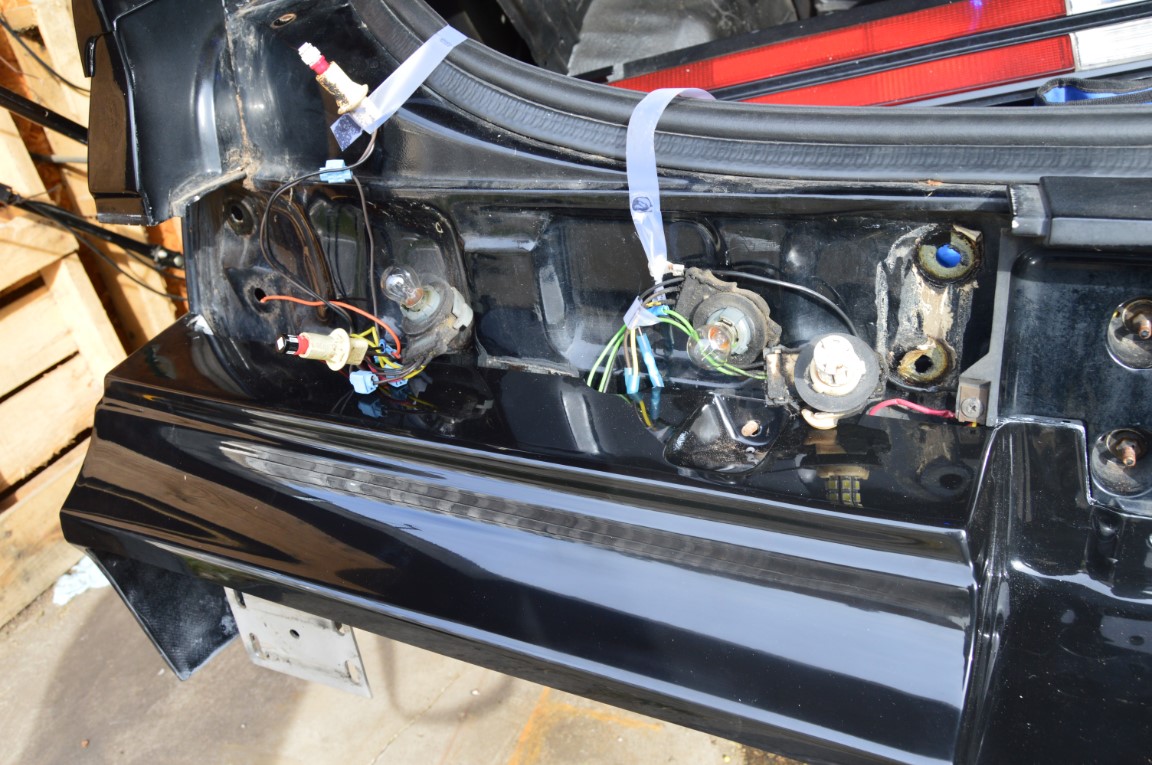
![]() 1. remove tail lights. (8 plastic wingnuts; 4 on each side)
1. remove tail lights. (8 plastic wingnuts; 4 on each side)
2. remove license plate bracket (2 7/16″ bolts).
3. remove bumper (8 1/2″ nuts).
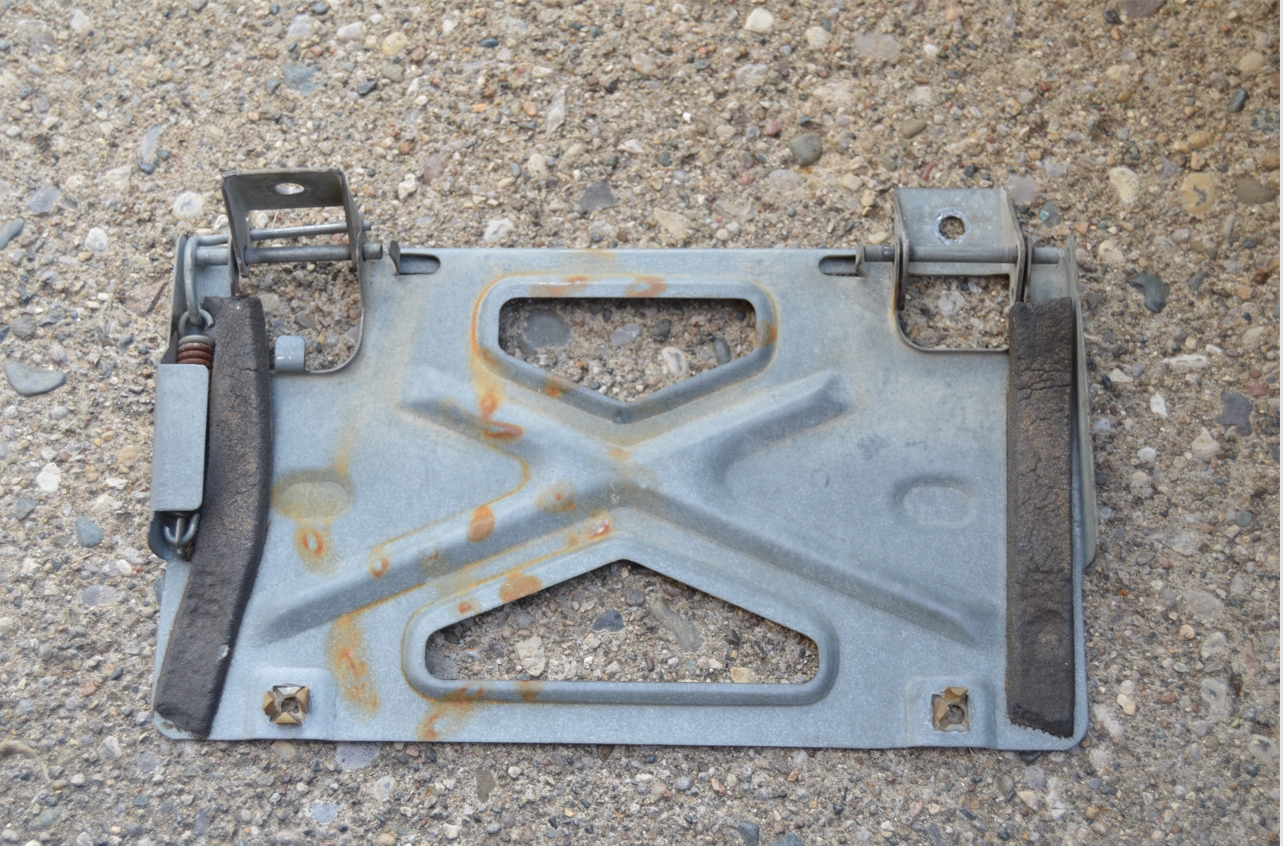
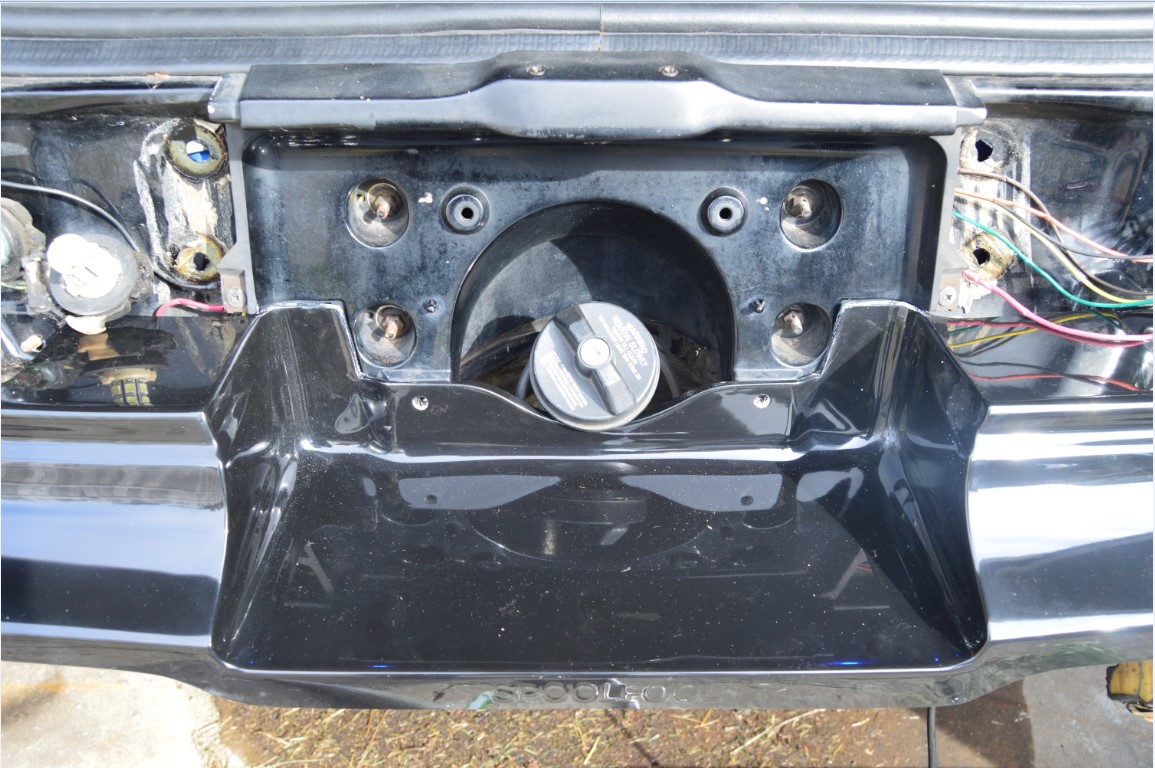
4. remove old filler (12 7/16″ nuts).
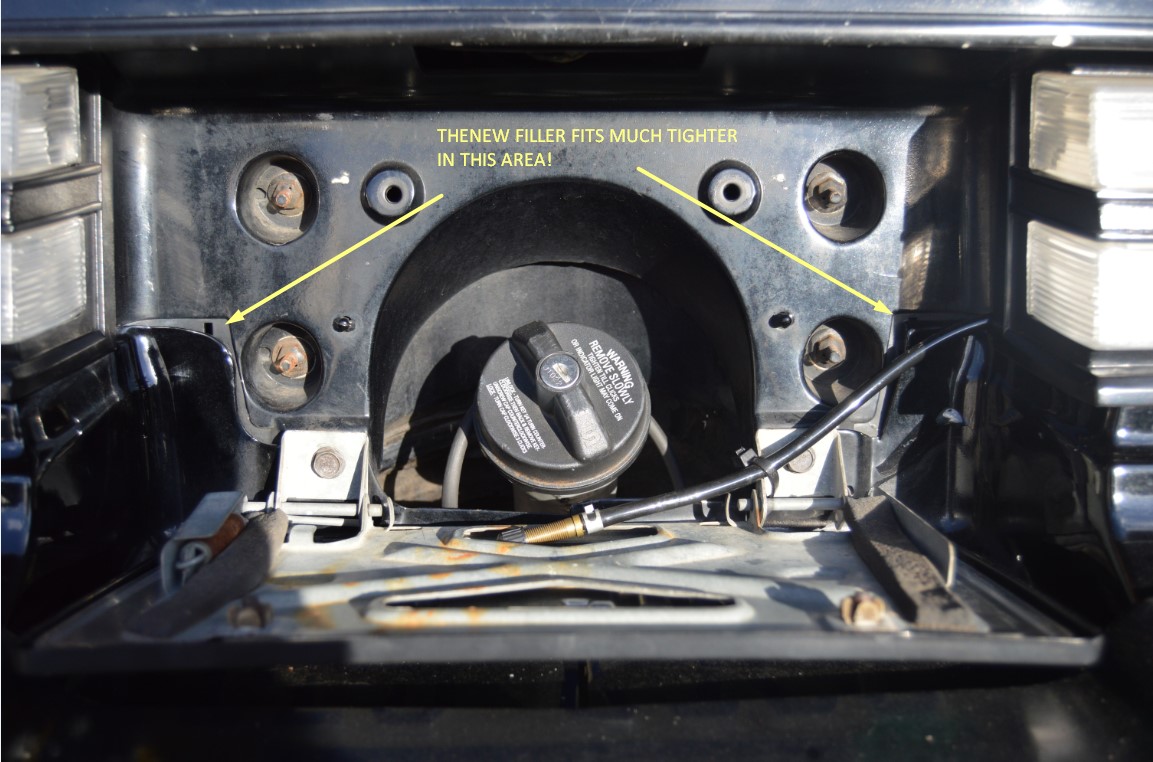
5. remove the nuts that hold the filler on (3 on each side by quarter panels, & 3 across the top on each side).
6. pre-fit the new rear bumper filler, check alignment, slot any holes if necessary, make adjustments.
![]() 7. attach & secure it down.
7. attach & secure it down.
8. reinstall bumper, tail lights.
9. enjoy this awesome looking piece!
.
[tip: the video has a bunch of tips & tricks for aligning the filler with the body!].
Looking to acquire this 1 piece rear bumper filler?

.
.
Here’s a video SpoolFool made for installing the rear bumper filler:
.
.
.
.
The vendor shown above has supplied us with the parts we used in this project, per our request. If you are looking for similar parts, don’t hesitate to inquire with this specific vendor!
.
.