


.
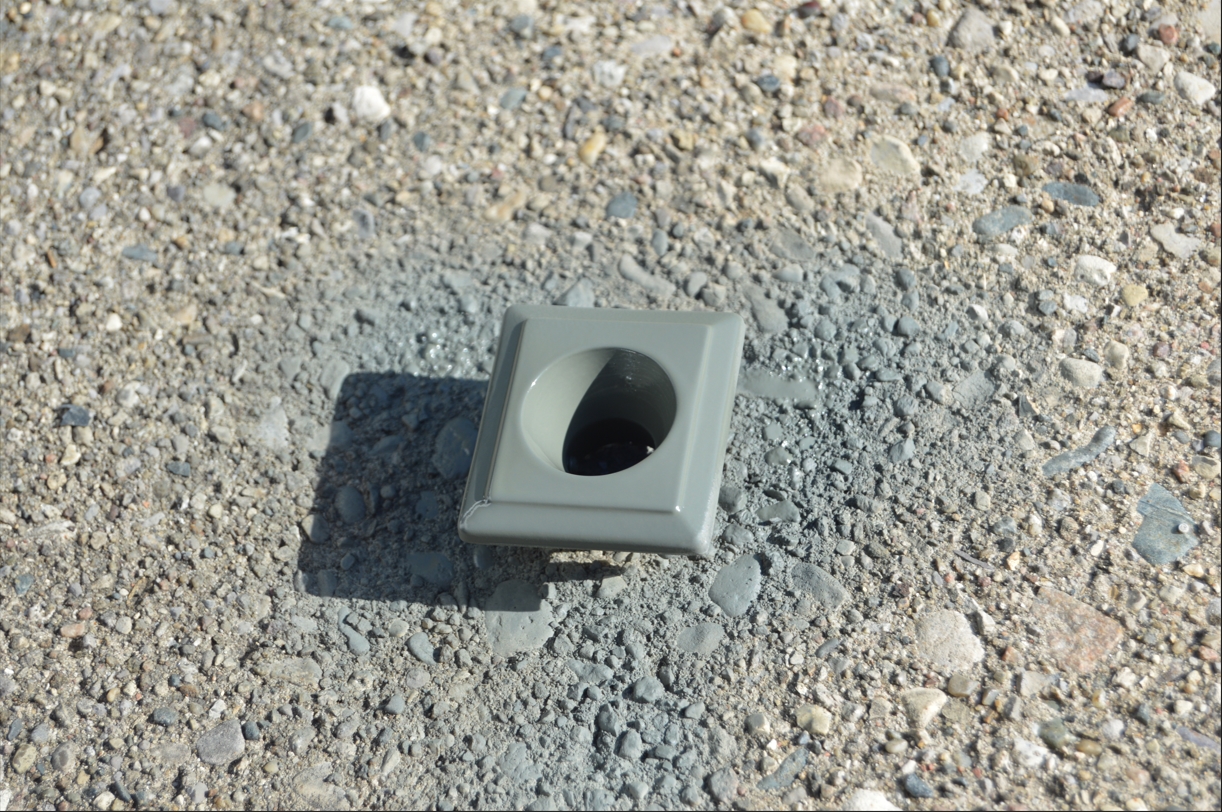
The drivers side, remote side view mirror bezel (on the door panel) was blacked out at the same time as we did the power window bezels and power door lock bezels.
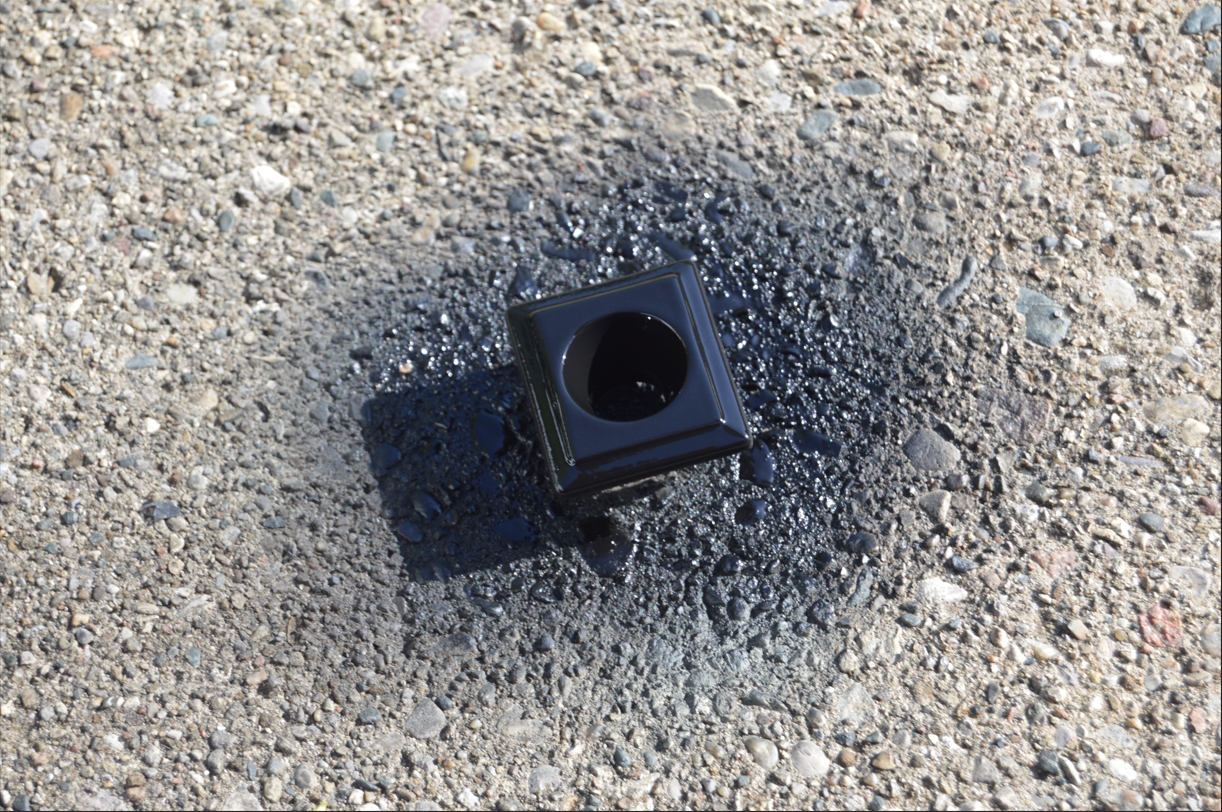
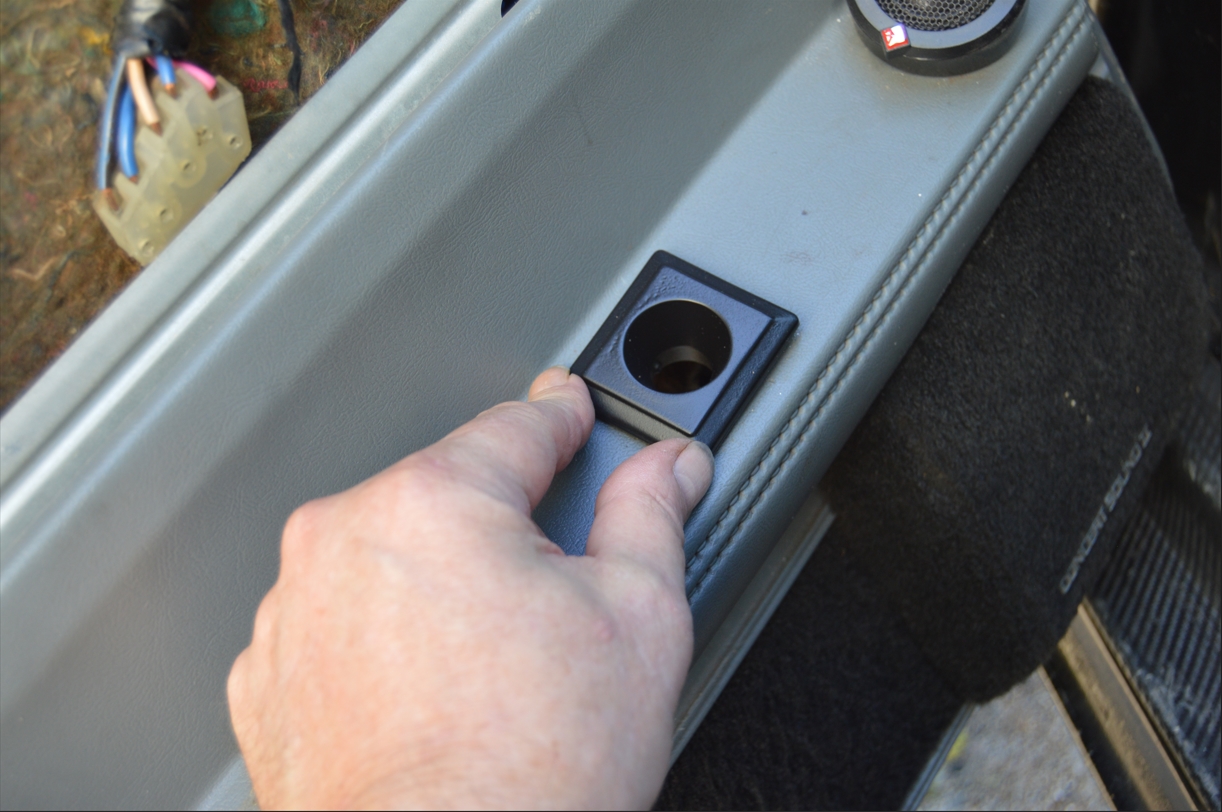
Having the door panels already off, we simply unclipped it (from the backside), took our red scuff pad to it (we gently roughed it up, NOT putting deep scratches into it, this is done so the primer/paint will stick to the chrome surface), shot it with (self-etching) primer, then topped it with a couple coats of gloss black paint.
Once it dried, we reinstalled it.
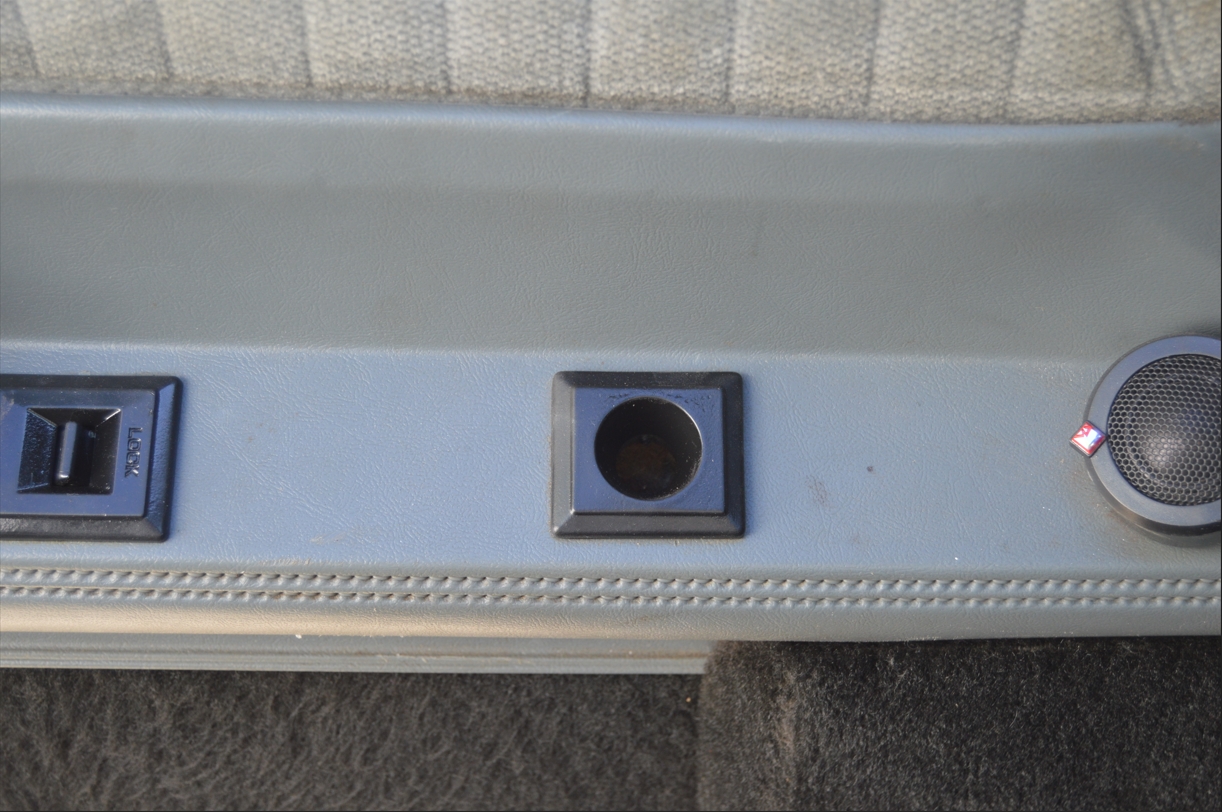
Note that this bezel piece is now functionless in this particular 1987 Buick Regal Grand National, as we swapped out the OEM side view mirrors with the versions like from a Monte Carlo (or Corvette / Camaro / Firebird, which use the same style).
[We weren’t able to hook up the mirror adjustment lever for the mirror within this bezel. So this bezel is now just basically an empty hole. The door panel would have looked weird though if we would have left off the bezel completely]
Our mirrors were actually from a Camaro, and we didn’t know until after installation that the remote switch/lever is not long enough to reach the Buick’s door hole position (for this specific bezel).
(so make sure you get the actual MC type if you’re considering doing that to yours)
(we don’t normally adjust these mirrors once they’re first set, so we figured having the lever accessible wasn’t that big of a deal, if we ever need to move the mirror, we’ll do it by simply pushing on the actual glass)
[see that story here: Buick Grand National side mirror replacement]
.
This project took 2 hours, but that includes time for the paint & primer to dry.
Not to mention that since we did this bezel at the same time as we did the power window bezels and power door lock bezels, there wasn’t really any waiting around. We jumped from one part to the others.
.
PAINTING THE BEZEL:
.
.
HOW TO REPLACE REMOTE MIRROR BEZEL:
[IF you need to see pics on how to remove door panel, check out the power door lock switch replacement post, where we show you step by step info]
1. Remove door panels:
2. Remove the 2 screws found inside the armrest. Slide the armrest forward and then remove.
3. Remove the 2 screws holding the door panel to door (found behind the arm rest).
4. From the bottom of the door panel, pull it towards you. It’s secured to the door via 8 retainers (4 on the bottom, 2 on the sides). You can use a tool (so you don’t break the clips), or just yank on it.
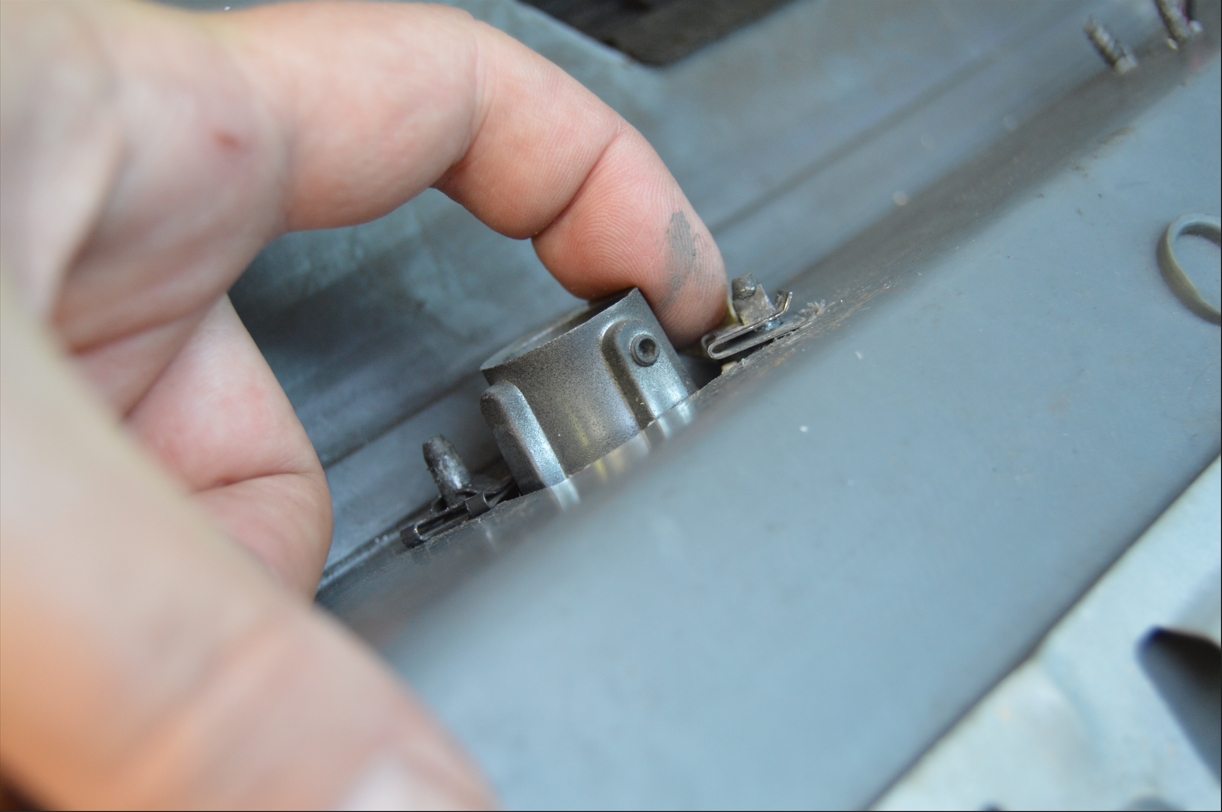
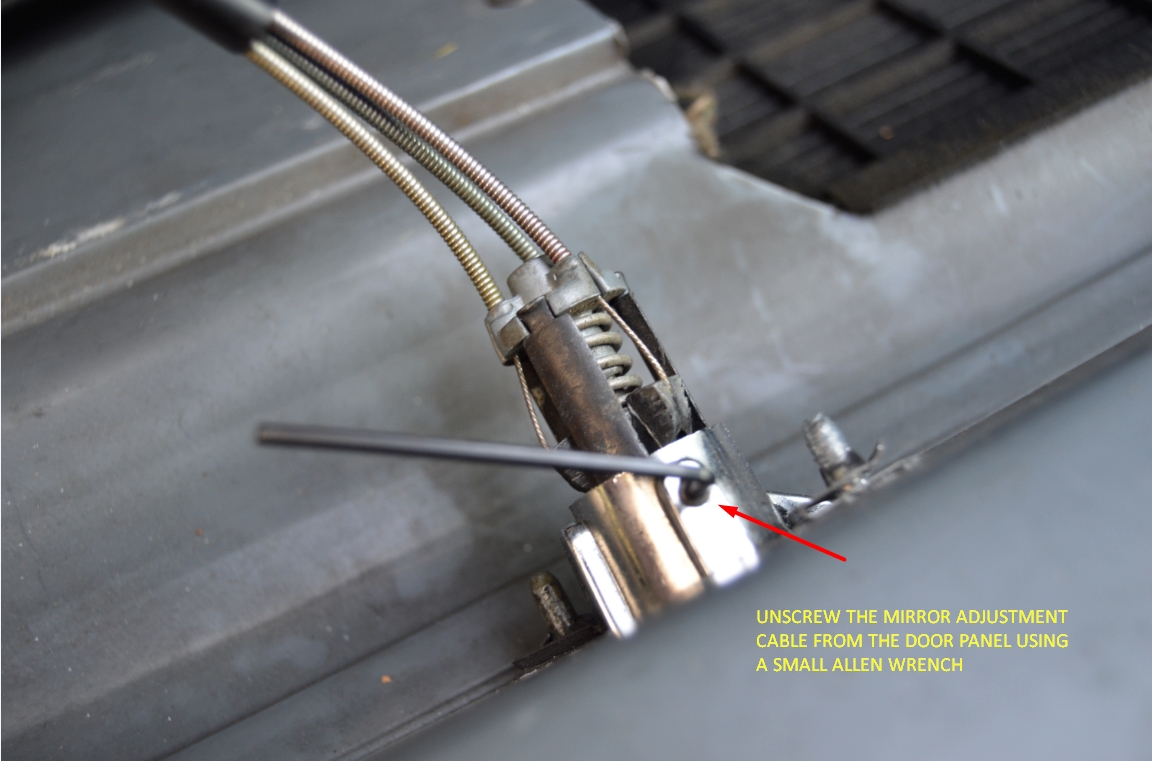 5. Detach the mirror adjustment cable from the bezel. This requires a small allen wrench.
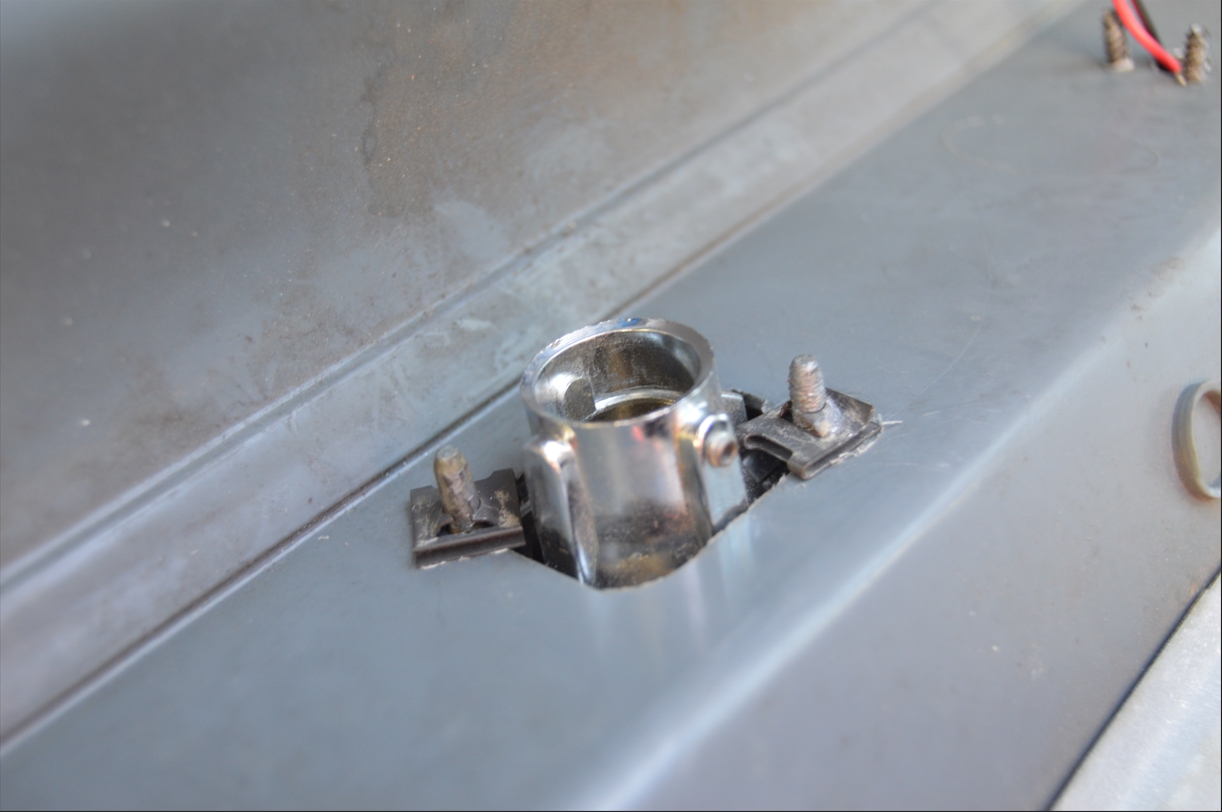
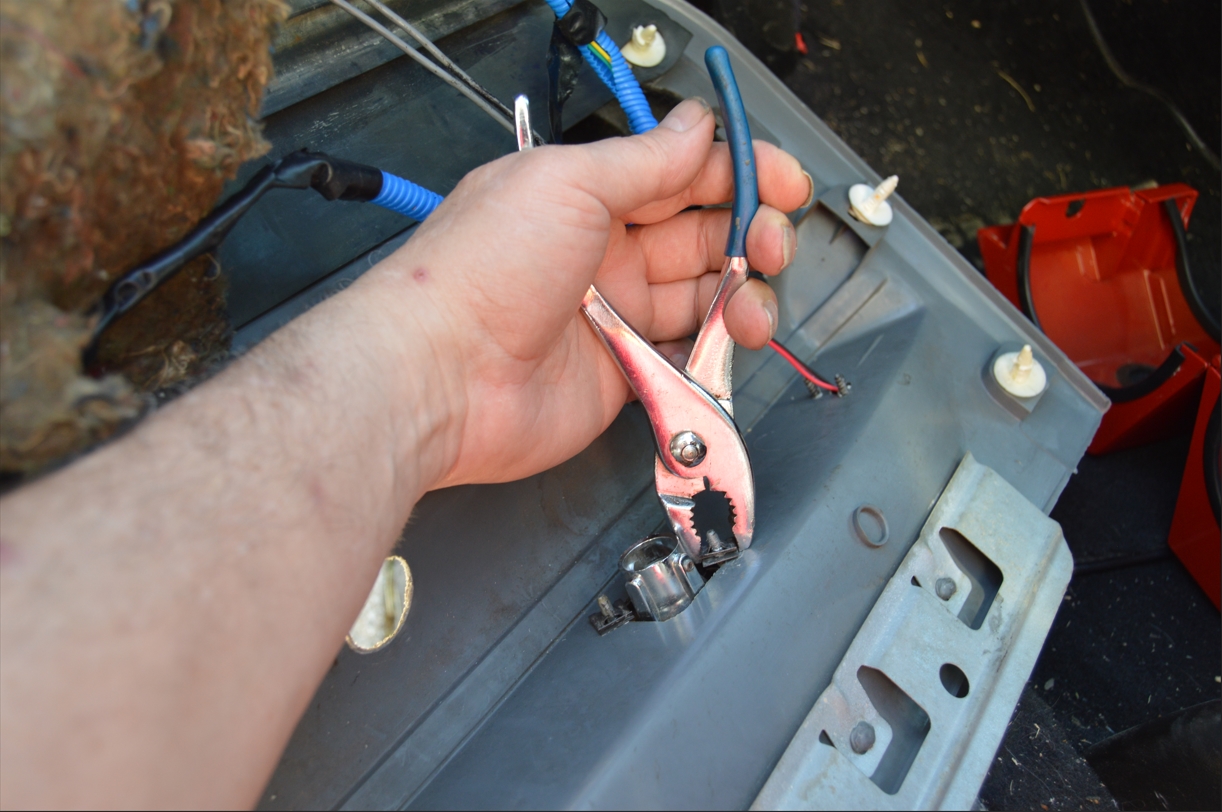
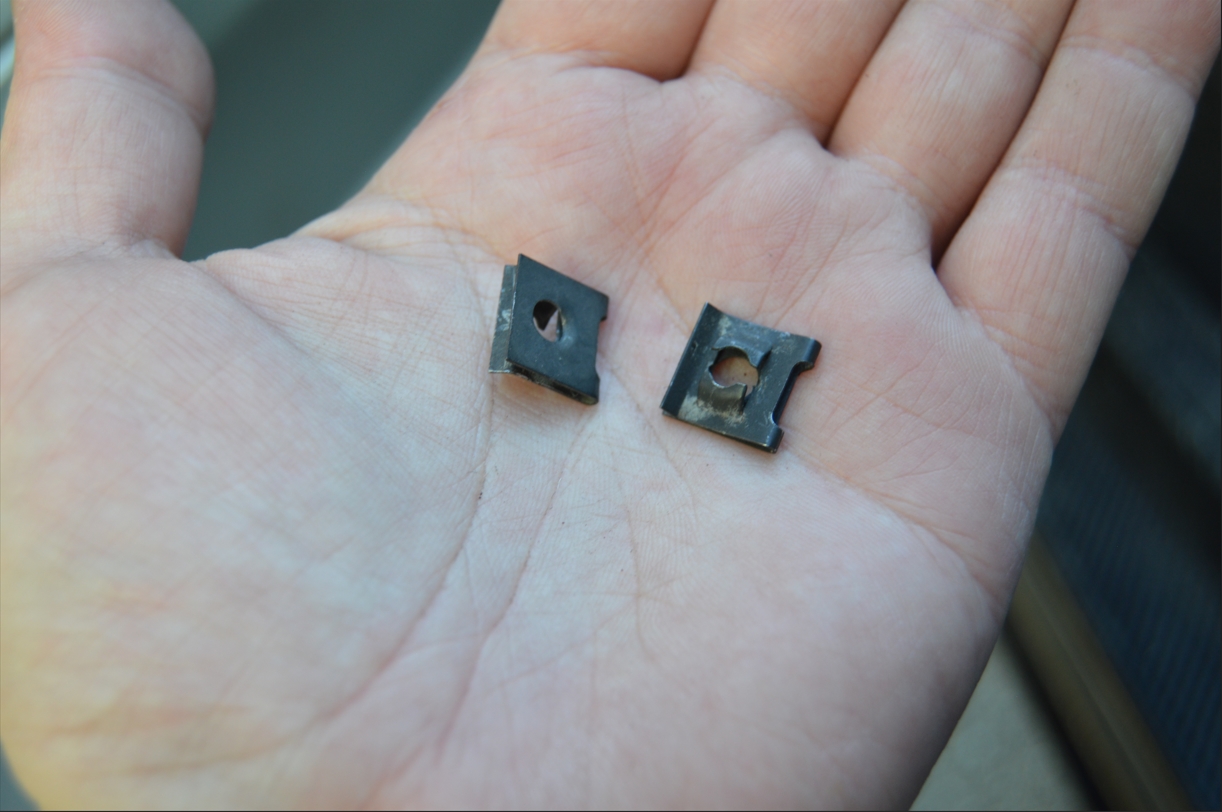
6. The bezel is held onto the door panel via 2 tabs that have (square) speed nuts on them. We used a pair of pliers to start unloosening them (they were stuck a bit), then just turned them by hand until they came off.
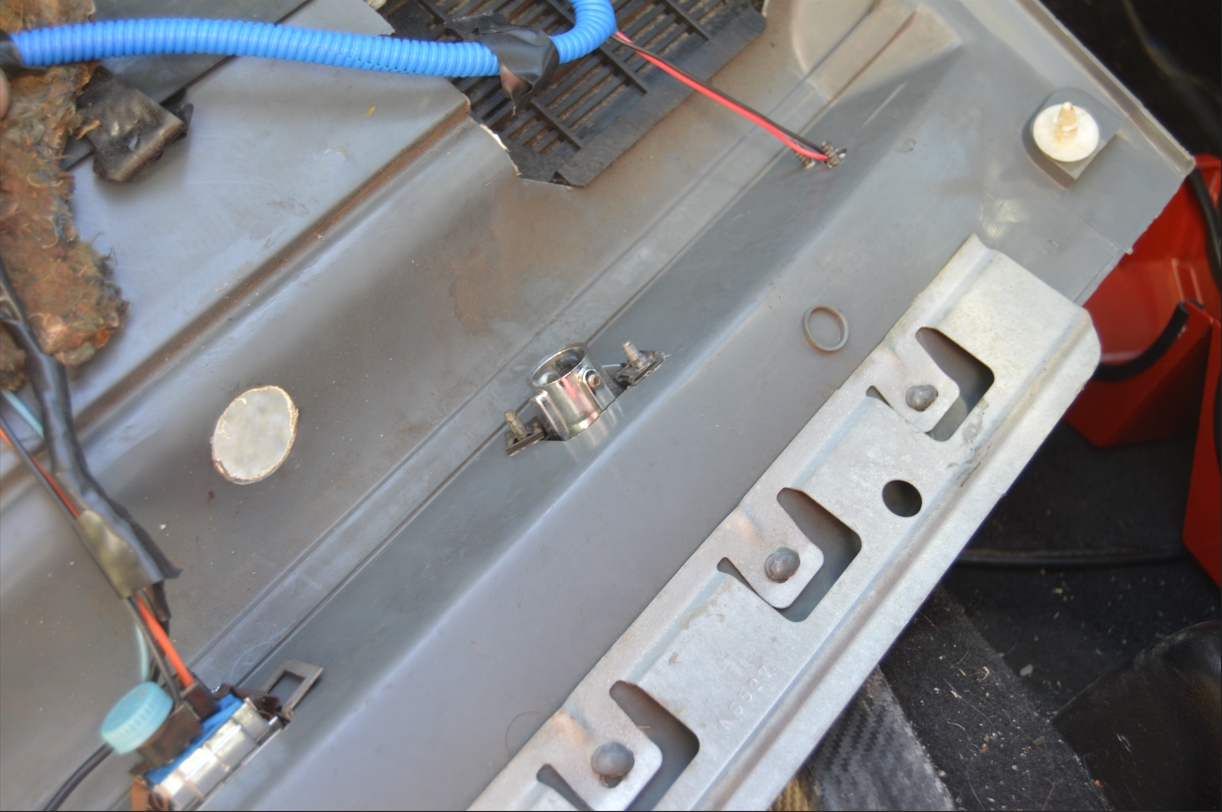
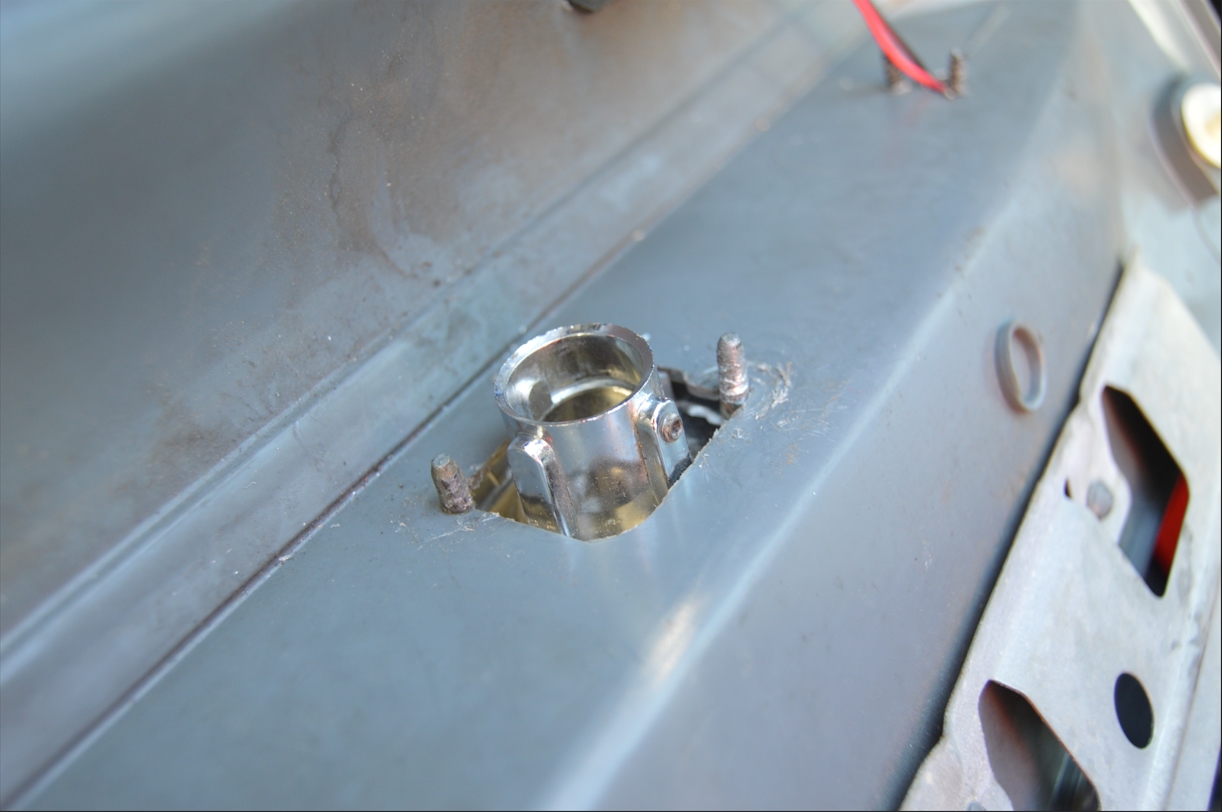
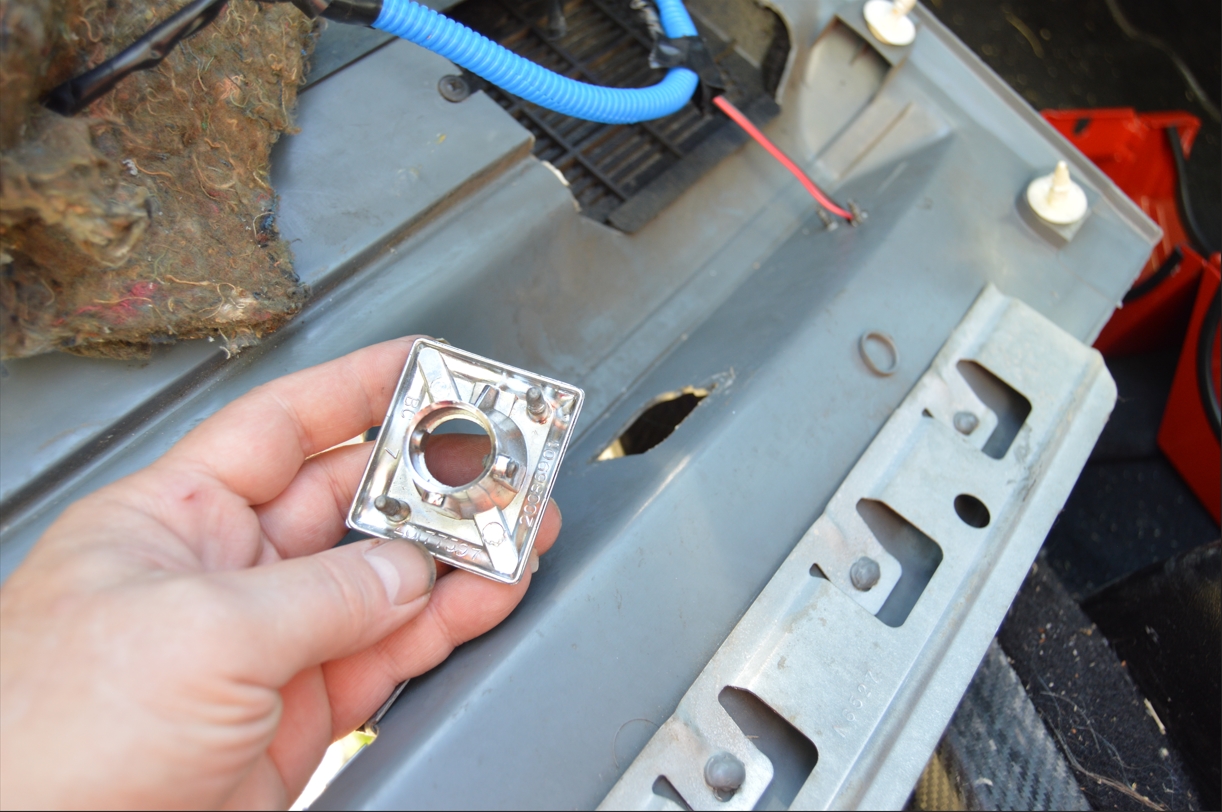
7. Remove bezel.
[then they were painted]
8. Install new bezel.
9. Reinstall in the opposite order.
10. done.
.
.


