


Essentially, all Grand Nationals are Buick Regals as well, since they (mostly) share the same body and components.
The Grand National name tag is simply an upgraded model of the Buick Regal.
[ all Grand Nationals are Regals, but not all Regals are Grand Nationals ]
Some may insist that you should always use the specified “Grand National” name or logo for custom parts on this specific G-body model, but we have no problem interchanging between the two.
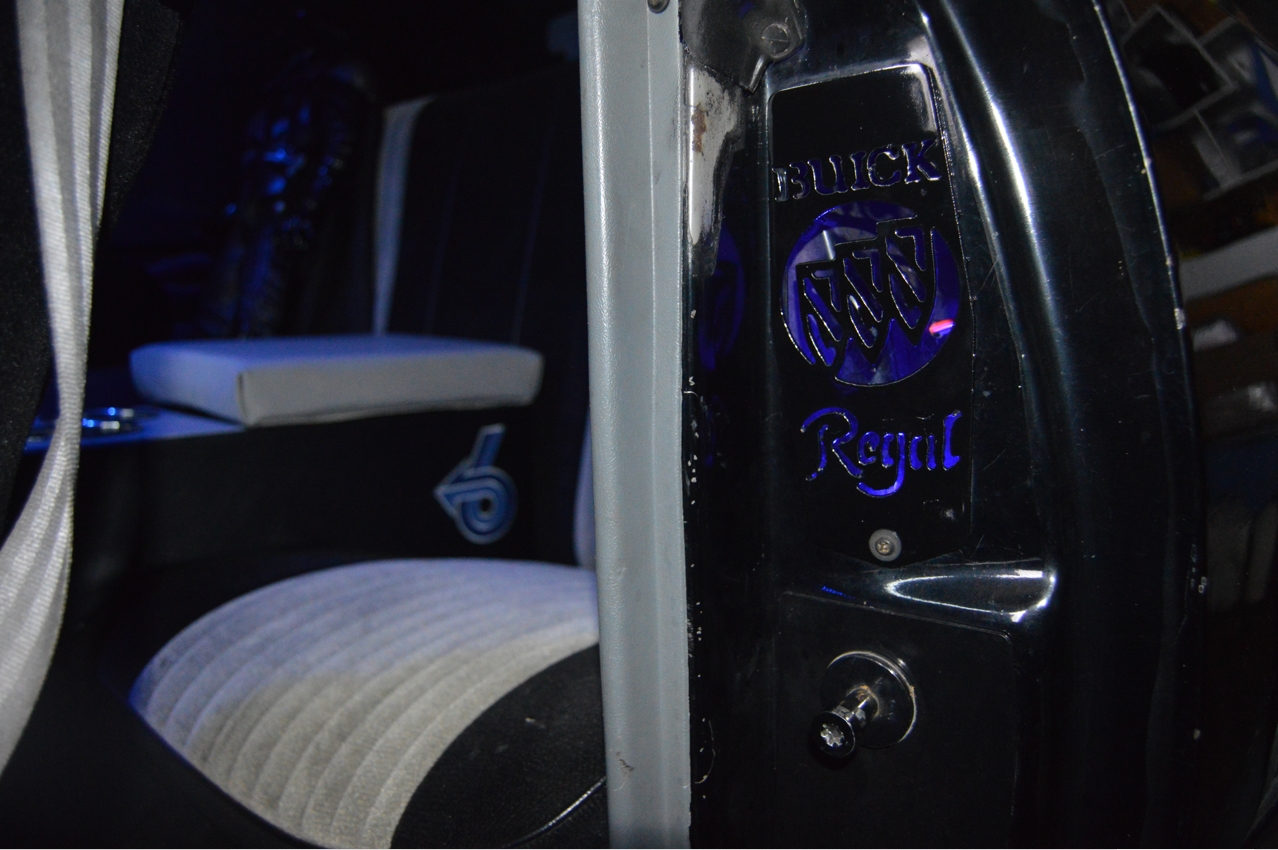
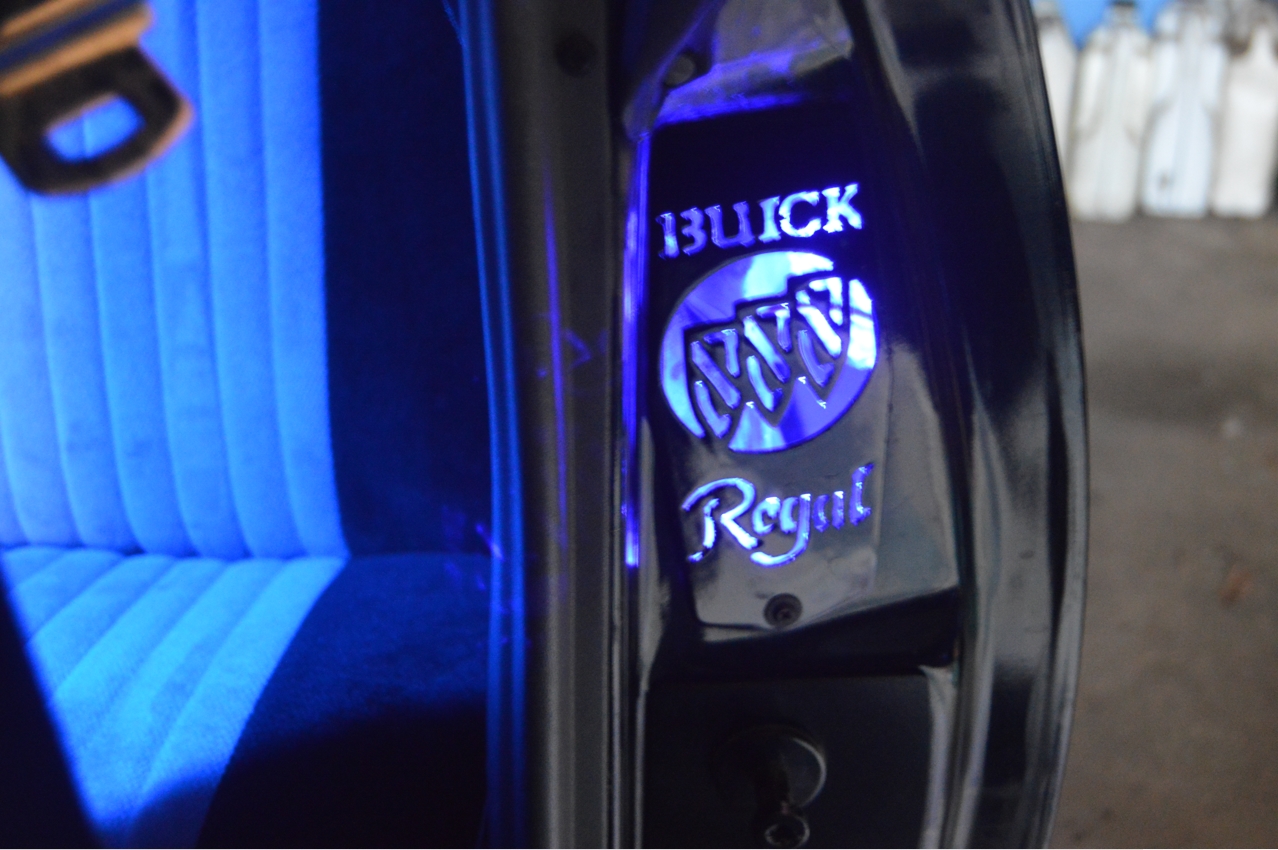
That’s why we didn’t mind using our recently acquired custom crafted door jam vents that say “Buick Regal” on them, when we installed them on our “Grand National.”
Actually, we selected this particular set because we wanted the Tri Shield logo design on them (or more accurately, cut into them).
Not that the Turbo 6 logo isn’t cool enough (you have seen our other posts, and other custom designed parts and things, fully plastered with the Power 6 symbol on them, right?), but we wanted something different, but yet still be in-theme to the Buick motif of this era, that we could use, while still being technically accurate to this Gbody model.
[ the factory DID put the tri shield emblem on the steering wheel, so why not utilize it on other areas of the same vehicle!? ]
.

.
This ’87 Gbody Regal GN started out with the (black plastic molded) OEM door vents, then we made custom LED door vents for it, and currently we wanted to go back to something similar to stock, but just a bit more special than the factory type factory versions.
.
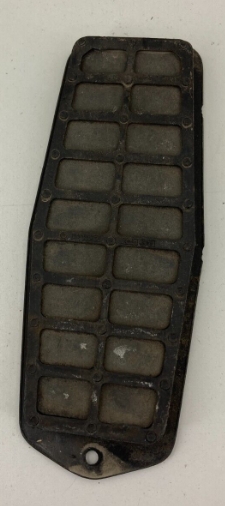
OEM DOOR JAM VENTS:
.

.
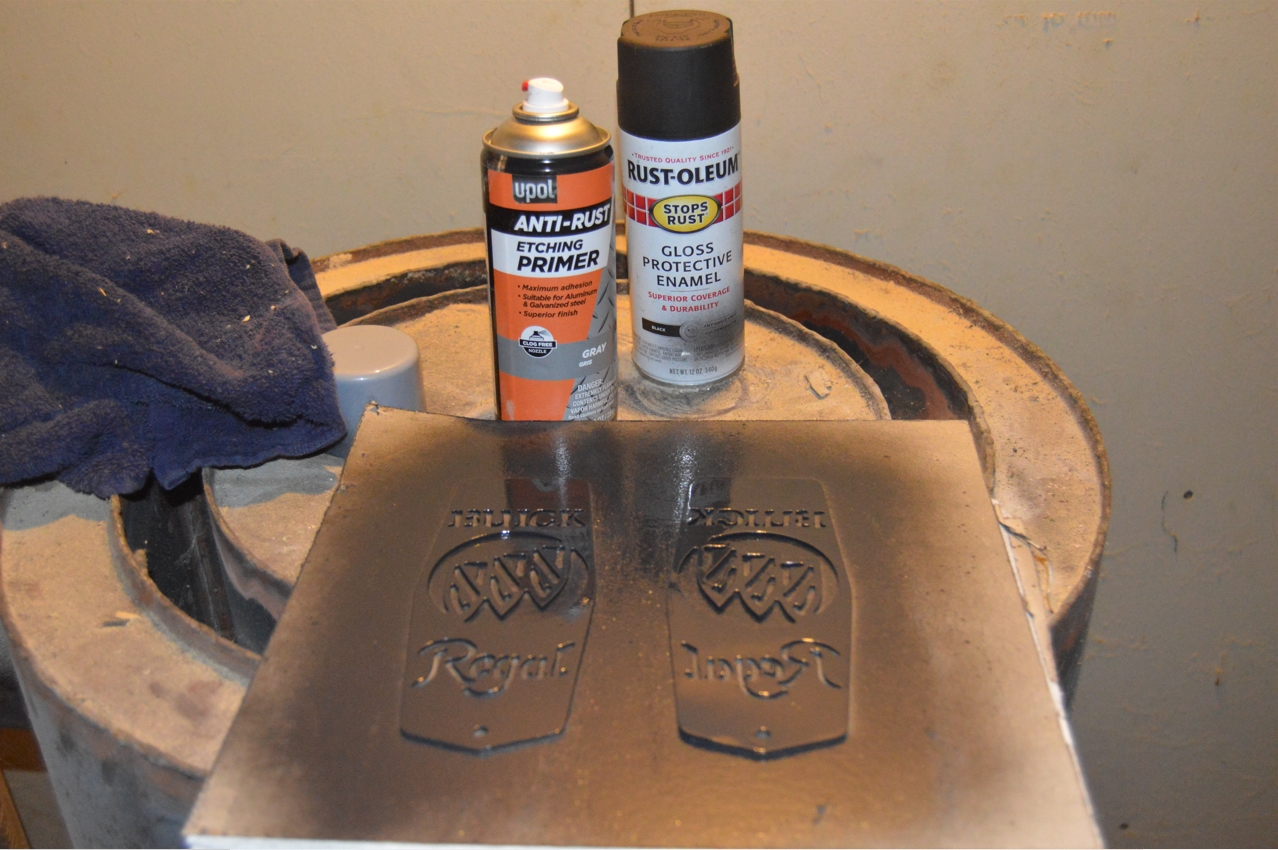
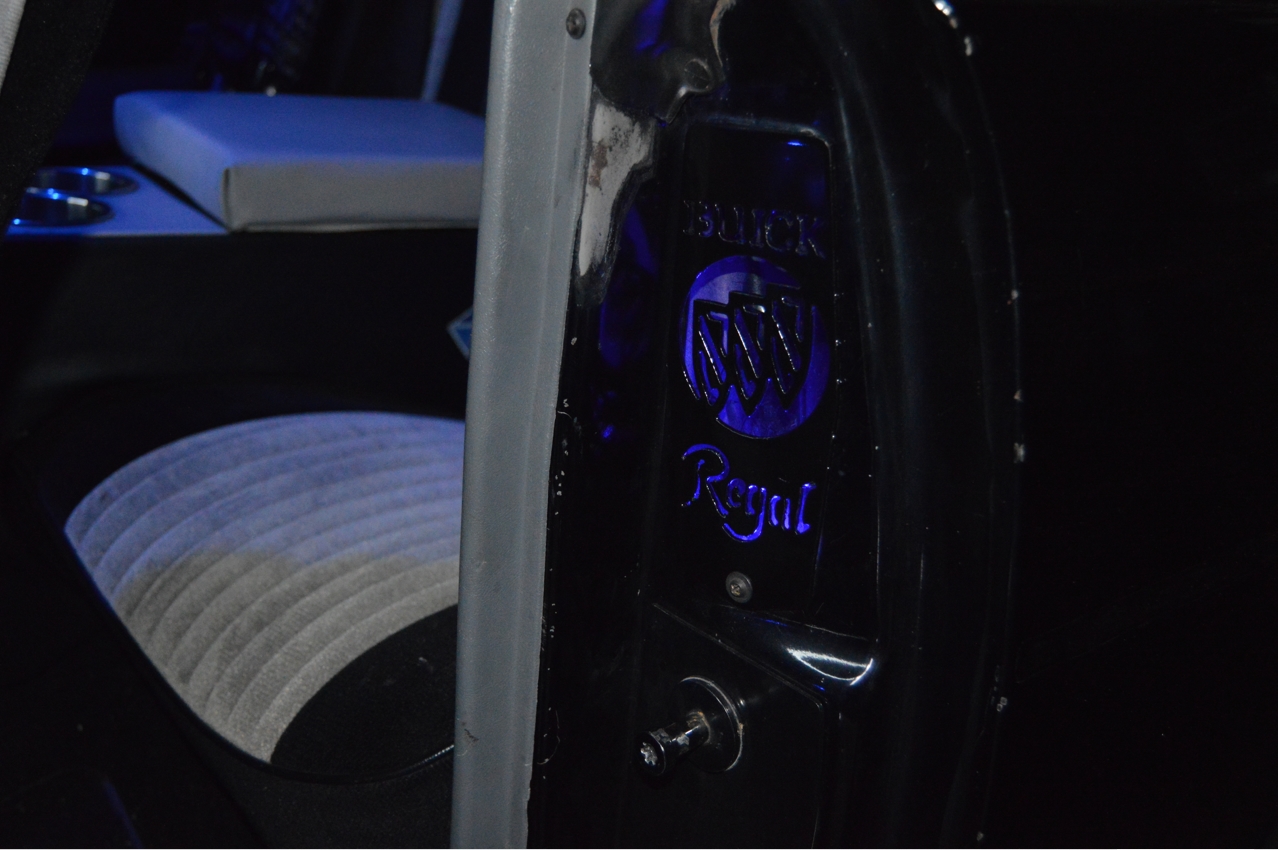
The new ones we selected are made from raw steel, with CNC plasma cut-out lettering and the triple shield crest logo, and are ready to be chrome plated, powdercoated, or painted to your liking (which is what we did).
We bought them off ebay, and the listing was for a set of 2 vent covers.
These custom made pieces fit all 1978-87 Buick Regals, and run about $35 per set.
Installation (not including painting) only takes 5 minutes for both parts, and is as easy as removing 1 screw per side. Pull the old ones off, place the new ones on. Secure, done.
.
We thought about playing around with different paint colors (such as blue, that matches the color scheme going on with this particular Buick GN), but to us, this seems like an area that either needs to be chrome, billet aluminum, or painted black (which is what we ended up doing).
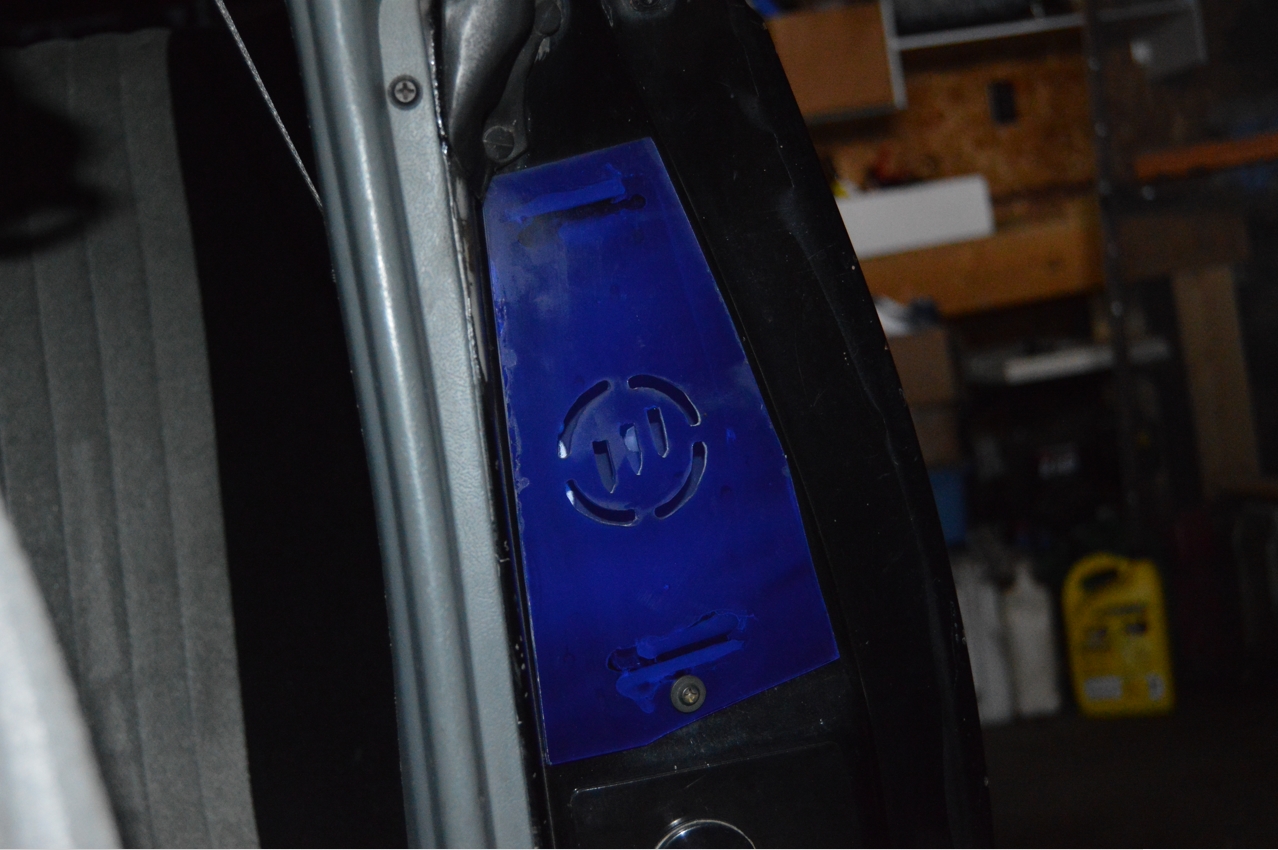
As much as we love the blue accent color areas on the Grand National, when we previously did the custom LED Buick door jam vents, that blue color (of the acrylic plastic) just seemed to stick out, and look mostly out of place located in this area.
They’d probably be good on a totally blue colored Gbody Regal, custom Donk-type car, etc., but on this black ’87 GN, it just wasn’t right (at least in our minds).
Hence us wanting to redo this section (again).
Since these vents come in raw steel, we needed to sand them down a bit, then used a can of self etching primer on them (since they are bare metal & would be exposed to the weather, we figured this would be a good thing to do on them), and finally rattle canned them gloss black.
The entire process took less than an hour, and total cost was around $50 (parts, primer & paint).
We’re finally happy with this area of the Buick Grand National, and can work on other areas of the vehicle next.
.
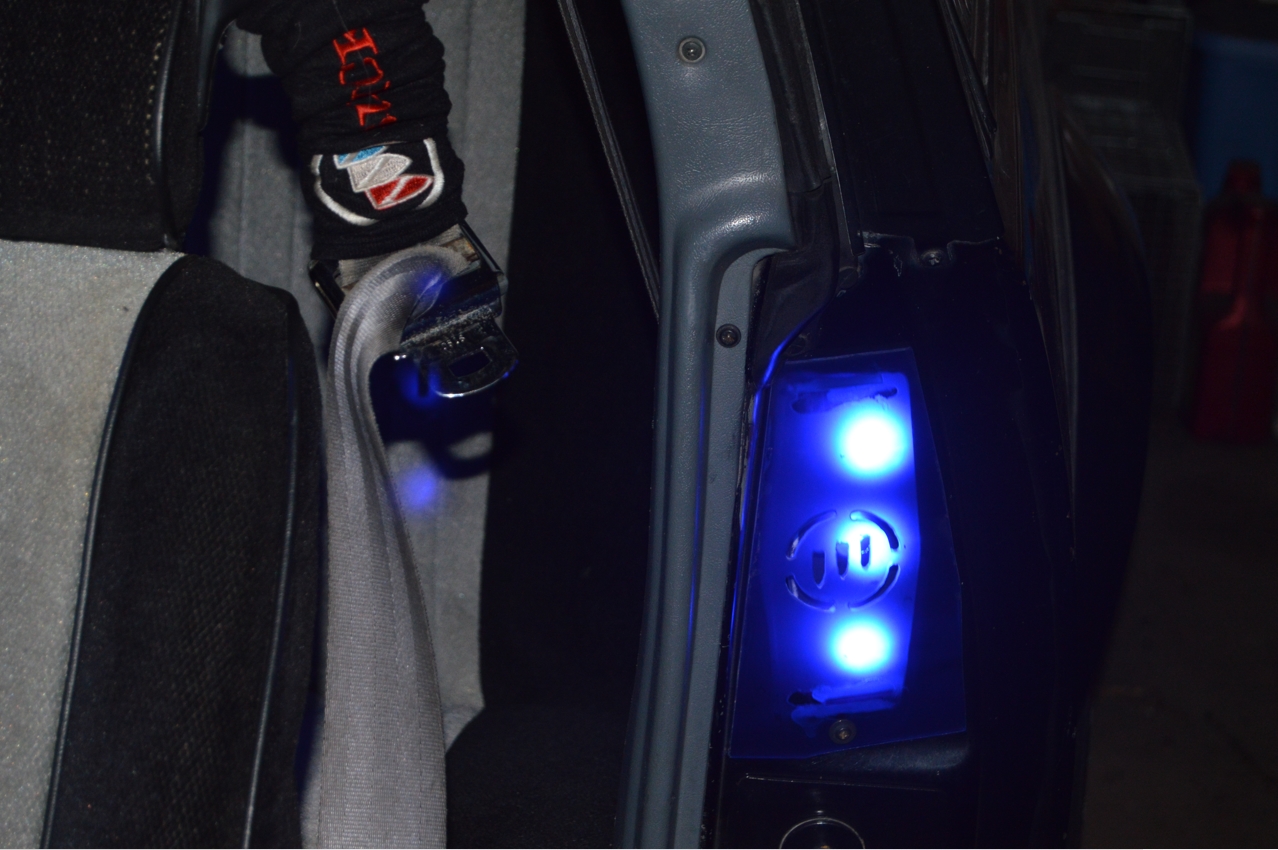
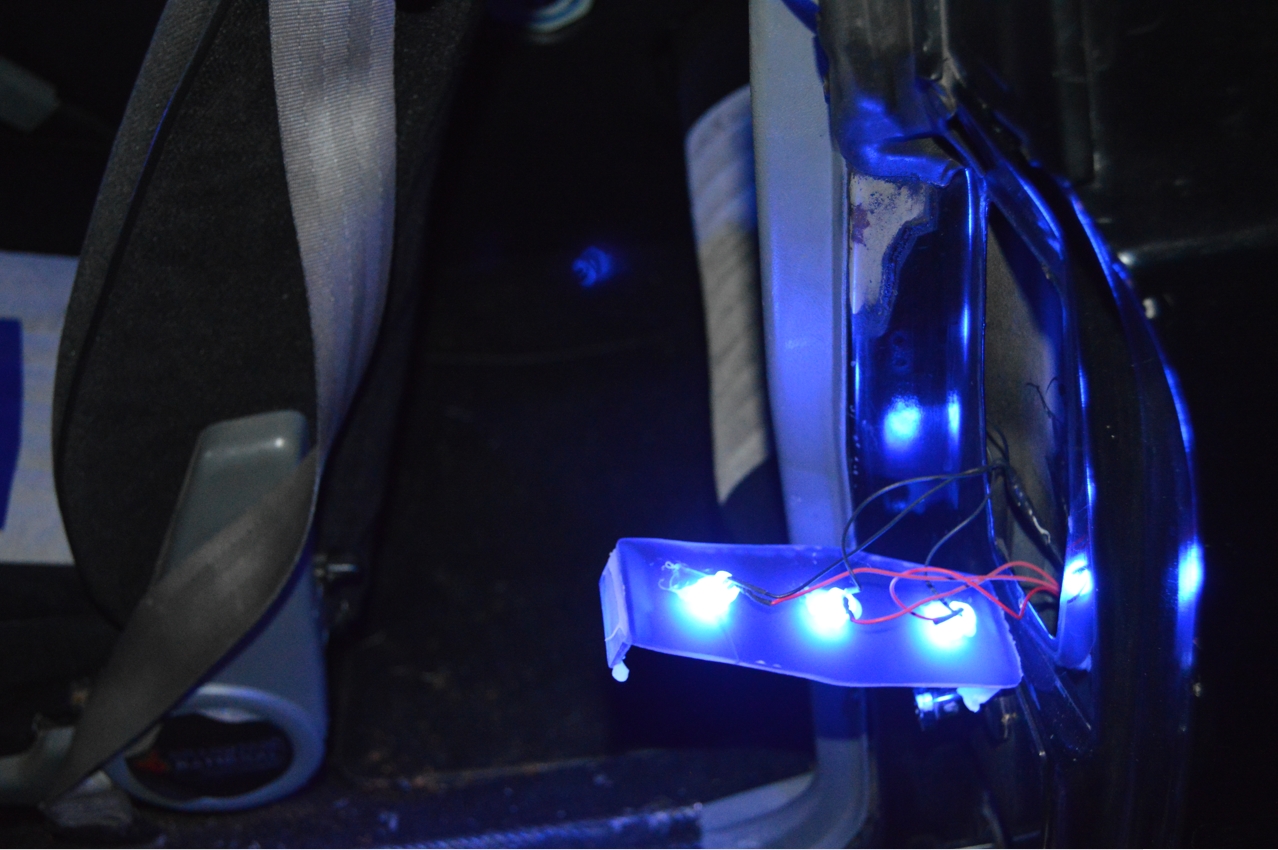
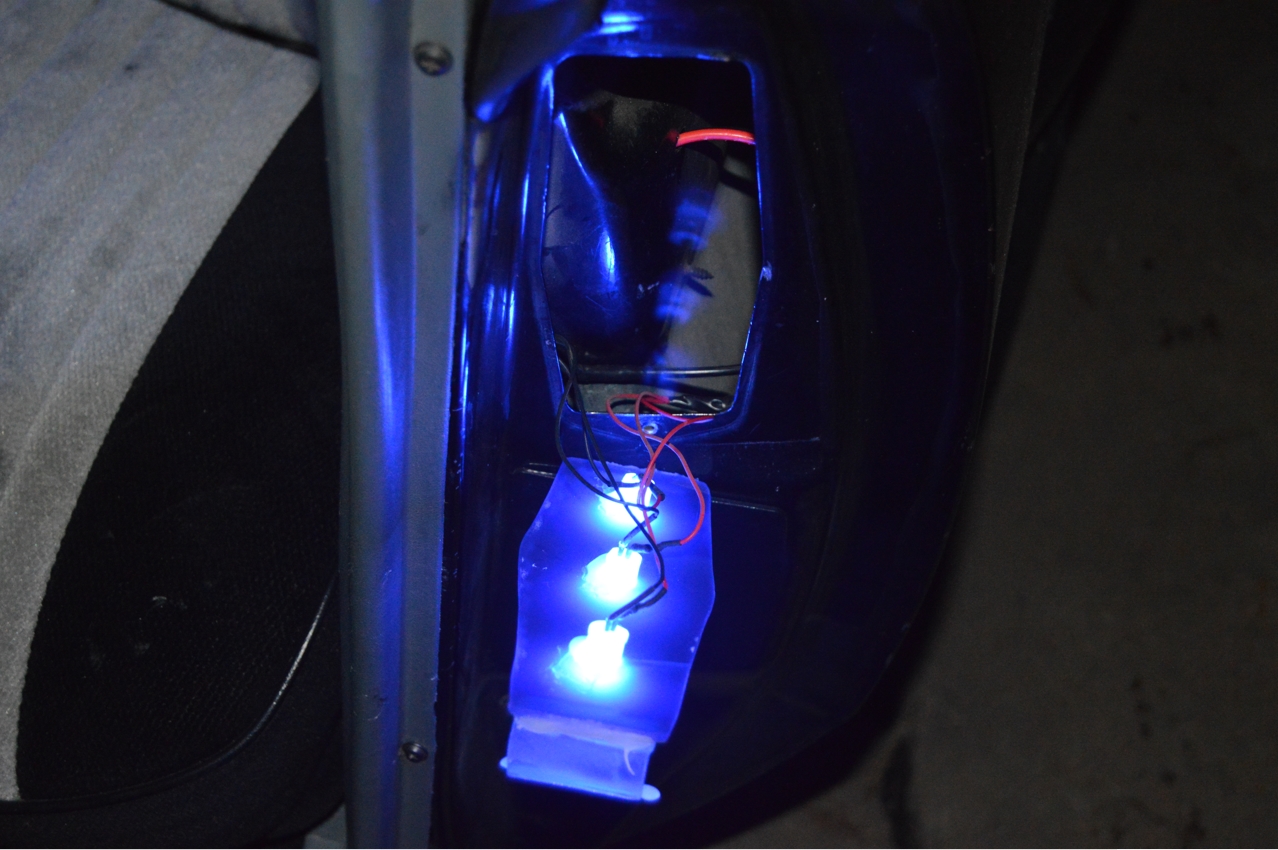
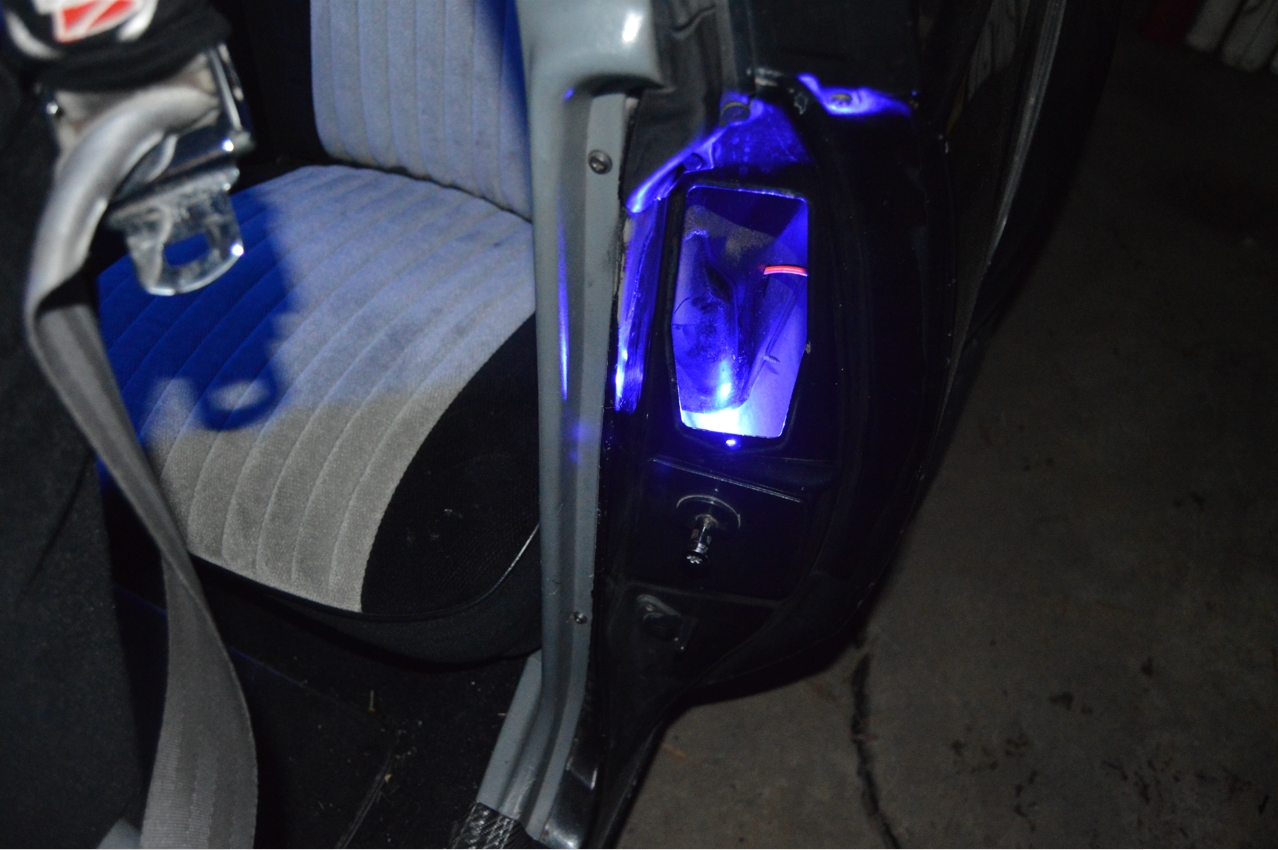
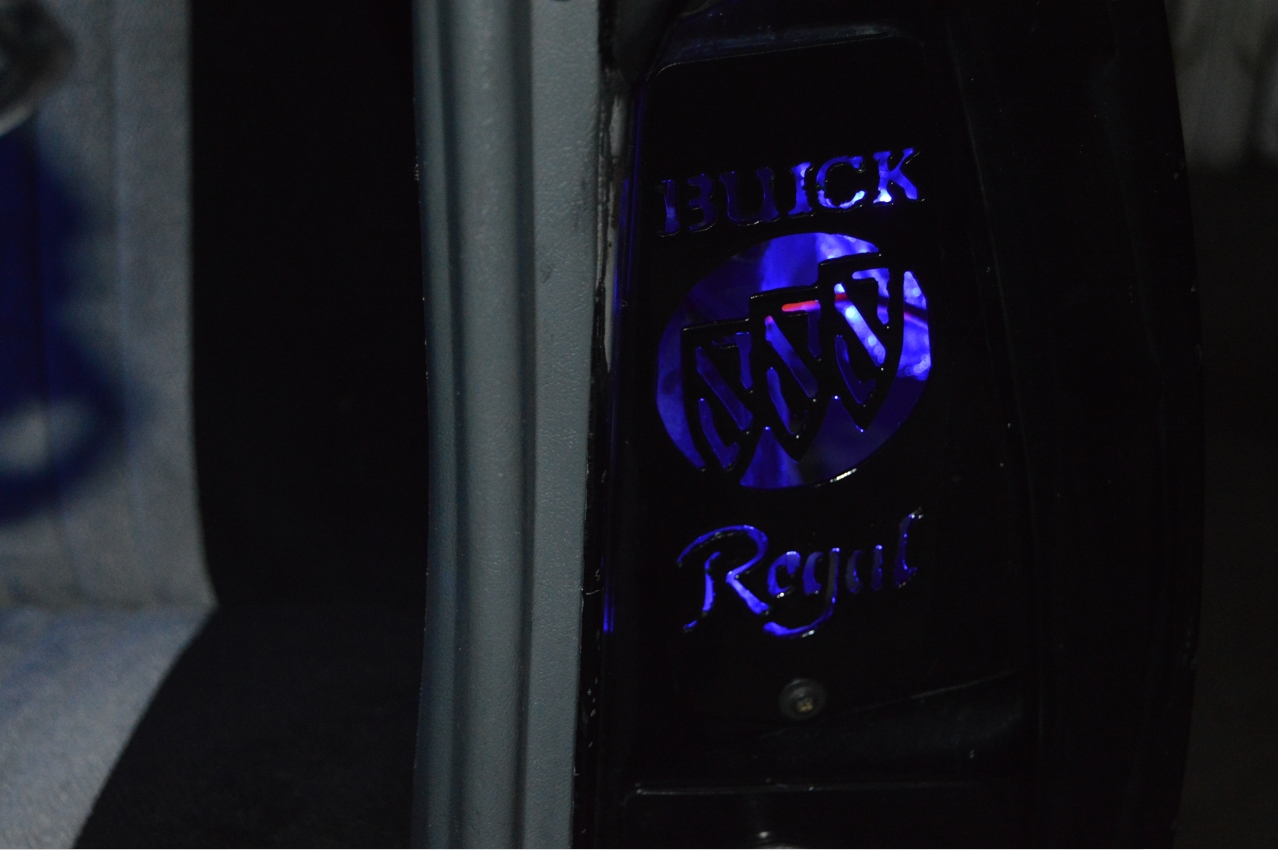
Note that we removed the old custom door jam vents, but kept the idea of the blue colored LED bulb that was behind it (we still think that part is pretty cool since it provides some extra light in that area, and makes the tri shield logo glow at night when the doors are open).
The old plexiglass made vents had the LED lights embedded into them, so we left those alone, and just detached the power & ground wires (that we previously added when we did this section the last time).
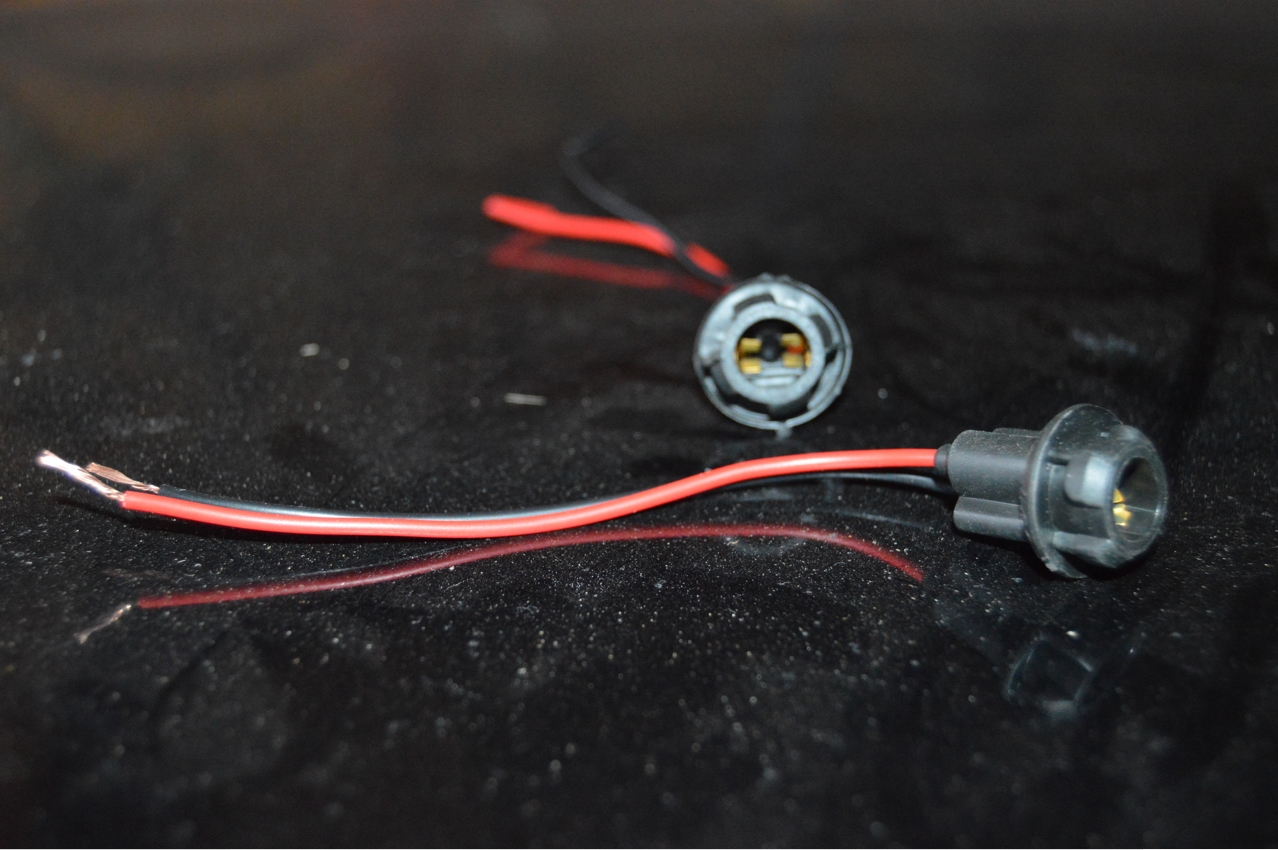
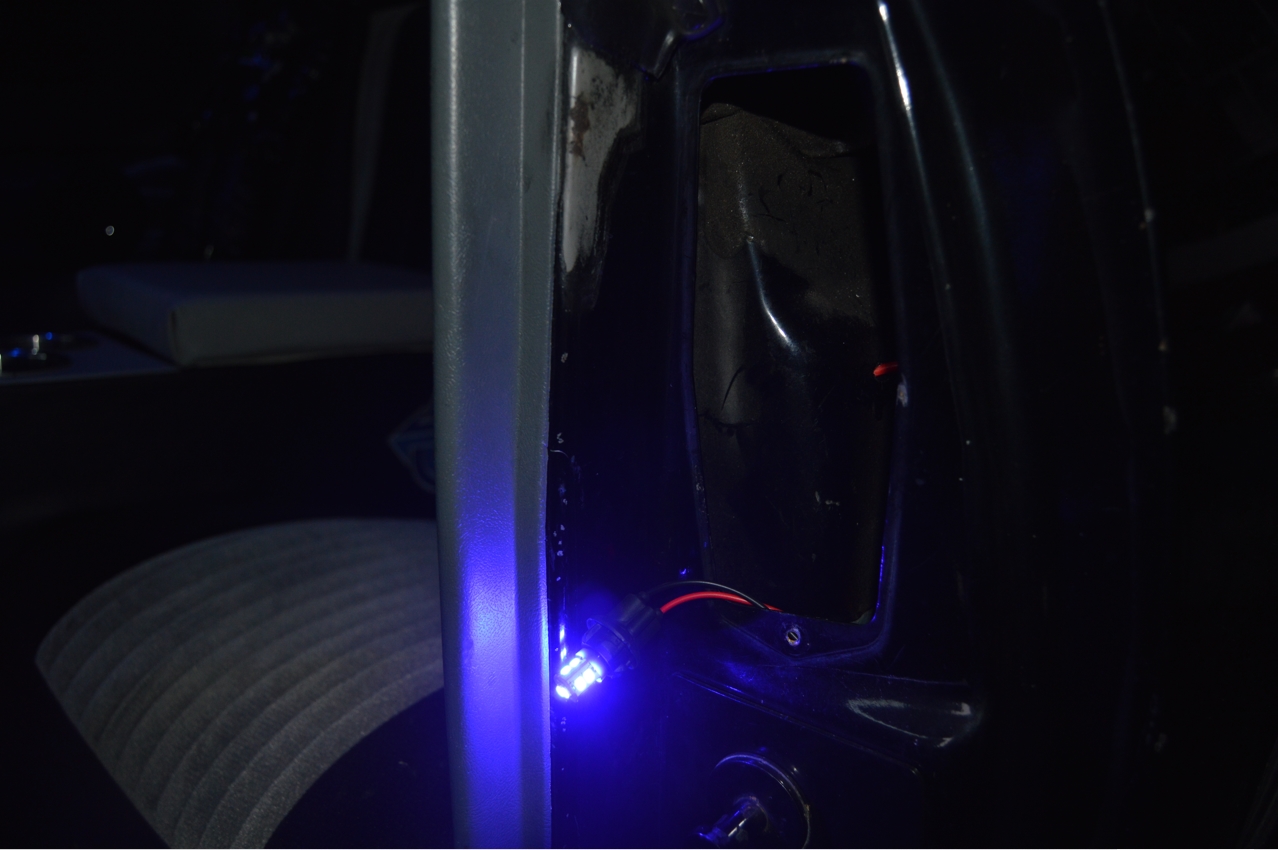
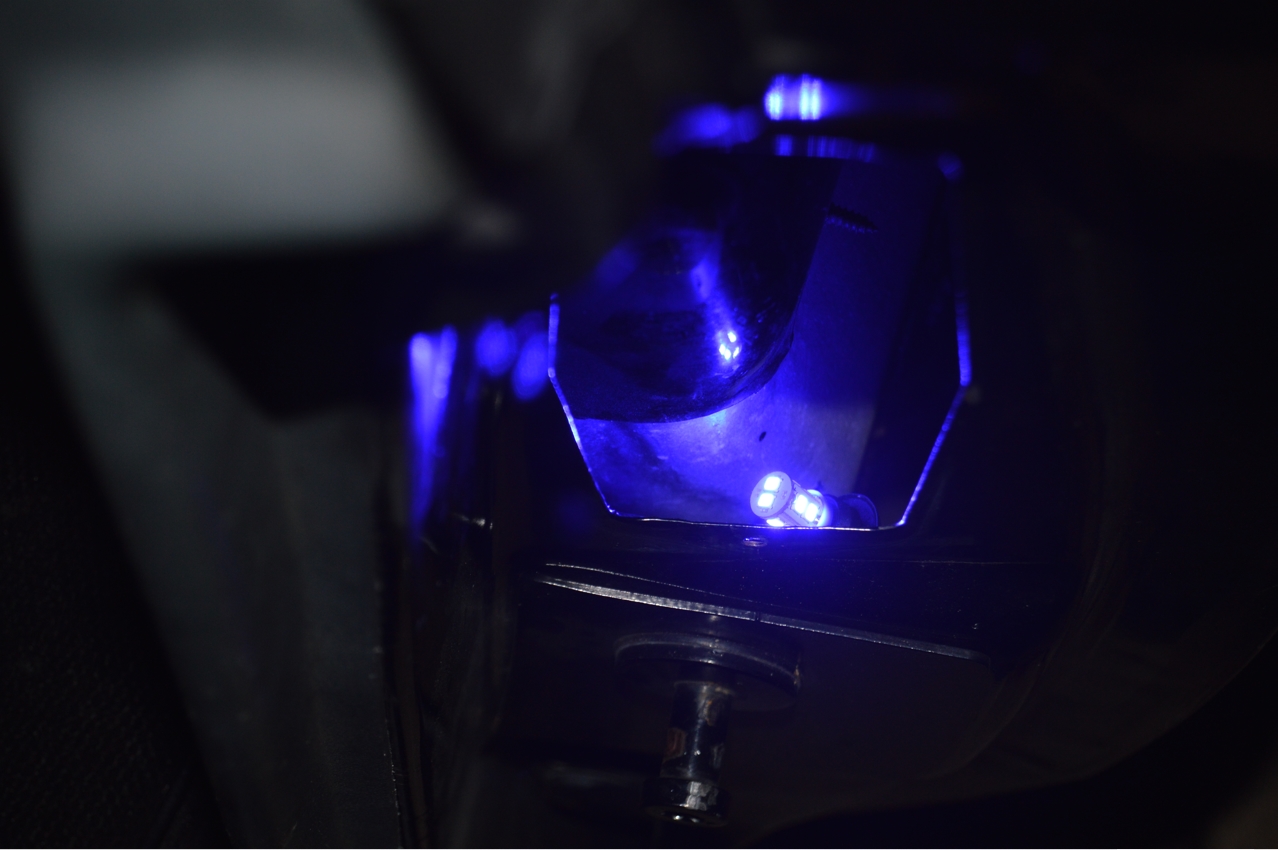
We added a new (blue) LED bulb and socket to those wires, then simply duct taped the light unit to below the opening in the body (on the inside).
Easy and effective for what it is.
.

.
.
OLD VENTS:
.

.
REDO THE WIRING:
.

.
NEW COVERS INSTALLED:
.

.
.


