


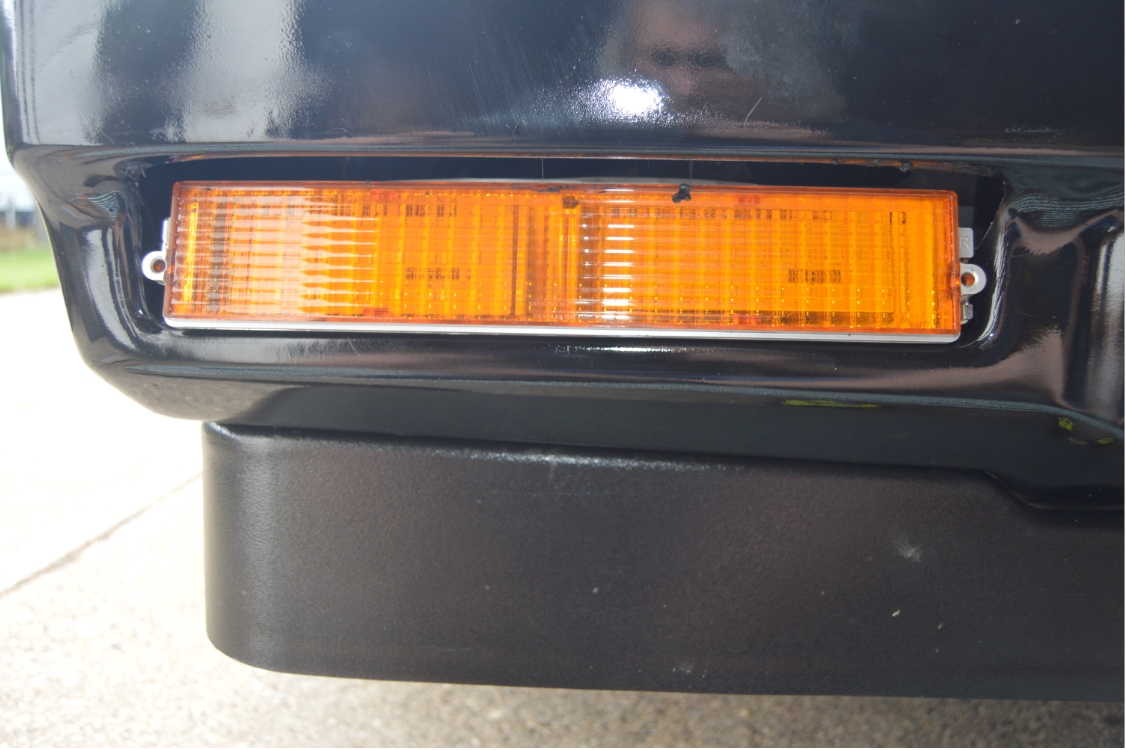
When we added on the new fiberglass bumper to this 1987 Buick Grand National, the parking lights & bezels didn’t quite fit right in it, like how they would sit when in the factory bumper.
This was one of two issues that we had with the new FG bumper.
(other than these 2 minor issues, we love it)
Neither were real bad issues, just stuff that bugged us.
Stuff that needed to be remedied.
[the other issue will be discussed tomorrow. “an unexpected engine temperature rise”]
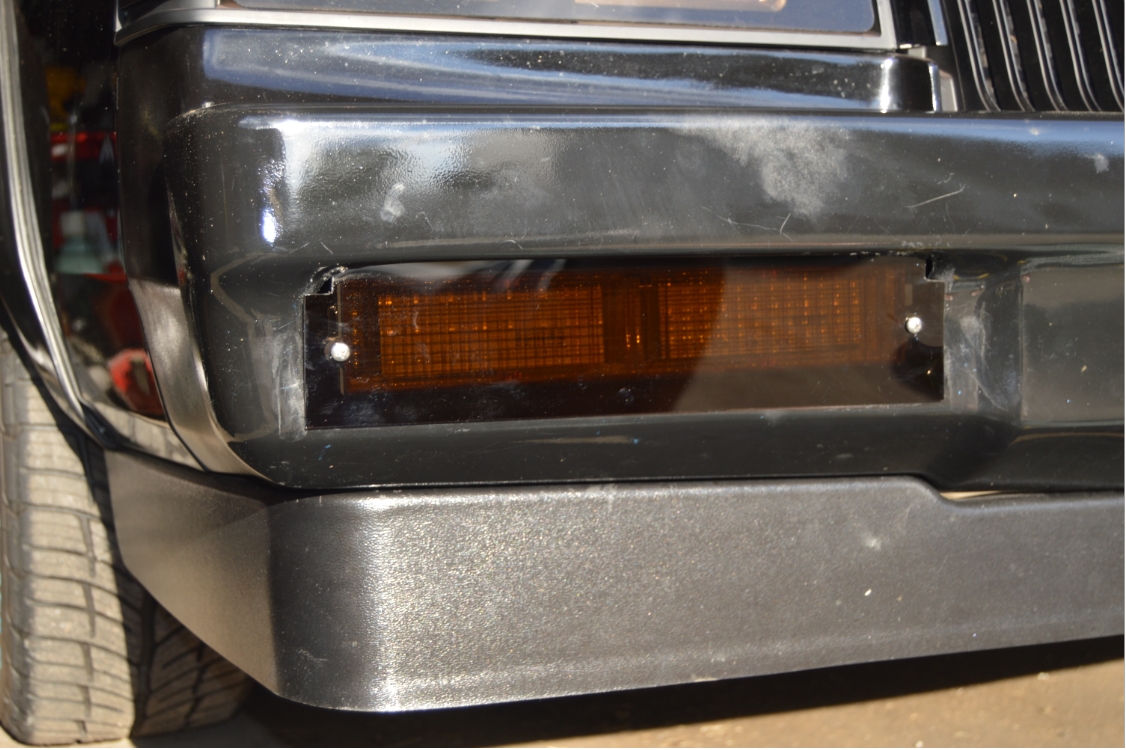
The (top of the) parking light bezels stuck out about 1/2″ away from the bumper, partly because the parking lights hit the mounting brackets (on the sides nearest the center of the car), and partly because I think the FG bumper isn’t as deep as the OEM one is (or the mounting brackets are bigger/deeper than the stock ones).
The passenger side looks worse than the drivers side.
.
THE BEZEL ISSUE:
.

.
We could have just cut down the top side of the parking light bezels and called it a day, but we opted not to, just in case we ever need to reinstall the stock bumper.
(why ruin original parts when you don’t have to)
Our great solution:
Don’t use the bezels at all!
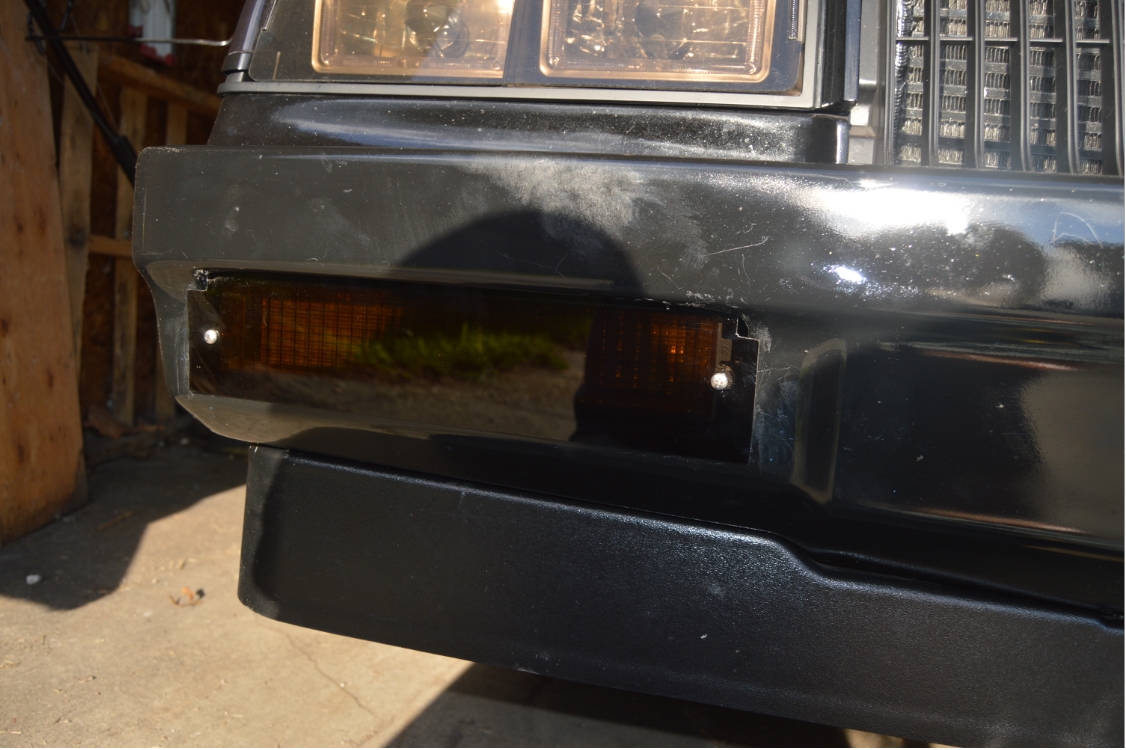
Since this Regal G-body already had smoked plexiglass covers on them, and we liked that look, we figured we could make something similar, and solve the bezel issue at the same time.
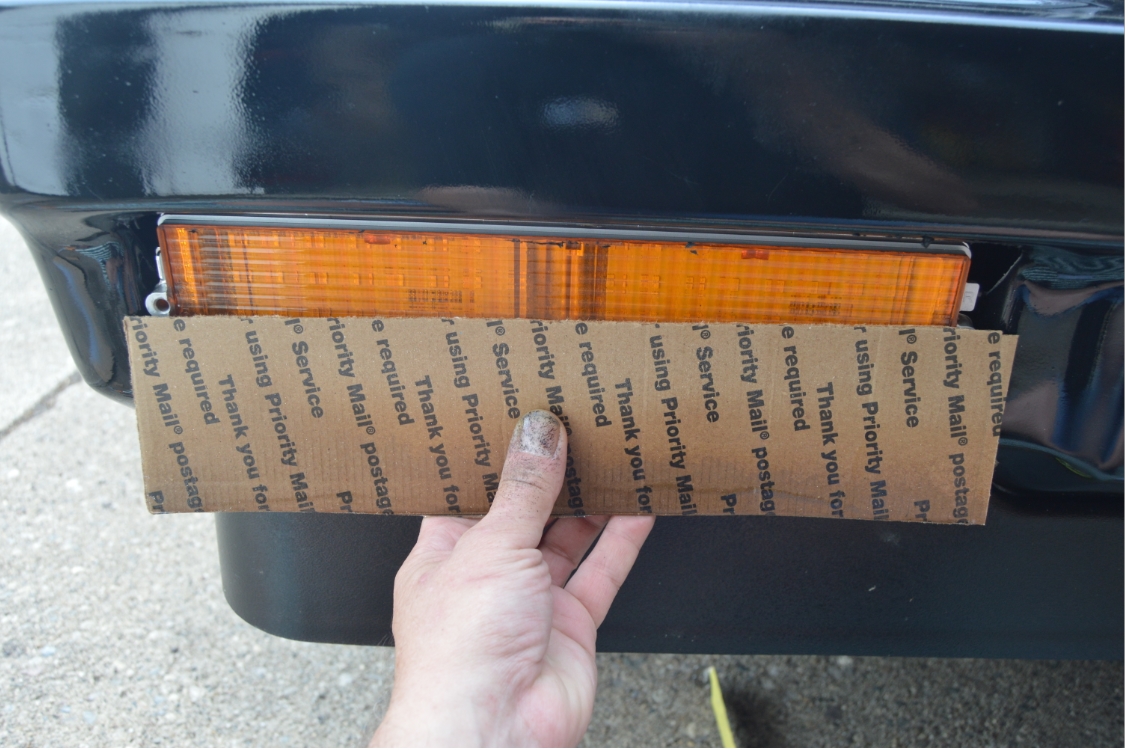
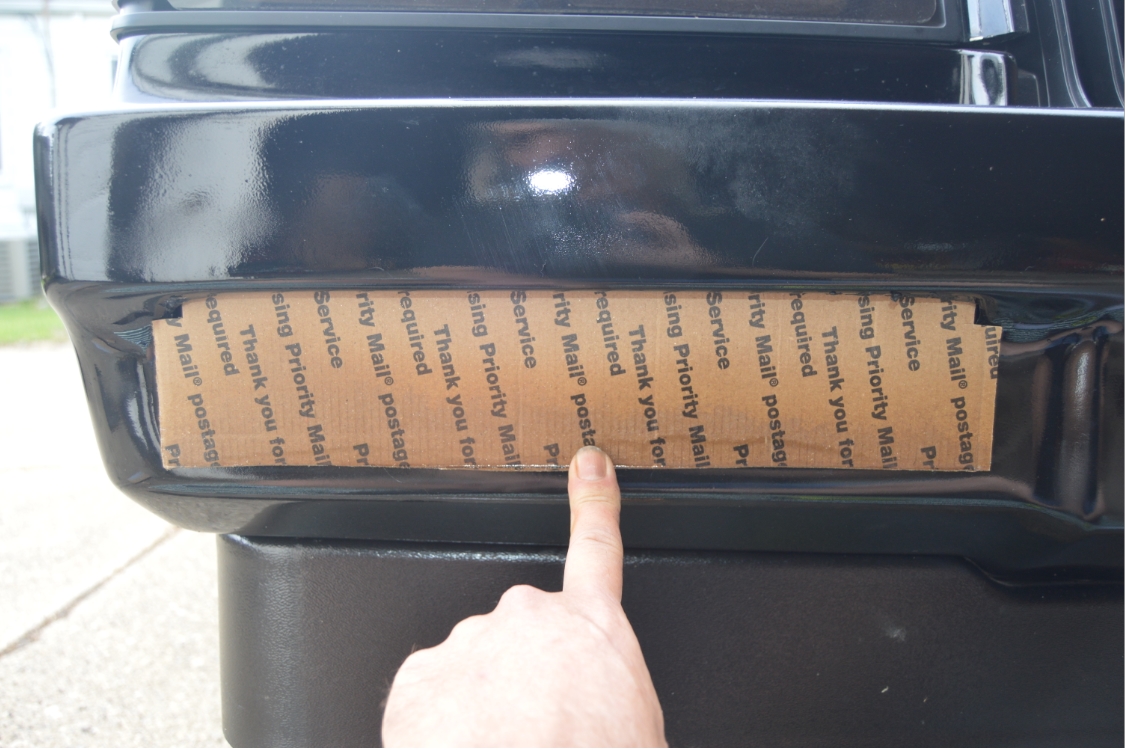
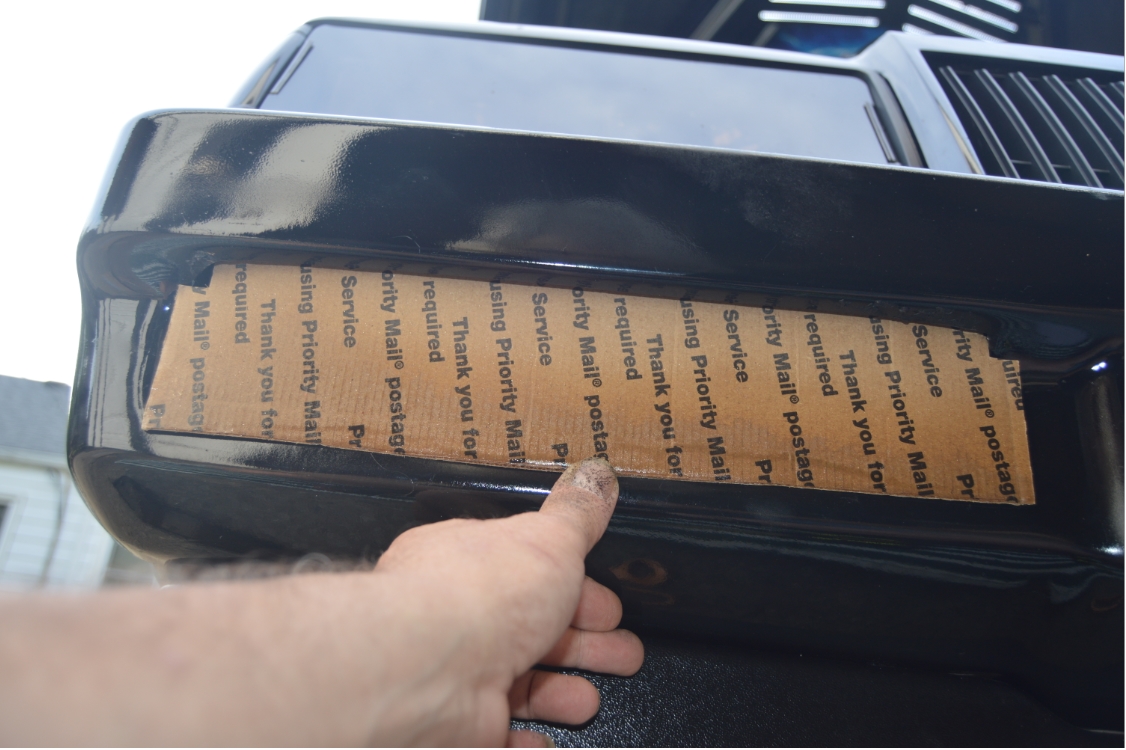
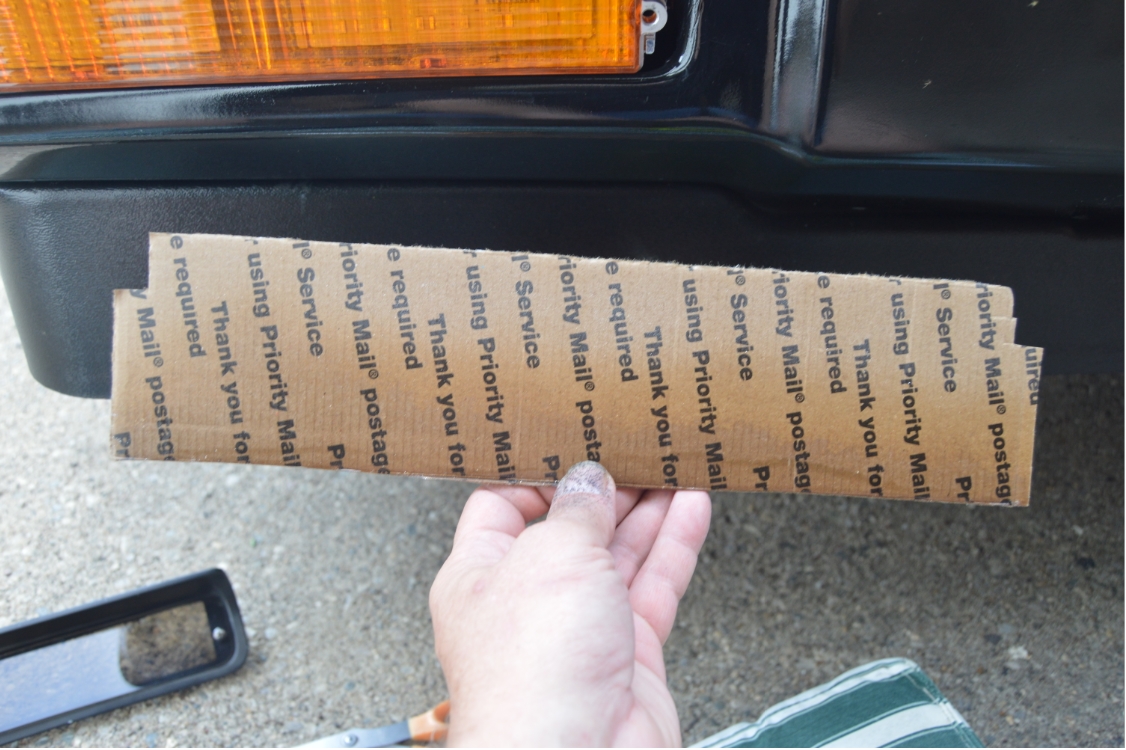
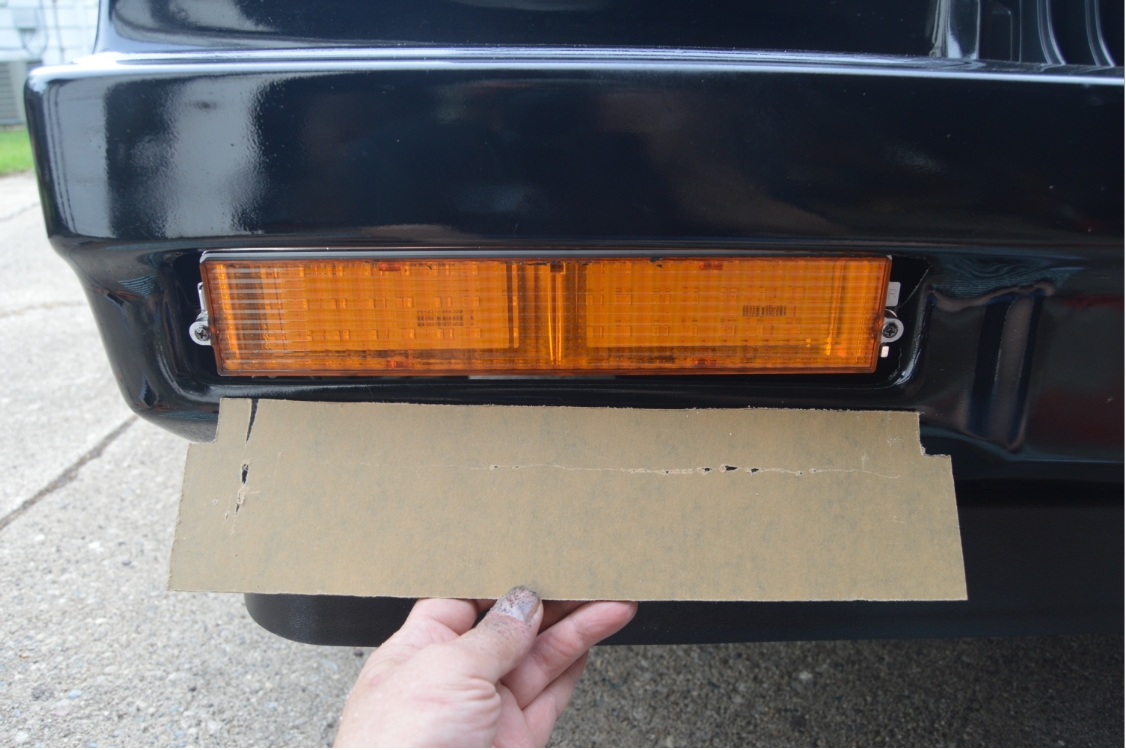
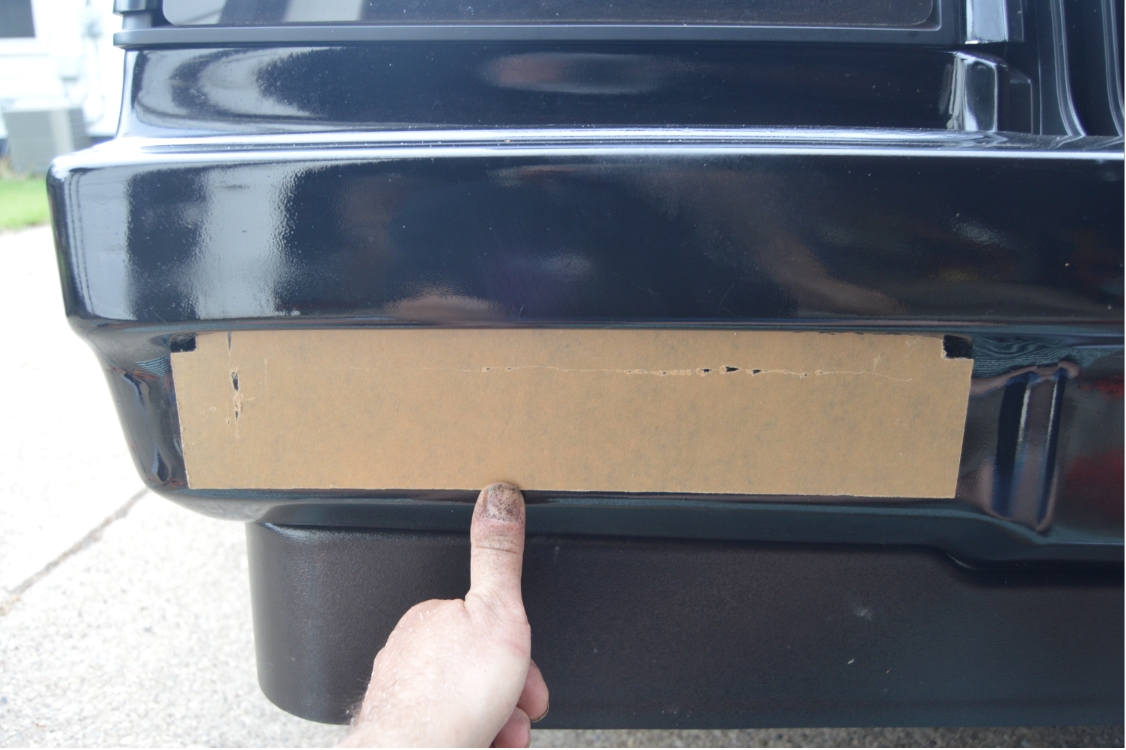
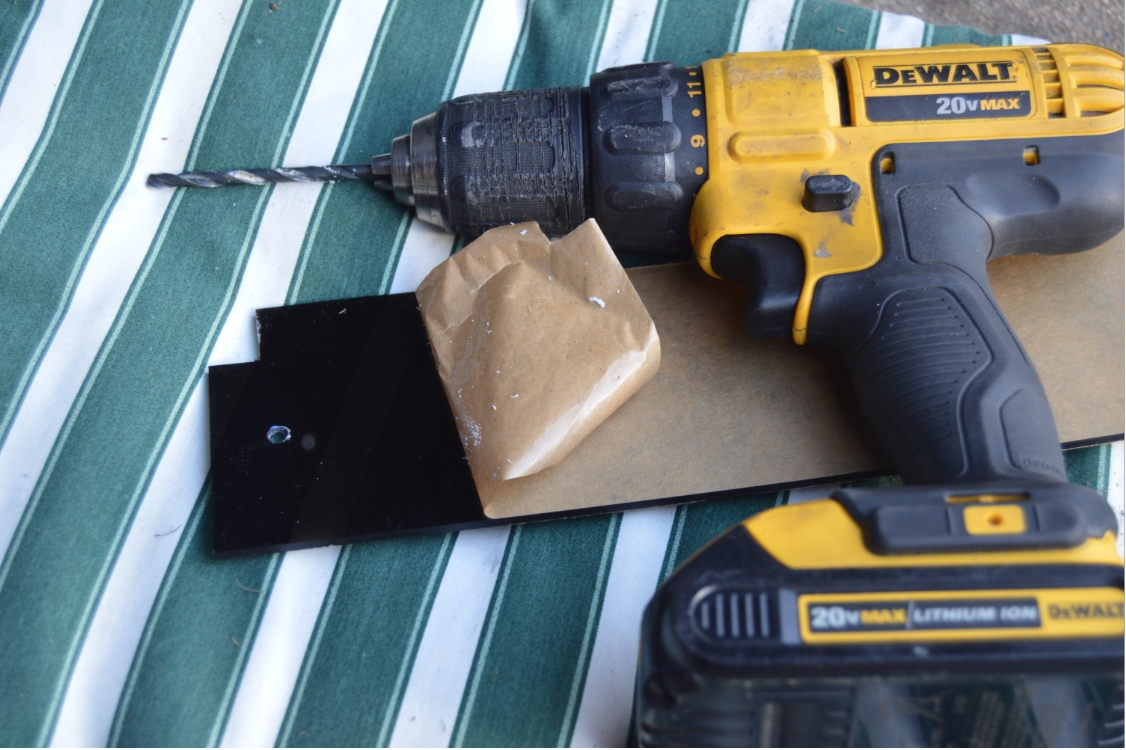
We made a (cardboard) template that is slightly wider than the opening for the bumper lights.
It’s also hangs down a bit lower than the opening.
On the top side, it goes up into (behind) the bumper (opening).
[the cover overlaps the opening by approximately 1/4″ all the way around]
.
MAKING THE TEMPLATE:
.

.
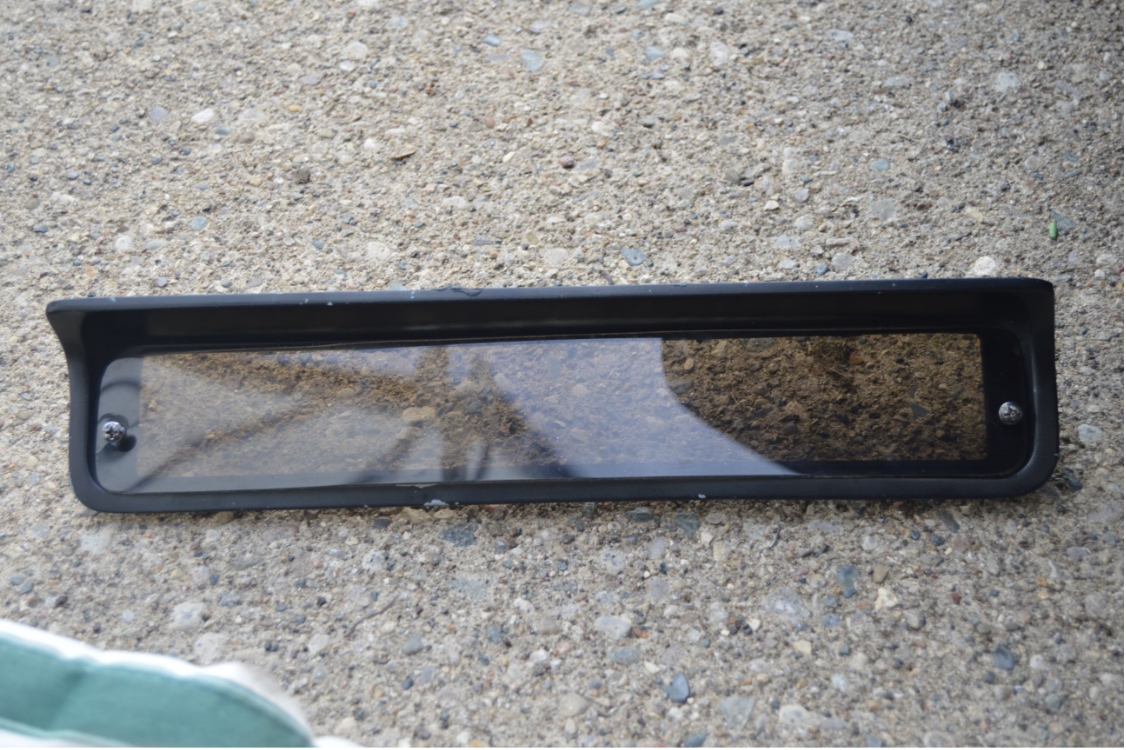
Each cover is secured to the bumper using the same method that the factory used, 2 screws that go thru the covers and the light fixtures.
We replaced the original beveled-head screws with ones that have a flat surface to go flush up against the new plexi covers (pan screws).
These 2 screws hold the plexiglass and the parking light assembly, then get secured to the screw clip retainers (on the backside) on the tabs that are attached to the FG bumper.
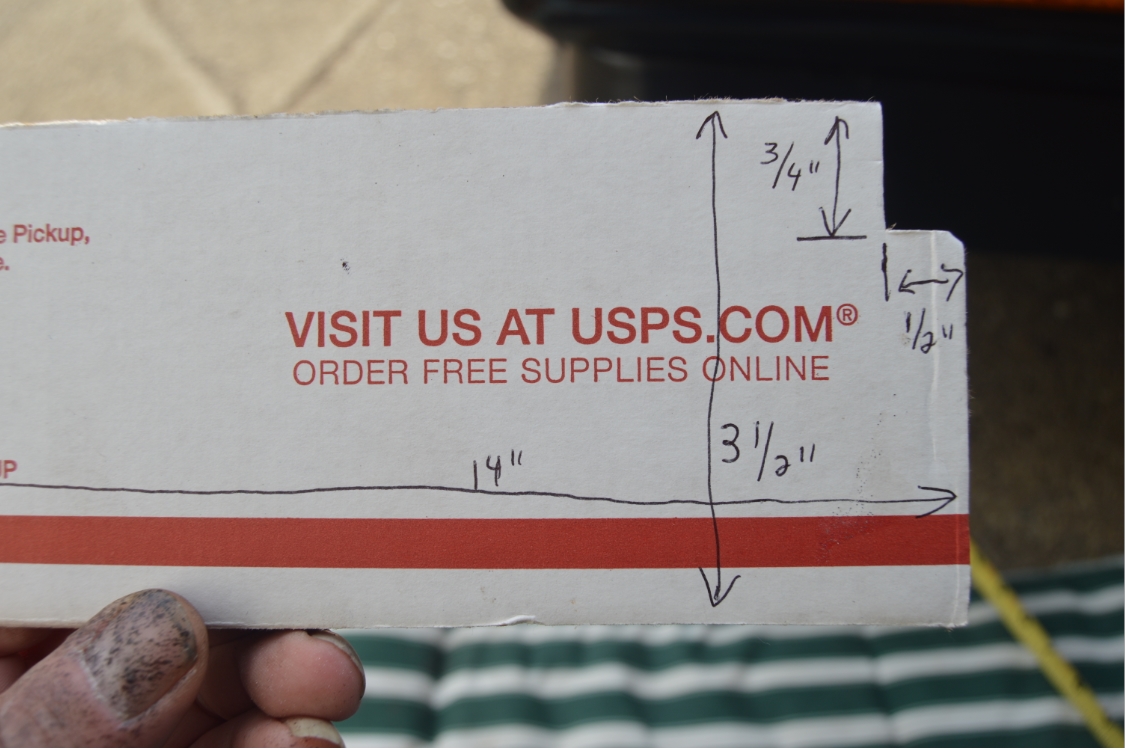
The size of the bumper light covers is 14″ wide x 3.5″ tall.
[but the topside is slightly smaller (3″) to be able to go up into the bumper]
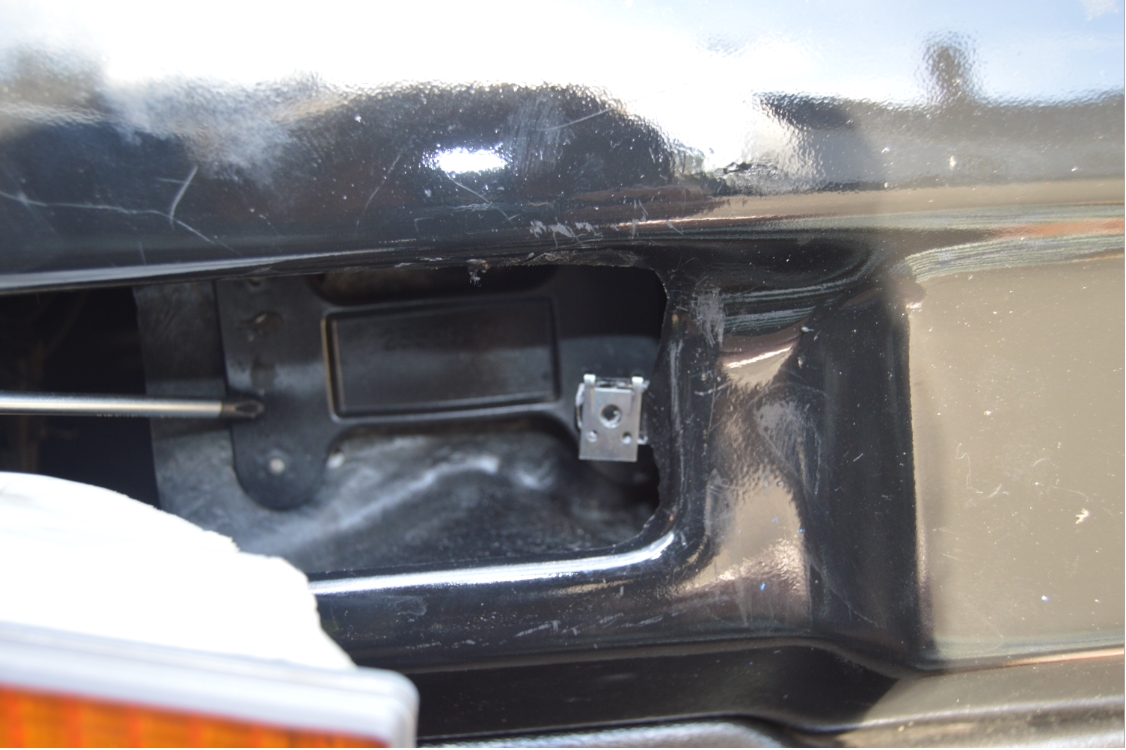
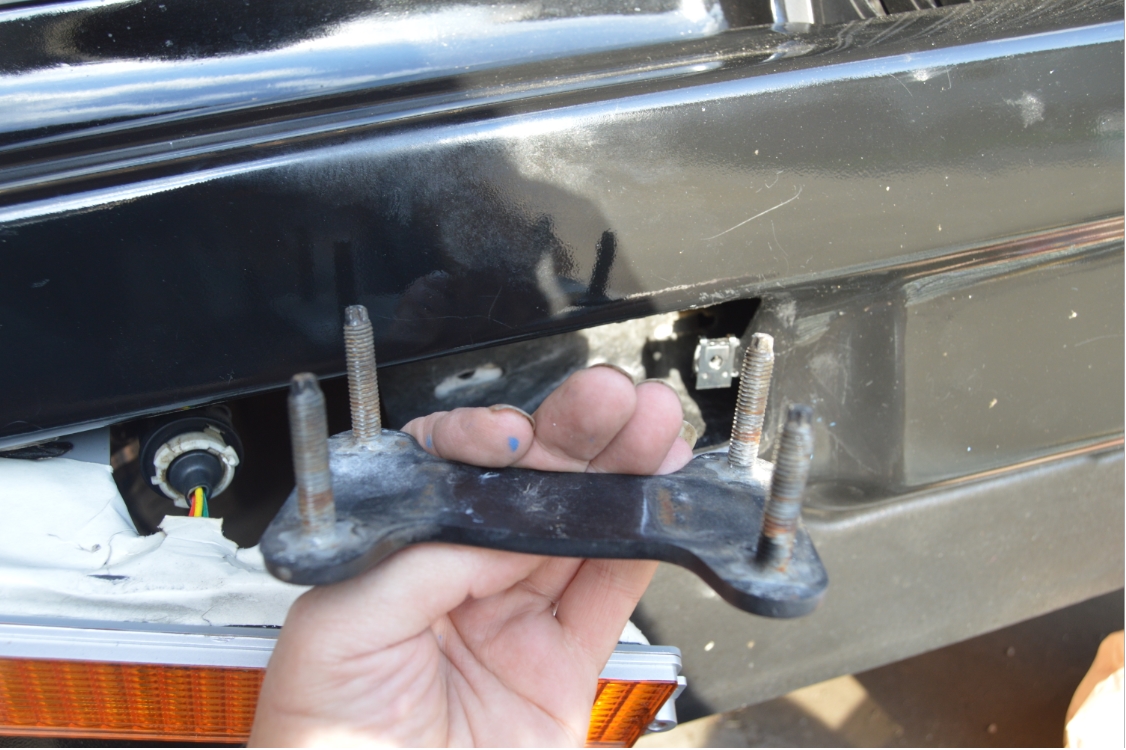
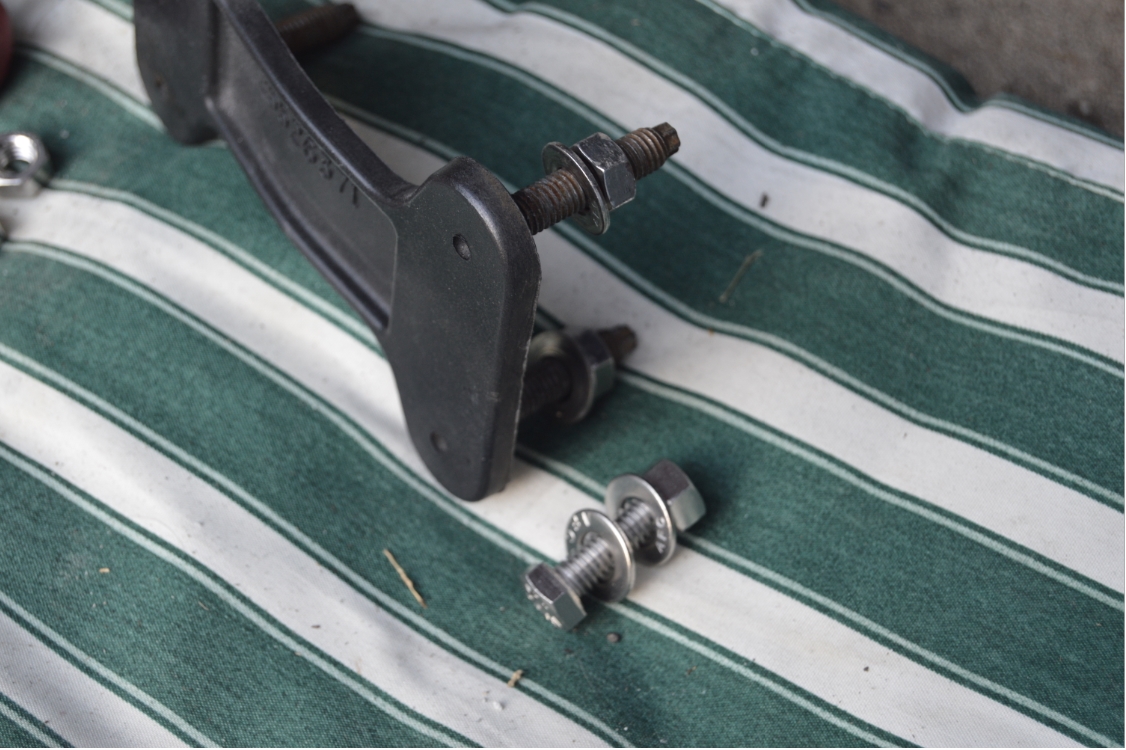
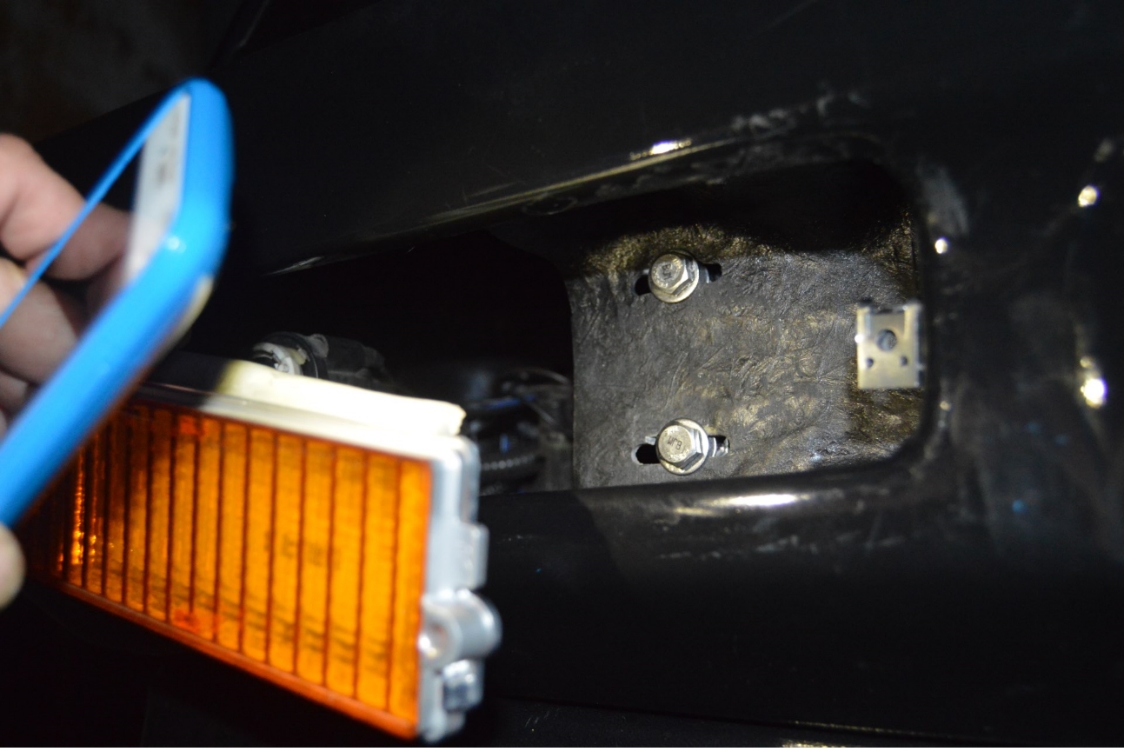
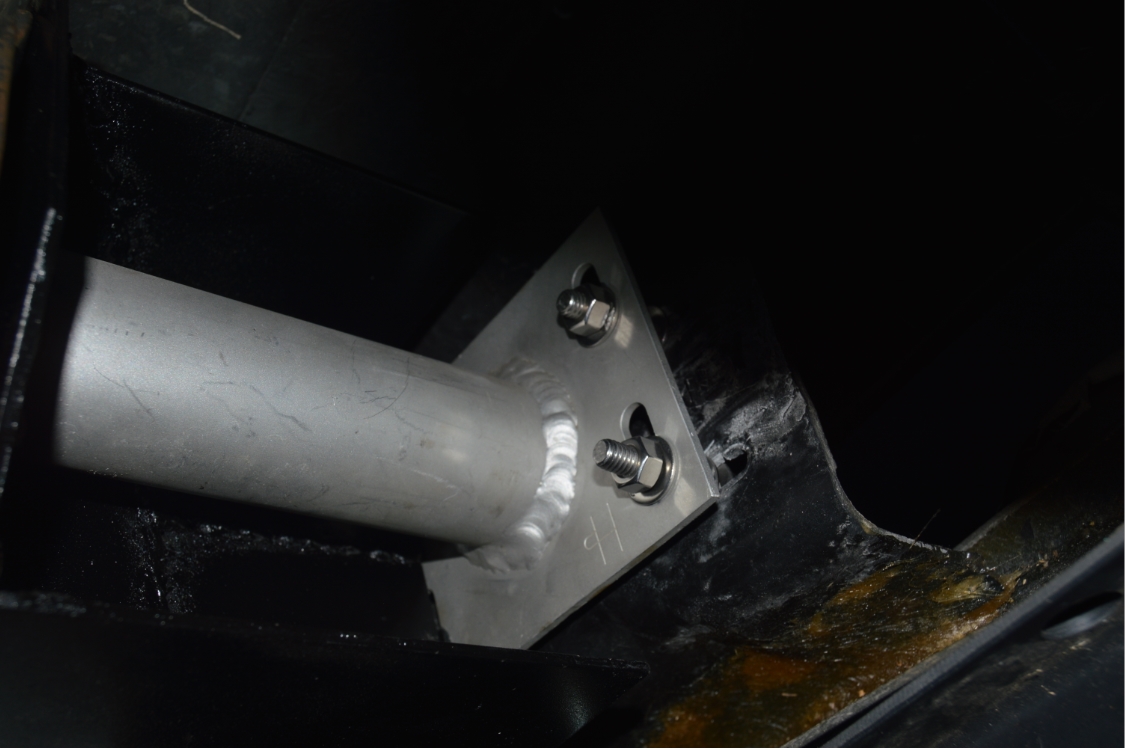
To get the parking light housing to not hit the bumper mounting bracket (actually it was hitting the factory dog bone shaped bolts bracket that we reused when we installed the FG bumper), we simply removed them and used regular bolts instead. The bolts gave just slightly more clearance than the OEM bracket did. Enough of a difference to make the housing fit better in the opening.
.
REPLACING THE DOGBONE BOLT BRACKET WITH REGULAR BOLTS:
.

.
PARTS:
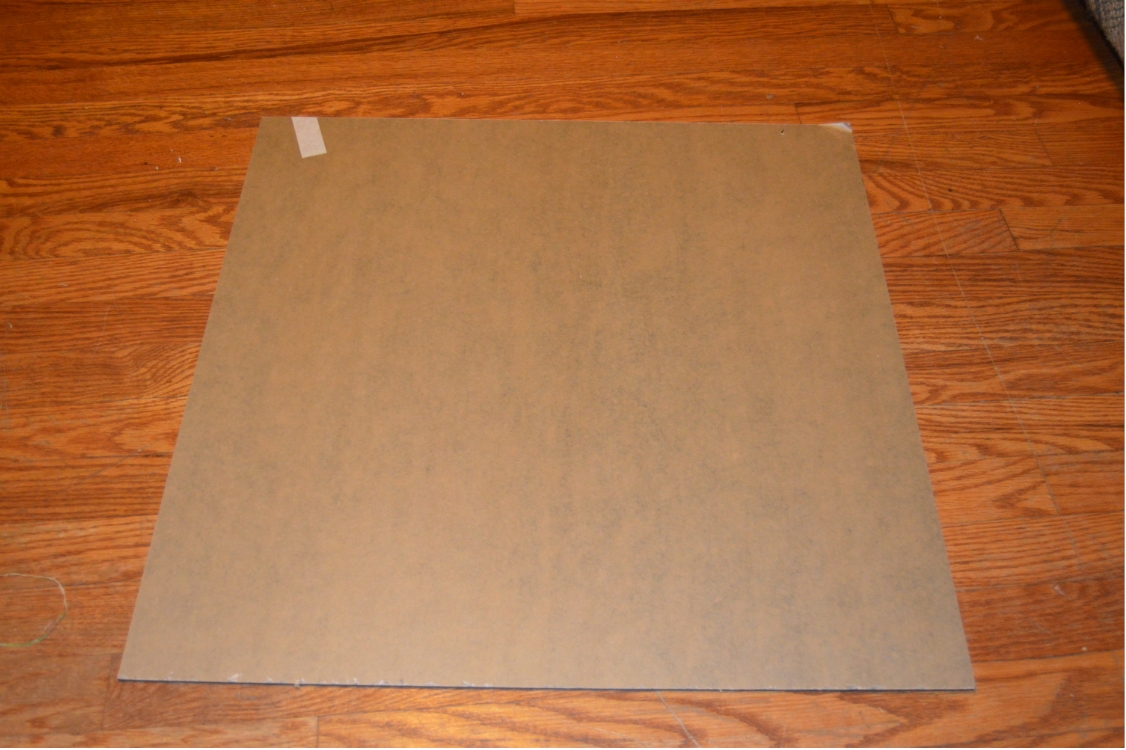
– sheet of acrylic plexiglass (dark gray smoke, 24″x24″x1/8″, $22 shipped, from ebay, with more than enough material leftover for another project!)
– 4 screws (#8 1.5″ long, $2 from local hardware store, stainless steel, but we painted the heads black)
– 8 bolts, 16 washers, 8 nuts (to secure bumper to bumper supports, $10, home depot, 5/16″ x 1.5″, stainless steel)
.
TOOLS:
– tape measure
– jigsaw
– phillips screwdriver
– drill
.
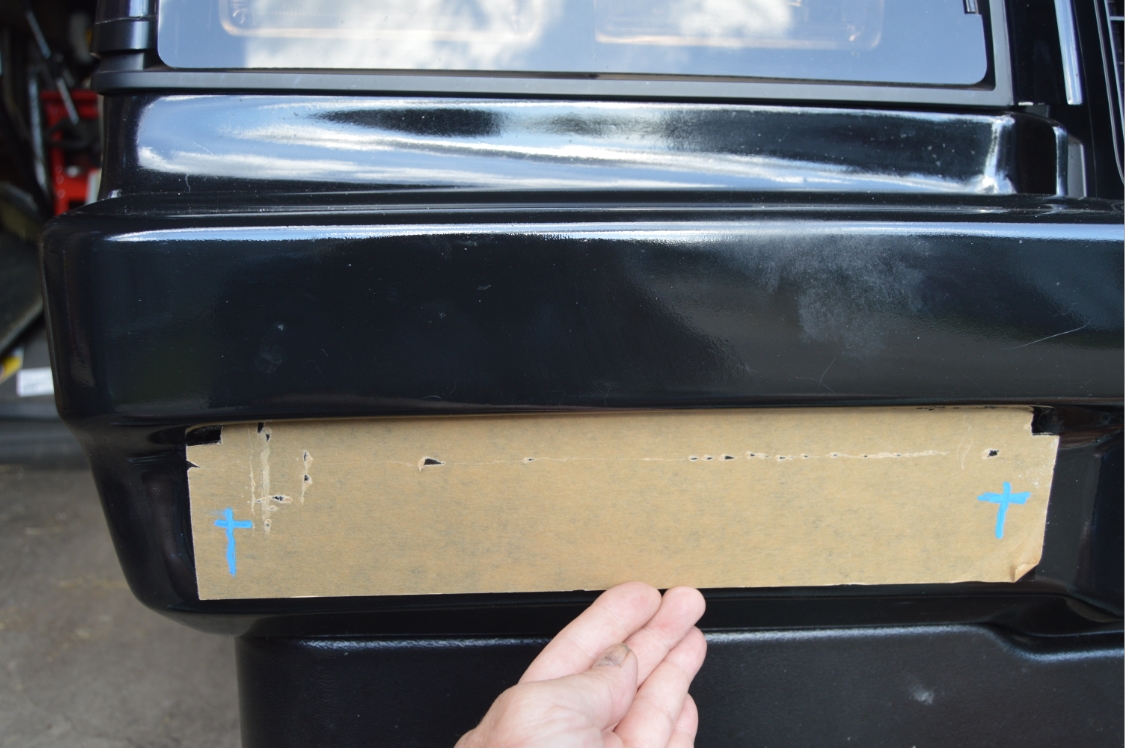
The exact measurements for the new bumper light covers are in the pics.
Completing this job and making these new parking light covers was a lot easier than anticipated!
Less than $35, 15 minutes & done!
.
1 minute to remove old bezels, & screw back in original screws (parking lights stay inside bumper for now).
2 minutes to make a cardboard template (use the exact same one for both sides).
1 minute to trace it onto the plexiglass.
5 minutes to cut out both pieces.
1 minute to mark where the holes go (place the new cover temporarily over the lights in the position it will be installed in. Take a marker & put a dot on the cover in the center of where the OEM screw head is).
1 minute to drill the 4 holes (2 for each cover).
2 minutes to remove factory screws, place new covers on, screw in the 2 retaining screws (on each side).
And that’s it!
.
another quick & easy job! 🙂
Life should be so simple.
.
![]()
.
If you’re like us, we saved the OEM Turbo Regal bumper & we’re going to do the same with these factory bezels (and screws too), plus the old parking light covers. It’s great to have them for the future in case we ever decide to return to stock(-ish).
(you could always sell them, someone is always in need of original Turbo Buick parts)
Note that we didn’t put a nice finished edge on the covers (it’s good enough as is for us, for now).
The top cutout corner sections could be rounded off as well as the 2 bottom corners to make it a more seamless transition into the FG bumper, if you’re looking for a better appearance.
(which is what we will end up doing sometime soon)
.
Make sure you come back to read tomorrow’s post & see what “COOL” mod we do to the front fiberglass bumper!
.
THE FINISHED PRODUCT:
.
.
.


