


You can rely on your narrowband O2 sensor for tuning, as it came from the factory originally, making sure your MV’s are around 800 at WOT.
Or you can acquire a wideband O2 sensor and really nail down the tuning for your 3.8 Liter turbocharged V6 Buick engine.
That’s what we decided to do, since the readings on our lazy narrowband O2 sensor were all over the place.
 There’s many brands to choose from, and a couple different styles.
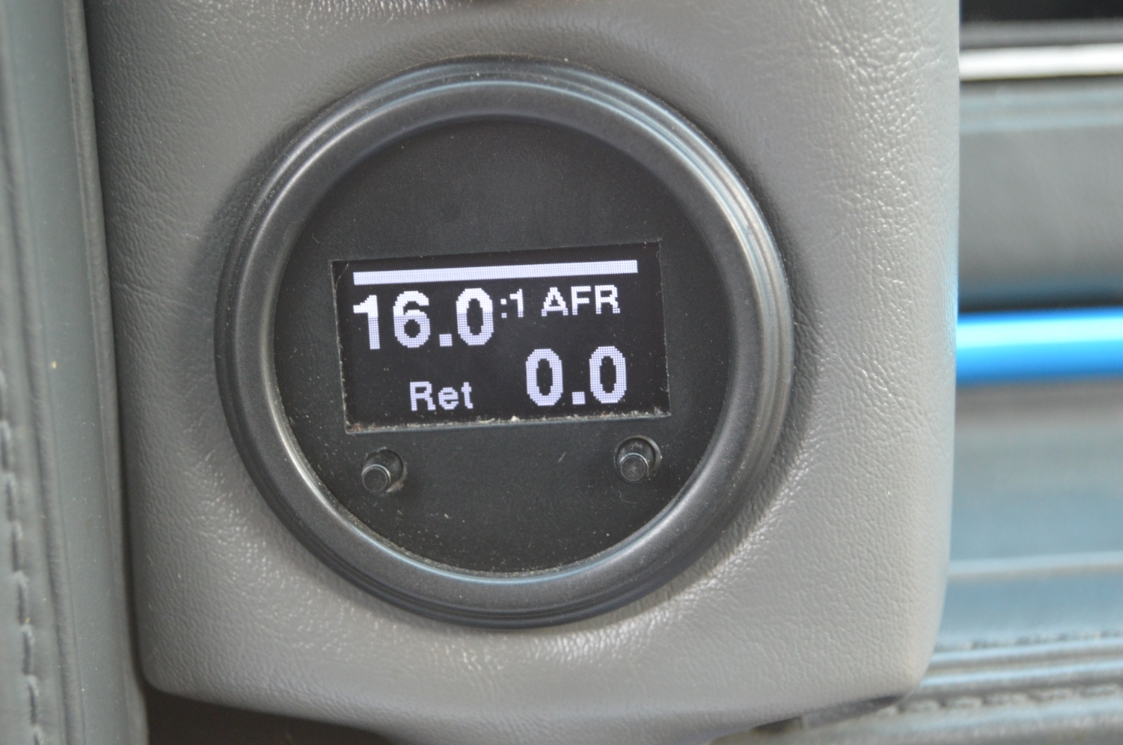
You can get a separate gauge that goes with it, or you can eliminate the need for another gauge & just connect it directly to your Buick Powerlogger and see the display on a regular Scanmaster or a Scanmaster G unit (which is what is on this particular Buick Regal Grand National).
If you’re looking to get the specifics on exactly what your motor is doing, there’s nothing better than a wideband in conjunction with the powerlogger hooked to a scanmaster.
(well, there may be better, but when you already have 2/3 of what’s needed for this project…)
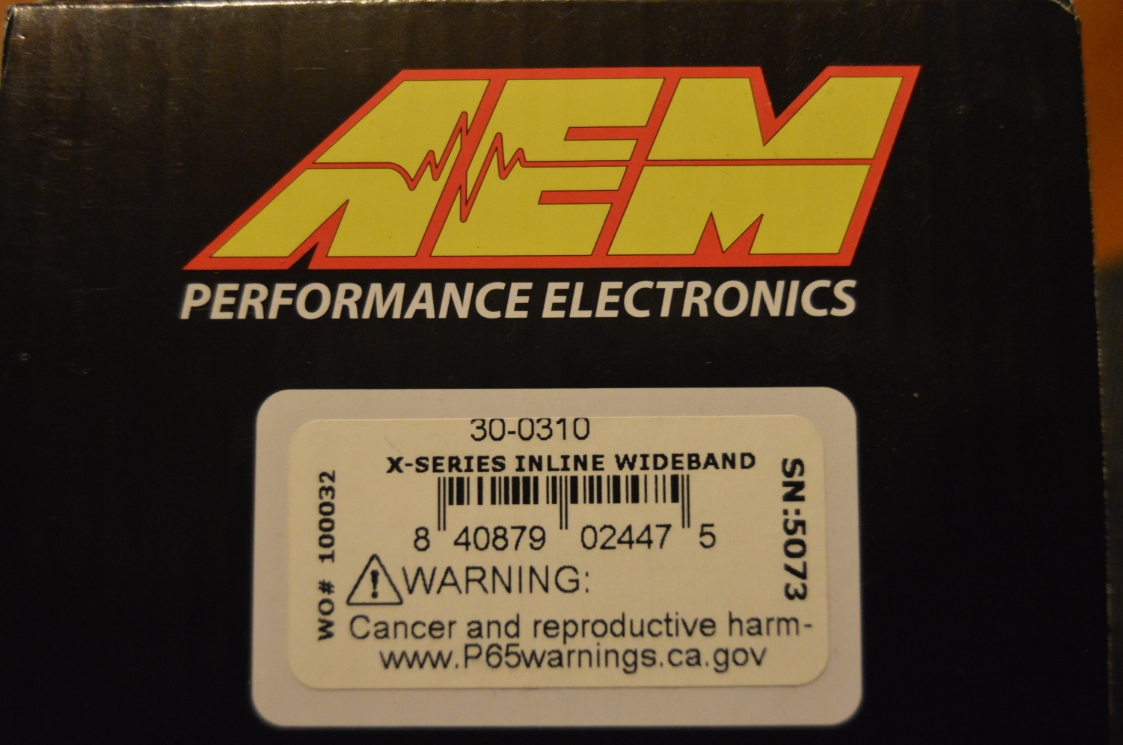
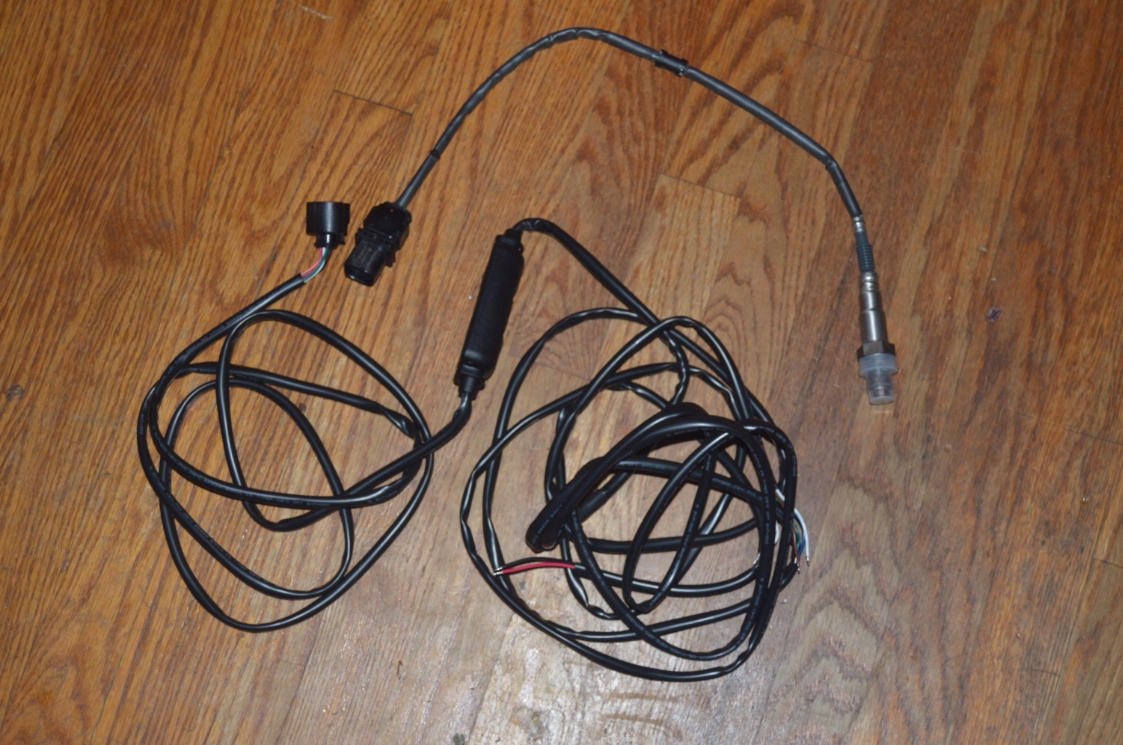
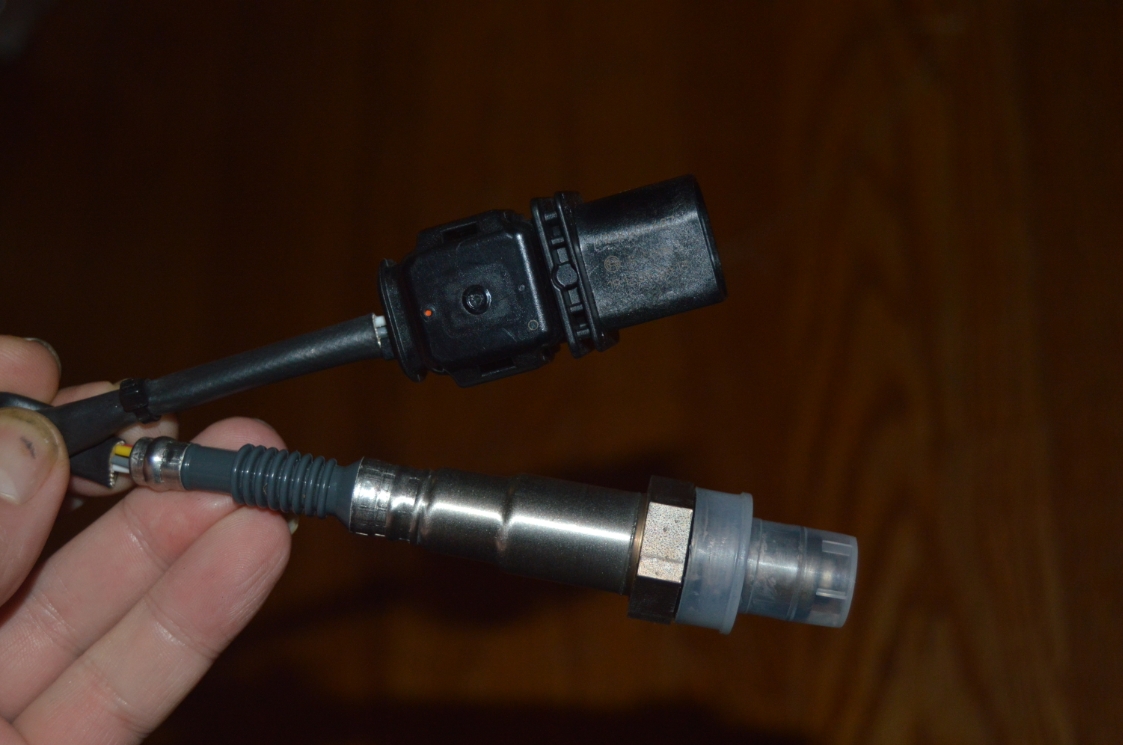
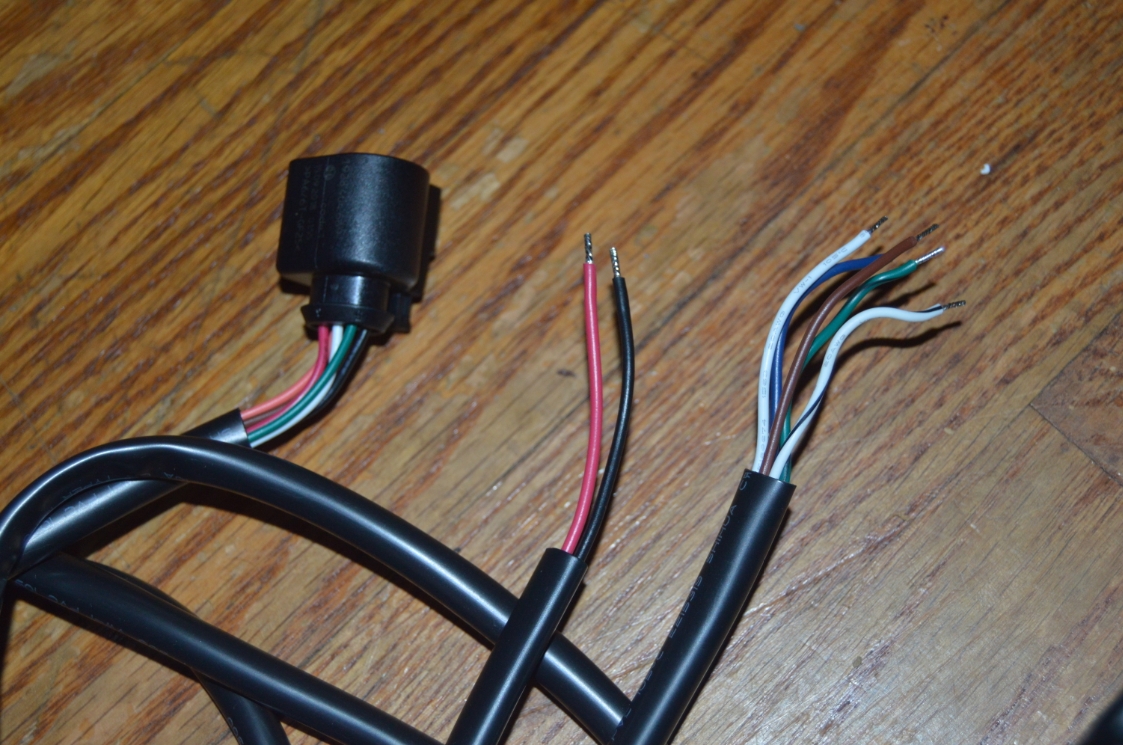
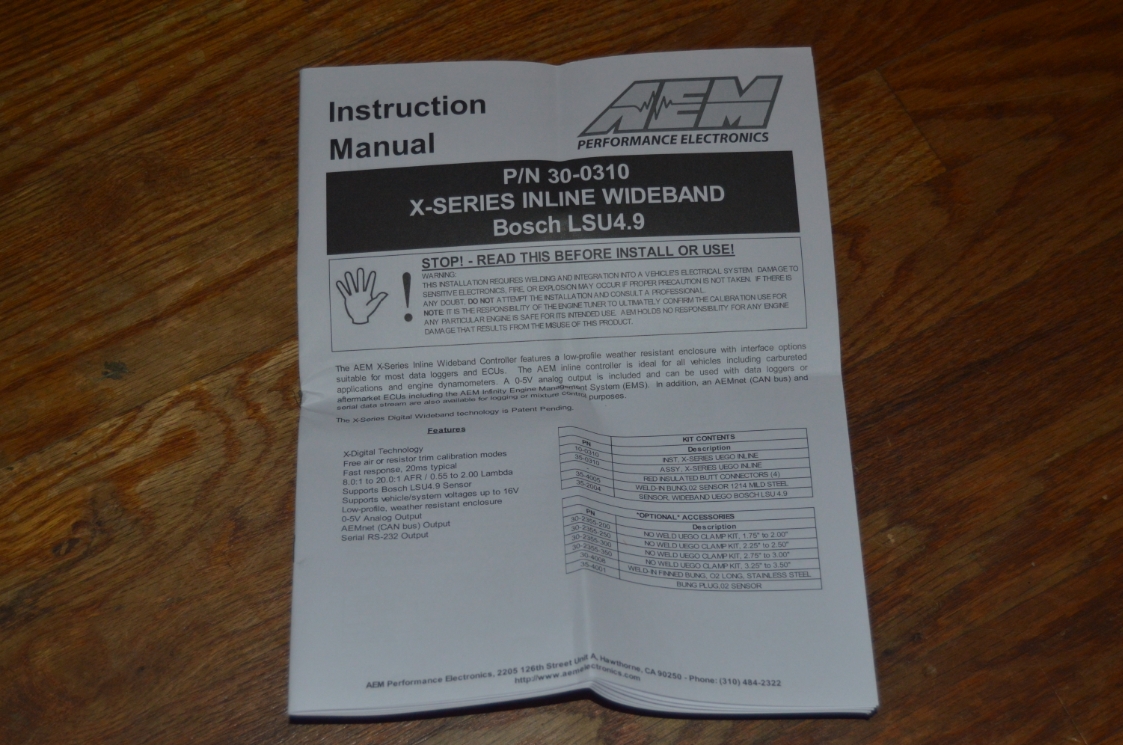
Today we are installing an AEM X-series Inline Wideband, which uses a Bosch LSU 4.9 O2 sensor.
After reading many pros and cons about the different choices available, and the reviews for each, we decided on this one.
.

.
COMPLETION TIME: 30 minutes
.
PARTS:
– AEM Wideband O2 X-series (part number 30-0310, $160 ebay)
– bung (included in kit if needed)
– zip ties (included)
– wire connectors (or solder, electrical tape, etc.)
– 5A inline fuse (not supplied in kit)
.
TOOLS:
– 7/8 wrench (for O2 sensor)
– wire crimpers
.
HOW TO:
1. make sure you have a bung installed in your downpipe!
(there’s one included in the kit if you don’t currently have one. I’m not explaining how to install that, lol.)
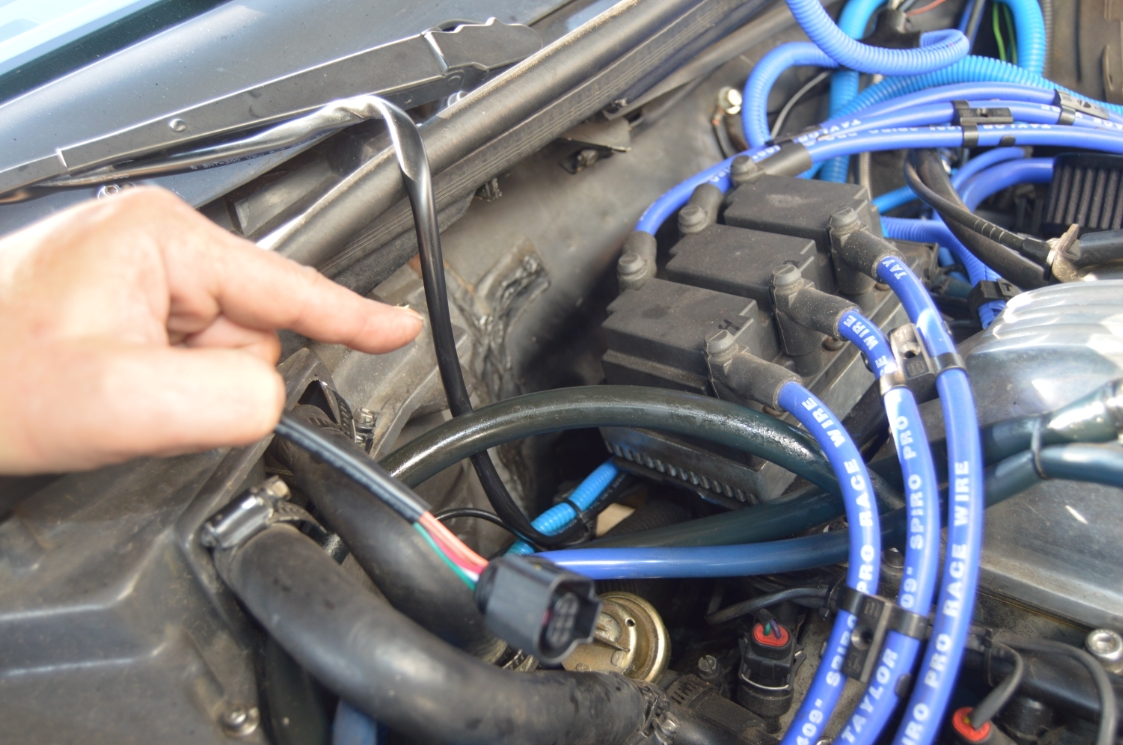
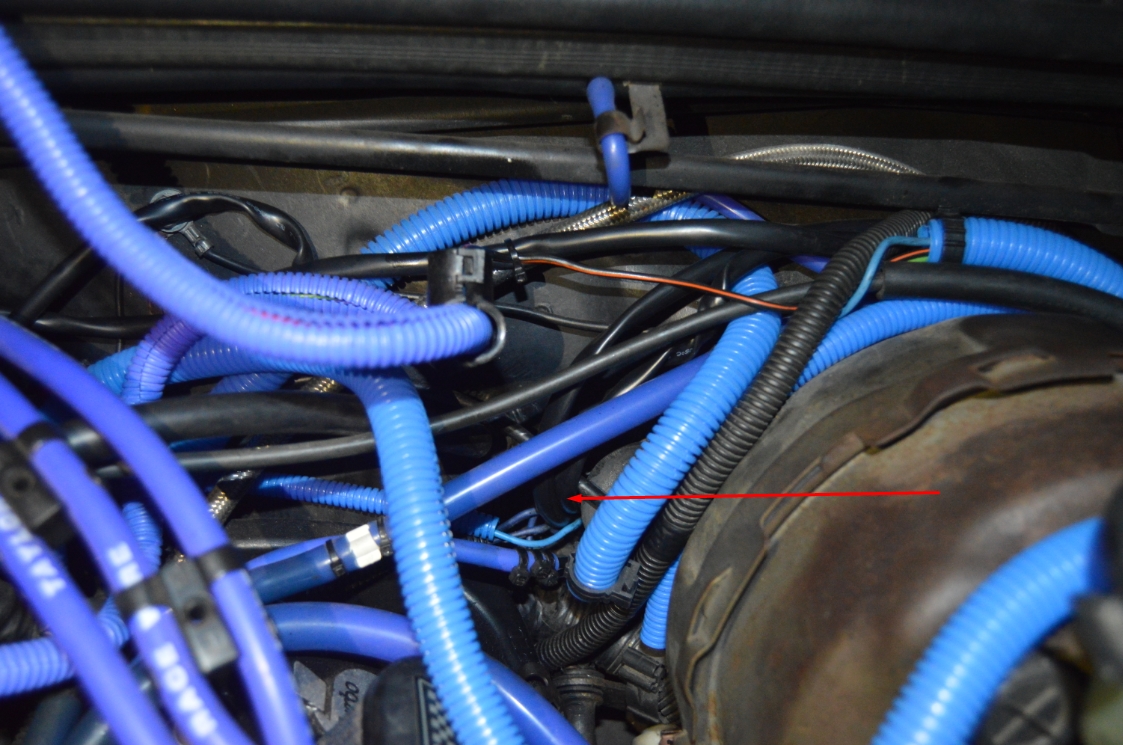
2. We connected the new O2 sensor to the controller box, then dropped down the sensor from the top of the engine compartment.
It’s routed on the passenger side of the G-body Regal, behind the engine, on the passenger side of the transmission.
(having all the wires connected, made it easy to drop the sensor down, then pull back up the wires once the sensor was installed)
3. Using a 7/8 wrench, install the sensor. Then zip tie the wires to the trans dipstick, to keep them safe and out of the way.
.


.


.
4. The attached wires from the controller box are VERY long, so you have to bunch them up together. We stuffed the excess from the O2 sensor behind/under the coil pack.
(zip tied to the other wires that run behind there)
Then it’s ran over to the drivers side.
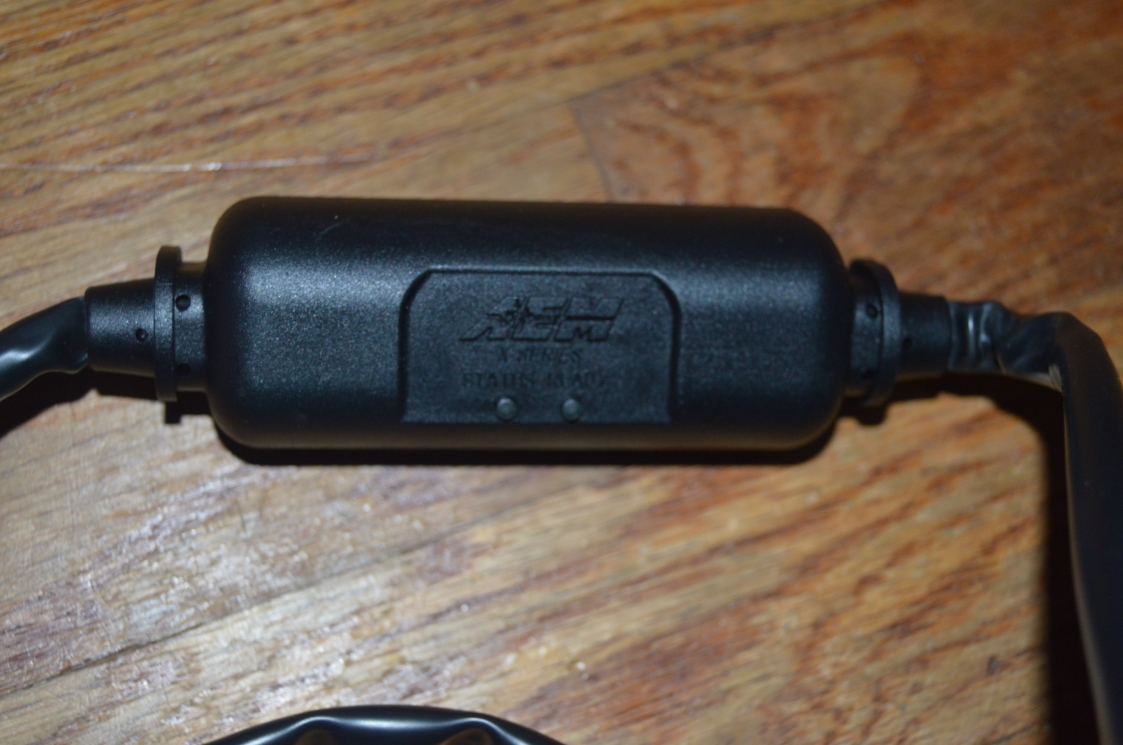
5. The controller box was placed next to the home-made relay panel we made (which was needed since the GNX vents were installed). It’s not mounted, but is kind of wedged in under one of the relays, so it’s not really going anywhere.
You just have to make sure wherever you put it, you can see the 2 lights that are on the box, so you know that all is working like it’s suppose to.
[the controller box wires are actually long enough to put the box inside the car, but the connector that attaches to the O2 sensor wires is on the large size, and you’d have to figure out how to get that thru the firewall. We choose to simply leave the weatherproof box under the hood]
6. The 2 sets of wires coming off the controller box were ran thru the firewall via the same grommeted hole that all the other wires, and the speedo cable, etc., run thru.
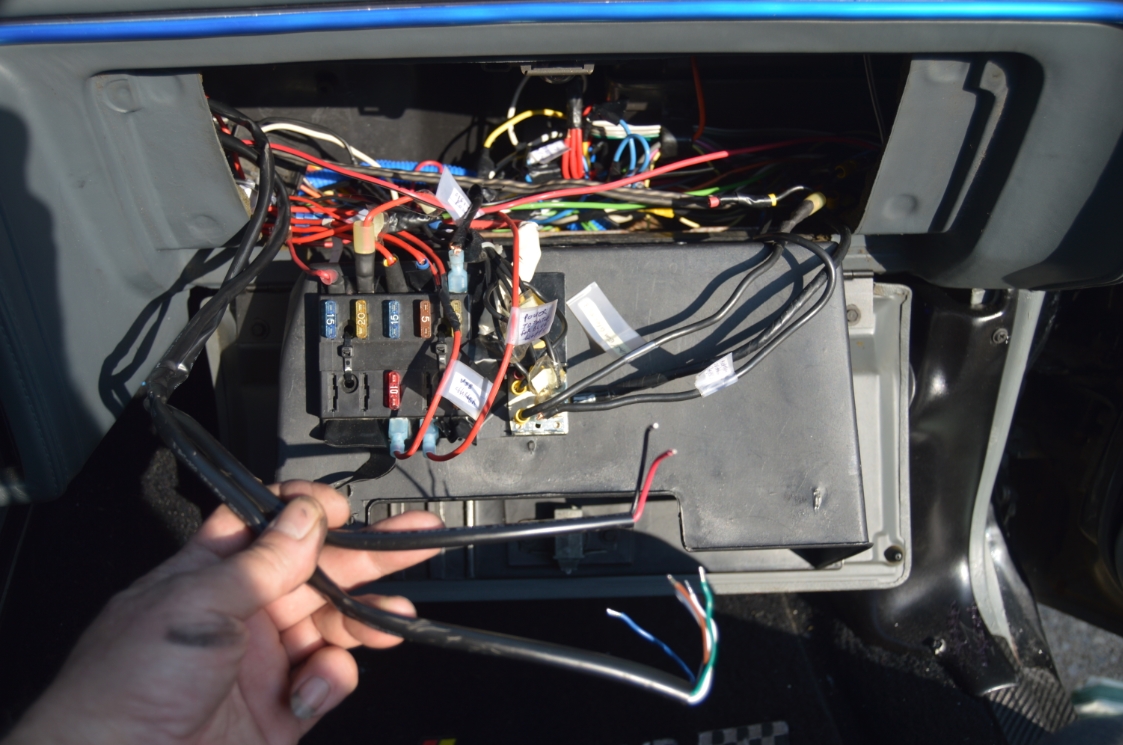
7. From the interior, you’ll have to remove the underdash panel to access these new sleeved wires.
Pull them thru into the interior.
.
Your install may vary on this next part, depending on what you’re going to use to power it up and ground it.
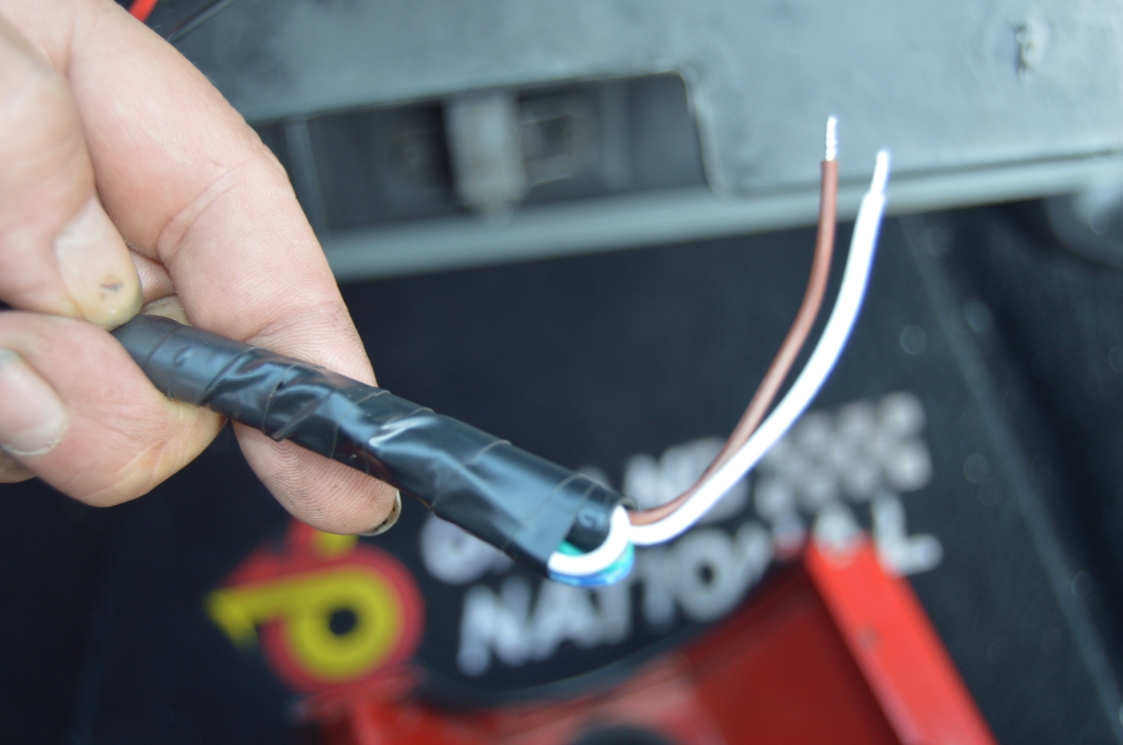
There’s 2 sections of wire.
1 sleeve contains a red & black wire, these are the (switched) power and ground.
1 sleeve contains 5 wires, we used only the solid white and brown ones, since we are connecting to a powerlogger.
.

.
8. We ran both sets of wires over to the passenger side, under the dash, behind the radio, etc.
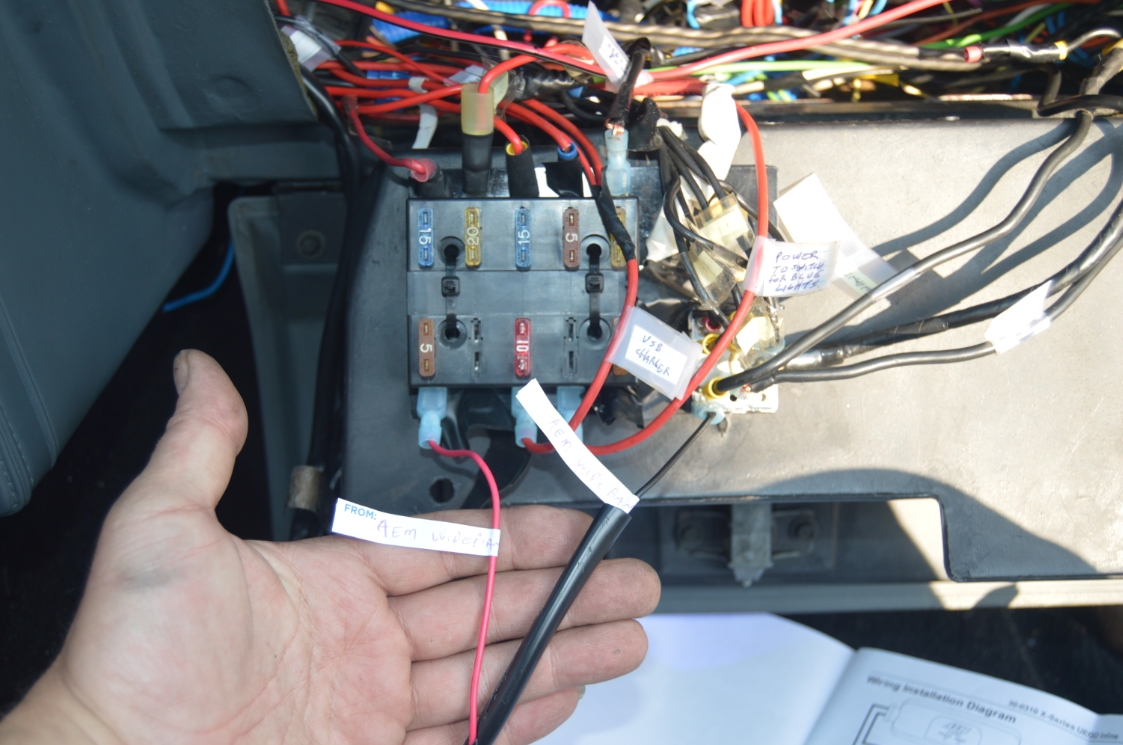
9. We have a second switched power fusebox installed on this 1987 Buick Grand National, so that’s where we are connecting the 2 wires. The red power wire gets it’s juice from a 5 amp fuse. The ground goes to the main ground block on this panel.
10. In the second wire set, the green wire, the blue wire, and the white/black wire are not going to be used, so they are taped off.
(you may need them if not connecting to a powerlogger, read the instructions included with the wideband)
11. The white wire (sensor positive) is attached to #1 on the powerlogger block.
12. The brown wire (sensor negative) is attached to #4 on the powerlogger block.
.

.
13. We connected up our laptop, and attached the usb cable from the powerlogger, then fired up the computer.
14. Then we started the Turbo Regal.
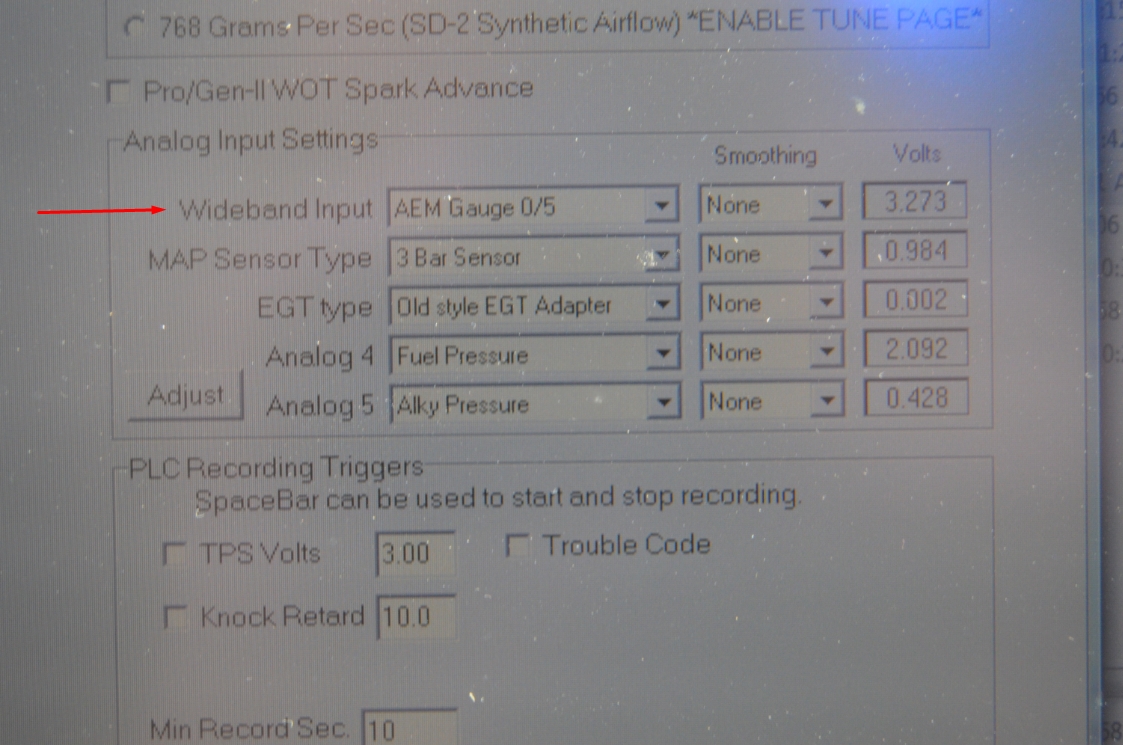
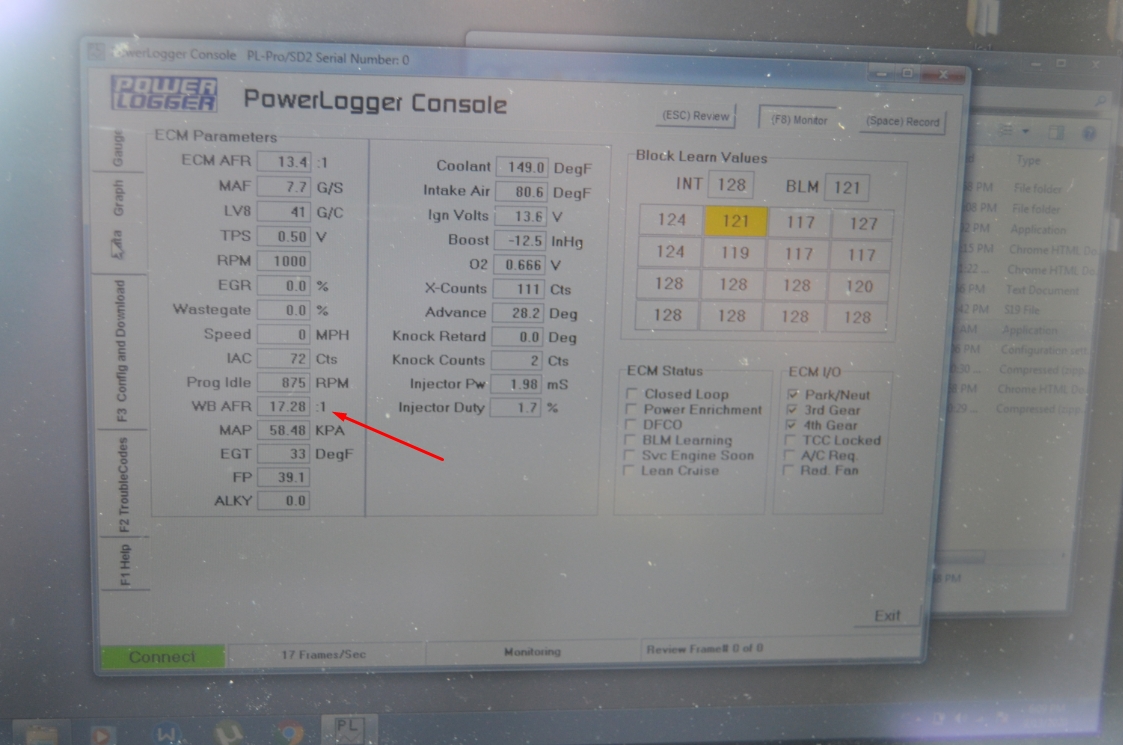
14. Open Powerlogger, and then within the PL, is a setting you need to set to match the AEM wideband, which makes it all work.
.
.
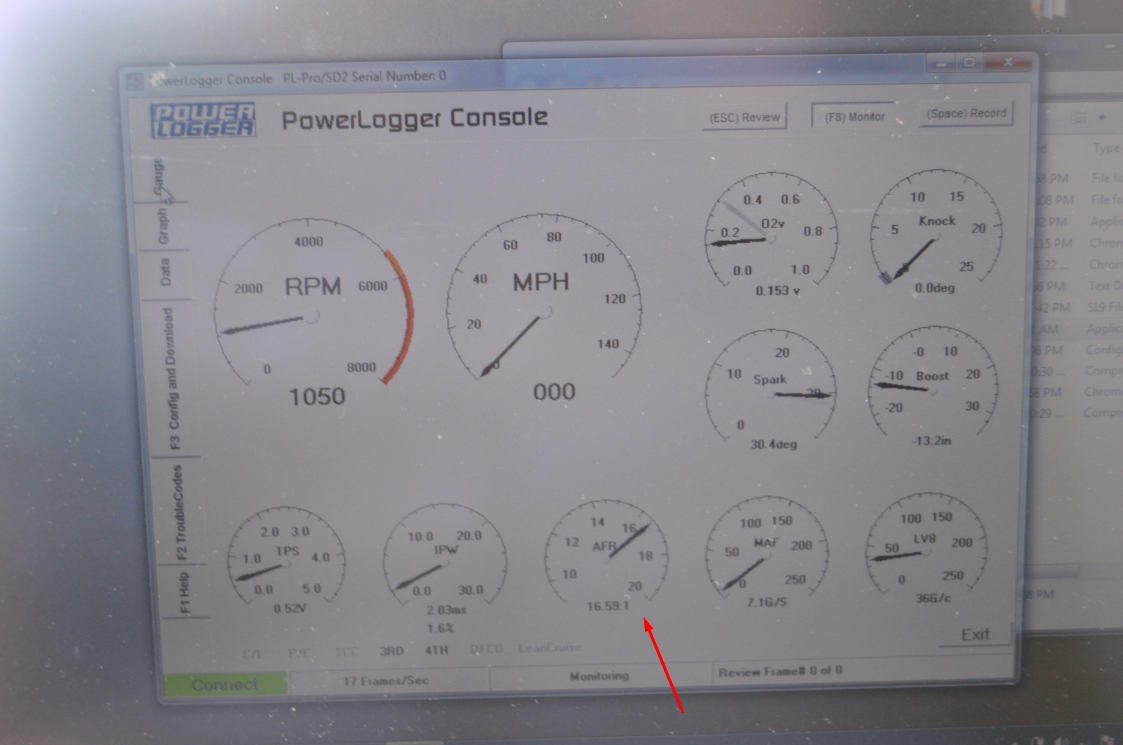
15. Once that was done & we were getting readings, we checked under the hood at the controller box, to make sure we had the solid green light, which means everything is functioning the way it should.
.

.
The AFR was reading 17-18 upon startup (lean), but once the Turbo Buick was fully warmed up, it was reading close to 14.7 (stoich).
We haven’t actually driven the car yet, but WOT should be somewhere around 10.5 we’re told, since we’re spraying alky. Fingers crossed…
16. Once we knew all was good, we zip tied all the wires, then reinstalled the underdash panel.
Another relatively simple job done.
And a useful tuning aid.
.
Using a powerlogger and/or scanmaster, and want to know what exactly all those numbers mean that are shown on it?
Check this out: powerlogger readings.
.


